PaintShop Pro Tutorial: PSP in Practice
Already using PaintShop Pro but want to delve deeper into the Corel program? In this PSP tutorial, you can expect over 5 hours of detailed explanations on the topics of raw development, photo editing, image montage, creating HDR images and cropping motifs. How to get the most out of PaintShop Pro in your photo and image editing!
- Getting started: Get an overview of how PaintShop Pro works and how it is structured.
- Photo editing: Learn how to develop, edit and optimize photos with PSP.
- Image composition: Unleash your creativity and learn how to realize your image ideas.
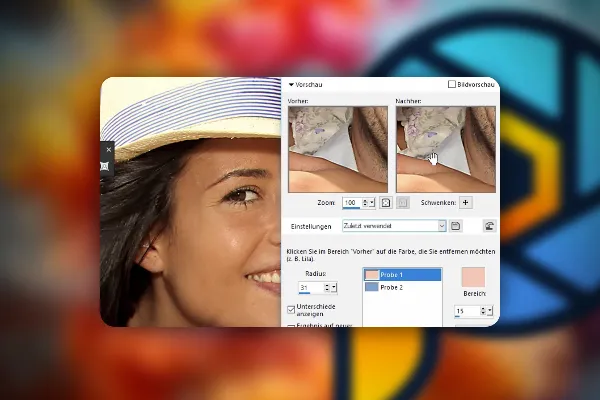
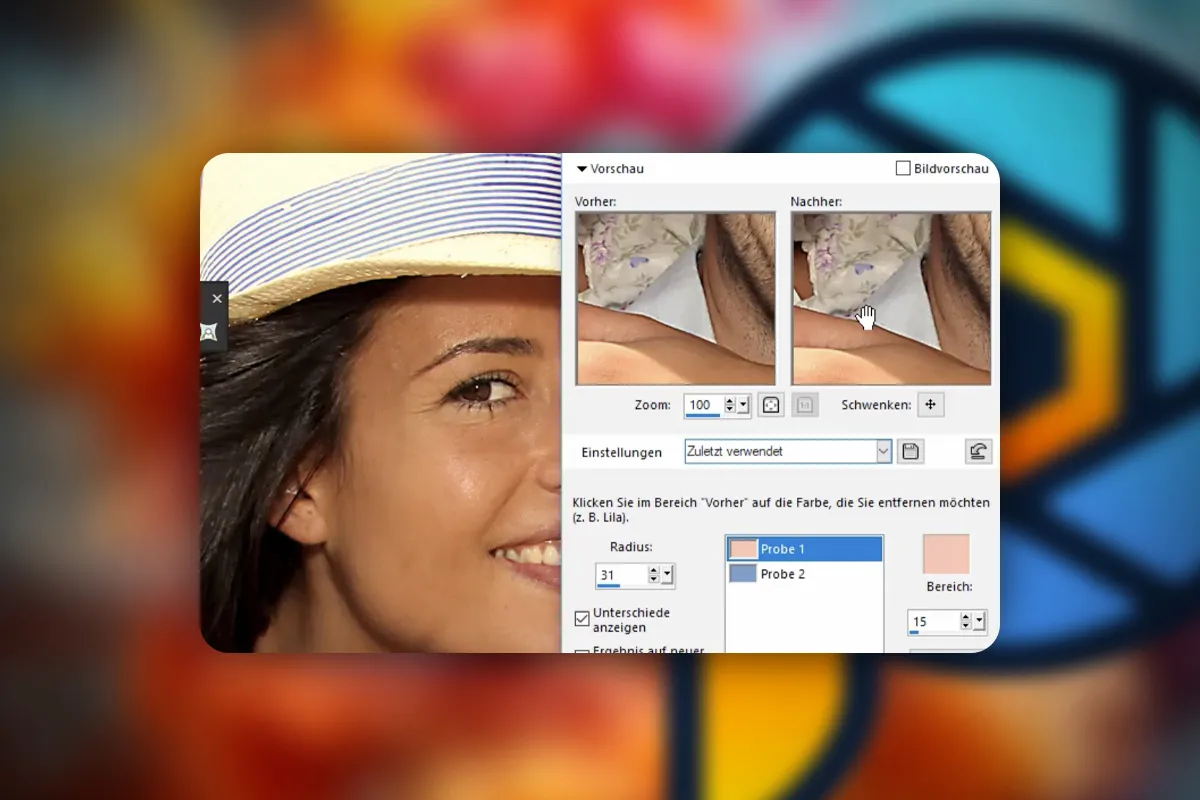
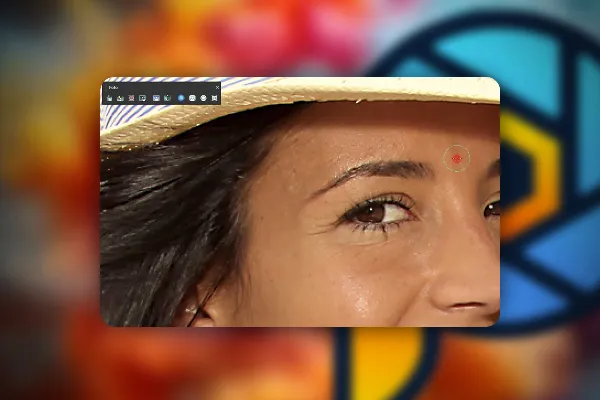
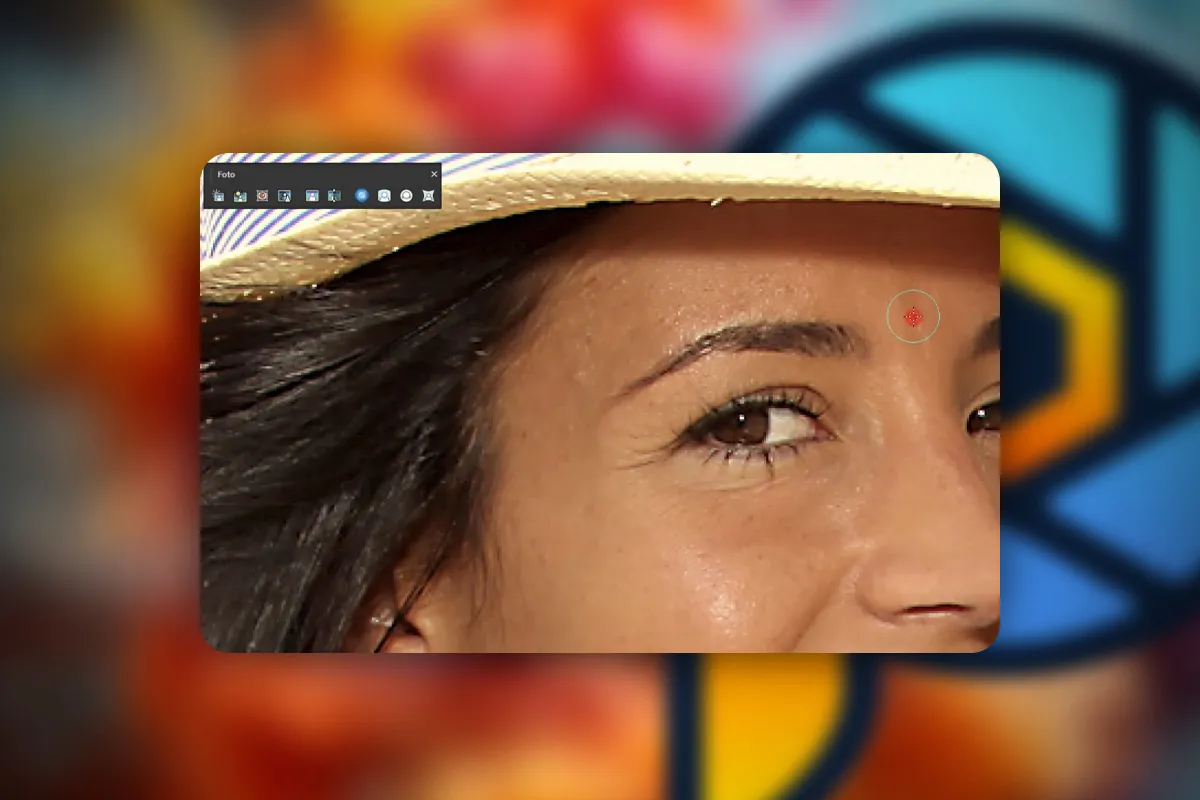
- Further topics: Raw development, image corrections, removing red eyes, beauty retouching
- A video tutorial by Norbert Schumann lasting over five hours
Prepare yourself for the realization of extensive projects with the PaintShop Pro tutorial. Now you know your PSP down to the smallest detail!
- Usable with:
- content:
5 h Video training
- Licence: private and commercial Rights of use
Basics of PaintShop Pro
Photo Quick Editing
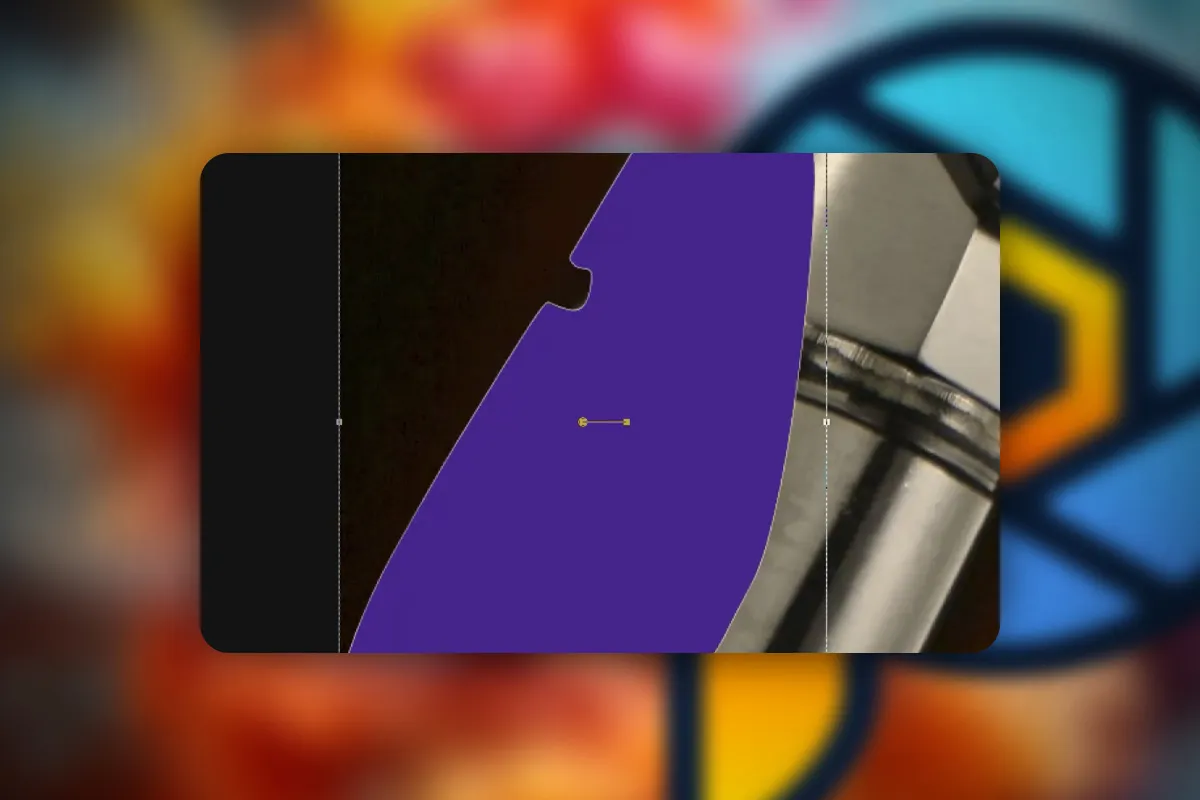
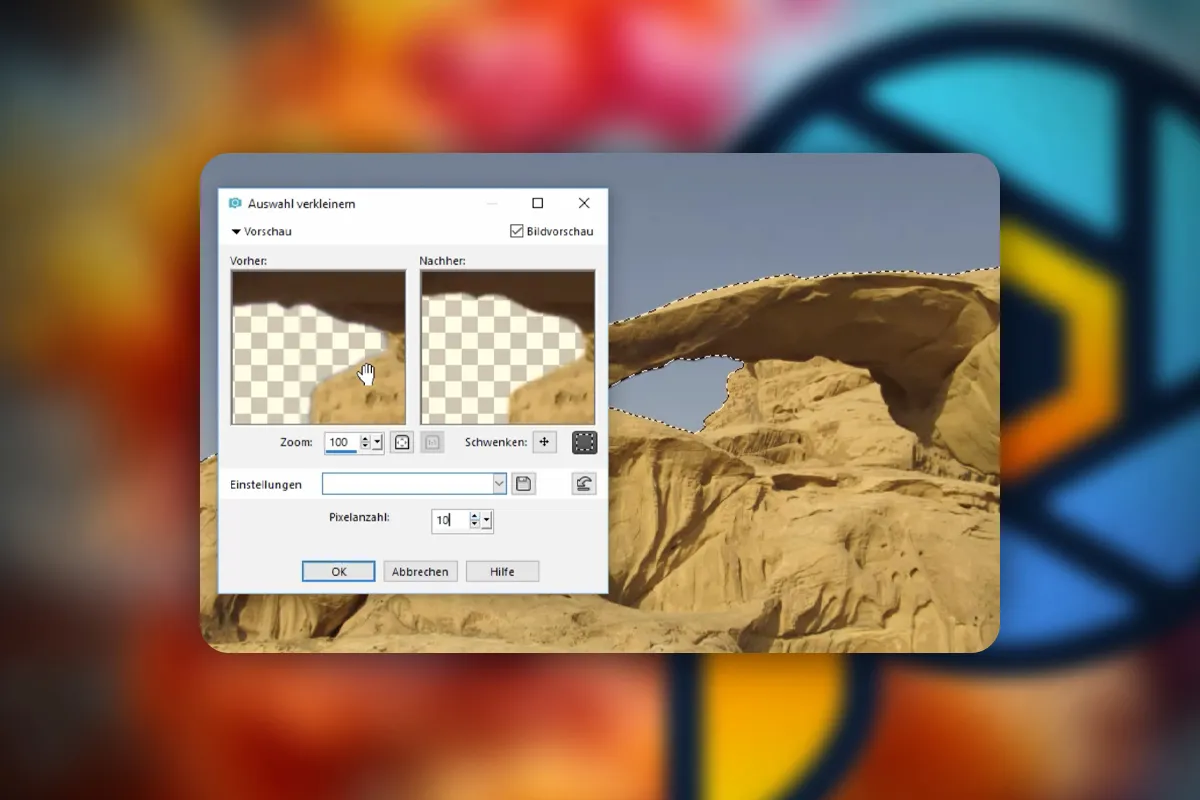
make a selection
Image composition
Details of the content
Corel PaintShop Pro in practice: HDR, photo editing, image montage
PaintShop Pro from Corel is used for photo and image editing. In this five-hour Paint Shop Pro tutorial , Norbert Schumann uses concrete examples to show you how to use the program effectively.
A brief review of PSP basics
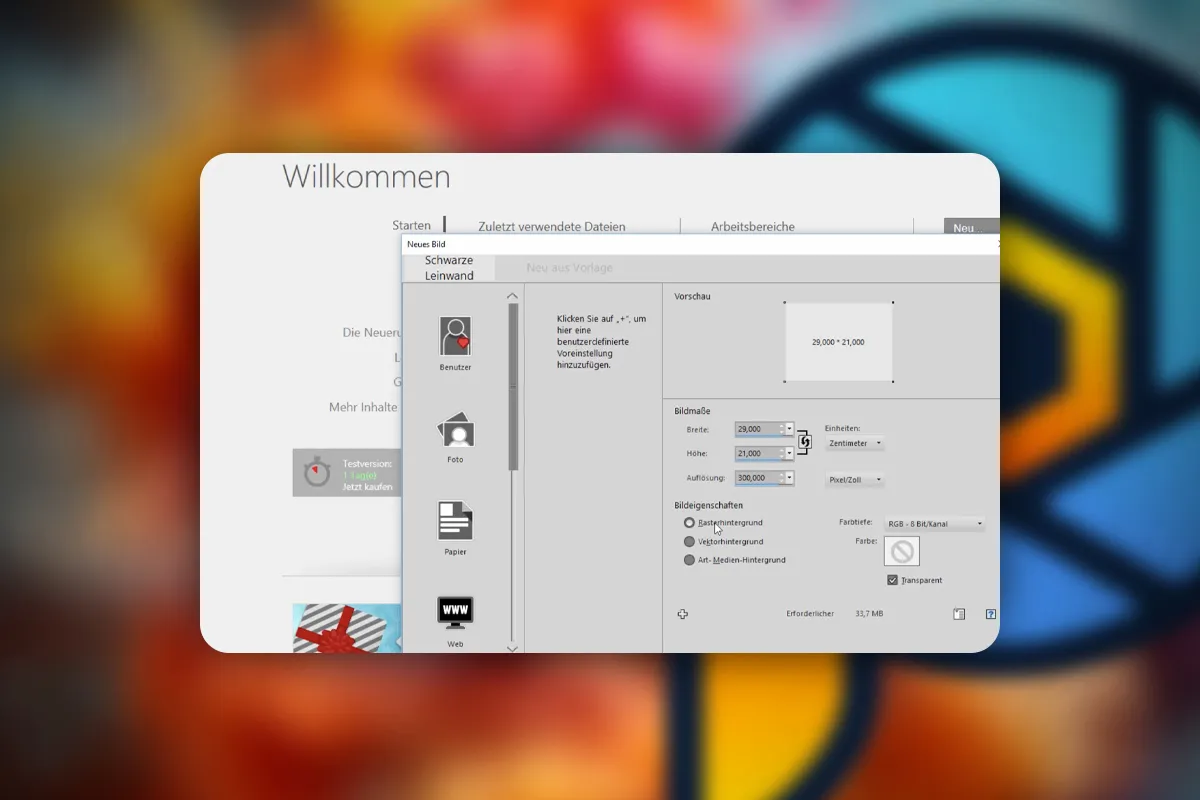
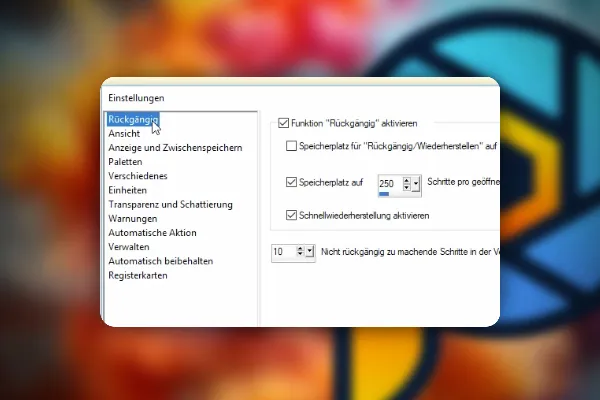
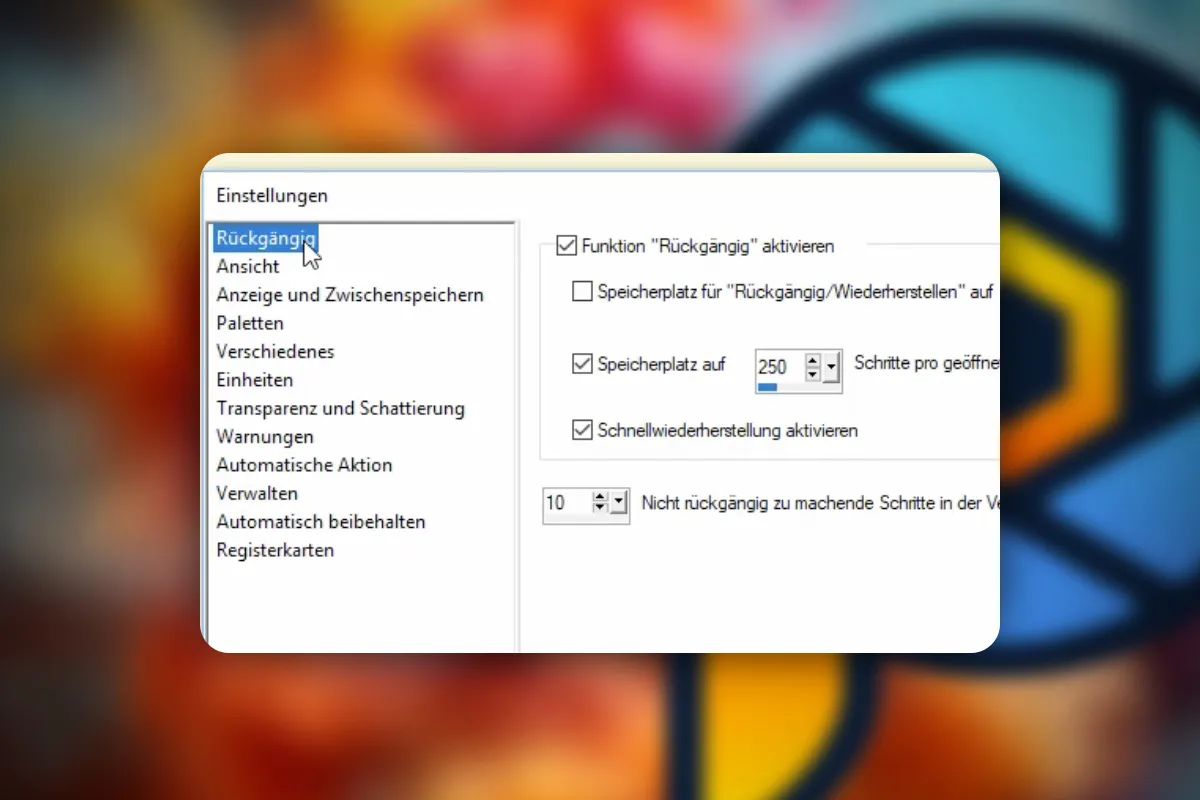
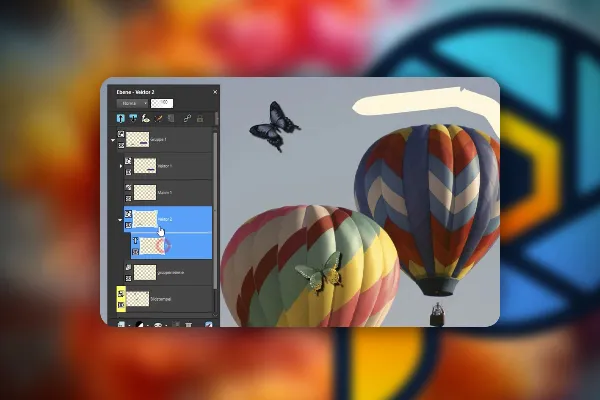
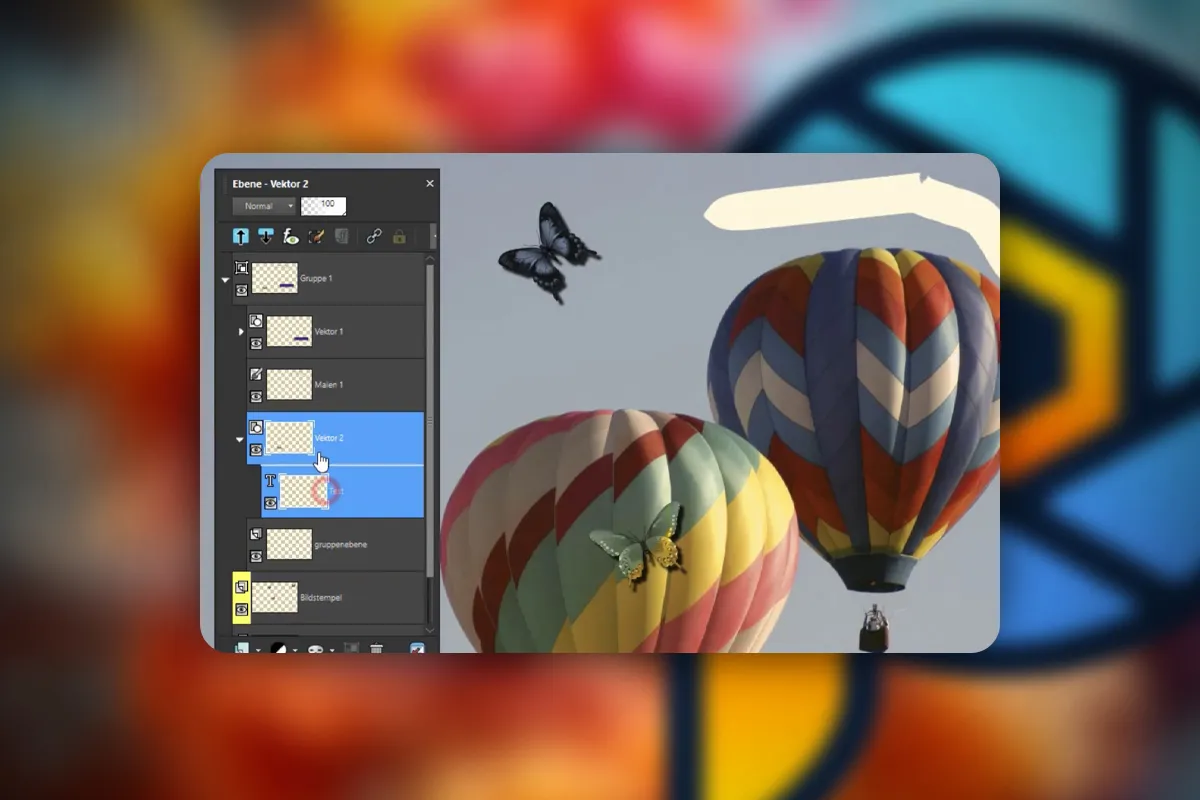
In the first lessons, you will be equipped with the most important basics of PS P so that you can get started even as a newcomer: Use the software's welcome window as a control center for your projects. Customize the PaintShop Pro user interface according to your wishes. Let us show you which settings you should make to work efficiently. And find out everything you need to know about the different layer types and their functions.
Tips and tricks for photo editing
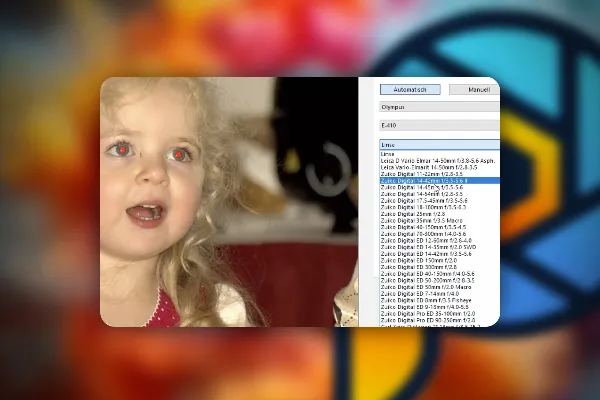
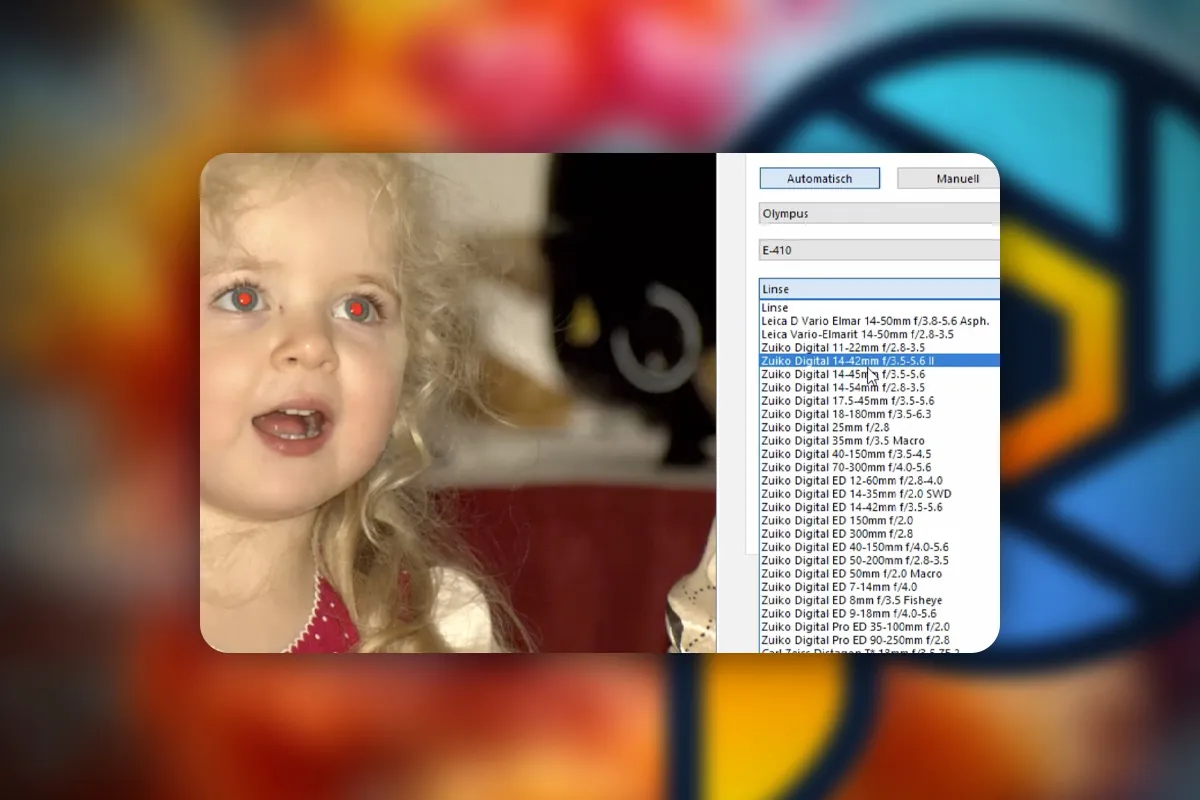
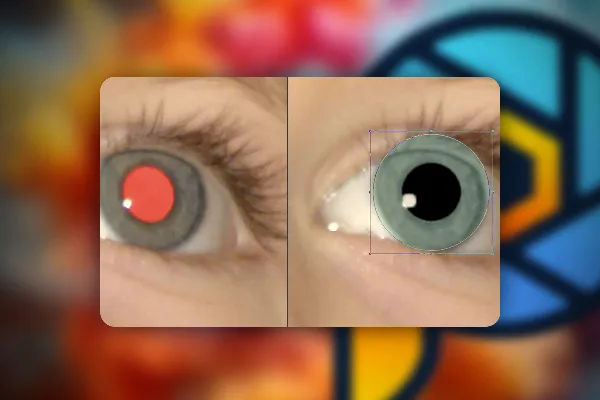
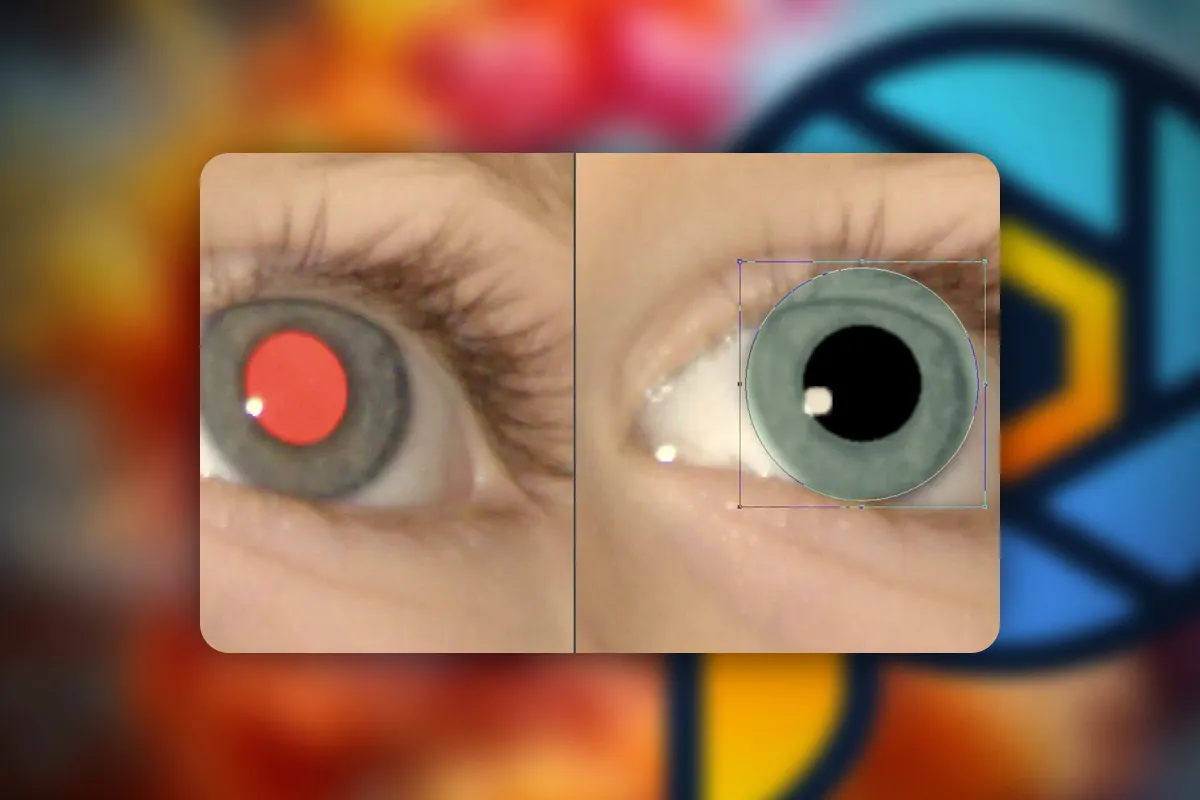
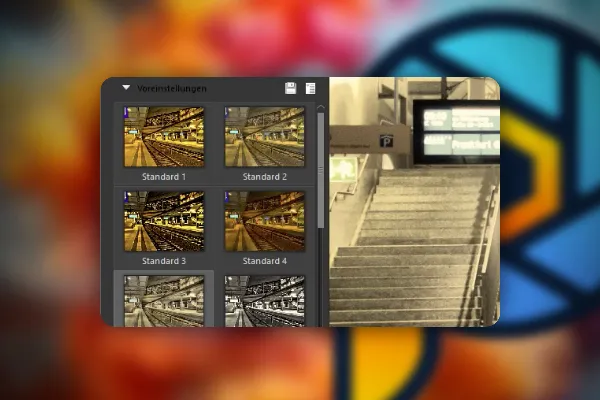
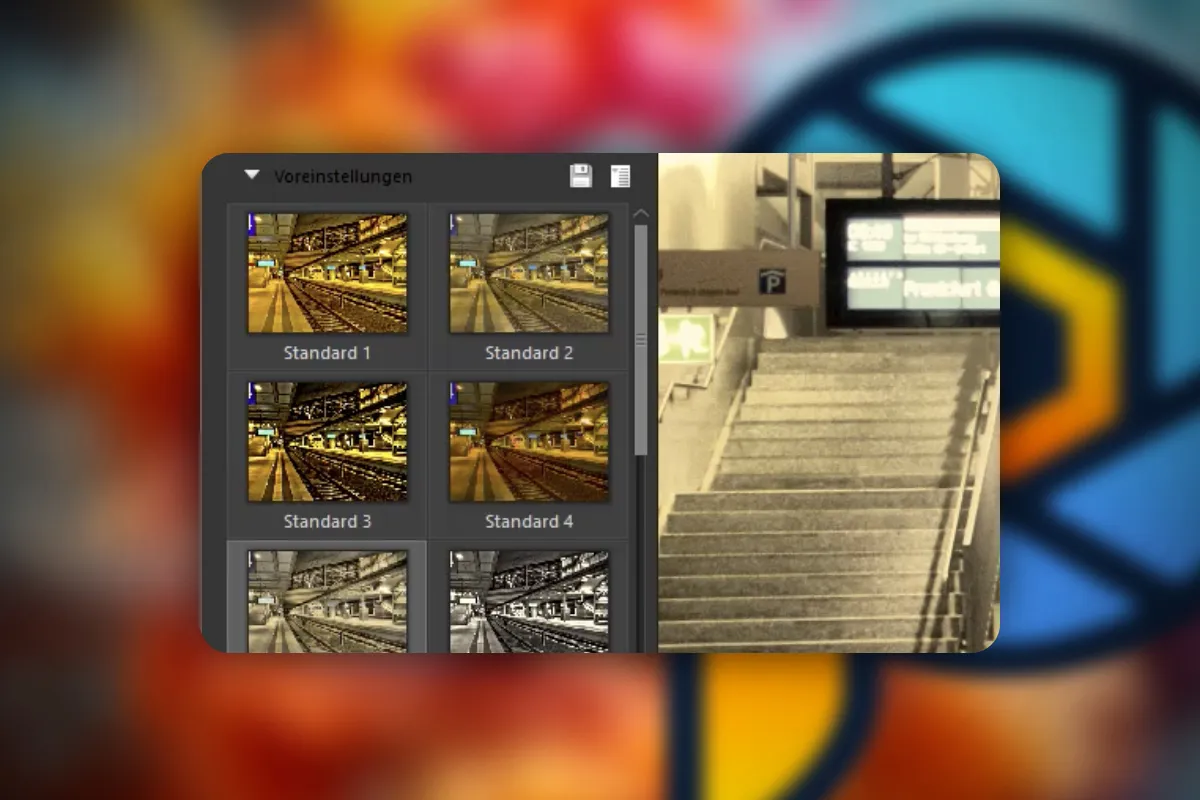
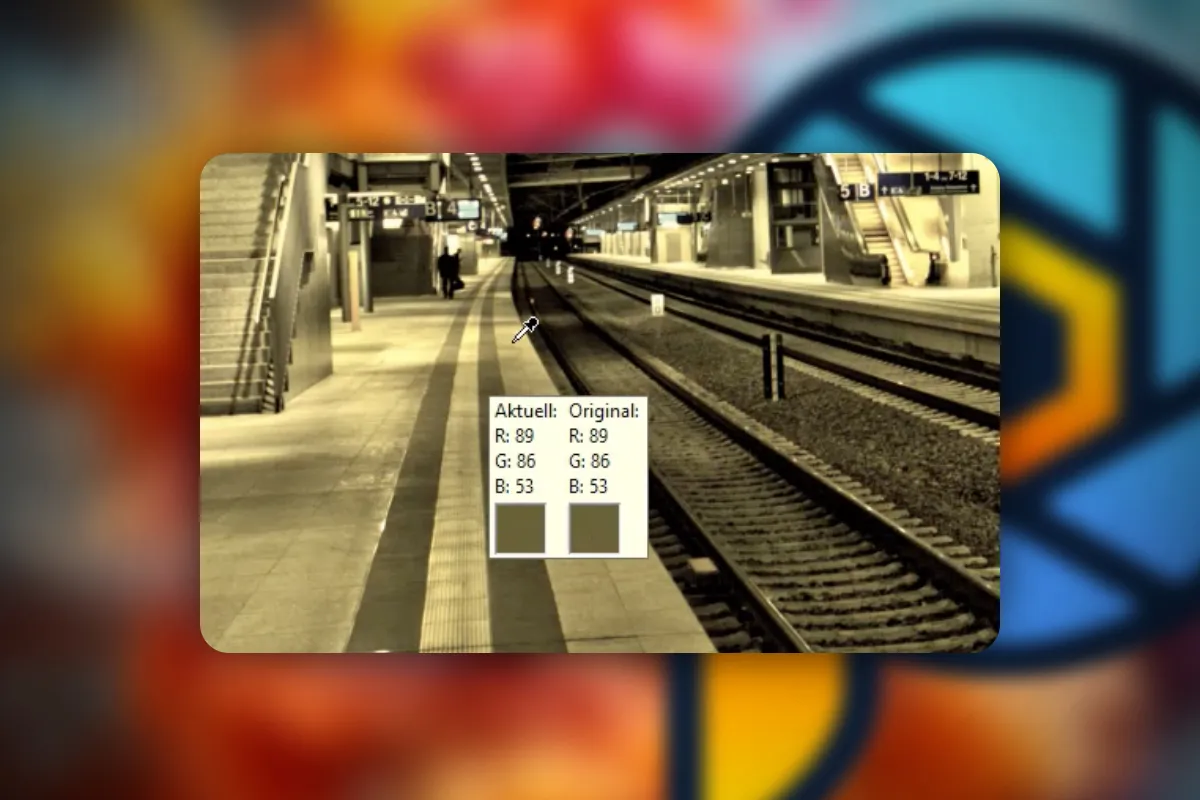
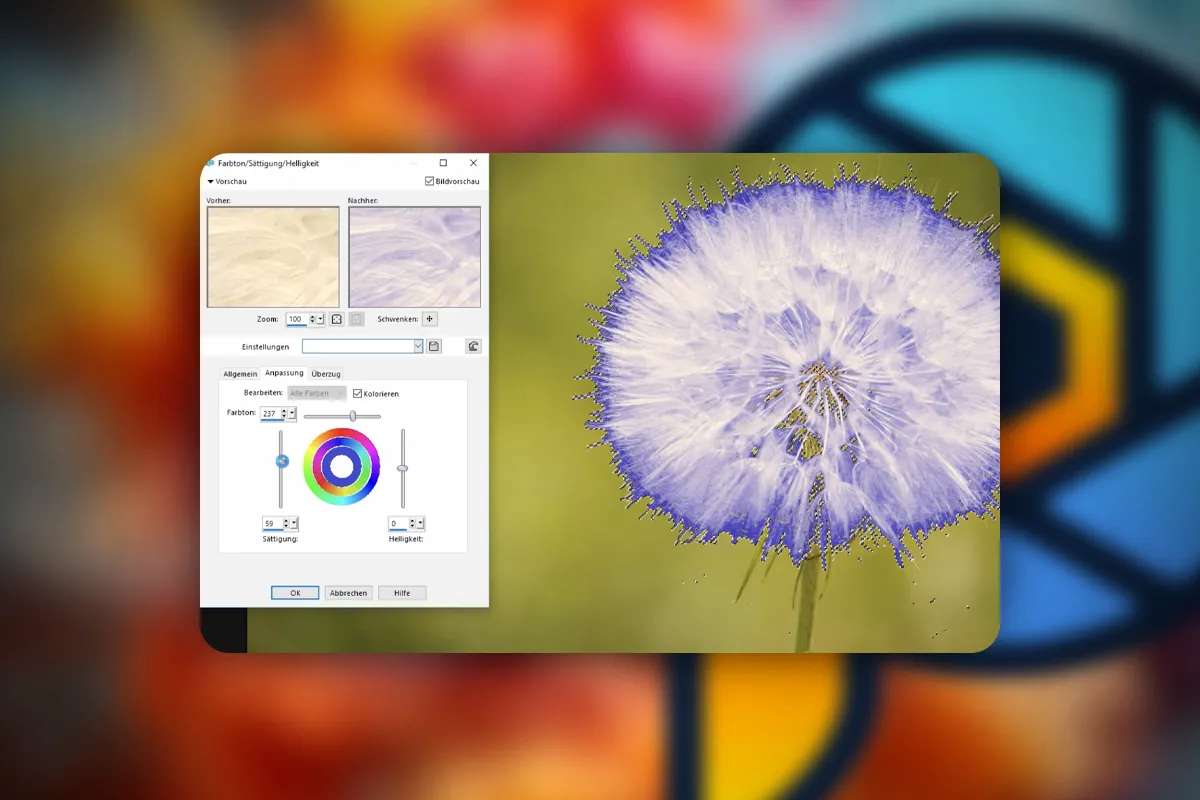
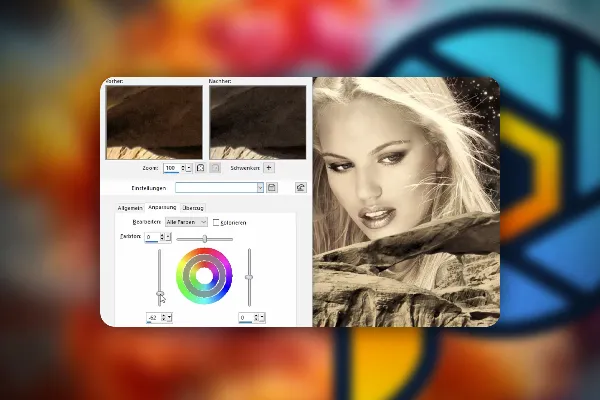
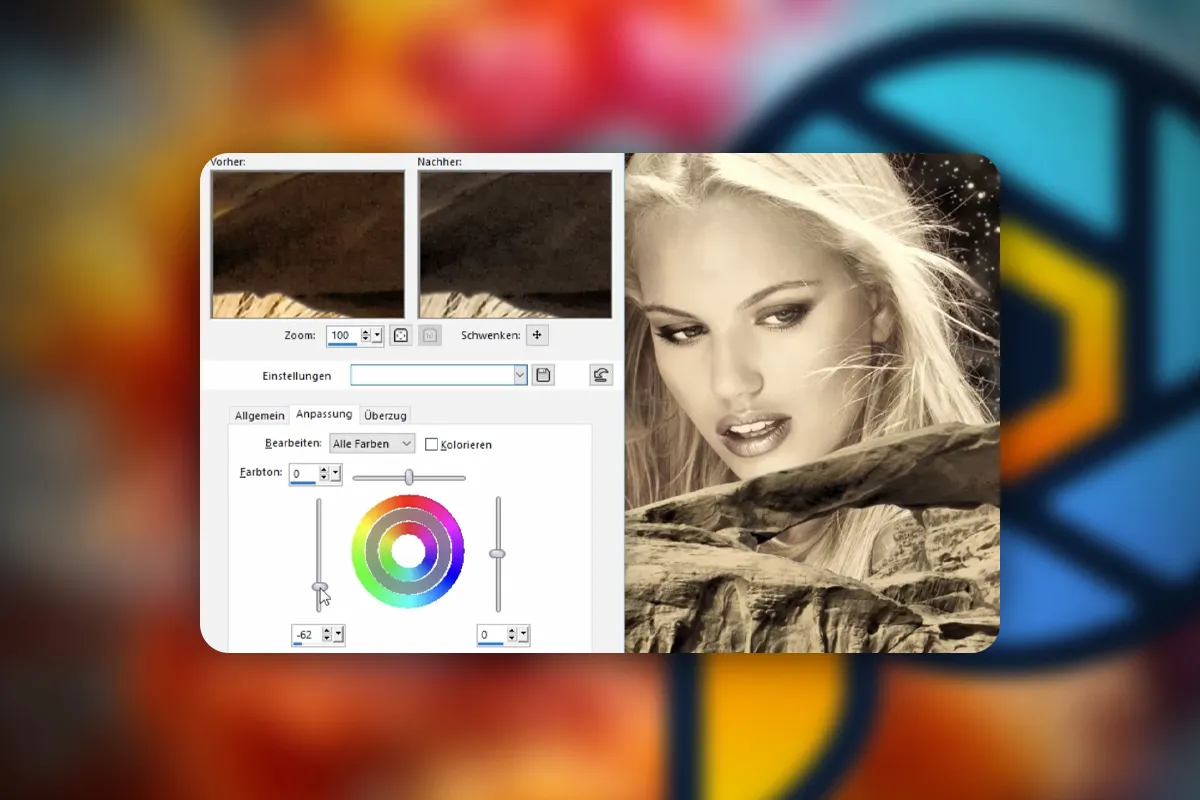
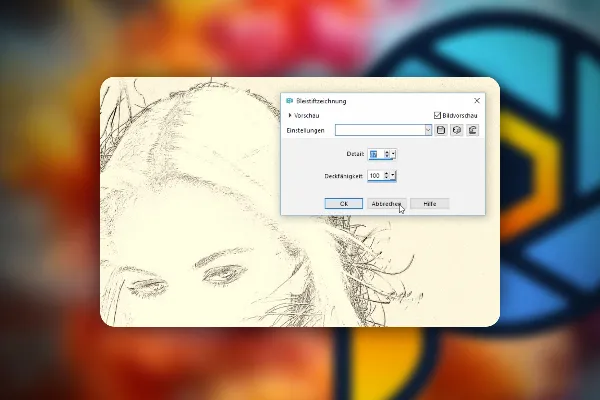
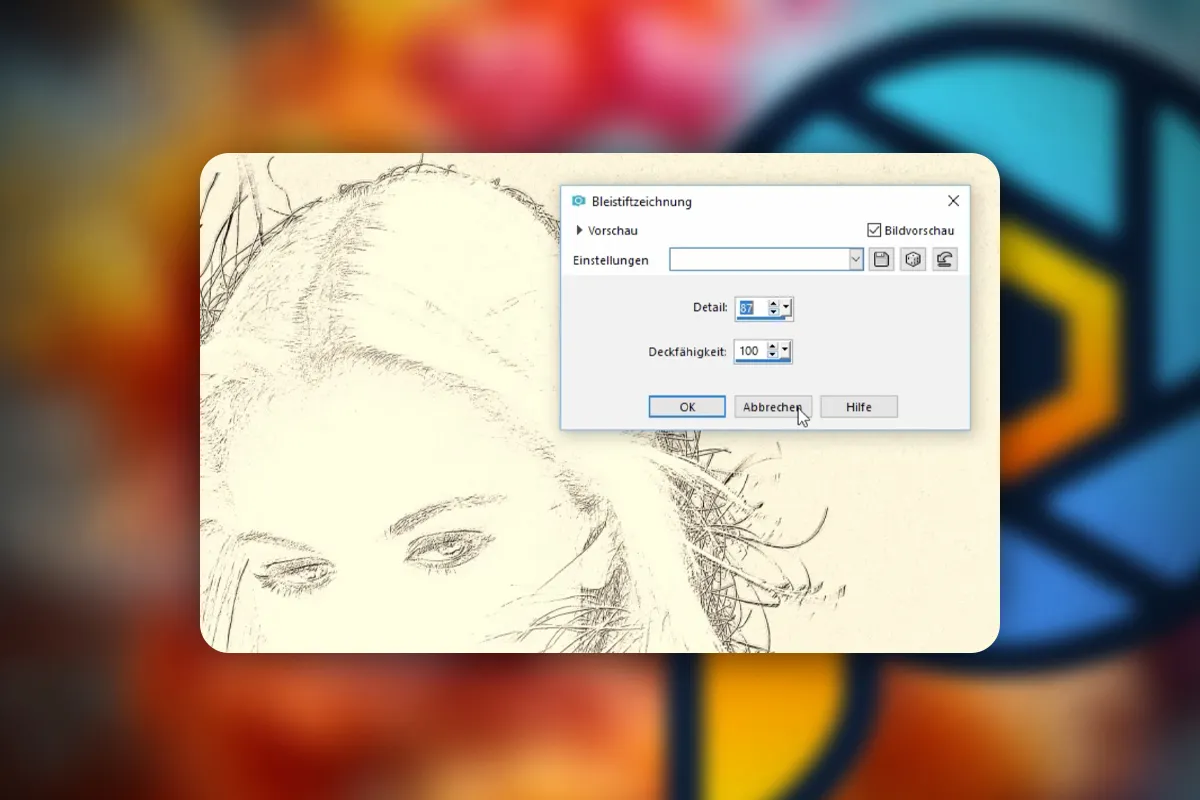
In the second section of the PaintShop Pro tutorial on photo editing , you'll start with raw development using the integrated camera RAW editor. You will then learn about photo editing methods and how to implement them in PaintShop Pro, including: removing red eyes, image correction and retouching, removing distracting elements and repositioning objects. You'll also use the software's HDR board functions to create your own HDR images.
Practical tutorials: Now you can get really creative
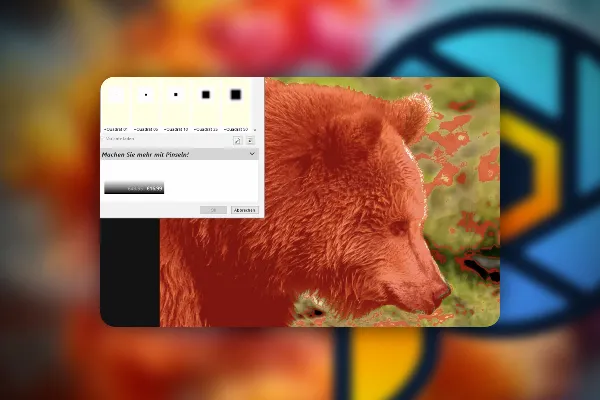
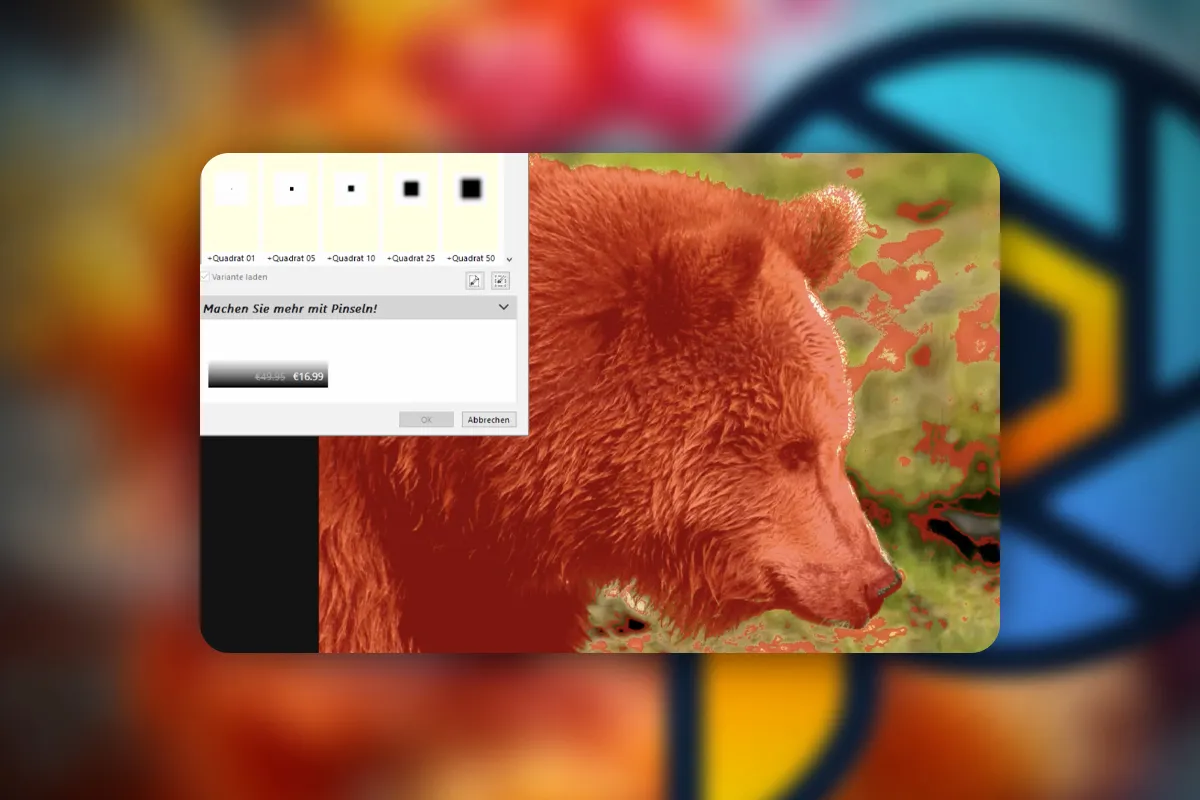
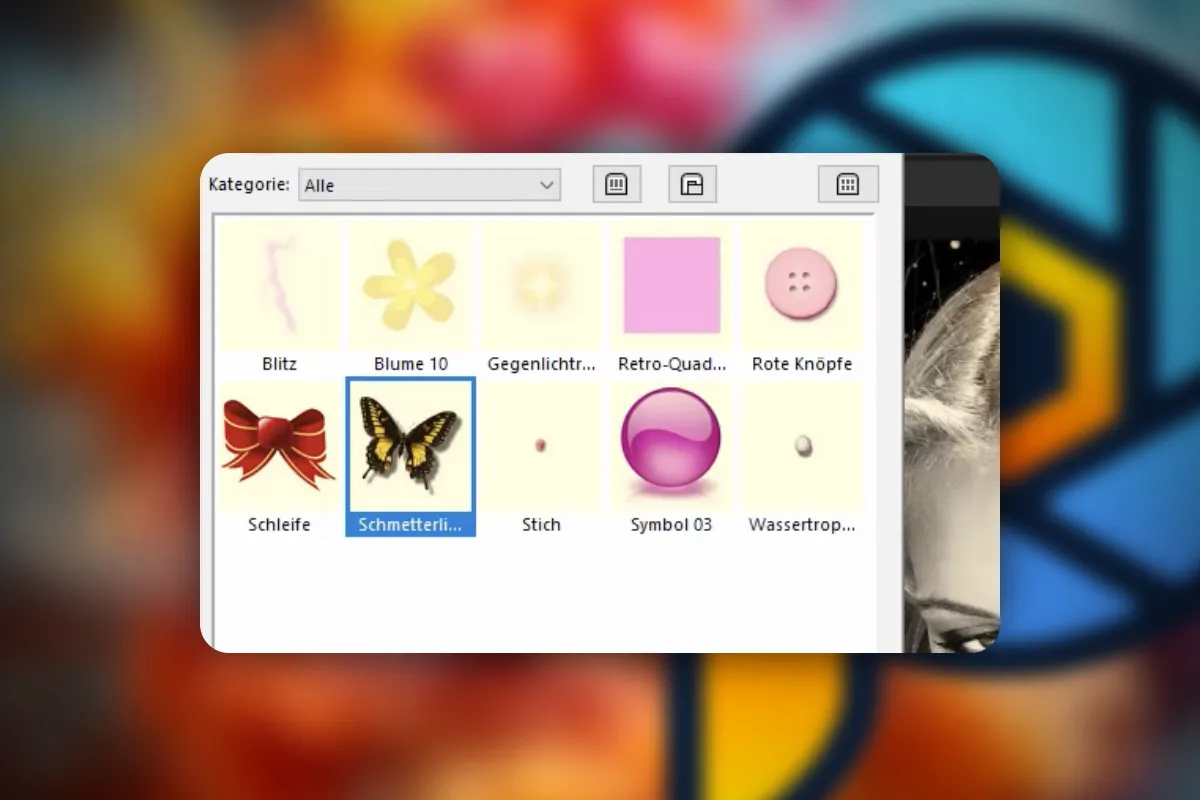
In the final part, you will venture into the creative discipline of photomontage to deepen and expand your knowledge. Step by step, you will be involved in creating a glittering image composition from several individual components. Additional elements such as shapes and text are also used as design elements. Explore the functions and possibilities of PaintShop Pro - and discover all kinds of brushes that you can use in the program!
What you'll learn in the PSP course
After the PaintShop Pro tutorial, you will be able to use Corel PaintShop Pro to develop your raw data and post-process or retouch your photos. You will also be able to create your own image compositions.
Other users are also interested

Follow an instructive path of image editing!
Quickly create high-quality business equipment

Neatly cut out!
Save time with artificial intelligence
Adjust your knowledge to AI!
More style, more power, more templates!
Simply edit images professionally

Full power, more inspirations, maximum WOW effect!


