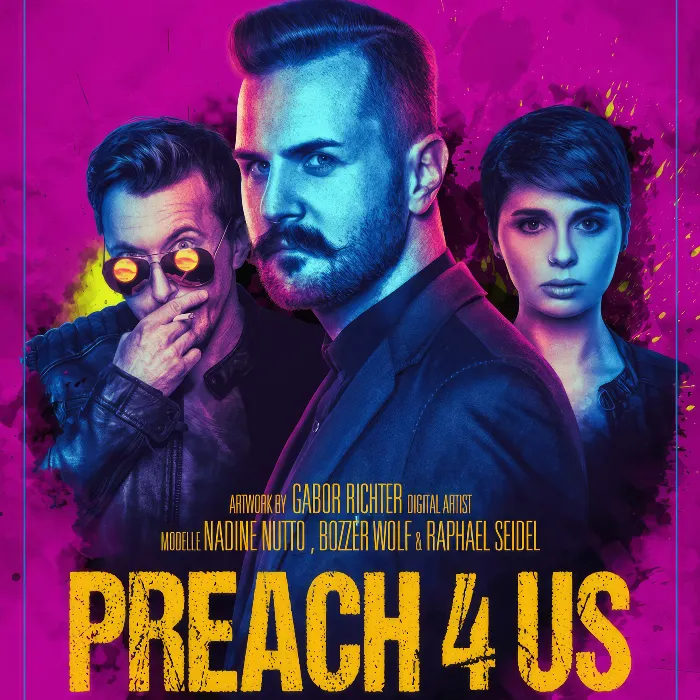
Create a movie poster in the style of Preacher - photoshoot & Photoshop tutorial
Want to create cinematic posters? This video tutorial will expand your knowledge of photography as well as photo and image editing. Photographer and Photoshop expert Gabor Richter shows you his workflow in over two hours, from the photo shoot to raw editing to the finishing touches with Photoshop. Be there when a movie poster in the style of the Preacher series is created. Included are working files to join in!
- Create a cinematic poster: How to go about it, what to look out for
- Practical learning: Including working files - source images for your own editing
- At the photo shoot: how to choose the right lighting setup
- Photo editing: learn methods for retouching and cropping motifs
- Image editing: Create exciting color looks, reflections, color gradients and text effects
Inspiring and instructive: train your photographic eye and pay attention to the smallest details in photo and image editing. You'll create movie-ready posters!
- Usable with:
- content:
2 h Video training
- Licence: private and commercial Rights of use
- Bonus: including working material
Examples of use
-
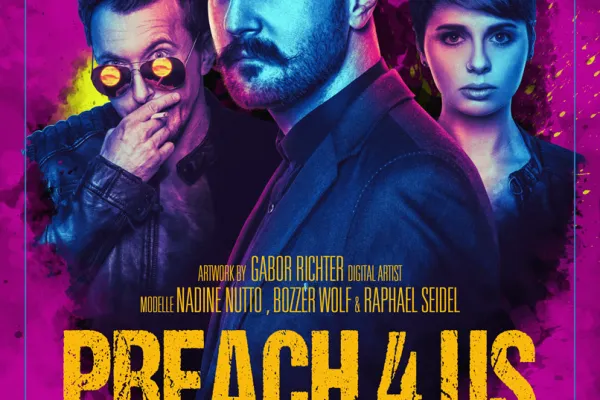 Open galleryCreate a movie poster in Photoshop in the style of the Preacher series
The style of Preacher
Details of the content
Complete workflow: Create an expressive poster!
This tutorial will expand your knowledge of photography, photo and image editing and let you create spectacular movie posters. Get even better at your Photoshop practice.
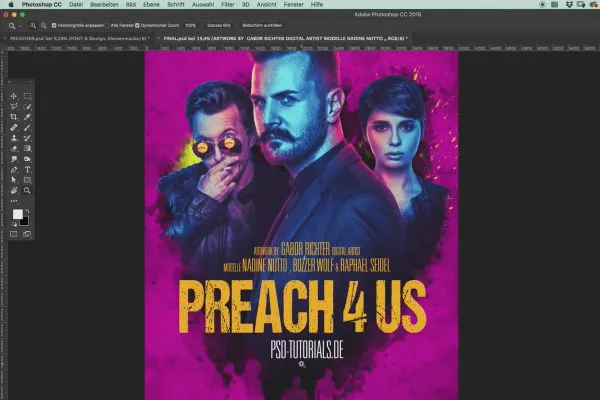
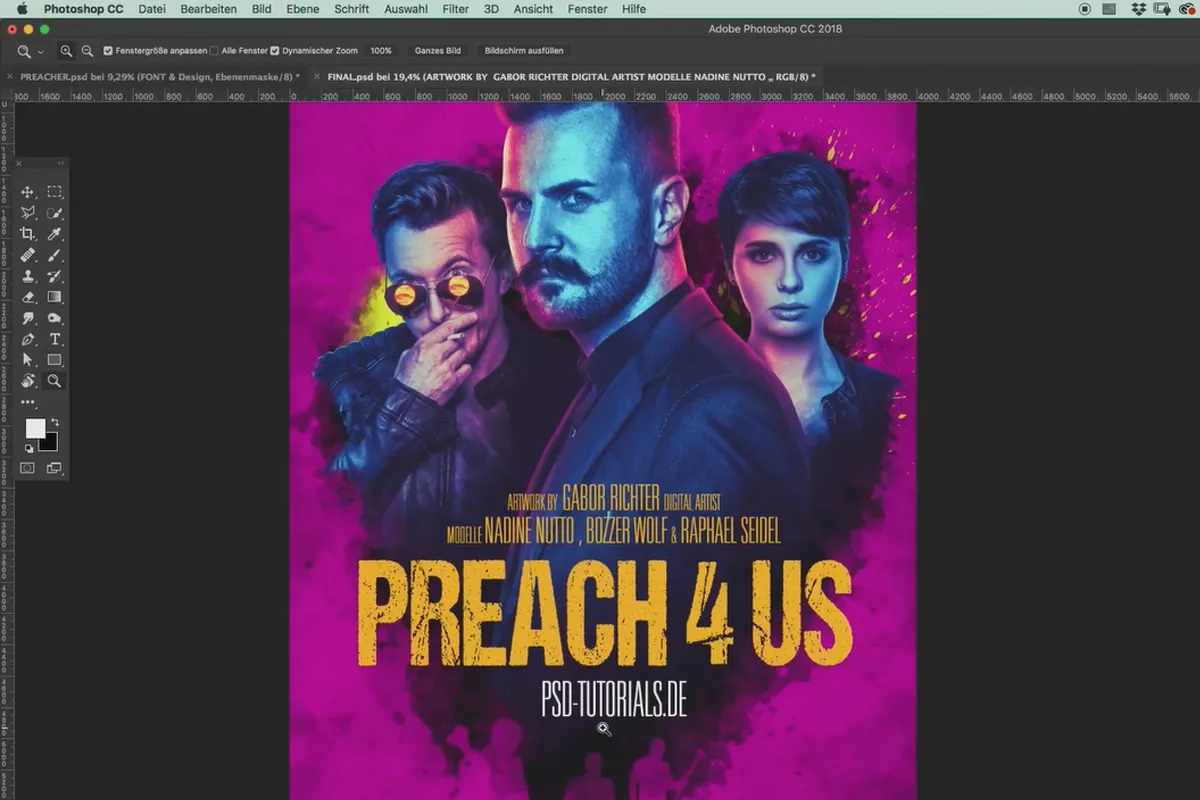
A preacher possessed by a strange being, a god who has left heaven behind and a secret organization that is reaching for world domination - this is the successful recipe from which the series "Preacher" draws. Photographer and Photoshop pro Gabor Richter found inspiration for his film poster "Preach 4 us" in this series. Find out how he implemented his idea from the photo shoot to Photoshop post-processing in this two-hour tutorial. If you create posters or would like to create them in the future, you've come to the right place!
At the photo shoot: first-hand photography tips
There's this one photo, this one poster, and you ask yourself: How exactly did they do that? In this tutorial, your trainer will show you how to recreate a given template as faithfully as possible using your own resources.
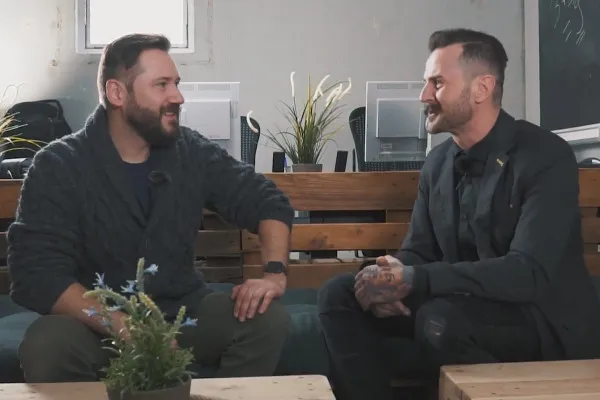
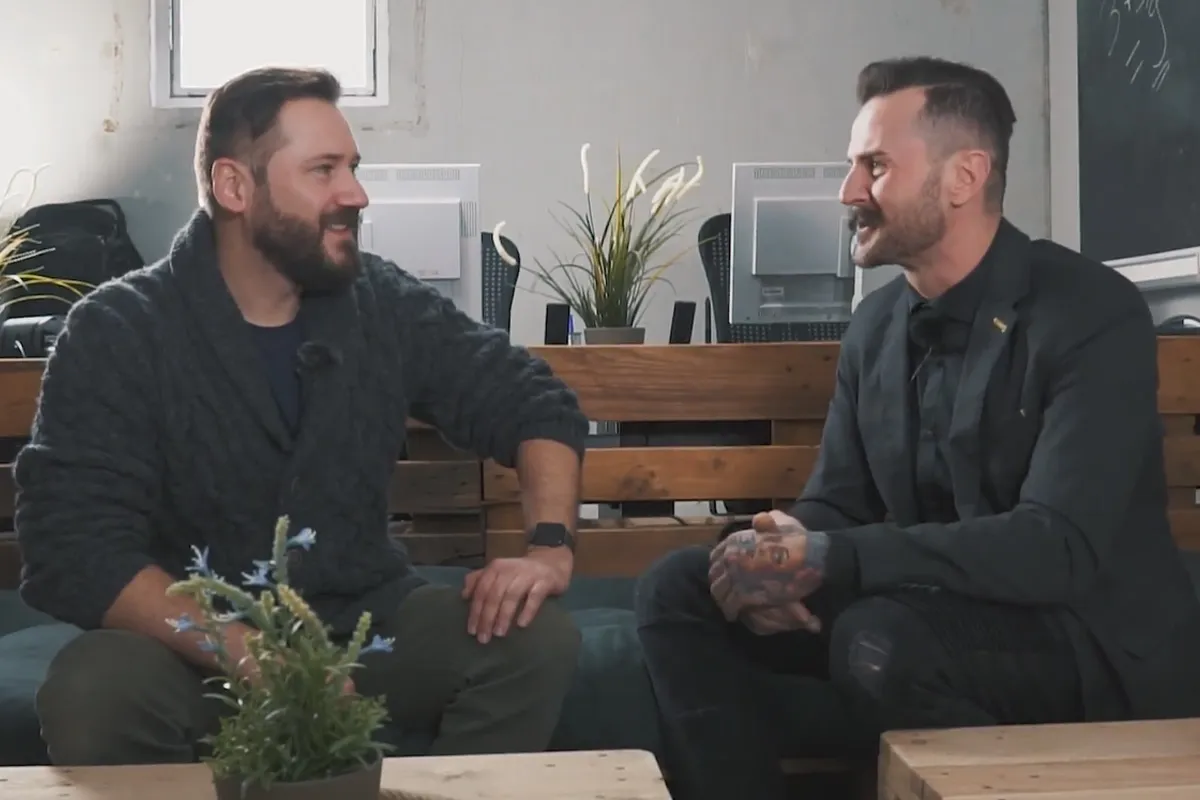
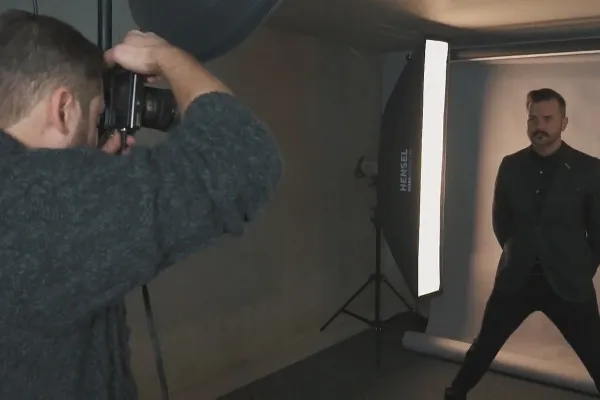
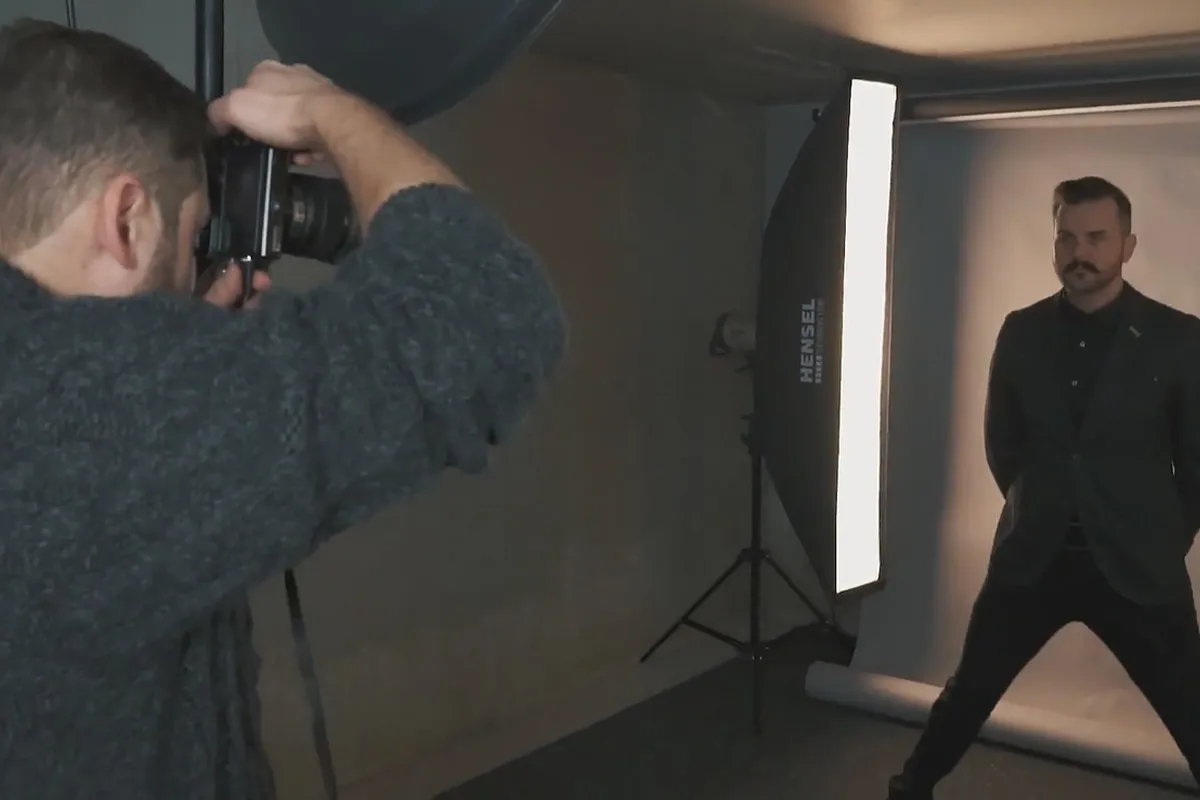
In the first part of the tutorial, you will accompany your trainer and one of the models, Bozzer Wolf, on a photo shoot . Let him show you how to choose a suitable main light source and how to brighten up contours with additional lights. If you choose the right lighting setup, you will save yourself unnecessary time-consuming steps in the subsequent photo editing process.
Crop, retouch, dodge and burn portraits in Photoshop
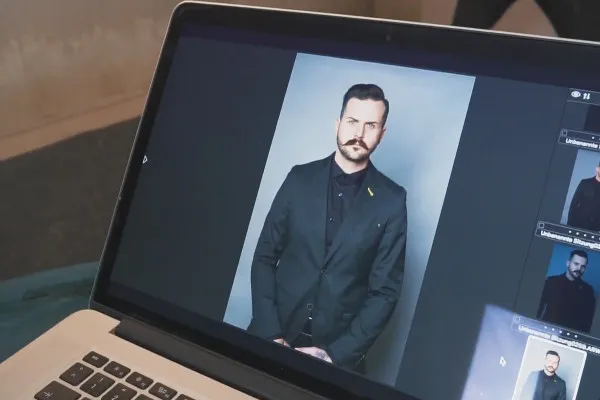
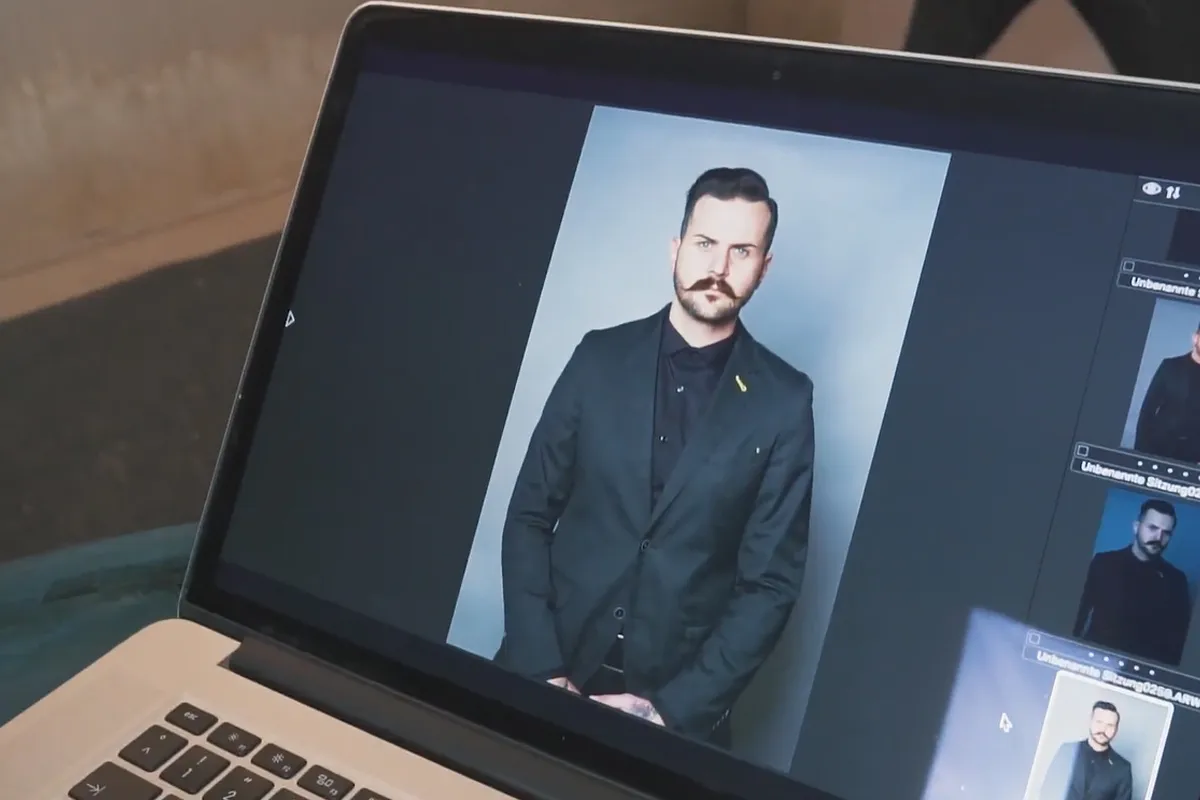
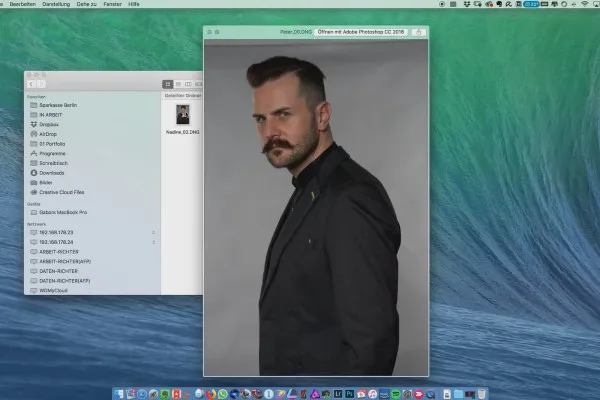
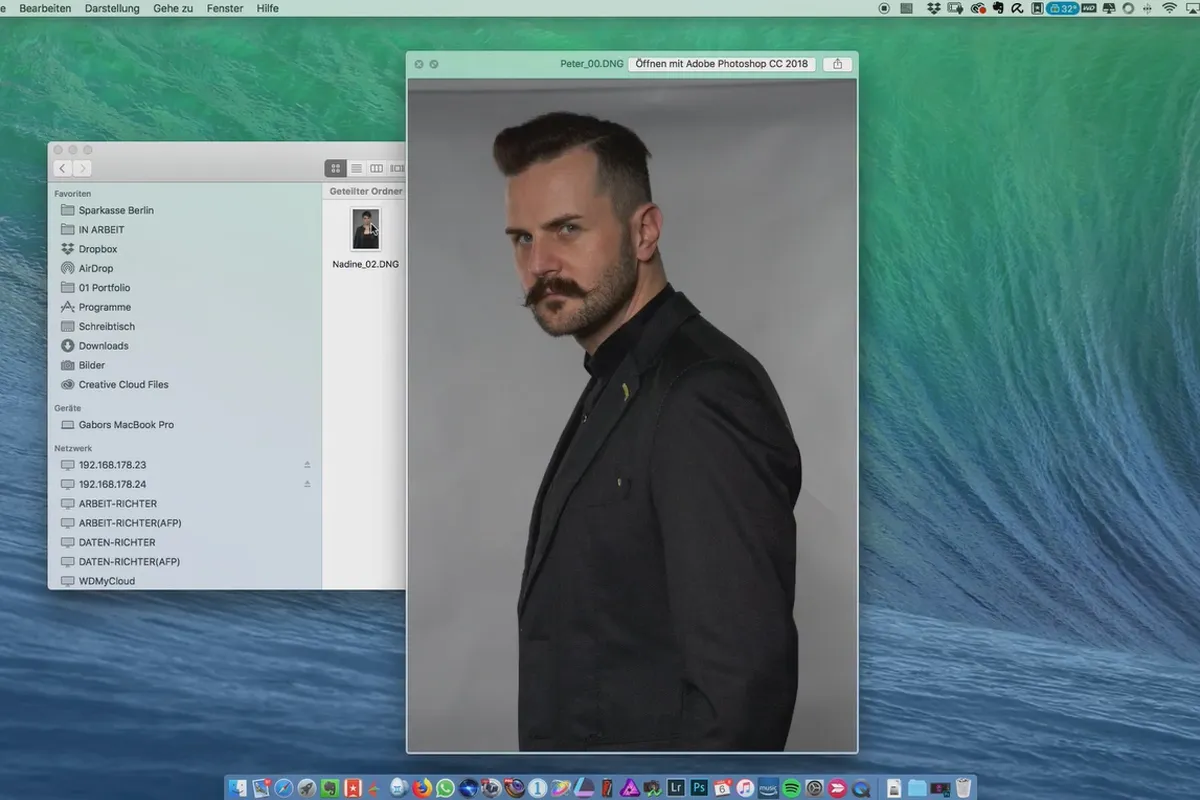
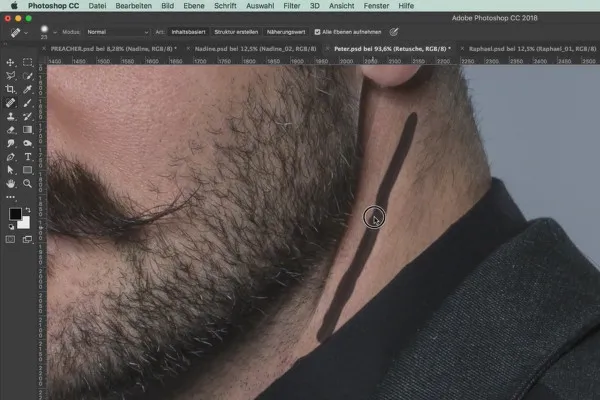
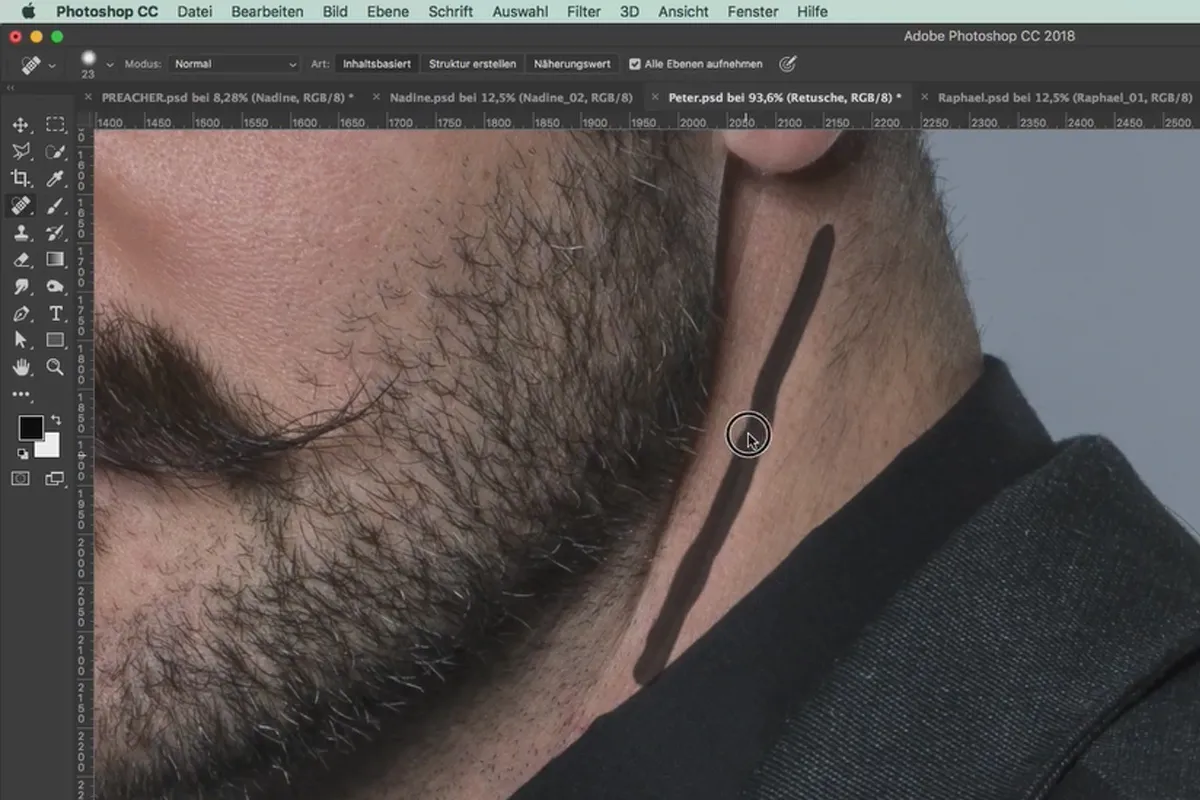
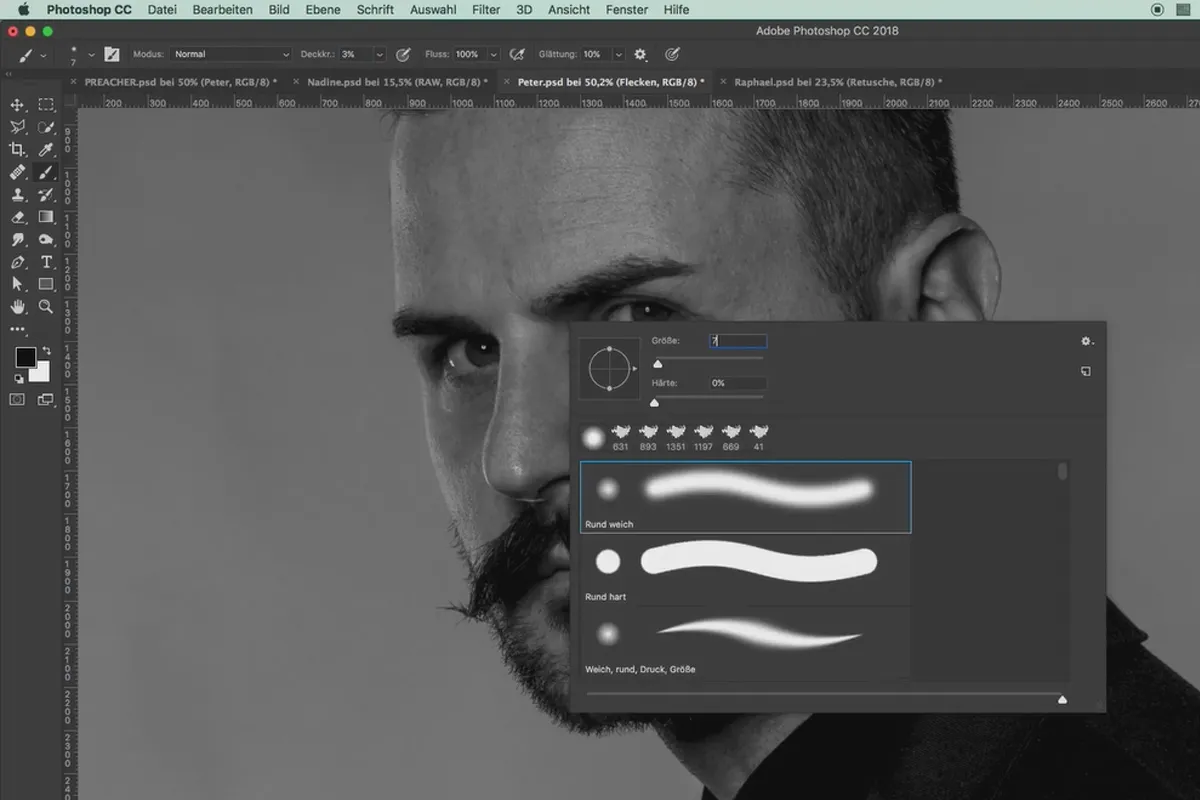
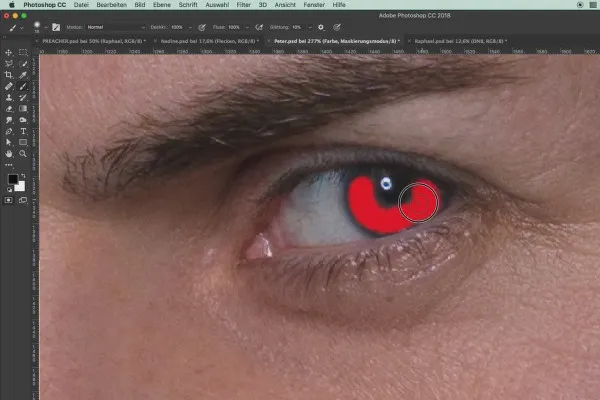
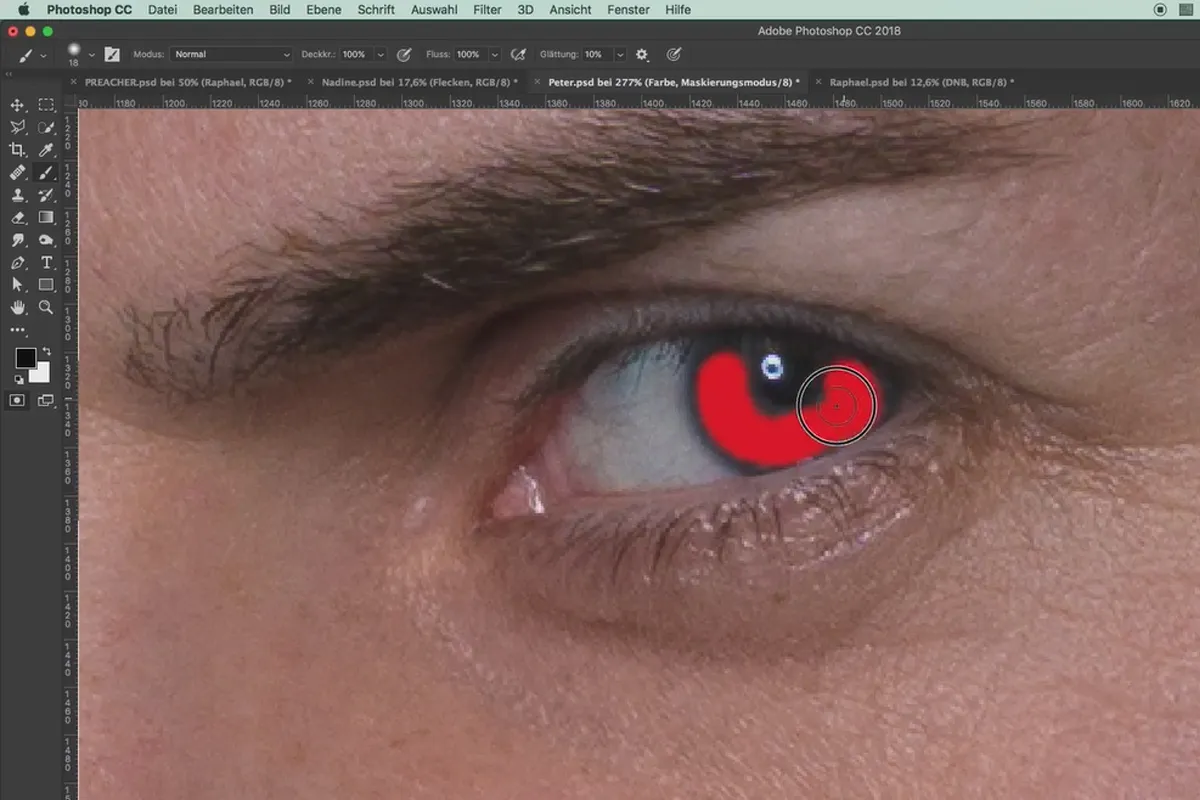
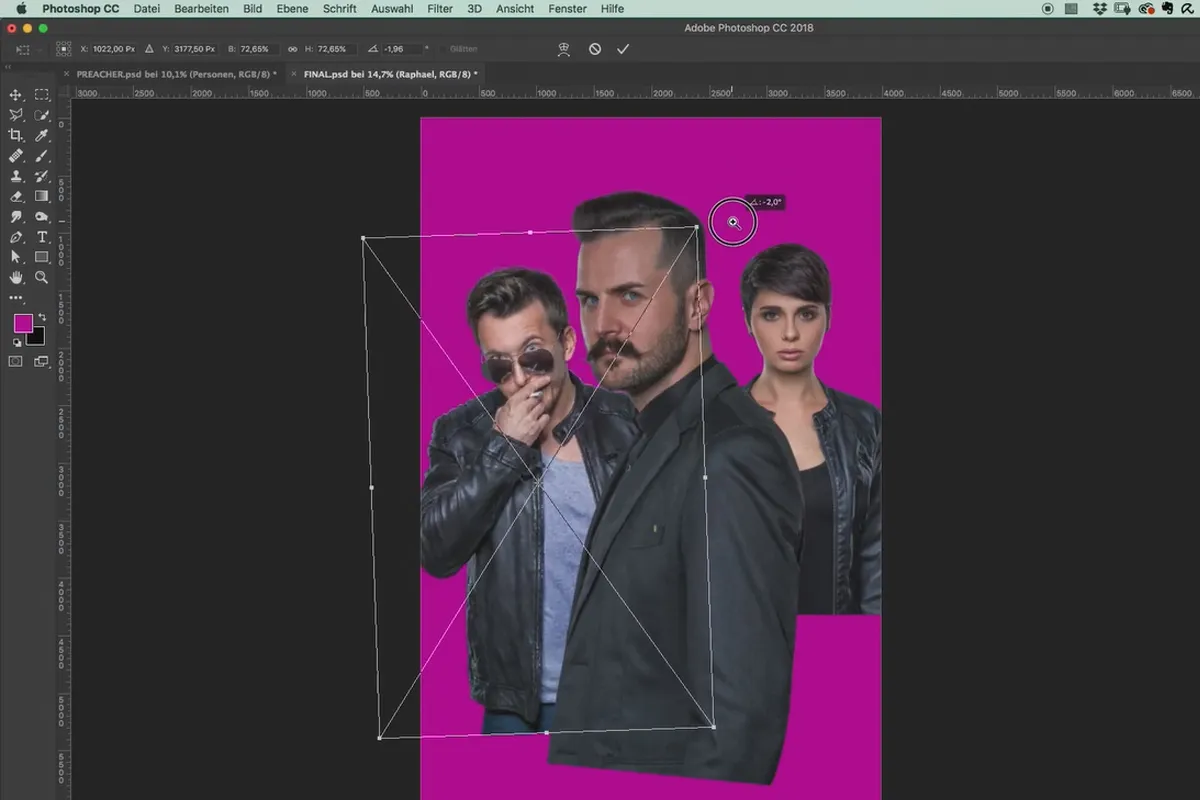
The second part contains the Photoshop tutorials. After selecting an image and developing it using Camera Raw, you will prepare the individual shots of the three models for subsequent stitching. You will learn methods for retouching, removing blemishes, brightening eyes and editing the face and clothing.
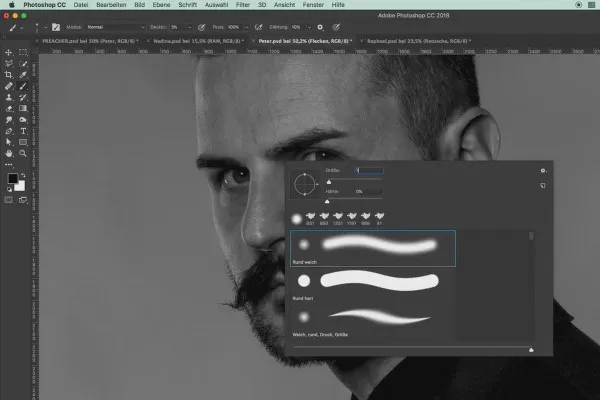
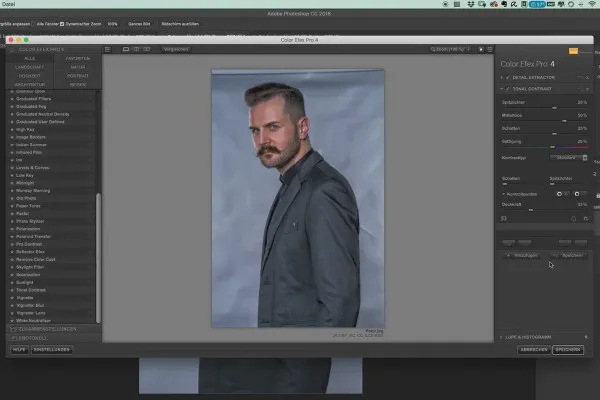
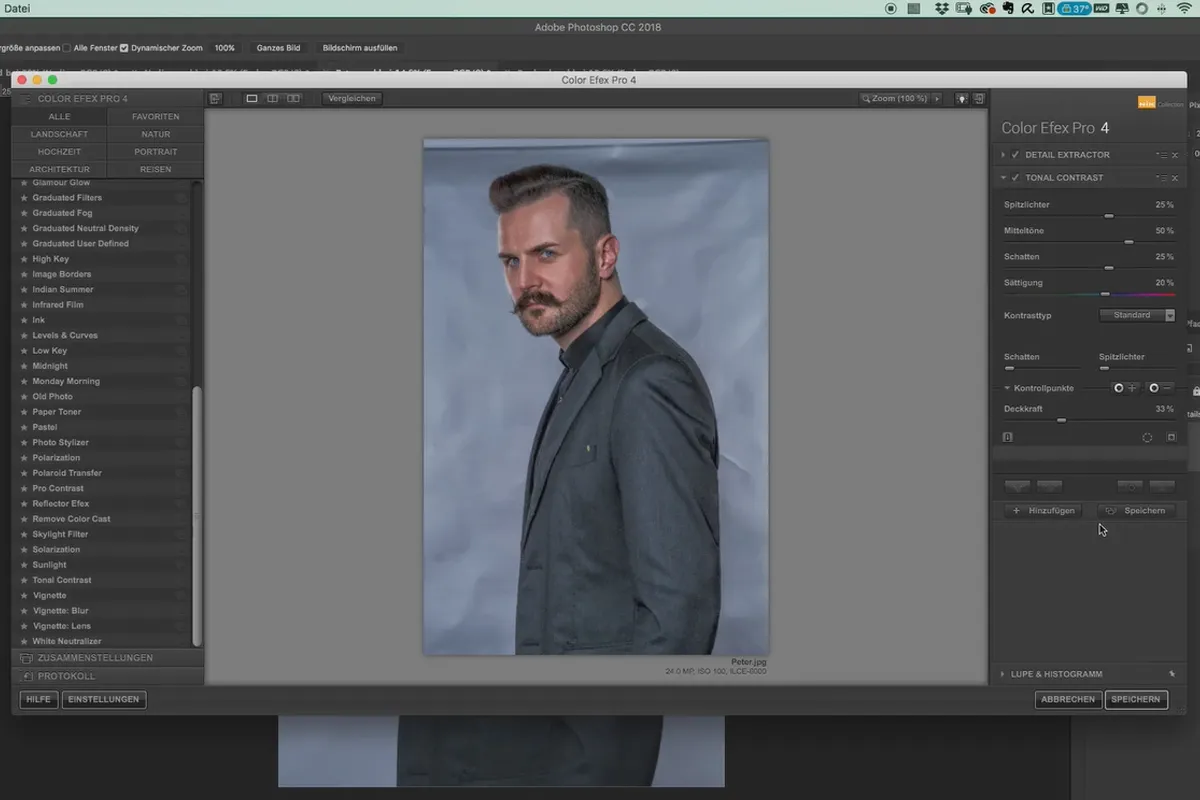
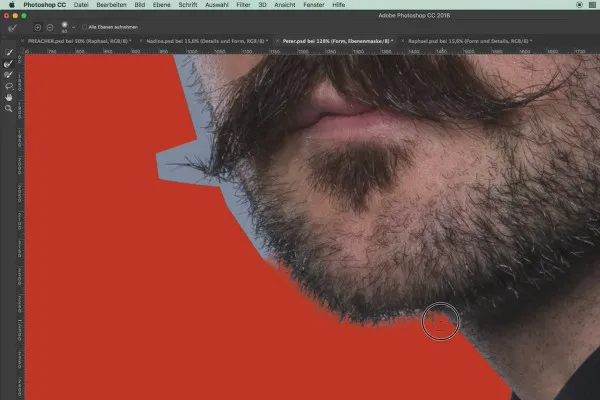
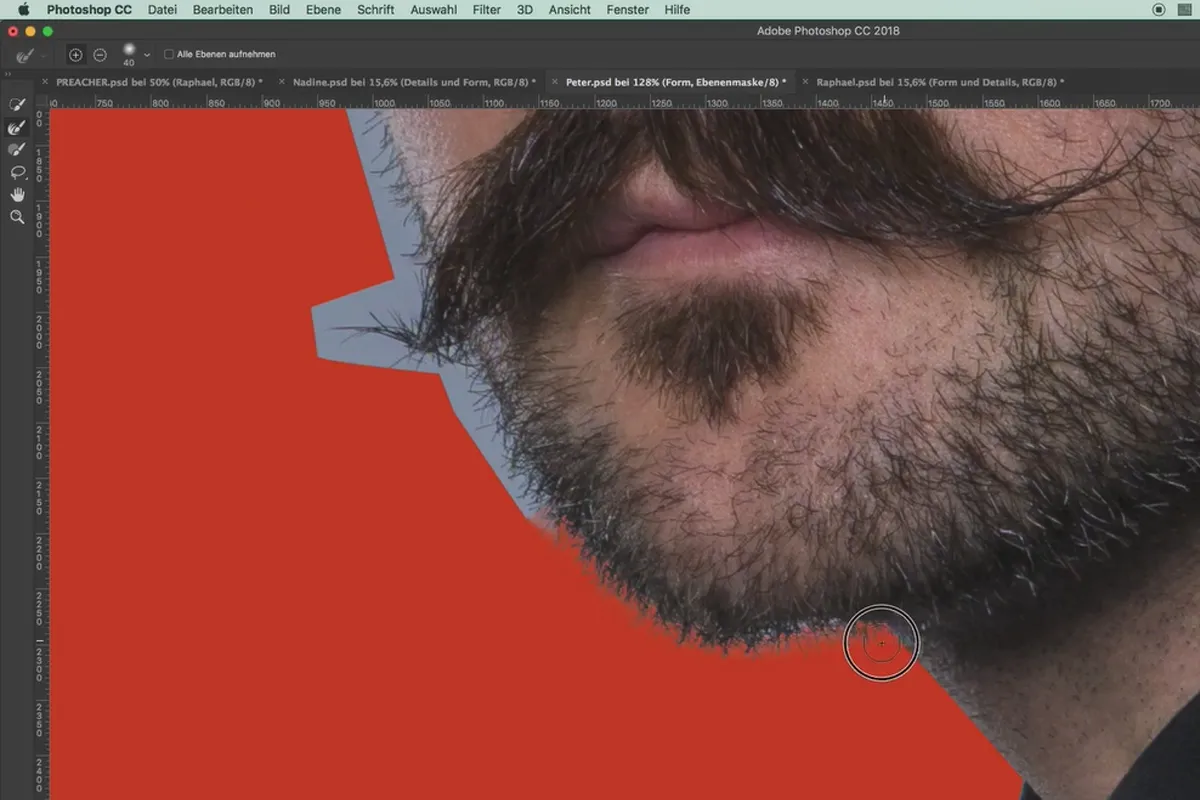
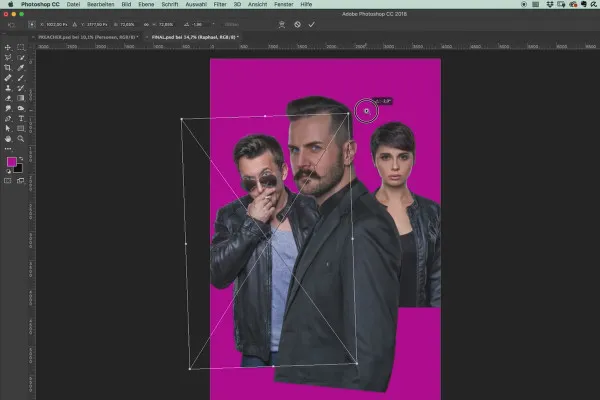
Particularly important: dodge and burn - painting with light. You will need this technique again and again in your photo editing. You can find out what you should pay attention to in detail when using Dodge and Burn in the tutorial. You will also learn how to crop portraits with the pencil tool in Photoshop, liquefy subject areas and then merge the individual shots into a composition. Color Efex Pro 4 from the popular Nik Collection is also used for the detail work.
Creating the poster: creating the look in Photoshop
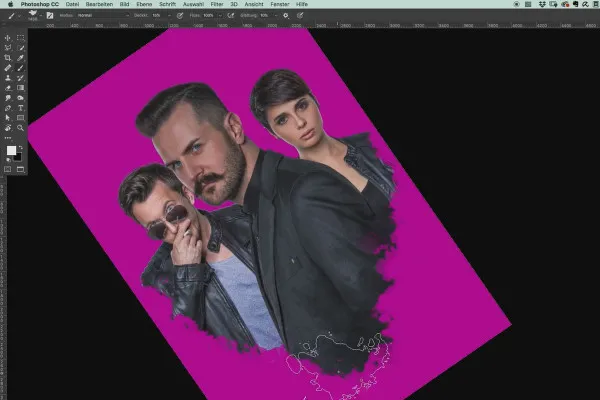
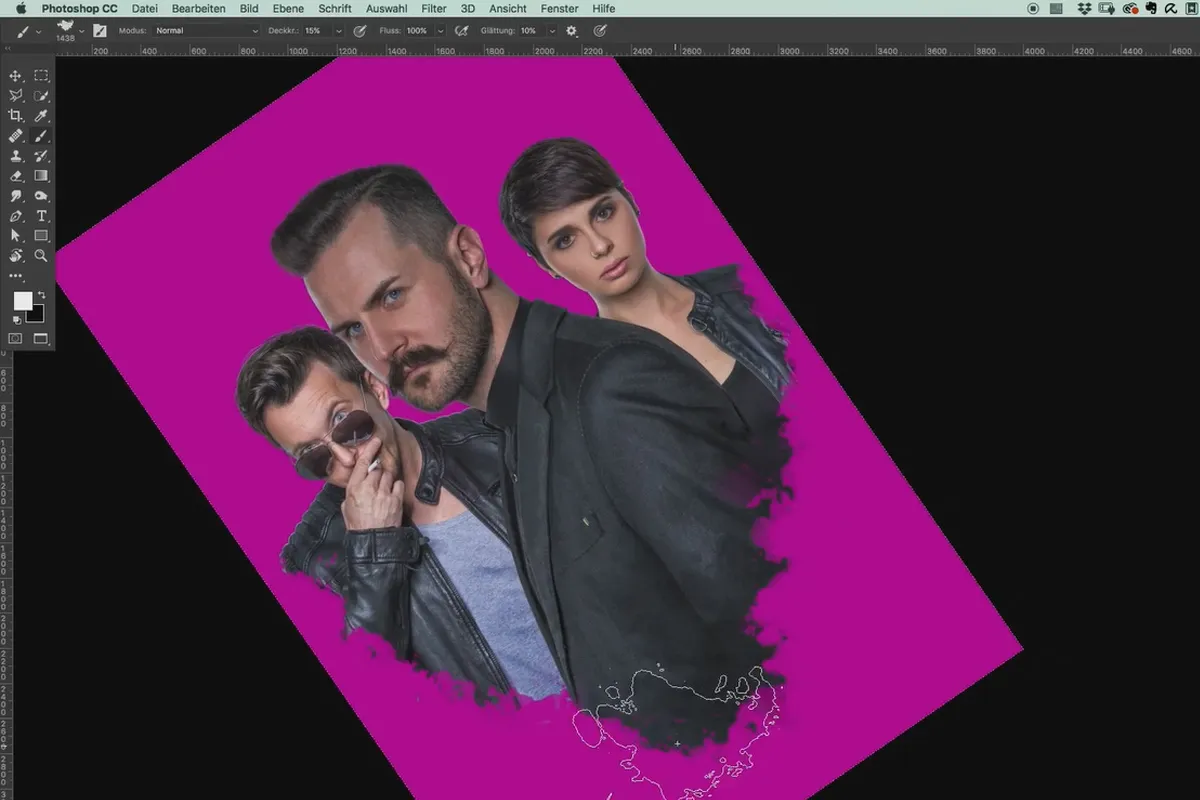
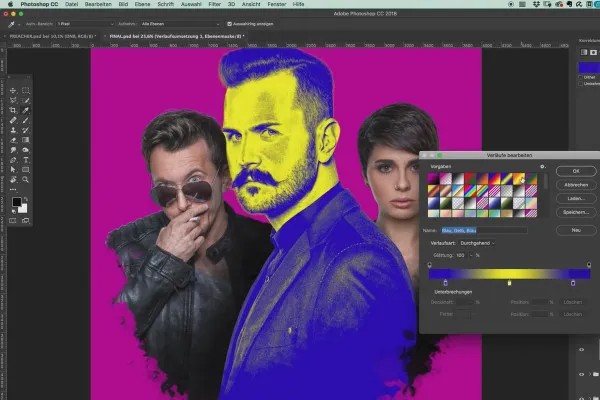
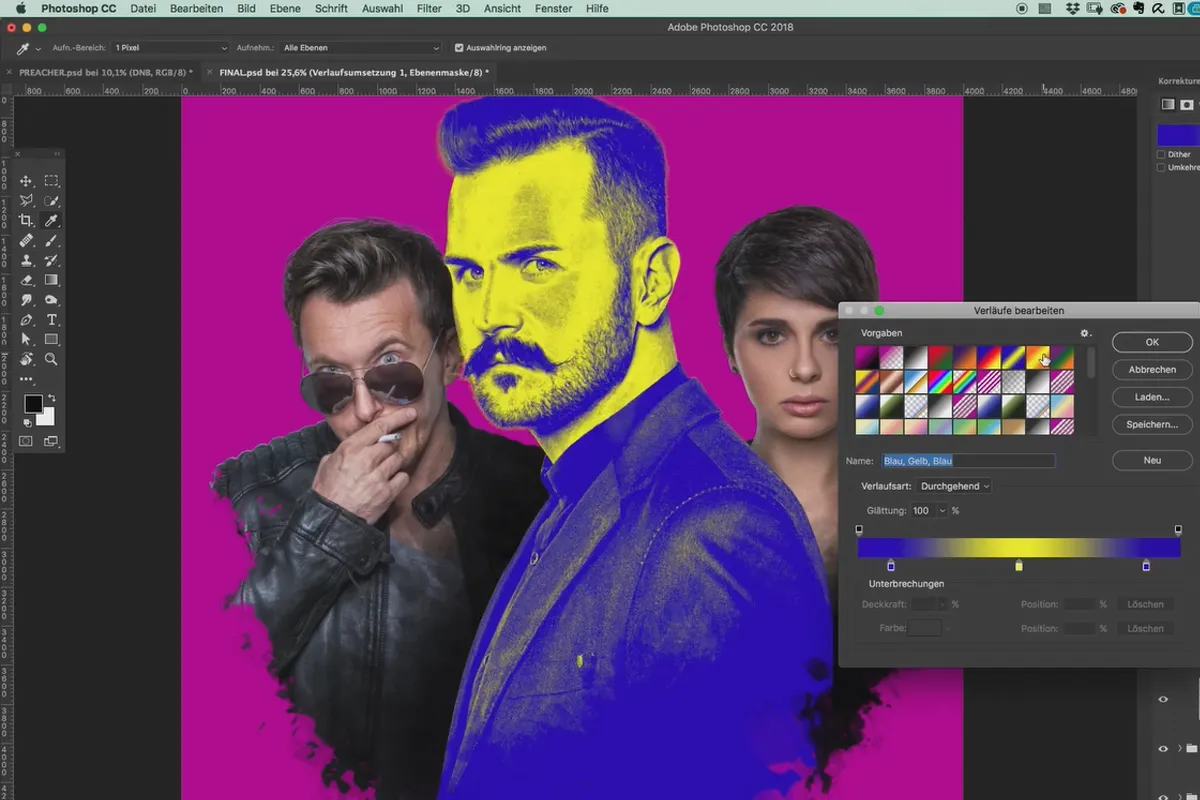
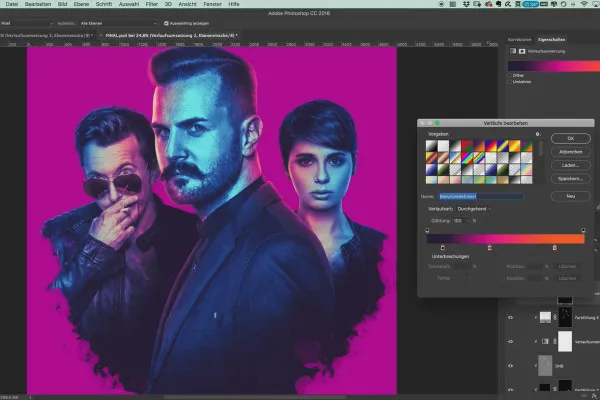
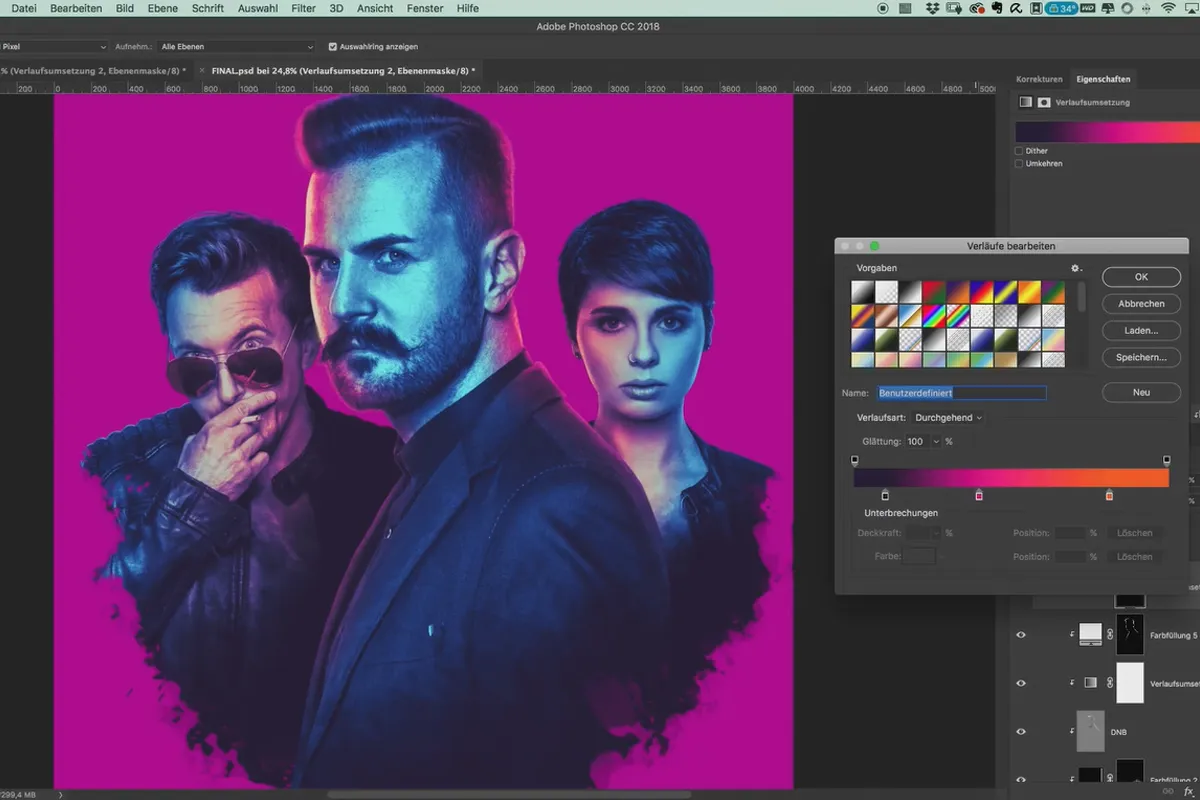
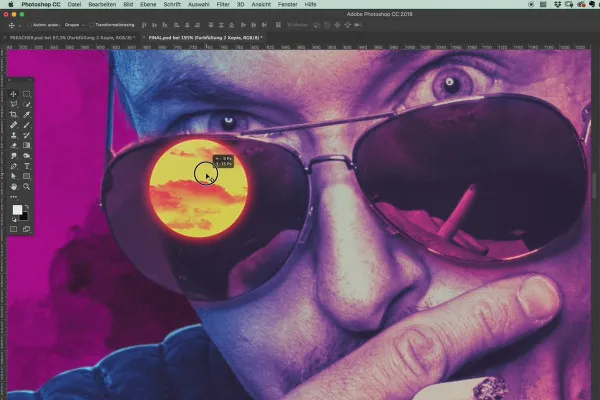
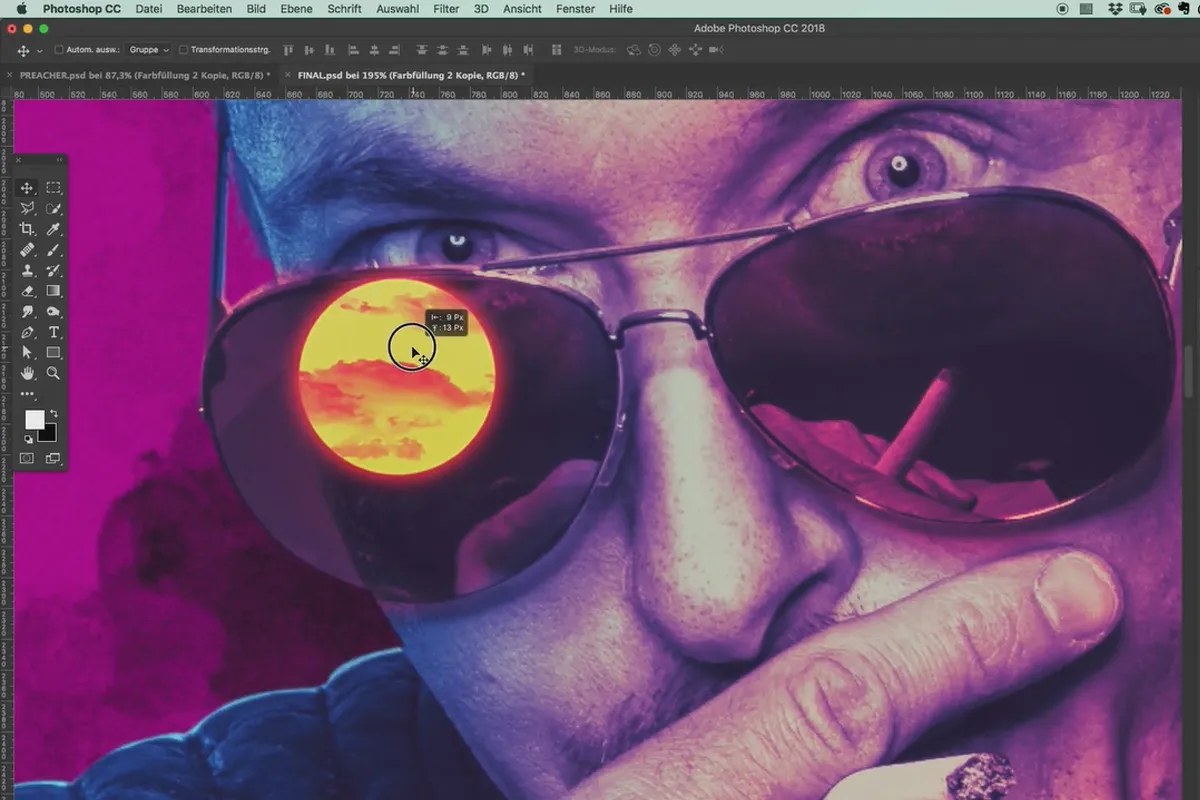
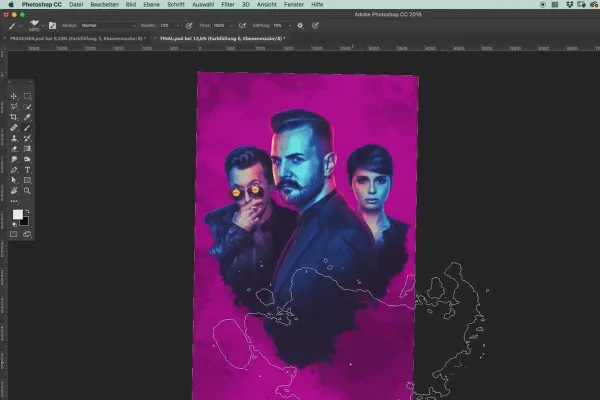
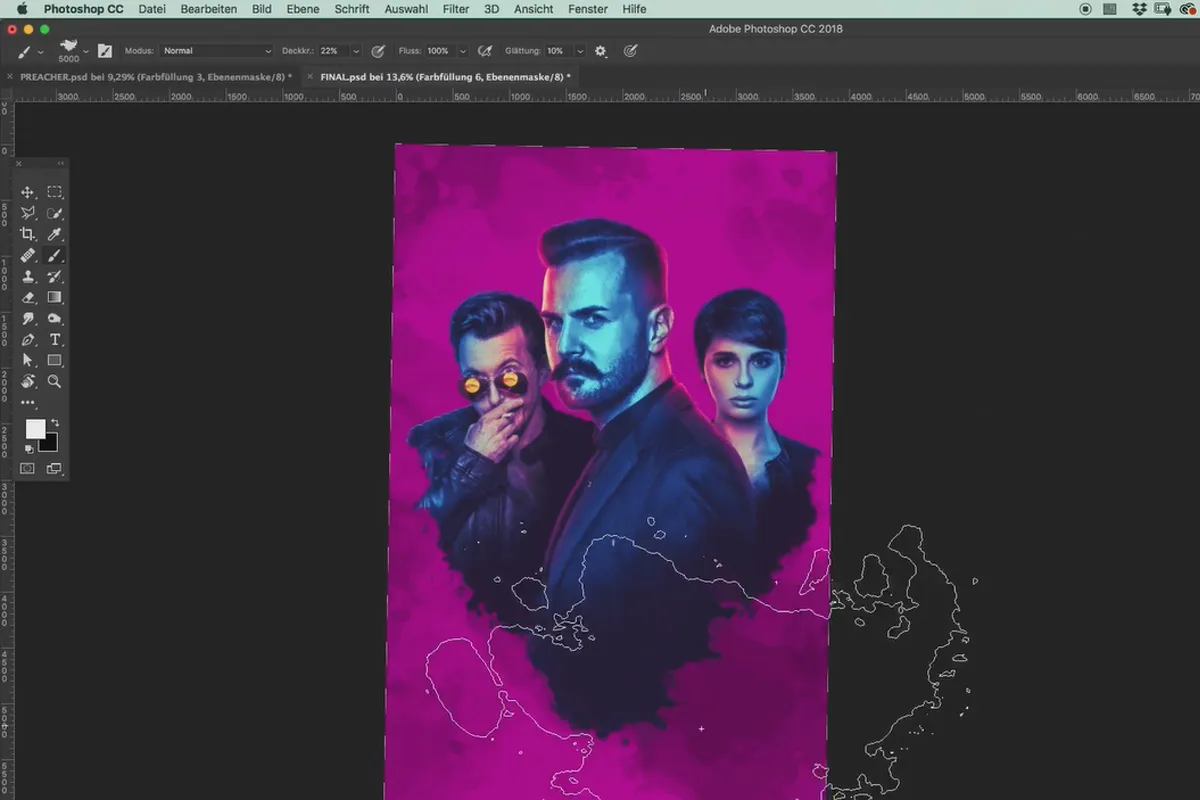
The photos are prepared and in place - now it's time for the look & style ! It should be irregular, almost dirty, with eye-catching colors and, of course, the lettering. Gabor Richter explains every single step of the process. You will learn how to add an effect to the background, create a captivating color look and set highlights with a second color tone. Use the Photoshop tools to create the reflection in the glasses, insert the effect-laden text and use Camera Raw for the final touches.
This is what you get with the Photoshop tutorial:
Gabor Richter is an outspoken professional in the field of photography and image editing. Be inspired by his workflow, acquire new skills and find out what is important in detail when creating posters. Your learning checklist:
Photo shoot for a movie poster
- Lighting setup: How to choose a suitable main light source
- Lighting setup: How to brighten up contours with additional lights
- Image selection: Which photos are useful for further processing
Raw development & photo editing
- Raw development: Camera Raw in use
- Retouching: Basic retouching and removing spots with Dodge and Burn
- Editing: brighten eyes, liquefy areas, emphasize details
- Crop: Various methods, using the pen tool
Image editing: creating the look for the poster
- Composition: placing several portraits in one image
- Effects: Create color looks, work with color gradients, work selectively
- Effects: Create reflections in glasses, grunge and text effects
Other users are also interested
Simply edit images professionally

Neatly cut out!

Photo editing & image composition
Save time with artificial intelligence
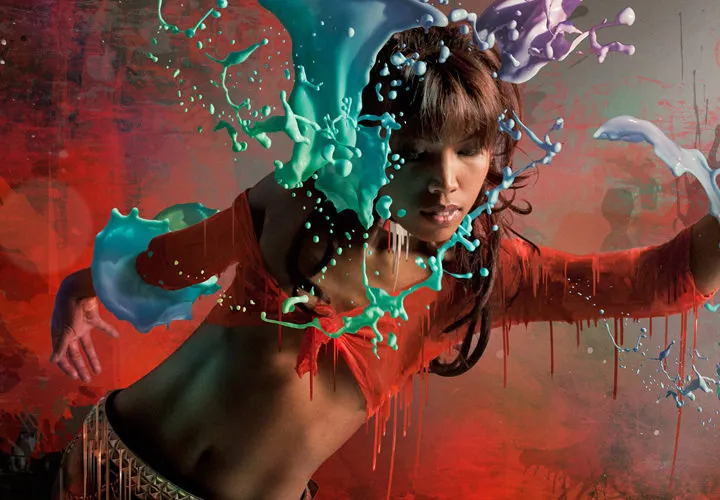
More style, more power, more templates!
Adjust your knowledge to AI!
Full power, more inspirations, maximum WOW effect!
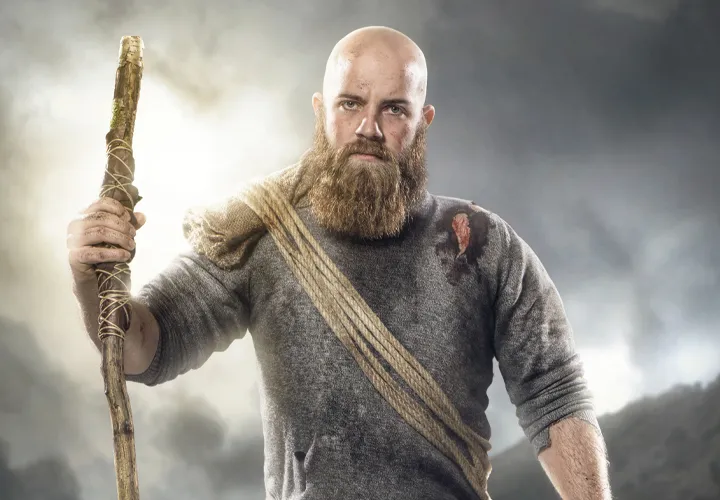
Follow an instructive path of image editing!


