Compositing in Photoshop: Chocolate
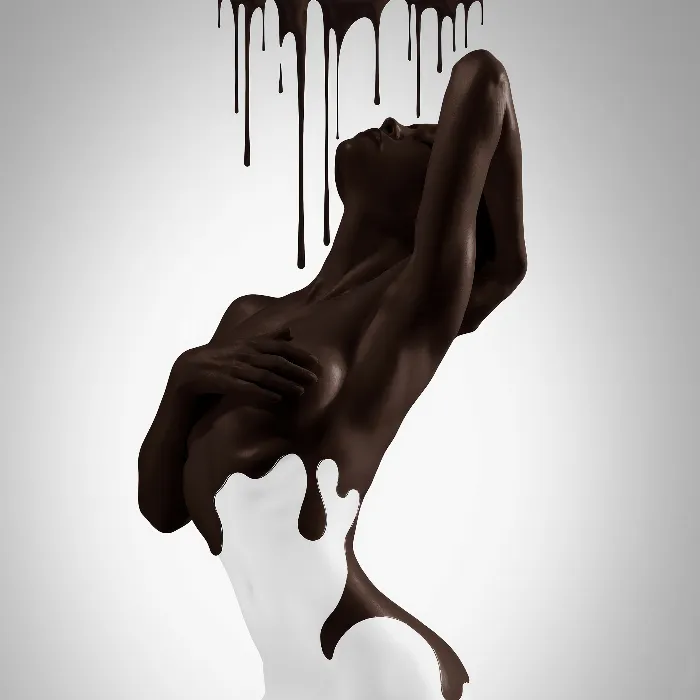
Create a creative photomontage in Photoshop: Composing "Chocolate"
Language: German

Create a creative photomontage in Photoshop: Composing "Chocolate"

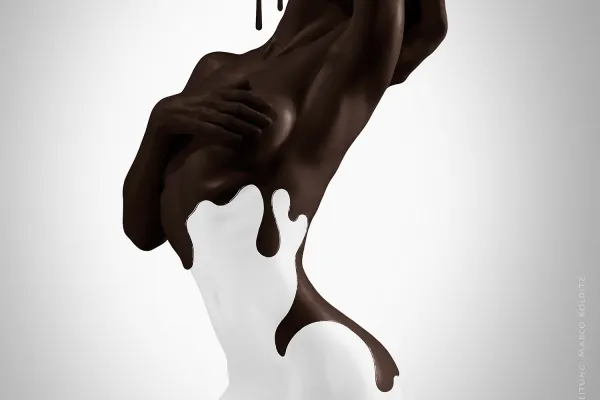
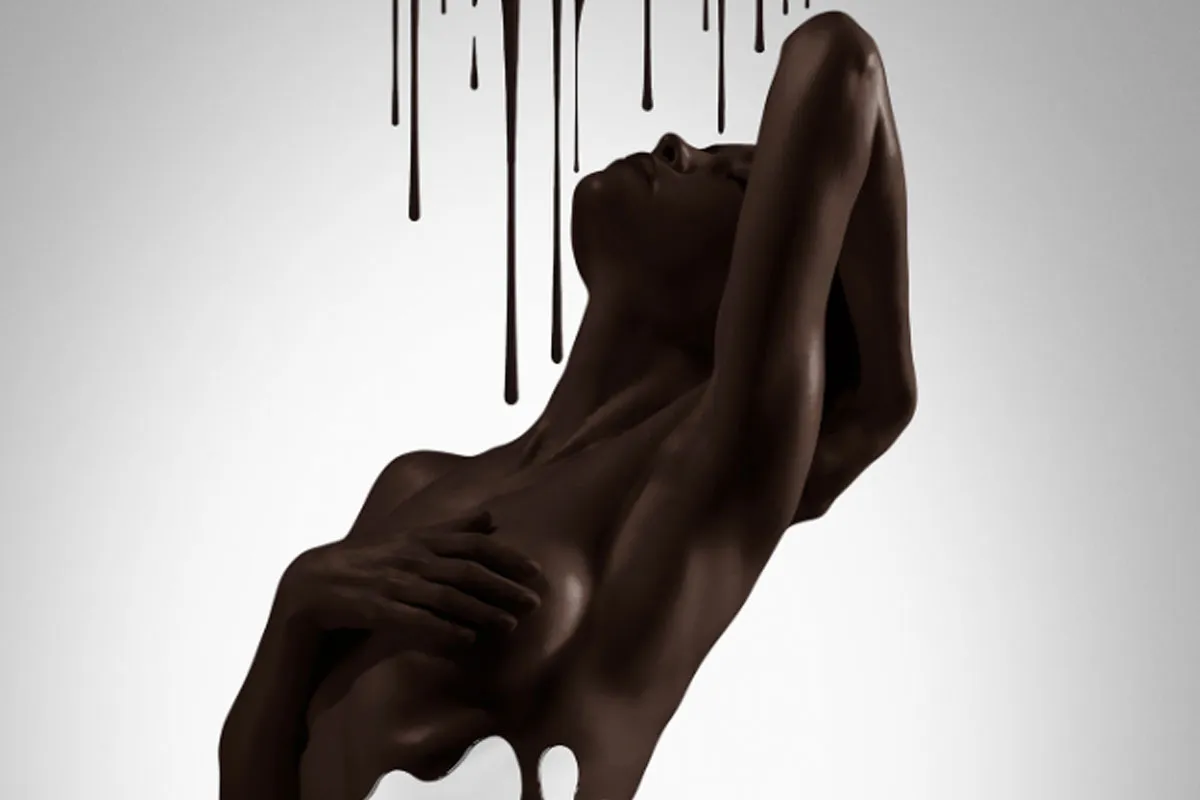
What a temptation ... Join Marco Kolditz as he develops his "Chocolate" photomontage in this one-hour Photoshop video training course. You'll learn how to remove a person from the background, give them a milky-creamy look and cover them with chocolate-sweet icing. A procedure that you can apply directly to your own photomontages.

  • Follow the creation of a photomontage in Photoshop from the original image to the final artwork
  • Inspiring: Apply the picture idea to your own pictures
  • Get to know methods for cropping people and pay attention to every detail
  • Generate a milky, creamy look with filters and other techniques
  • Create a chocolate-sweet coating with a convincing texture using Photoshop tools

For even better photomontages: Take a training course to improve your composing skills and be inspired by a captivating image idea at the same time.

Details
  • Usable with:
  • content: 1 h Video training
  • Licence: private and commercial Rights of use
Categories
Photography & image editing
Created with love by:
Marco Kolditz Marco Kolditz

Examples of use

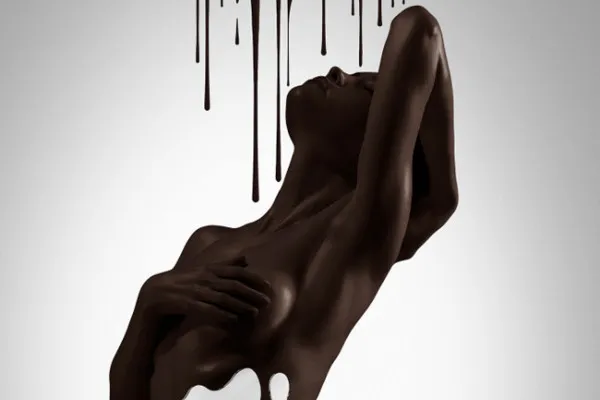
  • Photomontage: Woman with milk look, covered with chocolate, image for Photoshop training Create photomontages
    Open gallery
    Learn how to create this enticing composition and apply the look to your images.
  • Intro to the video tutorial.

    Creative photomontage in Photoshop: Chocolate.

    Details of the content

    An inspiring image idea for your own photomontage in Photoshop

    In this one-hour Photoshop training course by Marco Kolditz, you will create a finely tuned composition of milk and chocolate. All the techniques you need to create it are described step by step. Use individual methods to apply them in your composing work or recreate the "chocolate" completely yourself using your own photos.

    The basis for your photomontages: cropping people in Photoshop

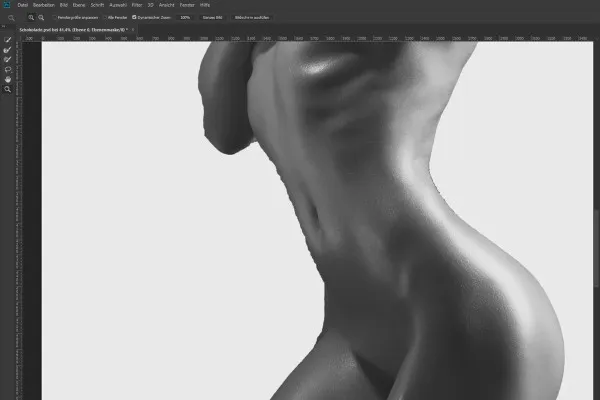
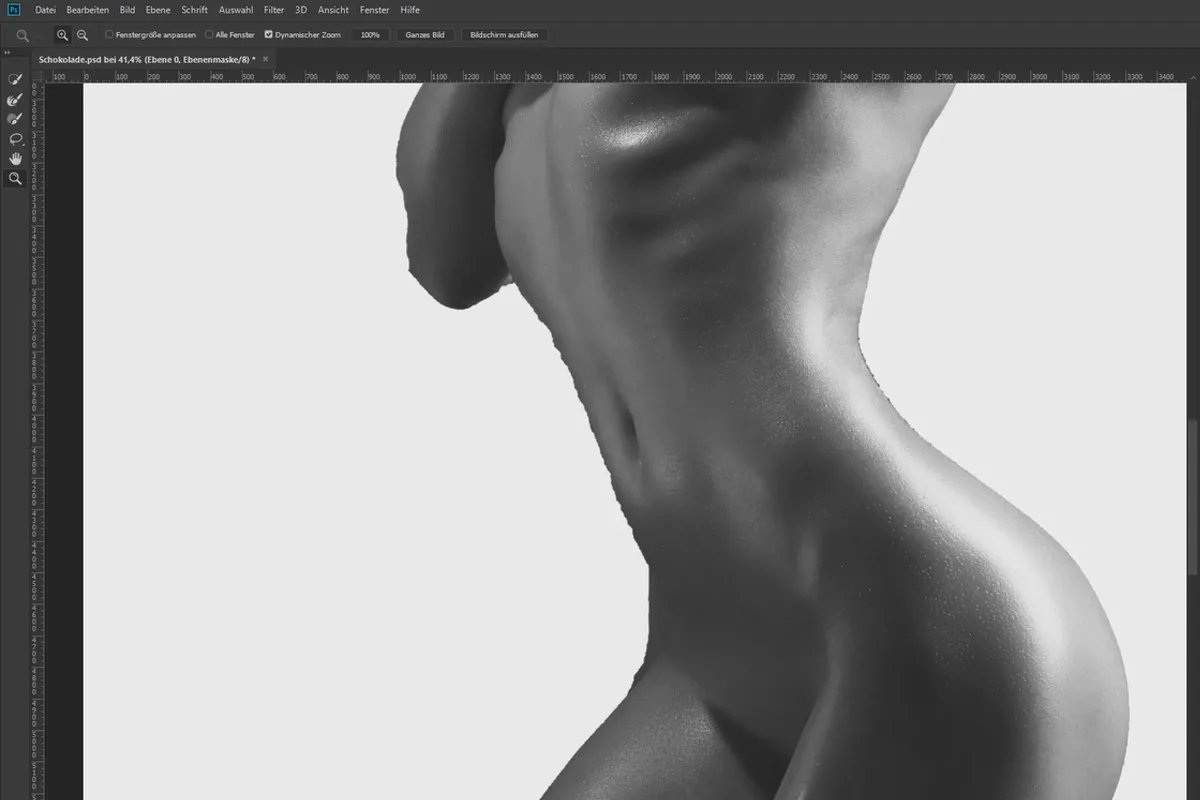
    The basis of every photomontage: cropping . In the training, Marco Kolditz discusses the possibilities and limitations of a new tool in Photoshop CC for automatically cropping a subject (Selection>Subject). Finally, he uses manual methods and shows you how to crop a person from the background using the drawing pen or a brush in masking mode. Pay attention to every detail!

    Create a milky, creamy look

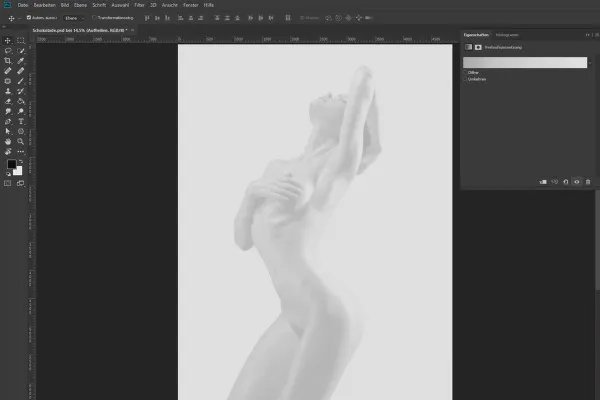
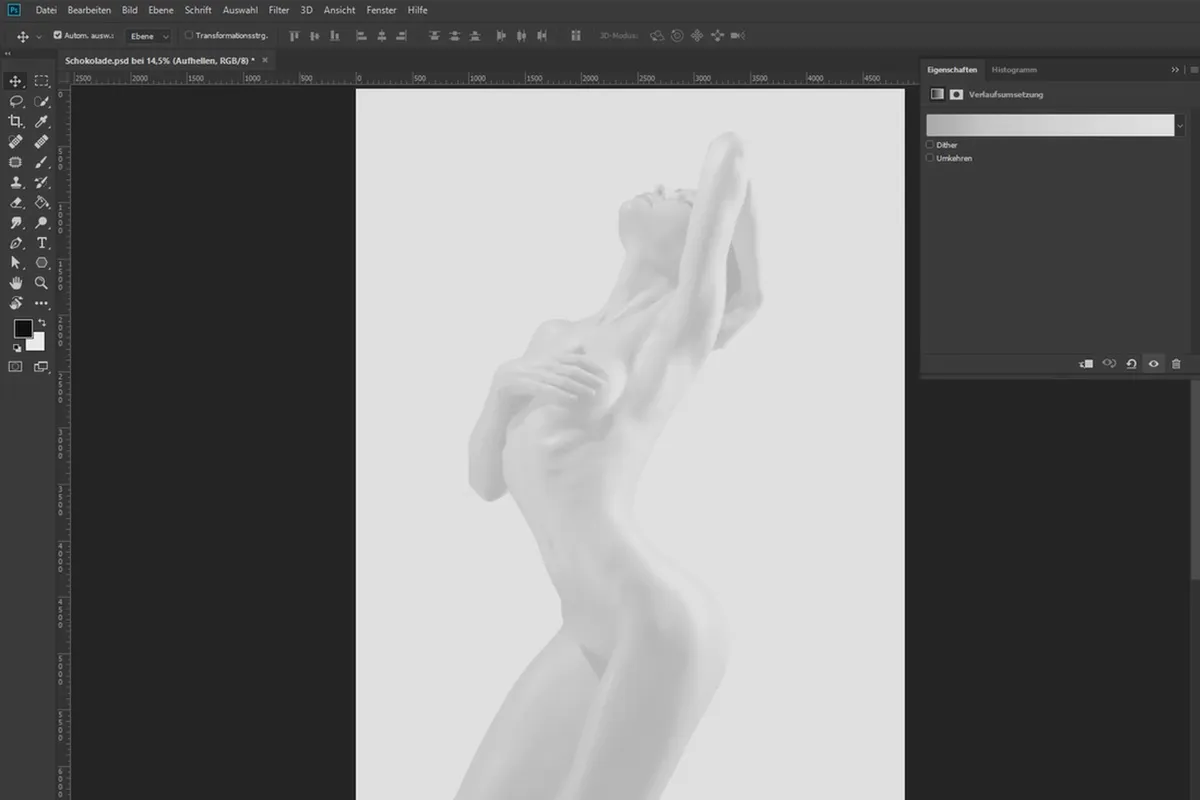
    Once the person has been cropped, it's time to get creative with the photomontage . In keeping with the "chocolate" theme, the lady is first given a milky, creamy look. The tools used for this include a mask, smart object, an adjustment layer and filters. Your trainer will explain every single adjustment he makes so that you can fully understand his approach.

    Create a chocolate coating with a convincing texture

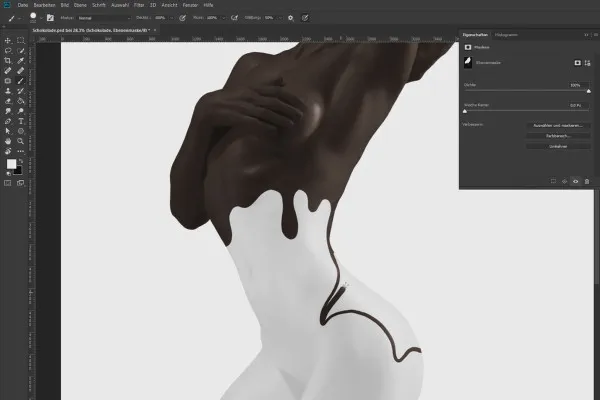
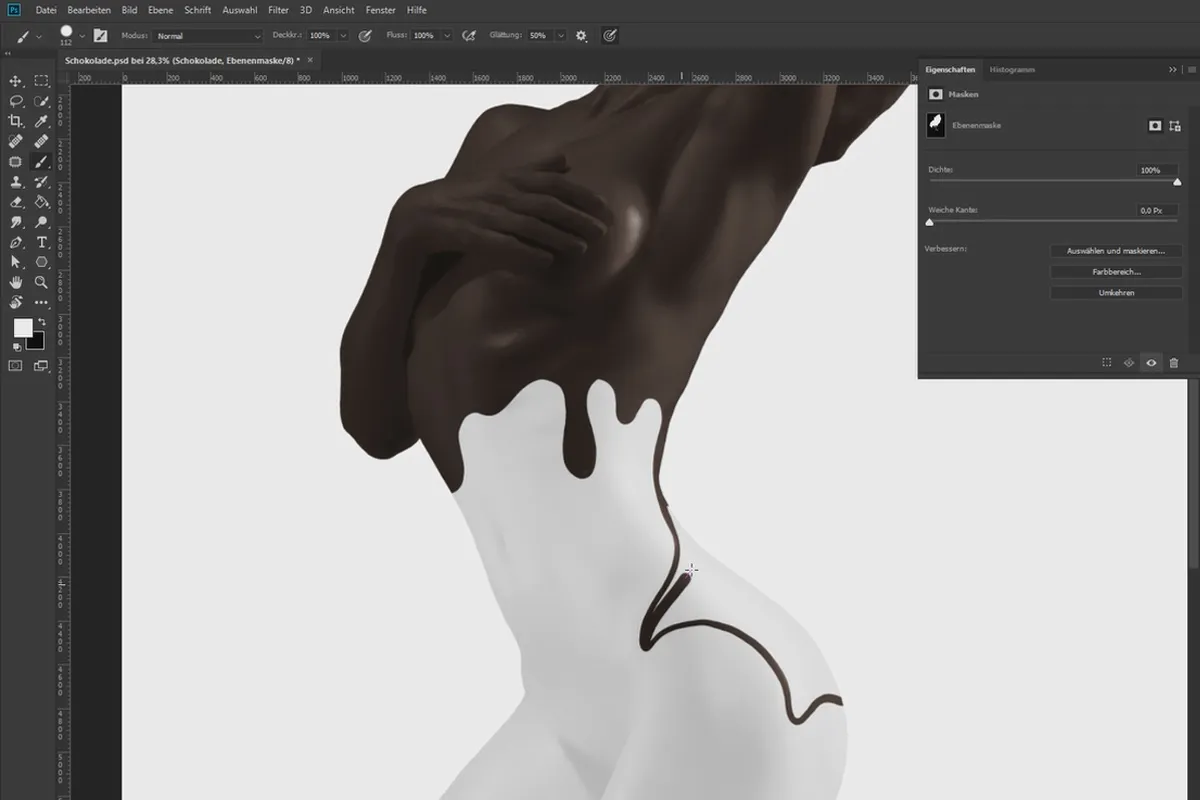
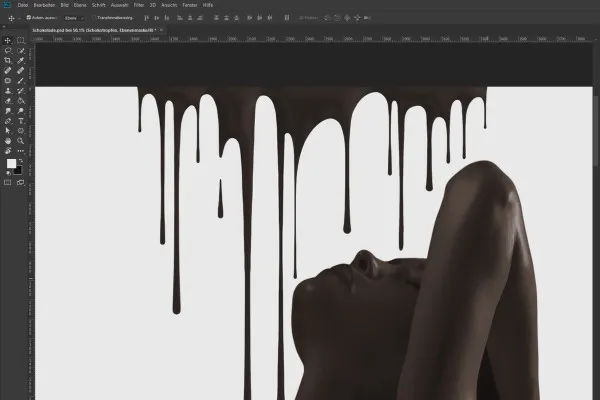
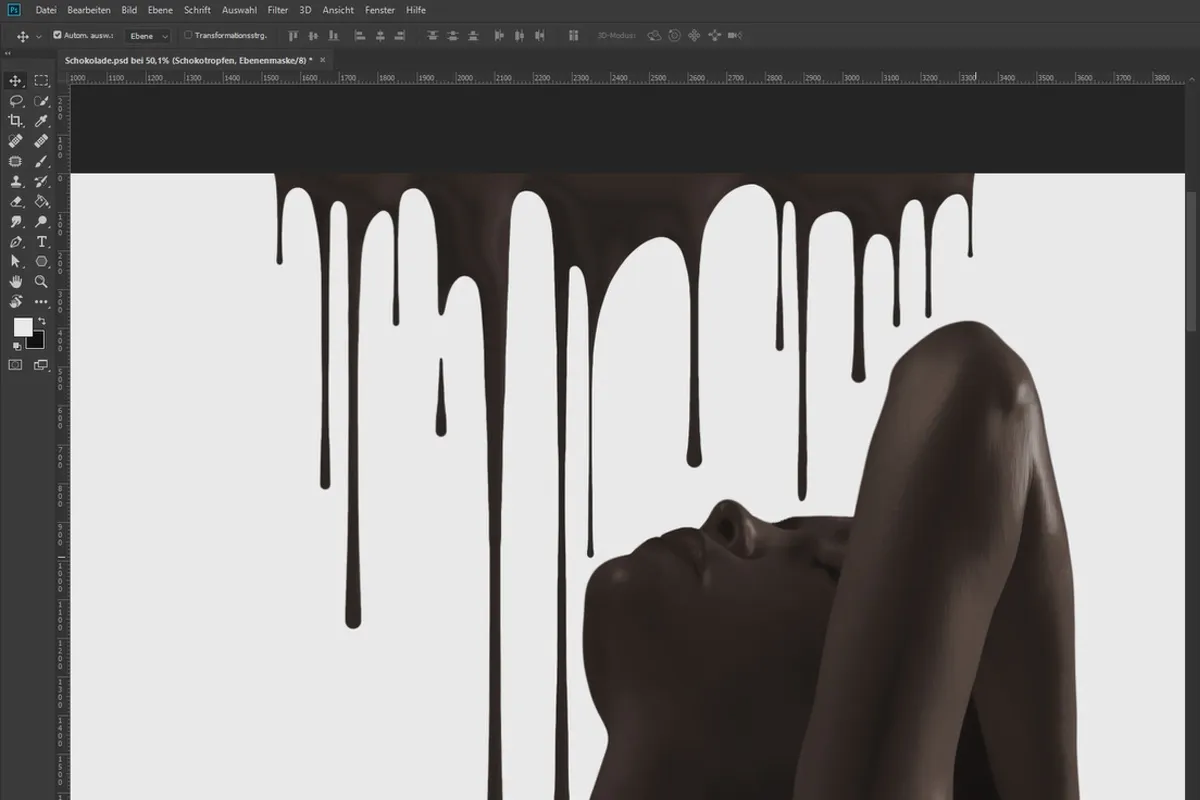
    What's missing for chocolate: chocolate. Step by step, your trainer will guide you towards creating a crunchy coating that is as convincing as possible. To achieve this, you once again work with adjustment layers and paint the coating on the person using a brush. So that the sweet brown doesn't look like a flat structure, give it a certain thickness and then add highlights. Finally, add milky and chocolaty drops and round off the entire composition with a filter.

    Further ideas for your pictures

    You can apply the procedure as a whole or in parts directly to your own photomontages . If you are looking for more looks, then let yourself be inspired by the tutorial on composing the black widow, for example, or awaken the spirit of sport in your pictures.

    This is what you'll learn in the Photoshop training for creative photomontage

    Firstly, you'll get a sweet dose of inspiration - transfer the "chocolate" image idea to your own photos! On the other hand, you'll learn all the steps to achieve this goal and create a creative photomontage in body chocolate style :

    • Crop: Limits and possibilities of automatic cropping in Photoshop
    • Crop a person: How to proceed with a pencil and brush/masking mode
    • Creating a look: Create a milky look with the help of a mask, adjustment layer and more
    • Create image elements: Use masks and brushes, among other things, for a realistic chocolate coating
    • Create image elements: Create realistic chocolate and milk drops with a convincing structure

    You can find the images used free of charge on Pixabay. A readme file with links to the images is included so that you can follow the instructions yourself.