A summer-cool portrait edit in Photoshop
From the initial image to the final look - create a summer-cool style with the help of this training!
The first step in portrait editing: non-destructive retouching
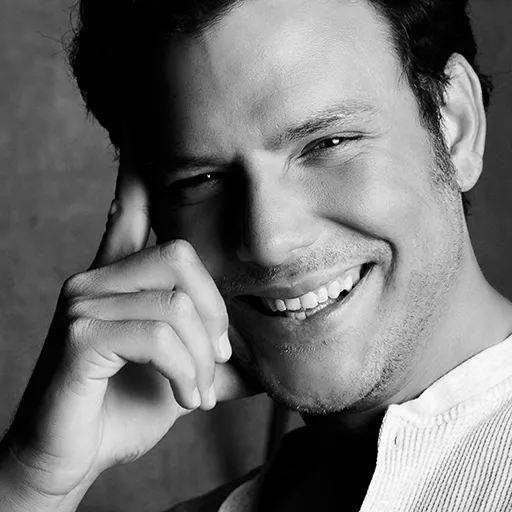
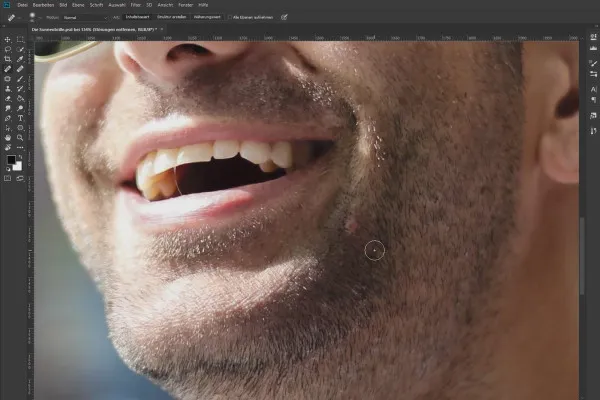
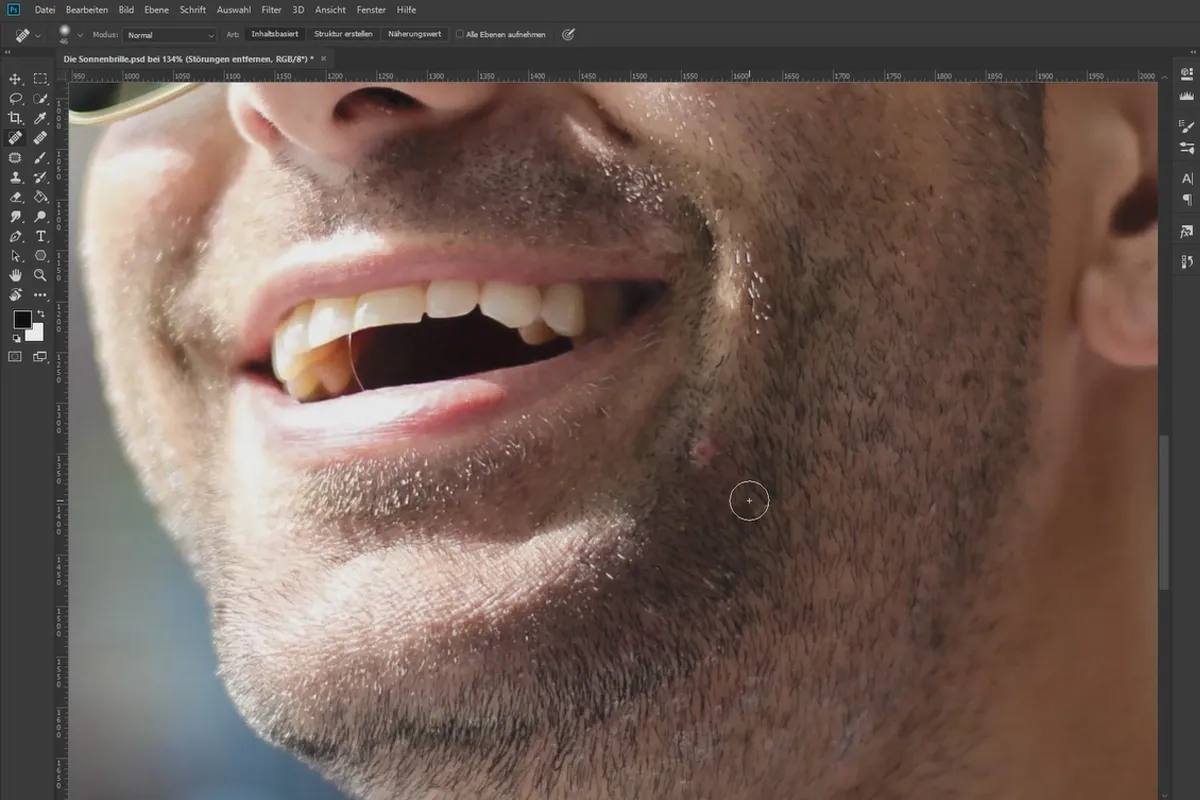
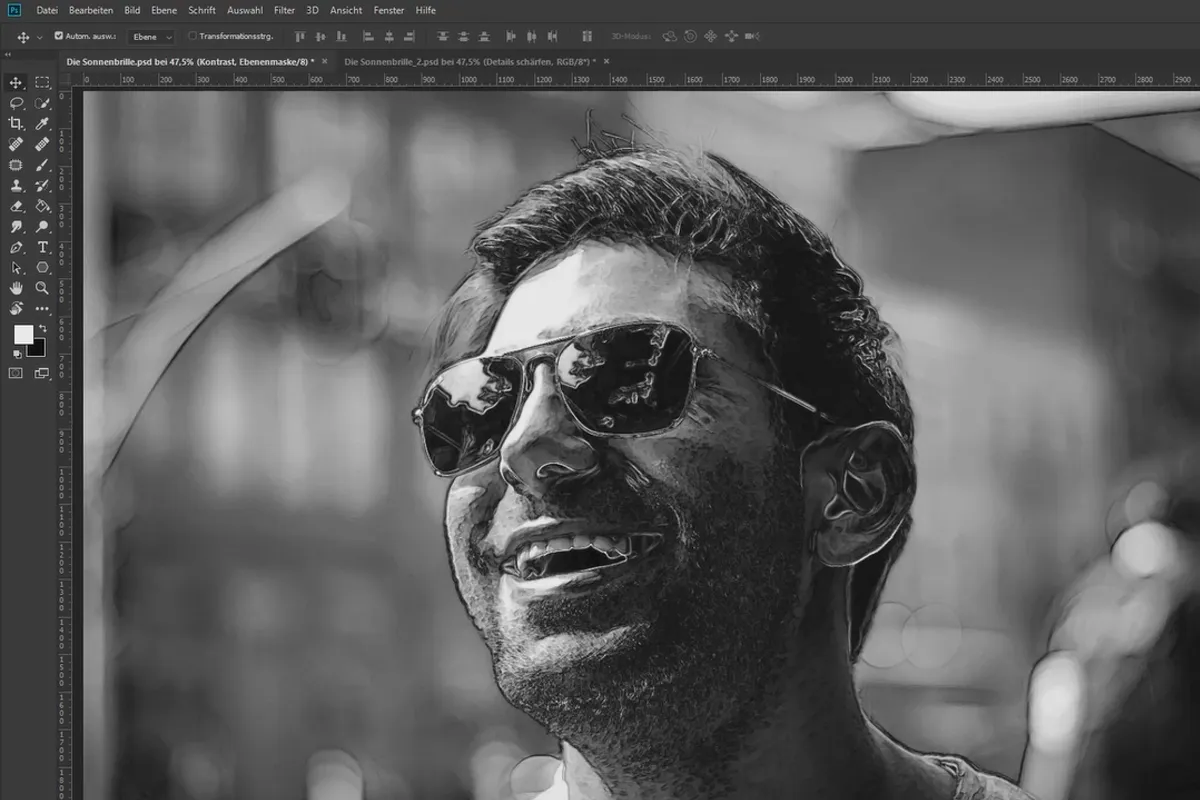
The first step is to edit and enhance the original image . To do this, Marco Kolditz retouches the image using non-destructive measures that can be undone at any time. He first removes skin blemishes with the area repair brush. He then sharpens the edges of the person and then the entire image. In the training, Marco Kolditz explains his thought processes for each step of the portrait editing process . In this way, you will get to know the techniques and understand the reasons behind his approach.
Create a graphic look and work in a texture
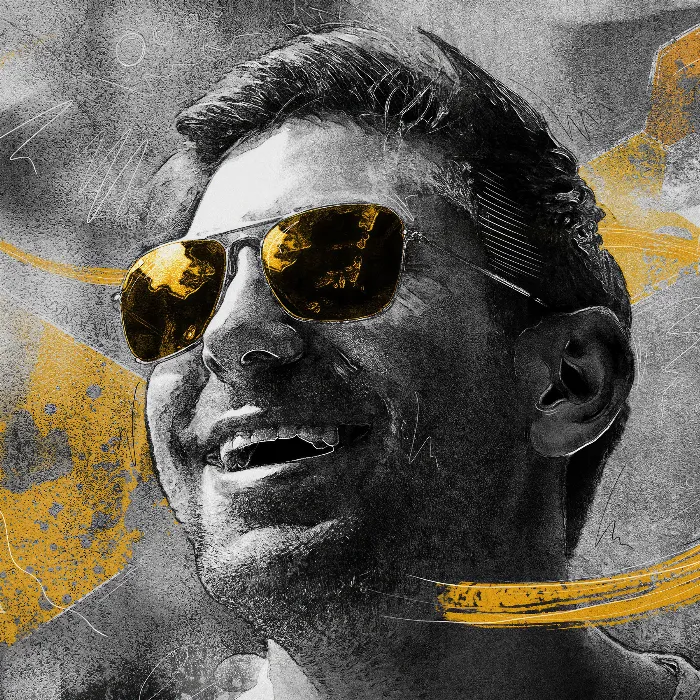
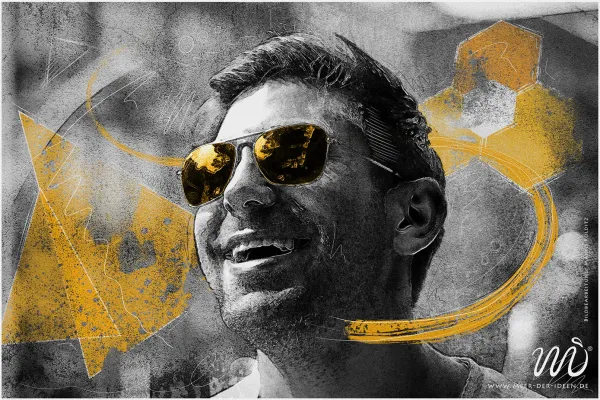
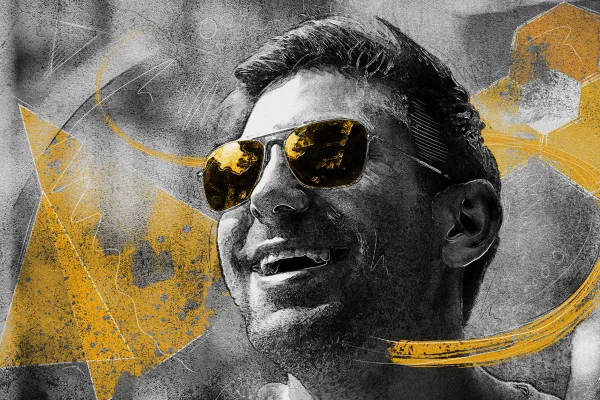
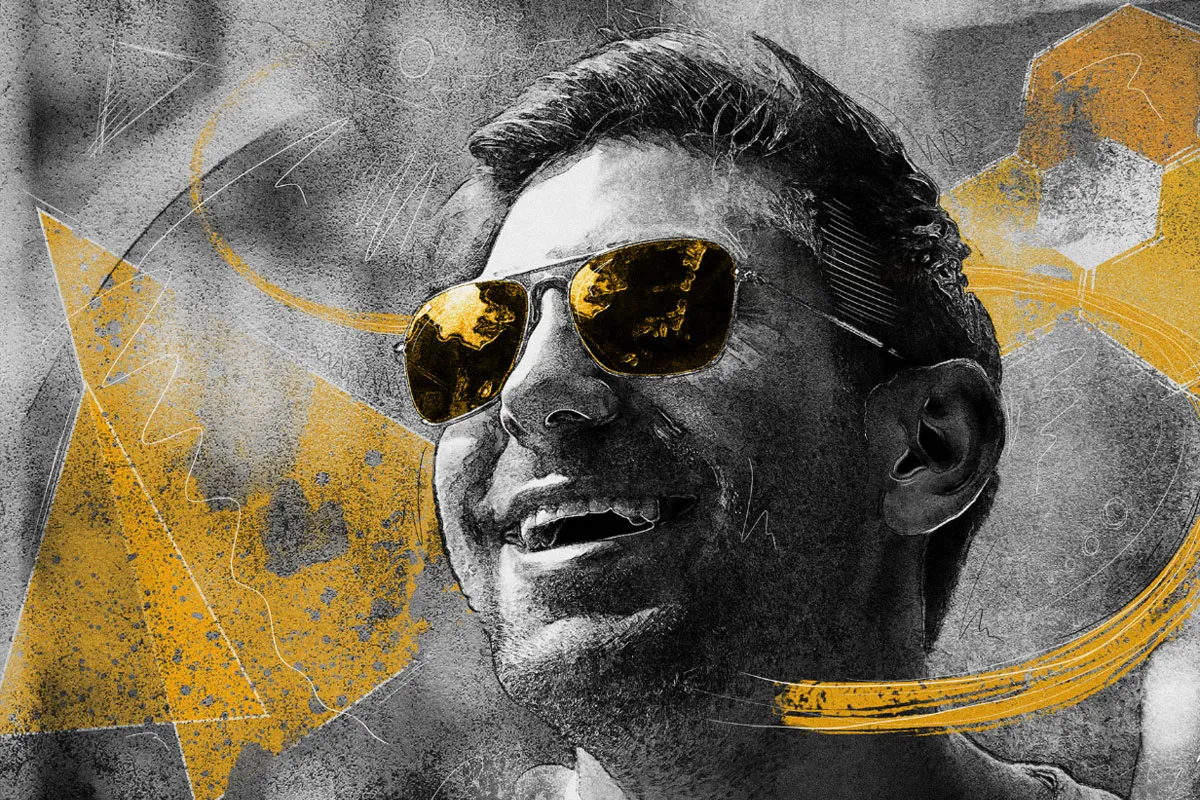
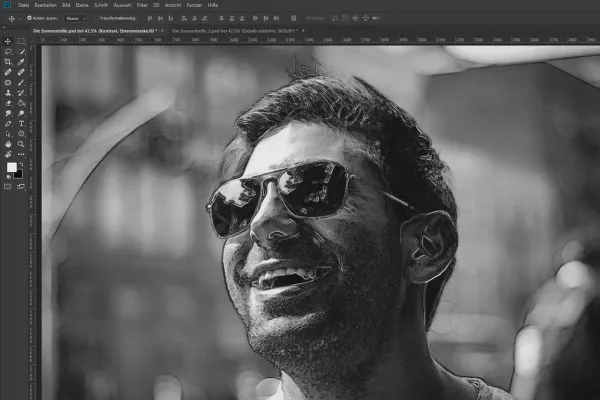
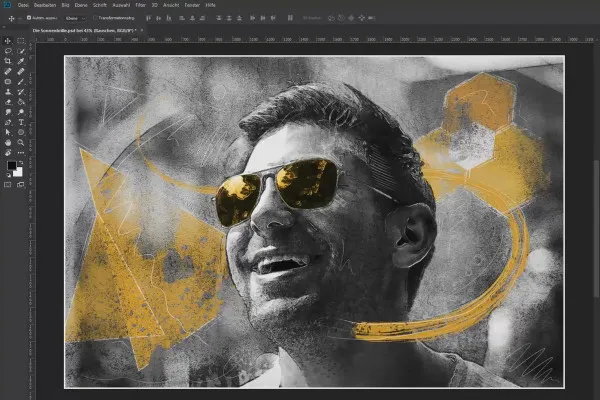
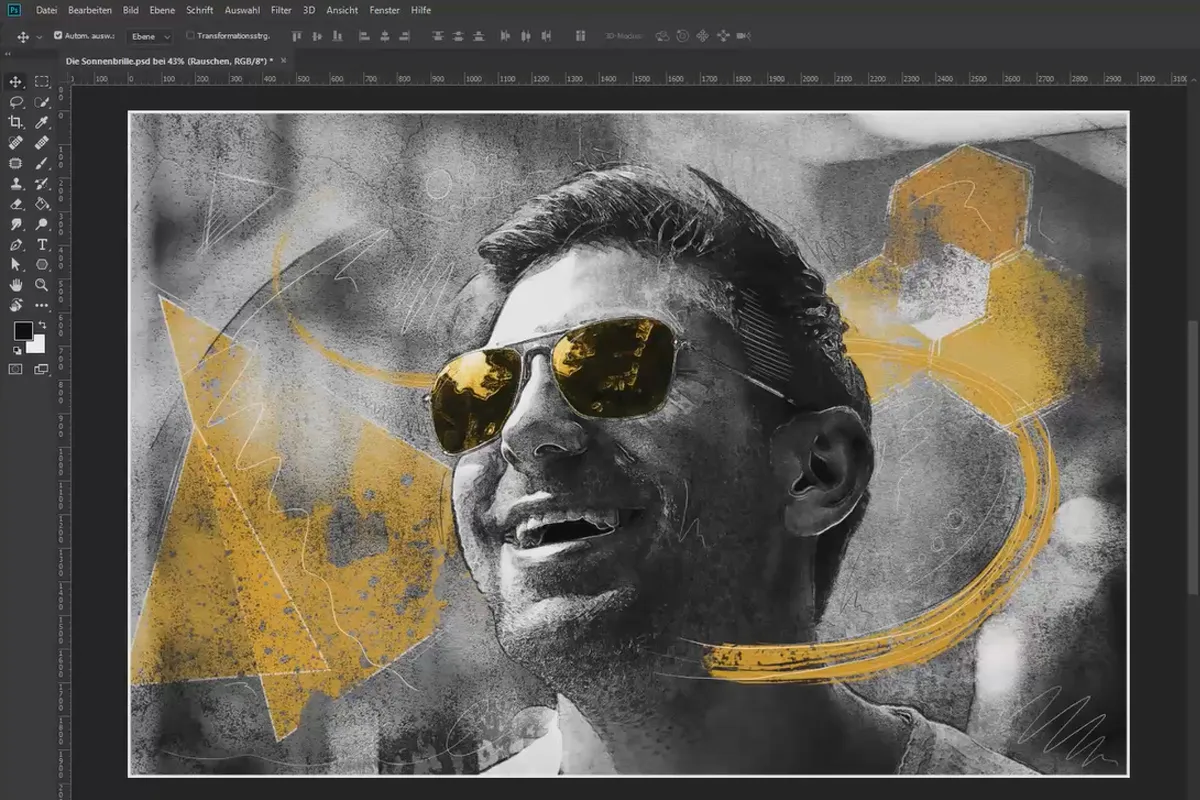
The final portrait, "The Sunglasses", stands out with its graphic look. It almost seems as if the image has been applied to stone or concrete. To create this effect, the existing contours of the retouched portrait need to be enhanced and a texture added. Follow your trainer on his editing path, which leads him through layers, smart filters and layer modes to the desired result.
Further edit & round off the image: Add coloring and design elements
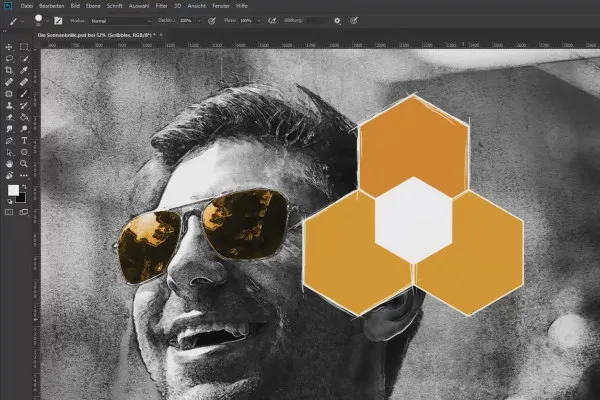
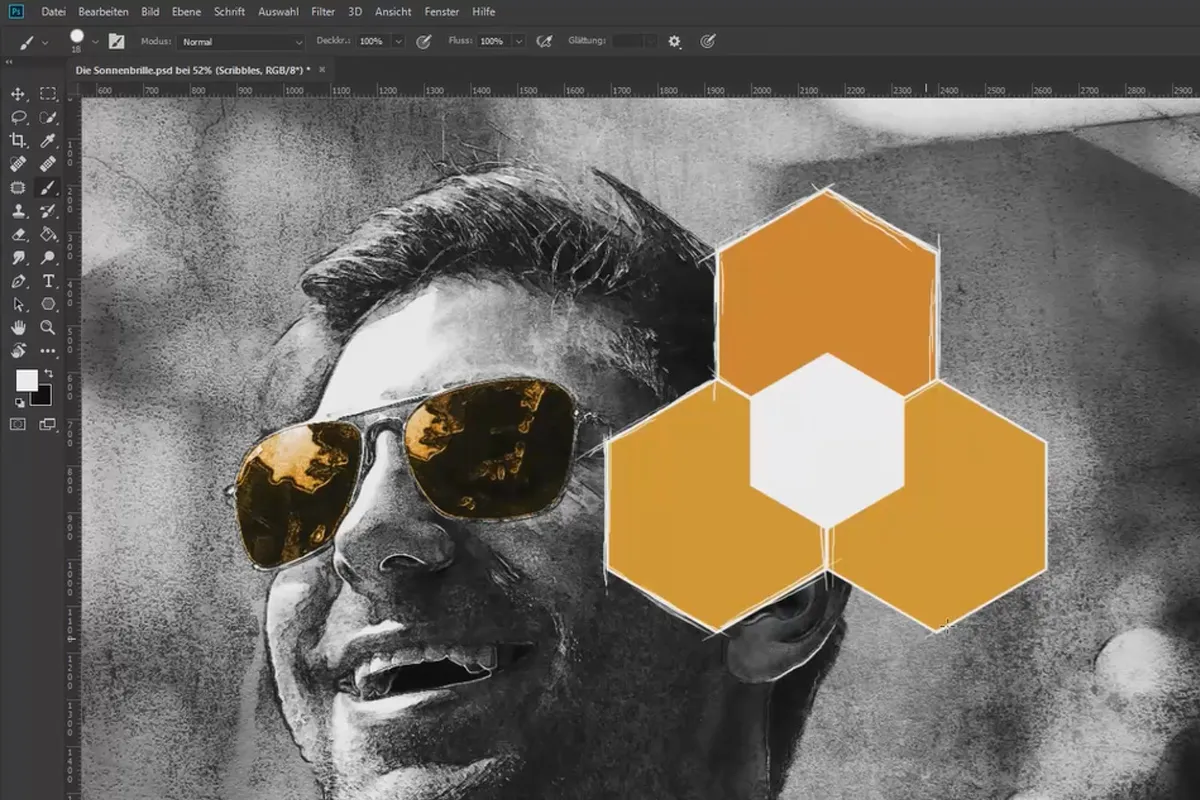
After the portrait editing of the actual image, the sunglasses are colorized and new design elements are added. Take the polygons, for example: these are first prepared with a clear edge. They are then reworked to give them a sketch-like look, distorted and merged with the texture. The portrait is rounded off with additional elements such as a curved brushstroke or a white frame.
What you will learn in the creative portrait editing course
Add a new look to your repertoire and give your pictures and portraits a painterly style and artistic design elements with a scribbled look. You'll get all the know-how you need in this Photoshop training course:
- Portrait retouching: How to remove imperfections with non-destructive editing techniques
- Create a look: Give an original photo a graphic look
- Image effects: Work textures into your images to create exciting textural effects
- Design elements: Create geometric elements and give them a sketchy look
The images used in the tutorial are available for free on Pixabay. A readme file with links to the images is included so that you can follow the instructions in practice.