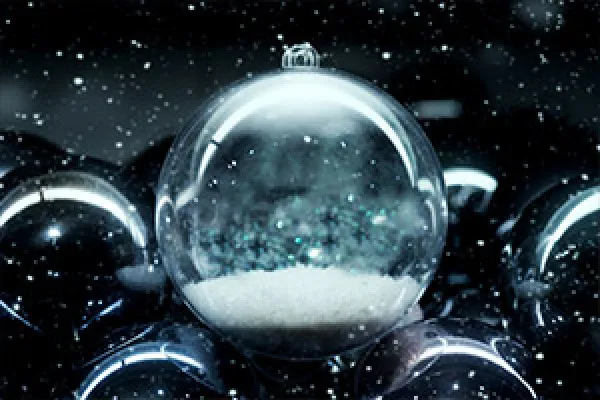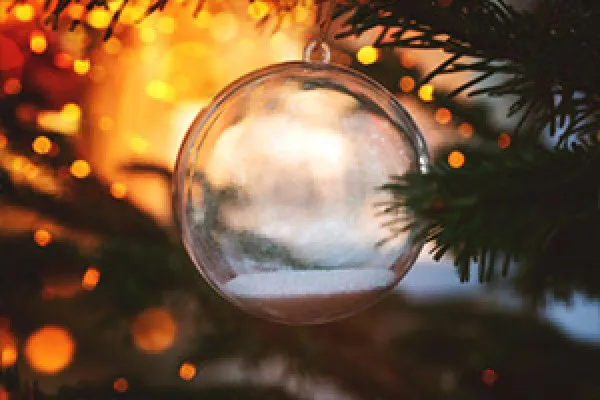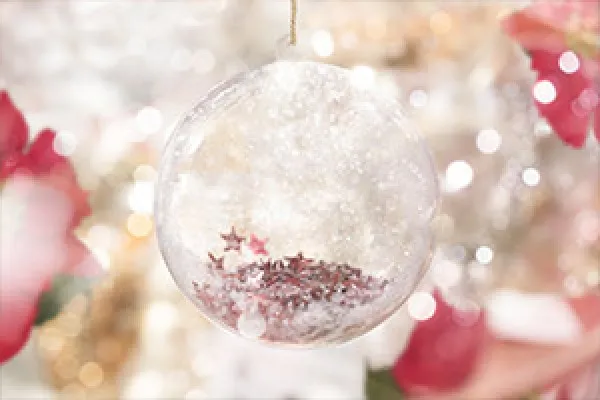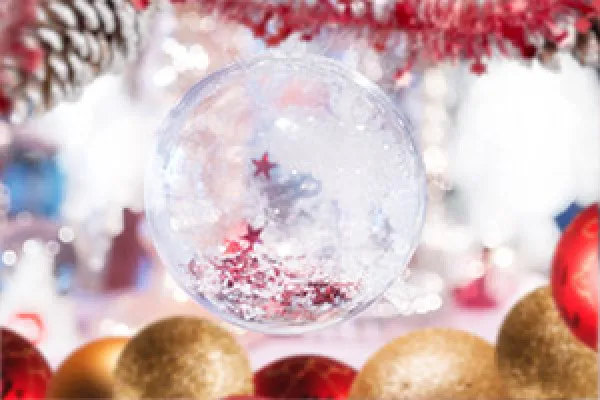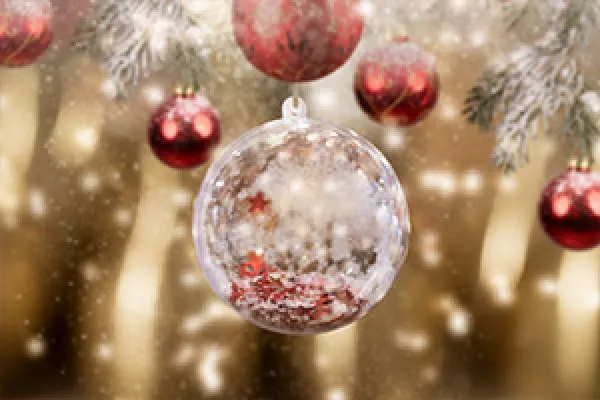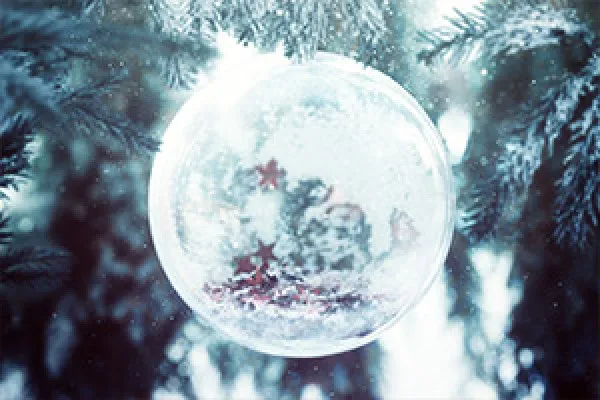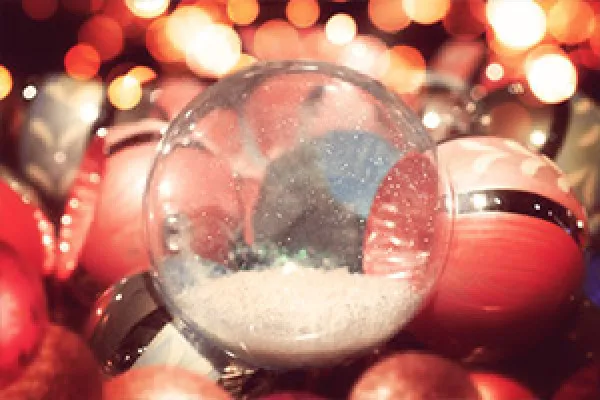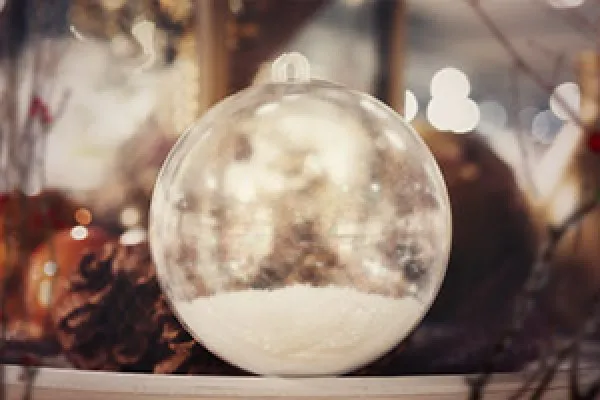
Photos of Christmas baubles for magical pictures and Christmas greetings
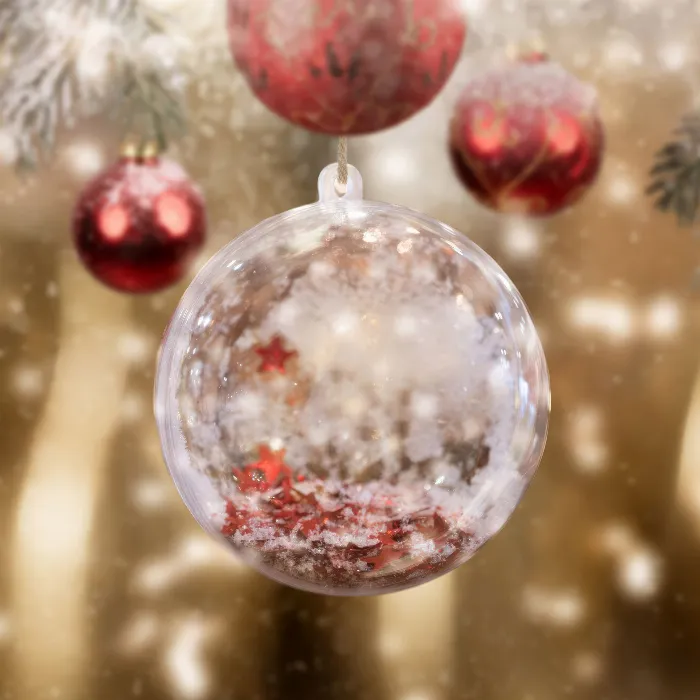
Make your Christmas greetings even more individual, even more personal. These ten high-resolution photos of Christmas baubles in fantastically charming scenes create an irresistible frame for this: insert your own pictures, for example a portrait, into the Christmas baubles or place graphics such as a company logo or texts with congratulations on their surface. The mock-ups also included make editing easier for you.
- 10 high-resolution photos of Christmas baubles in magical scenes
- Personalize the Christmas baubles - add your own images, graphics or text
- Create Christmas greetings or use the photos as backgrounds, e.g. for greetings cards
- Ideally suited for Christmas greetings in a private or corporate setting
- Bonus: Mockup for every photo - makes it easier to insert text and graphics precisely
Glass fragility in the midst of Christmas cheer: place your pictures on or in the ball and your Christmas greetings will be remembered.
- Usable with:
- content:
10
Assets/Templates
- Licence: private and commercial Rights of use
Examples of use
-
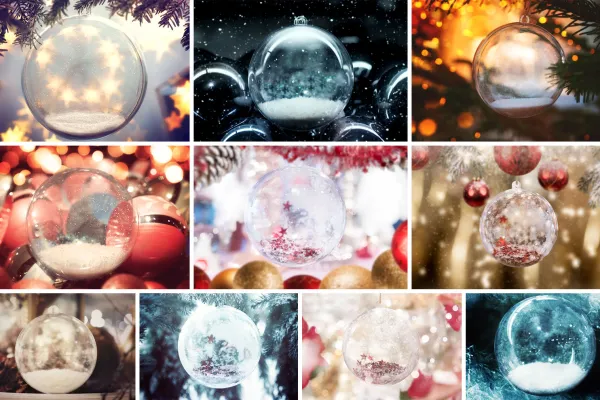 Open galleryThese ten enchanting photos of Christmas baubles are included, including mockups.
 -
Open galleryExample: Add your motif to the Christmas bauble and create personalized Christmas greetings.
-
Open galleryExample: With the help of blending modes, it almost looks as if your image is actually in the sphere.
-
Open galleryBonus: Use the mockups to easily add graphics and text to the Christmas baubles.
help video for application
Photos of Christmas baubles for Christmas greetings (Download)
Details of the content
Magically personal: images, text and graphics in a Christmas bauble
The more personal your Christmas greeting, the more impressive its effect. Watch the video to see how easy and versatile it is to use Christmas bauble photos :
Fantastically Christmassy scenes
The package includes ten photos of Christmas b aubles in dreamlike Christmas scenes. Whether it's a wintery frosty atmosphere or a heart-warming feel-good vibe - choose the right look and add personal text, your own photos or graphics such as a company logo. The JPG files are suitable for all common image editing programs. The high resolution of the images ensures that you can also use them for printing, such as greeting cards.
You can use layers, blending modes or distortions to incorporate your motifs. You will also receive a mockup for Photoshop for each Christmas bauble photo, which you can use to easily apply your elements to the surface of the Christmas baubles. You can see how to do this in the video above. Read the following explanations and then unfold the magic of Christmas.
Tips for using the photos
Before you get started, first think about whether you want to place your motif in the bauble or on its surface. This will determine how you proceed in the editing process.
Placing a picture in the sphere
To place images as if they were inside the sphere, open one of the JPG files. Place your image in the sphere and adjust the size. If your subject has not yet been cropped, use selection tools such as a layer mask and a soft brush to cut it out accordingly. Make further adjustments to the details so that your motif sits perfectly on the snow-covered ground.
To achieve the full effect, make sure that the snowflakes trickle down in front of your picture. To do this, copy the layer with the Christmas bauble from the background, move the copy over the layer with your image and set the layer mode to light spot. The result: the software merges the layers and your motif now actually appears to be inside the bauble.
Applying graphics and text to the Christmas bauble - use the mockups
To apply elements to the surface of a Christmas bauble , first place your graphic, logo or text on a new layer above the bauble. Then use the transformation and distortion tools to adapt the elements to the curved surface.
This editing process is even easier with the mockups included in the package ! Open a mockup with the Christmas bauble of your choice. Double-click on the smart object with the name "Insert your text here". In the window that opens, prepare your illustration for the surface of the Christmas bauble in two dimensions. Place your text or graphic in the center and Blender out the "sample layer" with the grid. Then close the window and save the file.
Photoshop will now automatically adjust your 2D representation to the shape of the sphere. Tip: You can show and hide the prepared light reflection. If necessary, deactivate the lock symbol for this reflection and adjust the opacity and therefore the strength of the light. You can make further effect adjustments yourself, for example by changing the blending mode or the opacity of your illustration.
Tip: How to make the scene with your Christmas bauble "even rounder"
Would you like to add an effective finishing touch to the Christmas bauble ? No problem - add shimmering light effects, for example, or garnish your Christmas greeting with a snow crystal. Just take a look at our assets for winter and Christmas and combine the image elements! You can also learn how to create a Christmas bauble from scratch with our Christmas Affinity Photo tutorial.
Other users are also interested
A tasteful design mix
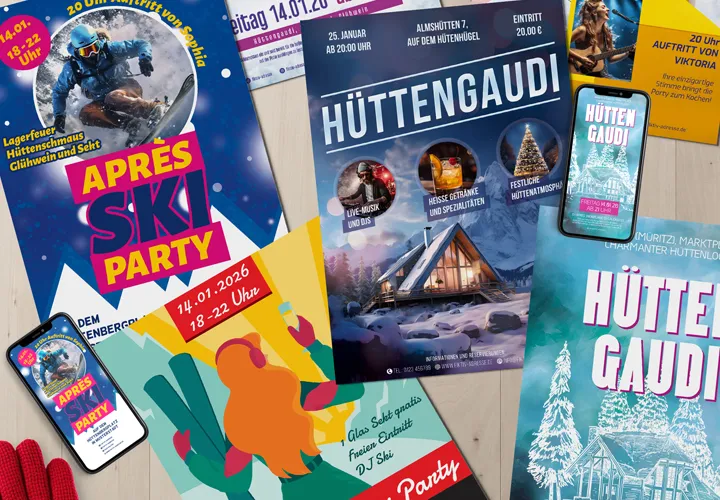
Simply download and customize
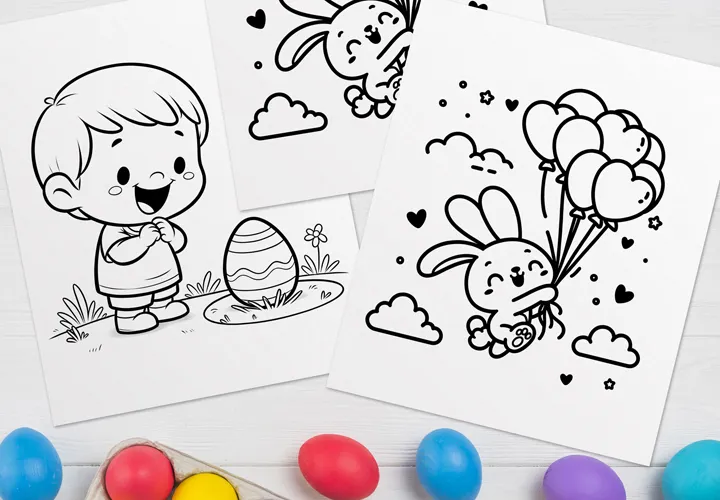
Download, print & color
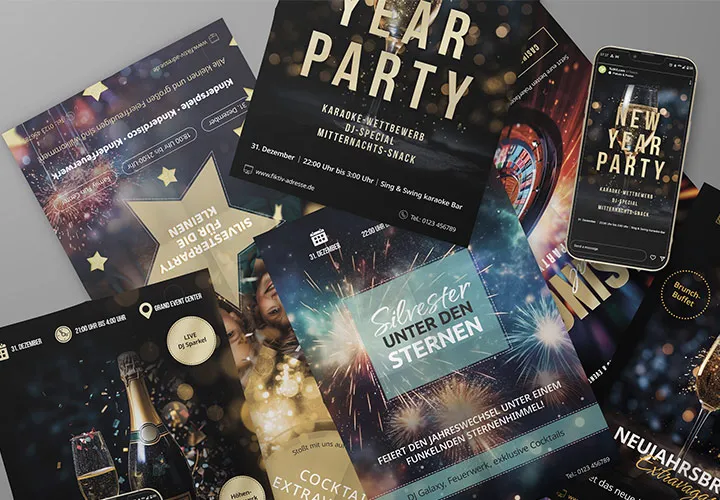
Start a design firework display!
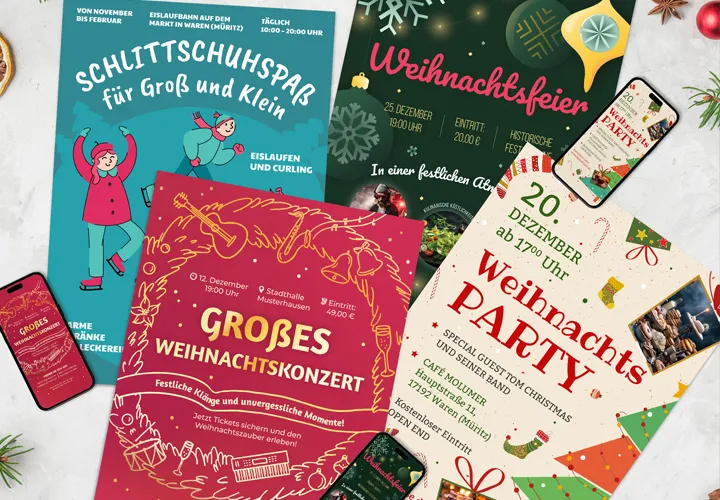
Announce the Christmas celebrations!
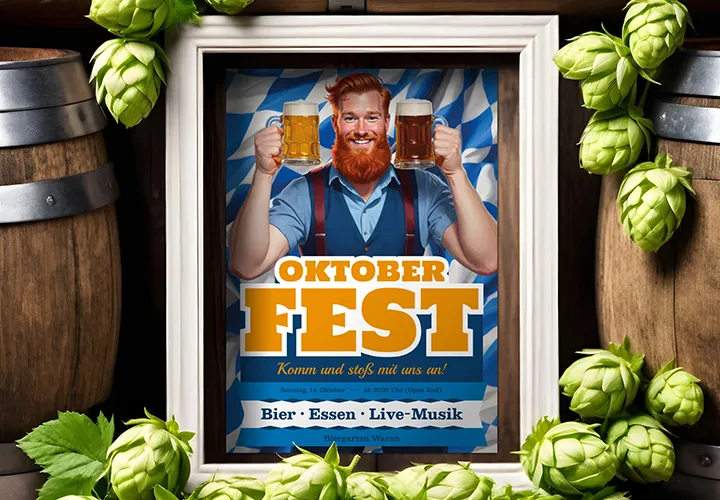
With beer, pretzels, veal sausage, Dirndl and co.
Hopp and top for Easter greetings
Fully prepared and editable


