50 Photoshop brushes for snowflakes and rain
A flurry of snow or heavy rain? Get 50 Photoshop brushes with which you can make snowflakes trickle and raindrops fall. Thanks to the pre-set brush settings, all you have to do is adjust the size, then click and drag the effects over your pictures.
- Click and drag: How easy it is to draw snowflakes and raindrops in your pictures
- Photoshop brushes with effect: prepared brush settings for realistic results
- 25 brushes for snow, 20 for rain and 5 more for atmospheric bokeh spots
- Download, load into Photoshop (CS4 or higher), and the snow is already trickling and the rain is falling
Perfect for winter photos and compositions and ideal for any rain shower scene: these brushes will give you maximum weather control in Photoshop!
- Usable with:
- content:
50
Assets/Templates
- Licence: private and commercial Rights of use
Examples of use
-
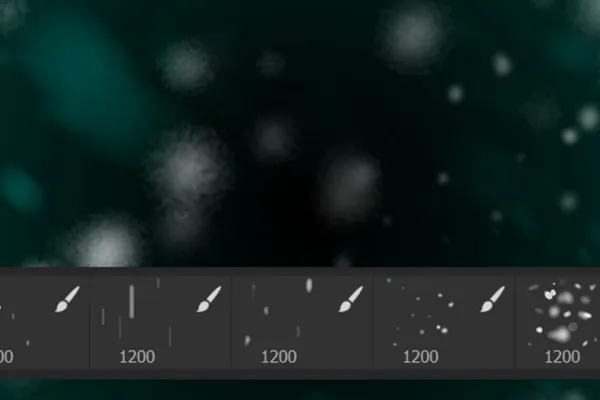
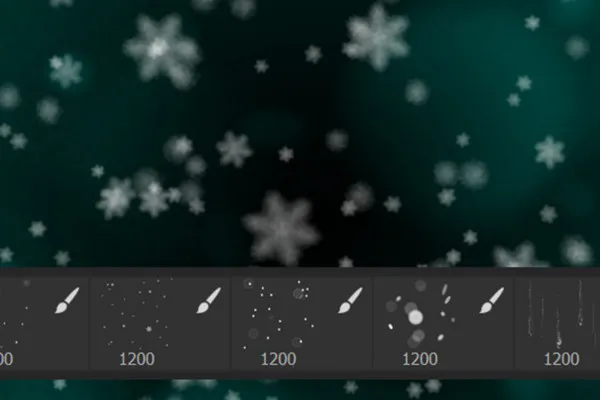
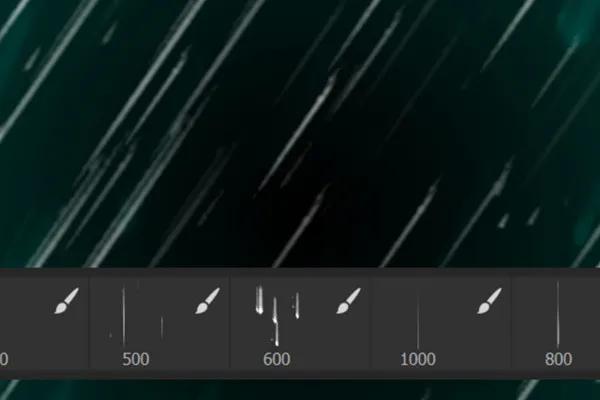
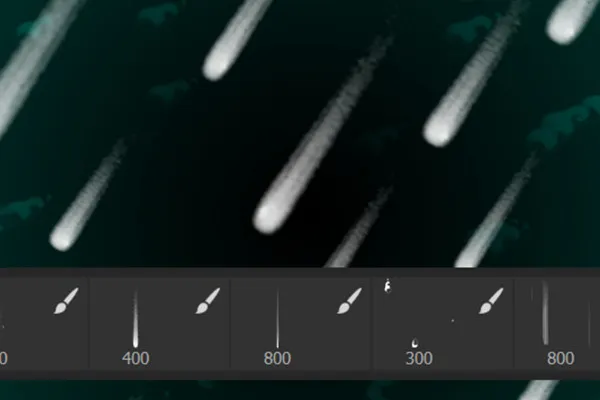
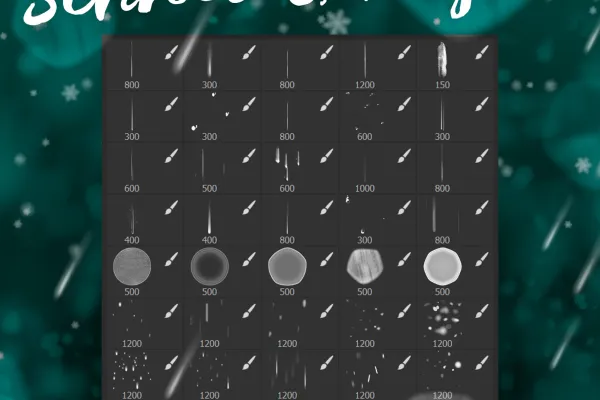 Open galleryJust your weather: 50 Photoshop brushes for snowflakes, rain and bokeh effects.
 -
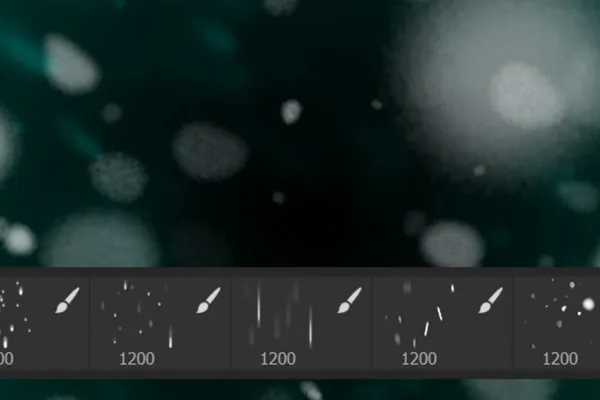
Open galleryExample: Create a dense flurry of snow with just a few brushstrokes.
-
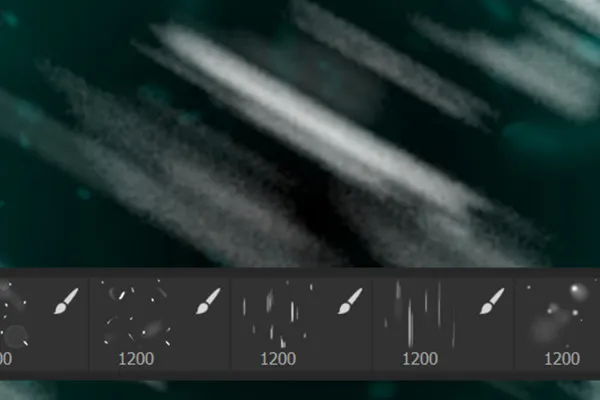
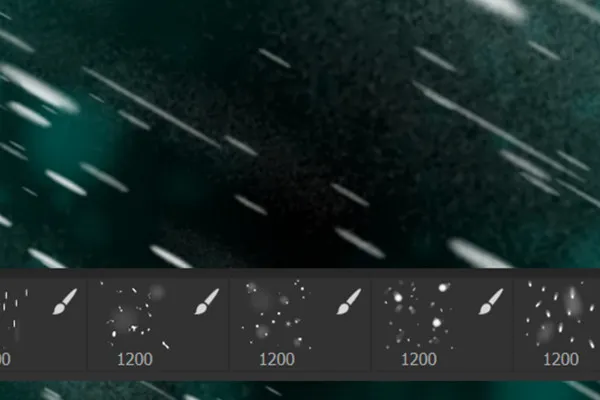
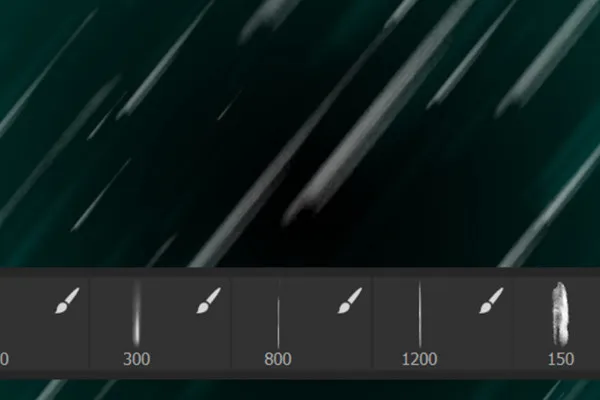
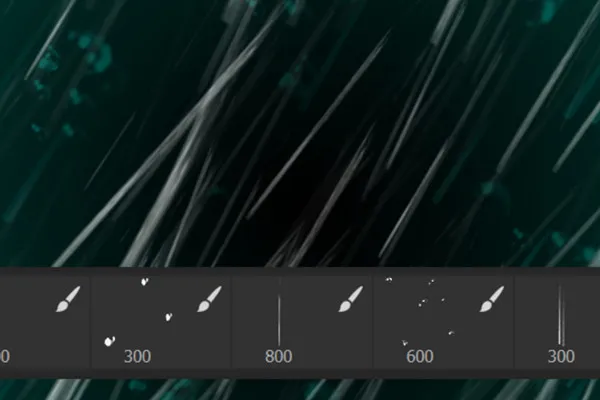
Open galleryExample: Let the rain fall whenever you feel like it.
-
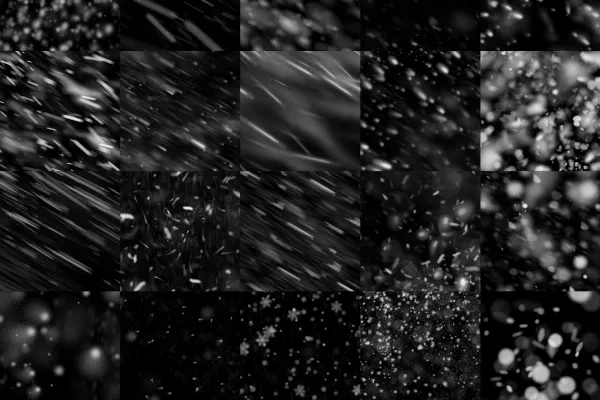 Open galleryWhat do you want your snow flurries to look like? Use these effects and set them individually.
 -
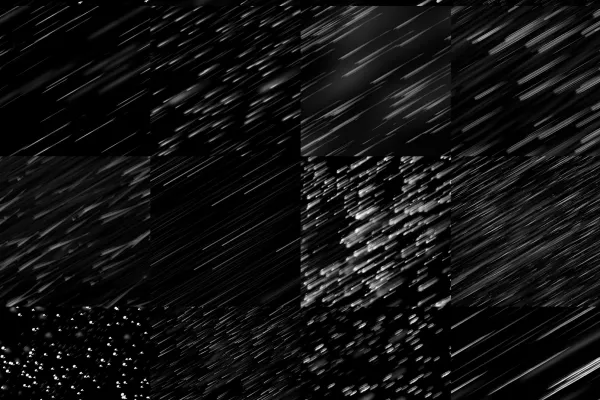 Open galleryFor atmospheric rainy scenes: Simply drag the drops over your pictures.
 -
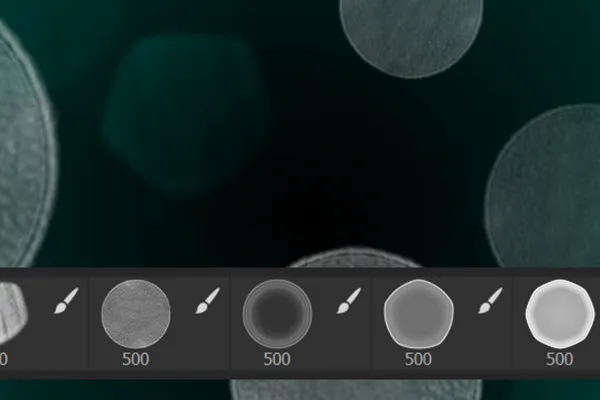
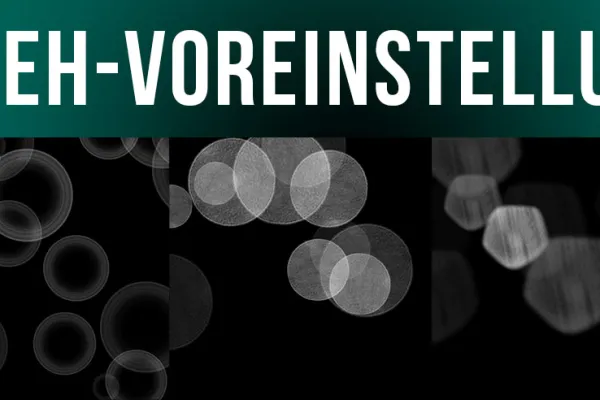 Open galleryThe bokeh effects round off the overall impression of your pictures.
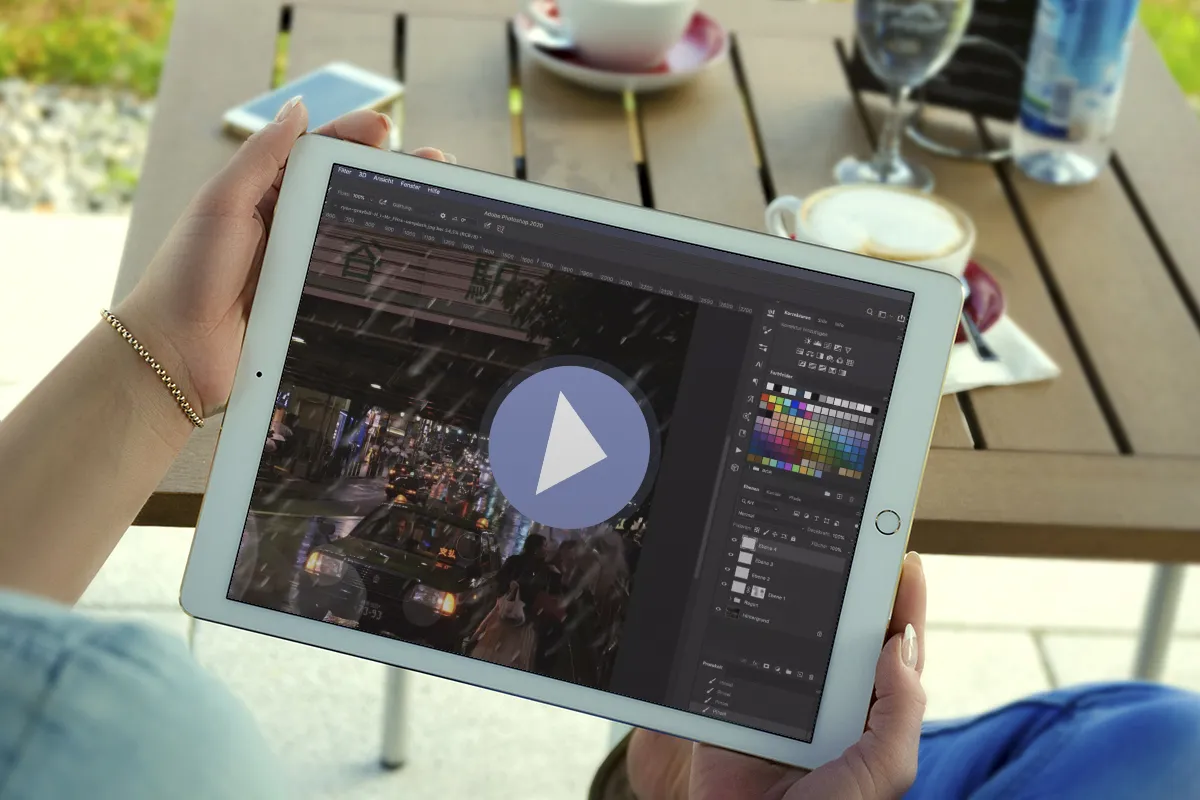
help video for application
Photoshop brush for snowflakes
Photoshop brush for rain
Photoshop brushes for bokeh effects
Details of the content
Paint snow and rain easily with brushes in Photoshop
Easy to use and customizable - if you want to create snow or rain in Photoshop , you'll love these 50 brushes .
For controlled "picture weather": snowflakes, raindrops plus bokeh effects
The brushes make use of Photoshop's brush settings. Instead of applying individual snowflakes and raindrops click by click, you apply snow flurries and rain showers in wider areas. Use a simple mouse drag or, if available, your stylus on the tablet.
You get 25 preset brushes for snow, 20 for rain and 5 more for bokeh effects. You can use the latter to round off the overall scene by adding spots of light here and there. To use the brushes, import them into Photoshop by double-clicking on them, for example. Then open the window for brushes and select the appropriate snowflakes, raindrops or bokeh shimmer . Then adjust the size and apply the snow and rain effects to a new layer in the color of your choice.
Preset effects - maximum Photoshop freedom for realistic results
The brush settings have been prepared in such a way that realistic and dynamic effects result directly from the application of the brushes. In addition, you have maximum optimization freedom to create the right snow and rainfall for your images . The basic options are:
- Depth effect: Apply the snow or rain on three layers. On the bottom layer, place small flakes or drops for the background and soften them slightly. On the top layer, place a few larger flakes or drops for the foreground, which you also blur. The snowflakes or raindrops on the middle layer are in focus and remain sharp. Also play with the opacity of the effects.
- Change direction: Open the brush settings. You can customize all parameters here. You will probably be most interested in the angle that you use to set the direction of fall of snow and rain.
- Effect density: You can adjust the intensity of your snow flurries and rain showers particularly well via the distance. The greater the distance, the fewer the snowflakes and raindrops.
Further tips on using the brush settings
In addition to the options already mentioned above, there are numerous other brush settings in Photoshop that you can use for customization, such as roundness, the jitter parameters for size, angle and roundness, scattering or transfer.
Important tip: Select a brush from this package. Open the brush settings. First save a new brush preset and then select it for further customization. This will prevent you from accidentally saving the brush presets contained in the package.
You can also use filters such as motion blur for additional depth effects or work with masks to introduce local deviations. Watch the instruction video above.
Other users are also interested

Start a design firework display!

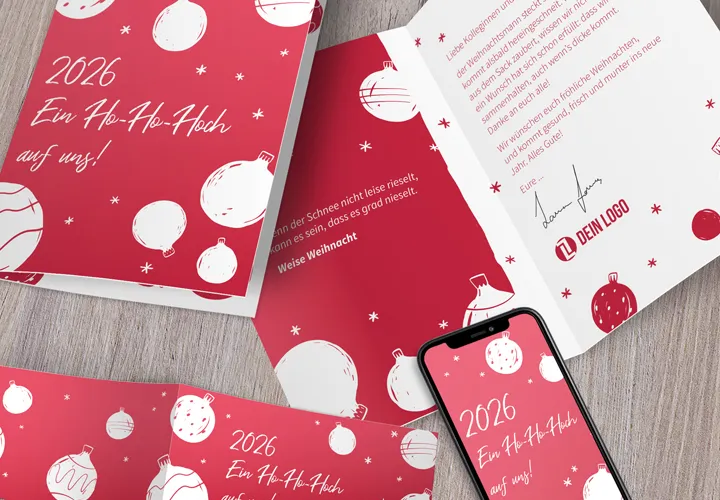
Announce the Christmas celebrations!

Simply download and customize
Beautiful half-tone ornaments
Motifs for the entire surface
Kind instead of well-behaved
Choose from 8 modern designs
Fully prepared and editable


