Halftone Patterns: Patterns for halftone grids in Photoshop
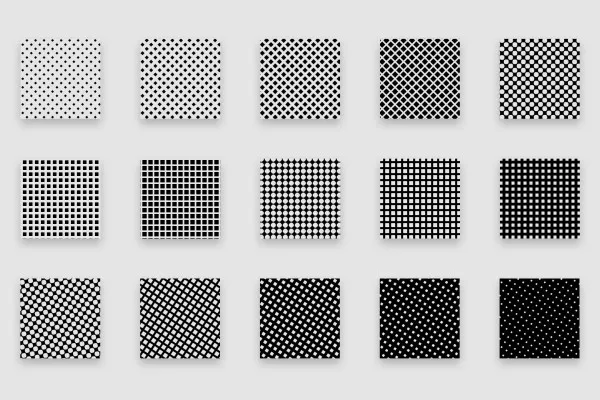
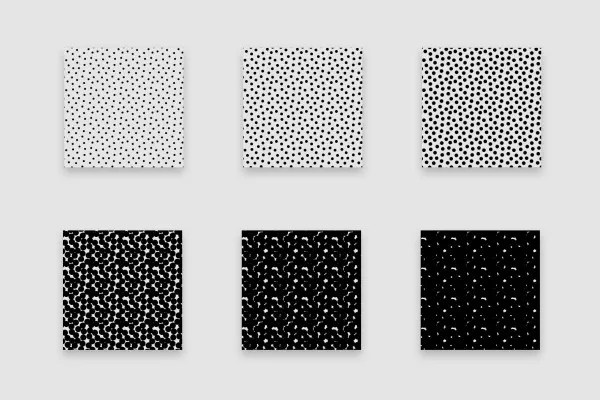
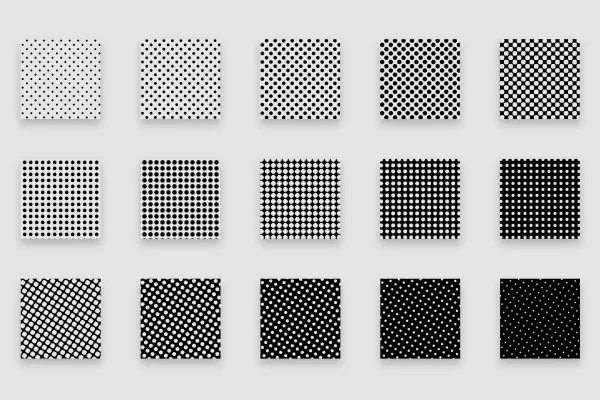
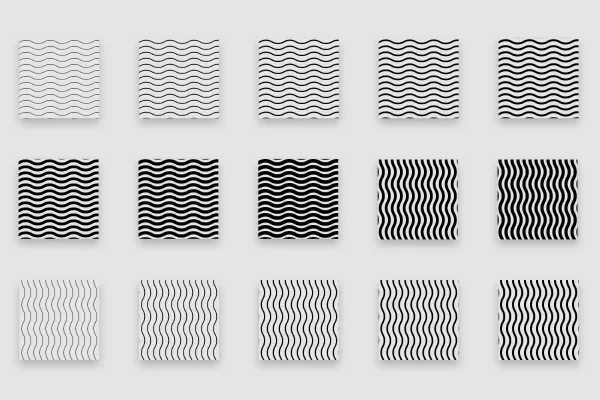
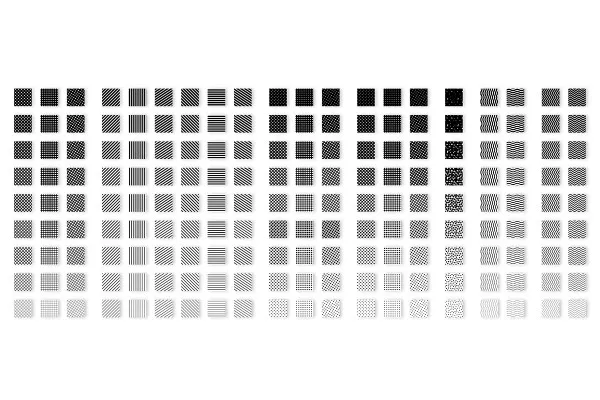
In the background: an ornament. On your lettering: a feast for the eyes. As an overlay on your image: a real eye-catcher! Choose the right structure from 180 pattern variants for halftone grids and create fascinating halftone patterns in Photoshop on both small and large areas. In just a few clicks!
- Ready to use at any time: add 180 halftone screen variants to your Photoshop pattern library
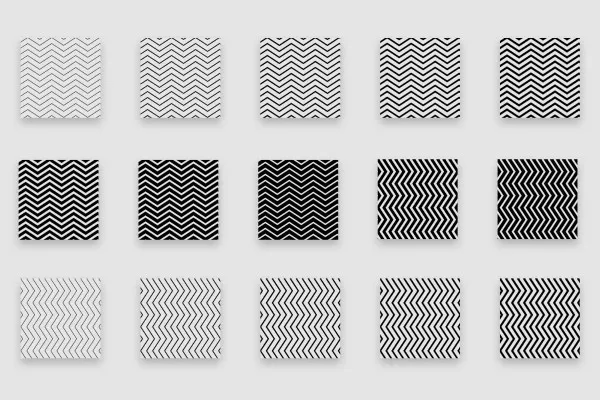
- Choose the right structure: grids, dots, lines, squares, waves and zigzag lines
- Freely customizable: Scale and position the halftone patterns in the desired color
- Versatile use: for large backgrounds, fine details, typo and shadow effects
- Bonus: All patterns are also available in PNG format
Unleash the captivating charm of halftone screening in your designs and images at any time. Download now and you're ready to go!
- Usable with:
- content:
360
Assets/Templates
- Licence: private and commercial Rights of use
Examples of use
-
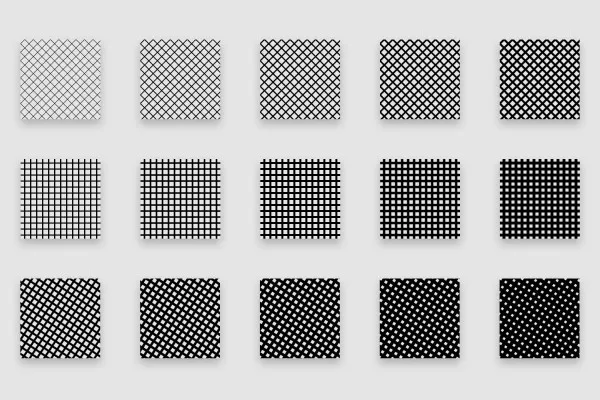
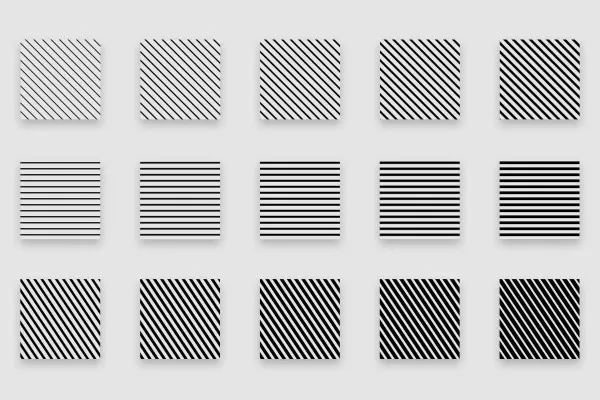
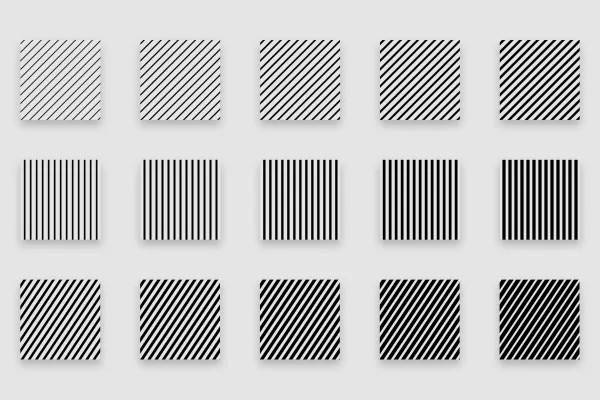
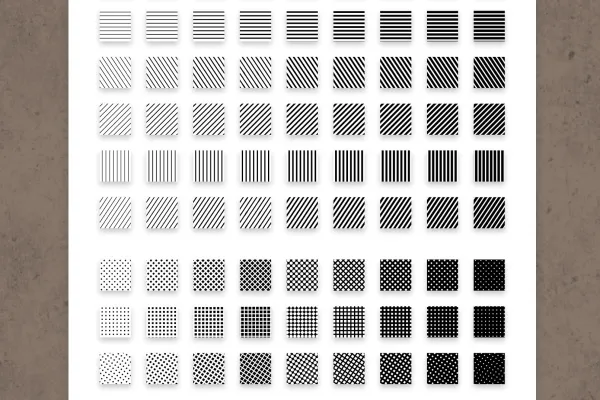 Open gallery180 variants! Choose the right pattern and apply it to small and large surfaces.
 -
Open galleryExample: Use the patterns for eye-catching retro looks.
-
Open galleryExample: Adjust the size of the basic pattern by scaling.
-
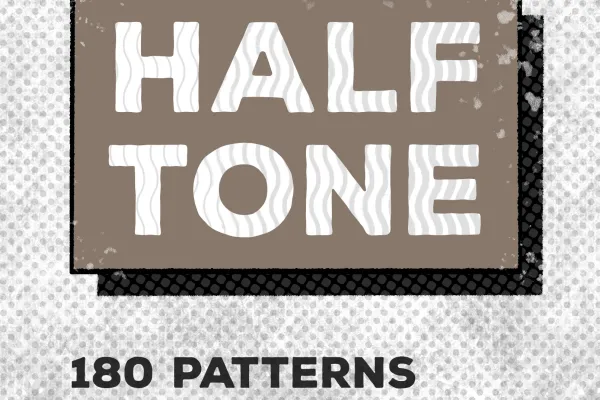 Open galleryExample: Create spectacular typo effects with the halftone patterns in Photoshop.
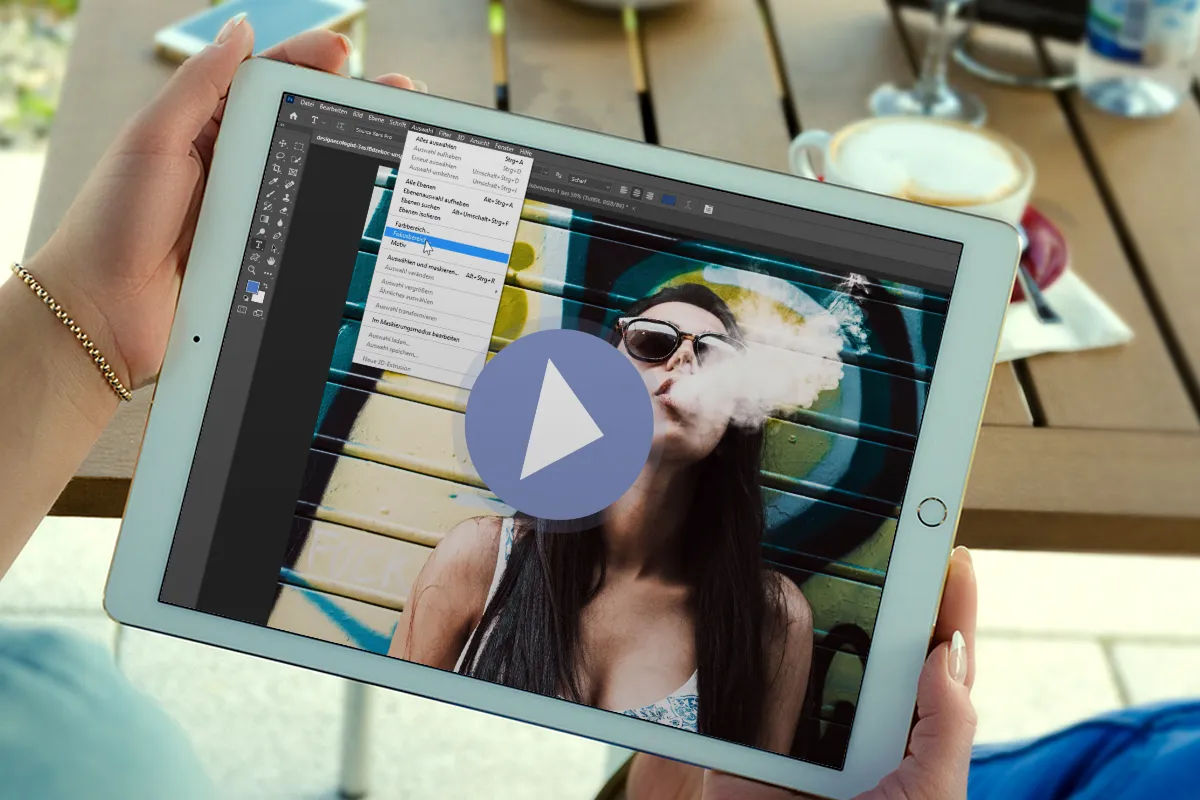
help video for application
Halftone Patterns: Patterns for halftone screens in Photoshop (Download)
Bonus
Details of the content
Variety meets ease of use: create halftone patterns in Photoshop
From a delicate dot pattern to an almost full-surface line pattern - simply apply the right halftone pattern to your surfaces . The pattern function in Photoshop in combination with the 180 pattern variations in this package make this very easy!
A touch of retro for a modern look: halftone grids in practical use
Imagine lettering in bold, chunky letters with a shadow spreading out behind it - instead of an ordinary gray area, this shadow presents itself in a striking zigzag pattern. Imagine one of your photos: It still looks rather conventional, but the very next moment it appears almost "pop-like" due to a dot overlay. Or: Imagine the page of a flyer filled with images and text, which suddenly gains tension thanks to a soft pattern in the background ...
Just imagine how versatile you could use the following 180 halftone patterns for halftone screen effects - then download them and click them into your works!
Halftone patterns: A simpler workflow in Photoshop is hardly imaginable
Whether it's a retro look, textured background or typographic effect - you can create all this and more in Photoshop with just a few clicks using halftone patterns: Create a pattern fill. Open the preview with the currently selected pattern in the corresponding window and open the context menu with the cogwheel icon. Add the halftone patterns via Import pattern... Add. Now select the desired pattern. Use Scale to adjust the size. Done.
Access these patterns for halftone grids at any time
Once you have imported the patterns into Photoshop , they are always available in your pattern library. The choice is yours: access grid structures, lines, squares, evenly and unevenly distributed dots, wavy and zigzag lines. All variants are available in different degrees of coverage and with different orientations. This allows you to create the texture and structure you have in mind even faster.
Other users are also interested
A tasteful design mix
Moving & invigorating

Modern motifs for vibrant backgrounds
For backgrounds in web & print
Simply create shiny effects
Hopp and top for Easter greetings
Floral magic for the whole area
Fully covered, from starter to dessert!


