Inkscape tutorial - the basics & tools of the vector program
Are vectors still throwing you off the curve? Let's change that now: By the end of this 2.5-hour learning path, you'll know all the important basics and tools of the free vector program Inkscape. A practical introduction by trainer Marco Kolditz to get you started working with vectors.
- Inkscape tutorial: All the important basics and tools of the vector program explained in practice
- The right swing for beginners: take your first steps on vector paths safely and confidently.
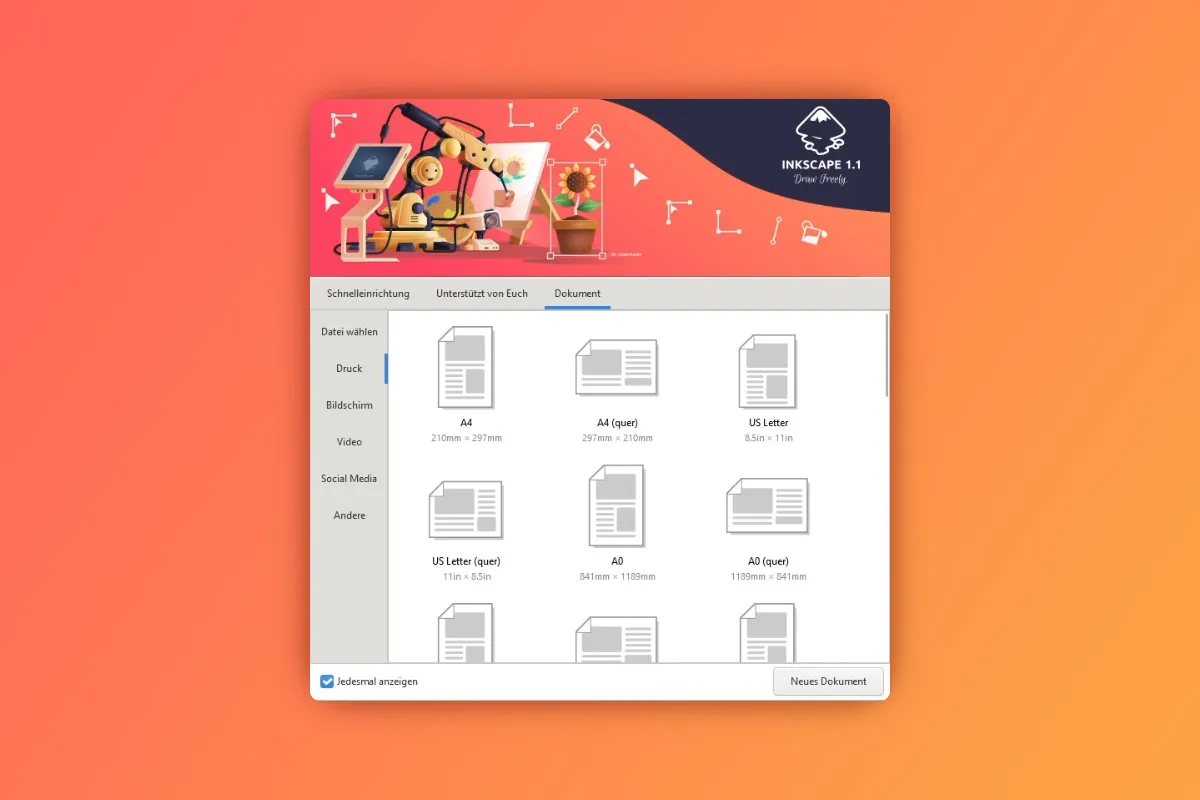
- To get started: quickly find your way around the interface and when handling documents.
- In Learning curve 1: Scale your knowledge of Bézier curves, knots, erasers, pipettes and more.
- In learning curve 2: Build up your knowledge of layers, objects and masks.
- In two and a half hours, Marco Kolditz will add one anchor point after another to your vector know-how!
Off to vector-based graphic fun: Start the tutorial. Open Inkscape. And finally create whatever shape and color you have in mind!
- Usable with:
- content:
3 h Video training
- Licence: private and commercial Rights of use
Examples of use
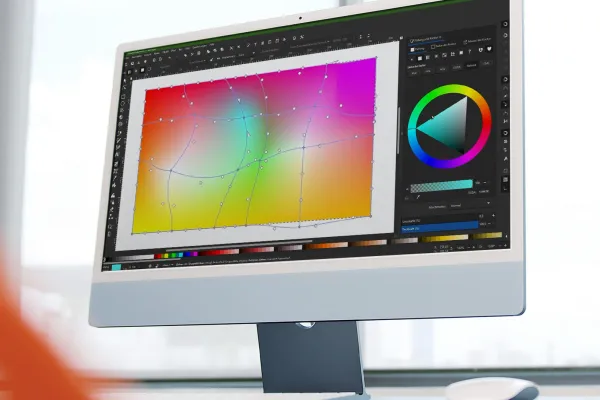
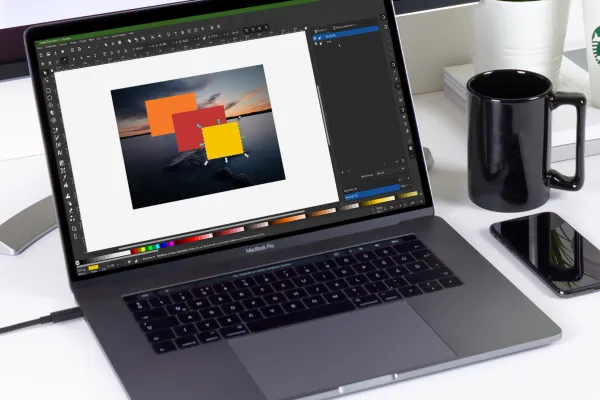
Intro
Introduction
Working with colors
Tools
Working with layers and objects
Advanced functions
Details of the content
The basic tutorial for the free vector program Inkscape
The advantage of vector graphics: Whether they are the size of a postage stamp or the size of a poster - their sharp edges and quality remain the same. So if you want to create logos, icons, symbols or illustrations, leave the pixels behind and take the vector path instead!
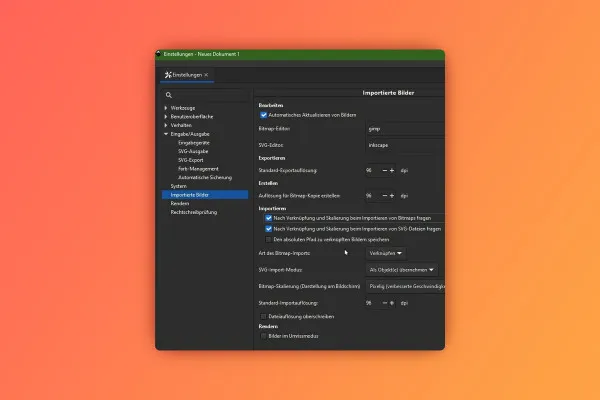
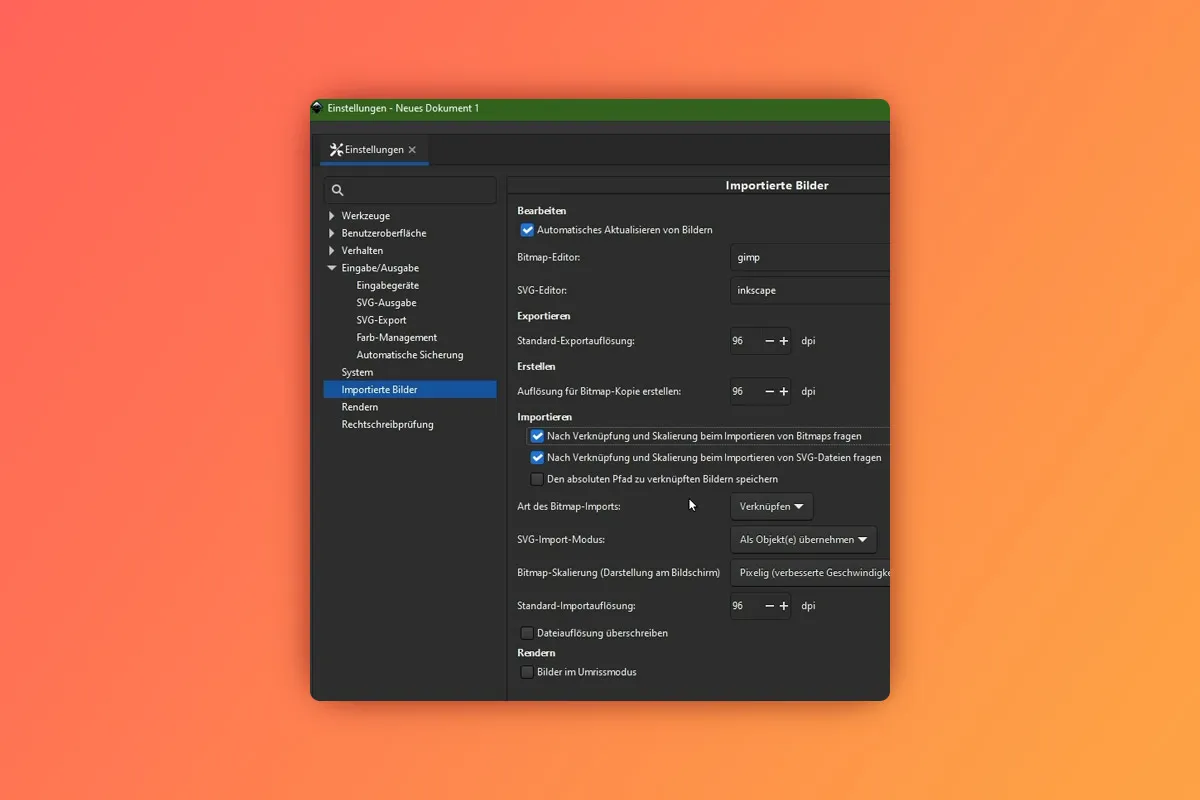
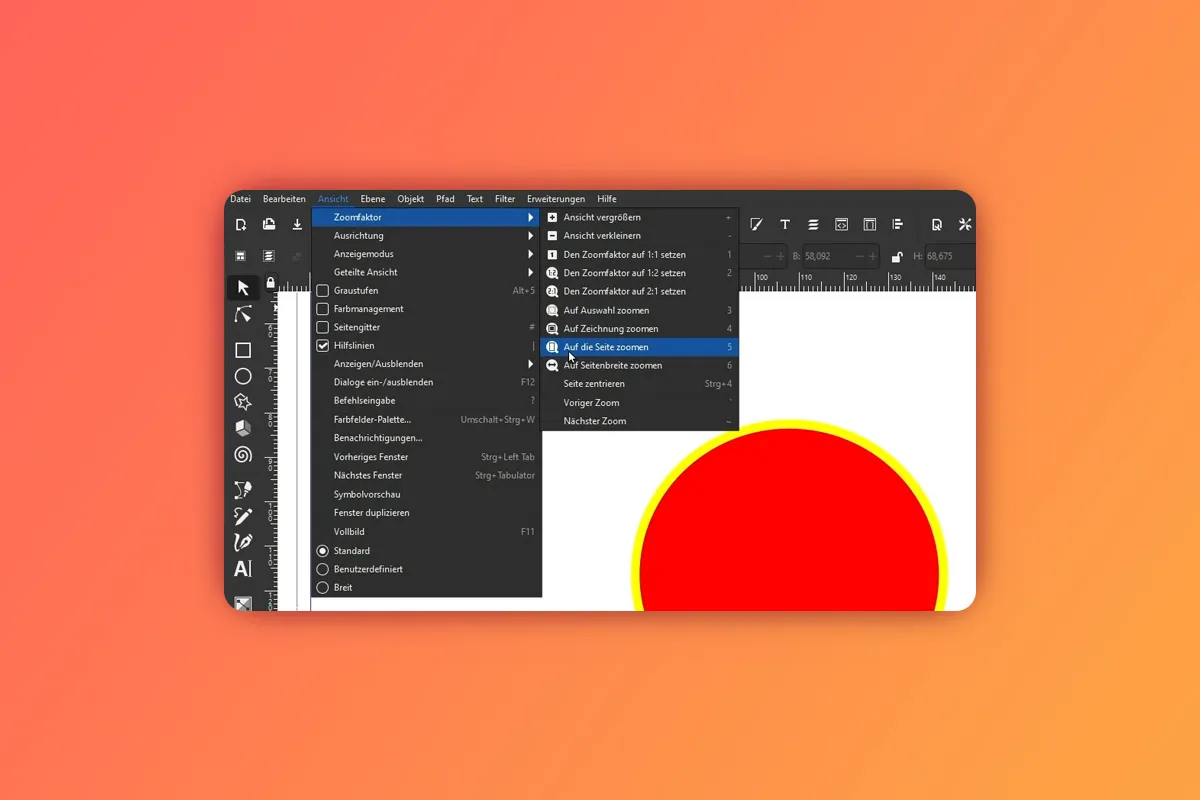
This introduction will help you with your first, second and third steps. Trainer Marco Kolditz starts by showing you where you can download the free vector program Inkscape and which default settings are recommended. You will also learn how to navigate through the program interface and how to create, save and export documents correctly.
The tools: What they can do. How to use them.
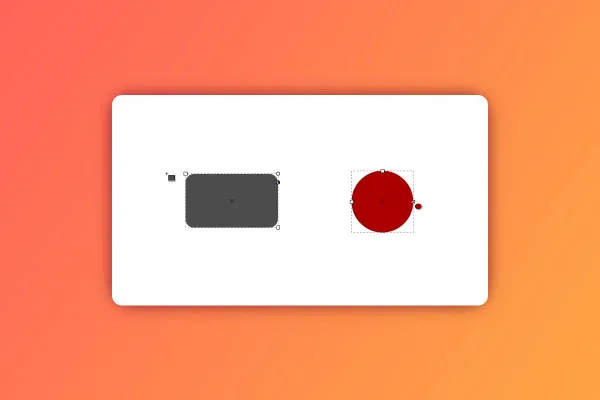
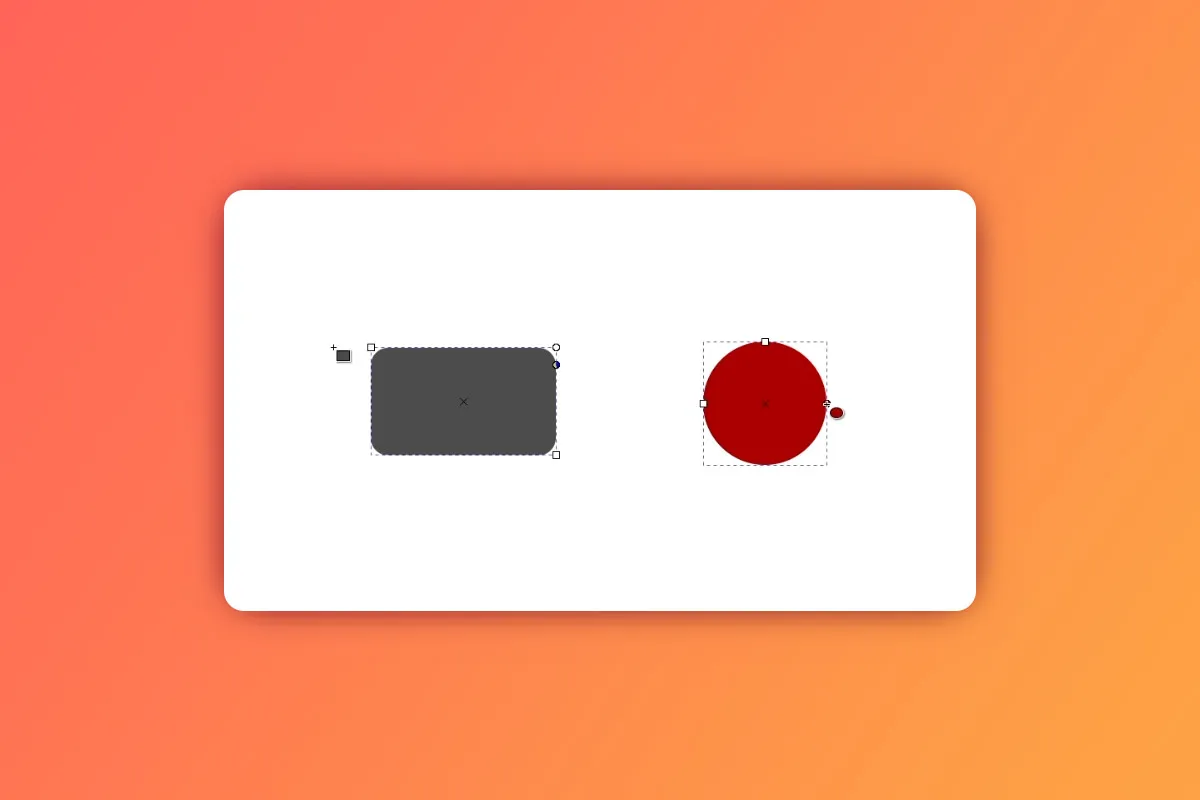
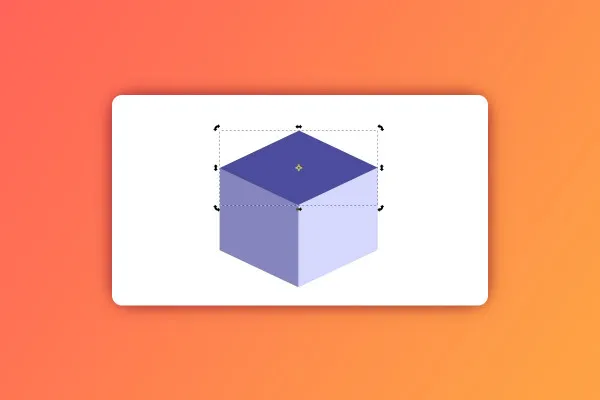
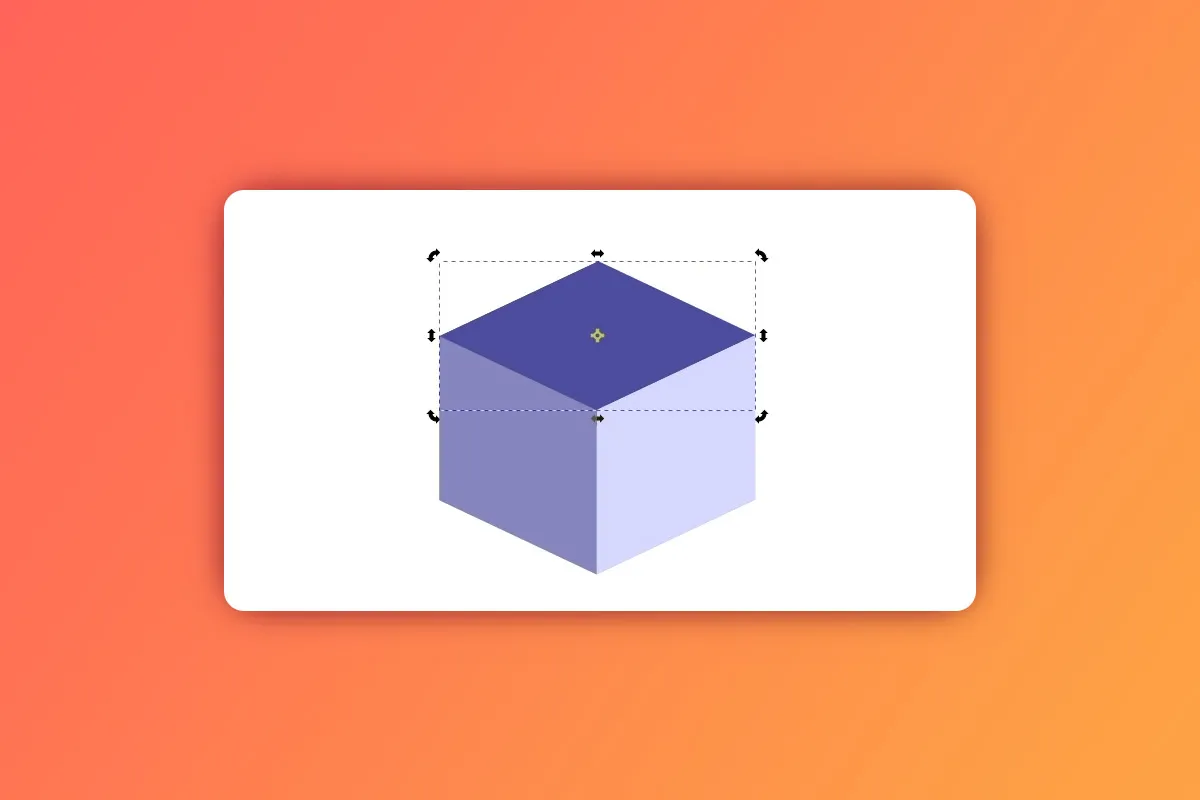
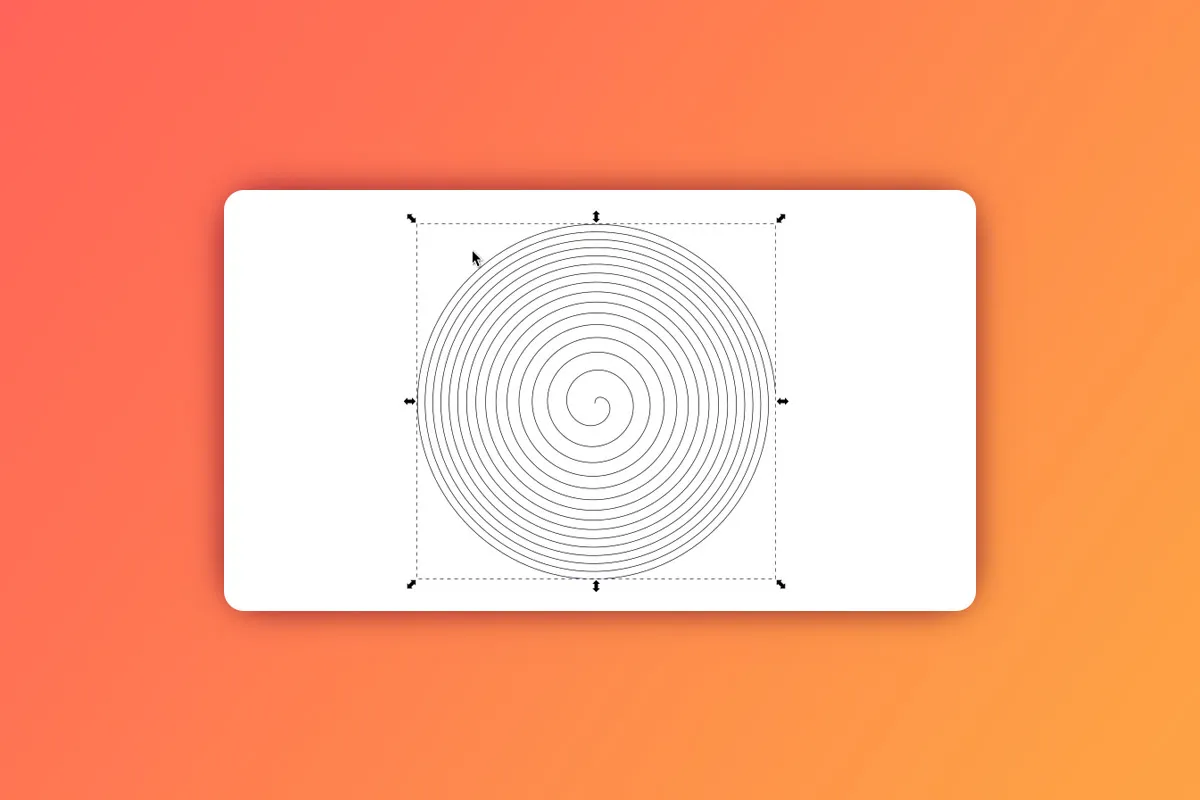
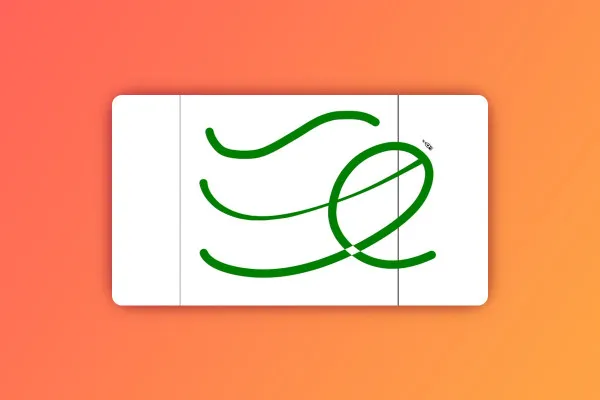
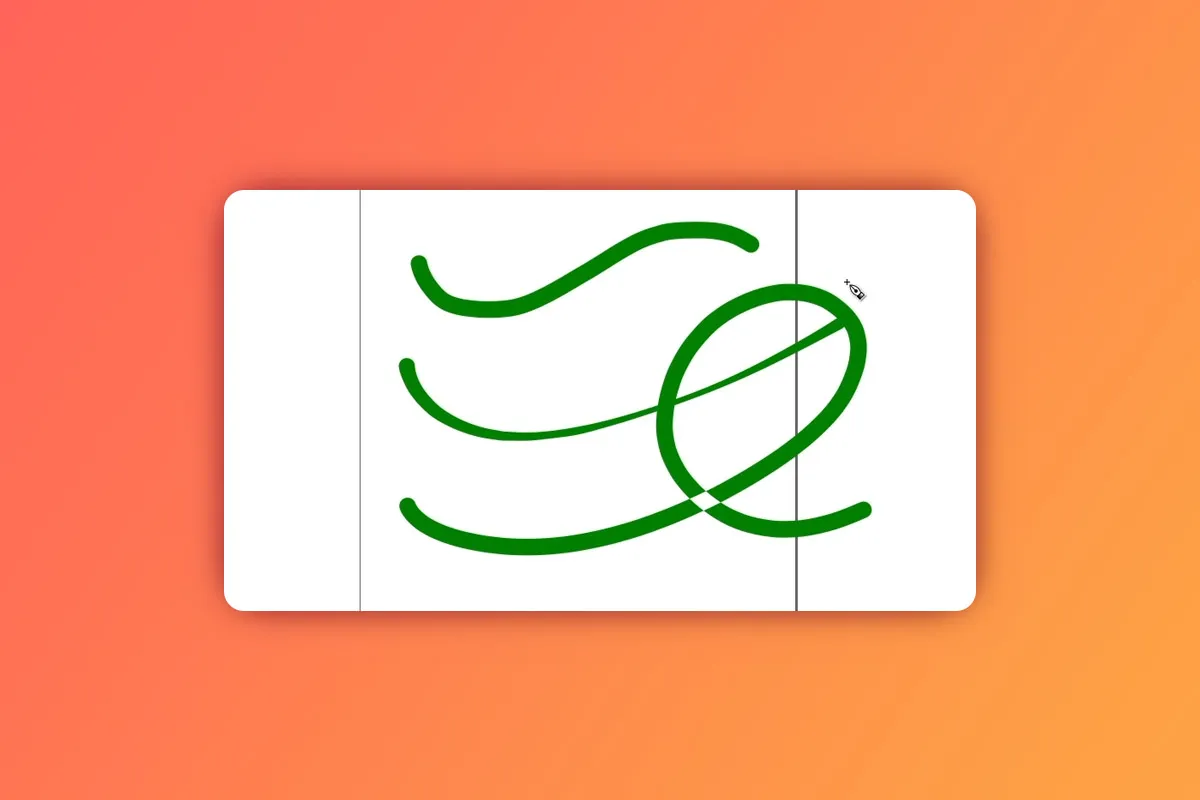
Inkscape offers you a wealth of tools for creating and editing vector graphics . In the tutorial, you will take a close look at each individual tool and the corresponding functions. Learn how to use the selection, node, rectangle, spiral and 3D box tools, for example, or how to use the gradient, freehand and spray toolsto give your own graphics their best shape and color. Which tool is particularly suitable for organic illustrations? How to place text along paths? Just grab the tutorial and watch it.
From initial to more complex vector graphics: with layers, objects and masks
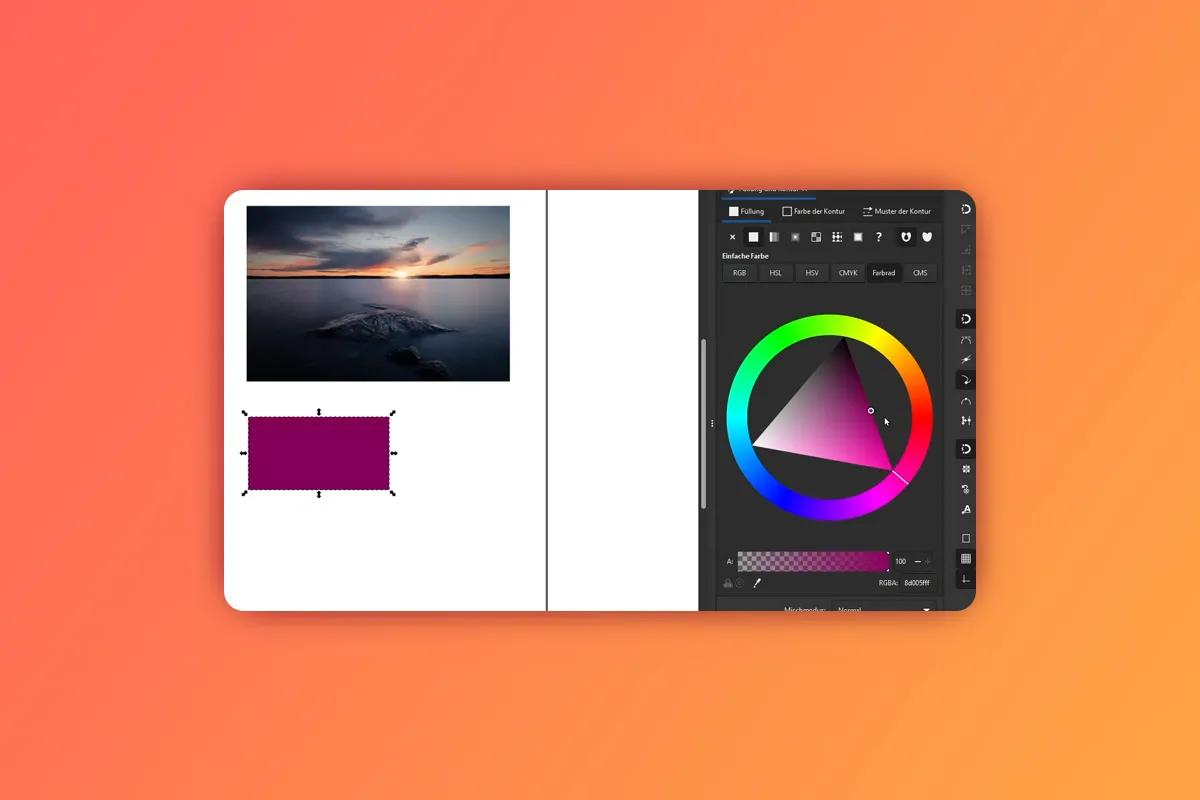
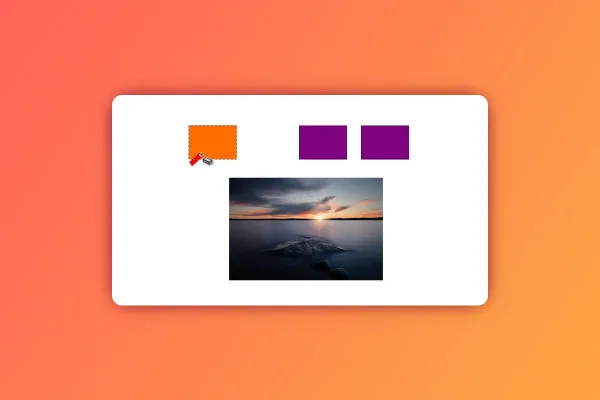
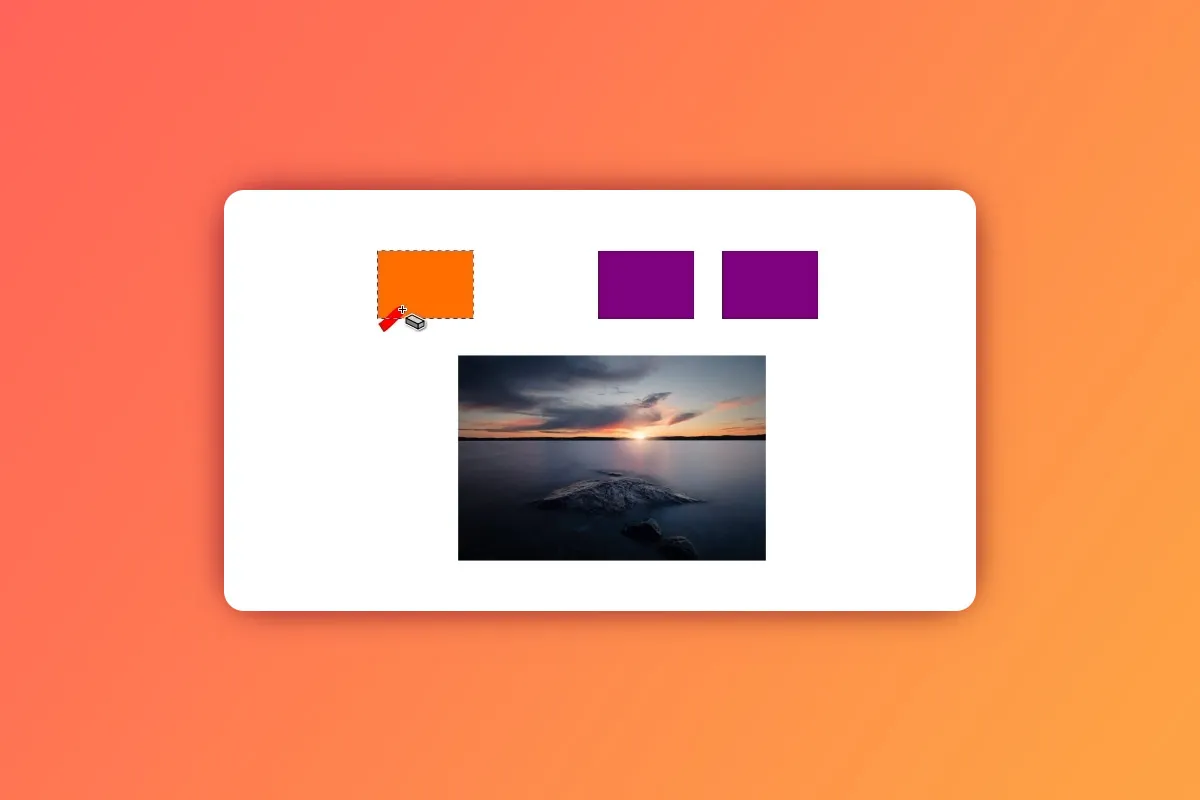
Once you've dug deep into Inkscape's toolbox, you'll immediately get to grips with the more advanced aspects of working with vectors: layers, blending modes, objects and masks. Only with the help of these functions will you be able to create more complex vector graphics in Inkscape . For example, learn how to correctly align and combine several objects you have drawn. You will even know how to use pixel images in Inkscape and create a crop for them using masks, for example.
An Inkscape tutorial for a comprehensive introduction and selective review
Watch the complete two-and-a-half-hour Inkscape tutorial from A to Z if you want to learn the program from scratch. Or: Click on a specific lesson whenever you have questions about a tool.
Other users are also interested

Full power, more inspirations, maximum WOW effect!
Understand & apply effectively

Live your layout now!

Master the vectors
Create stunning designs in seconds

Artificial intelligence in practice
Save time with artificial intelligence

More style, more power, more templates!


