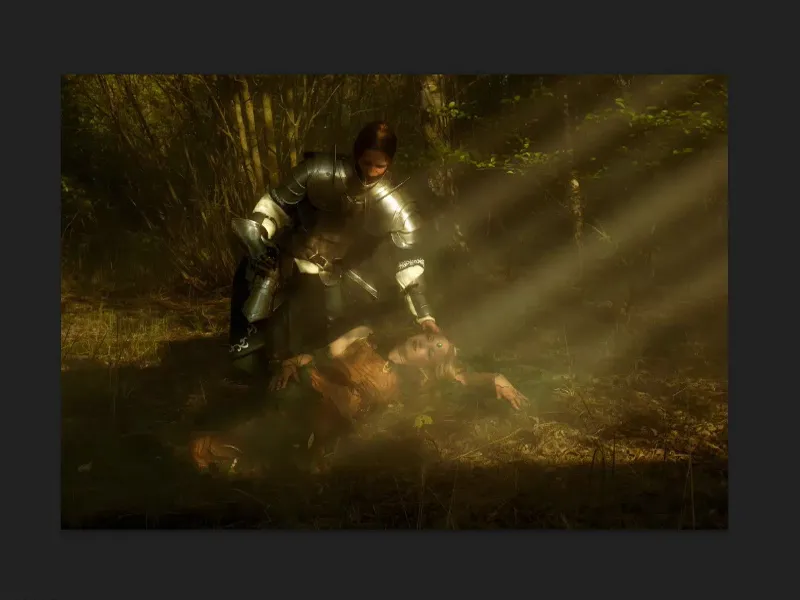
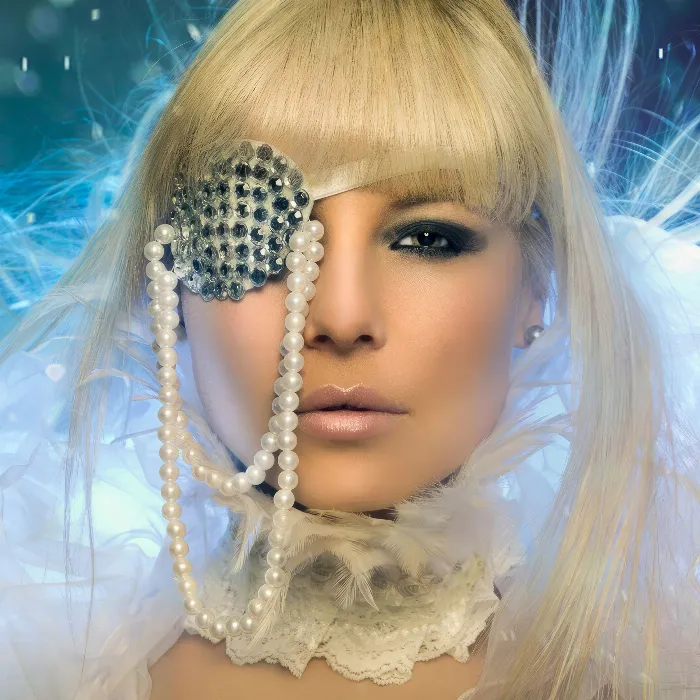
The fantasy look or the fairytale look, if you like, which is applied to this picture (see second picture), is mainly characterized by its great contrasts, by the softness, by this diffuse glow, and in this case is also enhanced by this light effect.
The light effect here in the original picture is real sunbeams, just as it came out of the camera. We were using a small fog machine and were lucky that a few rays fell through the leaves onto the fog. When I see something like that, I naturally think of Photoshop and that I need to enhance it a bit more.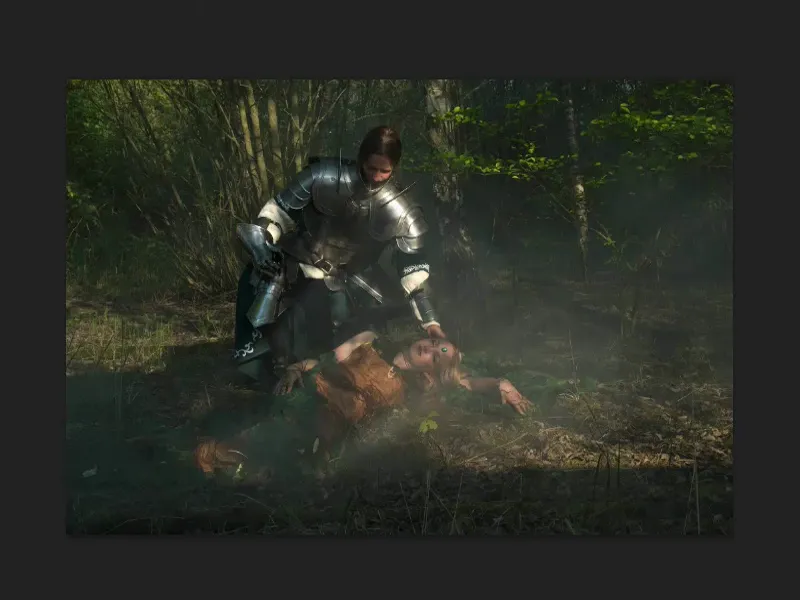
And with this fantasy effect, with this glow, I really create a mood that seems a bit like a fairy tale. How does it all work? I'll show you.
Black and white image
First you make a layer copy with Cmd + J or Ctrl + J (1) and then convert the whole thing into a black and white image(Image>Corrections>ReduceSaturation) (2).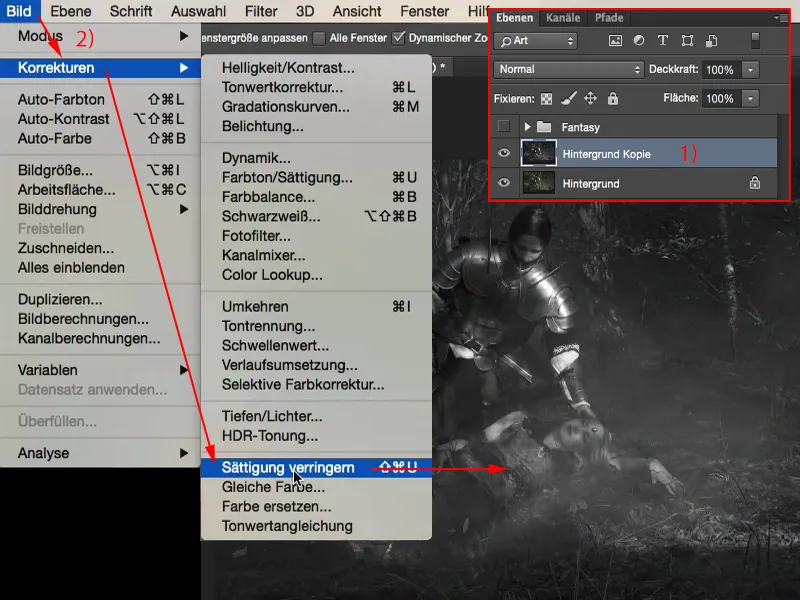
Next, create a smart object from this layer (Layer>Smartobjects>Convert tosmart object).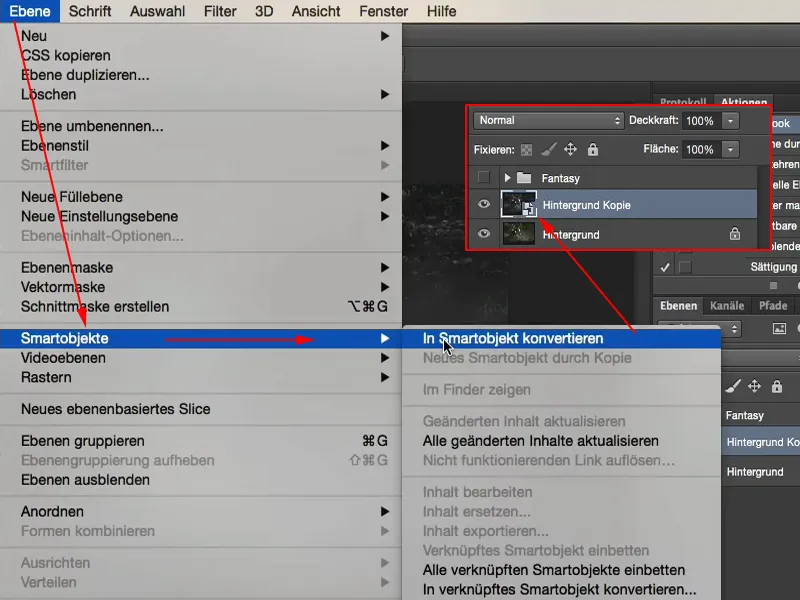
Create glow
All you have to do now is set the whole thing to Soft light mode (1) to increase the contrast.
However, this does not yet produce the glow. This only comes from the Gaussian blur (2) (Filter>Soft filter>Gaussian blur filter...). You can play with the values a little and you will see that the higher you increase the values here, the more diffuse the whole thing becomes. The pixels become wider and wider and wider and wider. Above a certain value, around 150, not much happens. And I usually leave it between 20 and 30, which always depends a bit on the image size. I'm going to say 23 (3) here.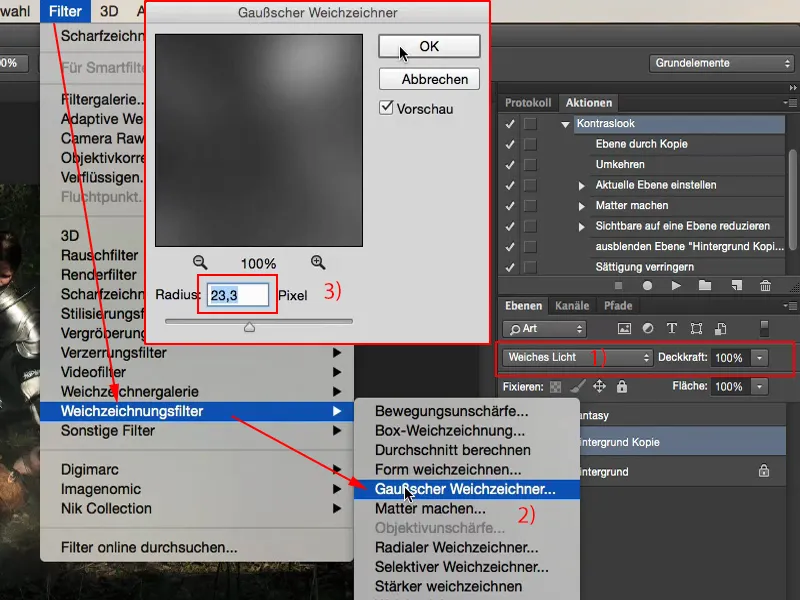
Then I look at the before and after comparison. Now I have this high contrast. My depths are really drowned out here, the highlights shine and the whole thing gets this painterly, glowing effect. That's actually the main component of this fantasy look.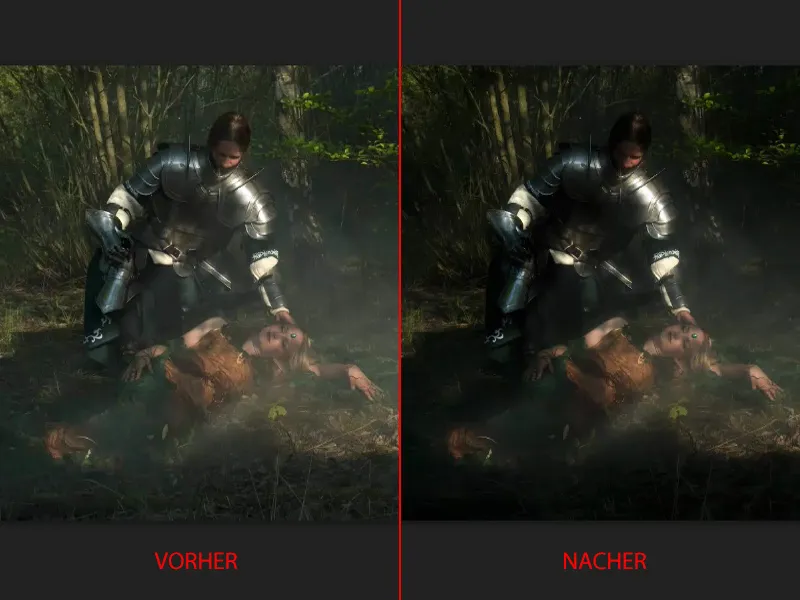
Color mood
What I can still do now is to mix together a color tone - either via an adjustment layer or also via a flat color fill - because this way it is still the original color, just a little more contrast in the end. To do this, I go to Layer>New Fill Layer>Color Fill...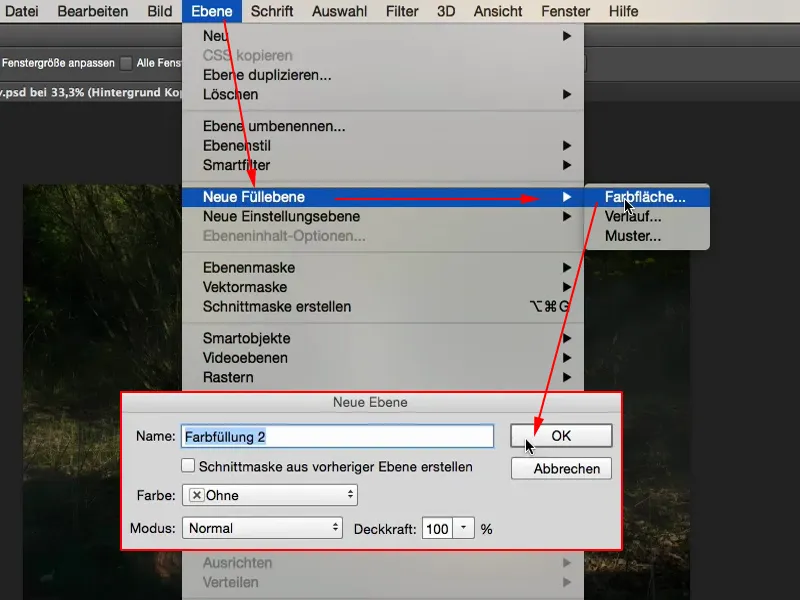
Here I now select a color tone. Maybe I'll use it like this (#b78b2d) - the orange will create a warm color mood ...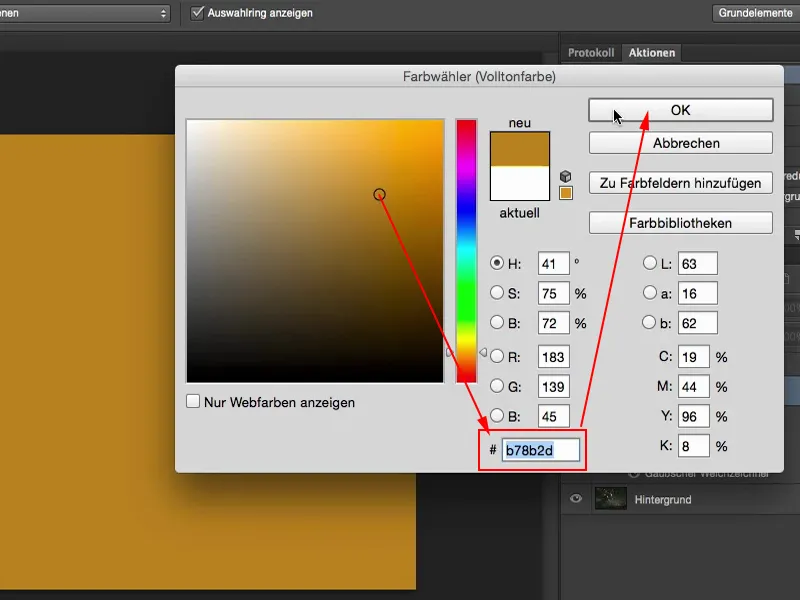
... and then I'll have this in my picture. If the whole thing is too strong for you, you can always reduce the opacity (1) a little.
The nice thing about the color fill is that you can also quickly create a cooler color mood here with a double click (2) or maybe something really funky, purple.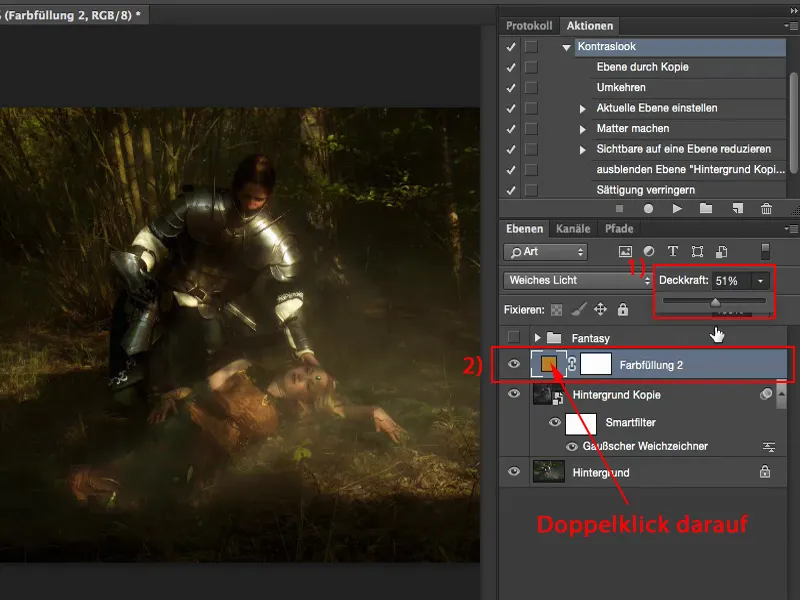
You can also vary the brightness here. So you can use the color area to make your image as light, dark, saturated or desaturated as you like. I think that's a really great option, because Photoshop always remembers this point (1), which is where I was here.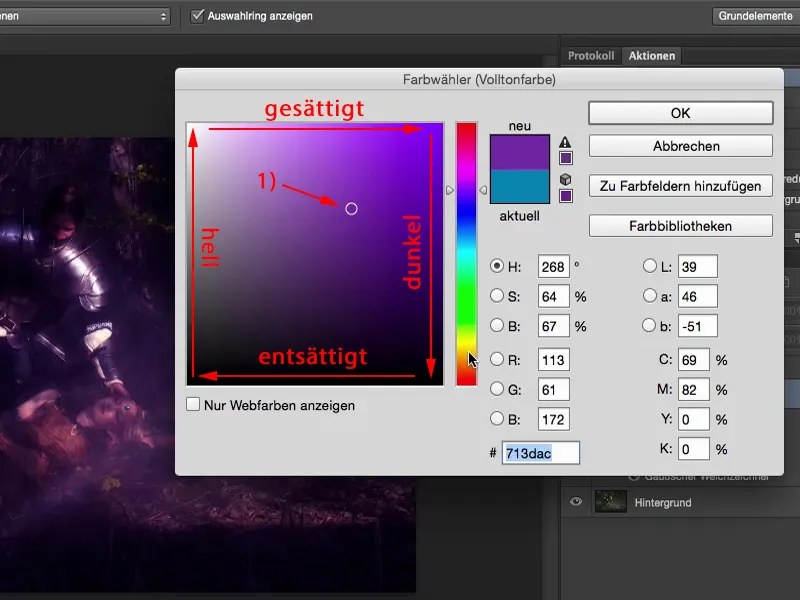
And if I now have the thought: "Well, I would also like to see it with cold colors", then I double-click on the color fill, click once on blue and I have the preview of how the whole thing would look in cold colors.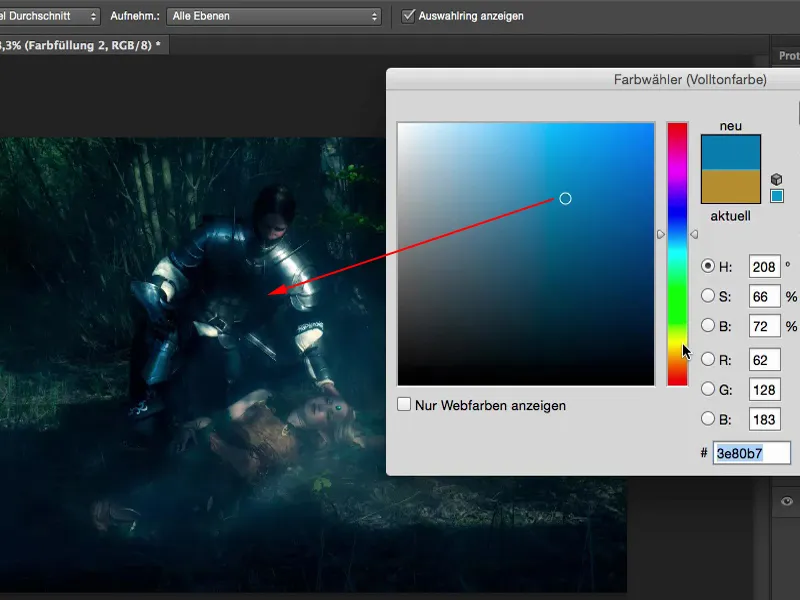
But I like it a bit warmer here. I think it also suits the scene when the knight bends down to his beloved, who is sleeping here, or maybe it's Sleeping Beauty, I don't know.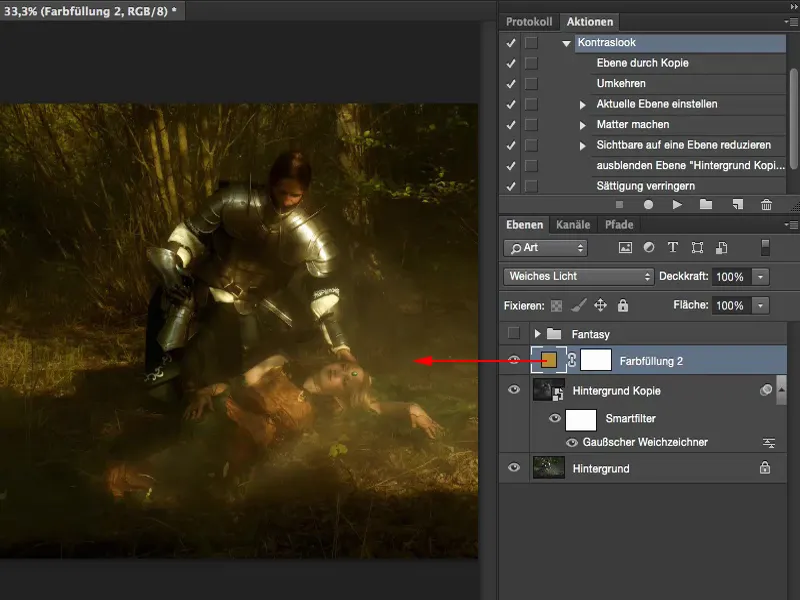
Rays of light
What I would like now: I'd like to have these rays of light here. To do this, I select the background copy layer (in the picture: Background copy). I want the rays of light to be colored by the color fill layer as well. I create a new, empty layer (1). Then I go to the brush tool (2), set the opacity to 100% (3) and make the brush tip slightly smaller (4).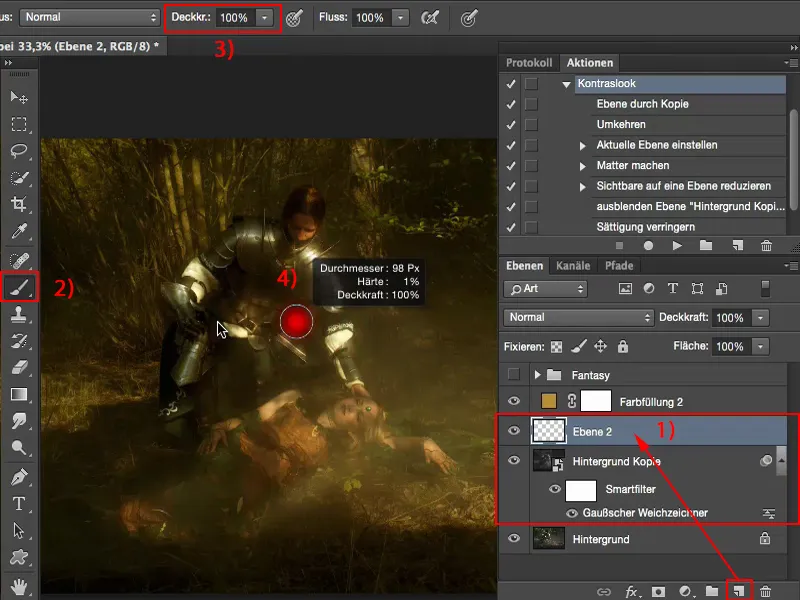
Now I click here in the middle of my picture, hold down the Shift key and click again to the right of it. Now I have a line like this. I'll now make two or three of these lines.
Set a point - hold down the Shift key - another point, and then connect them with a straight line. I do the same now by varying the brush thickness a little. So I'm creating thick and thin rays of light.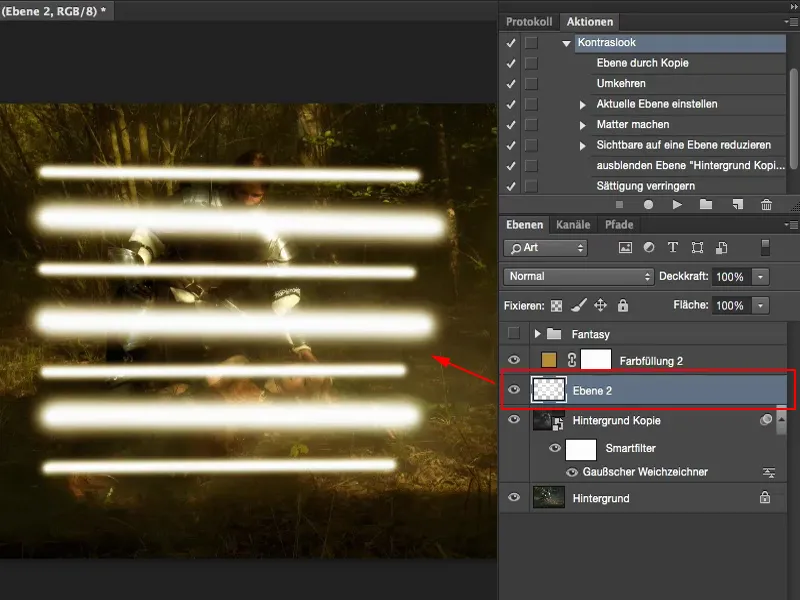
It's terribly quick. And all you have to do now is activate the motion bl ur blur filter here (Filter>Blur filter>Motion blur) (1).
Ideally with a maximum distance (2), as this will make the whole thing look realistically wide. It looks really cool like this. I then confirm this with OK.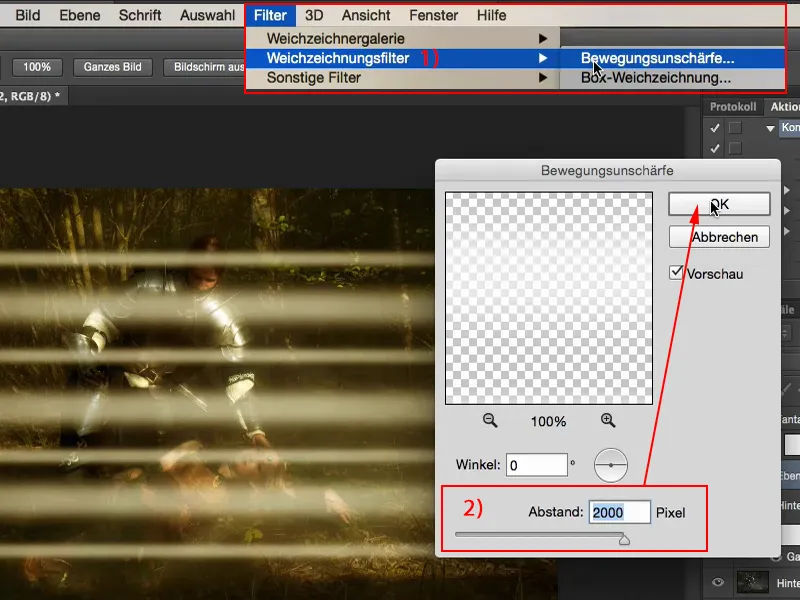
Now the spacing is still a bit too big for me and I would like it to be more diffuse, so I have to blur the pixels here. I usually do this with the Gaussian blur filter (Filter>Blur filter>Gaussianblur) (1). And I'll keep going until I think: "Yes, this looks cool." Maybe something around 30, 35 pixels (2), that works.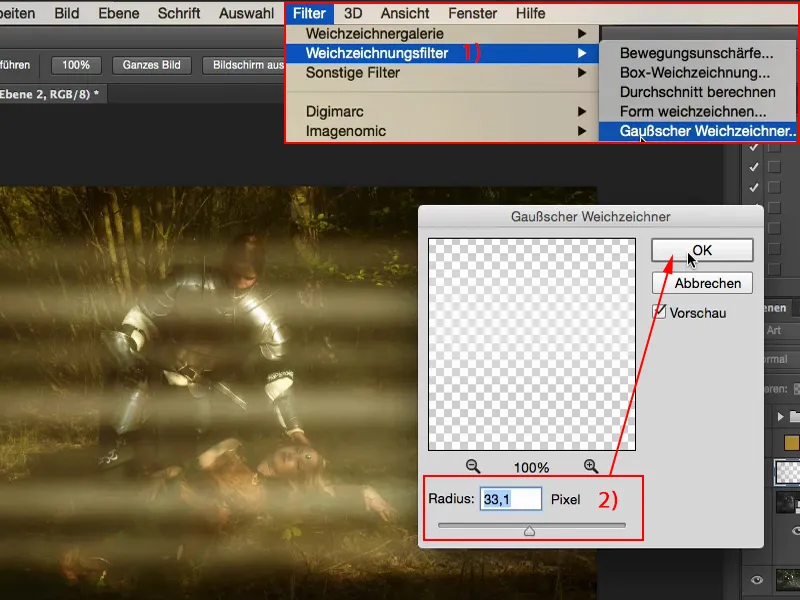
Then I can use Edit>Free Transform (1) to position the whole thing in the image where I want it to be. I can also rotate it and simply adjust it as it was in the original image ...
Now, of course, I can see edges, for example at the bottom, where the drawn light rays end.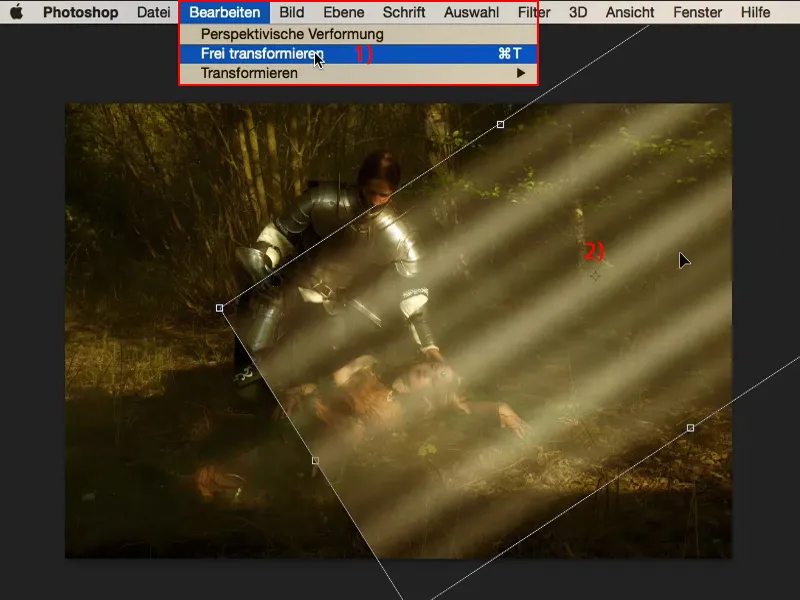
I can easily remove the edges using a simple mask (1). I'll use my brush again here (2). I reduce the opacity a little, 40, 50 percent (3), and make the tip of the brush very large and very soft (4). Now I brush away the edges and perhaps go over the rays once more with reduced opacity (around 25%). At the bottom, I would have liked to have blended it out a little and also on the knight and in the middle on the sleeping woman.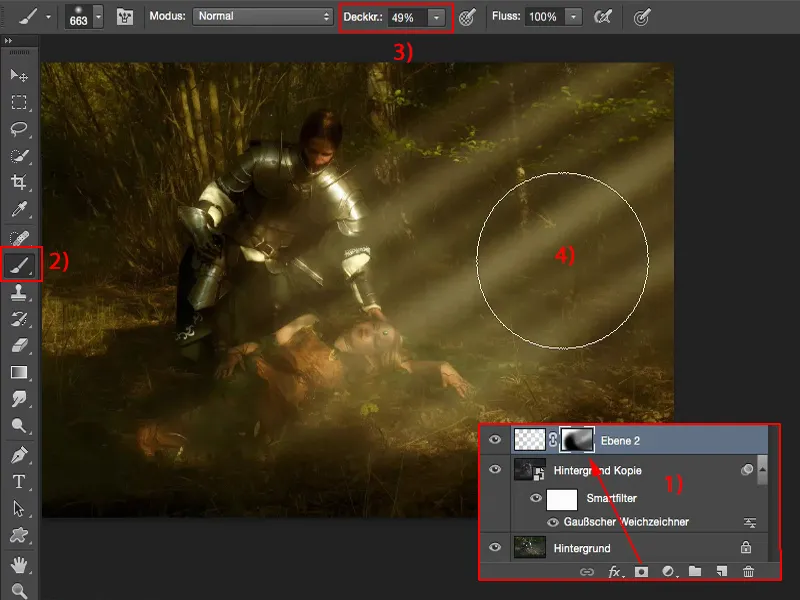
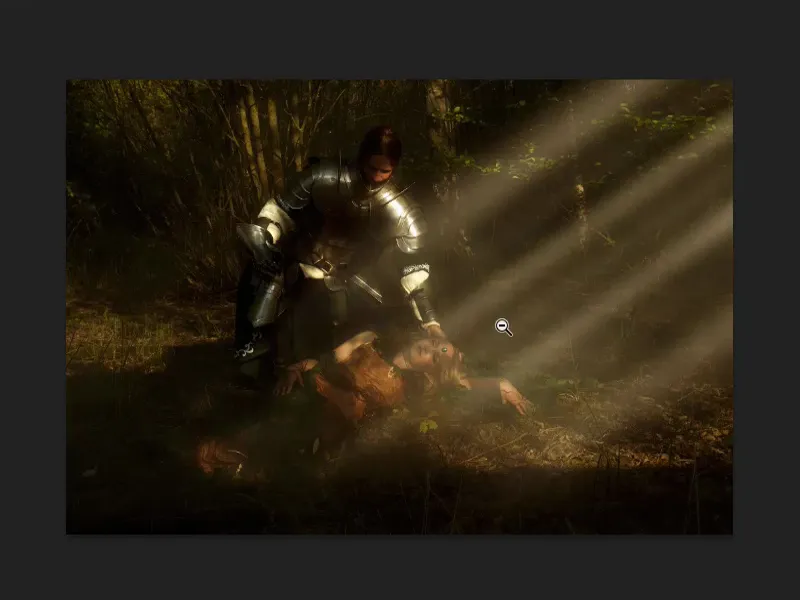
Now I still have the opacity here and can incorporate the rays of light so realistically that it's hardly noticeable (top picture). If I take out the rays of light, I can see the original rays (bottom picture), which run in the same direction and are not quite as strong.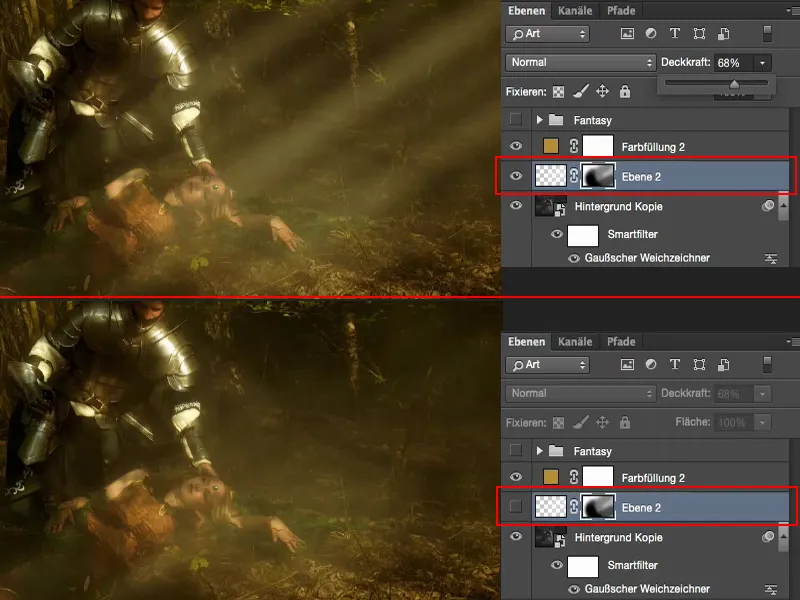
Another thing you can do is to set the layer mode here to Soft light (1), for example. This will make the whole thing even more diffuse and it will blend in a little better.
But I often see it like this: When I create an effect like this, I want it to be really strong in the image and then I leave it in Normal mode (2) with a reduced opacity (3).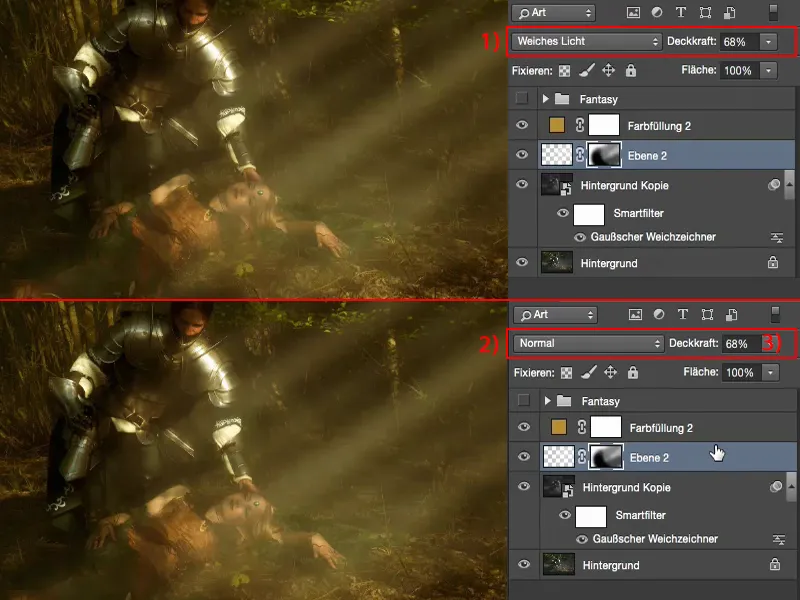
So it can be that easy to transform a normal image into a fantasy image.