In digital photography, the right perspective is crucial for the impact of an image. Often, when taking photos with a smartphone or camera, the perspective may not fully align, resulting in a crooked or distorted image. In this guide, you will learn how to effectively use the Perspective Tool in Affinity Photo to quickly correct photos and optimize the overall effect. We will walk through the process step by step and make the necessary adjustments to achieve a professional result.
Key Takeaways
- The Perspective Tool in Affinity Photo allows easy correction of distorted images.
- Cropping the image is crucial to avoid unsightly edges.
- You can adjust color intensity and brightness in specific areas of the image with tone corrections.
- Sharpening the image with a soft focus can further improve image quality.
Step-by-Step Guide
First, open your image in Affinity Photo. You can choose an image that is perspectively distorted, such as a photo taken with your smartphone.
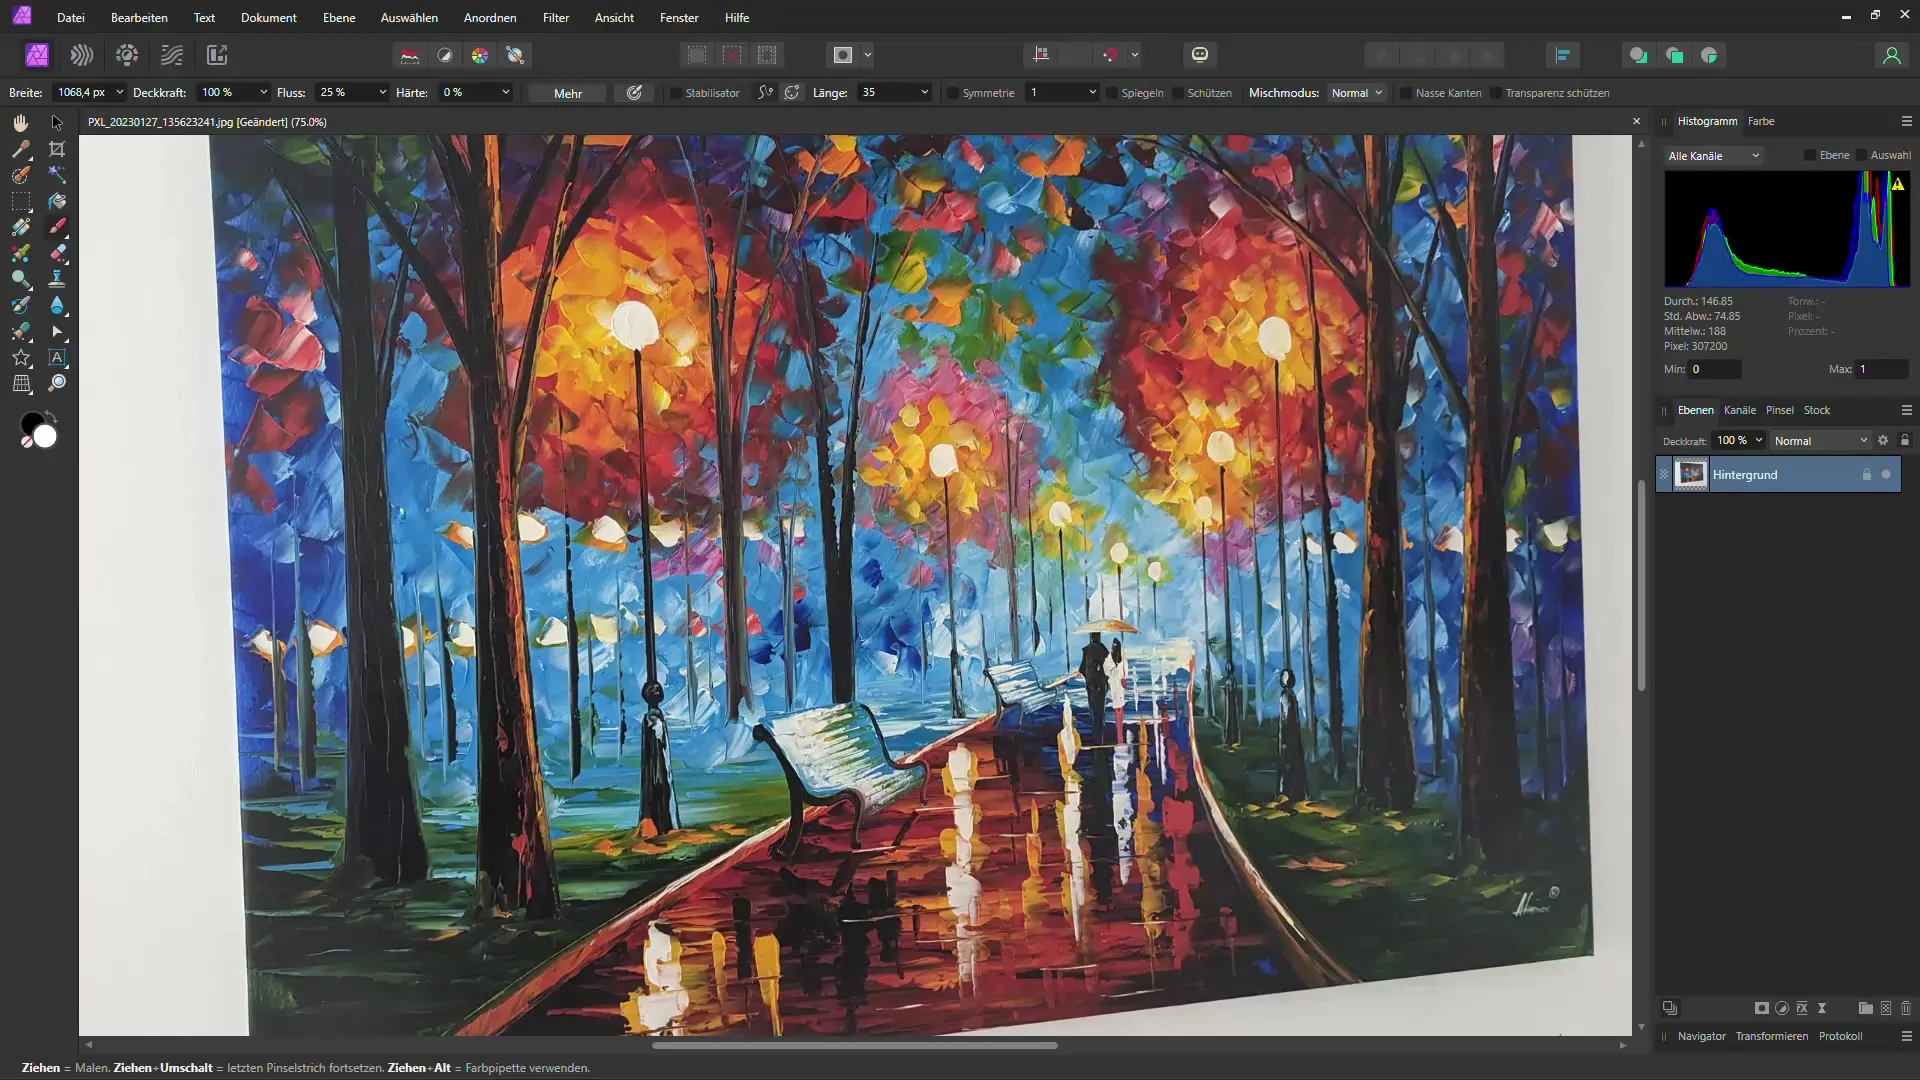
Once you have loaded your image, take the Perspective Tool (looks like a grid at the bottom left in the toolbox). This tool allows you to drag the corners of your image to align them.
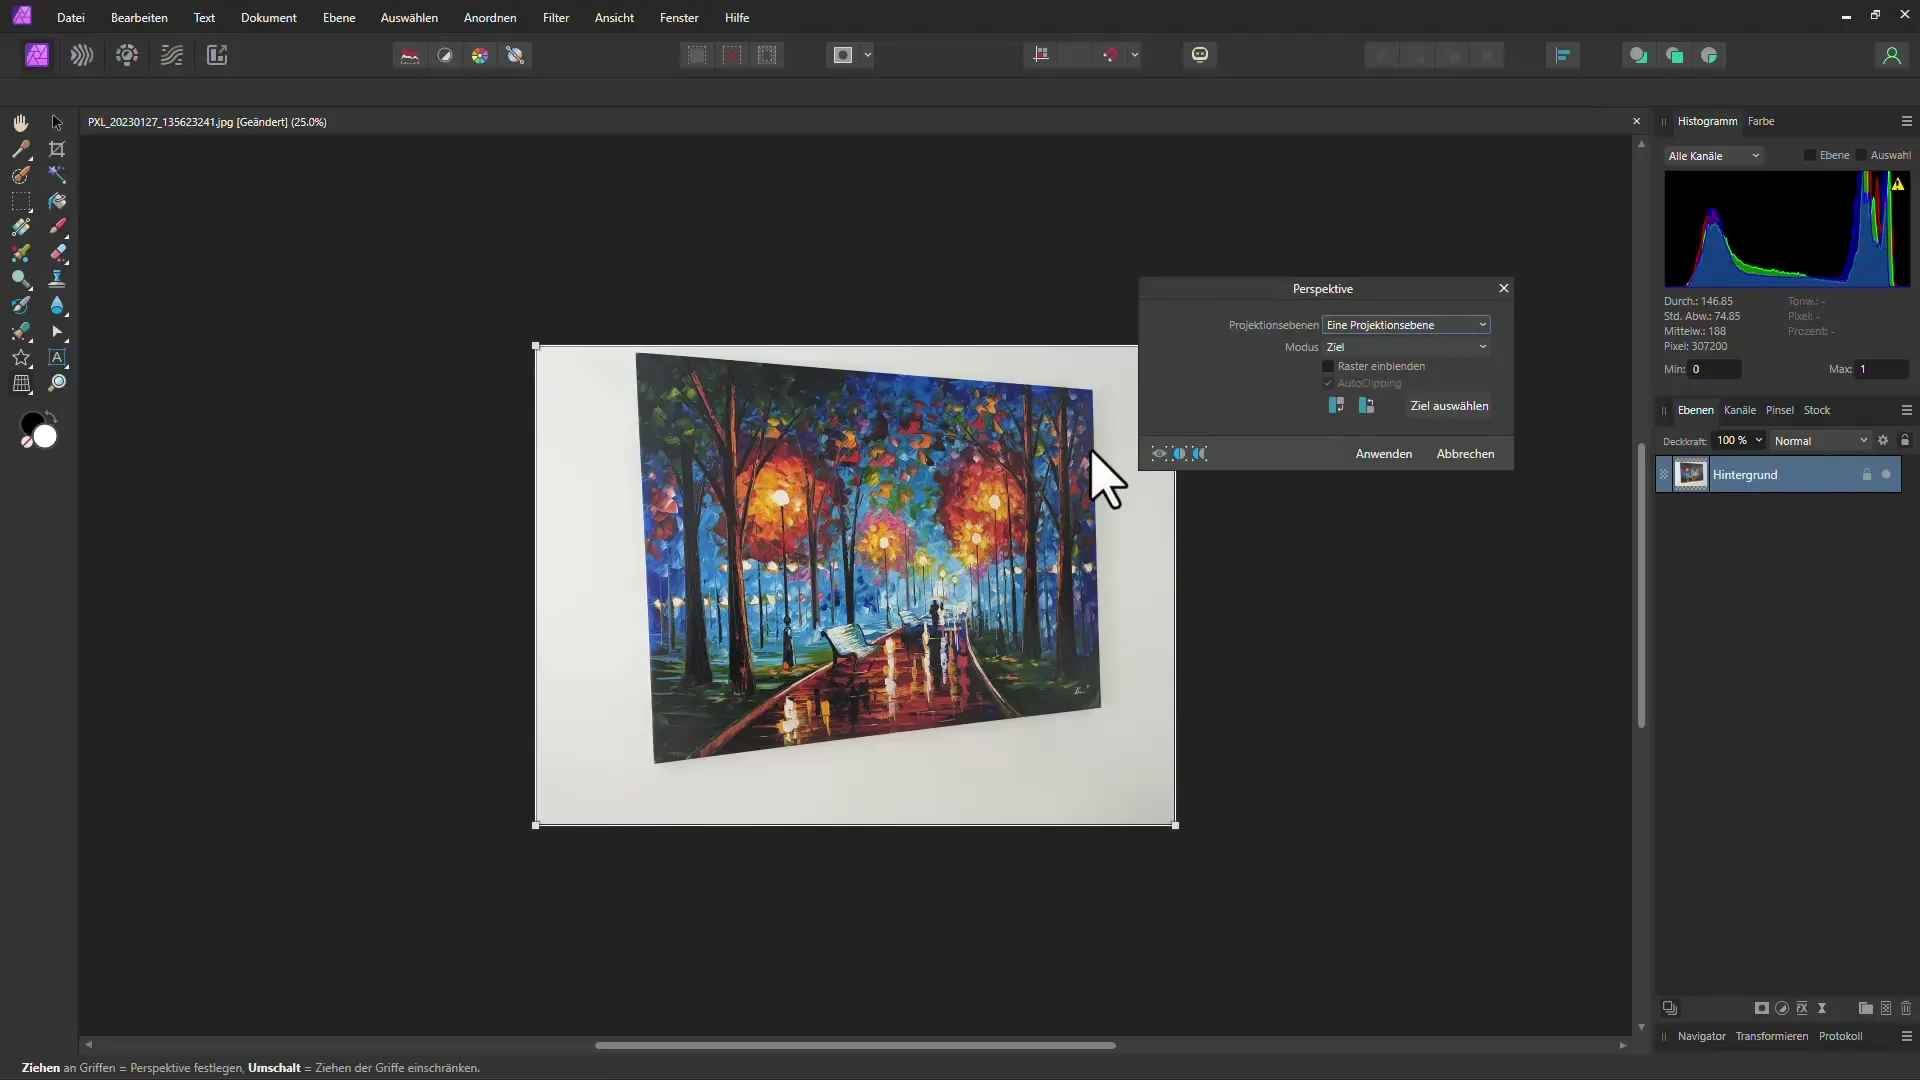
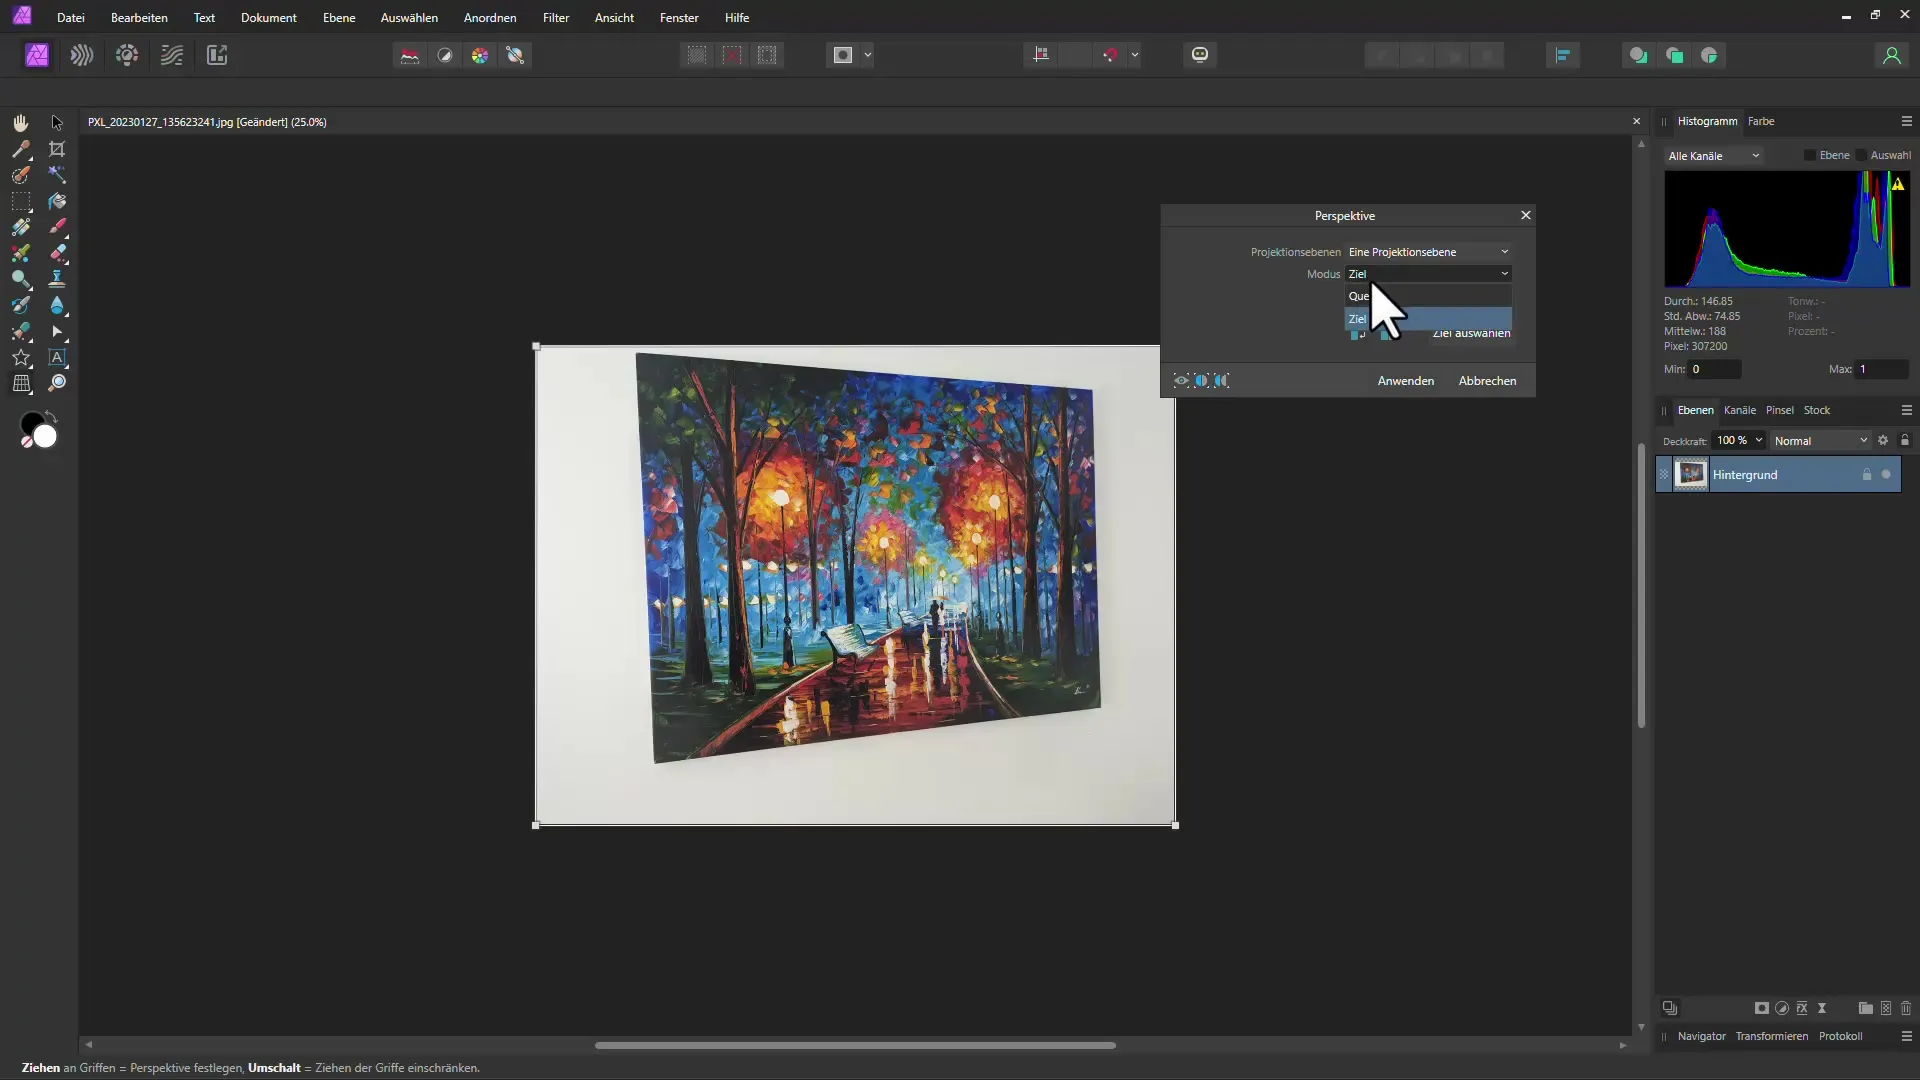
When you drag the image, you will notice that it moves as a whole. To work more precisely, switch to "Source" mode. This allows you to align the individual points more precisely.
Zoom in using the Ctrl + Plus keyboard combination. With the space bar held down, you can move the image, giving you more freedom to adjust the points precisely.
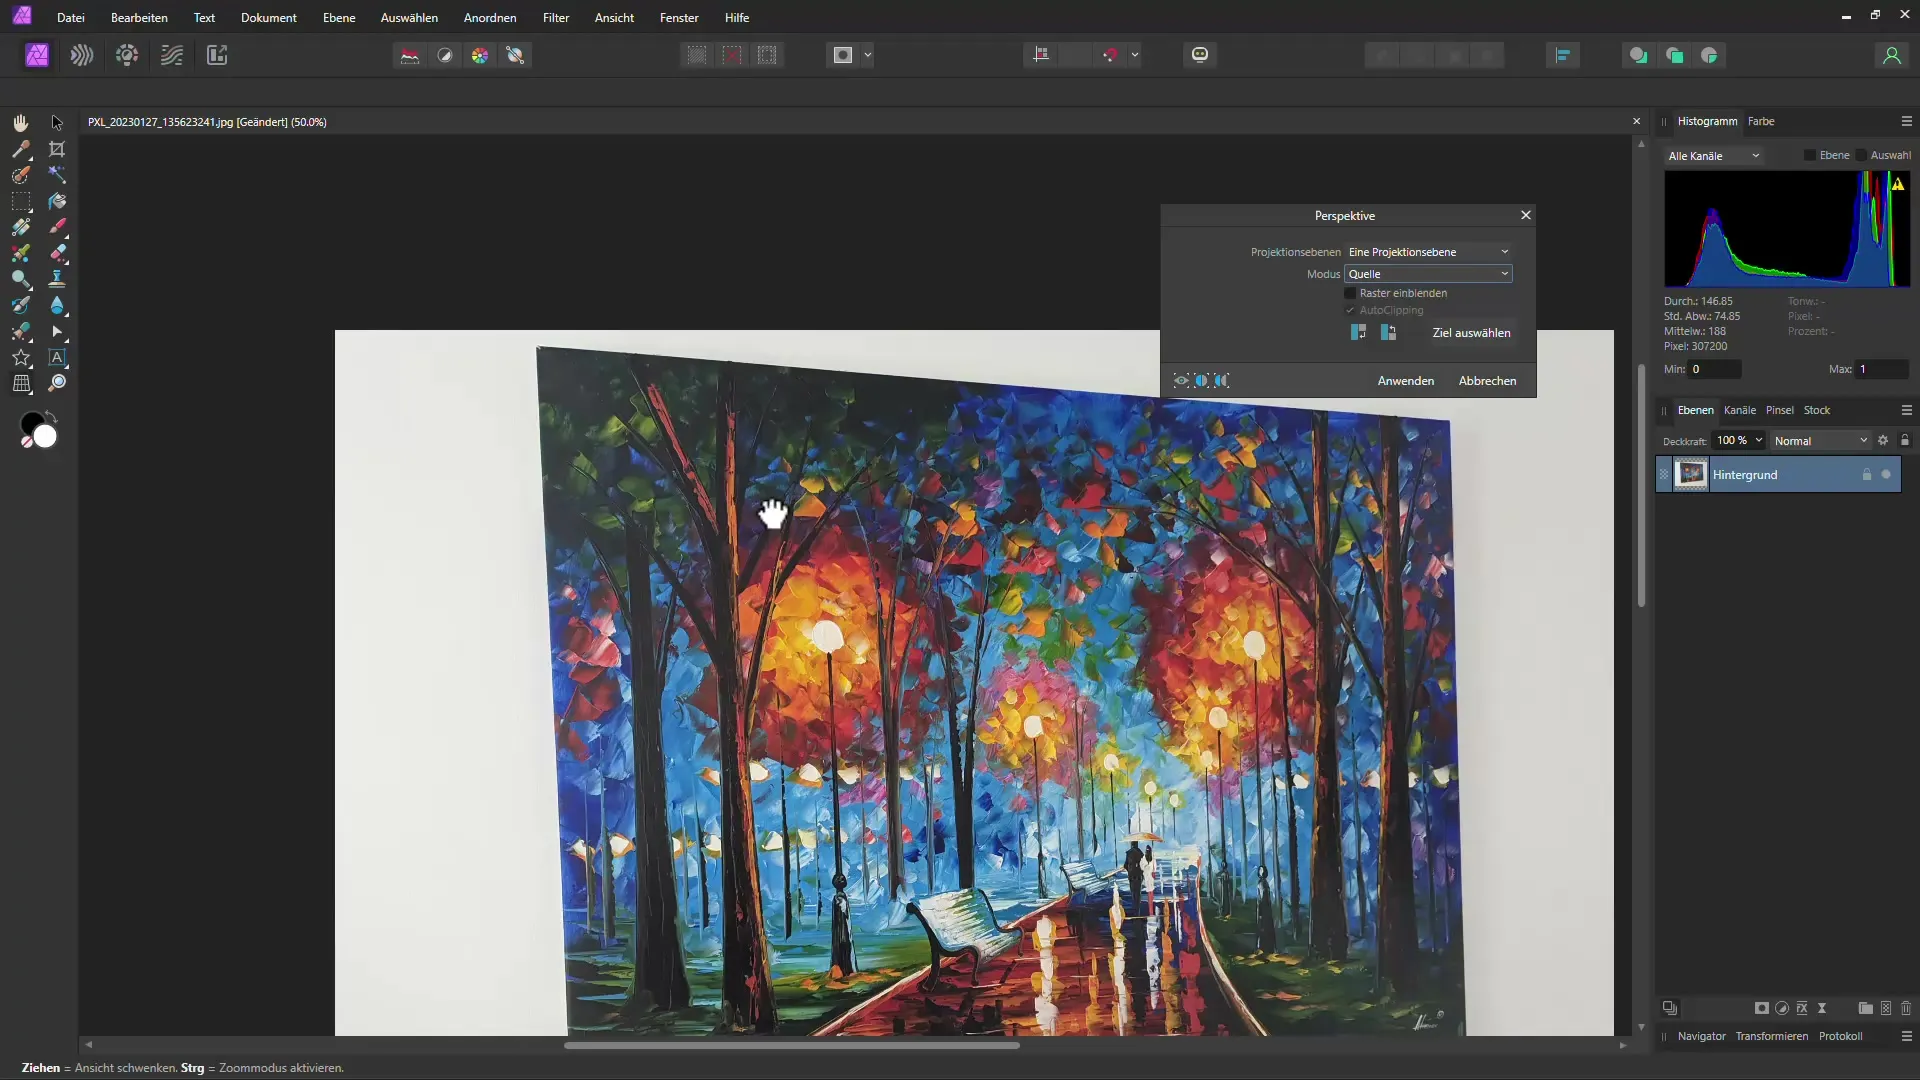
Position the points in the right places to achieve a straight alignment. Take your time with this step, as it is important for everything to look harmonious.
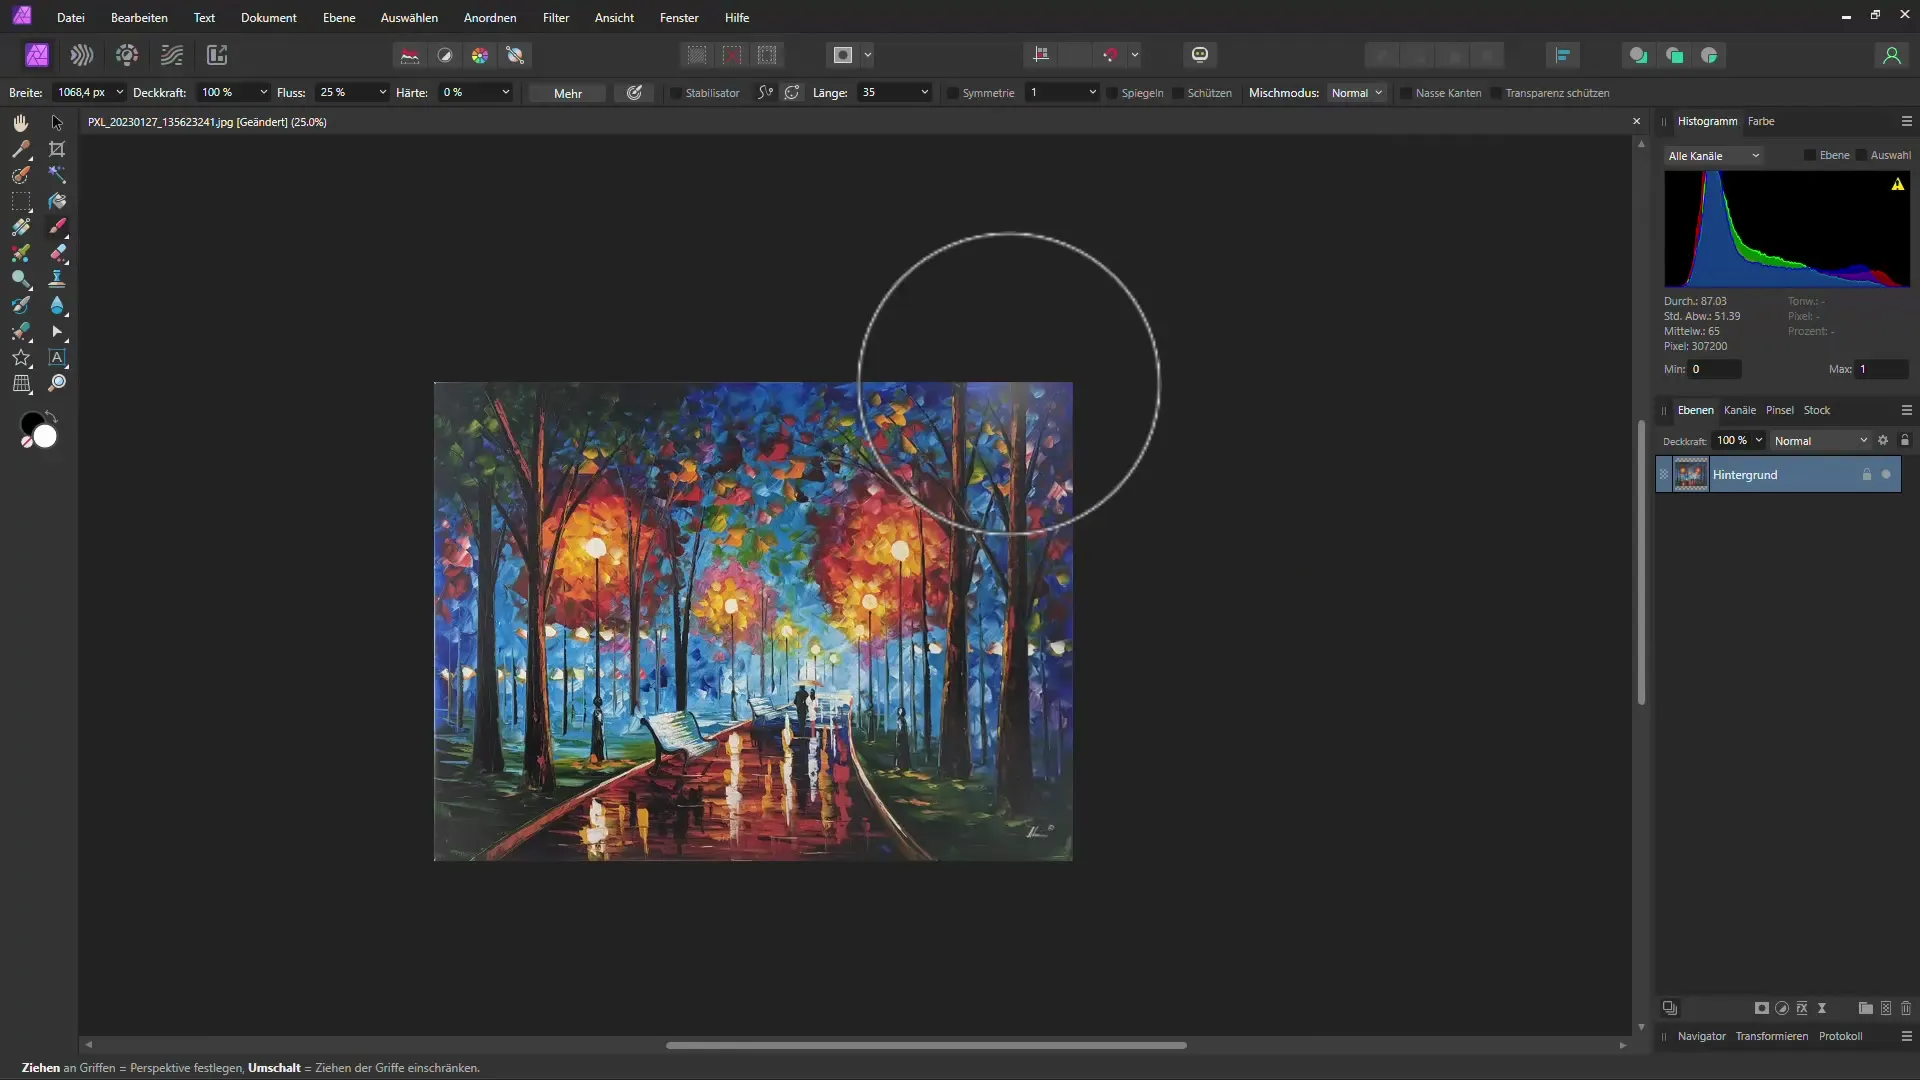
Once you have adjusted the points precisely, click on "Apply." You will see that the image is now nicely aligned.
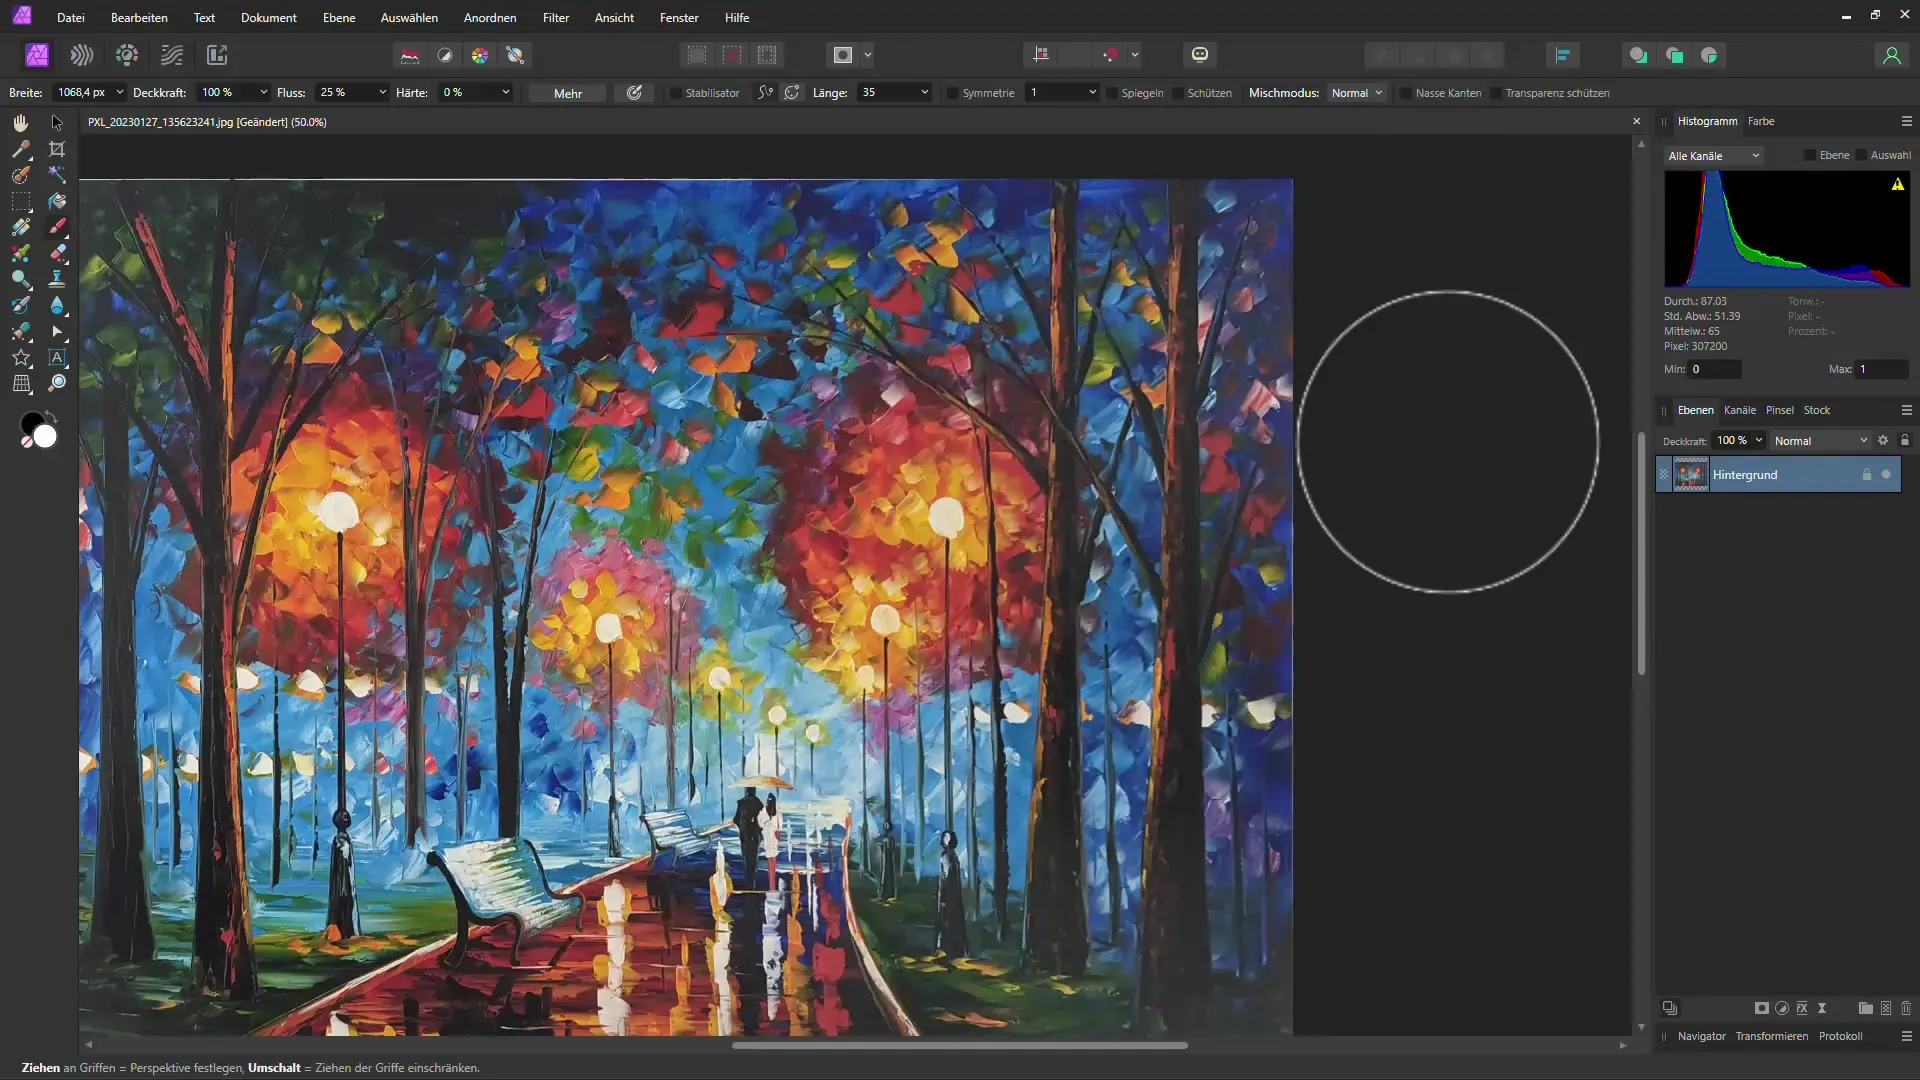
Now onto the next step: you want to adjust the edges of your image to make them clean and appealing. To do this, select the Crop Tool. You can activate the tool by pressing the "W" key.
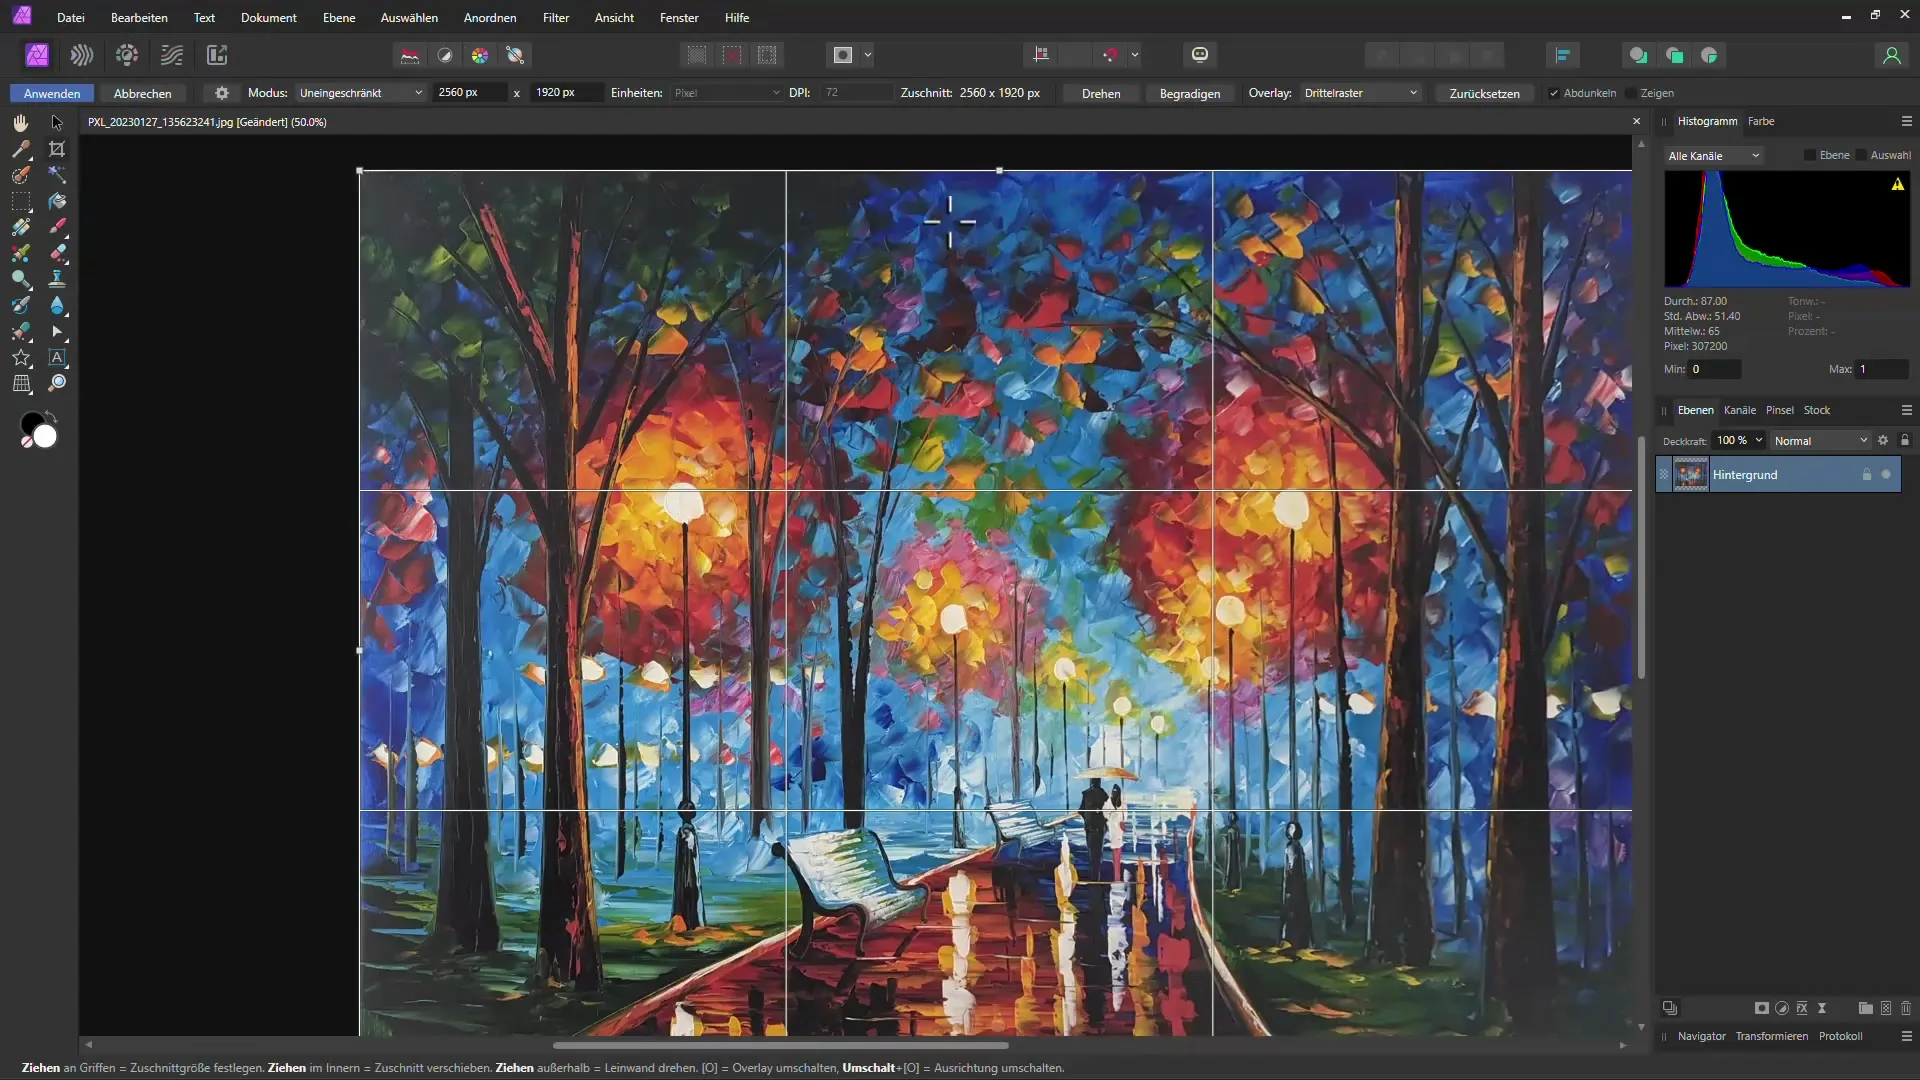
Cropping means removing the unnecessary parts of the image. Make sure the aspects you want to keep are well placed while trimming away empty or unattractive areas.
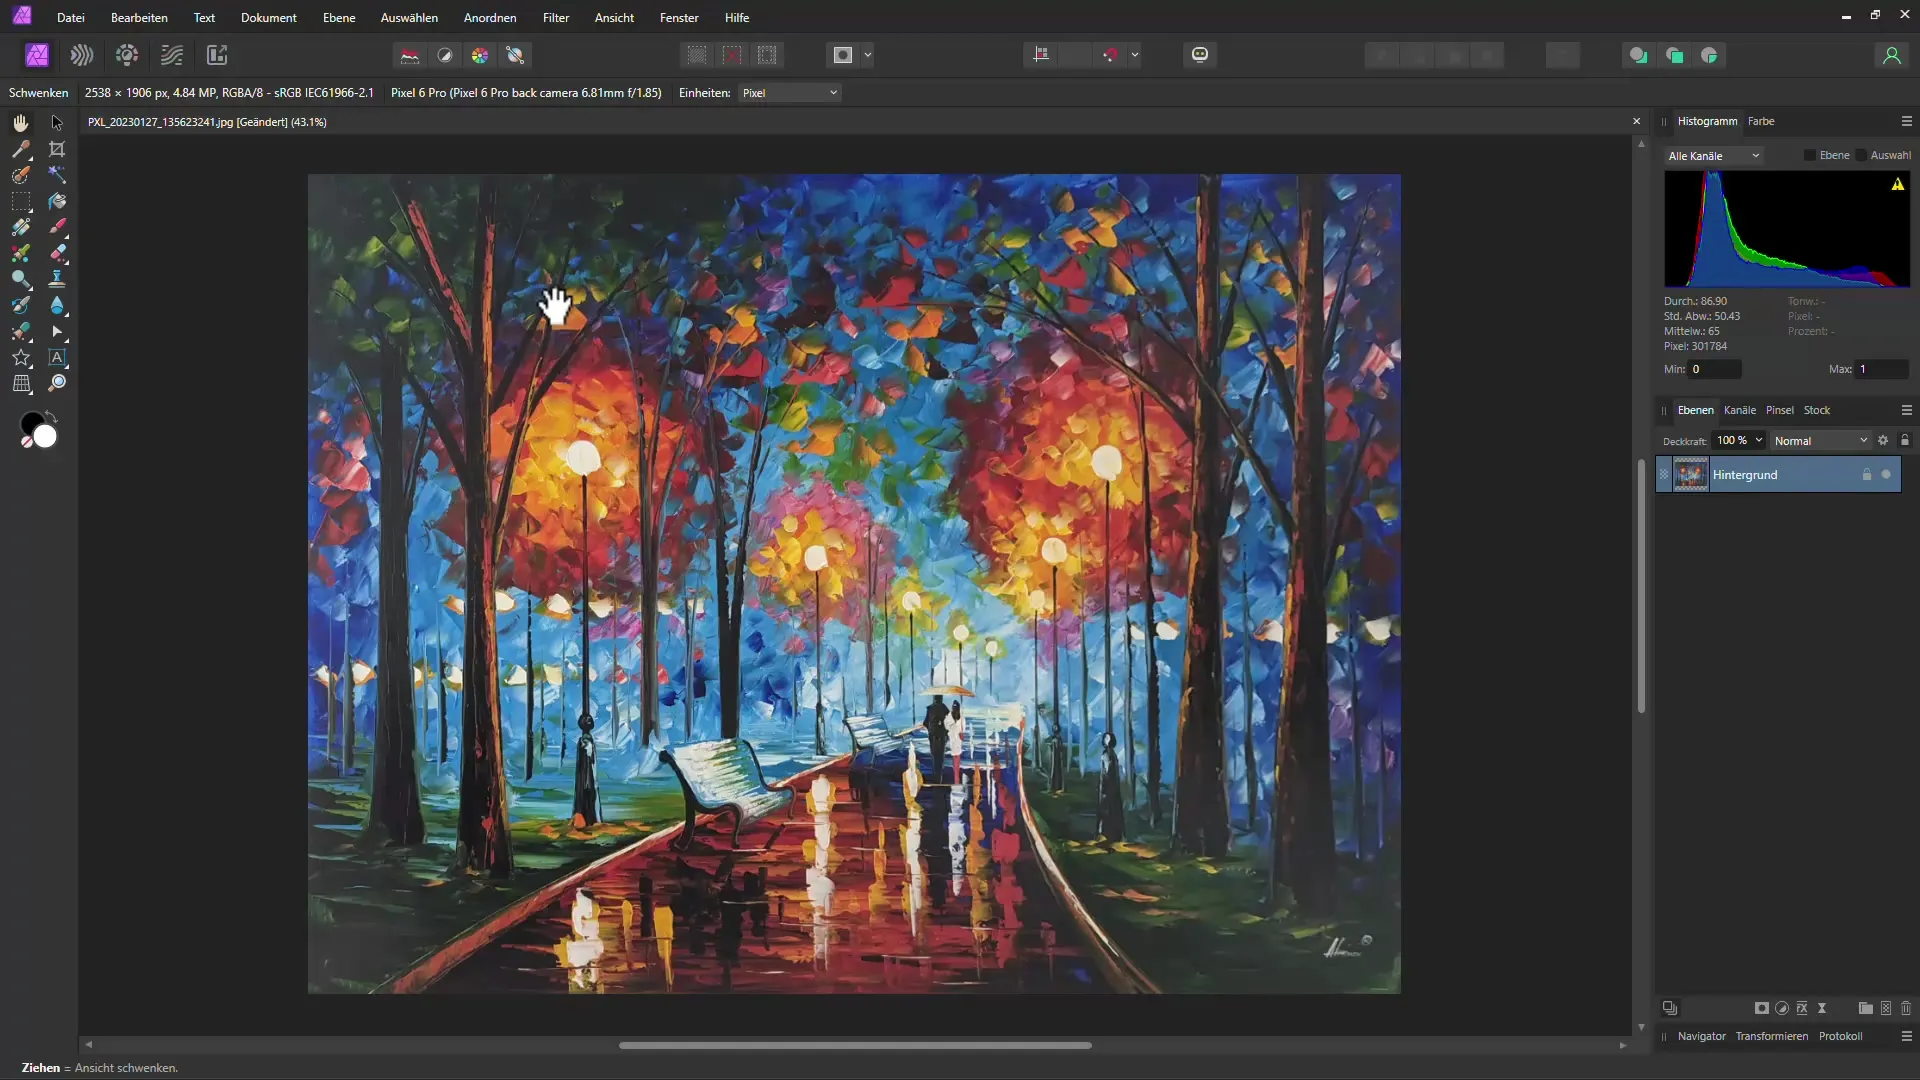
Another important point is color correction. If you plan to post or sell the image online, transitional quality is crucial. Go to tone corrections to improve the brightness and color saturation of the corners.
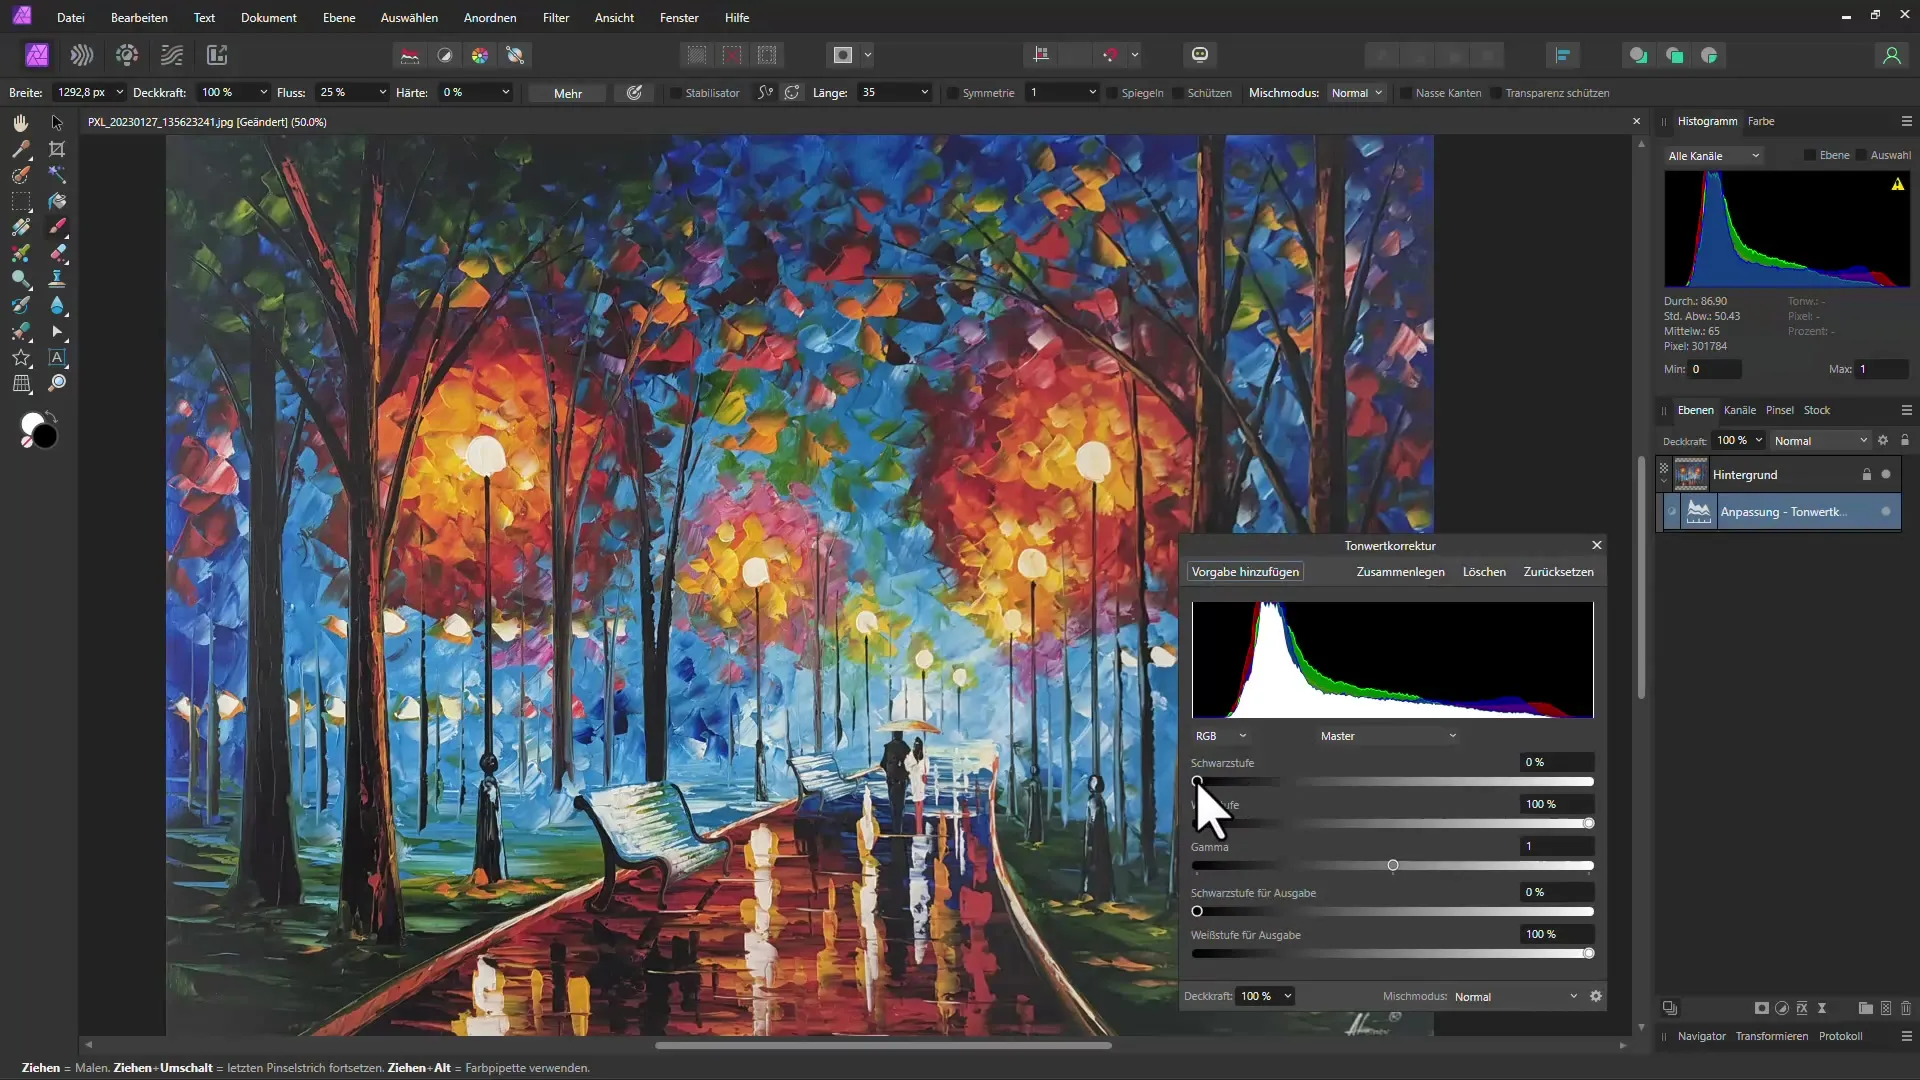
Drag the slider for tone correction to make the colors appear more vivid. Make sure the edges also look more appealing in the process.
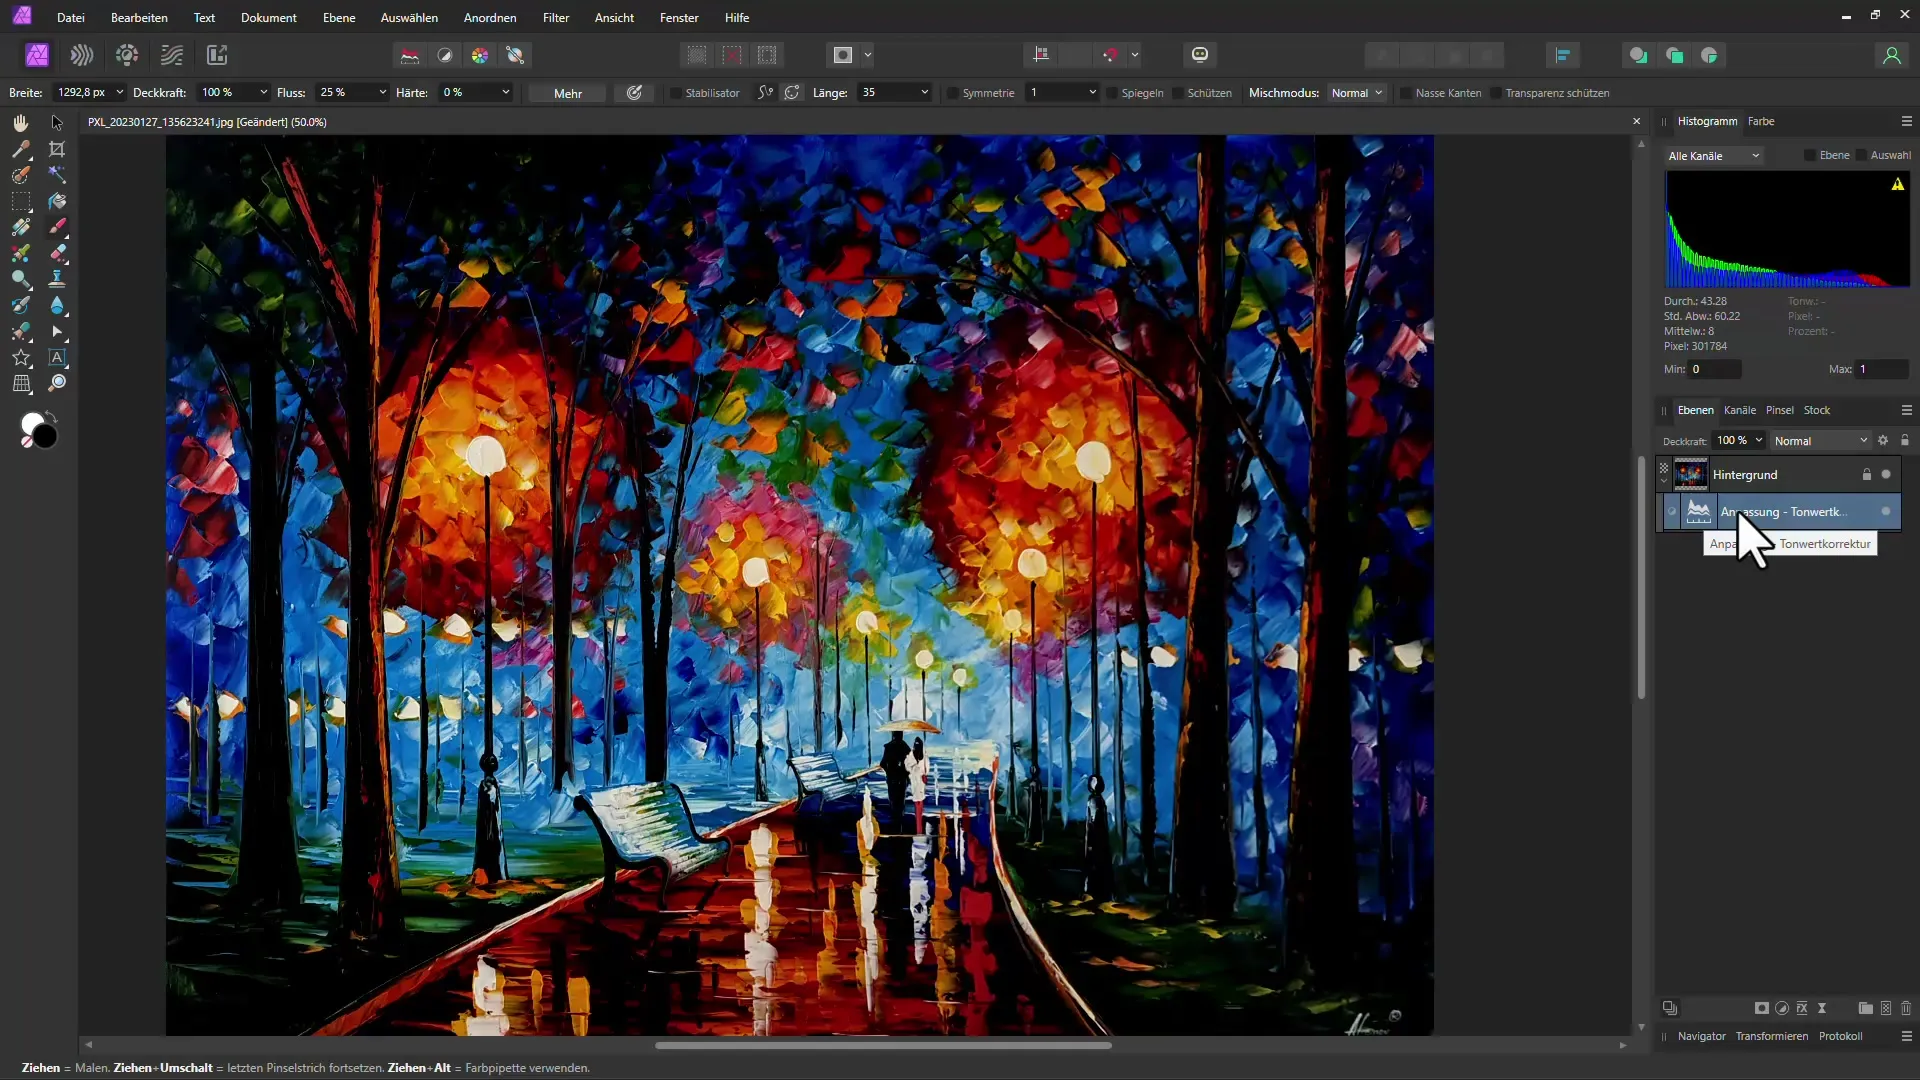
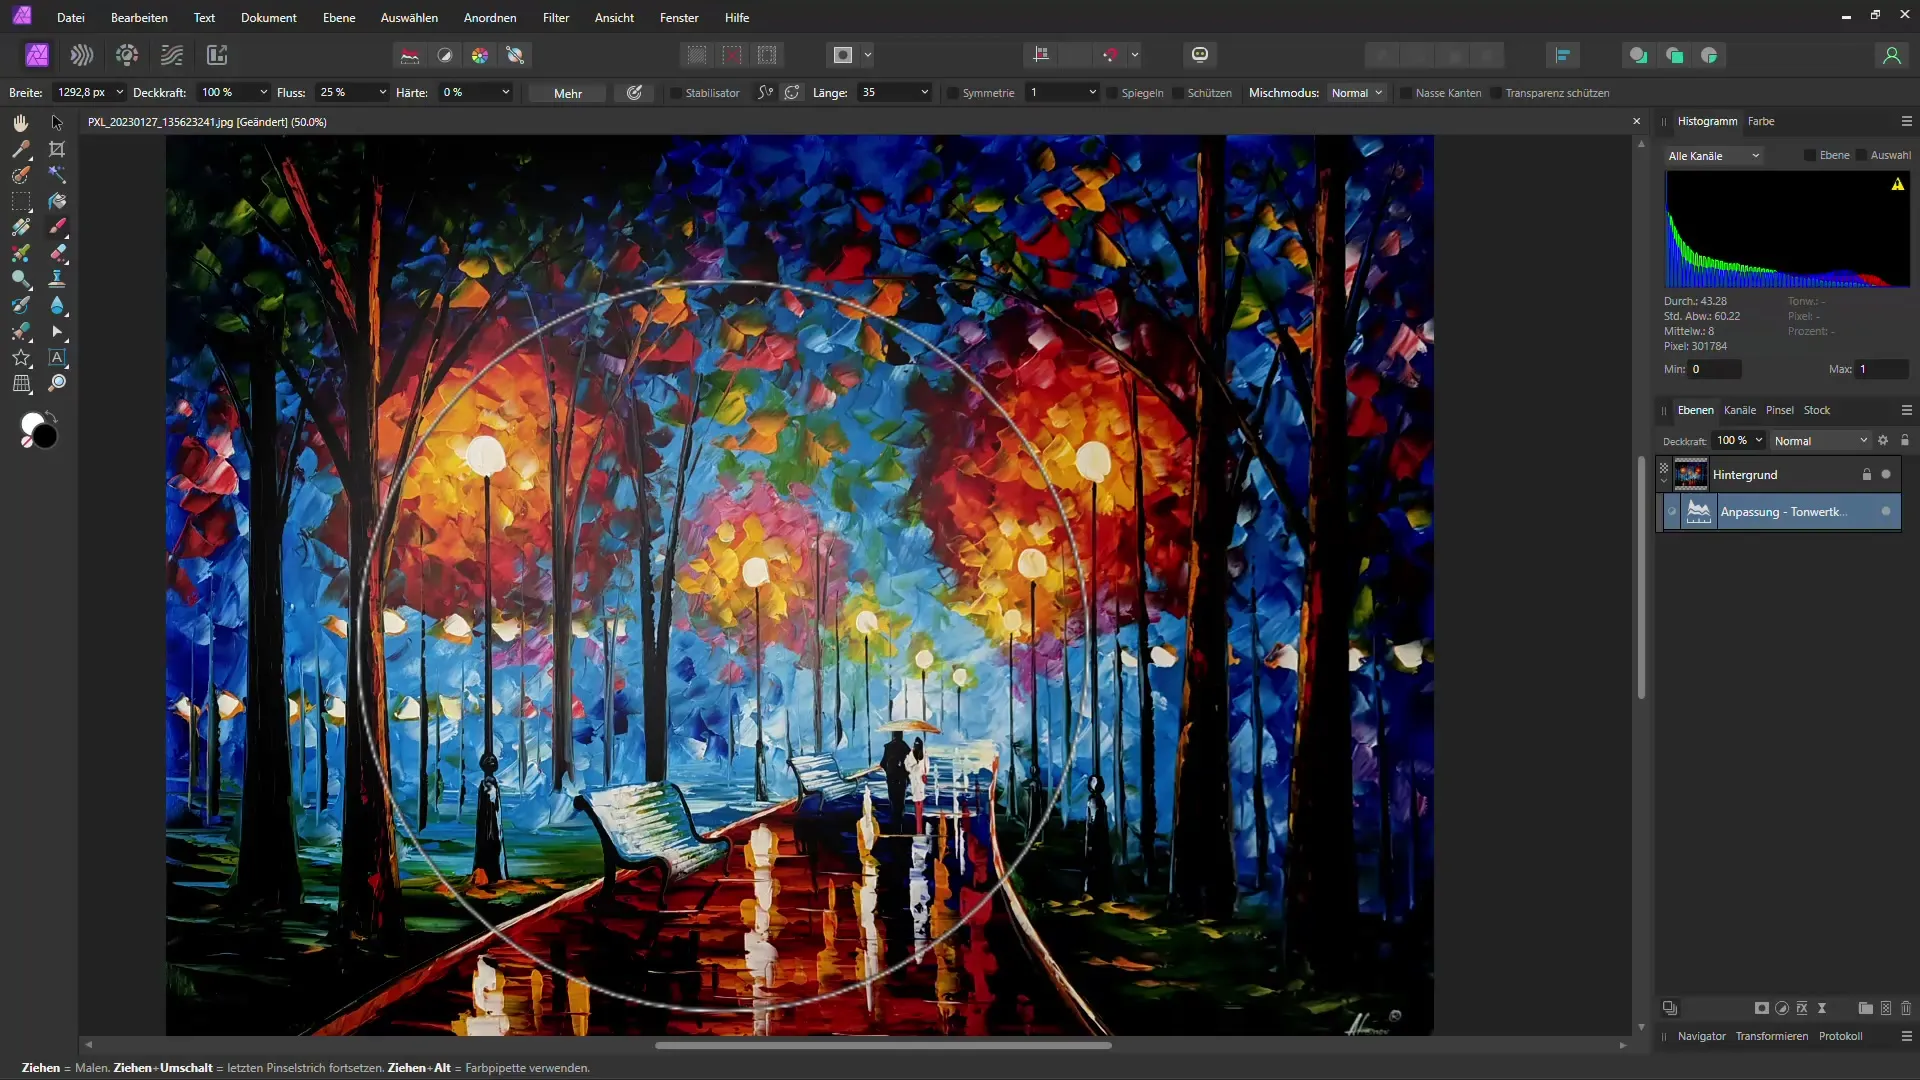
If the effect seems too strong and you only want to change the edges, you can paint into the adjustment layer with a soft, black brush. This way, you can control the intensity yourself.
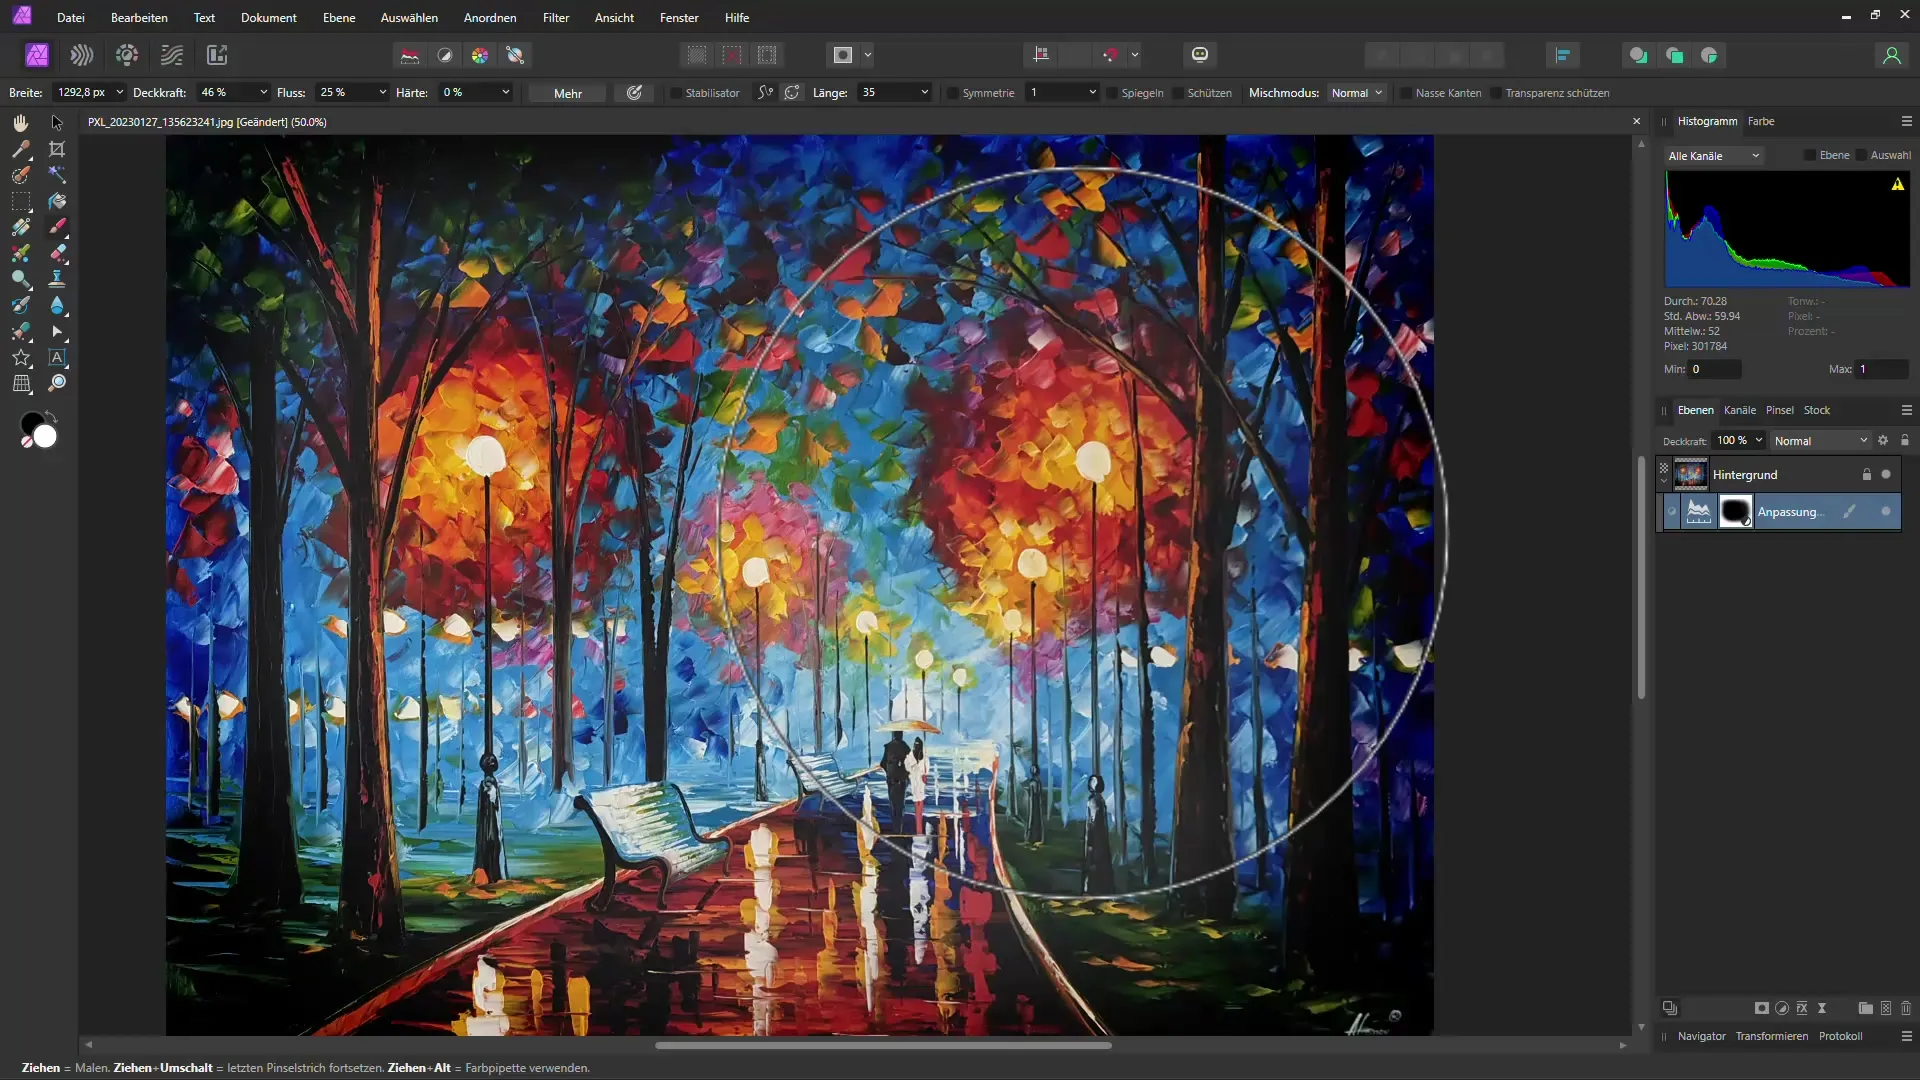
Test the opacity of the brush and play with the values to achieve the ideal result. You can also use the white brush to restore any desired details.
Once you are satisfied with the image, you can proceed to the final part of the process: sharpening. Choose the Unsharp Mask filter to make the image appear more intricate and professional.
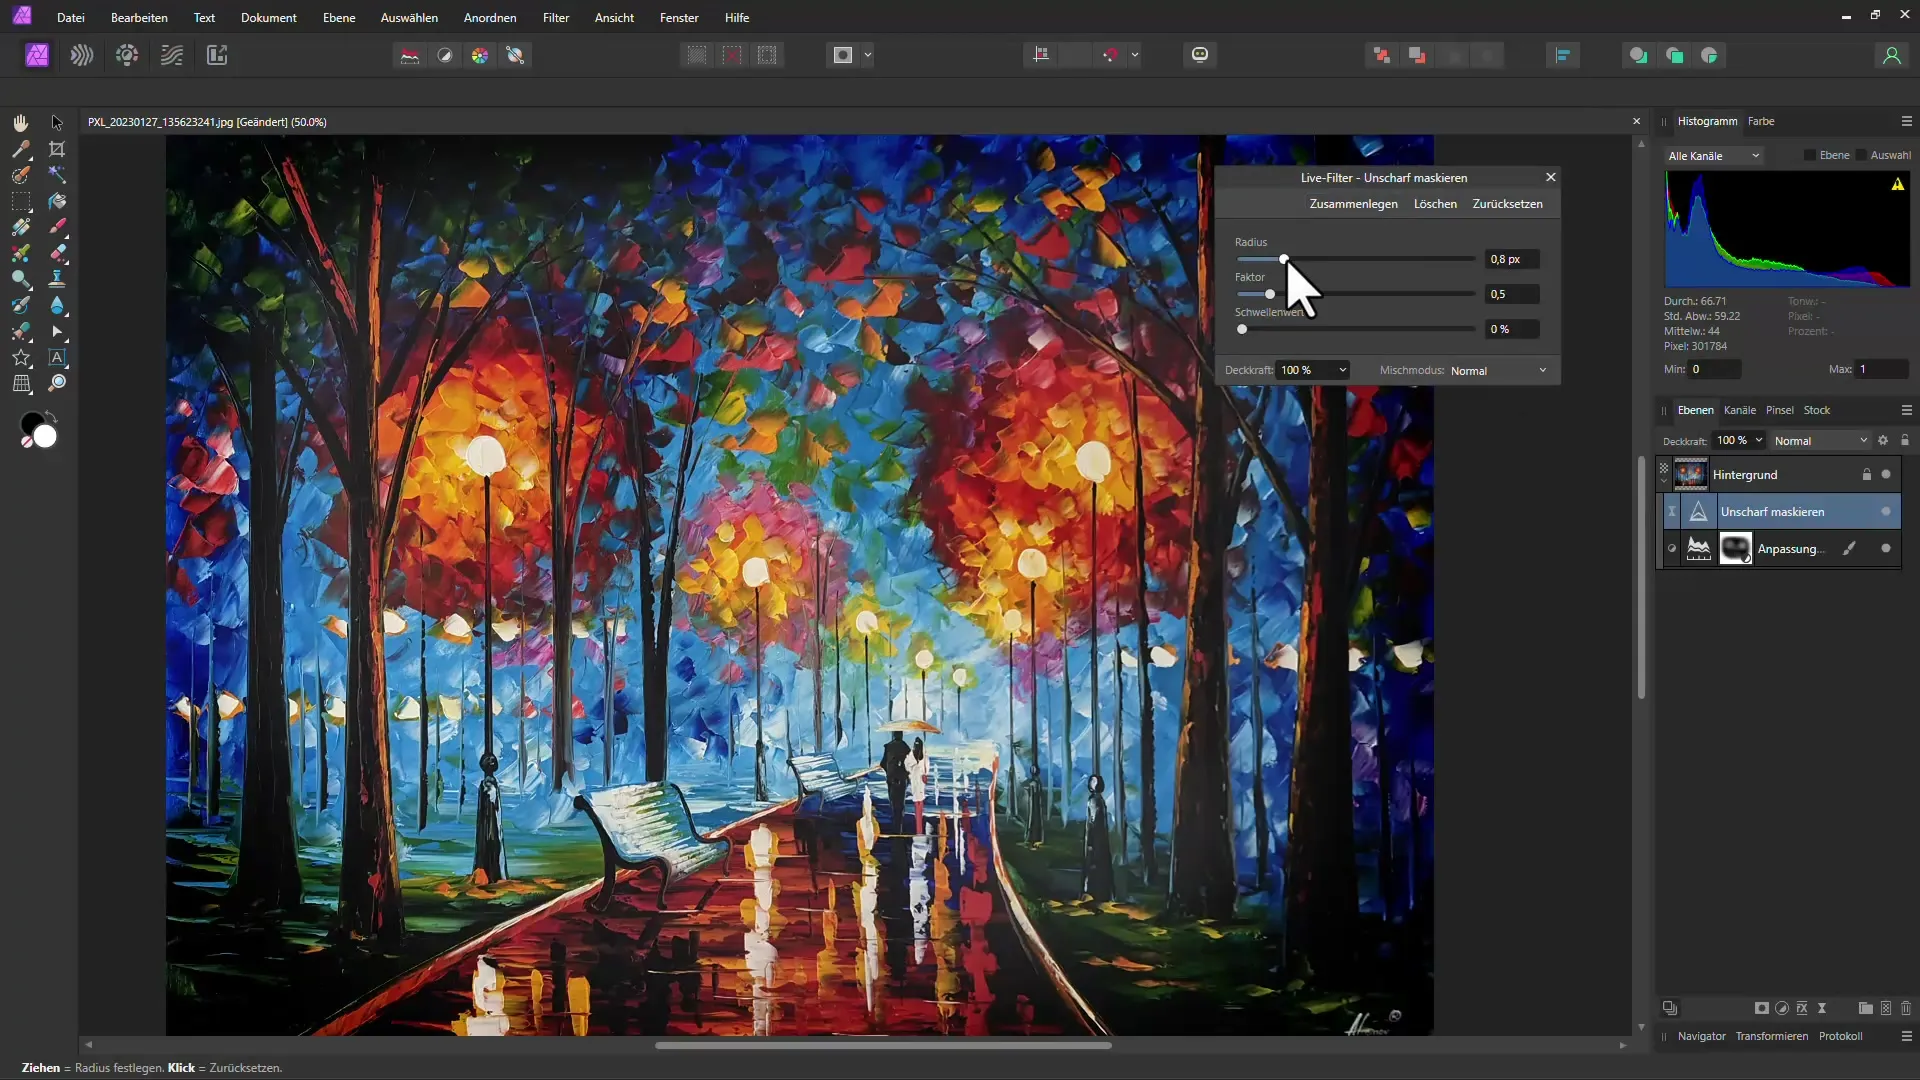
Every time you adjust the sharpness, you can make a comparison to see if the image is gaining in quality. Make sure not to overdo it to keep the image natural. This way you can quickly and easily correct faulty perspectives. Affinity Photo provides you with all the tools you need to elevate the image quality to the next level.
Summary
In this tutorial, you have learned how to use the Perspective Tool in Affinity Photo to correct your images. From adjusting the perspective to cropping, color corrections, and sharpening - now you can edit and optimize your images like a pro for presentations.
Frequently Asked Questions
How does the Perspective Tool work in Affinity Photo?The Perspective Tool allows you to drag the corners of your image to align them precisely.
What can I do if I want to improve the edges of the image?Use the Crop tool and the Levels adjustments to remove any unsightly edges and increase color intensity.
How can I further improve image quality?You can sharpen the image by applying the Unsharp Mask filter.
What should I consider when using the black brush?Adjust the opacity of the brush to control the intensity of the adjustments without making the image look unnatural.


