In this tutorial, you will learn how to quickly and easily add realistic depth of field to your photo in Affinity Photo. Often, photos are beautiful, but they only gain a special expression through the addition of depth of field. The tutorial will explain step by step how to apply this technique without losing sharpness on the main subjects in your image.
Key Takeaways
Applying depth of field adds more professionalism and style to your image. It is important to carefully choose which areas to blur in order to achieve a harmonious overall picture.
Step-by-Step Guide
To create a realistic depth of field, follow these steps:
First, open your photo in Affinity Photo and select the subject you want to focus on. In many cases, you may want to have a portrait in focus, for example. To make the selection, you can use the selection brush. Go to "Select" and choose the brush to roughly select the desired subject.
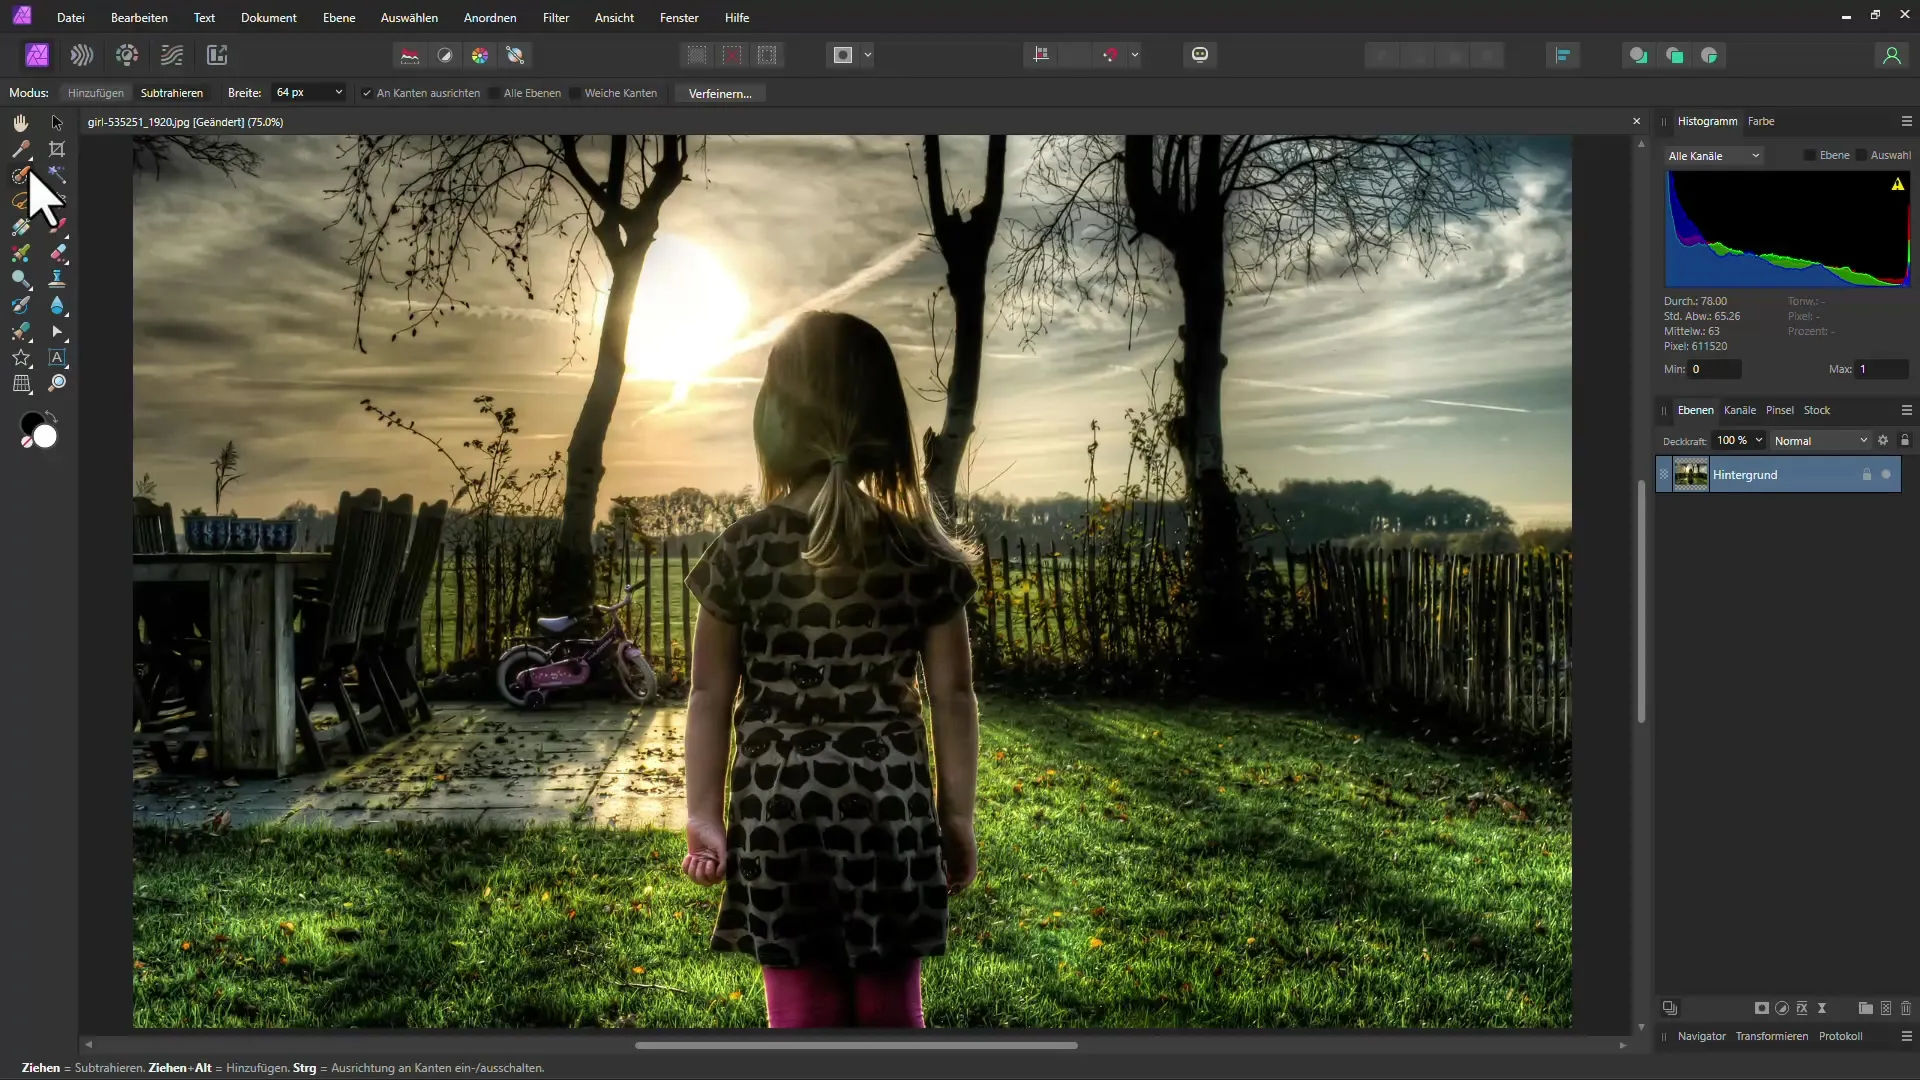
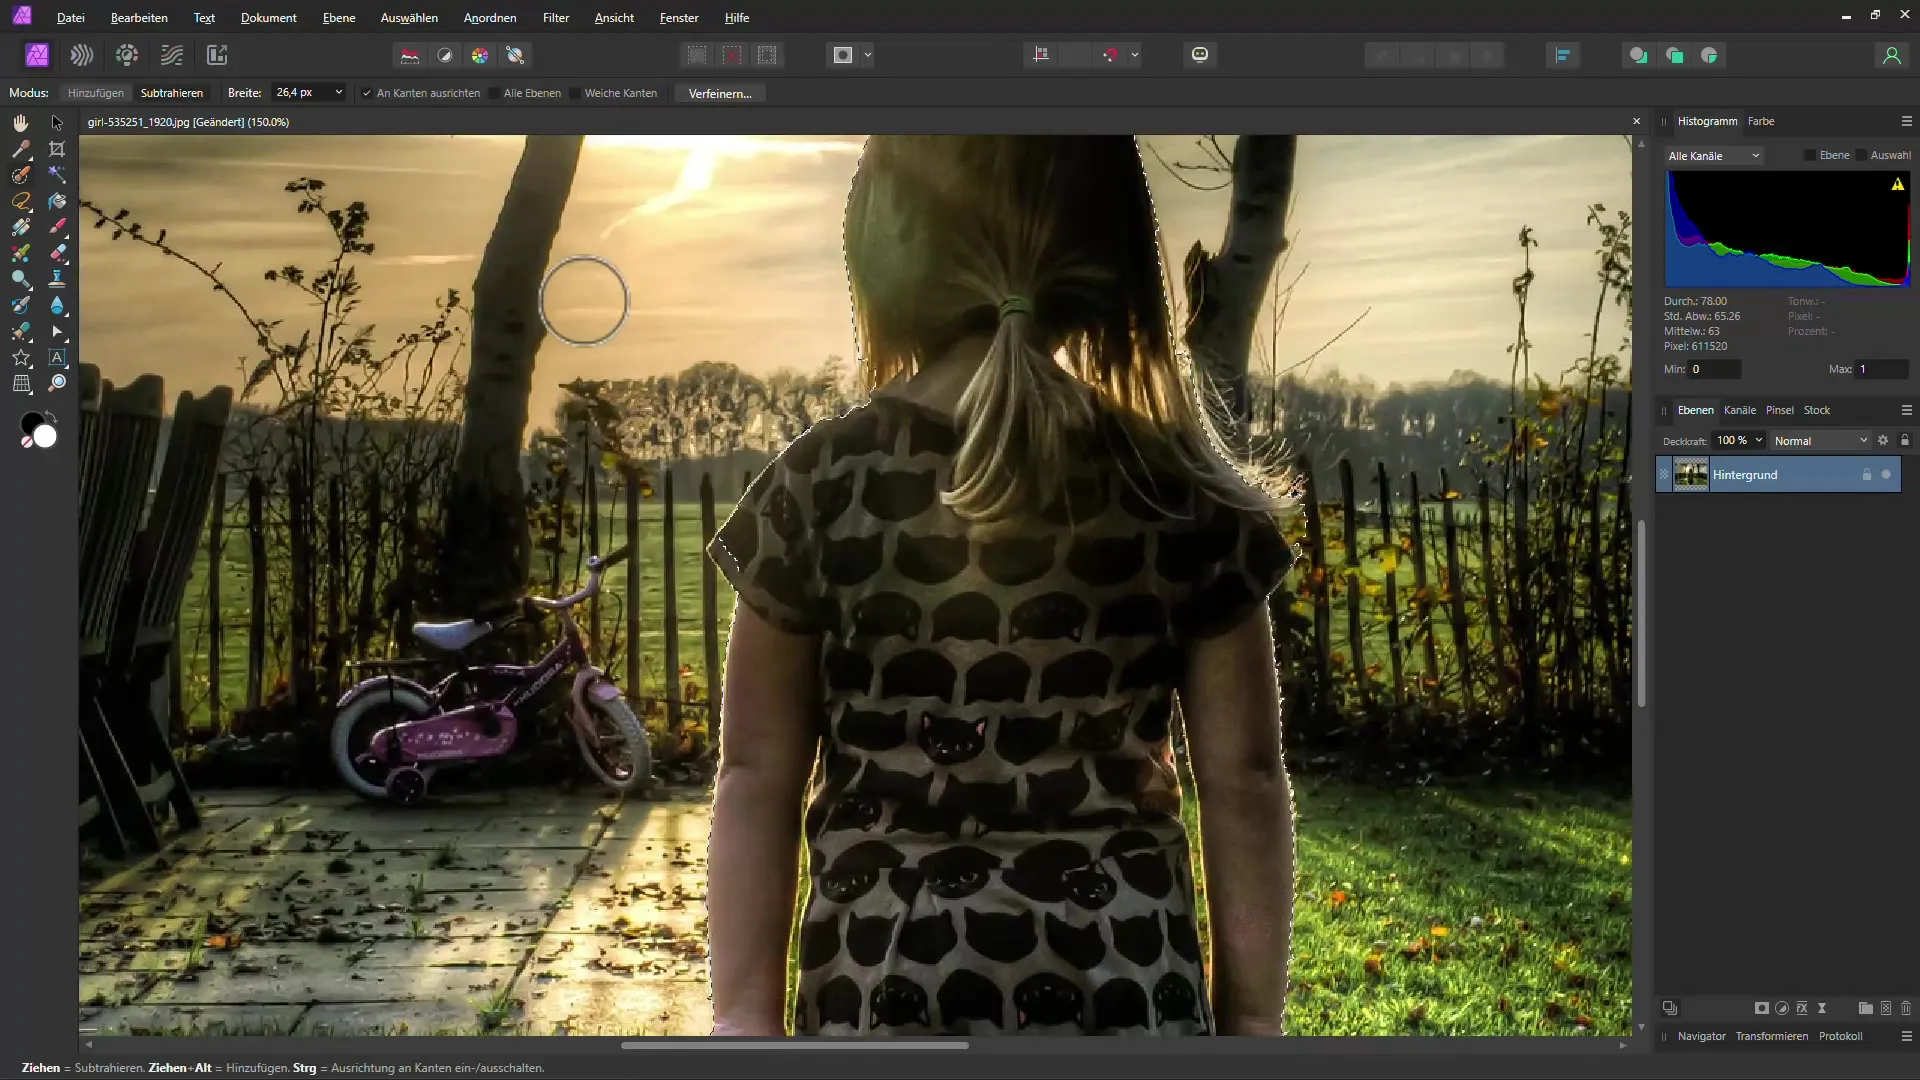
If you have accidentally selected areas, you can easily undo this by using the subtract function of the brush tool. Make sure to make the selection as perfect as possible by adjusting the brush size and moving carefully around the edges.
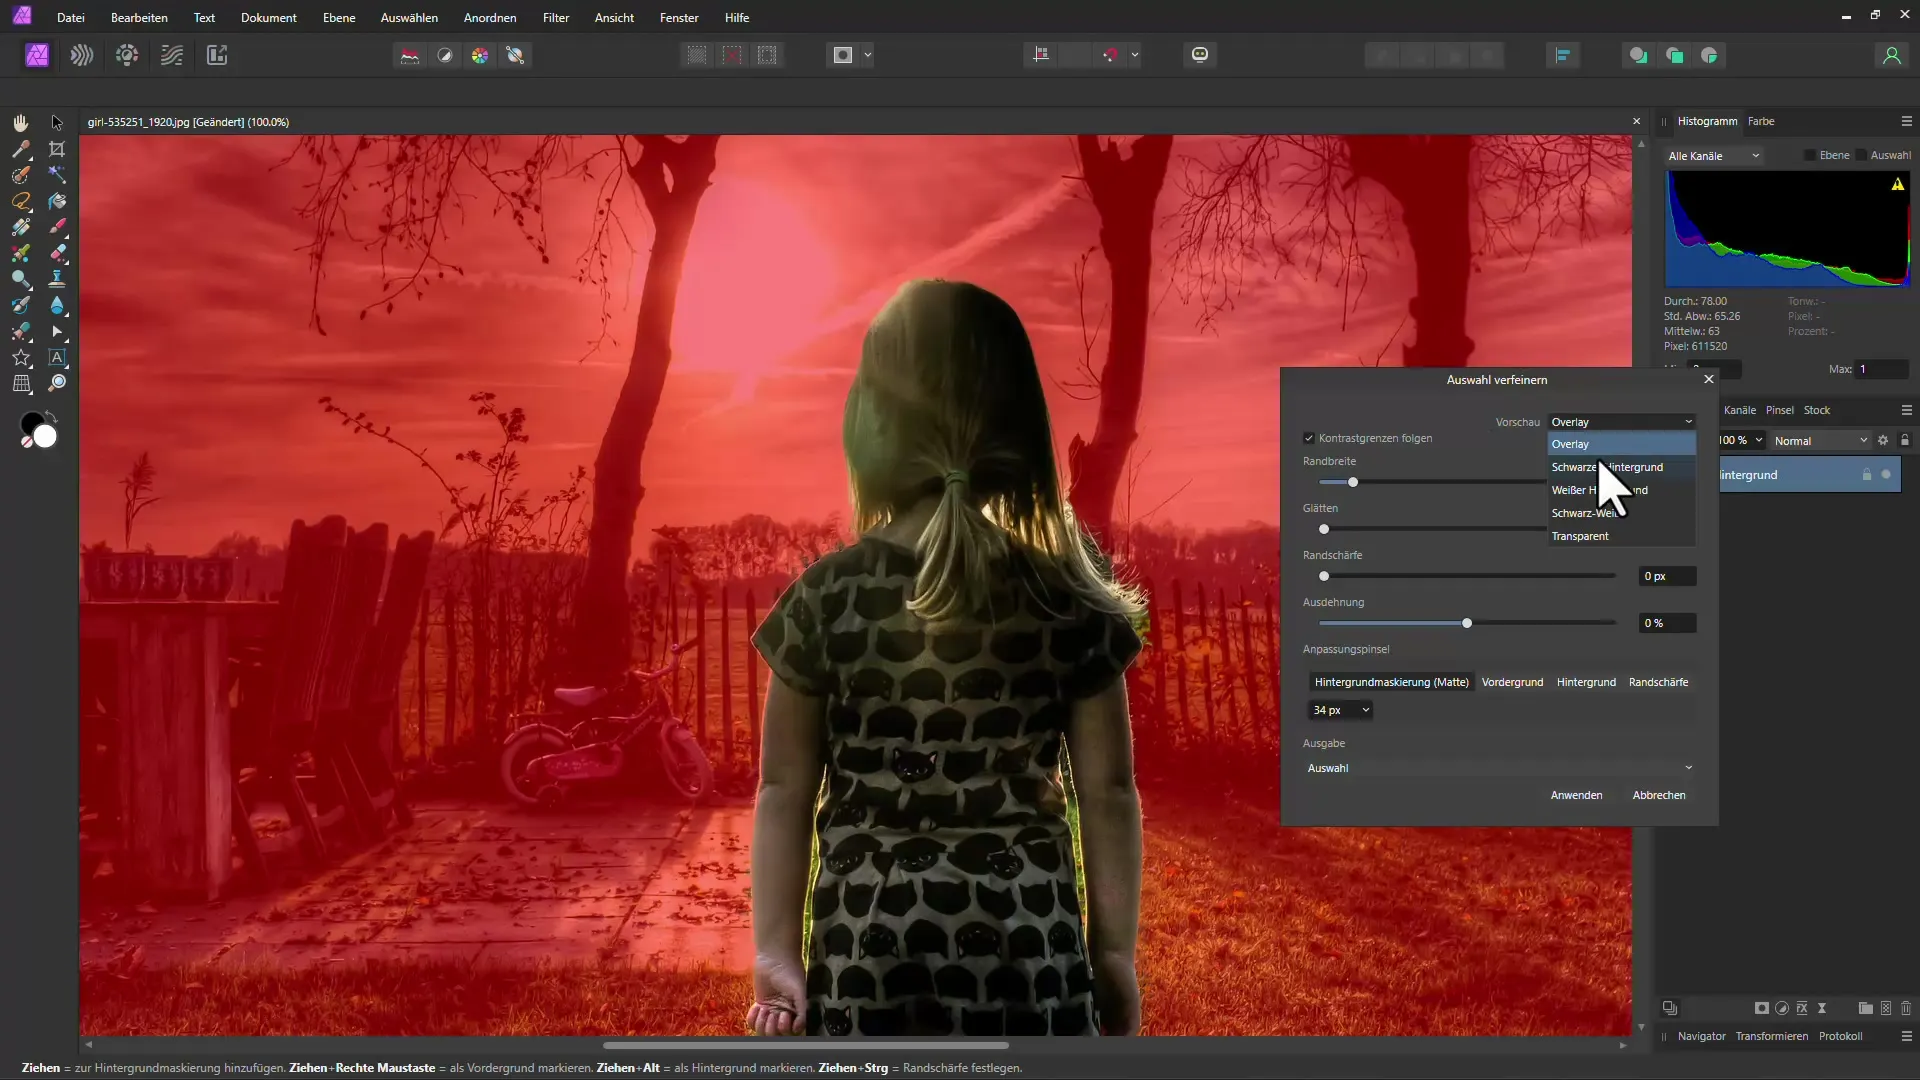
To further refine the selection, you can also use the "Refine" function. This allows you to optimize your selection in terms of edges. For example, you can activate a black background to see and adjust the edges better.
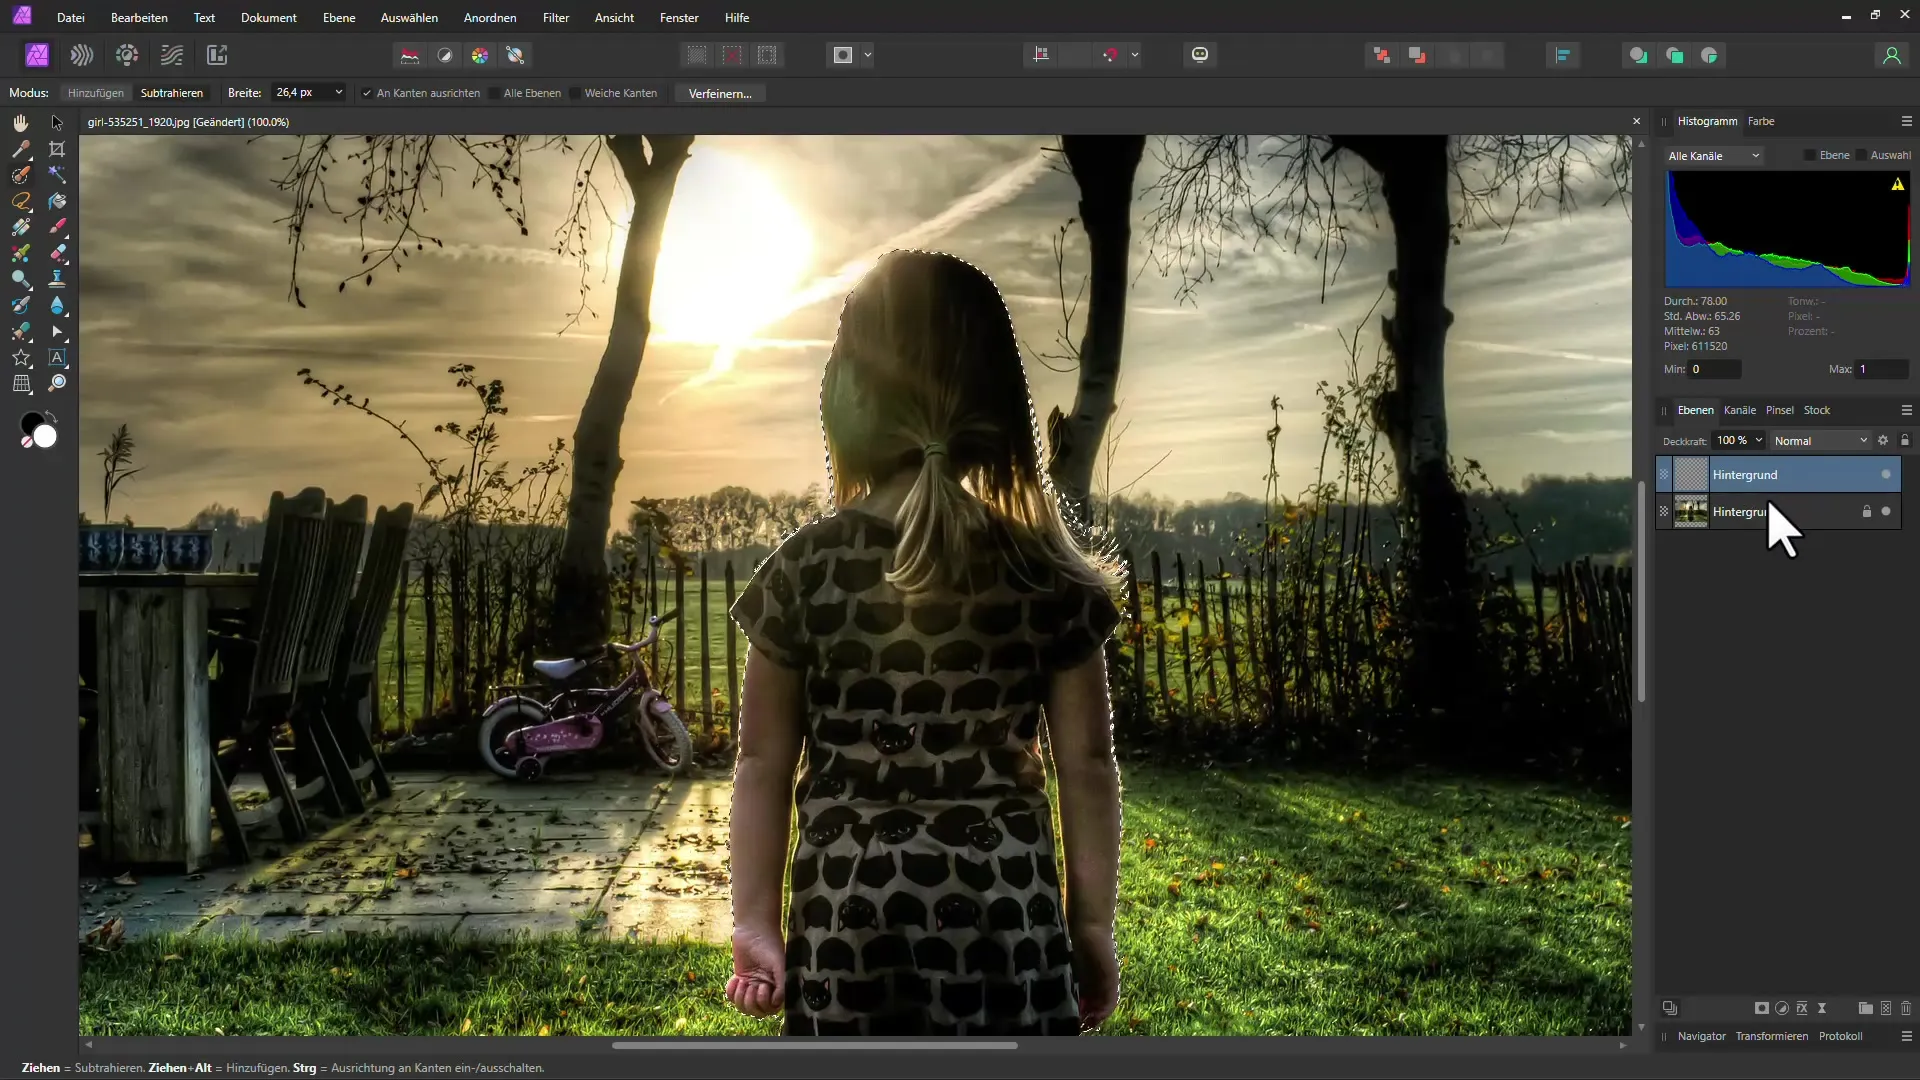
Once everything is set, save your selection by pressing "Ctrl + J." Your subject will now be displayed on a new layer. This way, the background remains unchanged while you can continue sharpening the foreground subject.
Now it's time to blur the background. To do this, go back to the original background layer. Choose "Edit" and then "Fill." Here, you can select "Inpainting" to fill the chosen layer so that the background matches your subject optimally.
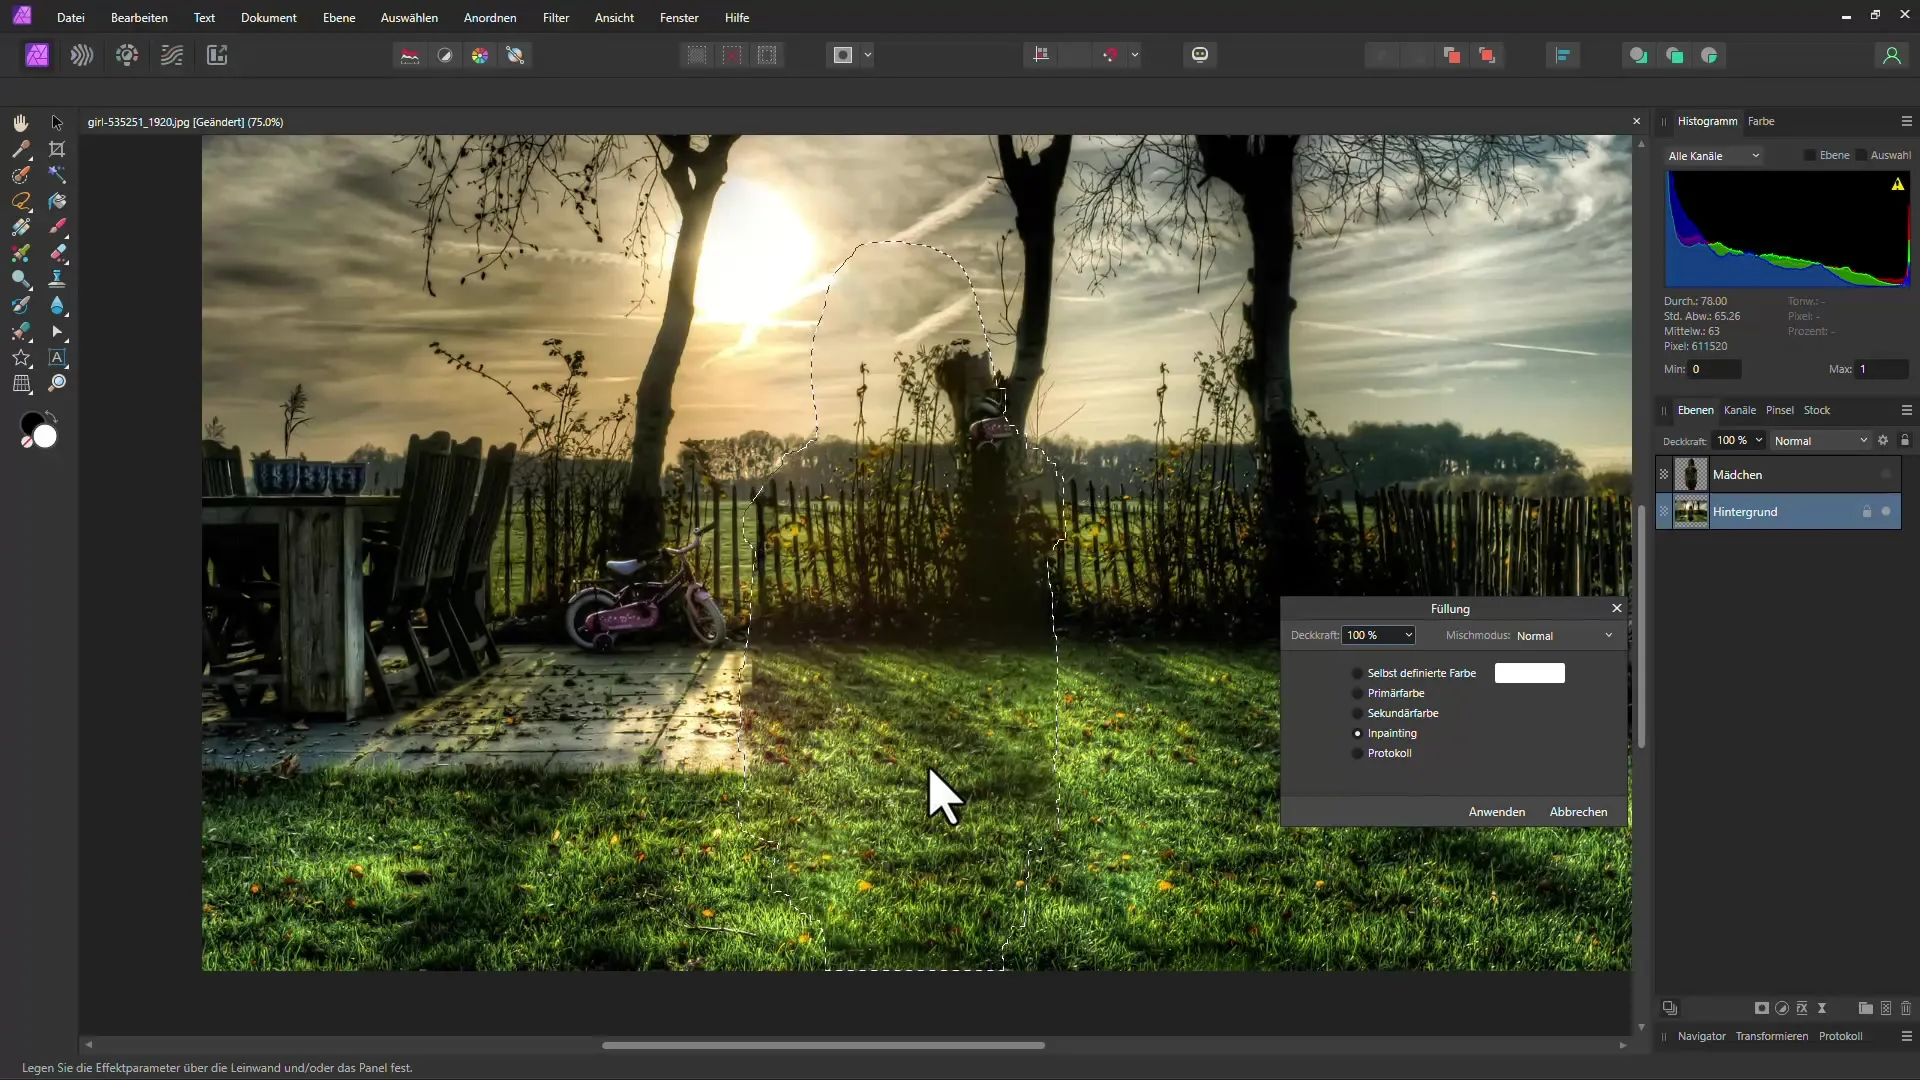
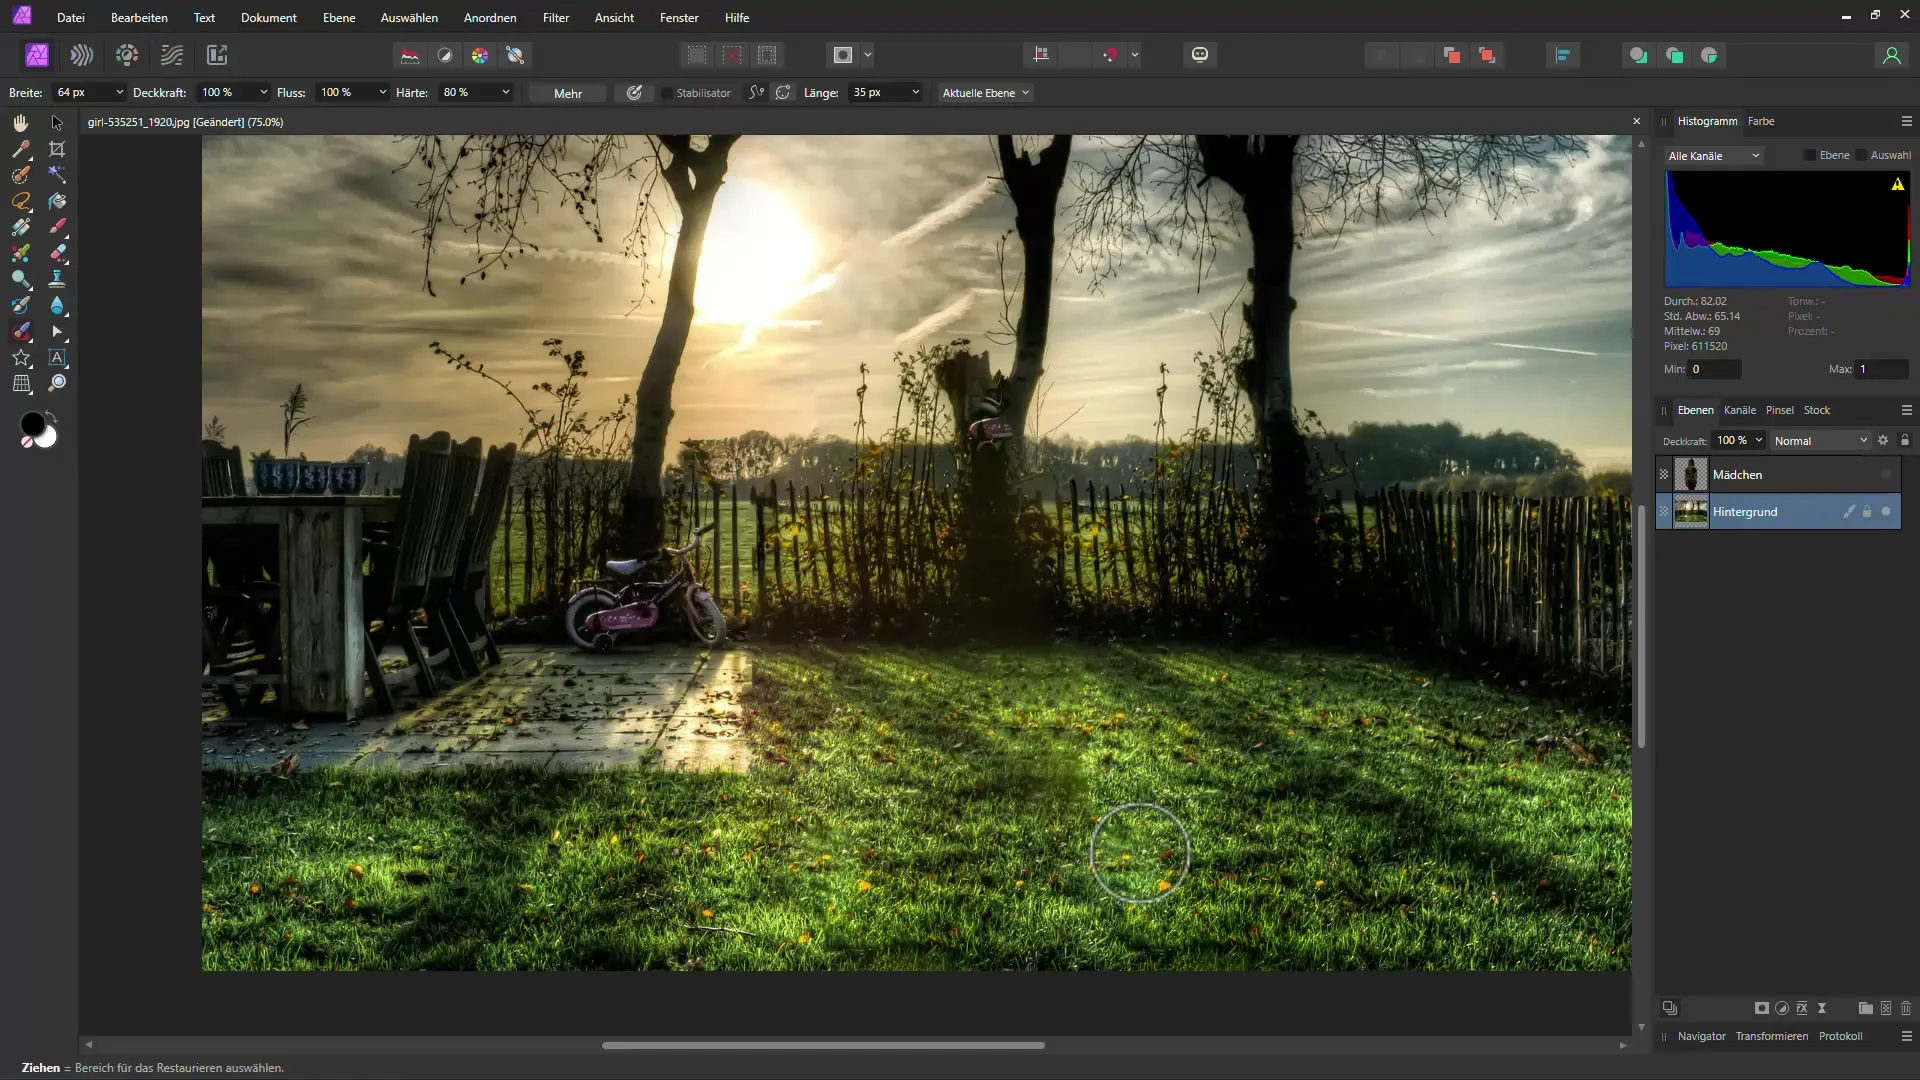
After applying "Inpainting," deselect to apply your changes. If you're not entirely satisfied with the result, you can also use the "Restore" tool to make minor adjustments and improve some parts of the background. Make sure to regulate the brush hardness for a smooth transition.
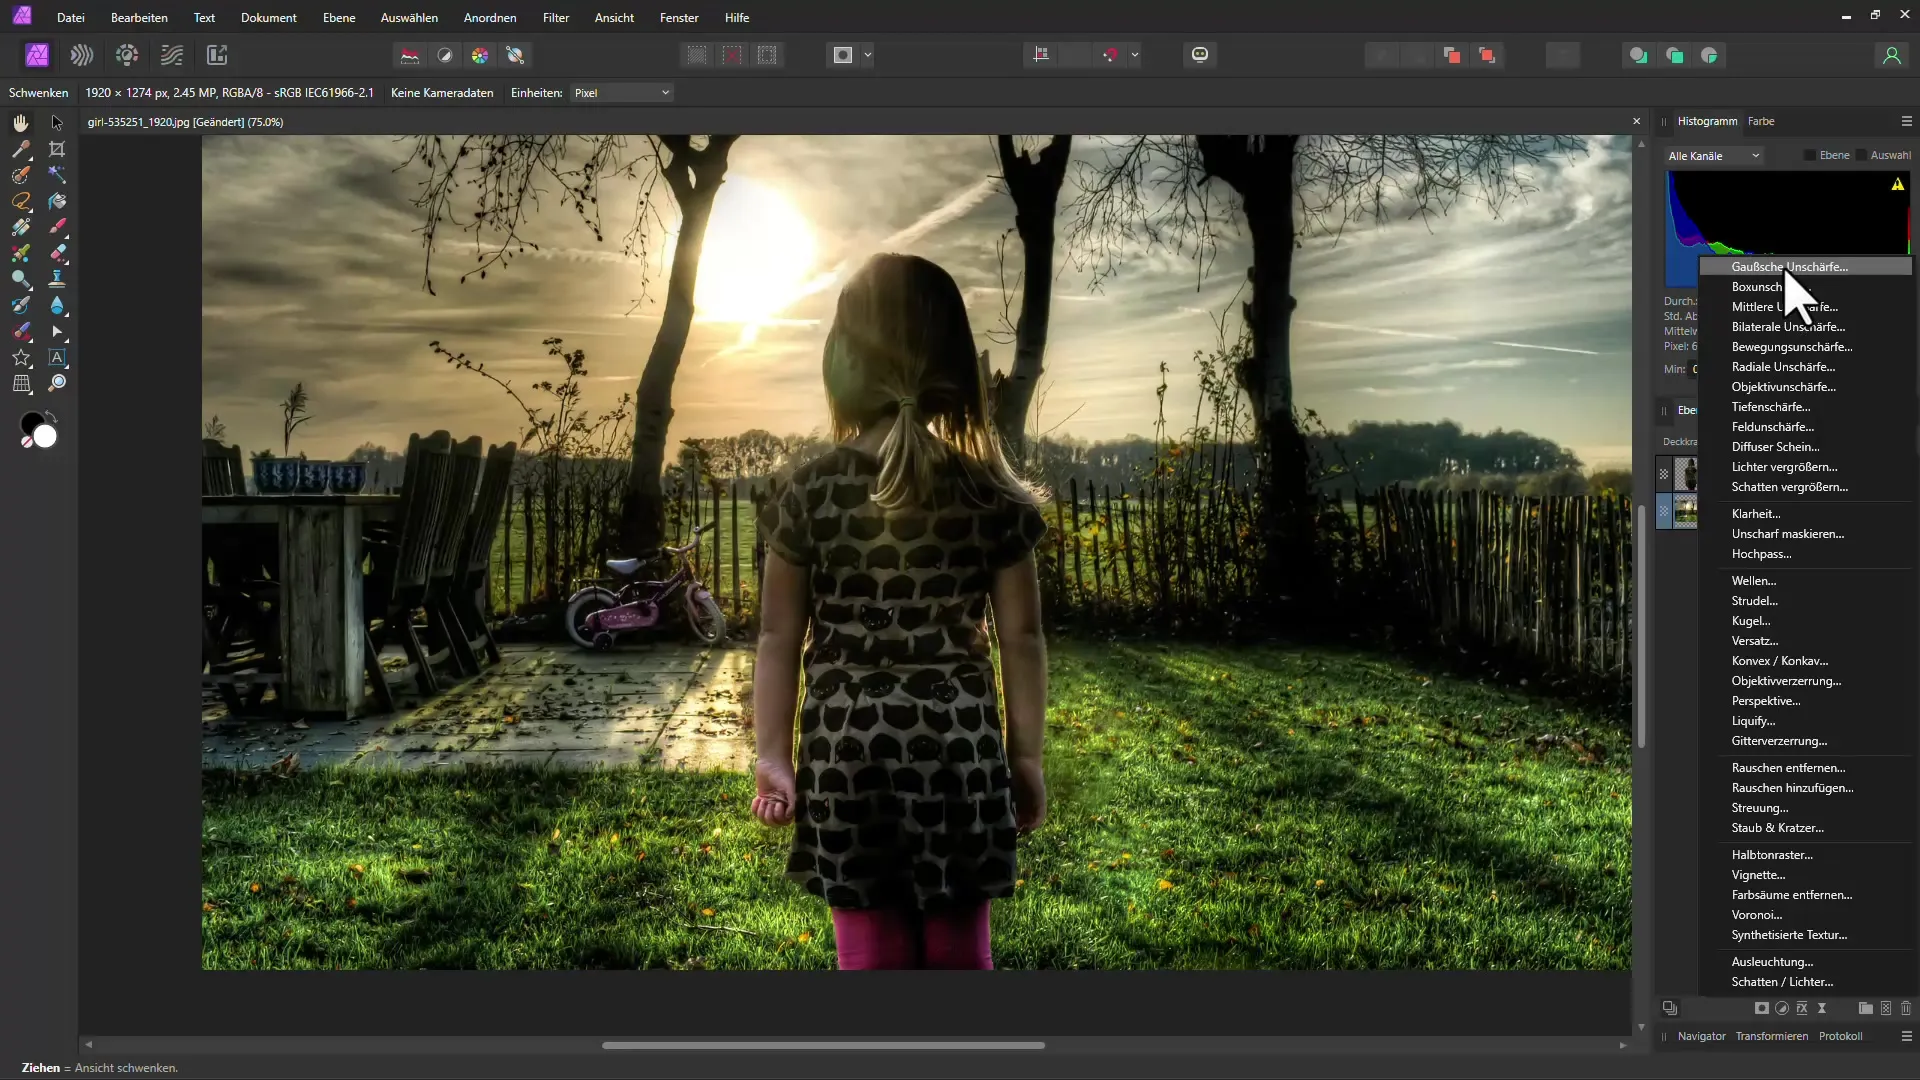
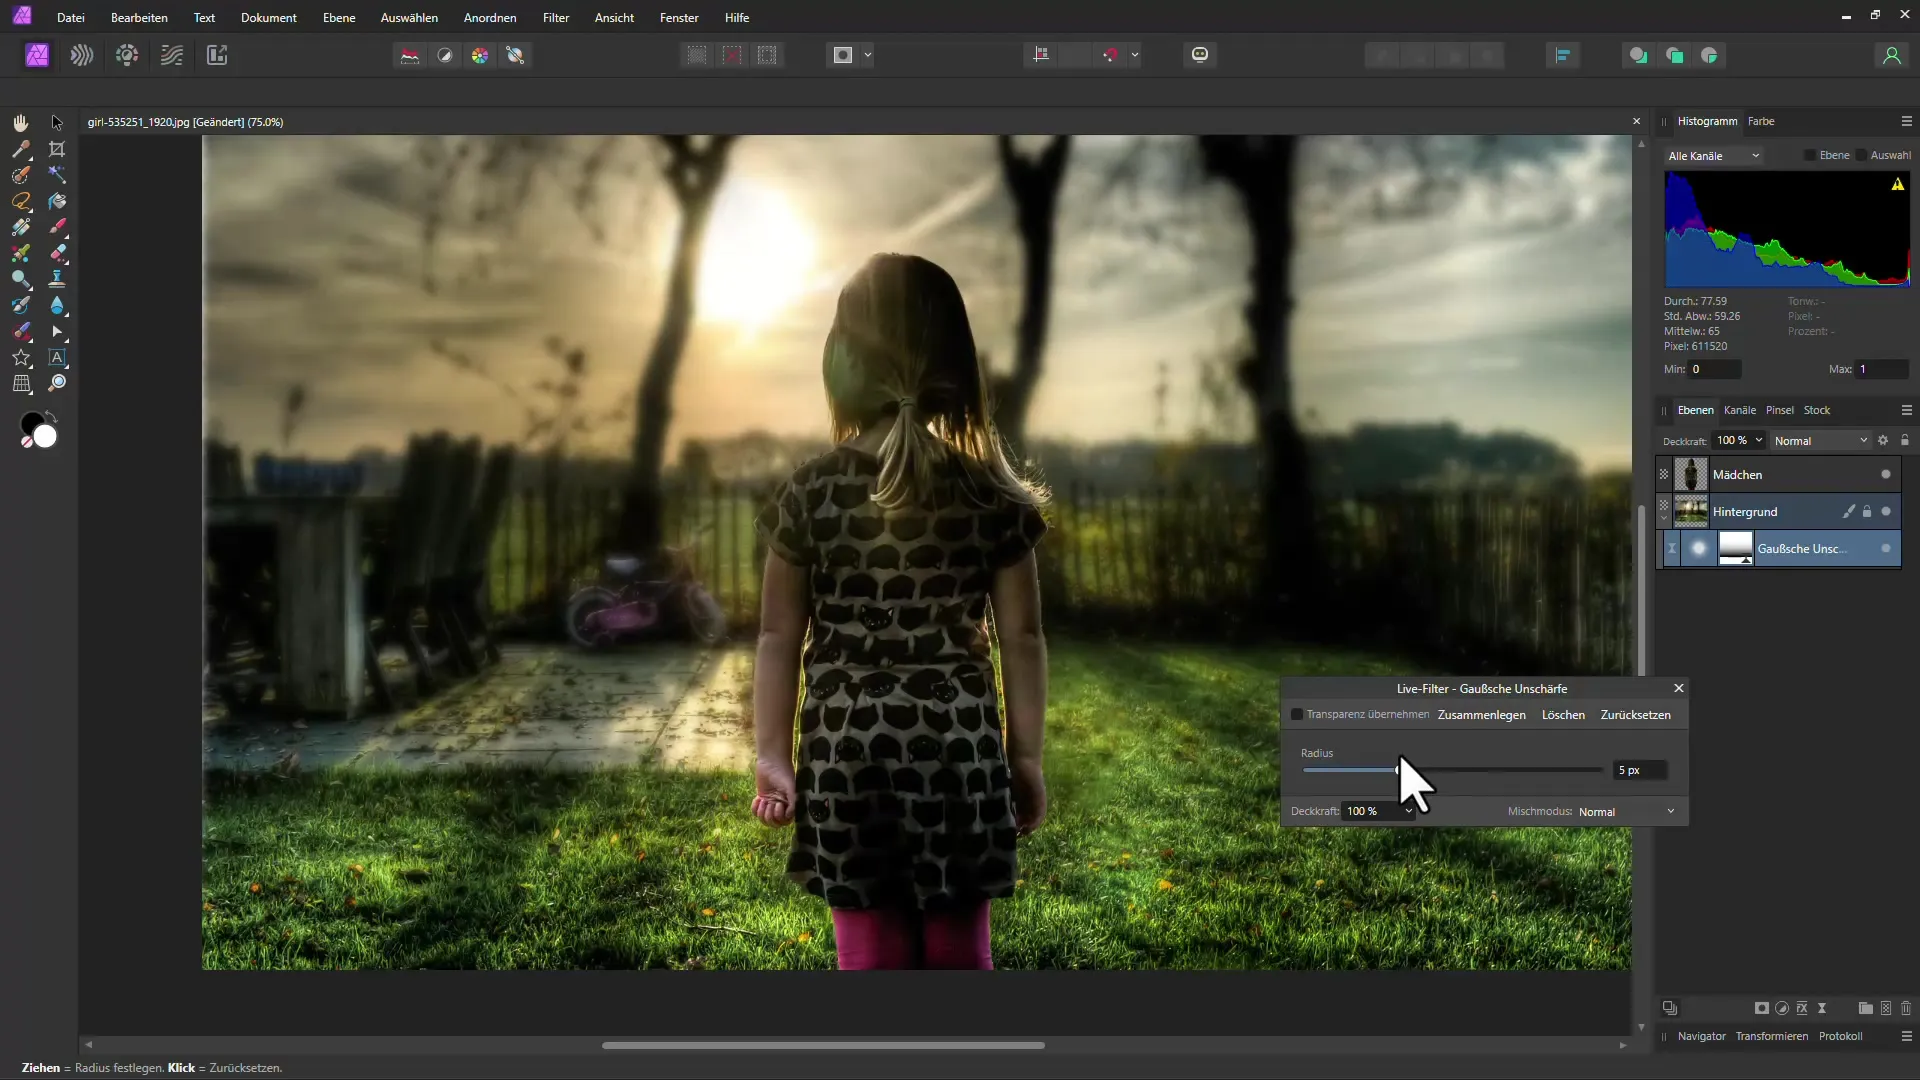
If your image now looks the way you want it to, it's time to add depth of field. You can select the Live Filter and choose "Gaussian Blur." Drag the radius until you see the desired blur. This is where you need to find the right balance so that the focus remains on your subject.
To adjust the blur radius precisely, you can also add a gradient. This allows you to control how blurry the image is only in the background or in specific areas. This enables you to draw the background softly while keeping your subject sharp.
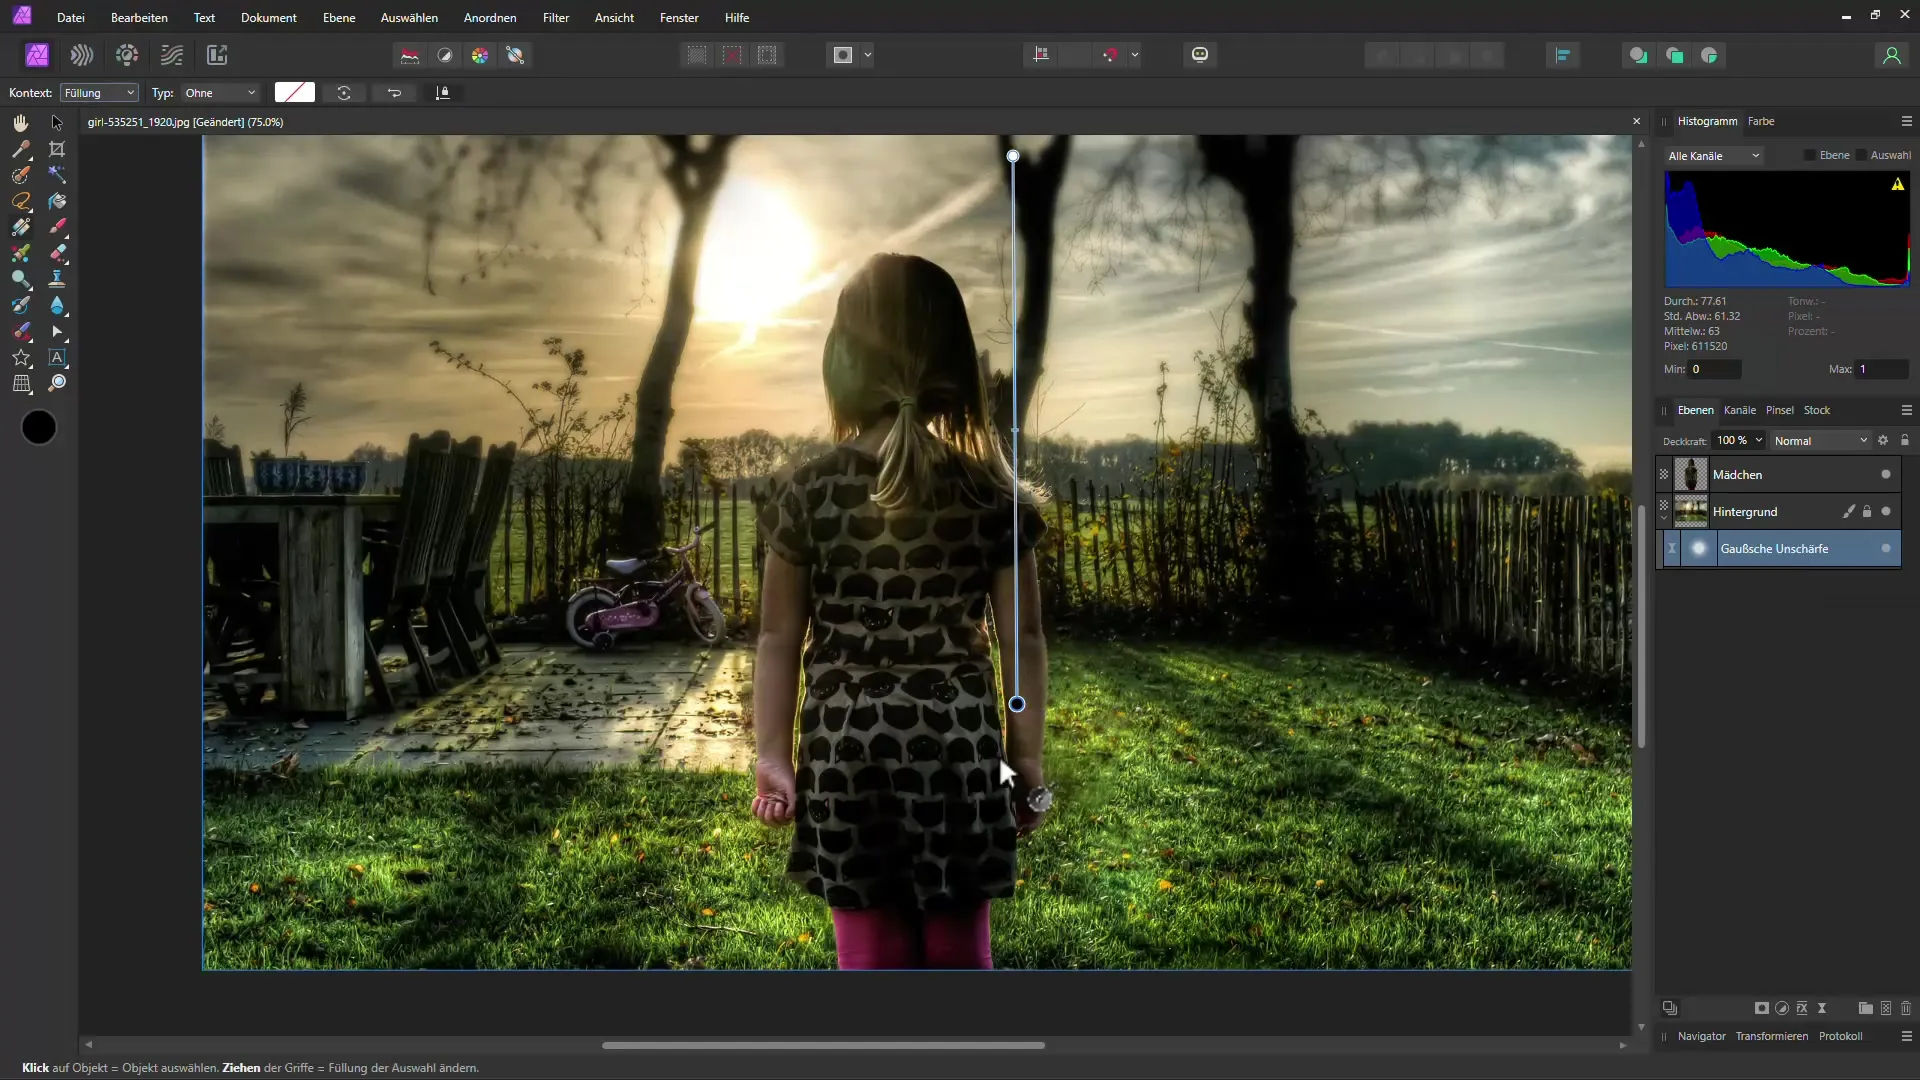
If everything looks good, you now have the option to adjust the blur at any time by simply double-clicking on the filter and changing the values there.
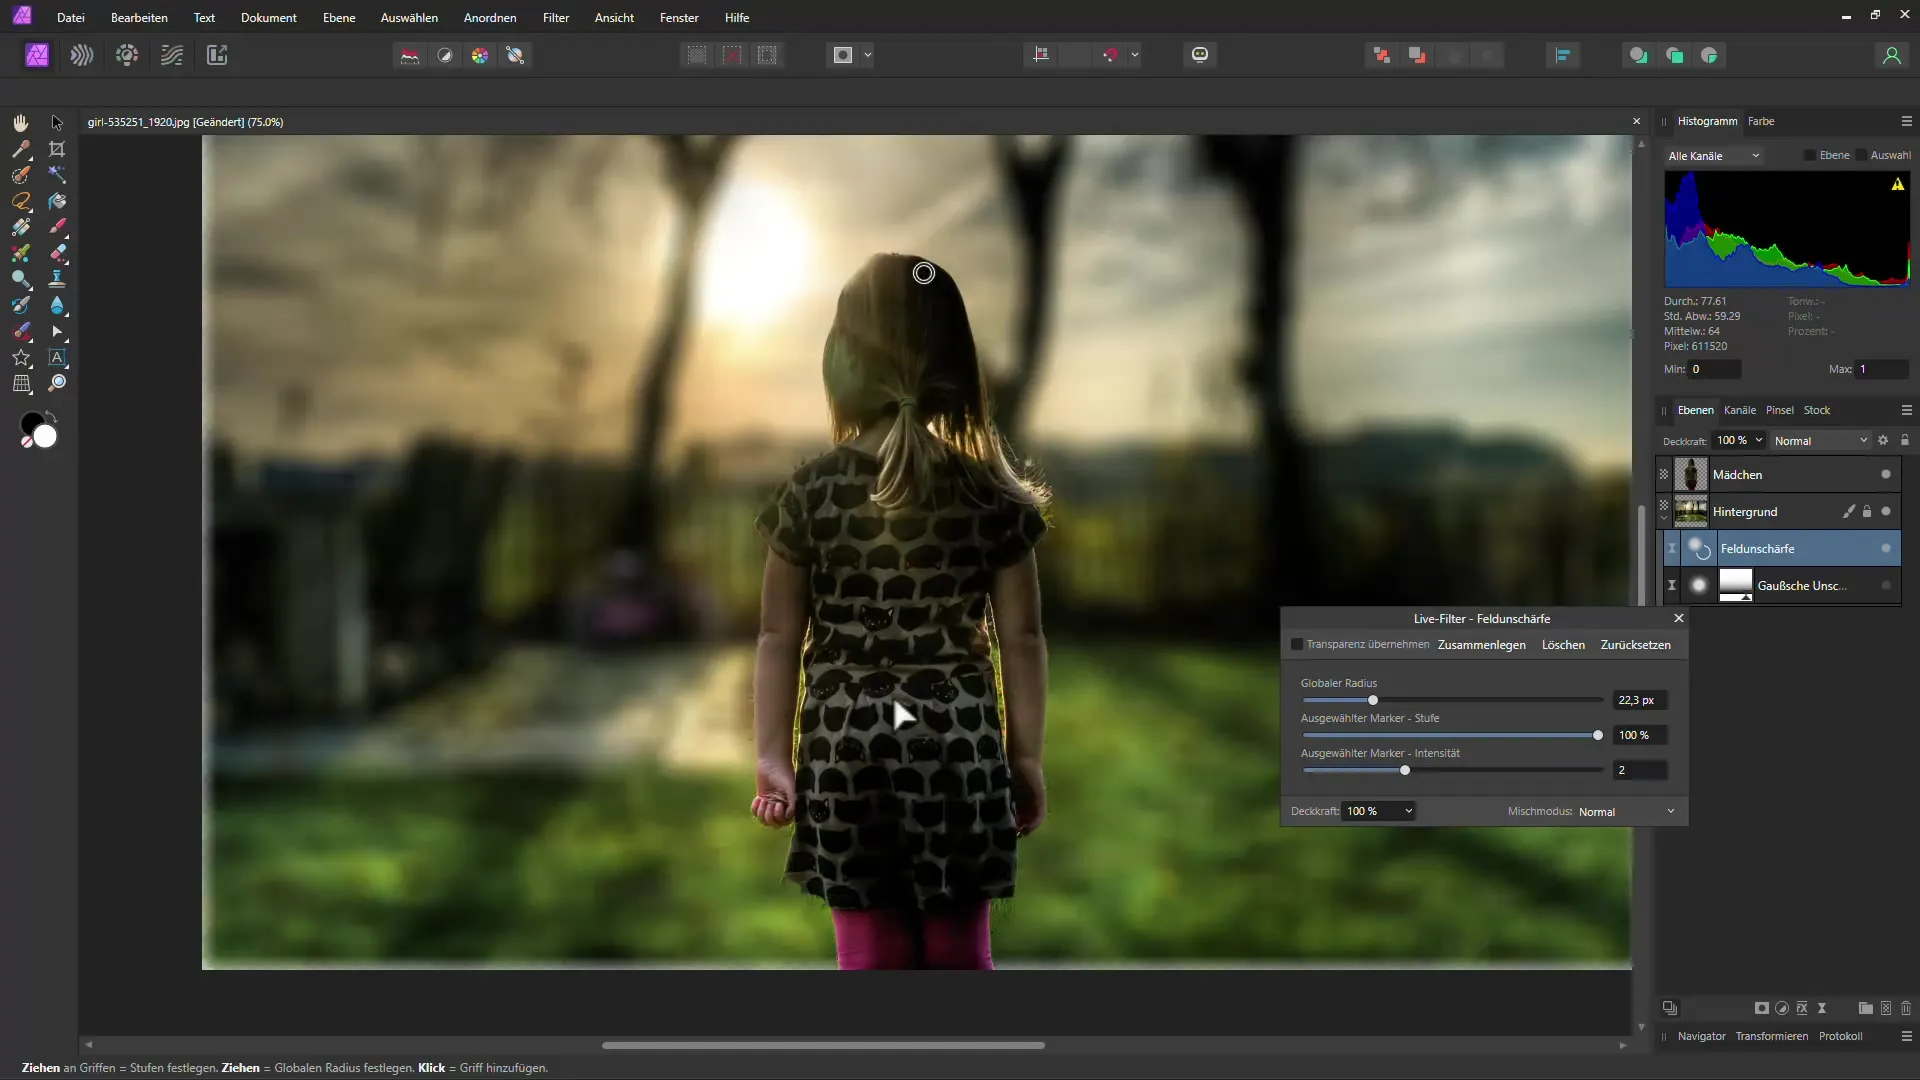
For other personal preferences, field blur can be an additional option. Here too, you should adjust the radius to fine-tune different areas if necessary. Remember to place each point strategically to achieve the desired effect.
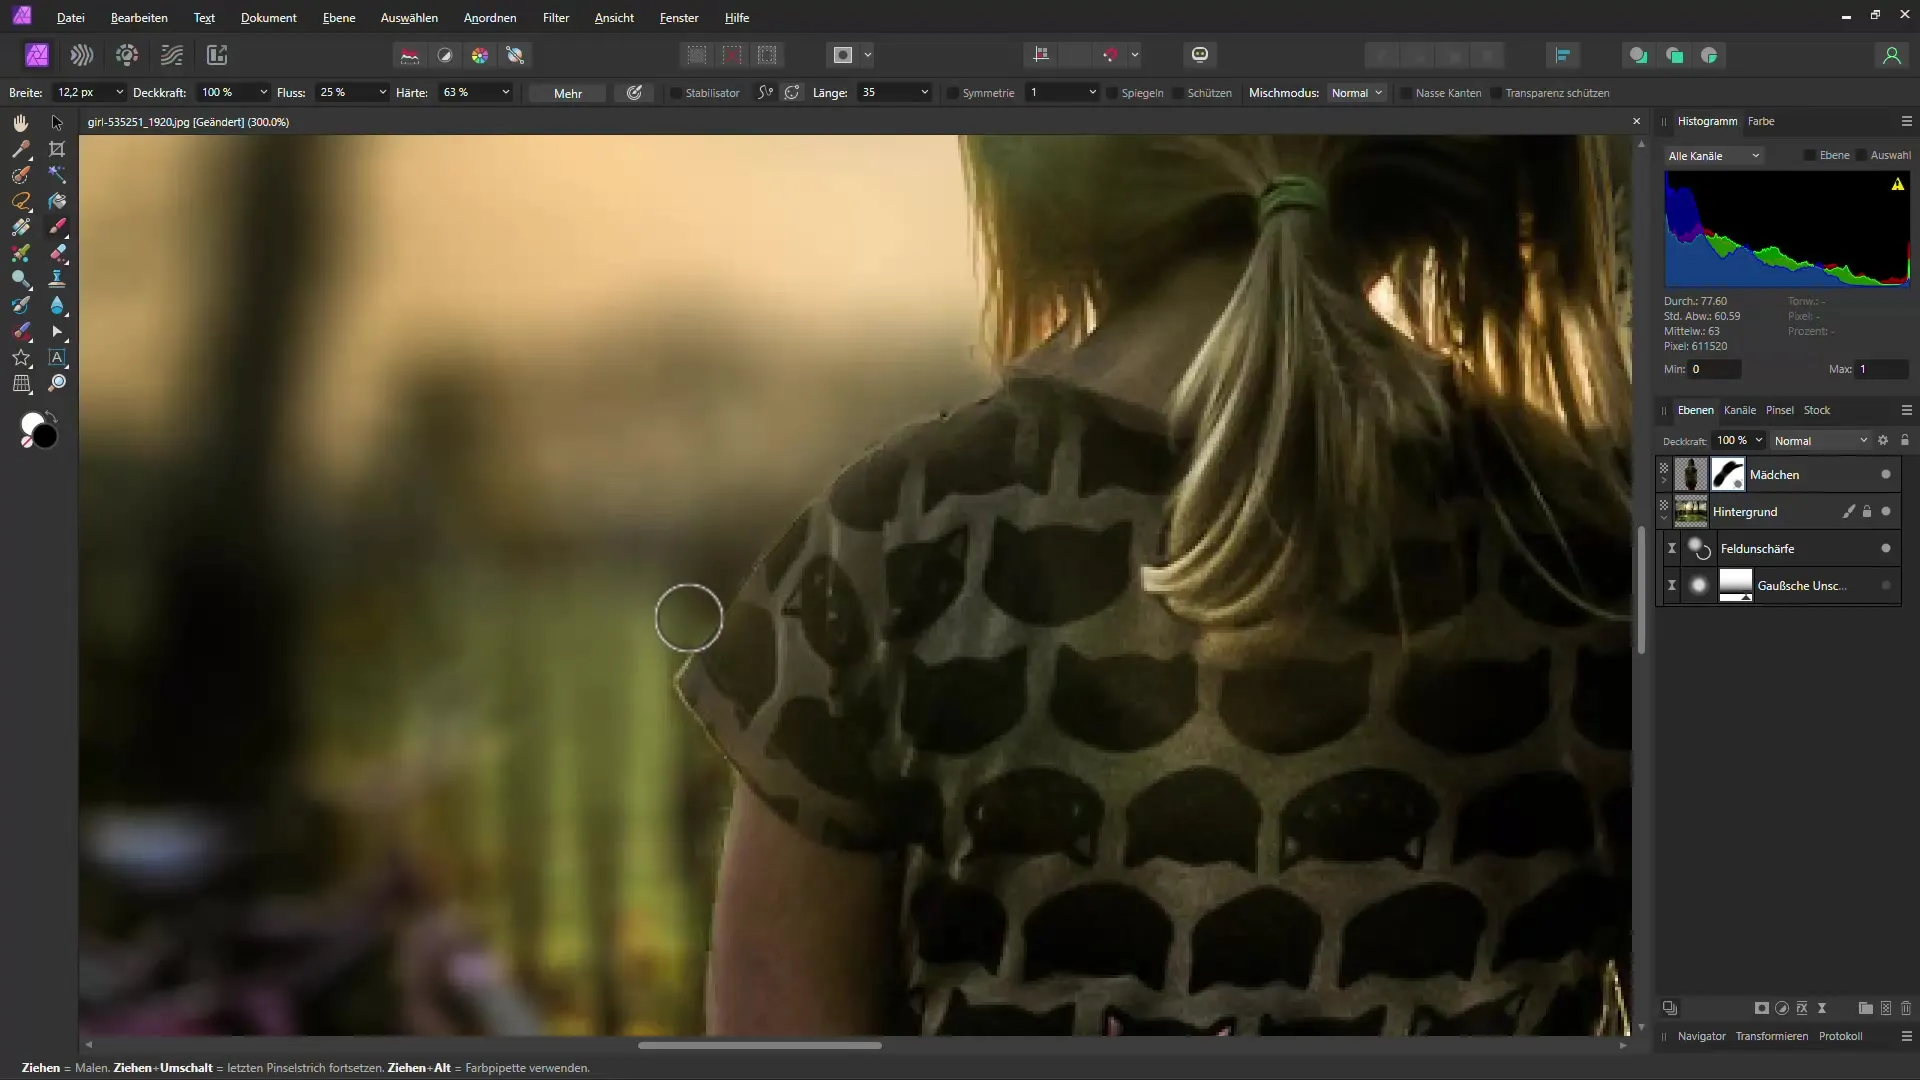
Check if your subject looks good at the edges and make any final adjustments here by adjusting the mask. You can vary the brush size to optimize sharpness where necessary.
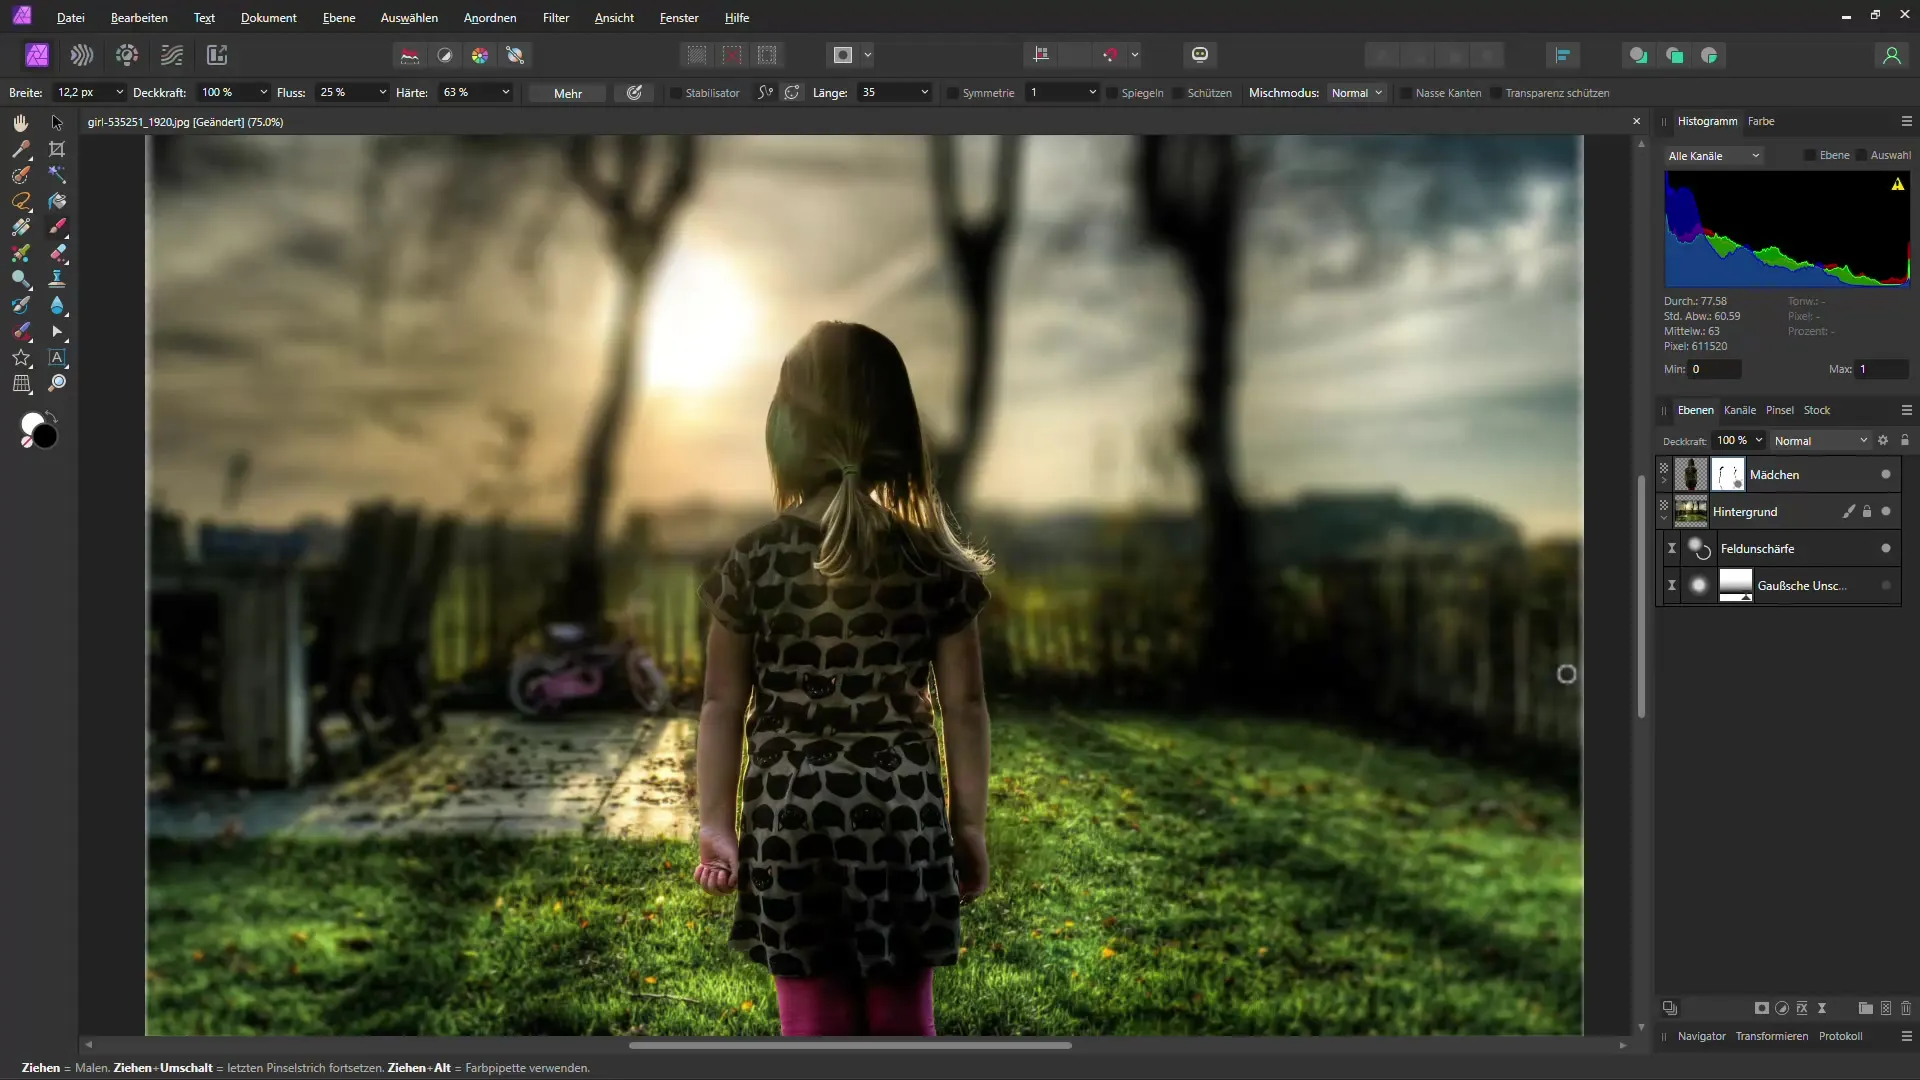
In the end, you will have an image with deep differences between the sharp foreground subject and the beautifully blurred background. This gives your photo more space and depth.
Summary
In this tutorial, you learned how to focus on your subject in Affinity Photo by making targeted selections and adding blur. With the steps described, you can professionally apply depth blur and give your photos a unique look.
Frequently Asked Questions
How do I select areas of my image?For example, with the selection brush
What if I'm not satisfied with the inpainting?Use the clone stamp tool or try inpainting again.
Can I adjust the blur later?Yes.
Can I apply the blur to the entire image?Of course.


