In this comprehensive tutorial about Affinity Photo, I reveal to you 8 handpicked tips and tricks that will help you be more efficient and creative in your everyday use of this software. Whether you are new to the world of Affinity Photo or an experienced user – here you will surely find some useful tricks that will enhance your workflow. You will learn how to better utilize simple features and maybe even discover functions you didn't know existed. Let's get started!
Main Insights
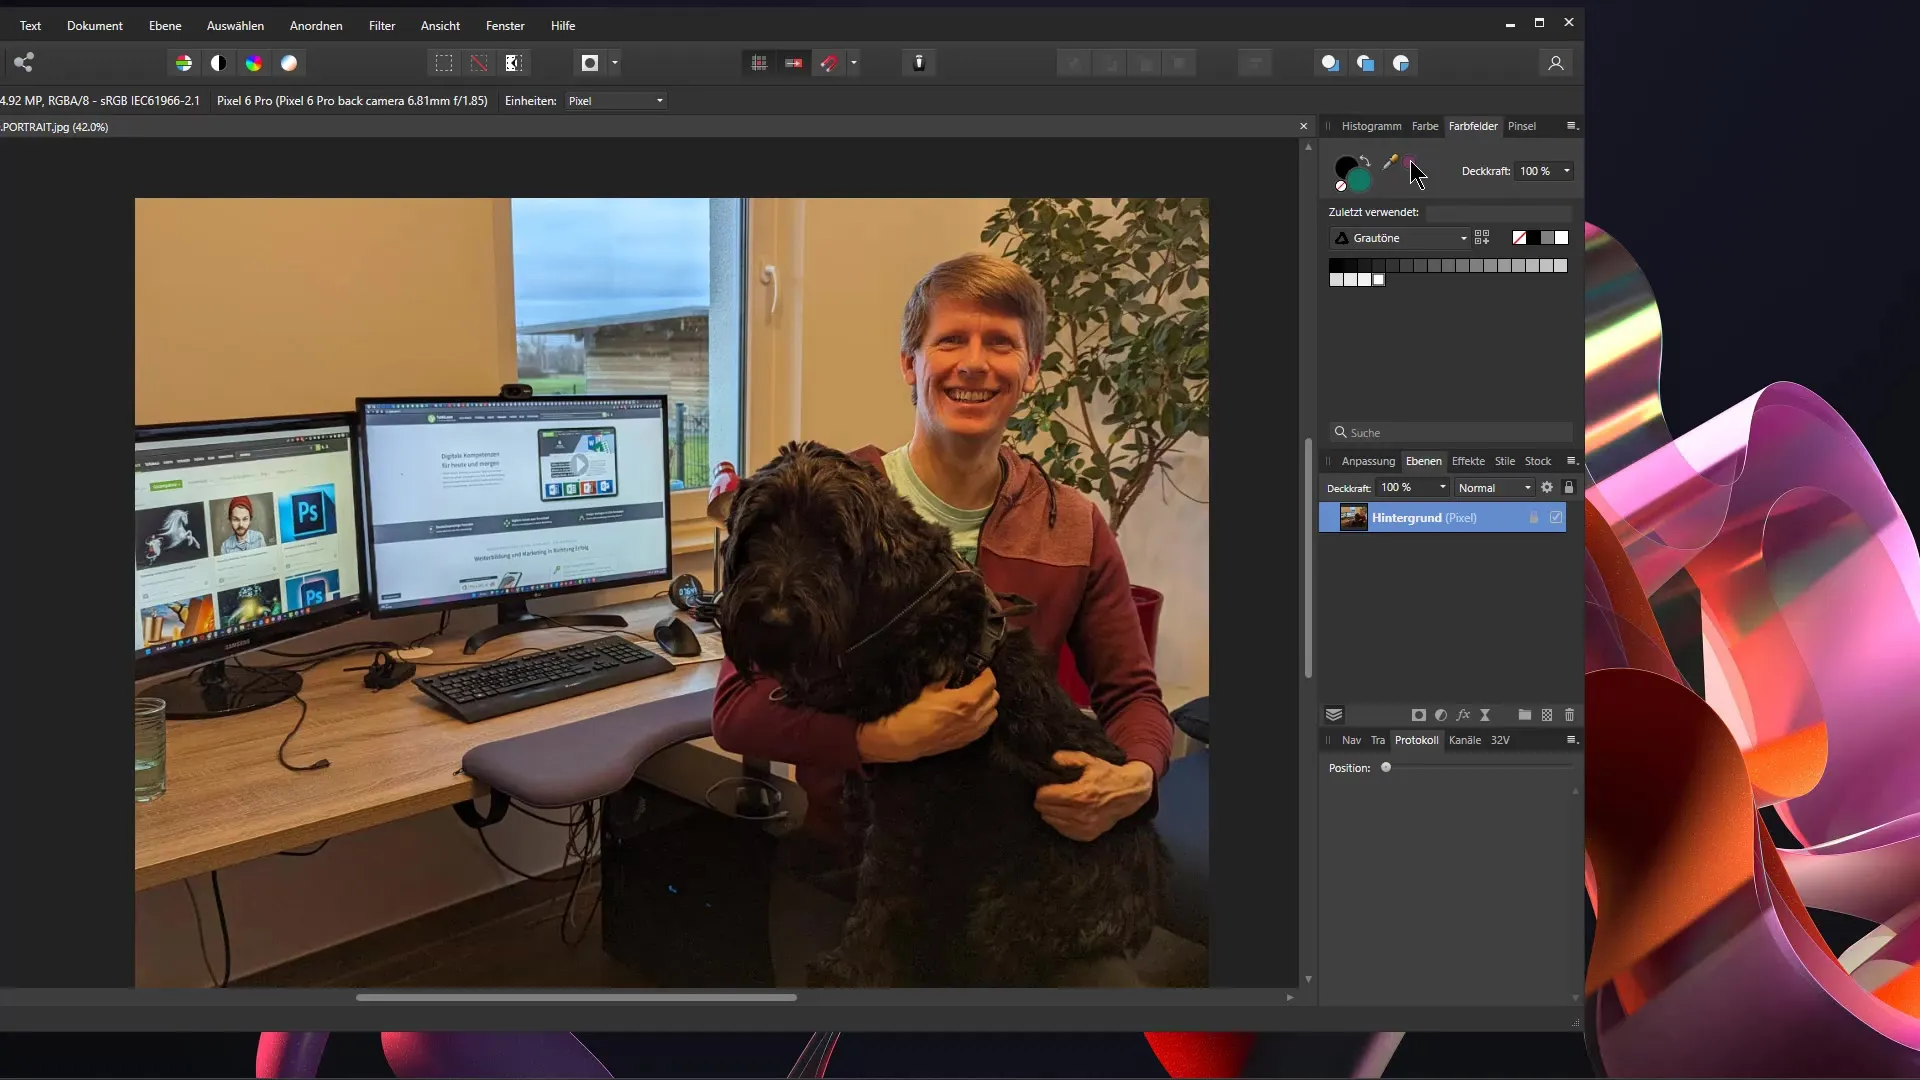
- The color picker of Affinity Photo can capture colors even outside the program window.
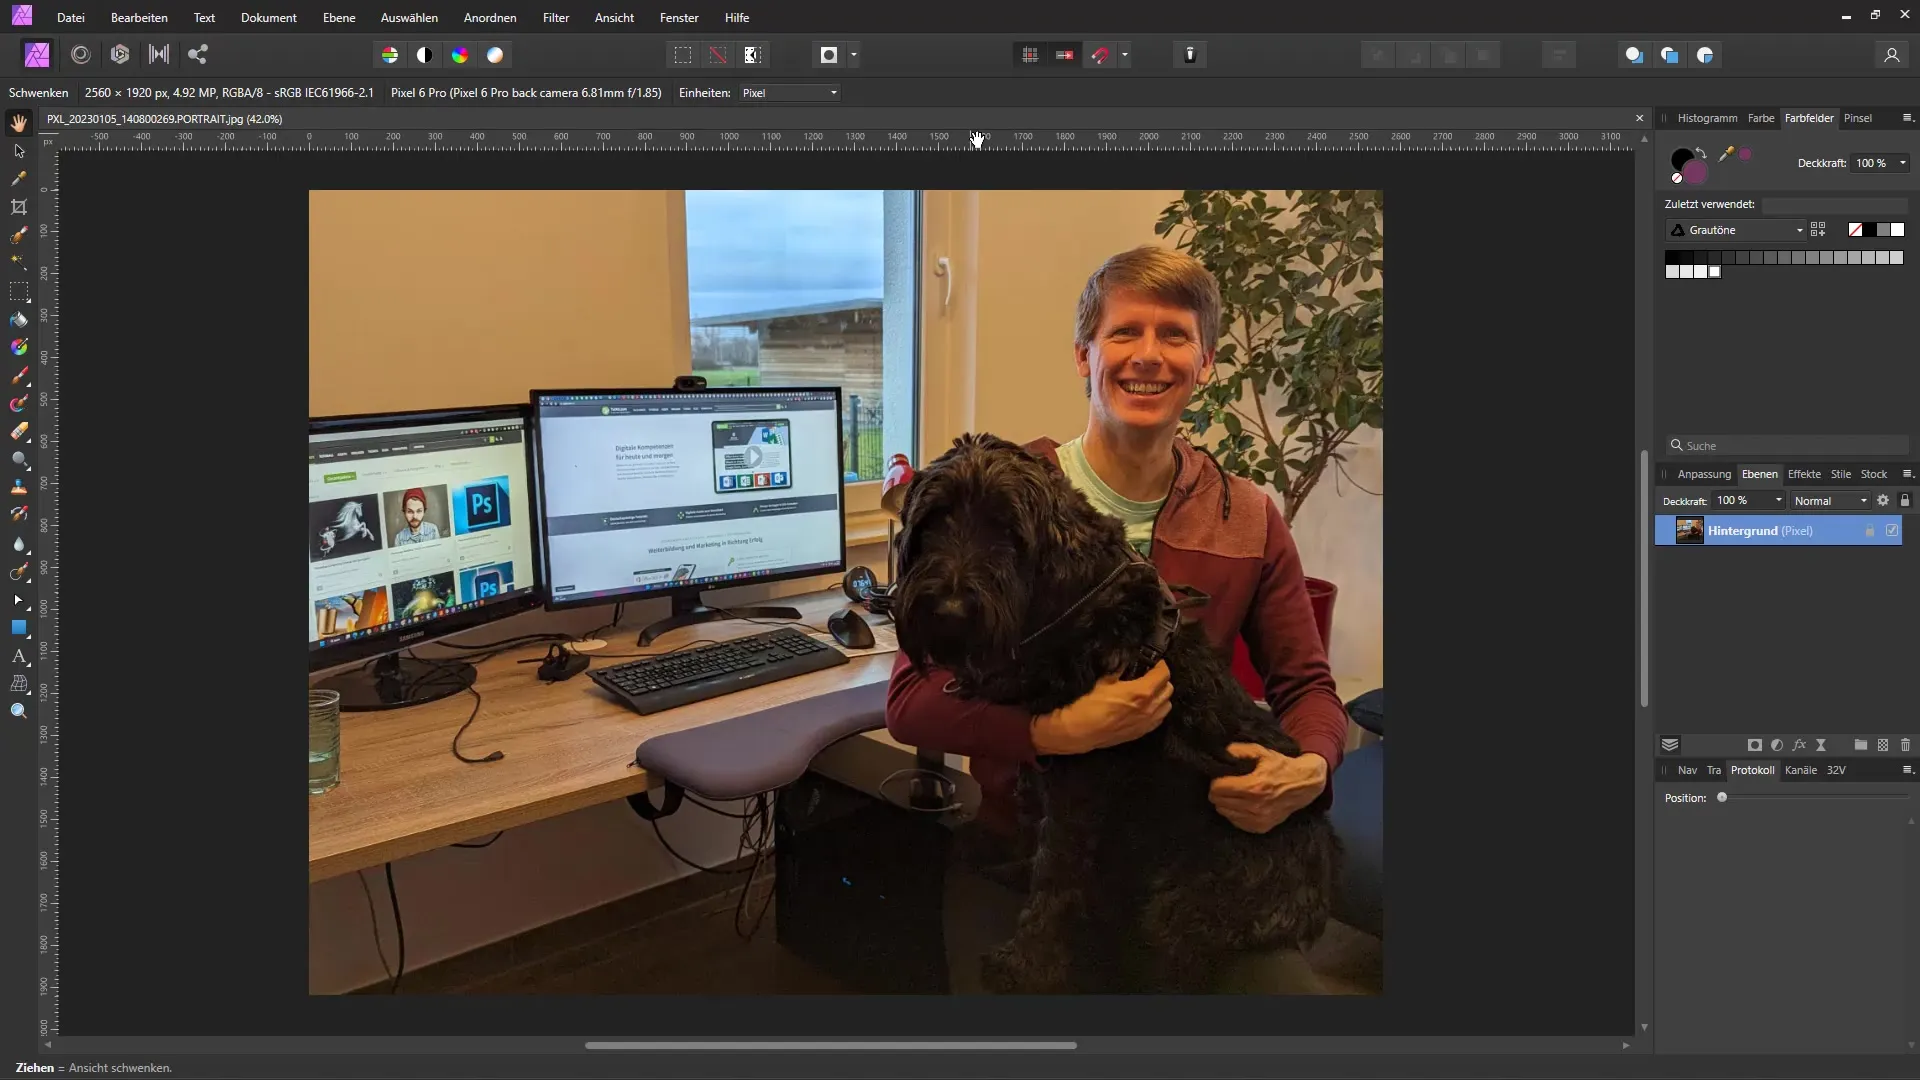
- You can change the unit of the rulers to pixels, millimeters, or other units of measurement.
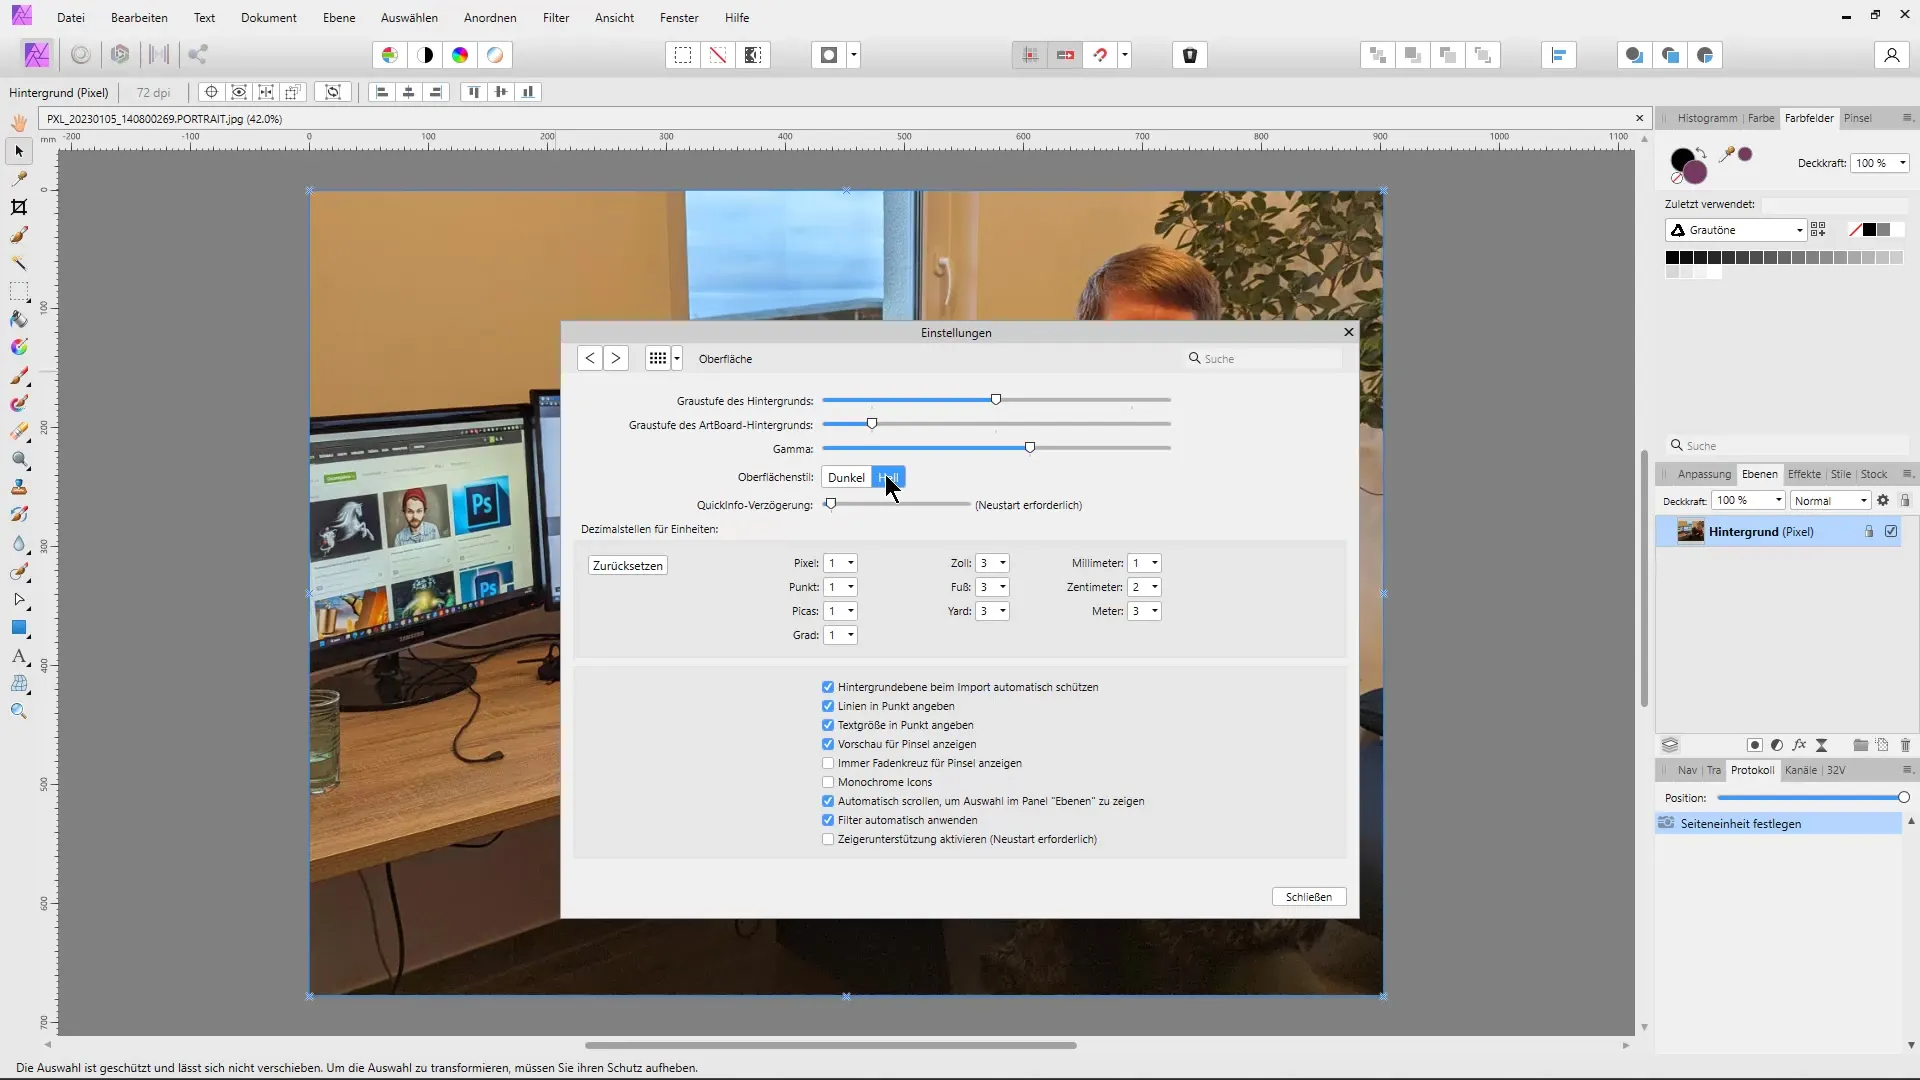
- There is a function to switch the interface between light or dark.
- The history area allows you to control all changes and facilitates undoing steps.
- Shapes can be converted to curves to provide more flexibility in design.
Using the Color Picker
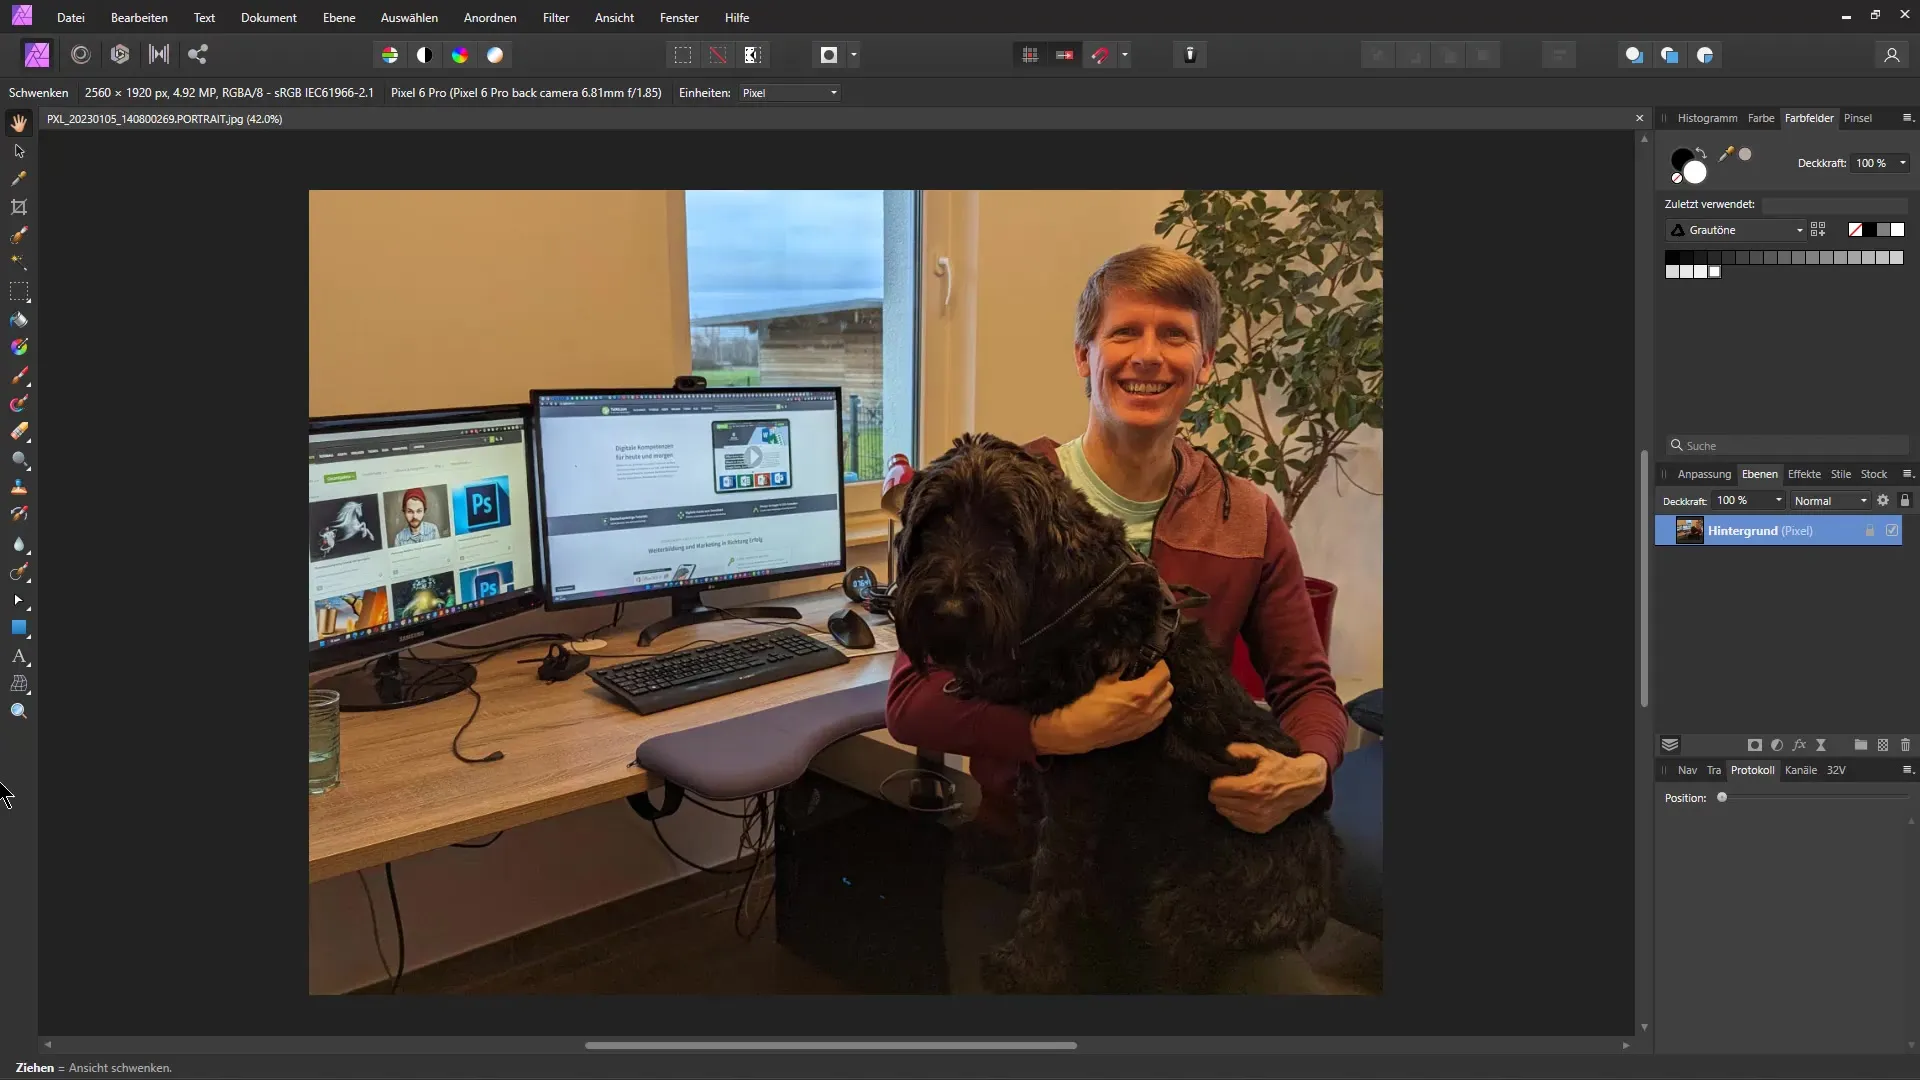
In the first part of this tutorial, we will look at the color picker. You can not only use the color picker within the program but also capture colors from your desktop or other applications. To display the color swatches, go to View, then Studio, and activate Swatches. Once the window is visible, you can select the dropper from the color field. Hold down the left mouse button to choose a color. For example, if you want a nice green, move the mouse cursor over the desired color and release the mouse button. Important: To change the foreground color, you have to click on the color circle again.
A cool trick is that you can move the cursor outside the program window to pick up colors. Hold down the left mouse button, drag the cursor to a color source on your desktop, and click again to confirm the color. This allows you to draw inspiration from your surroundings.
Using the Rulers
The second tip deals with the rulers, which you can show or hide by pressing Ctrl + R. Alternatively, you can also do this under View and then Show Rulers. If you want to change the unit of the rulers, click on the zoom tool. There you have the option to change the unit, for example from pixels to millimeters. This setting applies to all rulers in your project.
Interface Settings
Sometimes you may want to lighten or darken the user interface. To do this, go to Edit in the settings and then to Preferences. There you can switch the interface from dark to light. This helps you improve your work, especially in different lighting conditions.
History and Undo Function
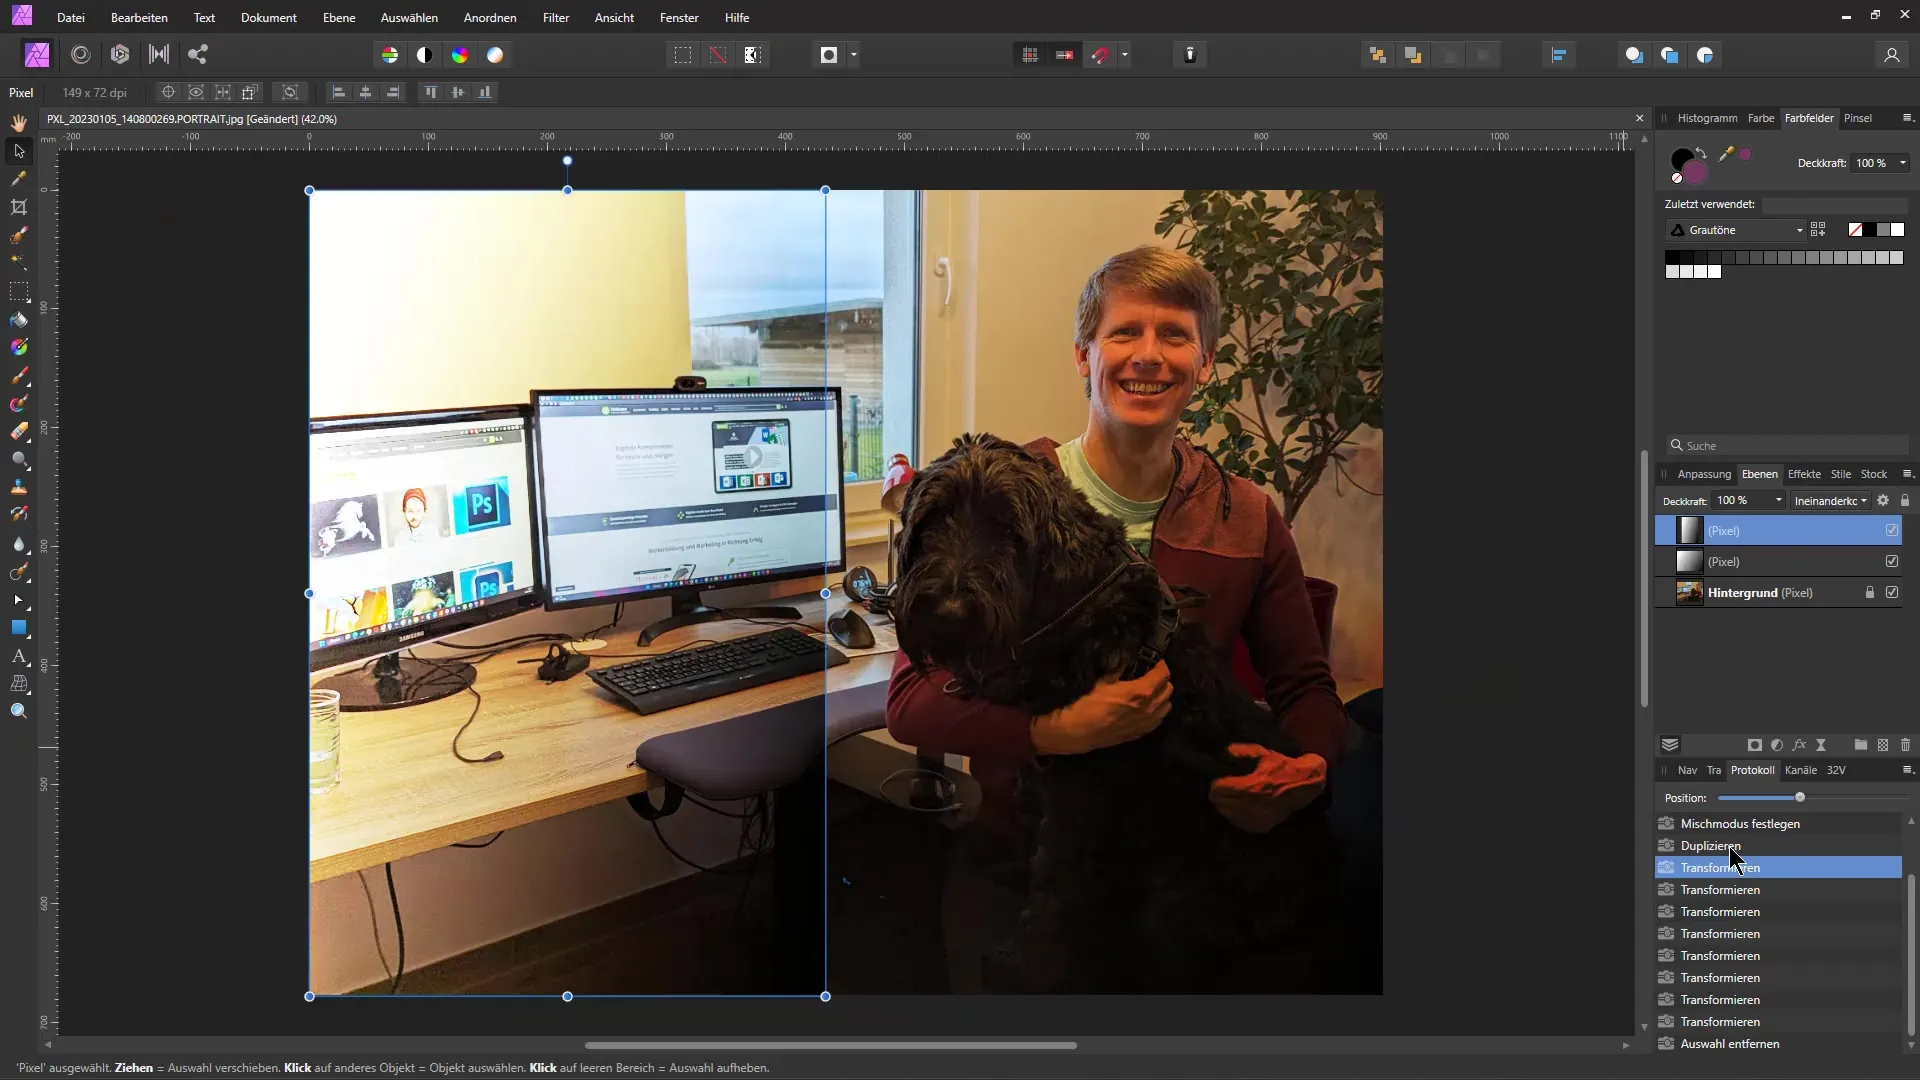
In the next step, I will show you the history area, which records all changes you make. Every time you create a new layer or change a color, for example, it will be recorded in the history. By clicking on specific steps, you can quickly revert to previous changes. To navigate through the steps faster, use the position bar, which allows you to automatically scroll through the steps to the beginning.
Customizing Shapes
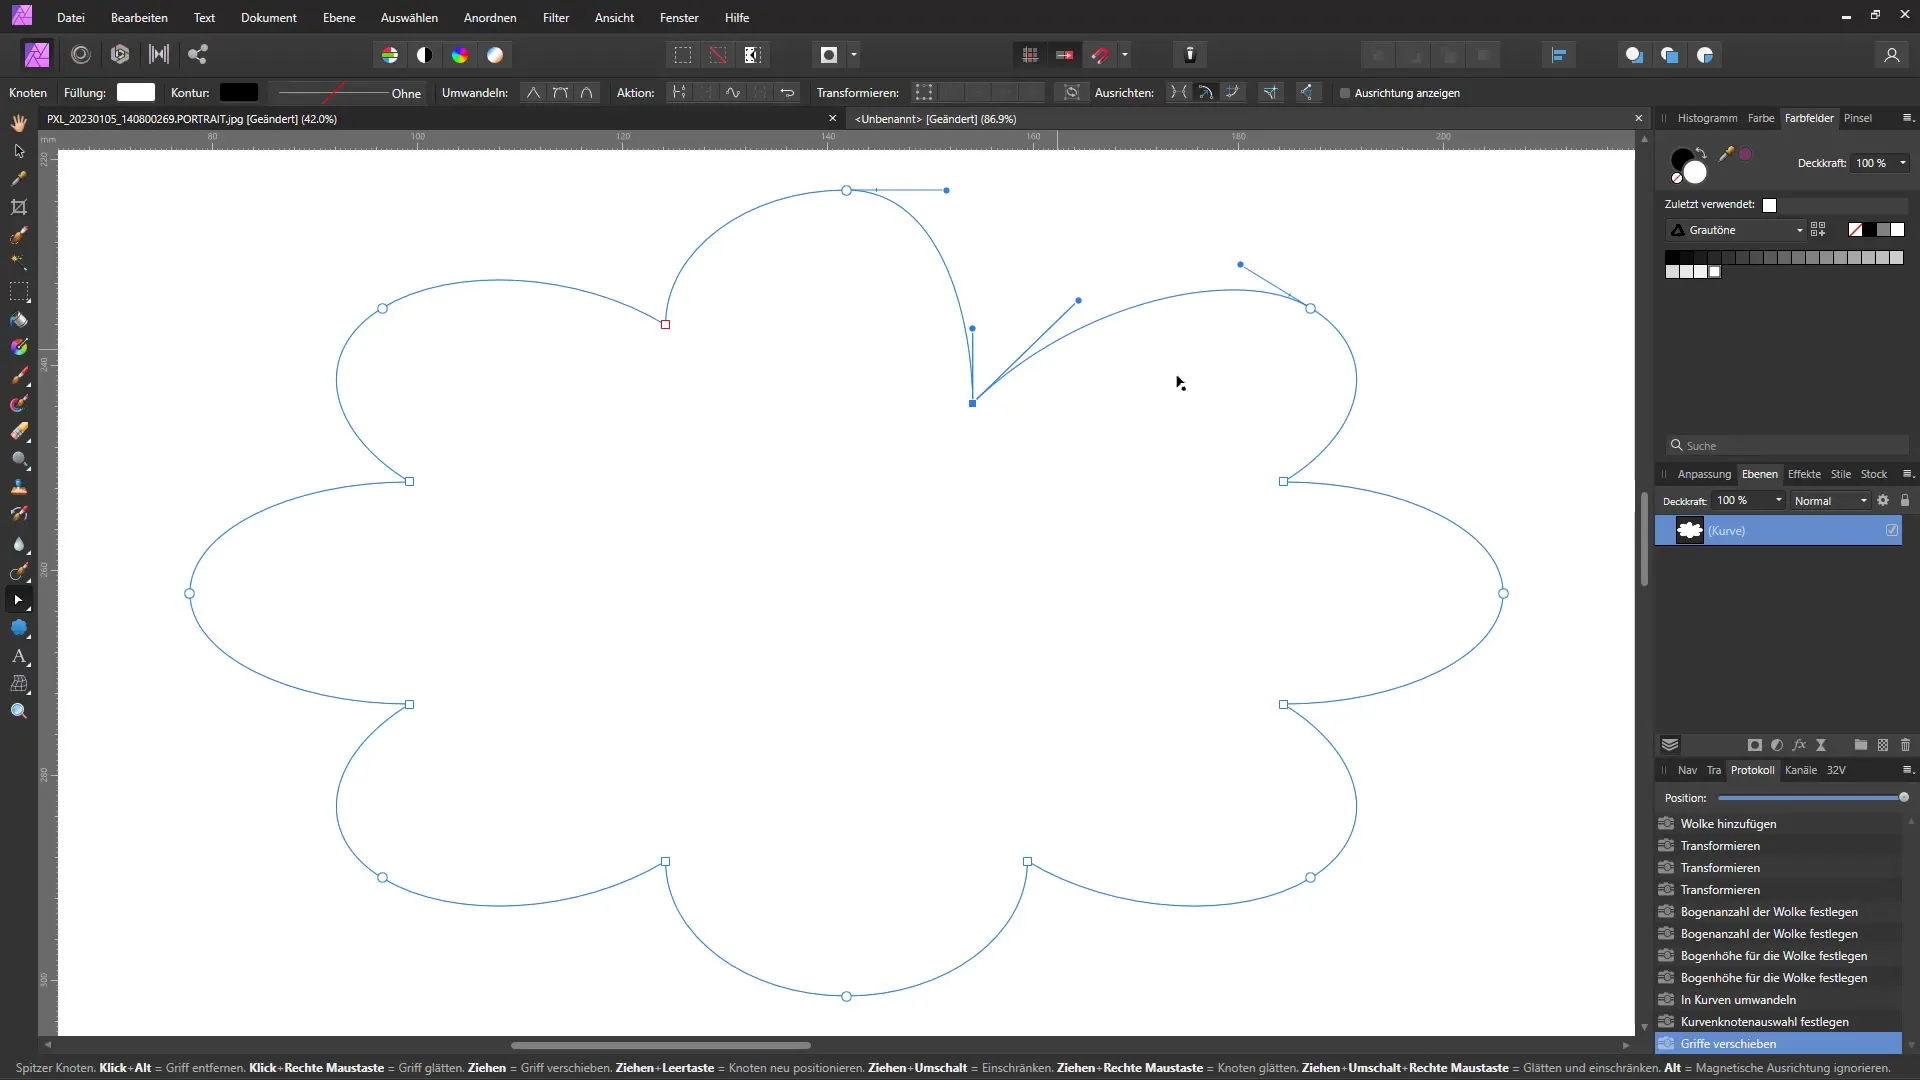
Tips and tricks for shape editing can be found in the fifth section of our tutorial. When drawing a shape like a cloud, you often do not have enough customization options. To gain more control over your shapes, you can convert them to curves. Click on Convert to Curves at the top. Once this is done, use the node tool to edit each individual node of the shape, allowing you to achieve the exact design you desire.
Customizing the Toolbar
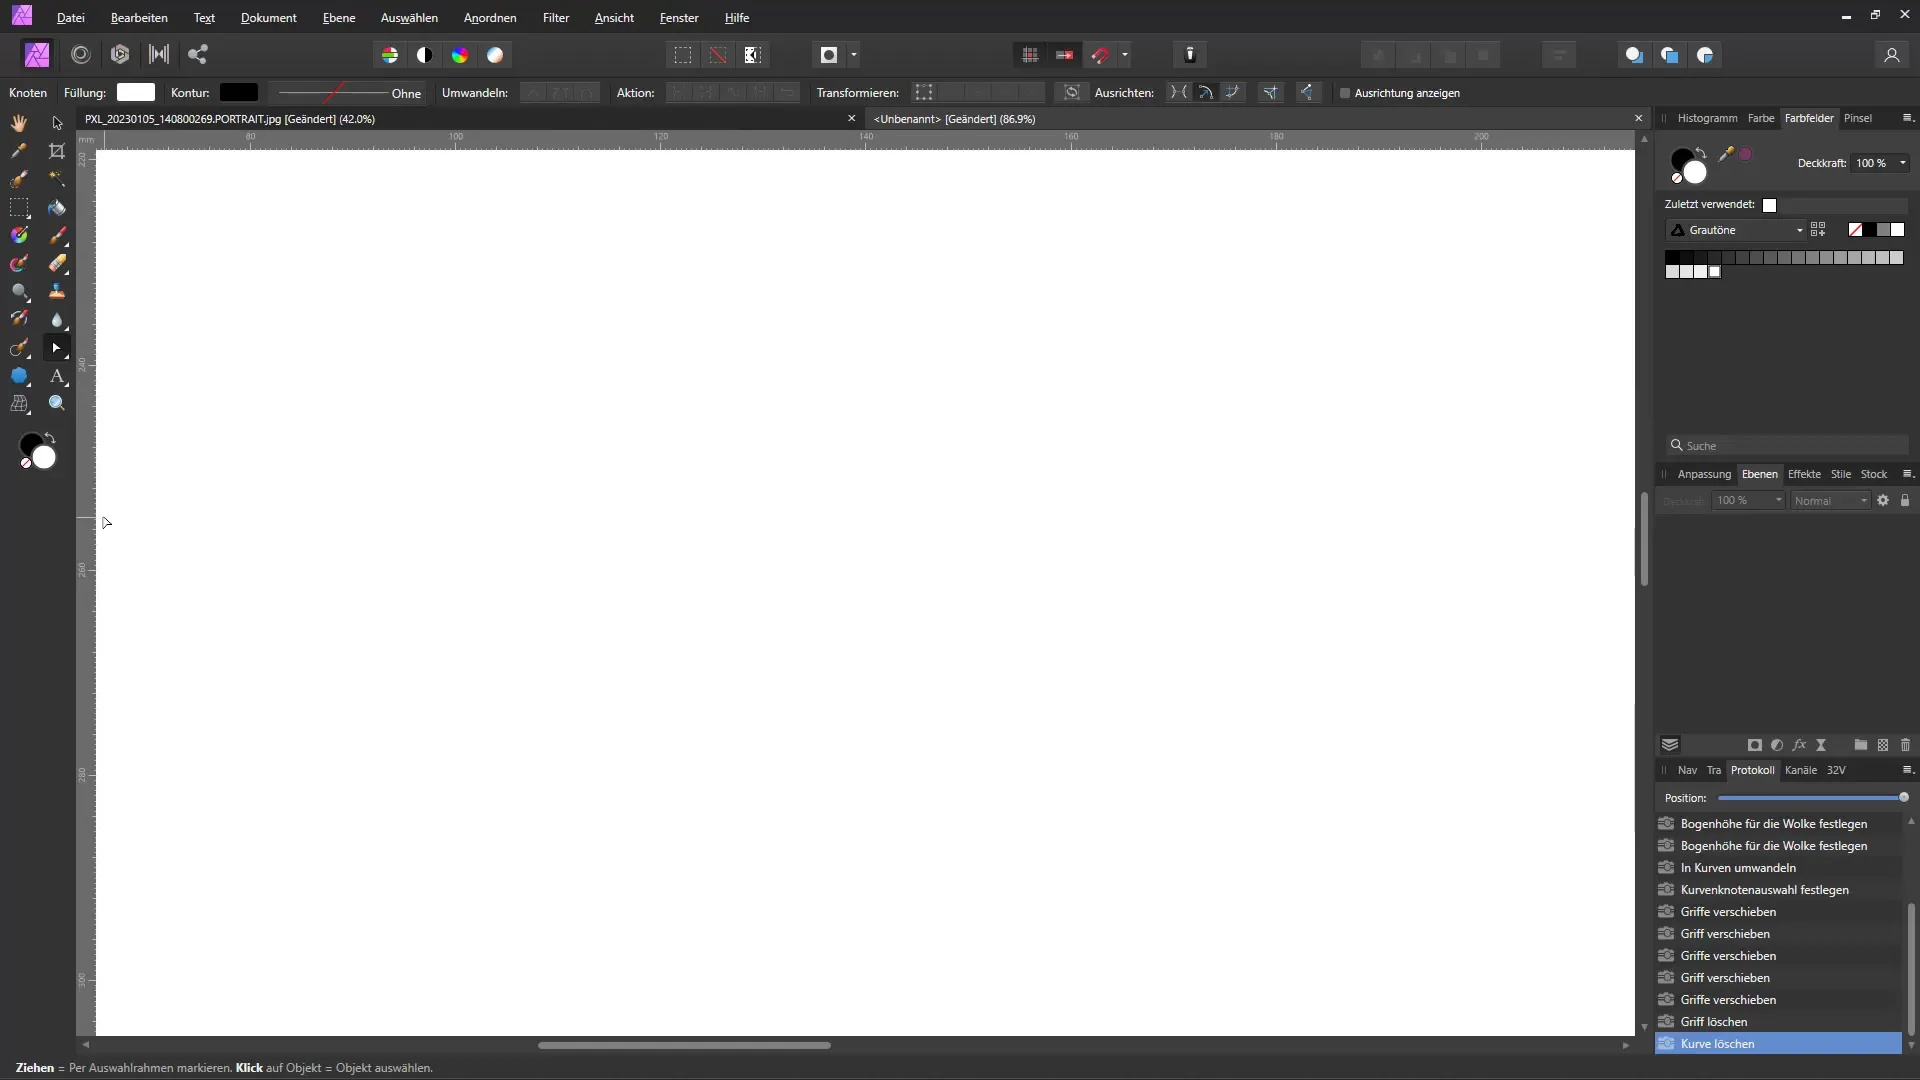
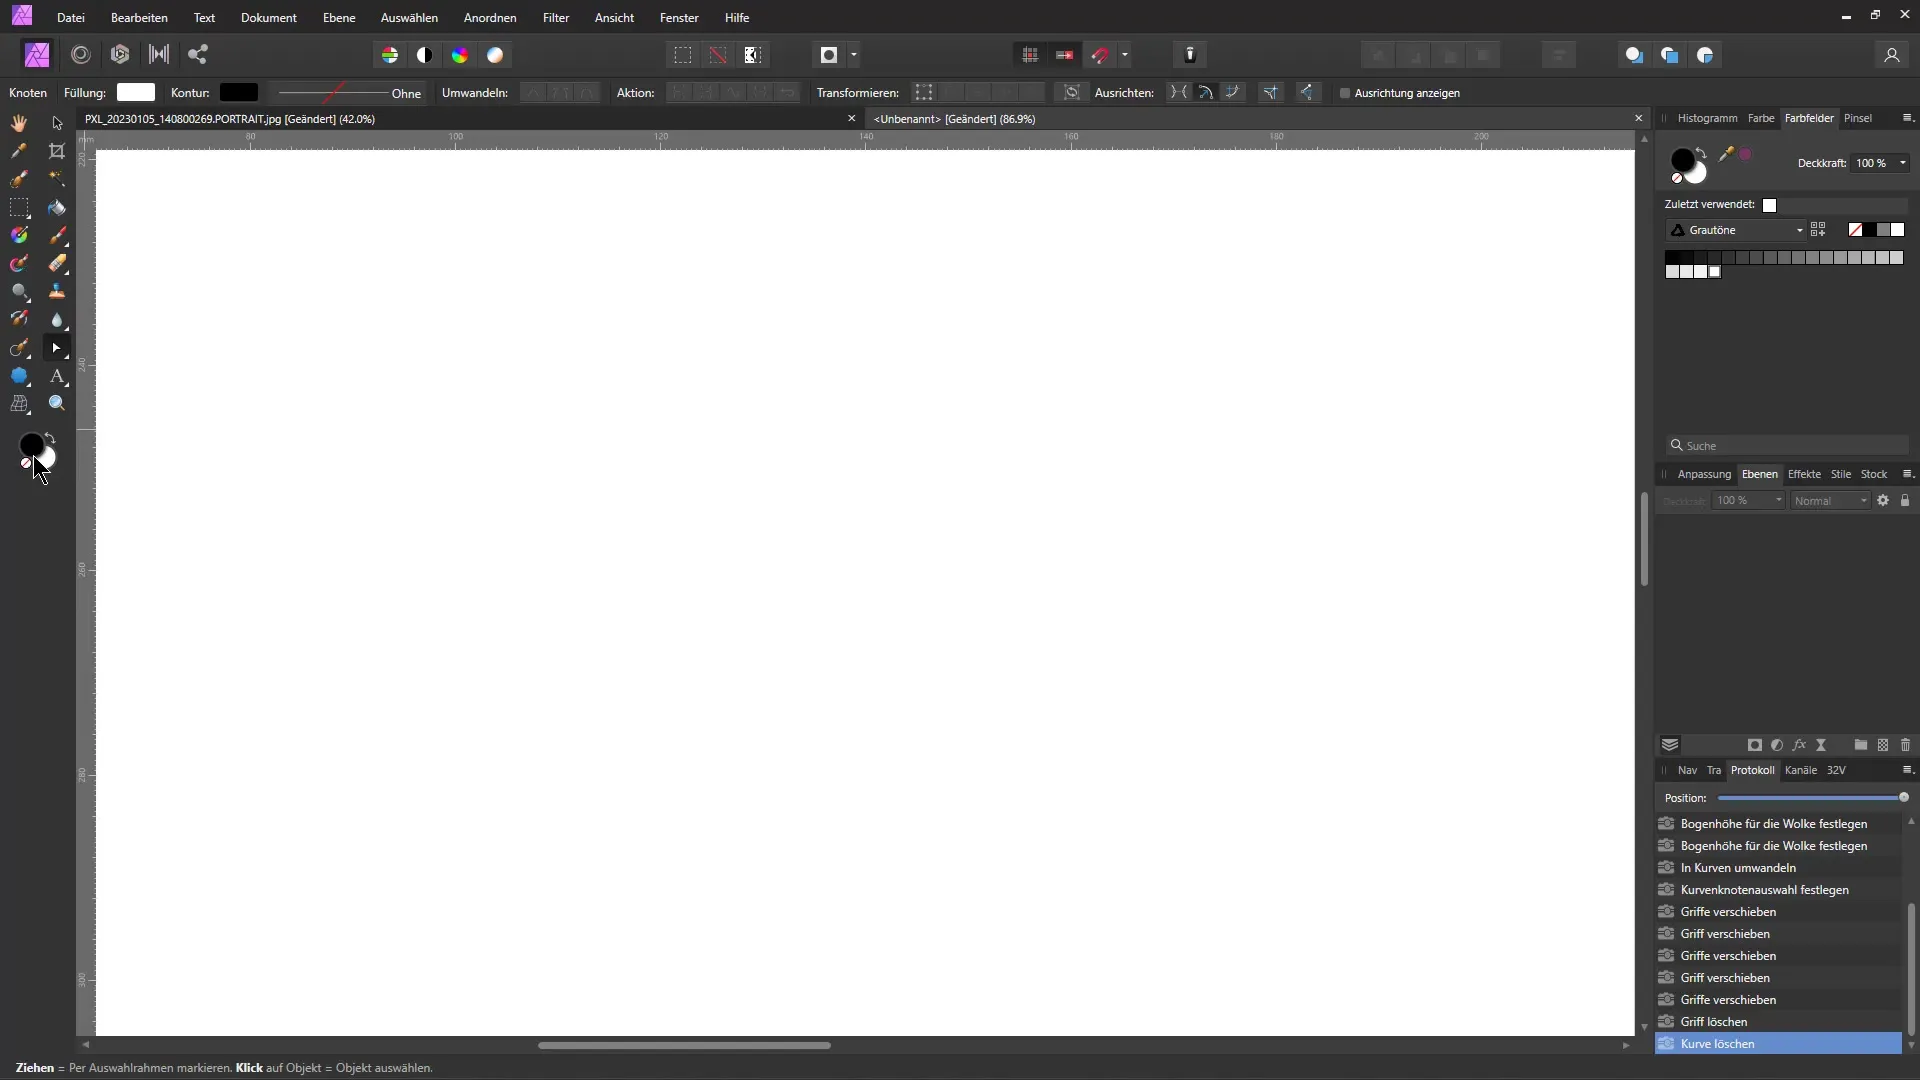
In the next tip, we will explain how you can display the foreground and background colors in the toolbar for quick access. To do this, go to View, select Tools, and then Customize Toolbar. There you can change the number of columns to make space for additional tools. If you have inserted everything correctly, the foreground and background colors should now be visible.
Assign Shortcut Keys
As an important part of your workflow, it is also useful to reset the default colors with a keyboard shortcut. In Affinity Photo, this function is not available by default, but you can activate it in the settings. Go to Edit, then to Shortcuts. Define the fill for Black and White under Miscellaneous to reset the color with a single stroke.
Selection Tools
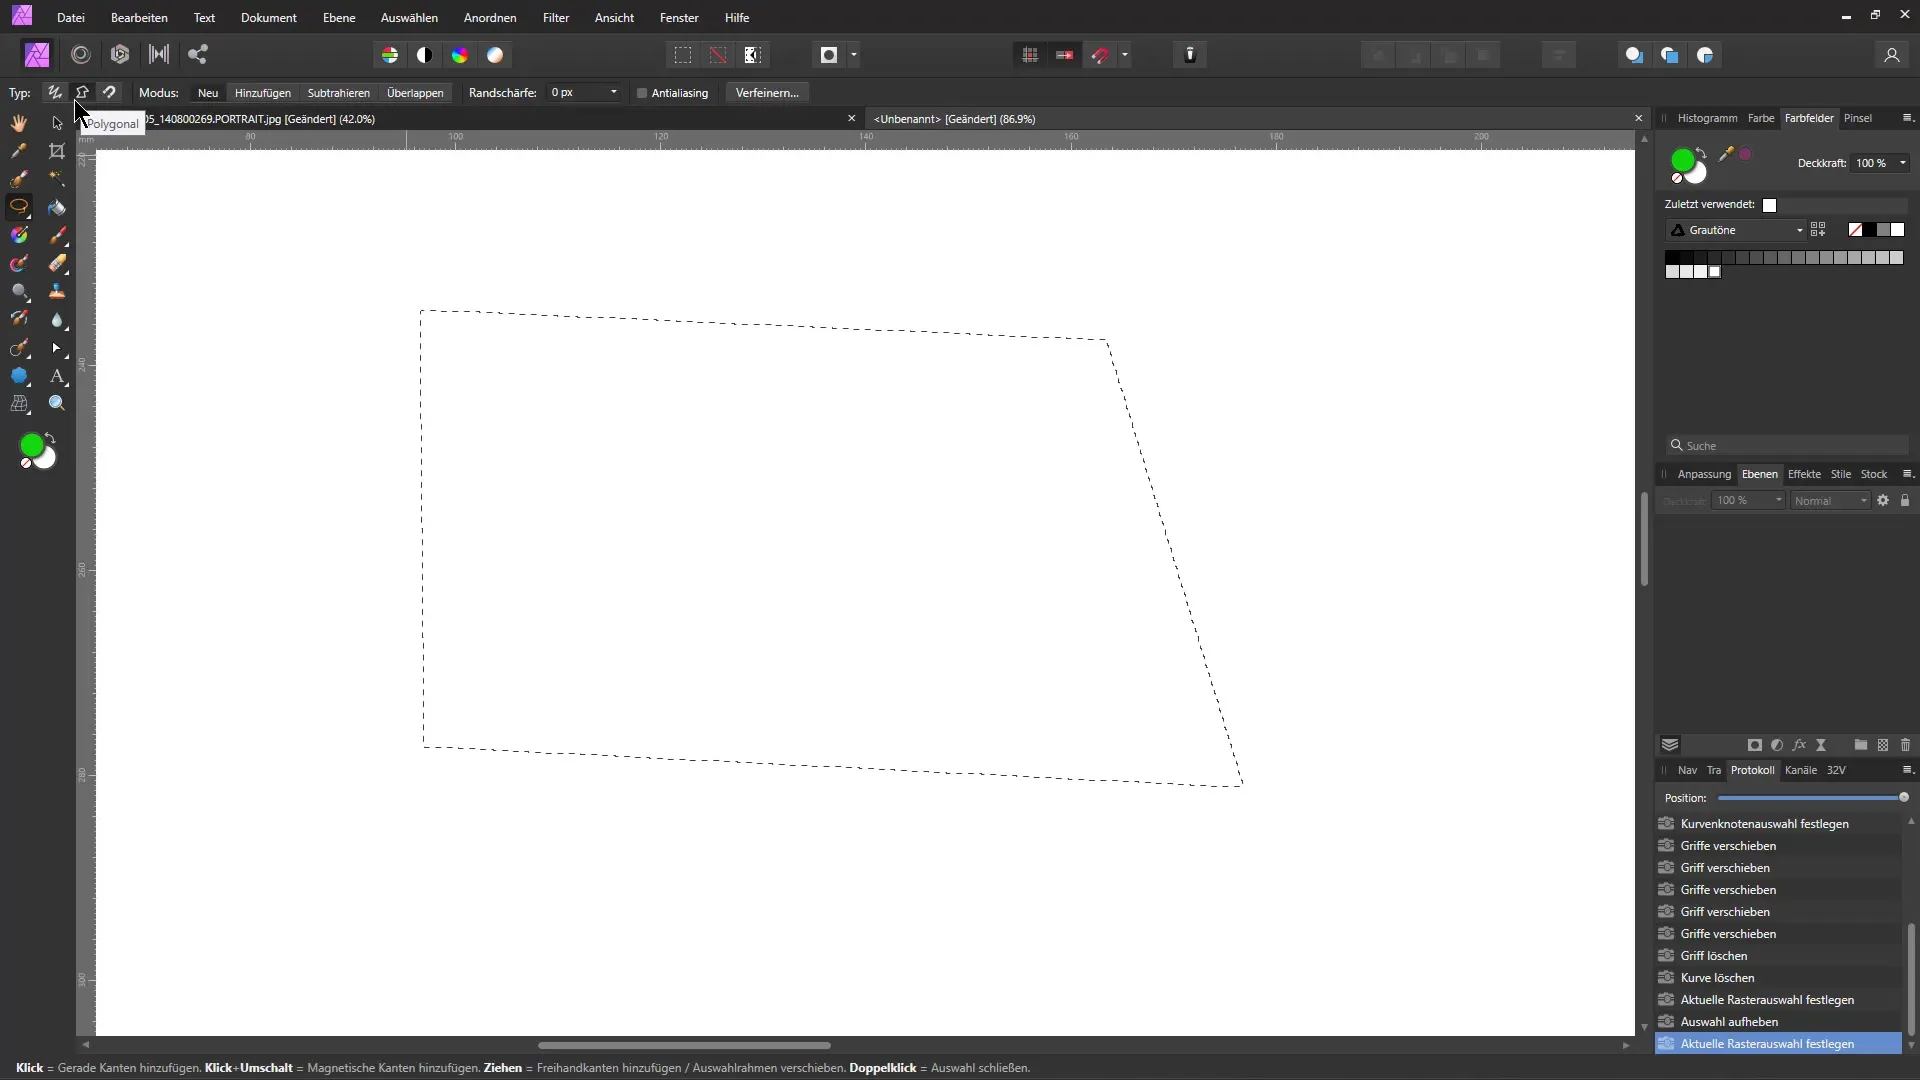
Finally, I want to show you how to find the Polygon tool in Affinity Photo. Many users have difficulty refining their selection. You can use the Freehand Selection tool and look for the option in the toolbar to start a selection with a single click. Hold down the mouse button to create the selection and bring it back to the starting position to complete it.
Summary
In this tutorial, you have learned many useful tips for working with Affinity Photo. From using the color picker to customizing the toolbar and advice on the user interface, you could familiarize yourself with various functions that will make your work process easier.
Frequently Asked Questions
What is the color picker in Affinity Photo?The color picker allows you to select colors from the image or your desktop.
How can one change the unit of the rulers?Click on the zoom tool and choose the desired unit.
Can I change the user interface from dark to light?Yes, you can do that in the settings under Interface.
What is the History panel?The History panel records all changes so that you can easily navigate between steps.
How can I customize shapes?You can convert them into curves and use the Node tool to modify each node.


