In this second part of the best tips and tricks for Affinity Photo, you will learn how to significantly enhance your work efficiency with this powerful software. With a total of eight tricky tricks, you will be able to save time and expand your creative possibilities. Whether you are a beginner or already have experience, you will surely find something useful here that will help you in your daily work.
Main Takeaways
- Use advanced shape options for creative designs.
- Quickly enhance your images with leverage effects and adjustments.
- Work efficiently with text and images to achieve exciting effects.
- Understand the differences between vector and pixel layers for better design.
- Optimally use masks and the cloning tool to achieve impressive results.
Step-by-Step Guide
1. Expand your shape design skills
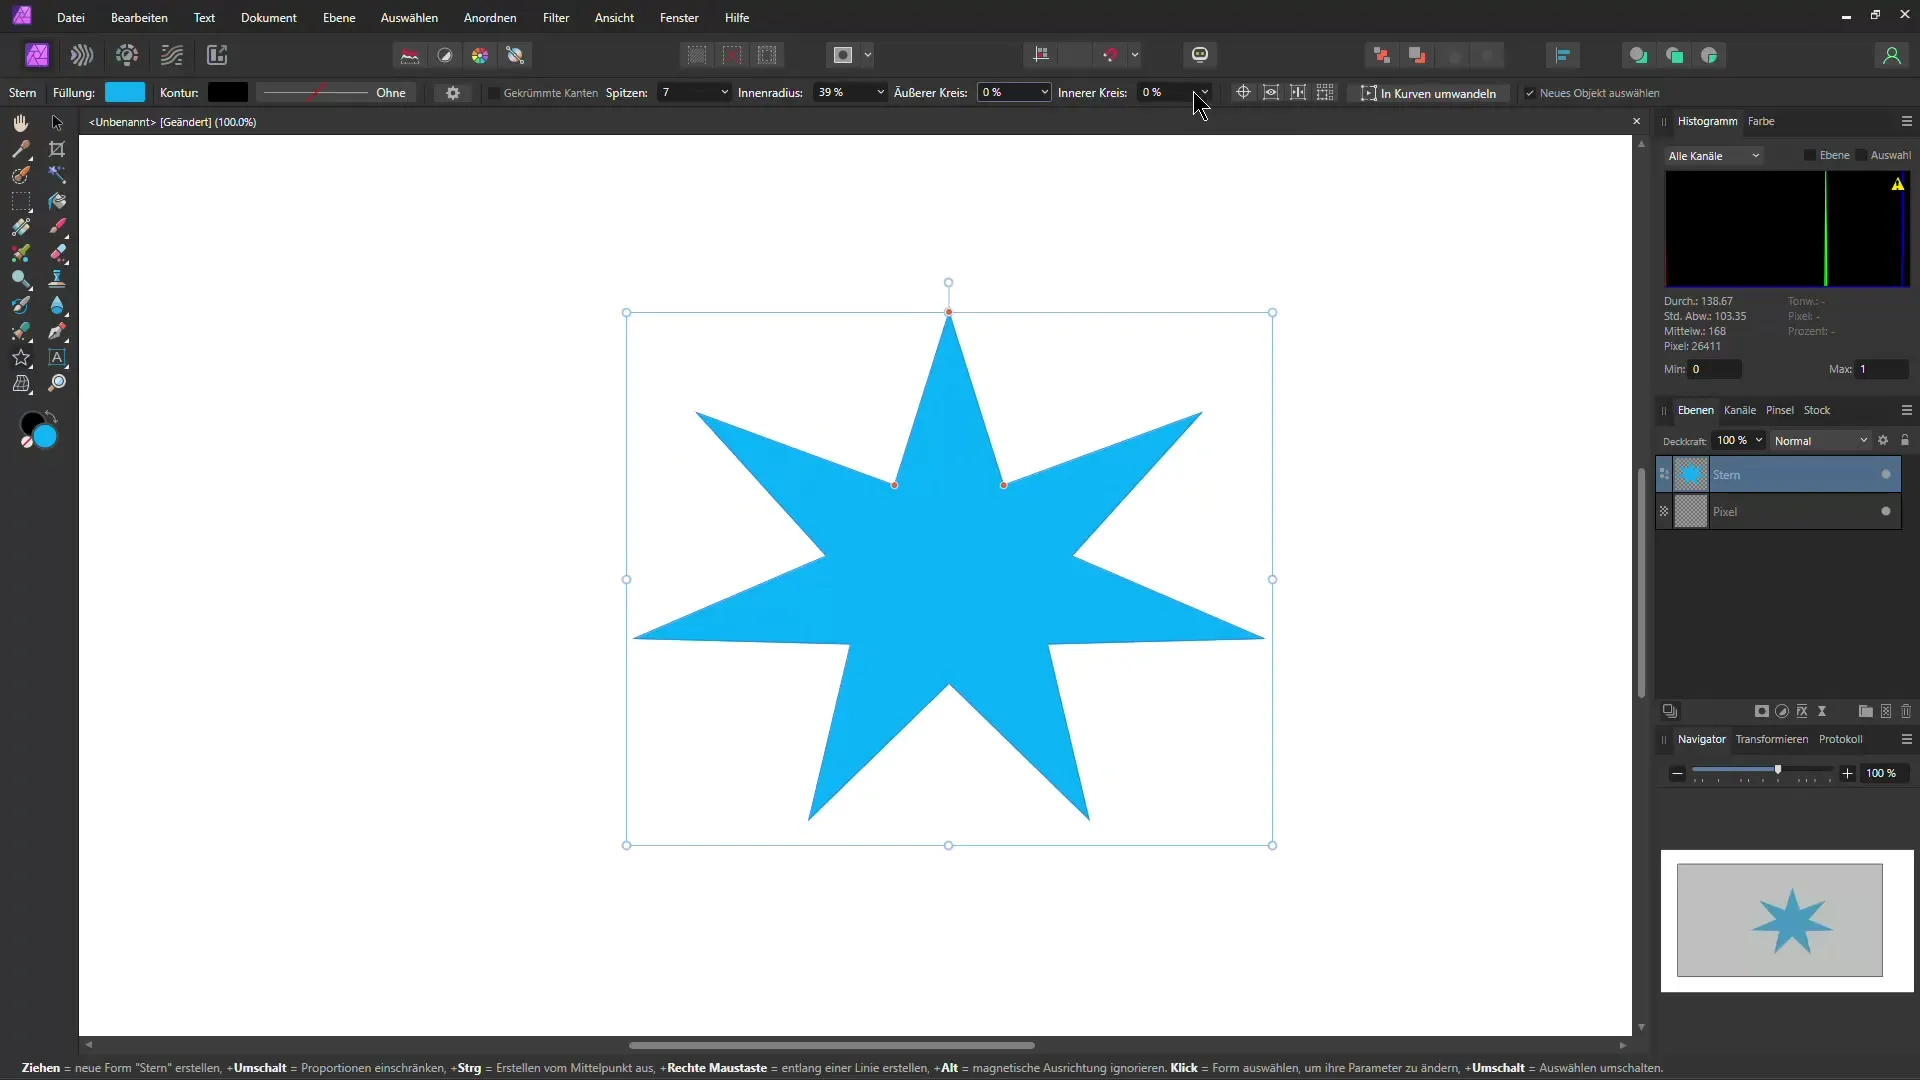
When working with shapes in Affinity Photo, you should try out the various options available to you. Click on a shape to set the fill color, and then change parameters such as the number of arches or the inner radius. In the example application, a star is created, the tips and inner radius of which you can adjust to create the desired design.
2. Quickly optimize images
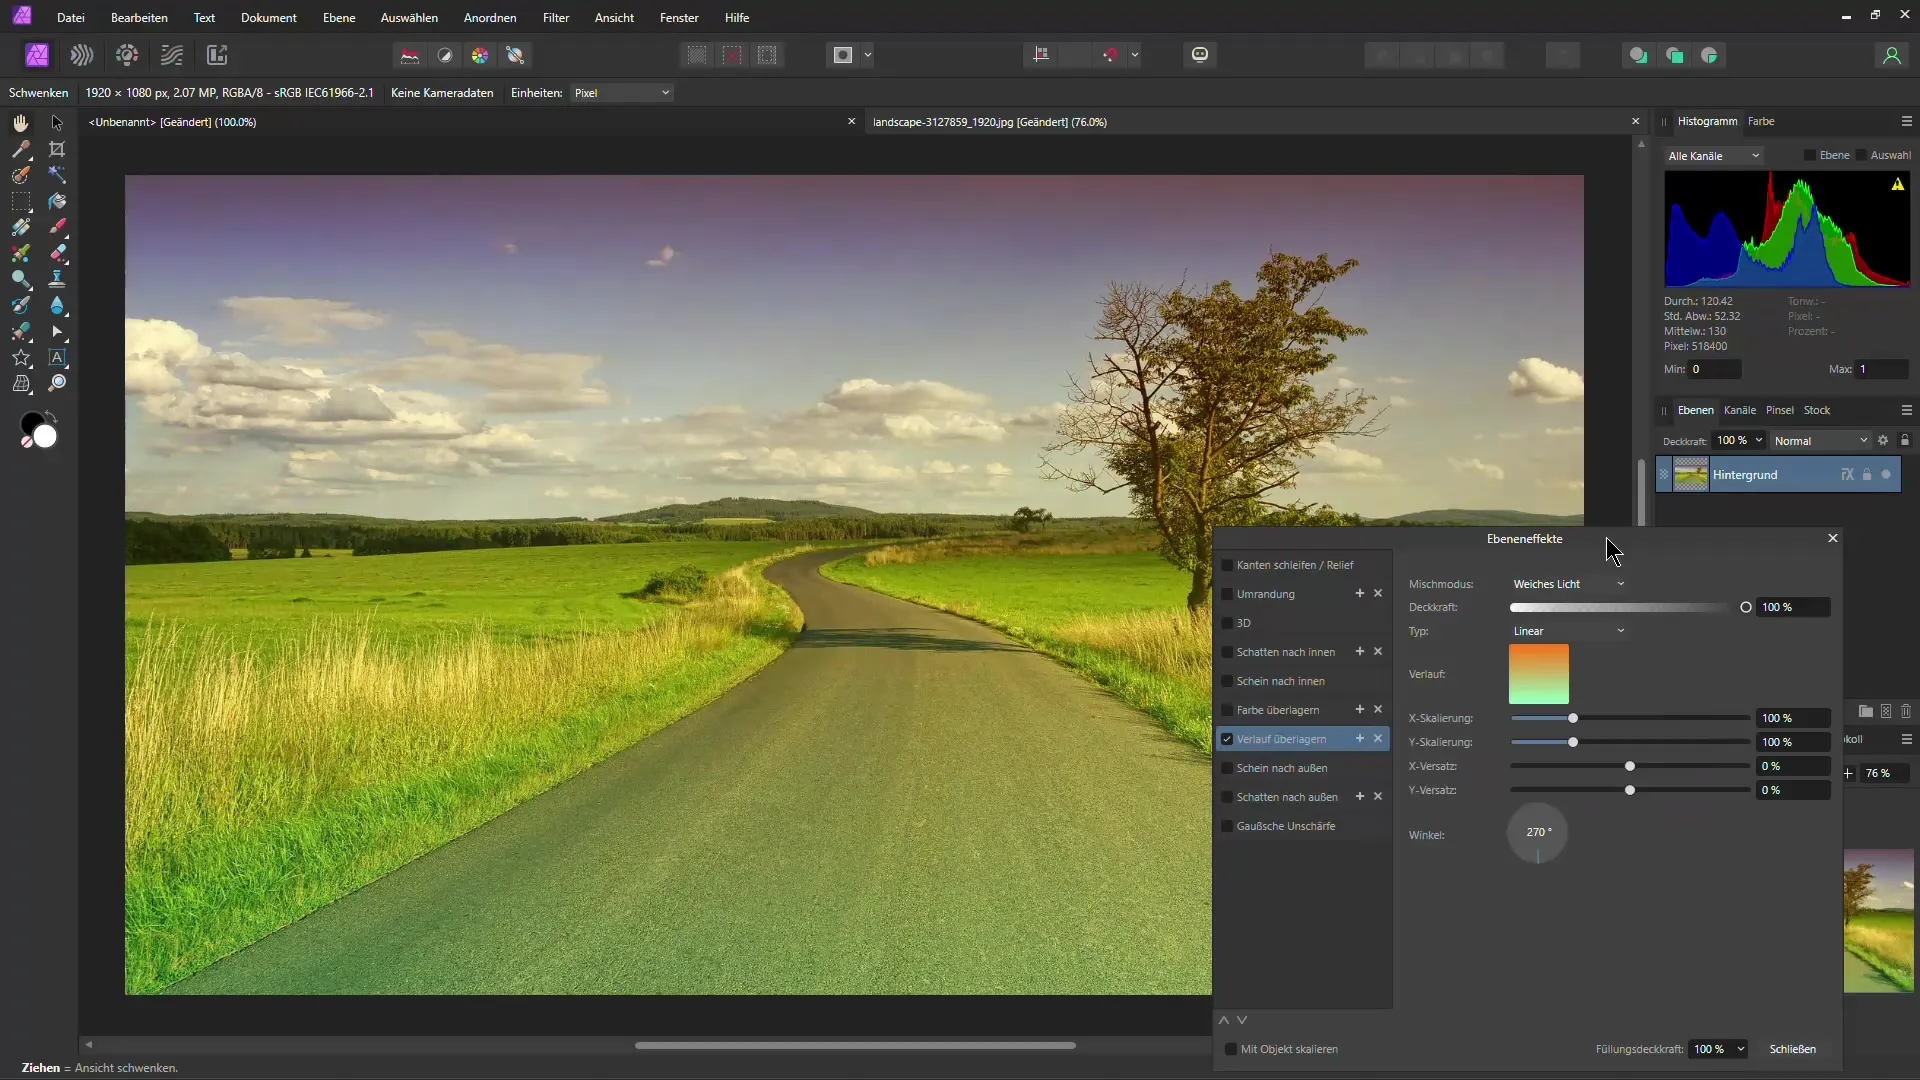
Another tip for quick image optimization is to use a gradient effect. You can significantly change the coloring of an image by adding a gradient overlay. Change the angle and colors of the gradient to give your image a warmer look. Experiment with different blending modes like "Soft Light" to achieve the desired result.
3. Transfer effects between images
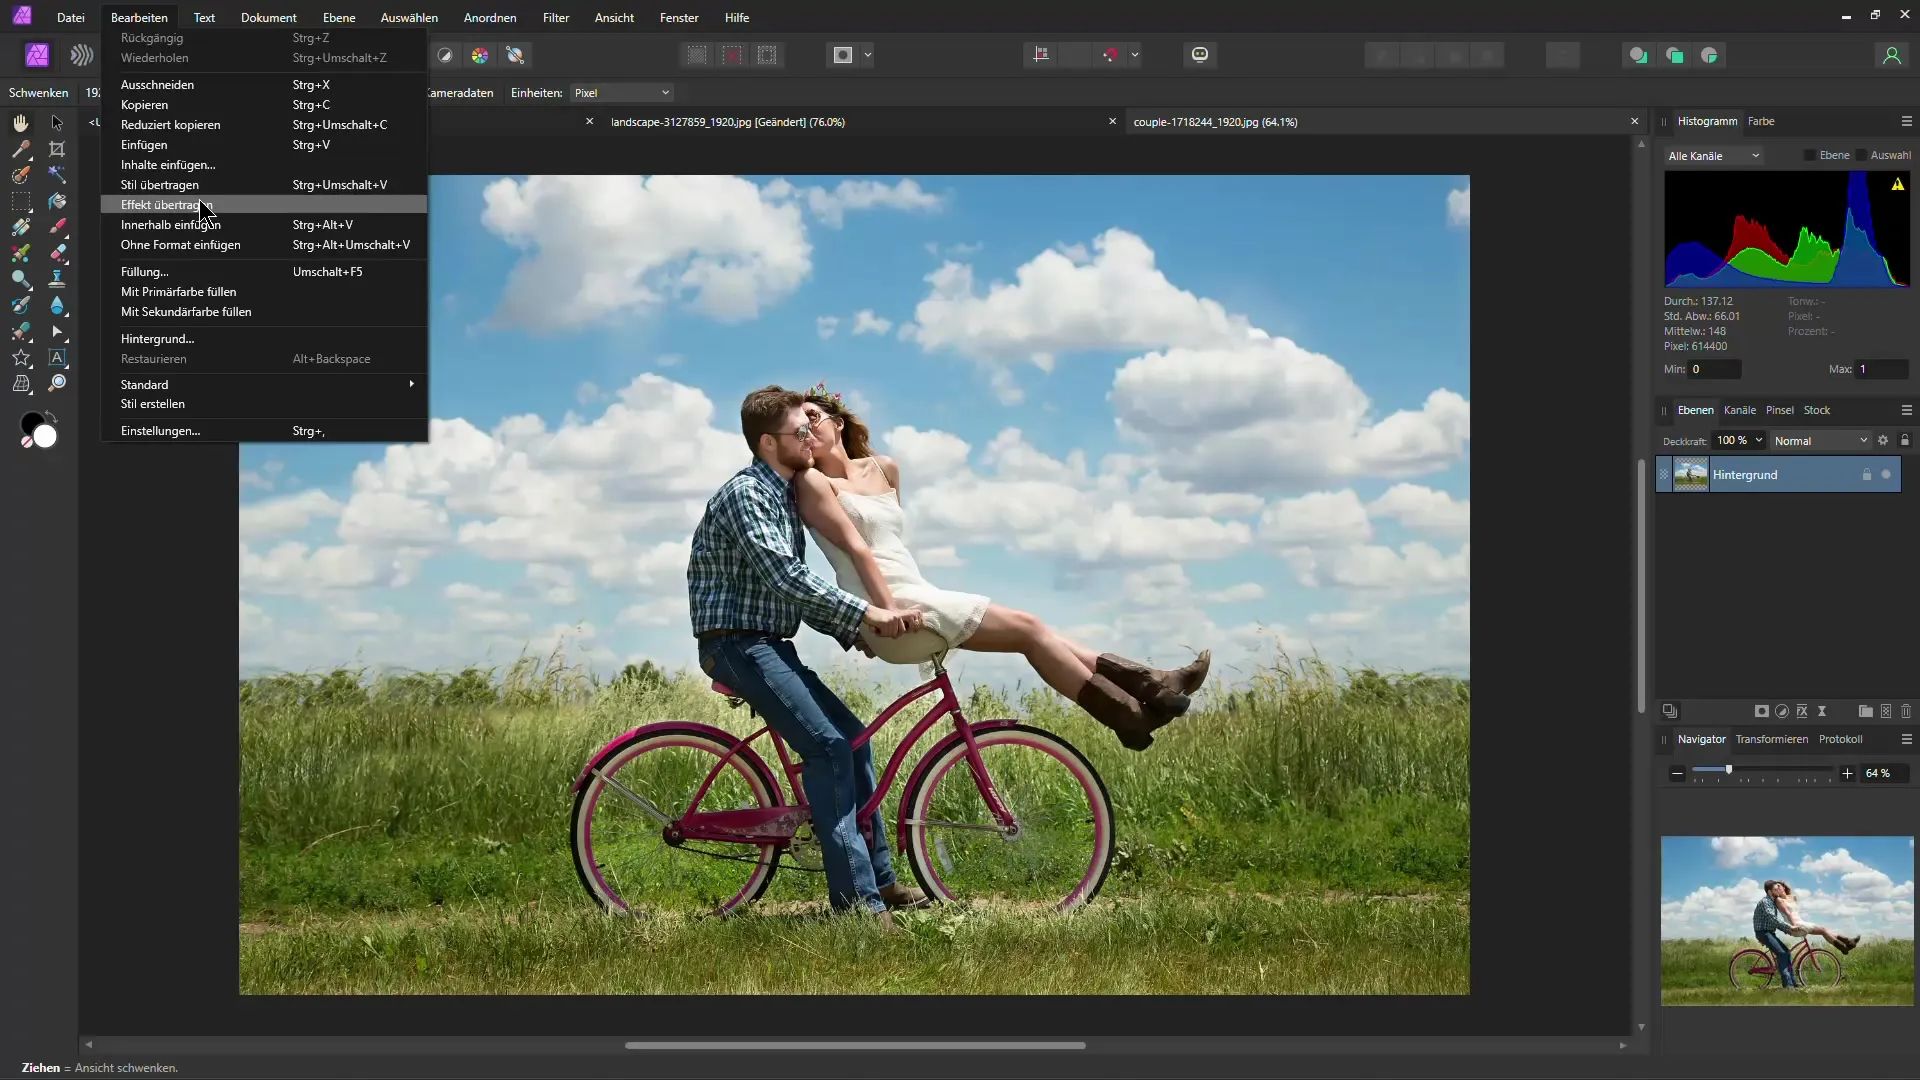
If you've already achieved a nice effect with one image, there's an effective way to transfer it to another image. Simply copy the effect, open the new image, and use the "Transfer Effect" feature. This way, you can achieve impressive results without having to recreate everything from scratch.
4. Design text effects
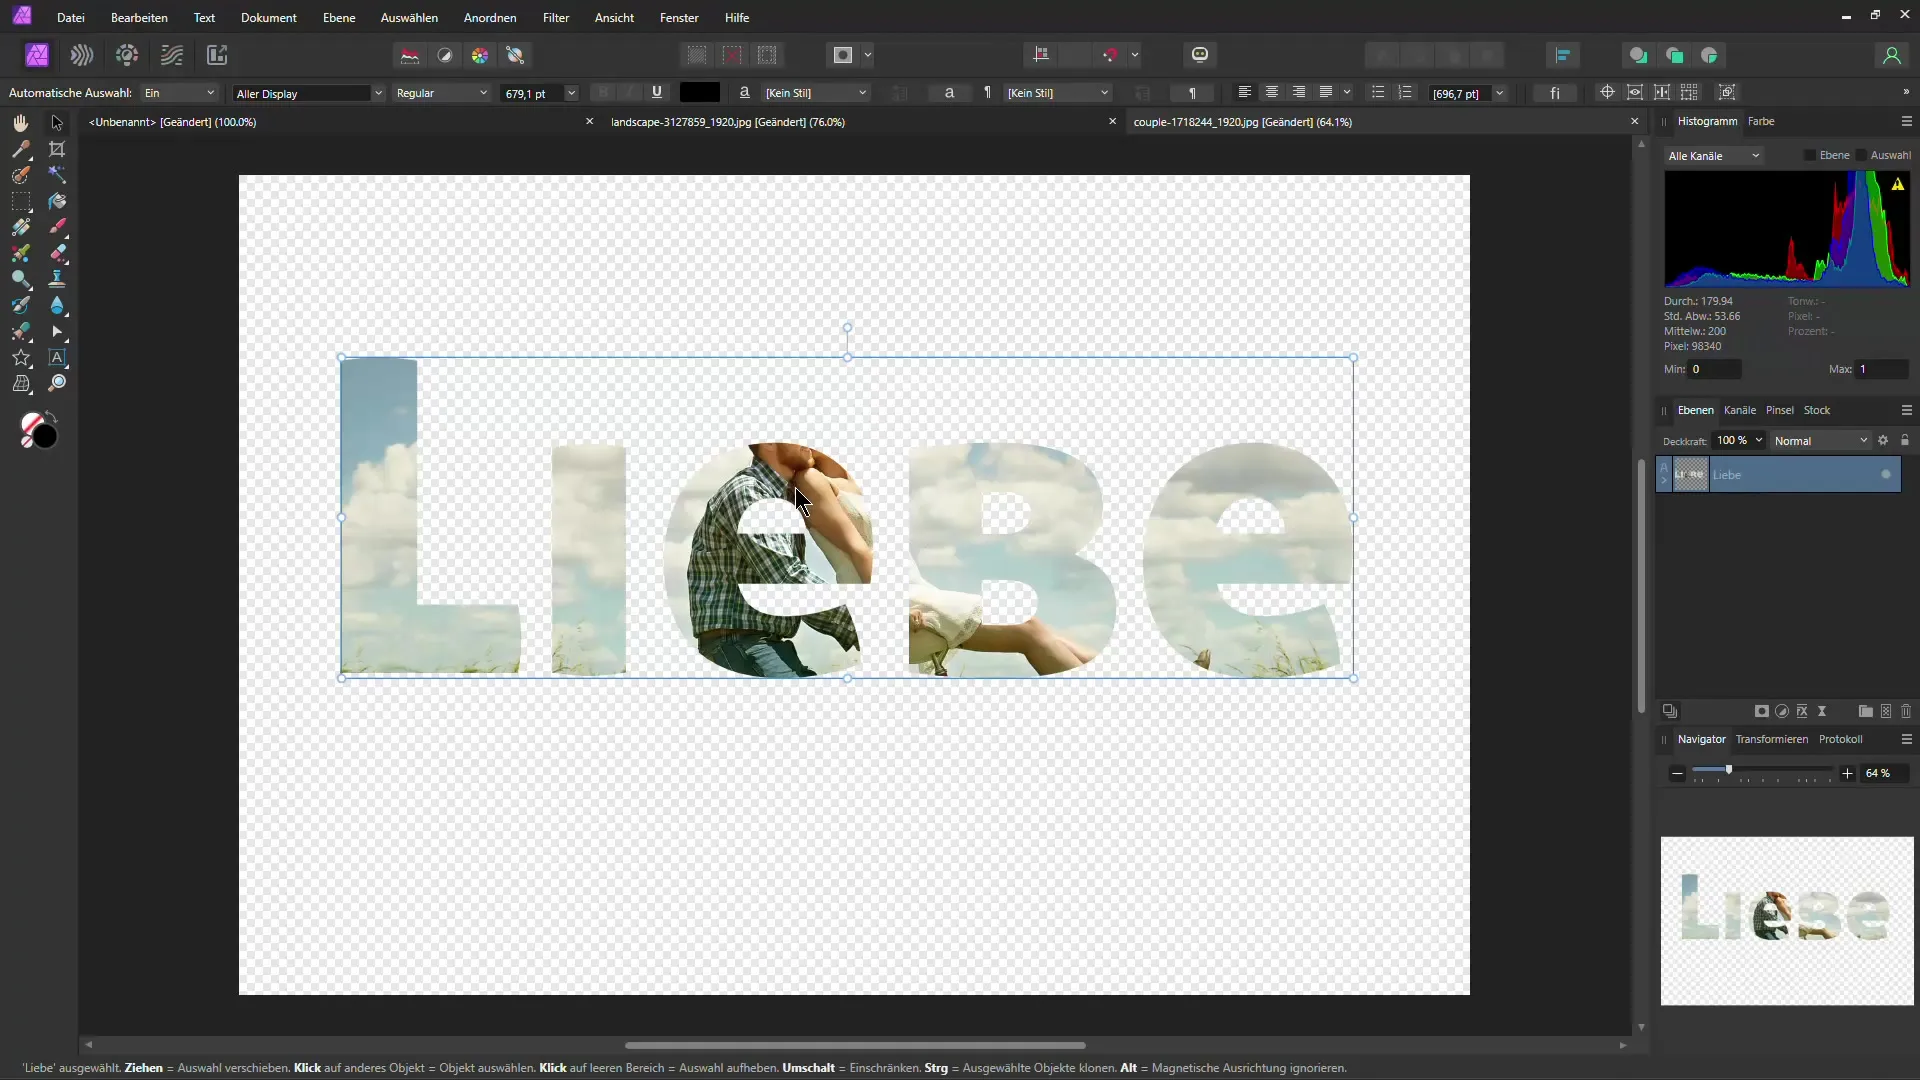
To combine text with an image, simply drag the text layer onto the image layer. This will project the image into the text. If you want to move the background layer, you can unlock it. This allows for easy adjustment of the image composition within the text.
5. Mask adjustment effects
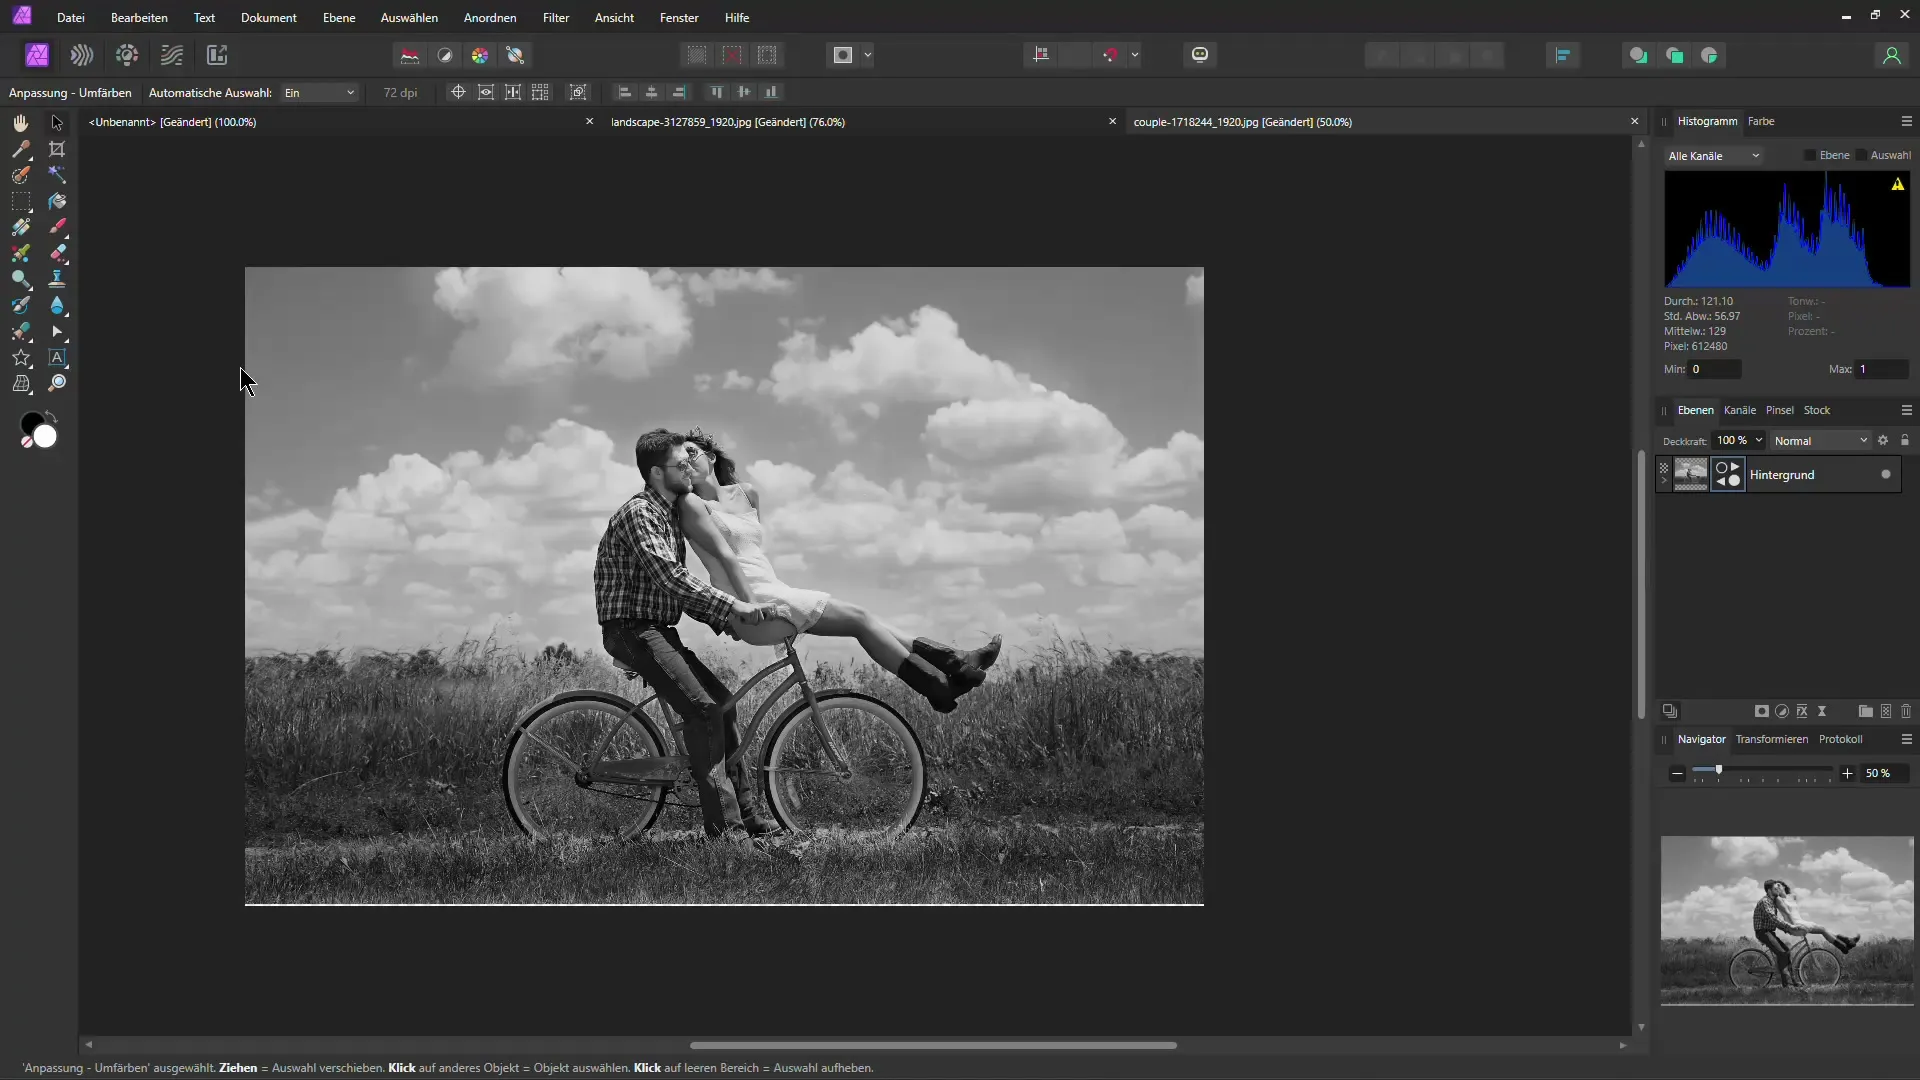
You can create an adjustment and work with masks to be able to influence specific areas of your image. This means you can exclude areas of the image from the effect or reduce the impact by painting with a brush in the respective mask in black or white. This way, you have full control over the effect and the image design.
6. Cloning made easy
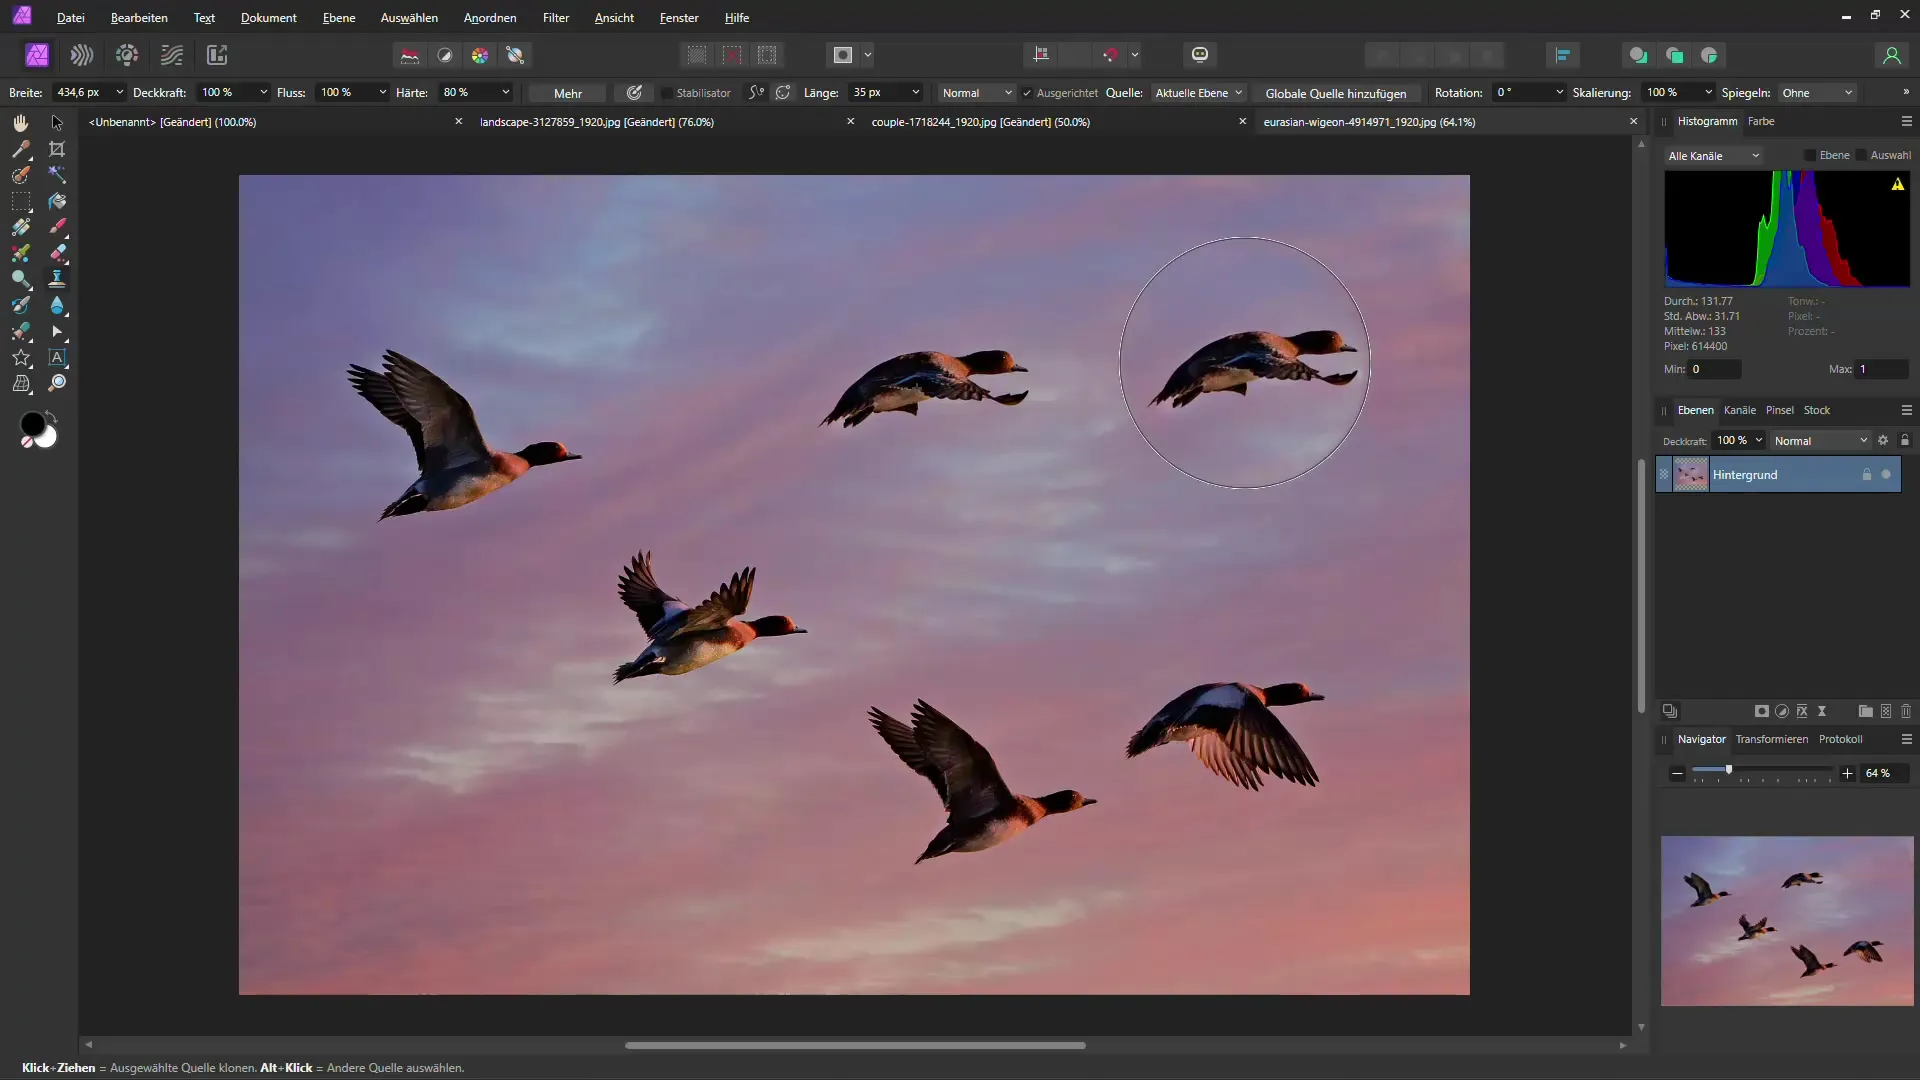
The cloning tool in Affinity Photo is an excellent way to duplicate objects within an image. When cloning, you can rotate and adjust the object so that the new copy fits into the scene. Also, use masks to optimize transitions if necessary.
7. Understand the differences between vector and pixel layers
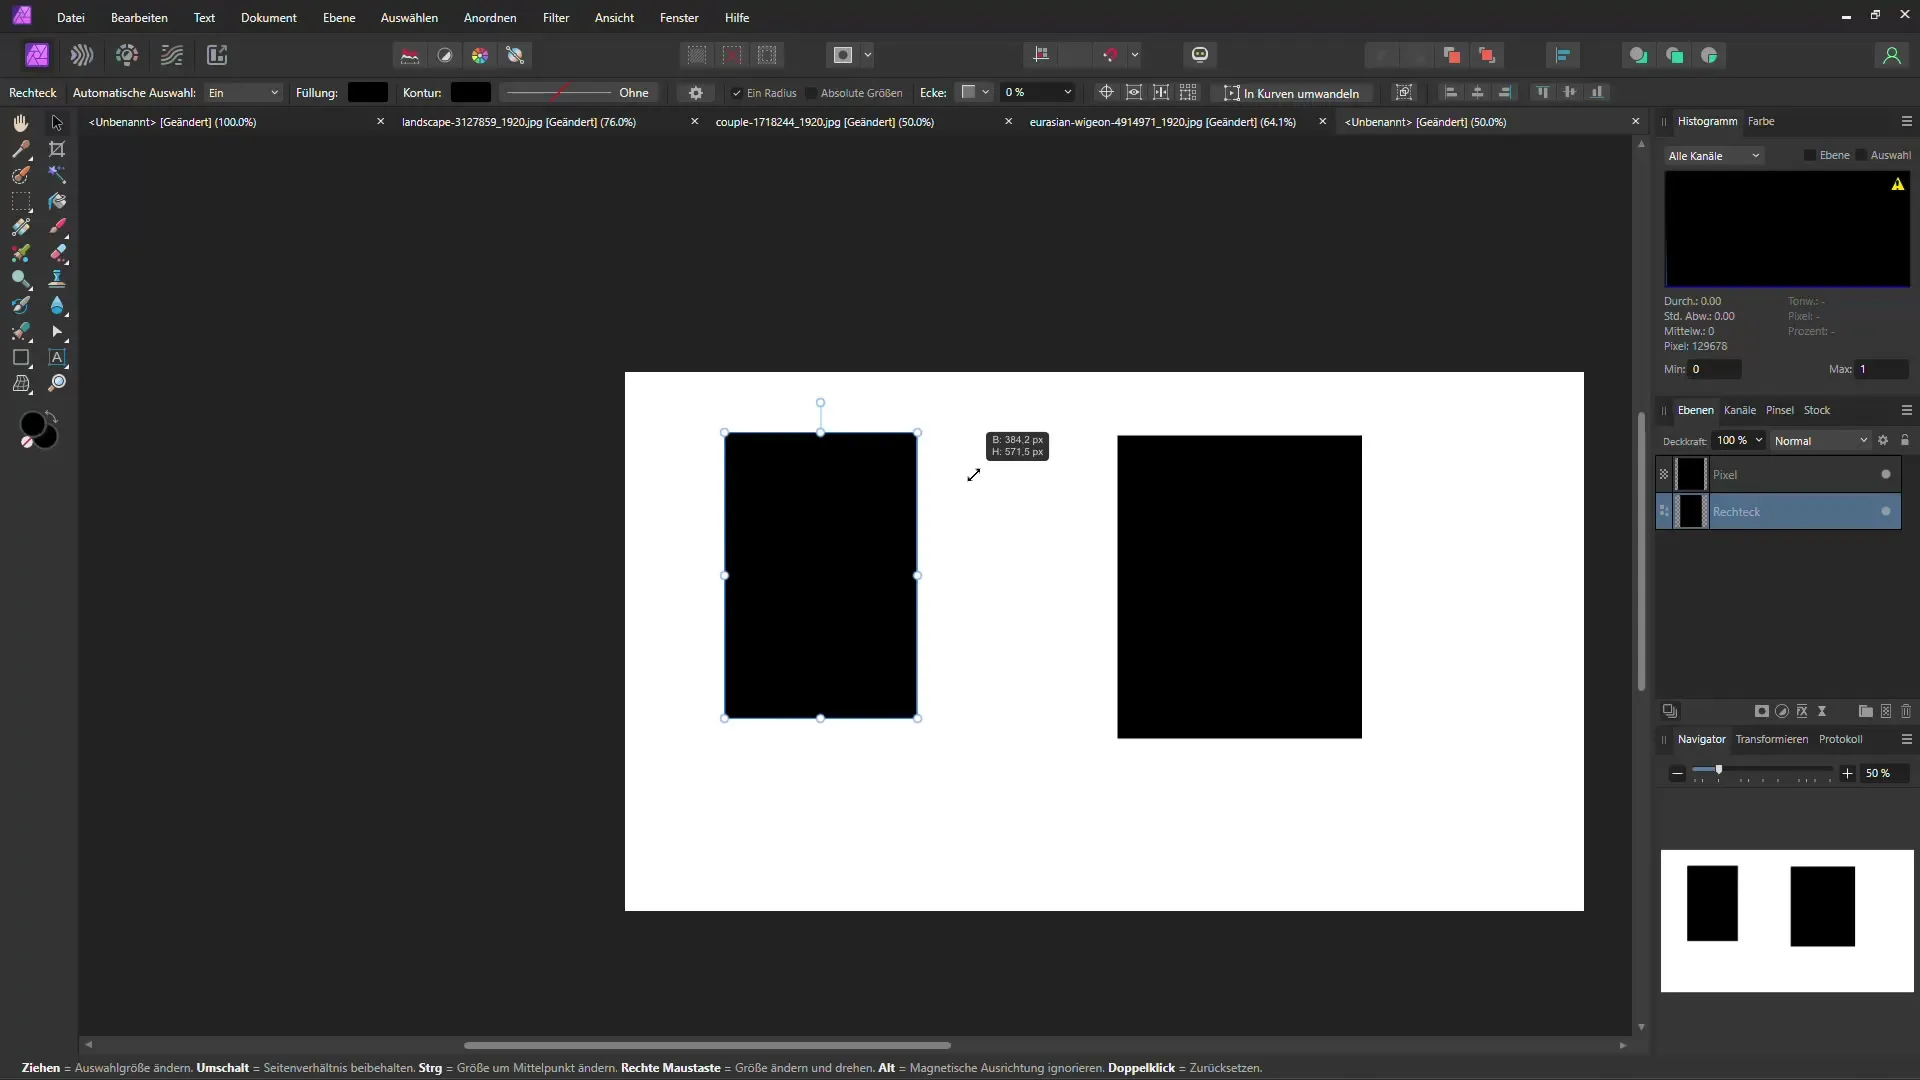
It's important to understand the difference between vector and pixel layers. With vectors, proportions don't always remain preserved when scaling, while pixel layers are proportionally transformed when pulled. Hold down the Shift key if you want to maintain the proportional size of a vector graphic.
8. Copy and paste specific areas
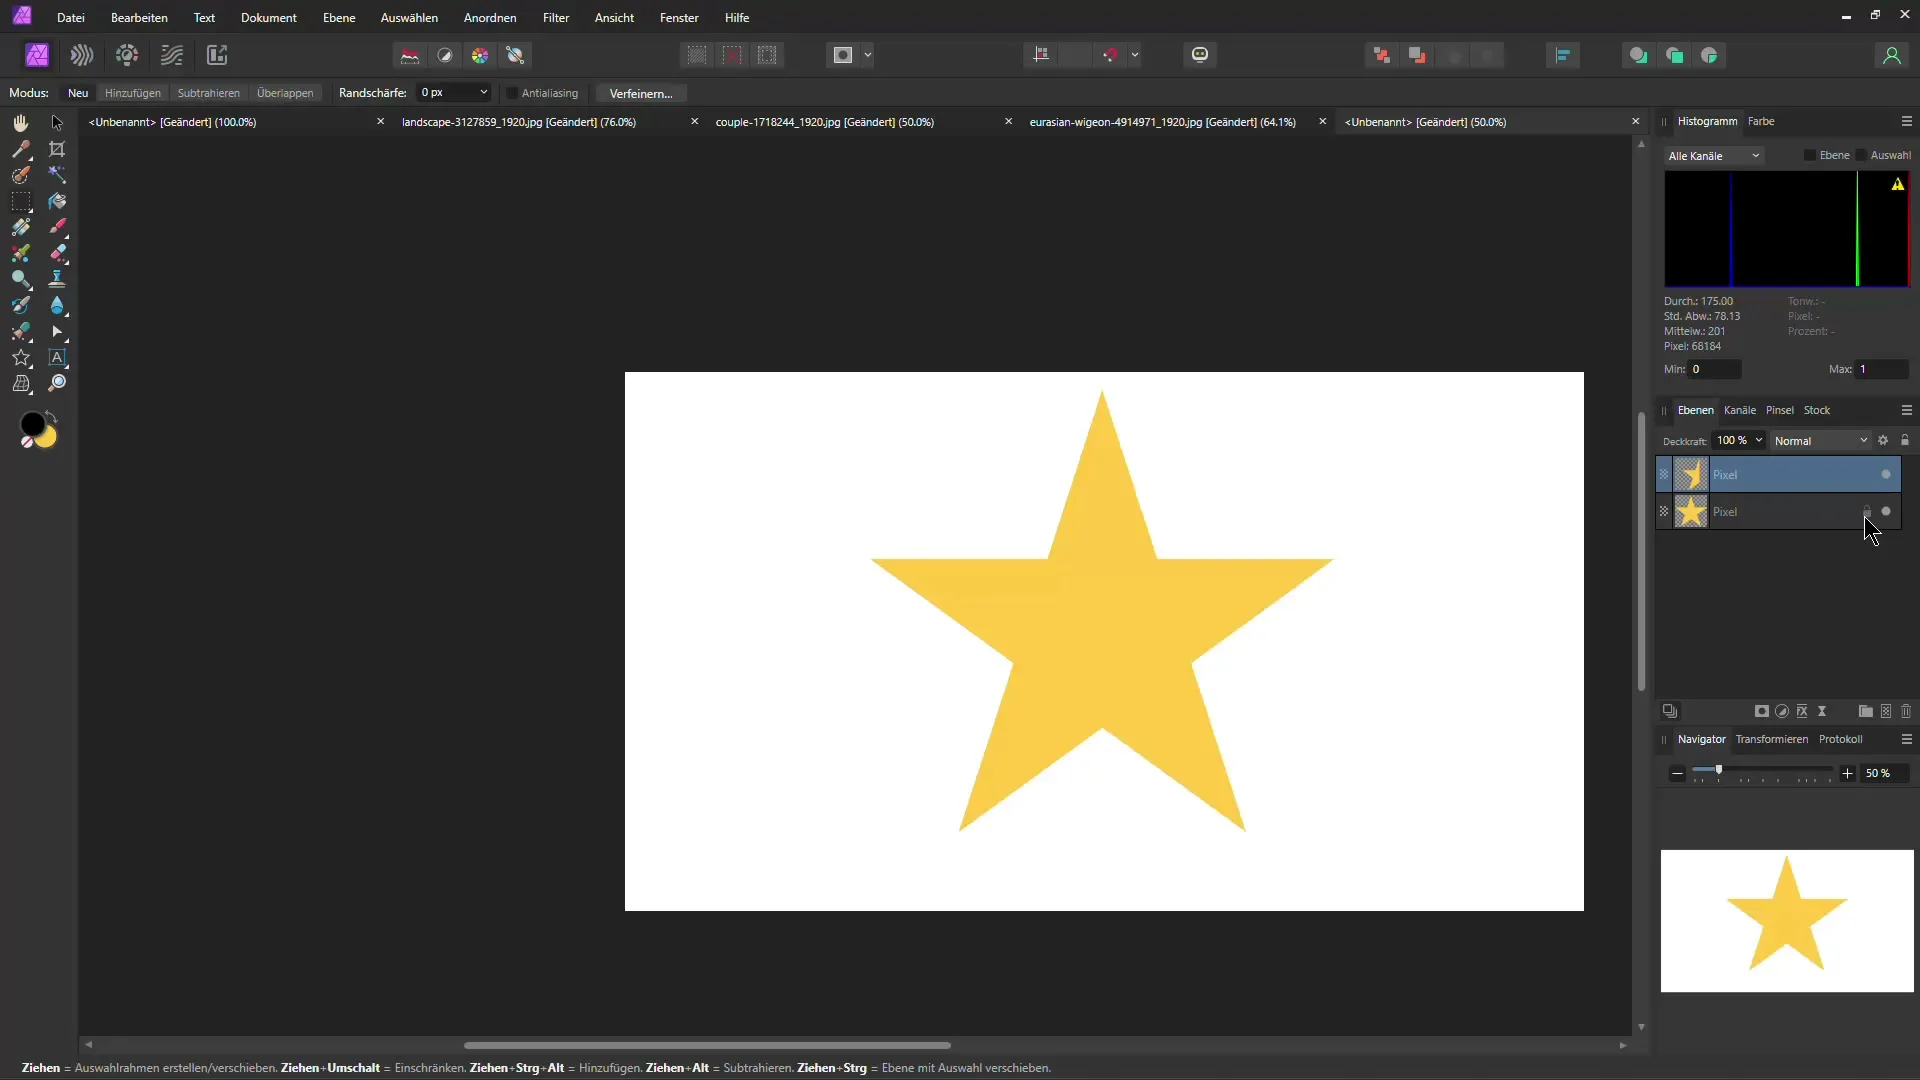
If you only want to copy a specific area of a shape, make sure it has been converted into a pixel layer first. With the appropriate pixelation, you can select, copy, and paste only the desired area. This allows you to precisely edit your graphics.
Summary
In this second part of the best Affinity Photo hacks, you have learned how to make your designs more efficient, optimize images, and achieve creative text effects. Furthermore, you have discovered valuable tricks for applying masks and cloning objects. Use these tips to improve your workflow in Affinity Photo and achieve impressive results.
Frequently Asked Questions
How can I change shape settings?Click on the shape and change the fill color as well as parameters such as the inner radius or the number of arcs.
How can I quickly optimize my images?Use the gradient overlay function and experiment with different blending modes for the desired effect.
Can I transfer effects from one image to another?Yes, copy the effect and use the "Transfer Effect" function in the new image.
How do I combine texts with images?Drag the text layer onto the image layer so that the image is projected onto the text.
What do I do with masks?Masks allow you to exclude or target specific areas of an image from an effect.
