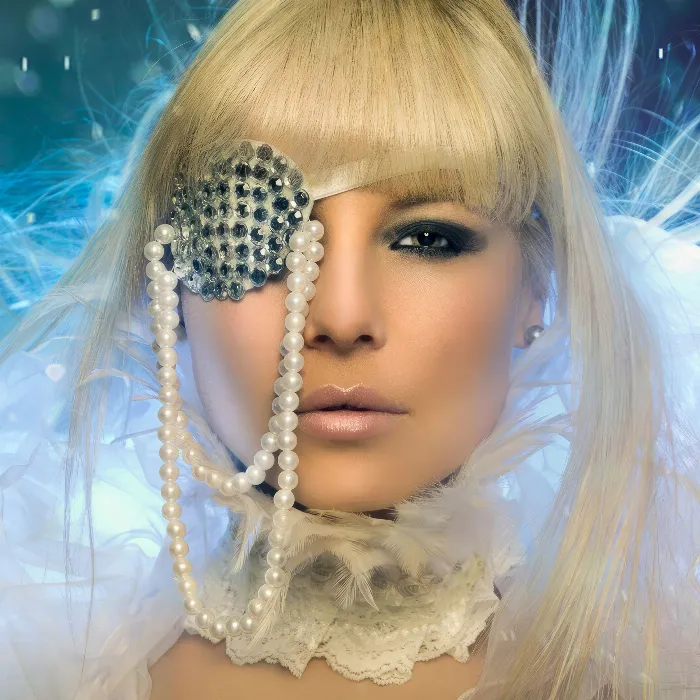
The so-called Ortone effect, which you can see here, is impressive because it adds a kind of milky sheen to your image.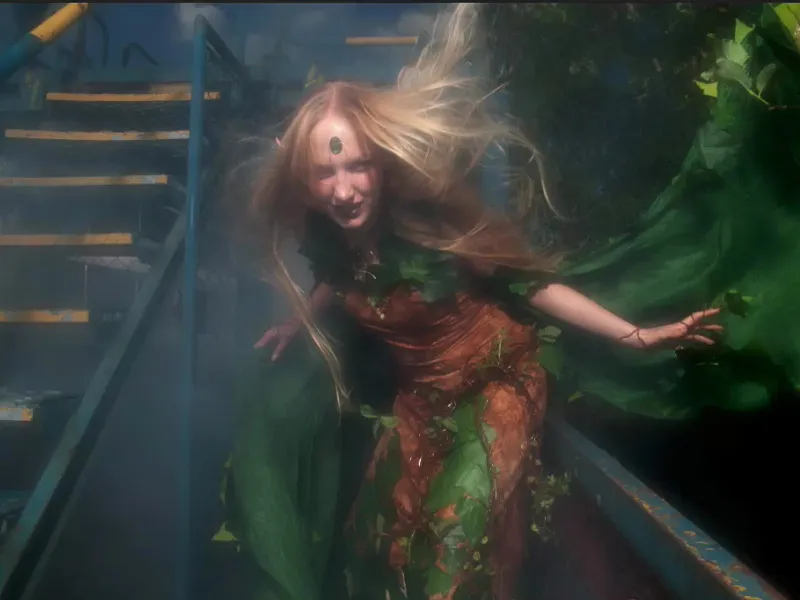
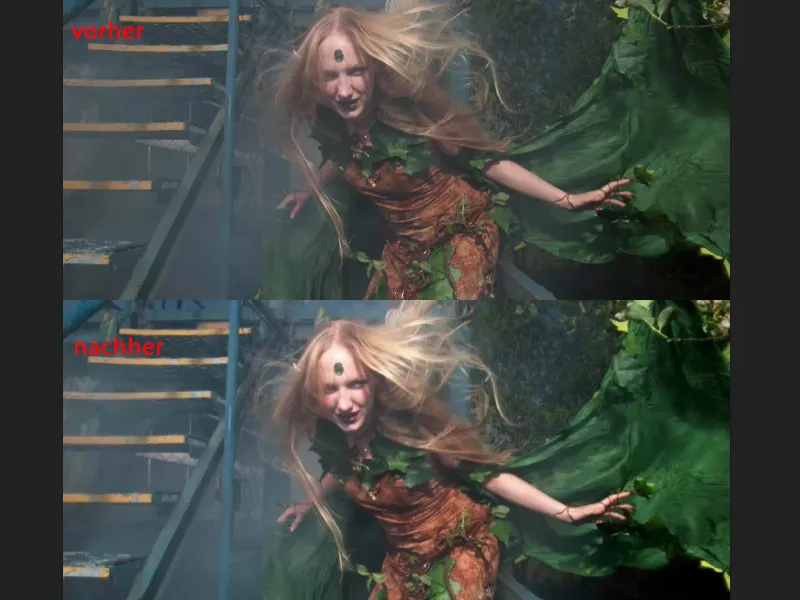
Let me show you what it looked like before. I think it's almost a bit too bright. We also used a fog machine, so I had to increase the contrast and take out the brightness a bit to make the whole thing a bit crisper in the area around the model's face.
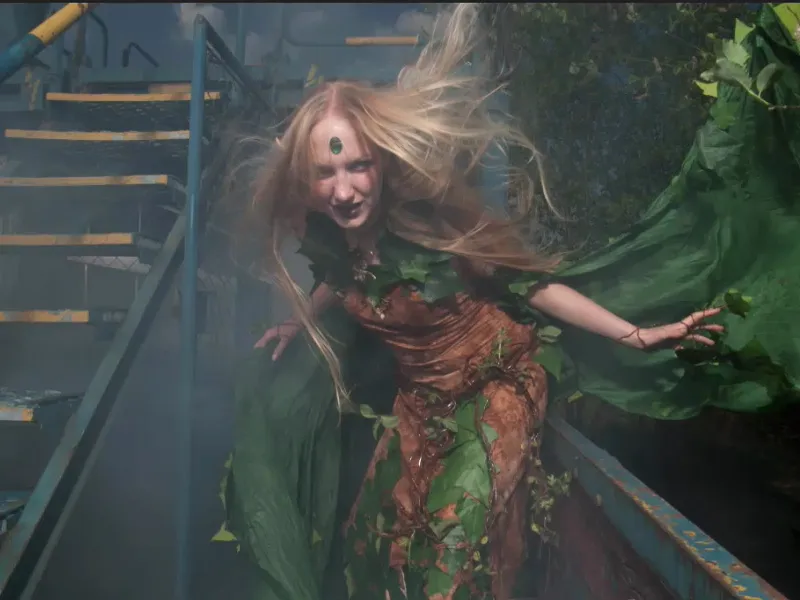
Increase contrast
How do I create this Ortone effect? It's relatively simple. All you need to know is that you need to blur the highlights and shadows a little, so to speak.
The easiest way to do this is to make two background copies (1). I'm going to Blender out the second one (2) and set the lower one to Multiply (3).
The result is that the contrast is extremely enhanced. The image is darkened, it is multiplied by itself, and this simply makes the image darker and very, very rich in contrast.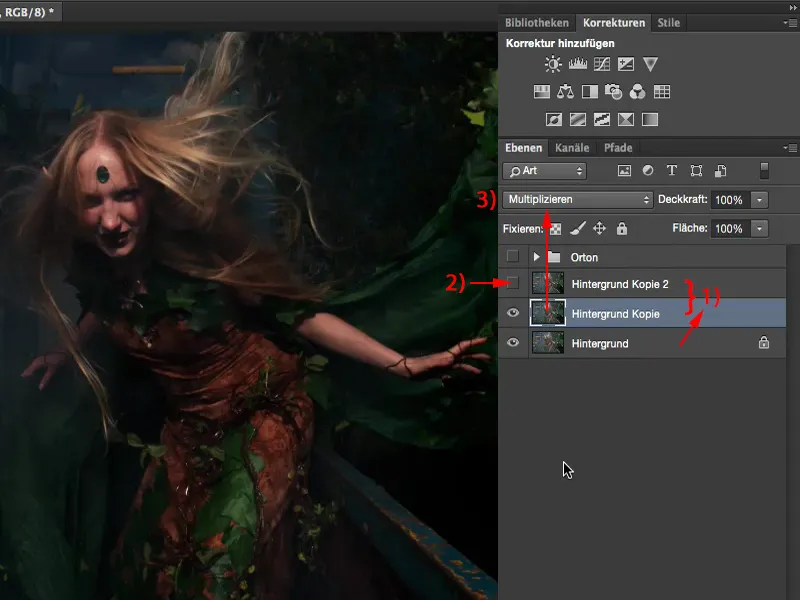
I switch on the second layer copy again and set it to multiply negative. This in turn is now very, very brightened.
When I look at the before and after comparison, I can see that the overall contrast and the entire pattern in the image have improved. It's also brighter, but there's more contrast, so it's more appealing to me.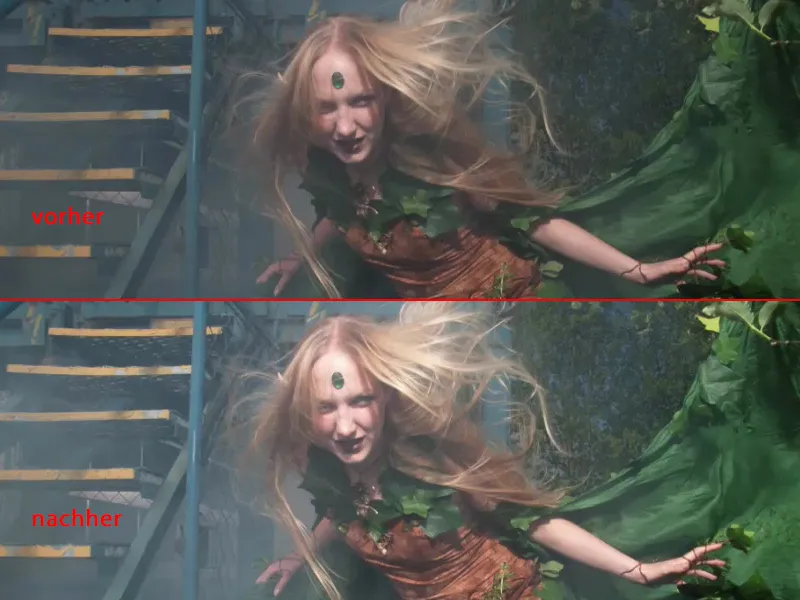
Creating a glow
All you have to do now is convert each of these two layers into a smart object (Layer>Smart objects>Convert to smart object).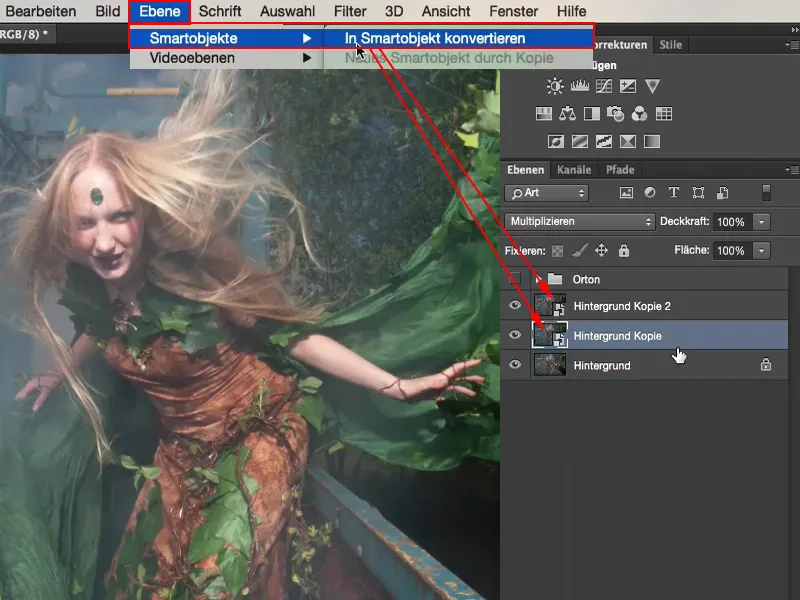
I now apply the Gaussian blur to this layer (1) (Filter>Blur filter>Gaussian blur) (2). I reduce the radius a little, perhaps to 6 pixels.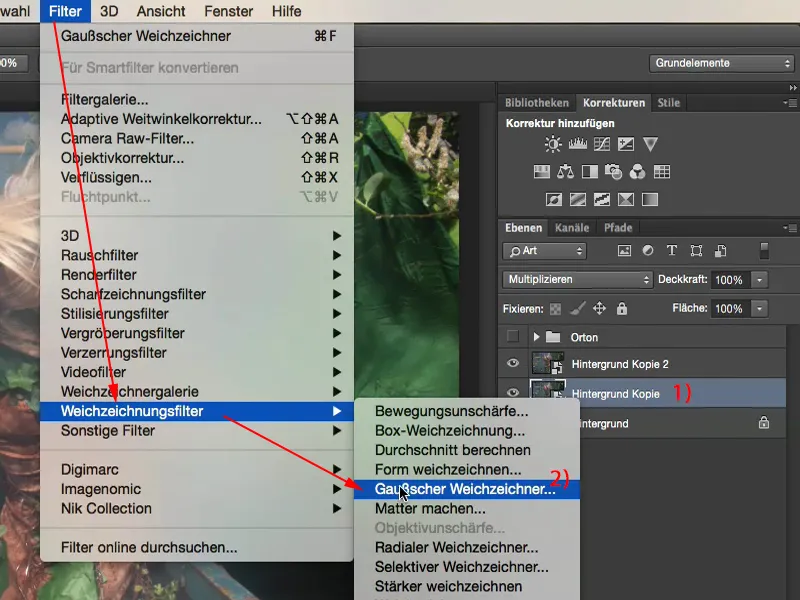
Now I've applied a blur filter to this dark layer and that alone gives the image a glow.
If that's enough for you, then you're actually already done here, because you've made the whole thing more contrasty, the colors are a bit crisper, it's darker and you have this glowing Ortone effect on the picture.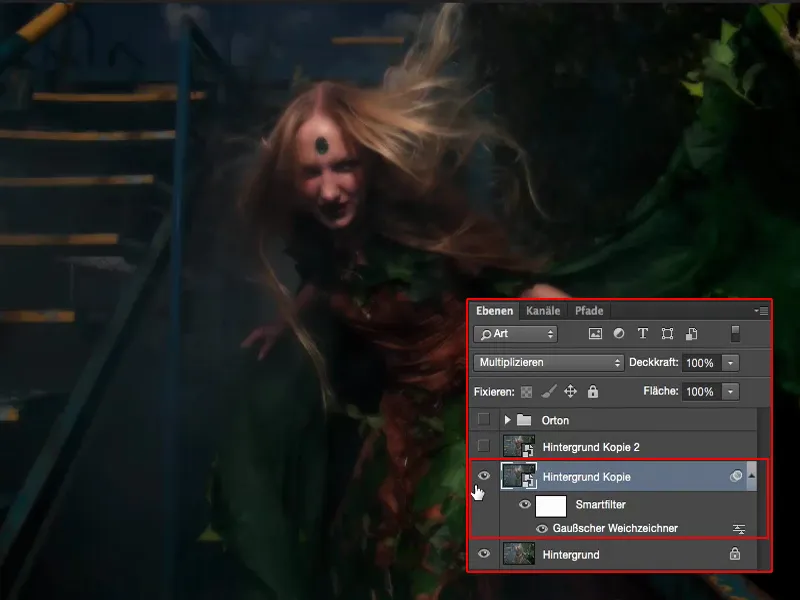
If I now hide the underlying layer, I can see that: I've really done some extreme, extreme blurring here.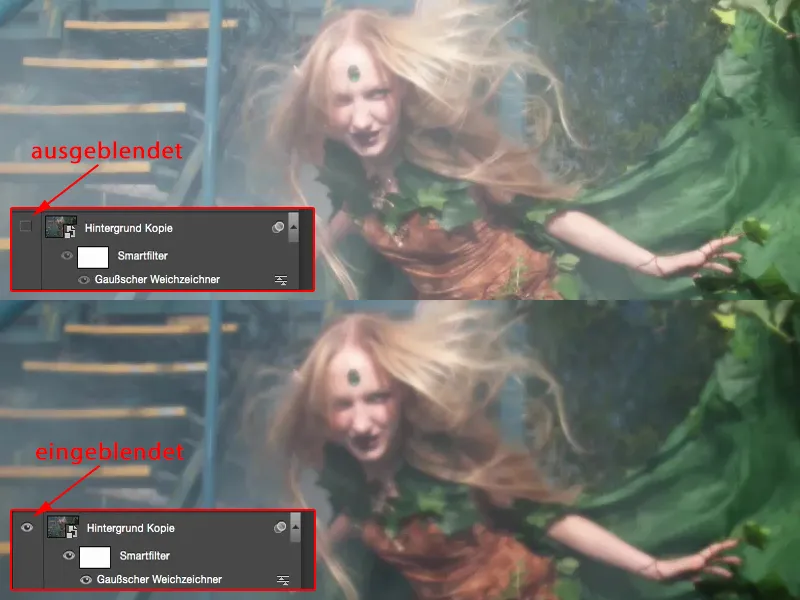
Adjust
But that's the nice thing: I can now mix the opacity here, I can also remove the blurring in the depths, practically in the dark parts of the image, at any time. I usually only need very, very little, because otherwise I lose all the detail here in the image.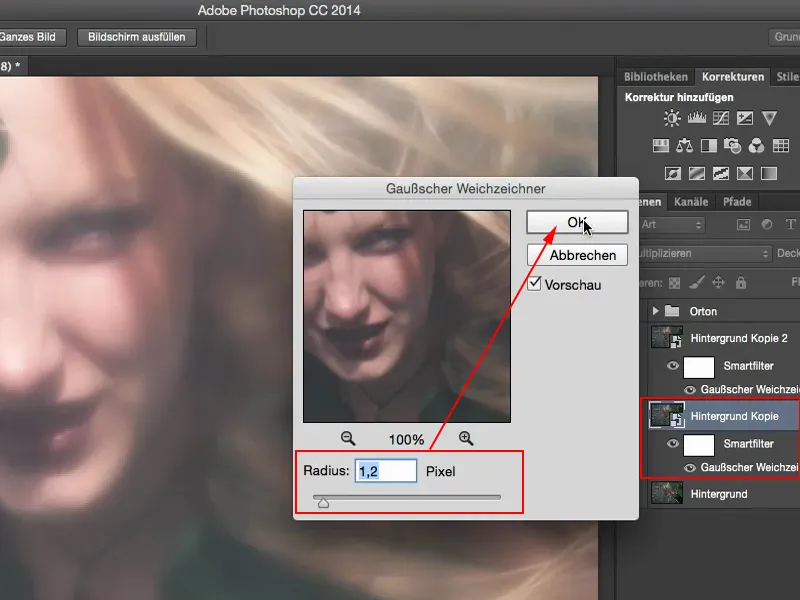
And up there, too, I can mix it up in a fun and lively way. I also reduce the whole thing a bit here.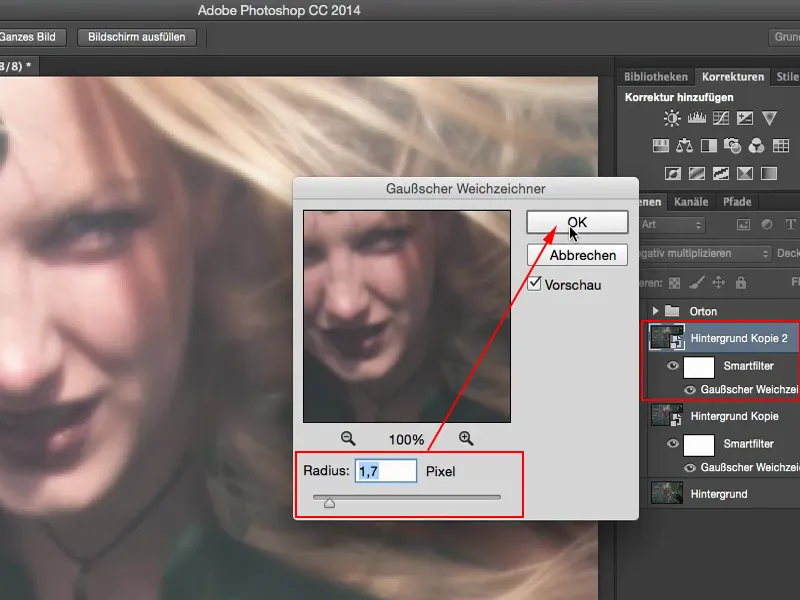
When I then look at the before and after comparison, I have this glowing, slightly washed-out effect in the image and that is the Orton effect.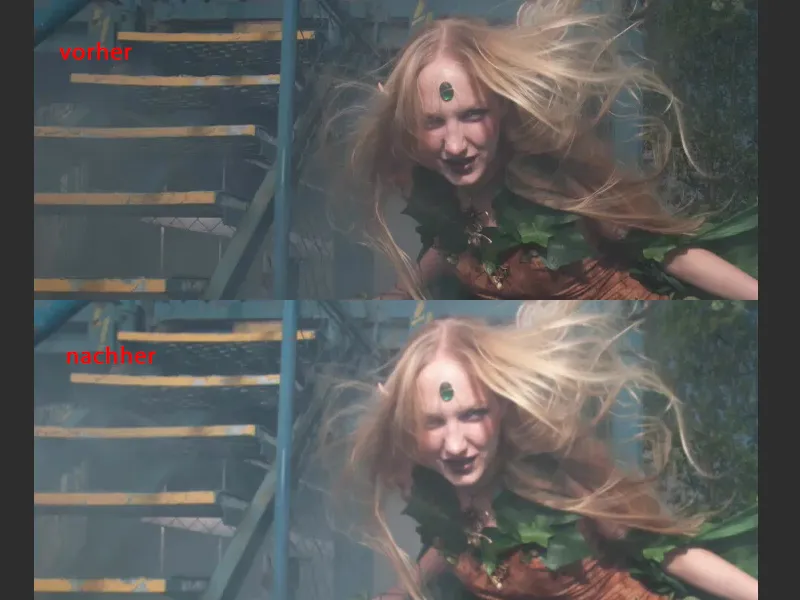
Tonal value correction
What I always do at the end is to adjust the tonal values. So I take a tone value correction and just see what I can tease out a bit more here. I want to optimize the contrast a little more, lower the mids a little more and then I'm already done with the Ortone effect.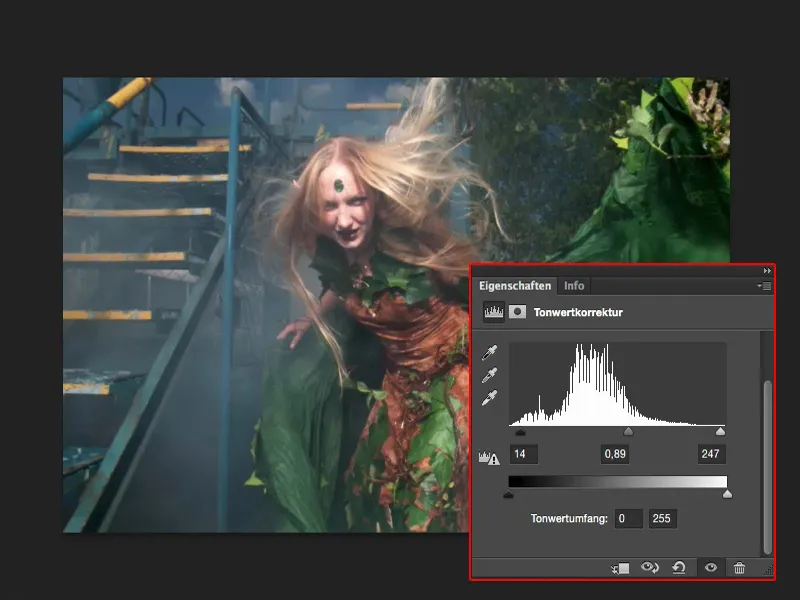
Before and after comparison
This is something that you can very easily write as an action if you set low Gaussian blur values here and a tone value correction that you can then adjust manually. So that would also be another story where you can get ahead very quickly with an action if you want to automate it.
I'll show you the before and after comparison again. It looks okay, I'd say, but I think the after is definitely more appealing because there's simply more action in it. It's simply the Ortone effect.