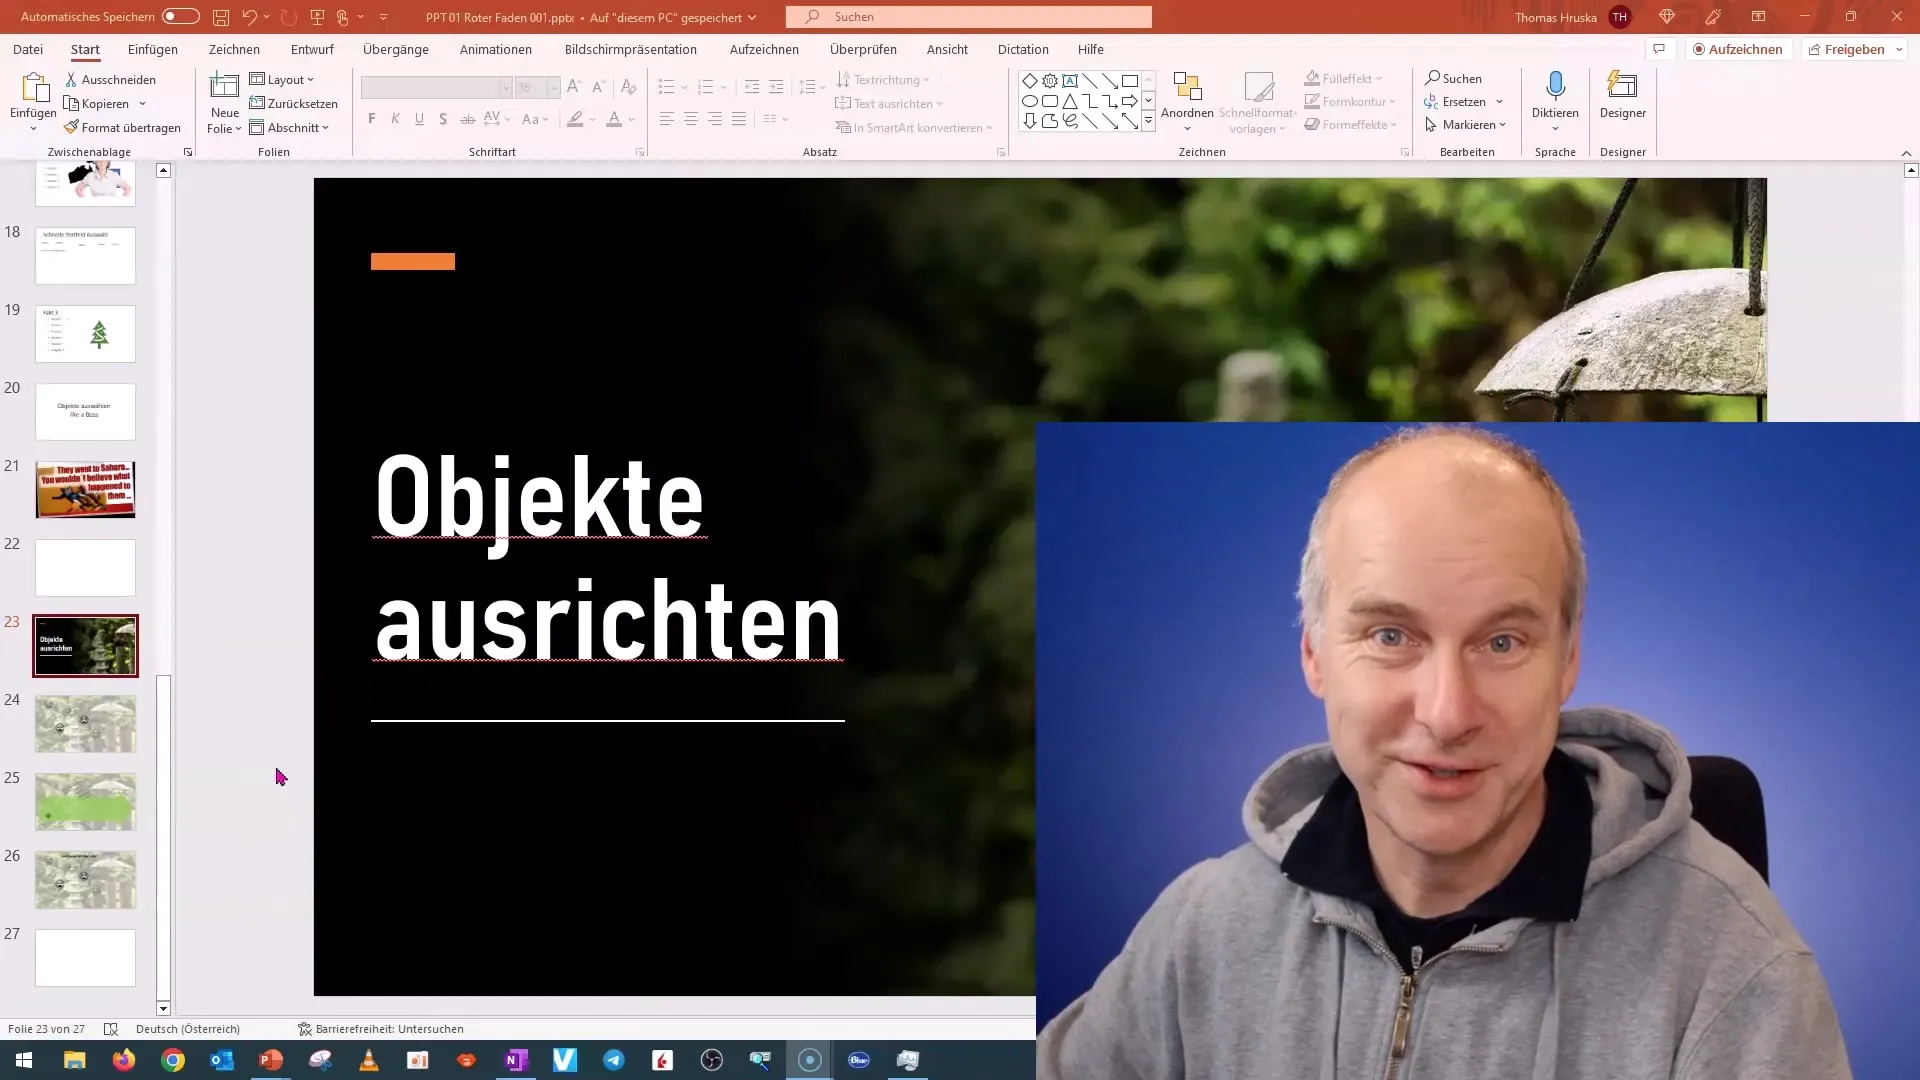
In this tutorial, I will show you how you can significantly save time when working with PowerPoint by efficiently aligning and arranging objects. Often, we spend a lot of time manually placing text boxes, images, or other elements on our slides. With the right tools and techniques, you can simplify and optimize this process significantly. You will learn how to arrange objects quickly and precisely so that your presentations look professional. Let's dive right in!
Key Insights
- Use the alignment tool to quickly position objects.
- Ensure that objects are the same size to ensure a consistent layout.
- Utilize functions like "Align Horizontal" and "Center Vertically" to achieve perfect spacing.
Step-by-Step Guide
Prepare Objects
First, you should have some objects on your slide that you want to align.
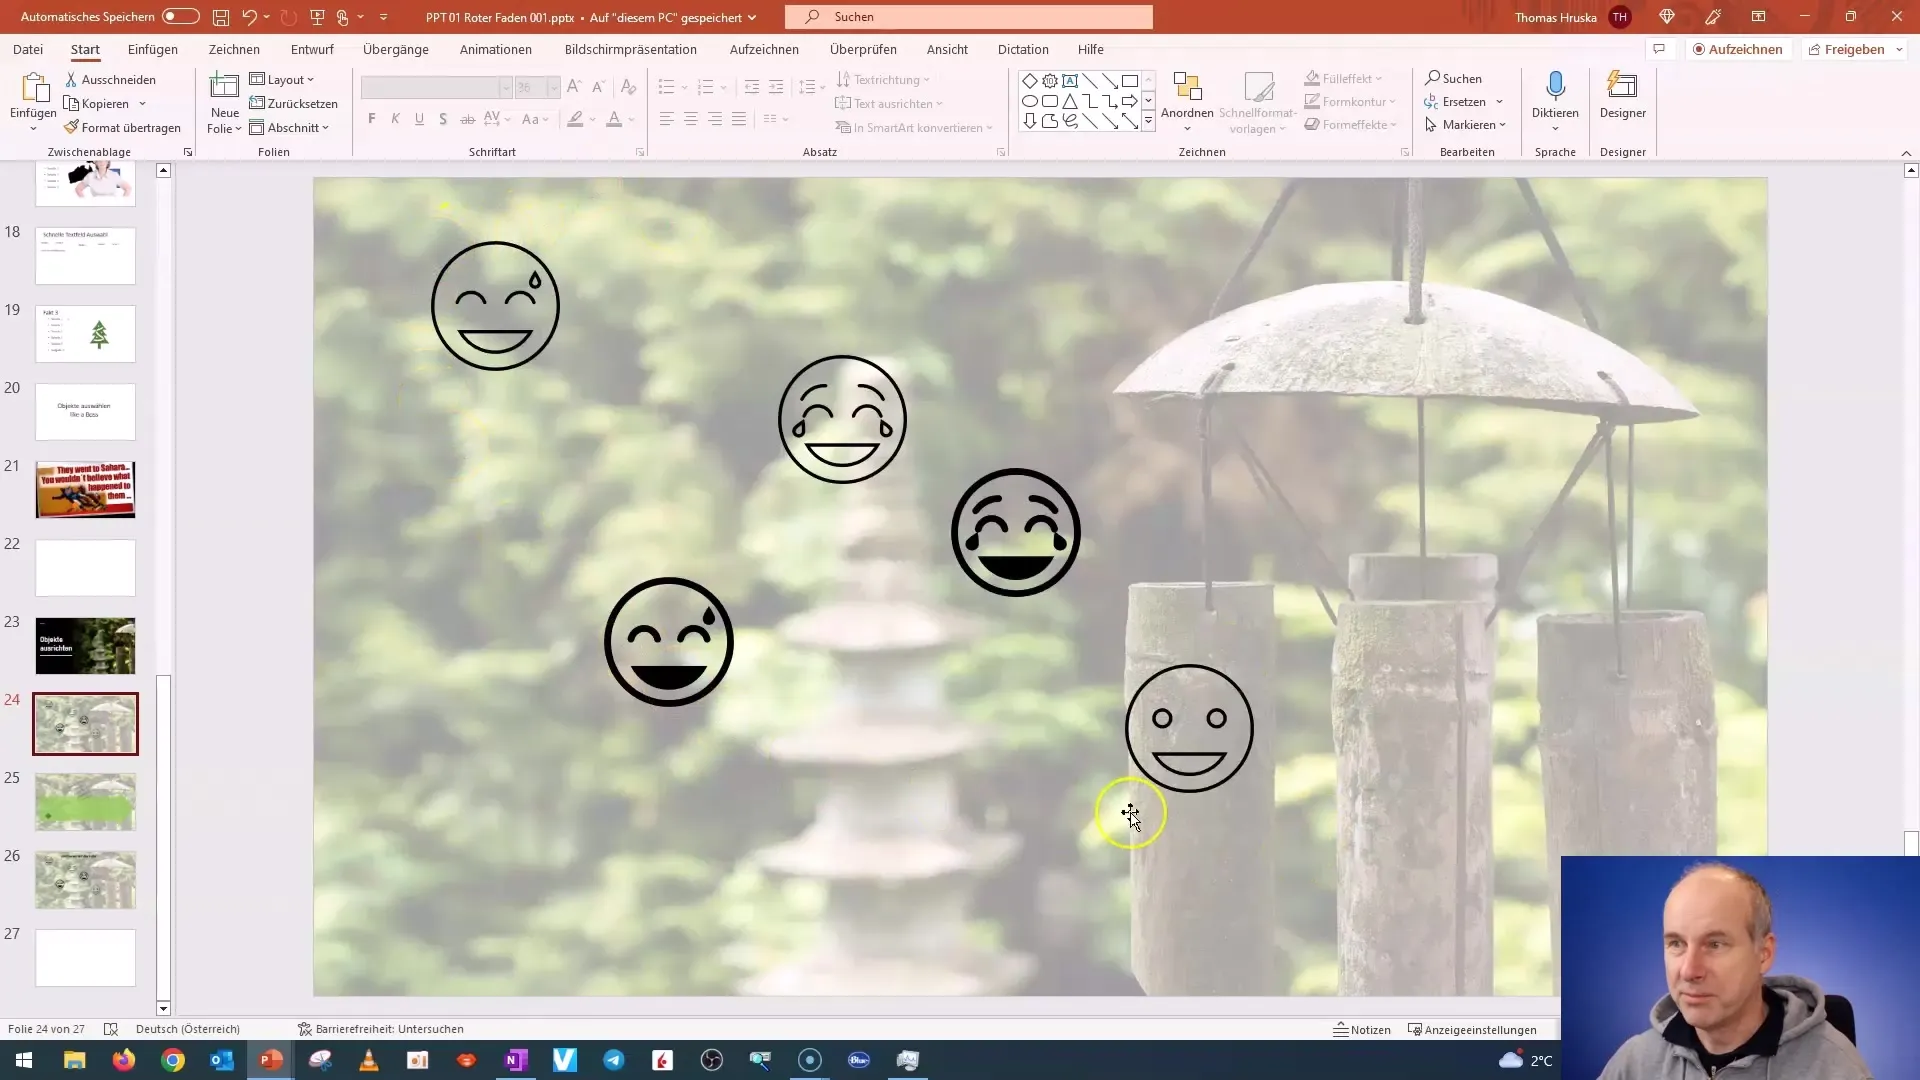
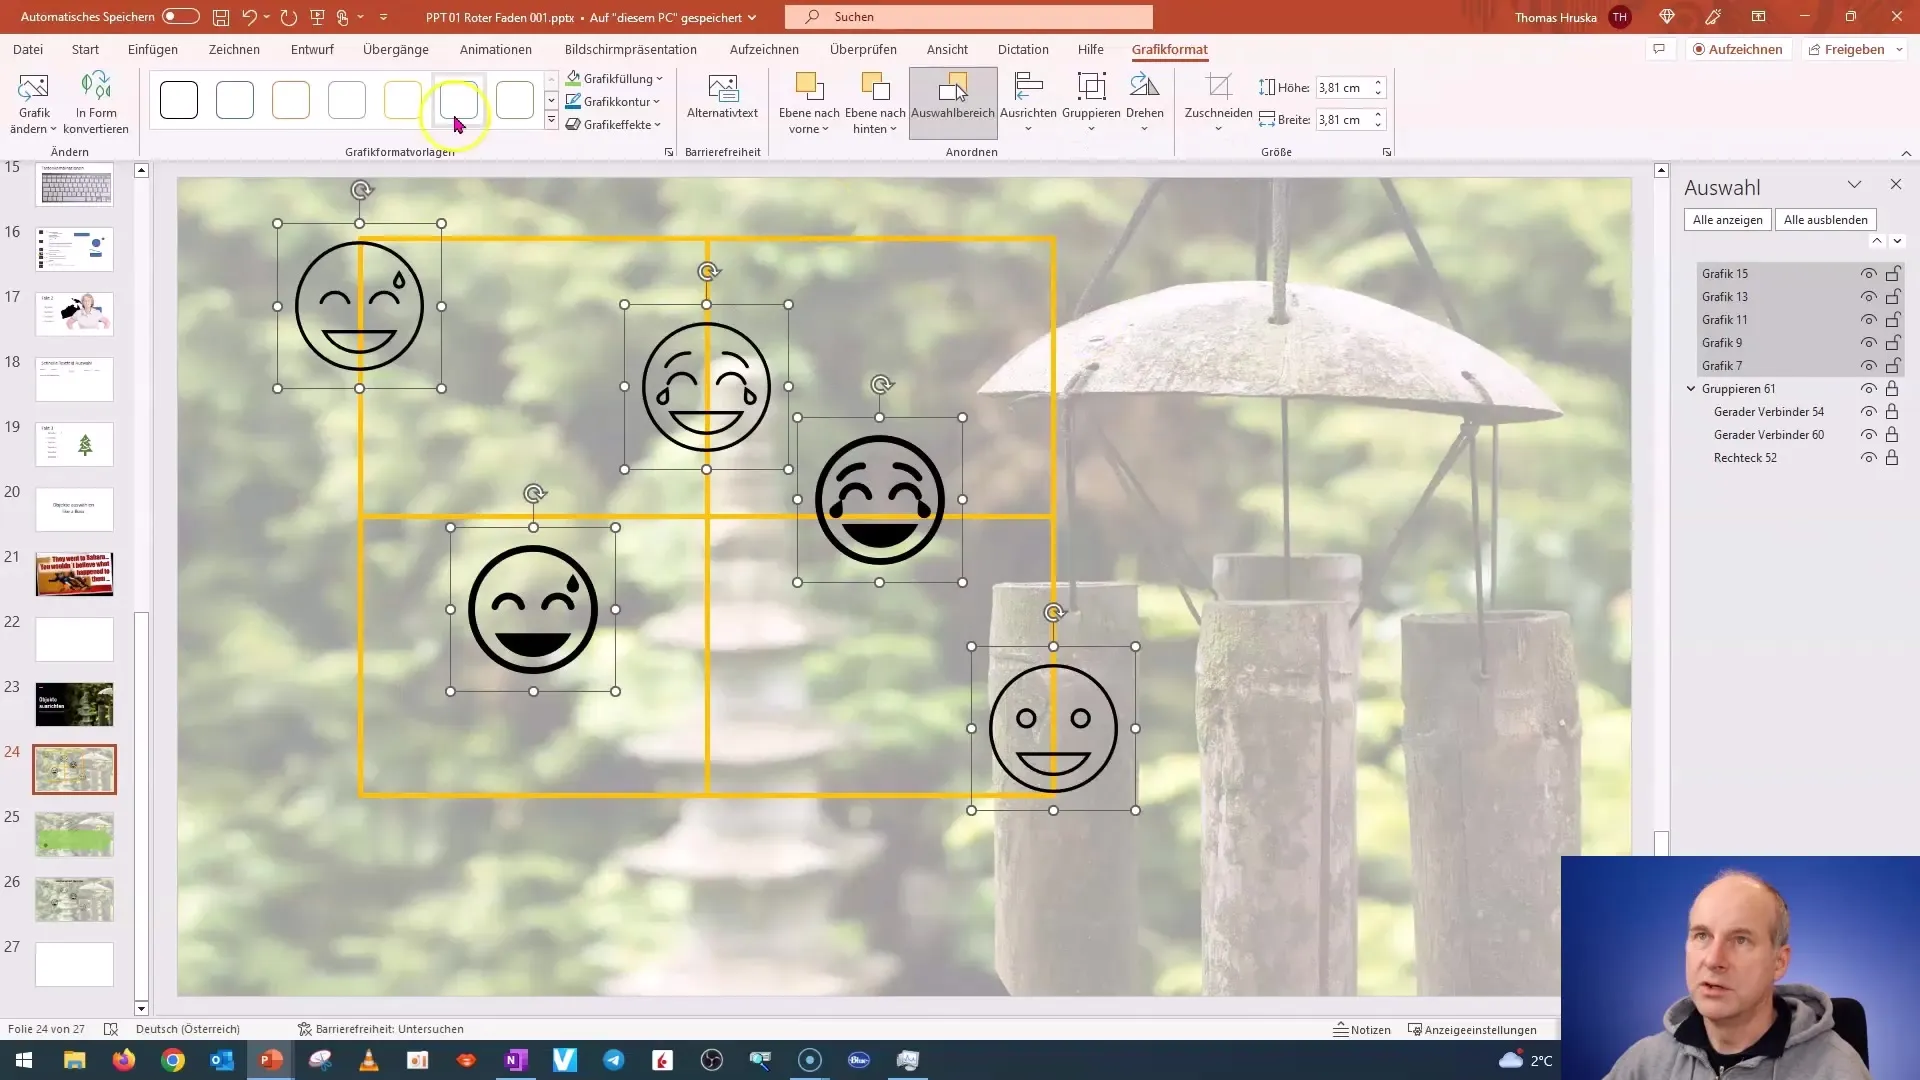
In this tutorial, we are using a set of smileys. You can also insert other elements like text boxes or images. Go to the slide and insert the objects you want.
Selecting Objects
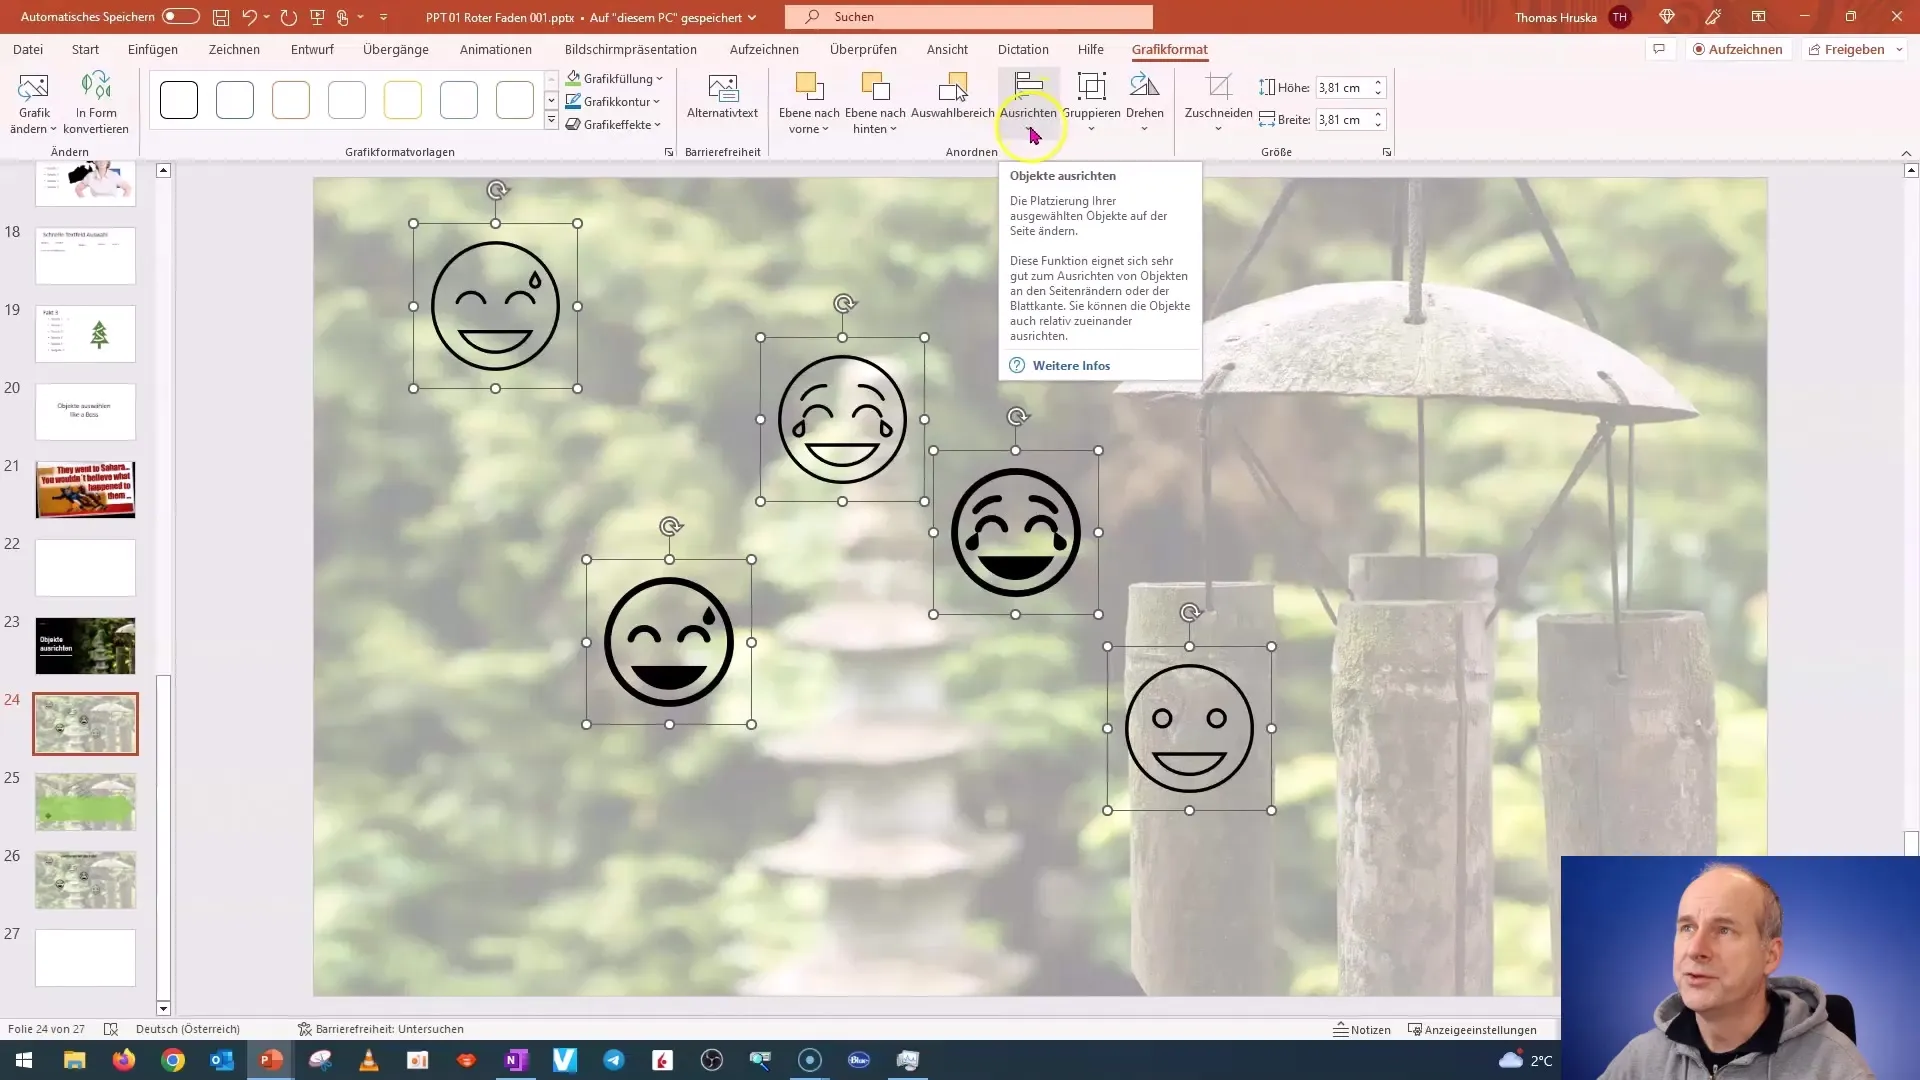
Now, select all the objects you want to align. You can do this by dragging the mouse over the objects while holding down the Shift or Control key.
Accessing Alignment Options
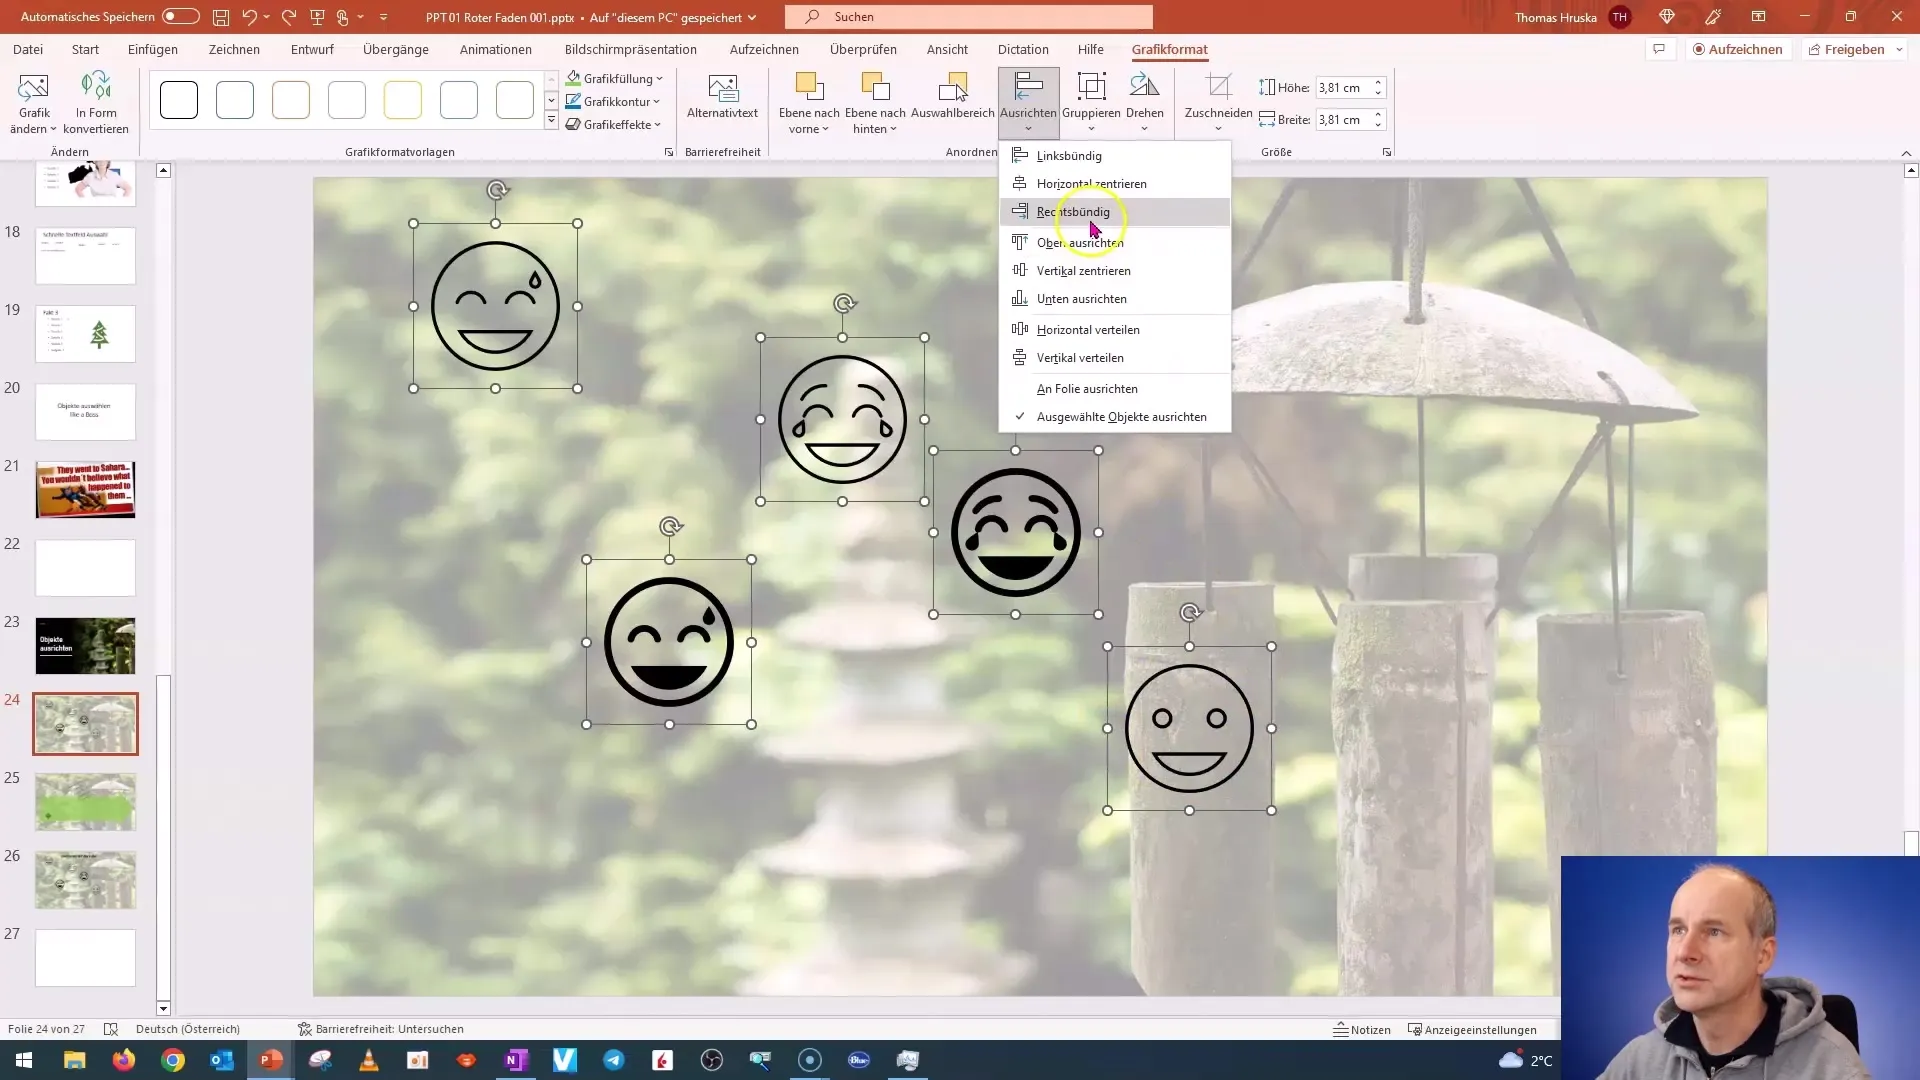
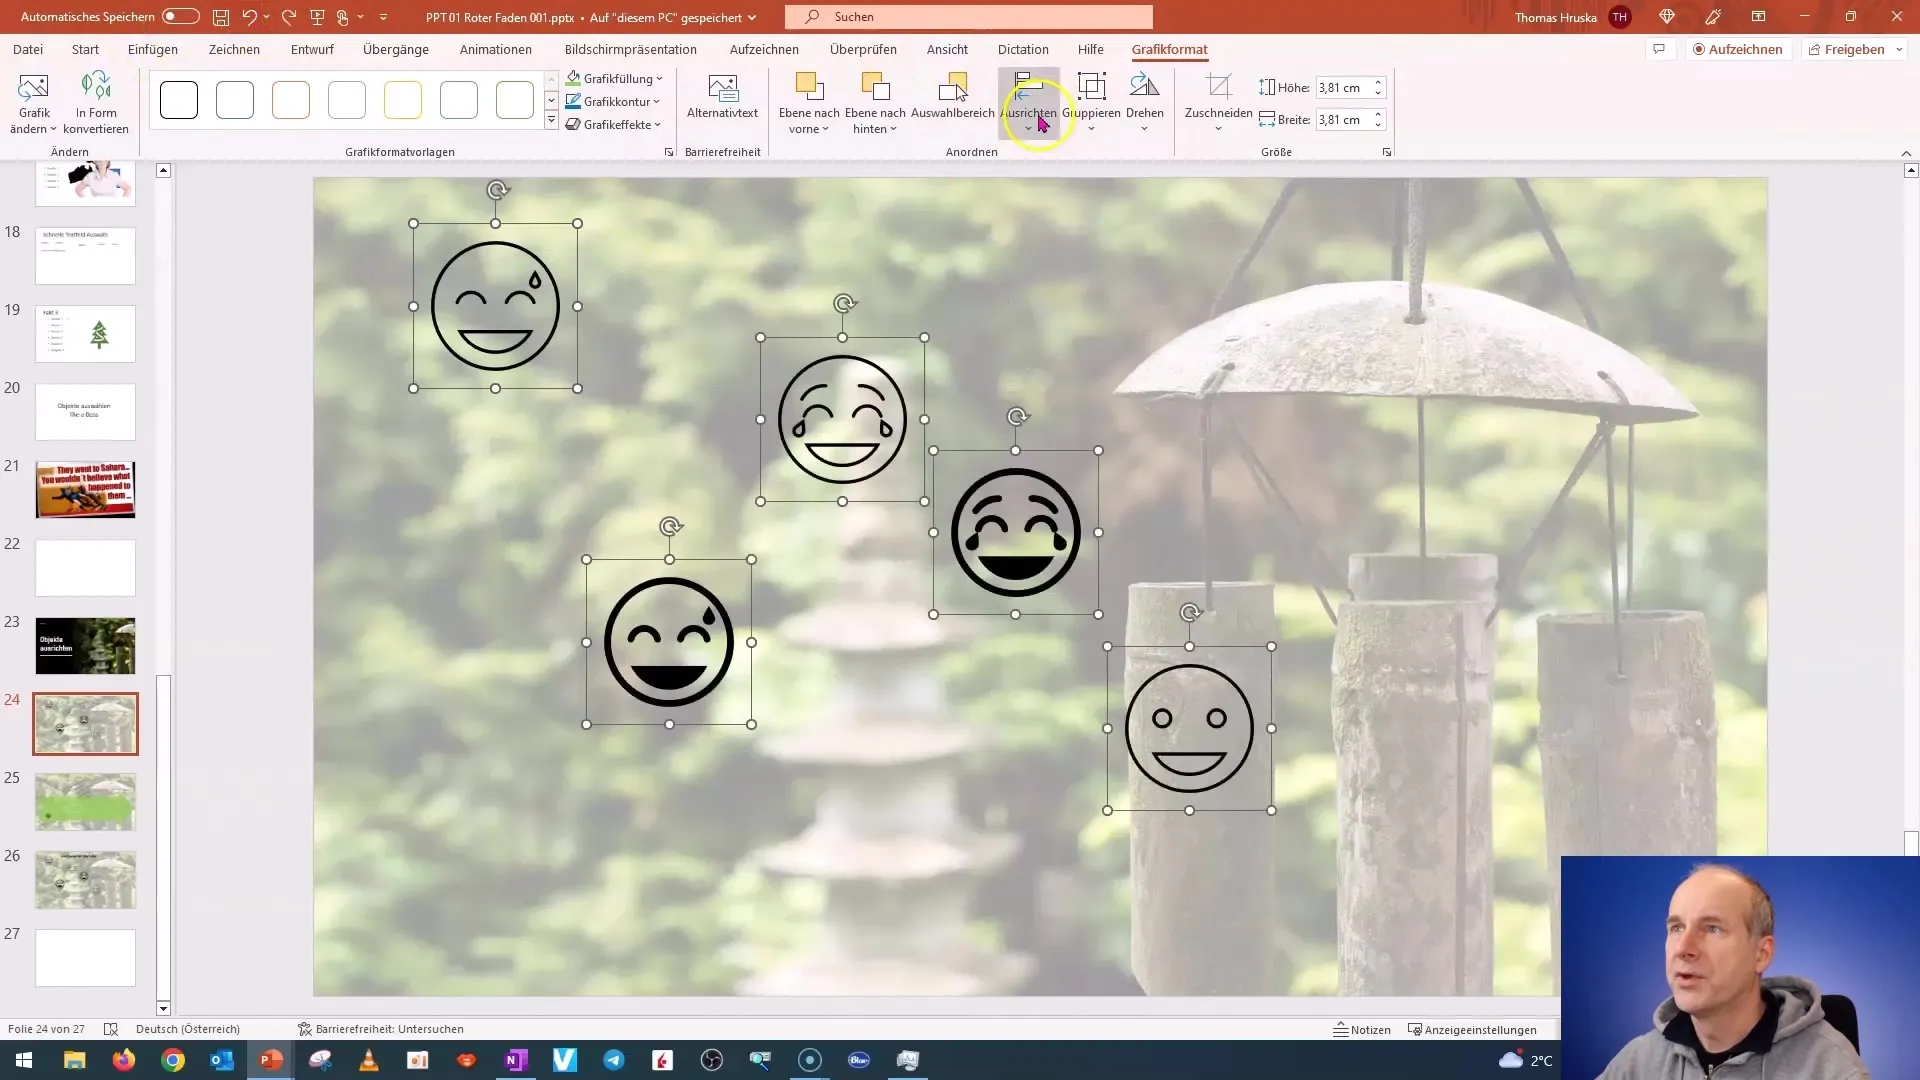
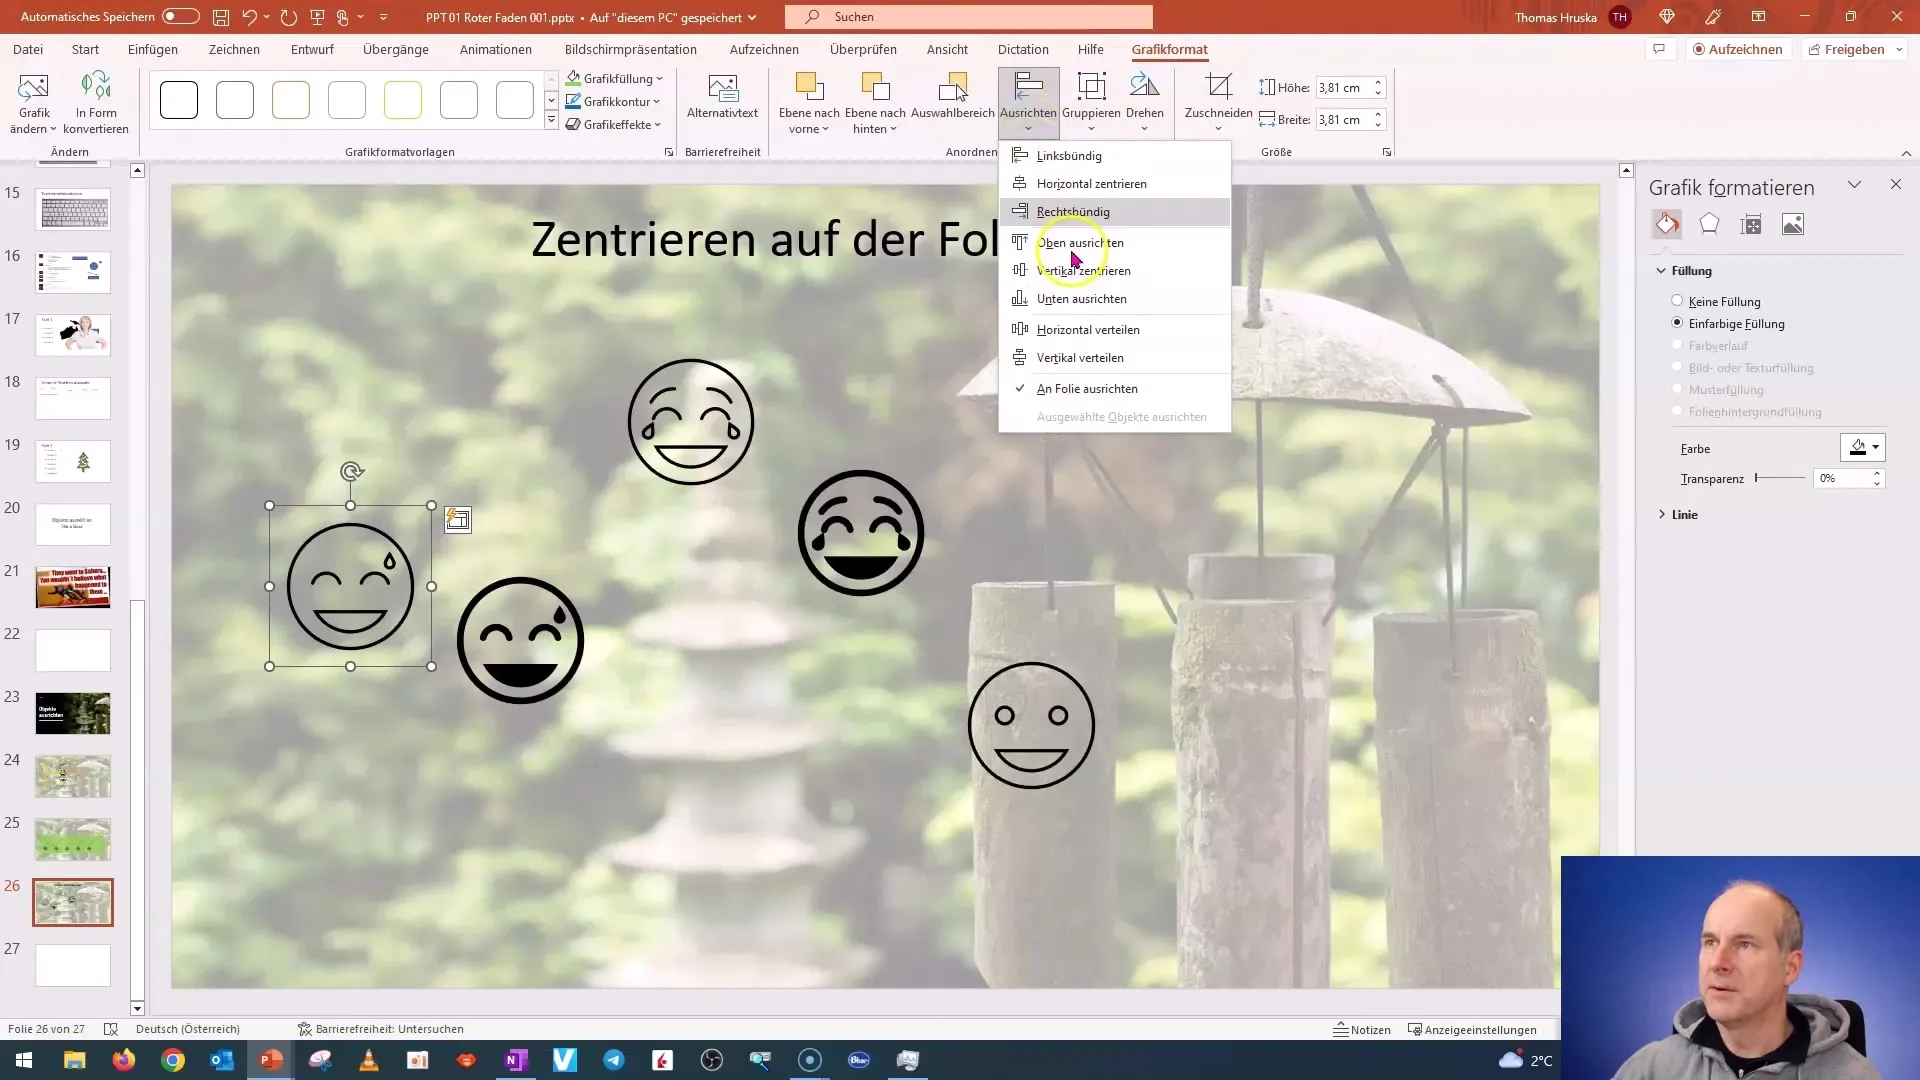
After selecting the objects, go to the "Format" tab. Here you will find the "Align" button. Click on it to view the various alignment options.
Align Left
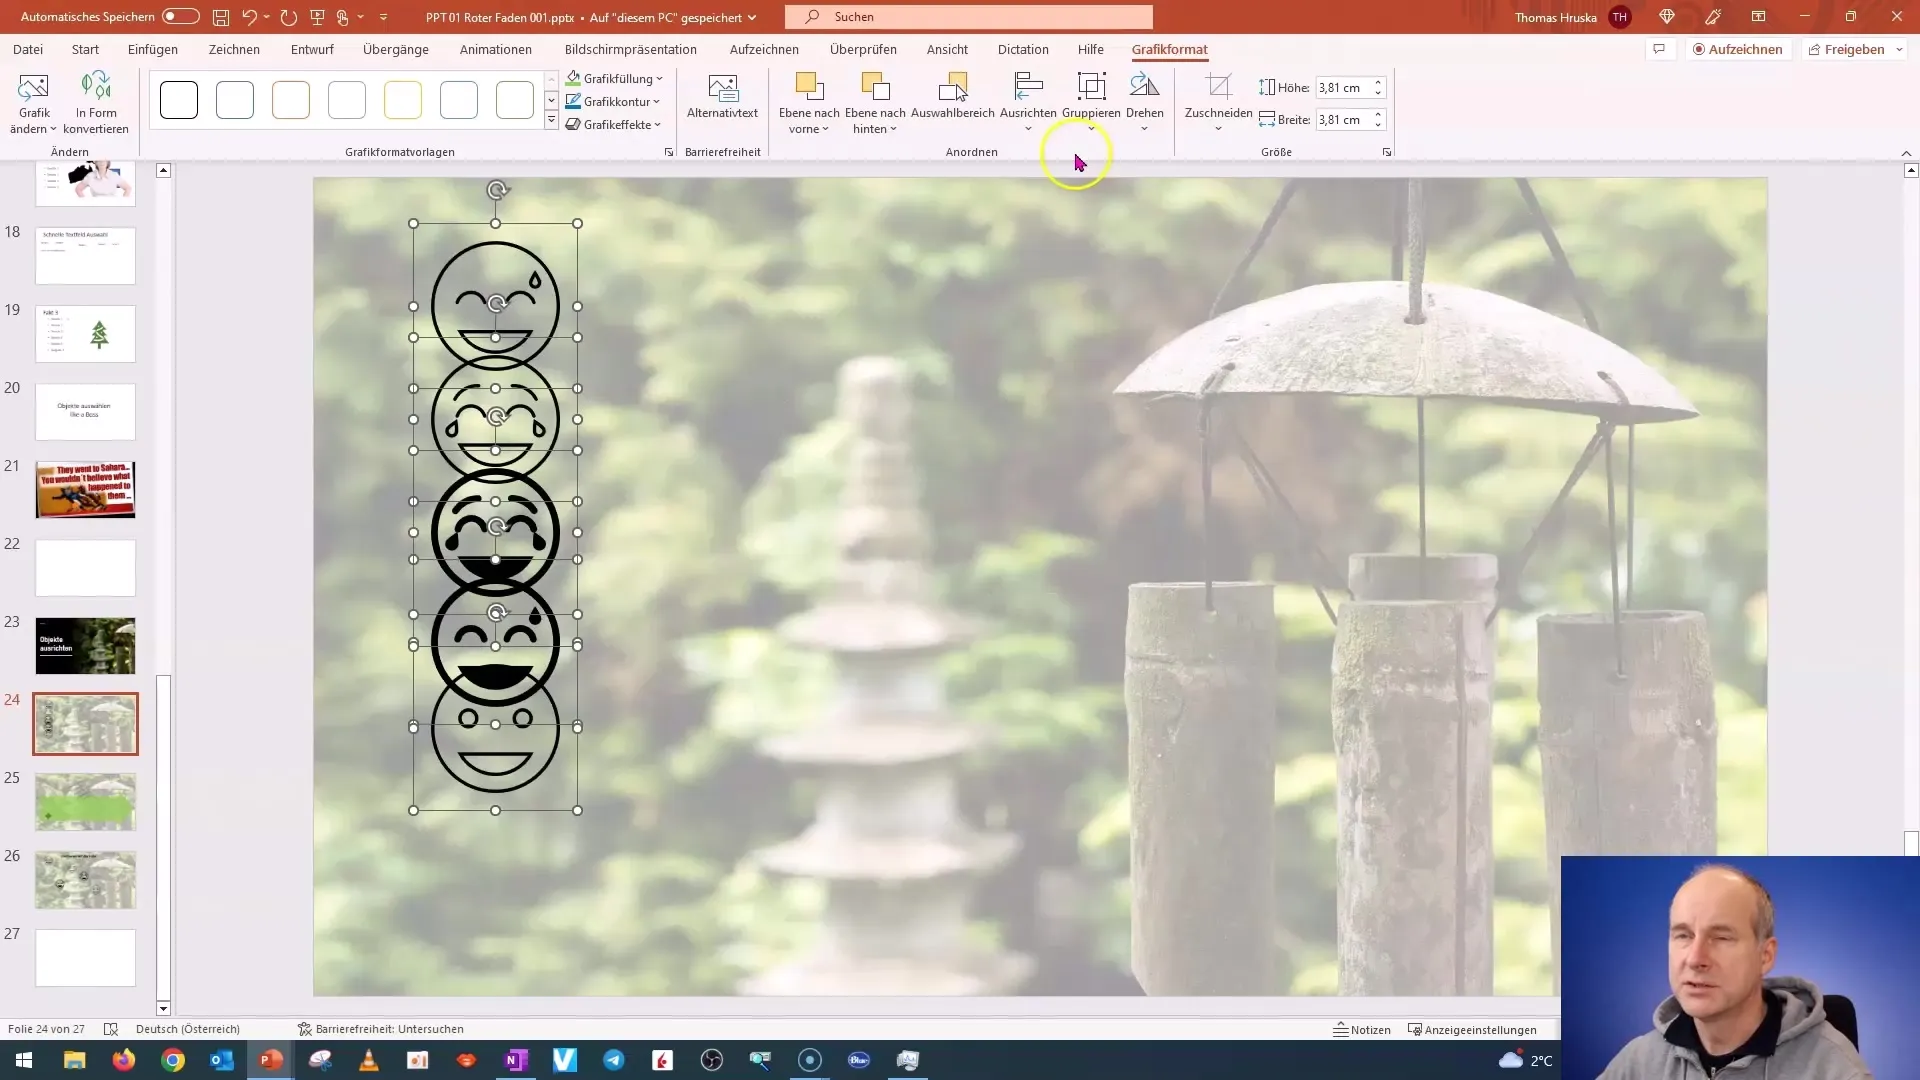
If you want to align the objects to the left, click on "Align Left." Note that PowerPoint will align the objects based on the leftmost object.
Align Right
Similarly, you can also align the objects to the right. Choose the appropriate option in the alignment tools.
Vertical Alignment
You can also align the objects to the top or bottom of the slide. The top or bottom edge of the objects will serve as the reference point.
Center Horizontally
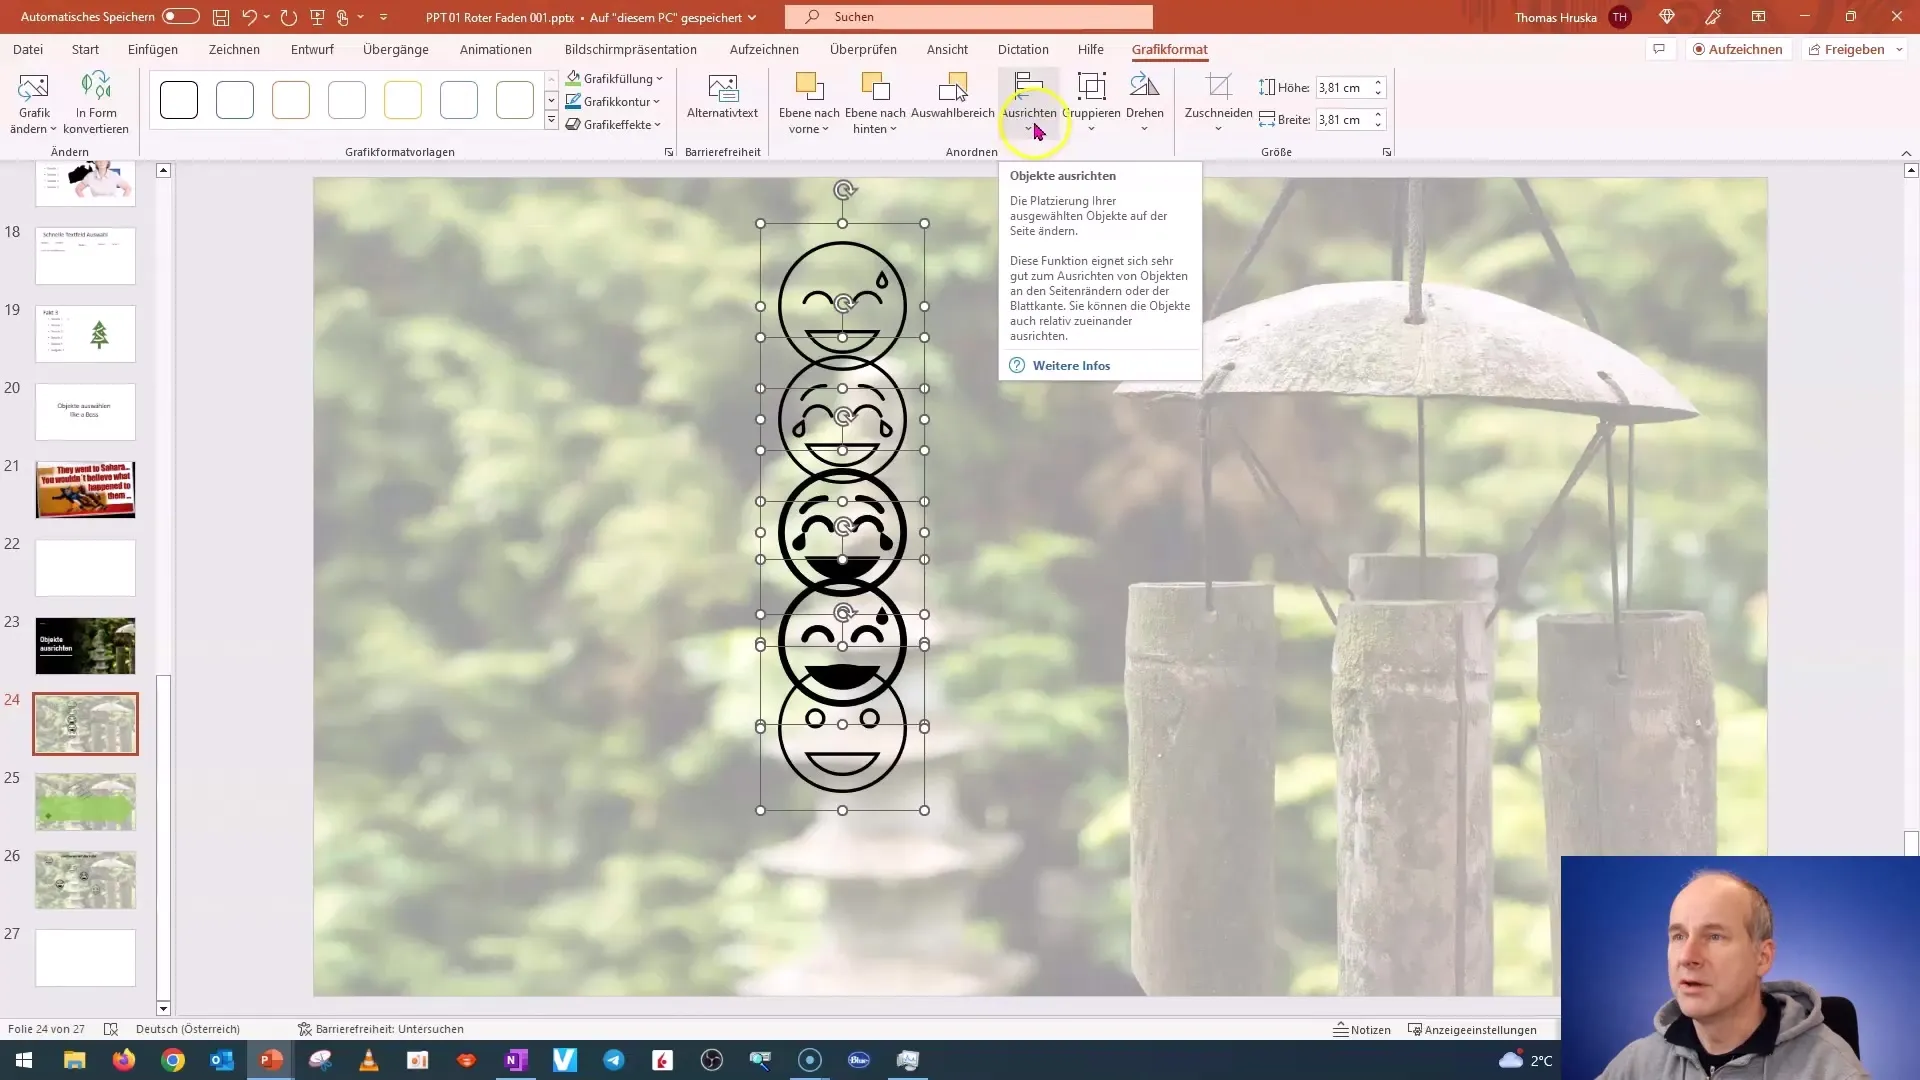
To center all objects horizontally, use the "Center Horizontally" function. This will position the objects evenly in the middle of the slide.
Distribute Vertically
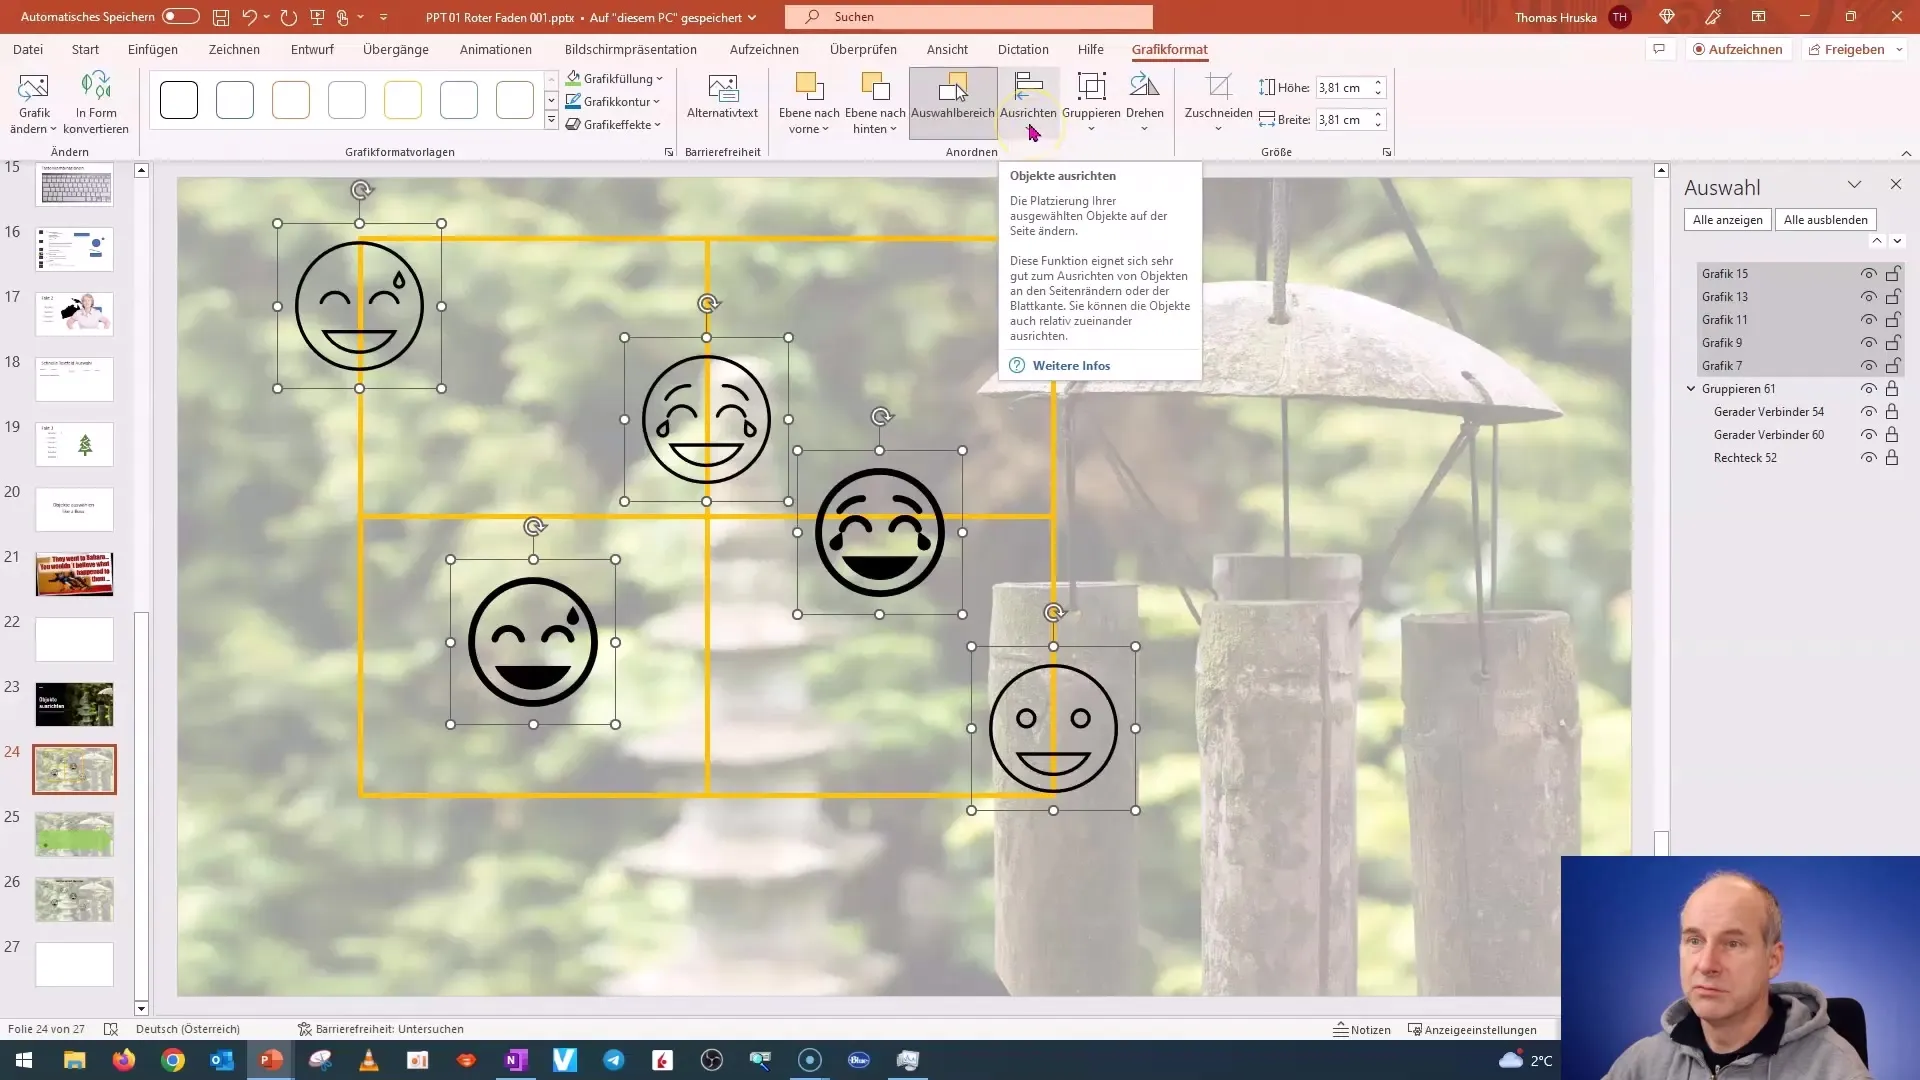
The "Distribute Vertically" function ensures that the spacing between the objects is evenly distributed. Make sure the objects are already correctly centered before choosing this option.
Distribute Horizontally
Similarly, you can distribute objects horizontally to achieve uniform spacing between them. Ensure they are correctly grouped together.
Practical Application
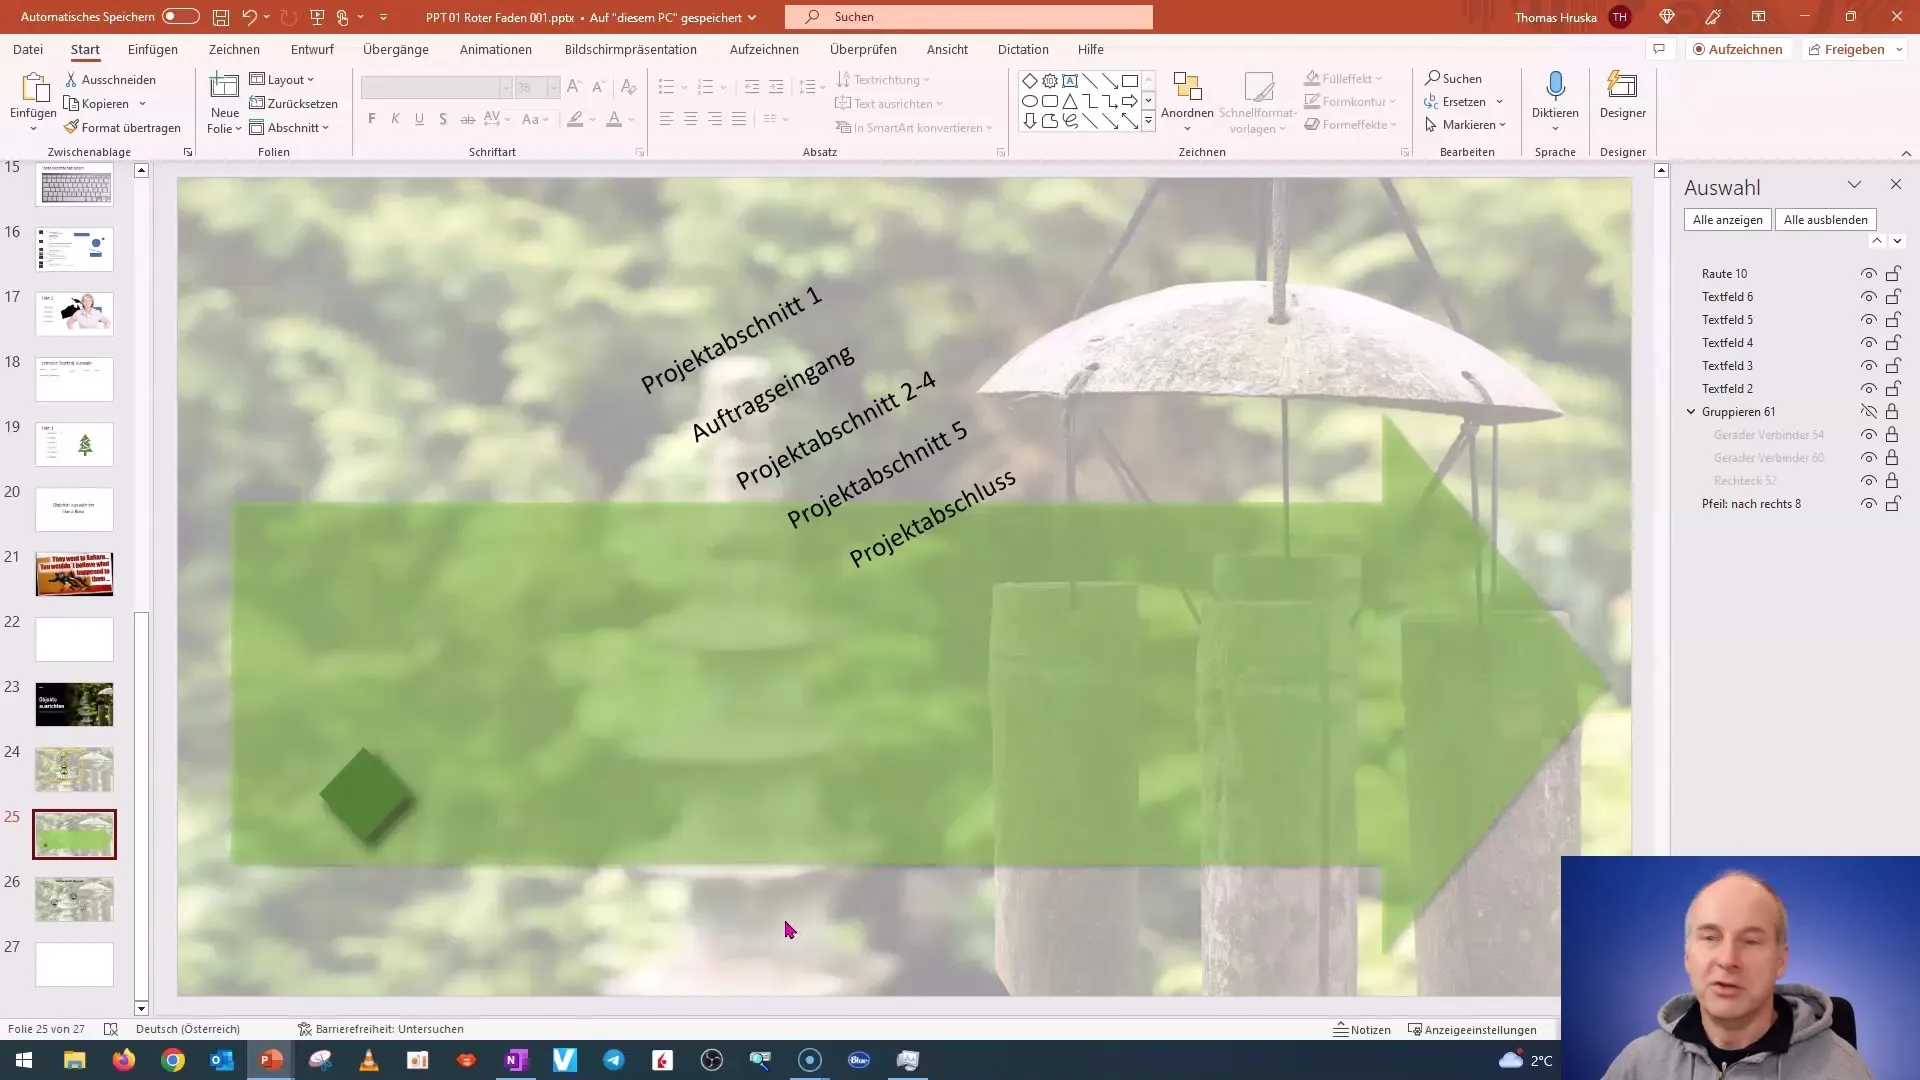
Now that you know how to arrange your objects, let's go through some practical applications. For example, if you want to list some points in a project report, you can create a graphic or image with an arrow and individual milestones.
Duplicating Objects
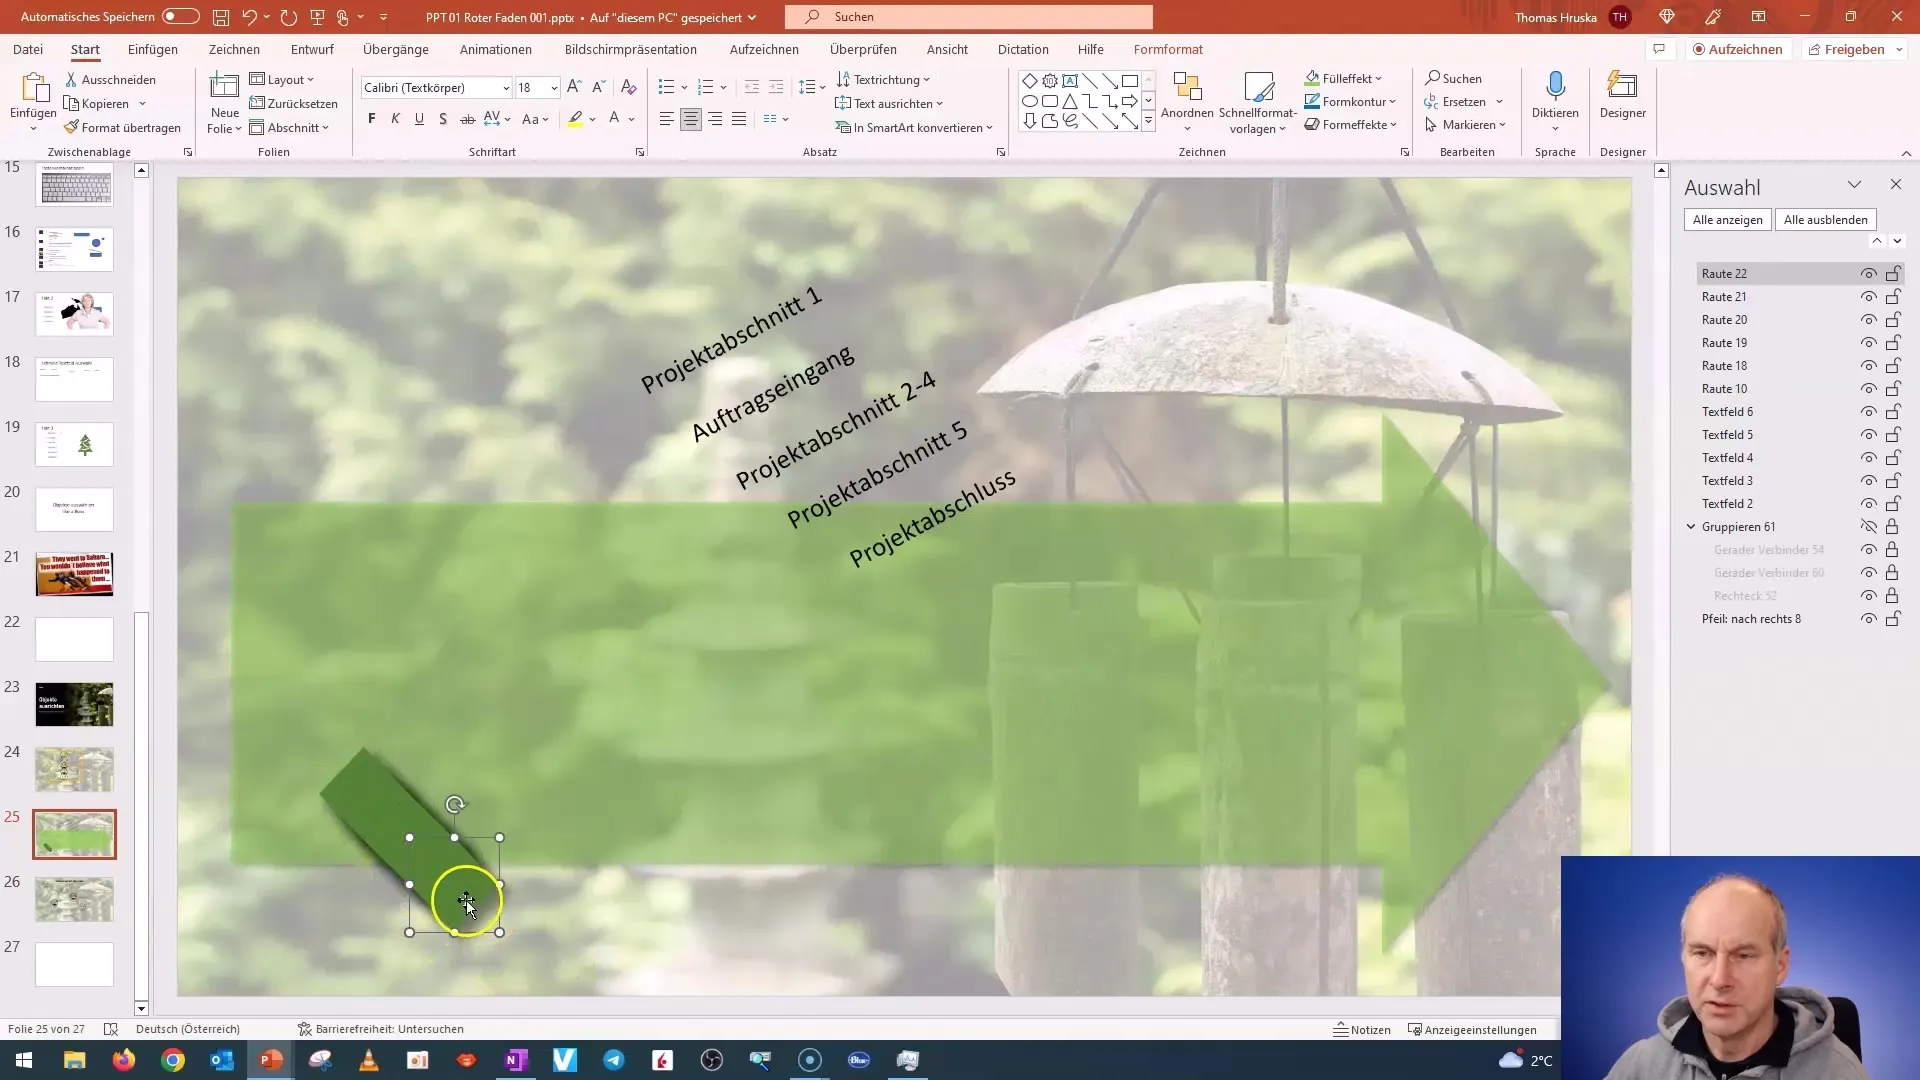
To create multiple identical objects, select an object and press "Ctrl + D" to duplicate it. Repeat this process until you have the desired number of objects.
Lines and Alignments
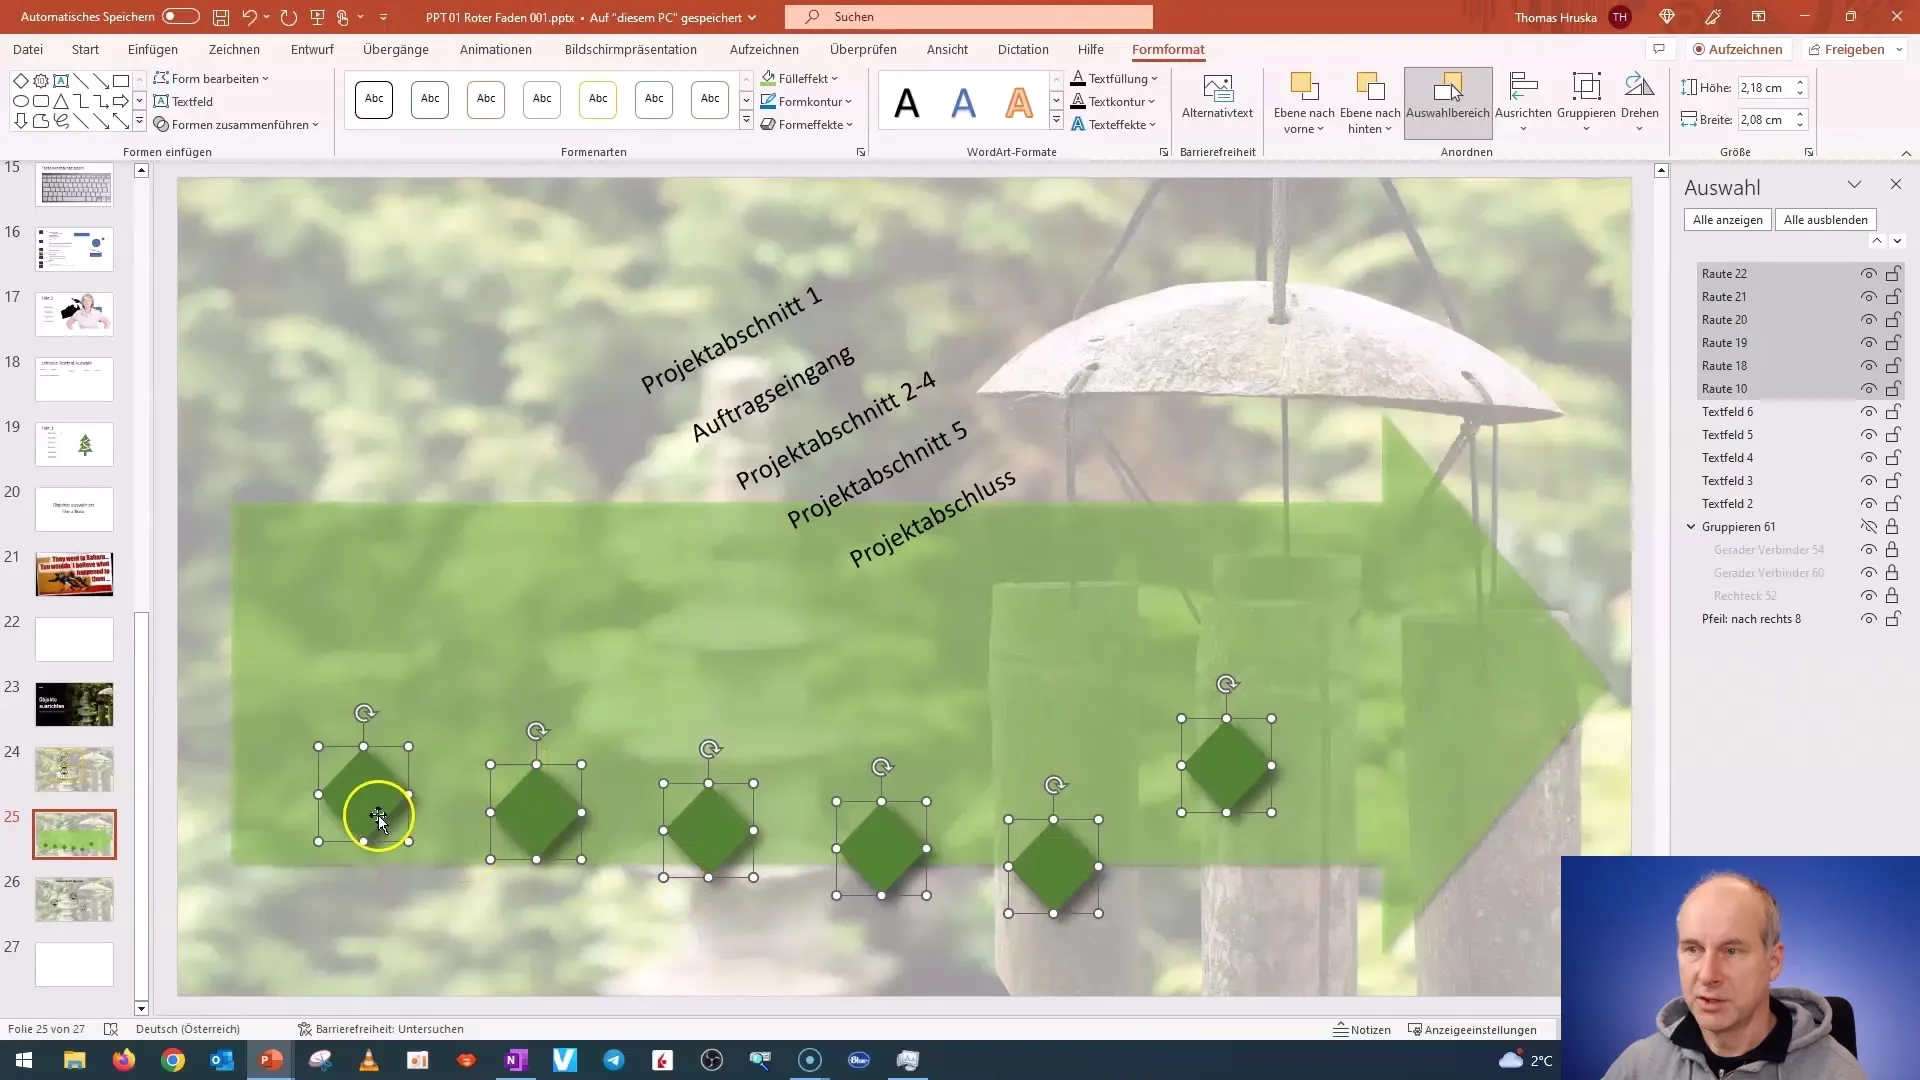
Now select all objects, go to "Graphic Format," and choose "Align" to arrange them evenly. This helps create a clear structure and an appealing design.
Integrating Text Boxes
Now add the text boxes to mark the milestone, paragraph, or project completion. Place the text boxes above the respective milestones.
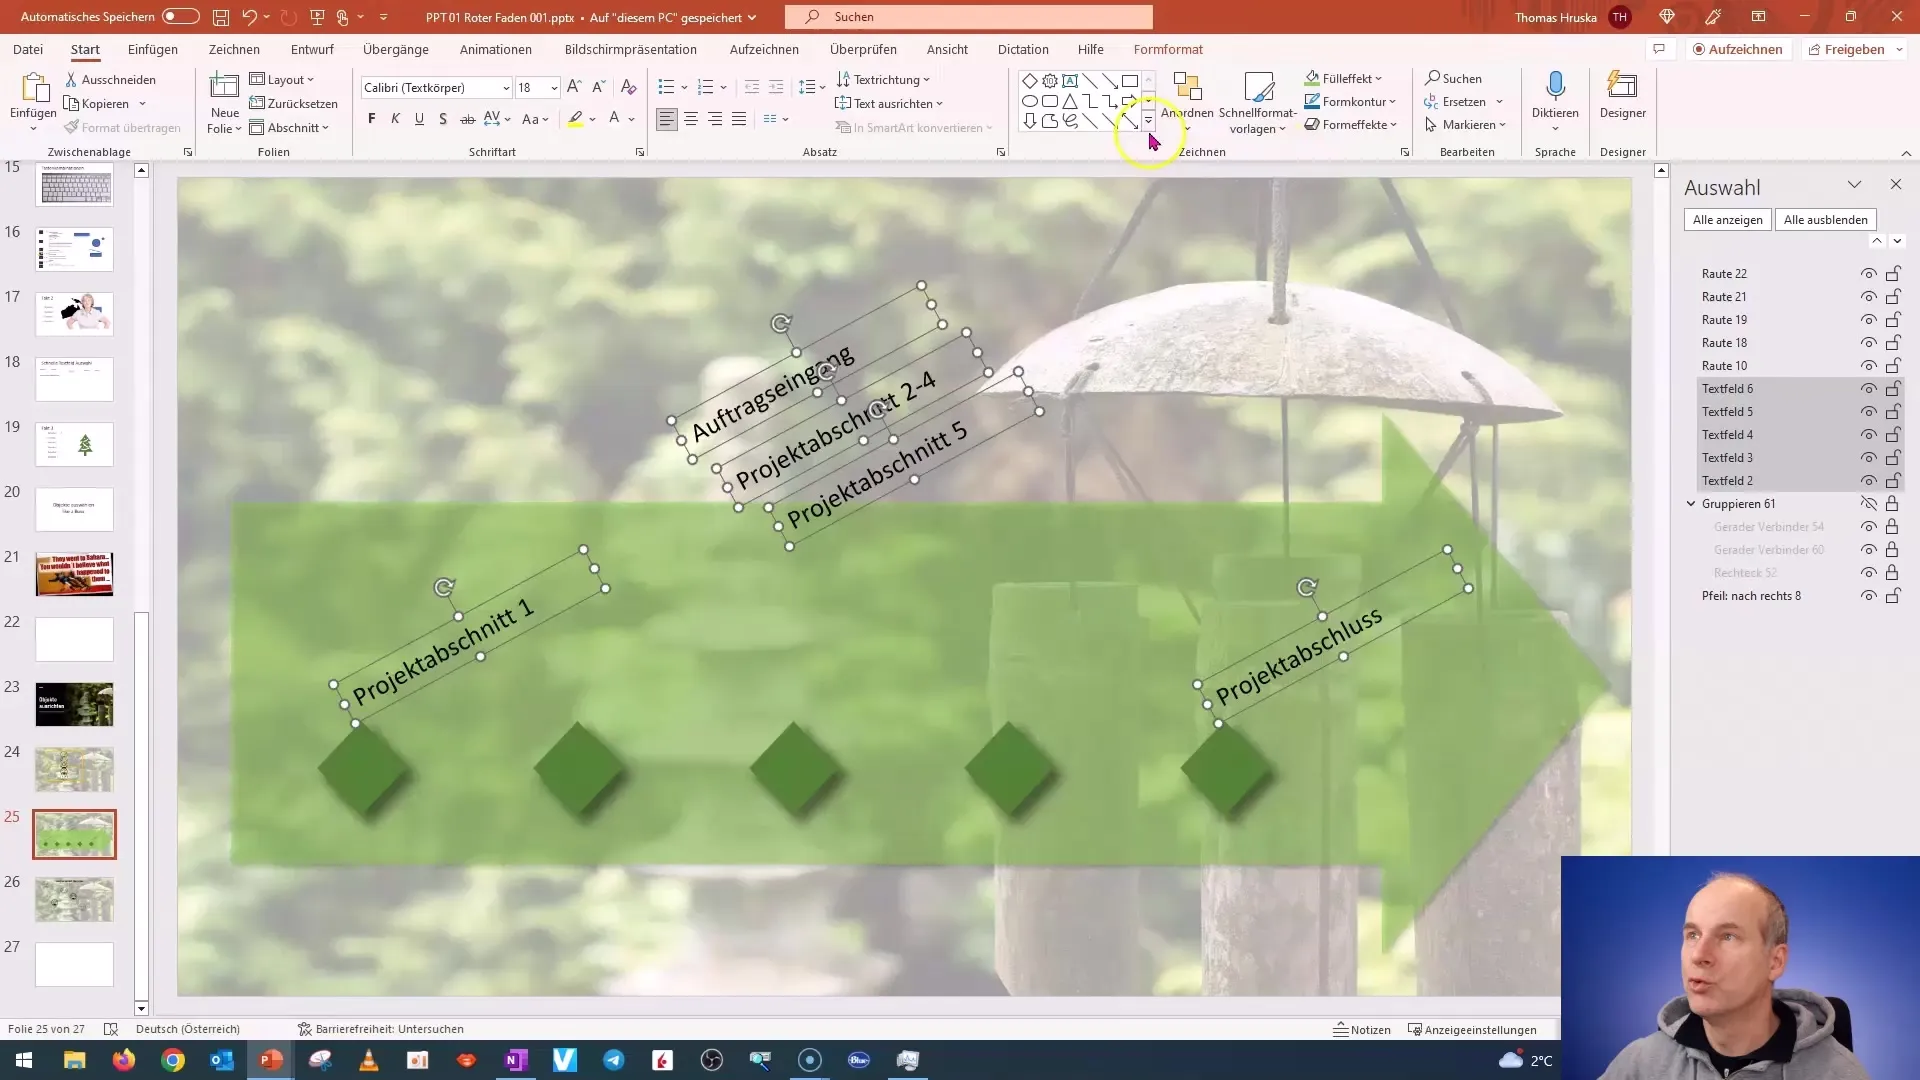
Uniform Distribution of Text Boxes
If you have text boxes of different sizes, you may encounter alignment issues. Check the height and width of the text boxes to ensure they can distribute evenly.
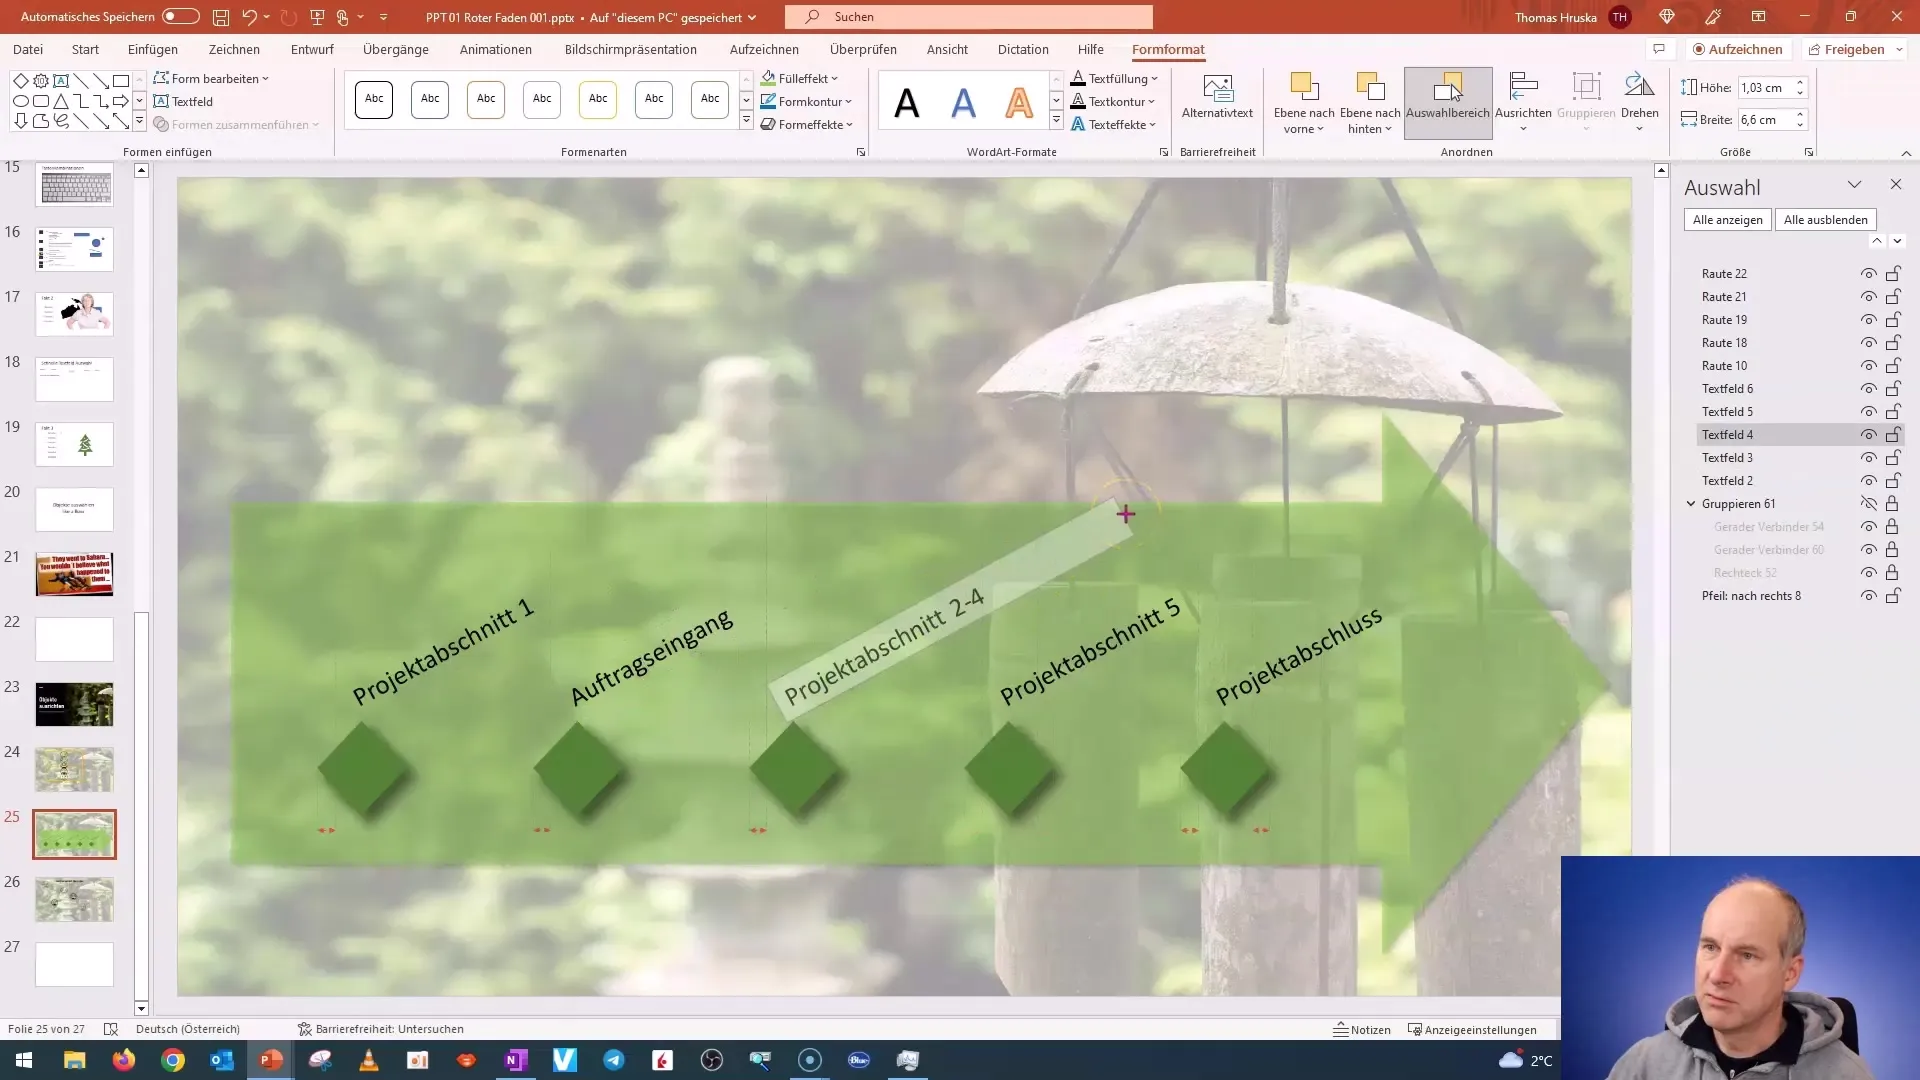
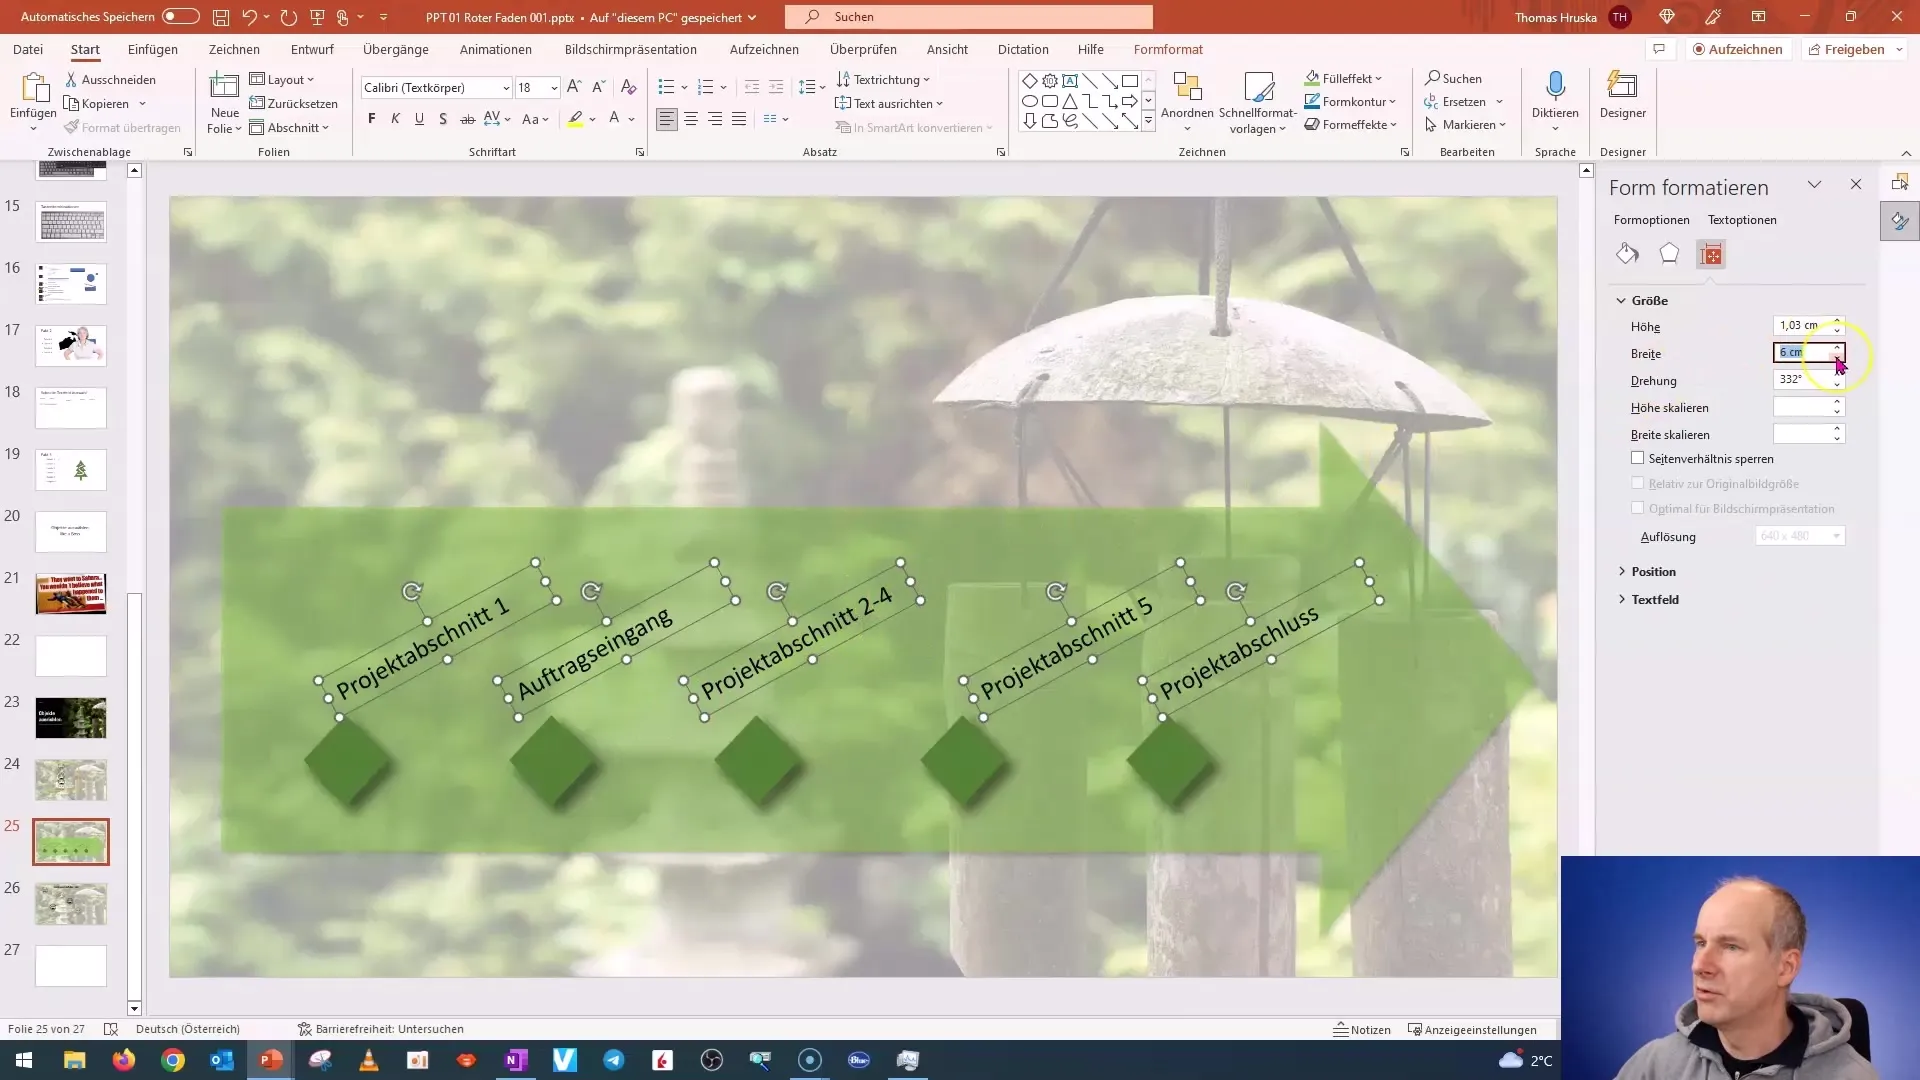
Resizing Text Elements
To change the size of text boxes, you can do it directly by altering the dimensions in the properties. Go to "Format Object" and adjust the size accordingly.
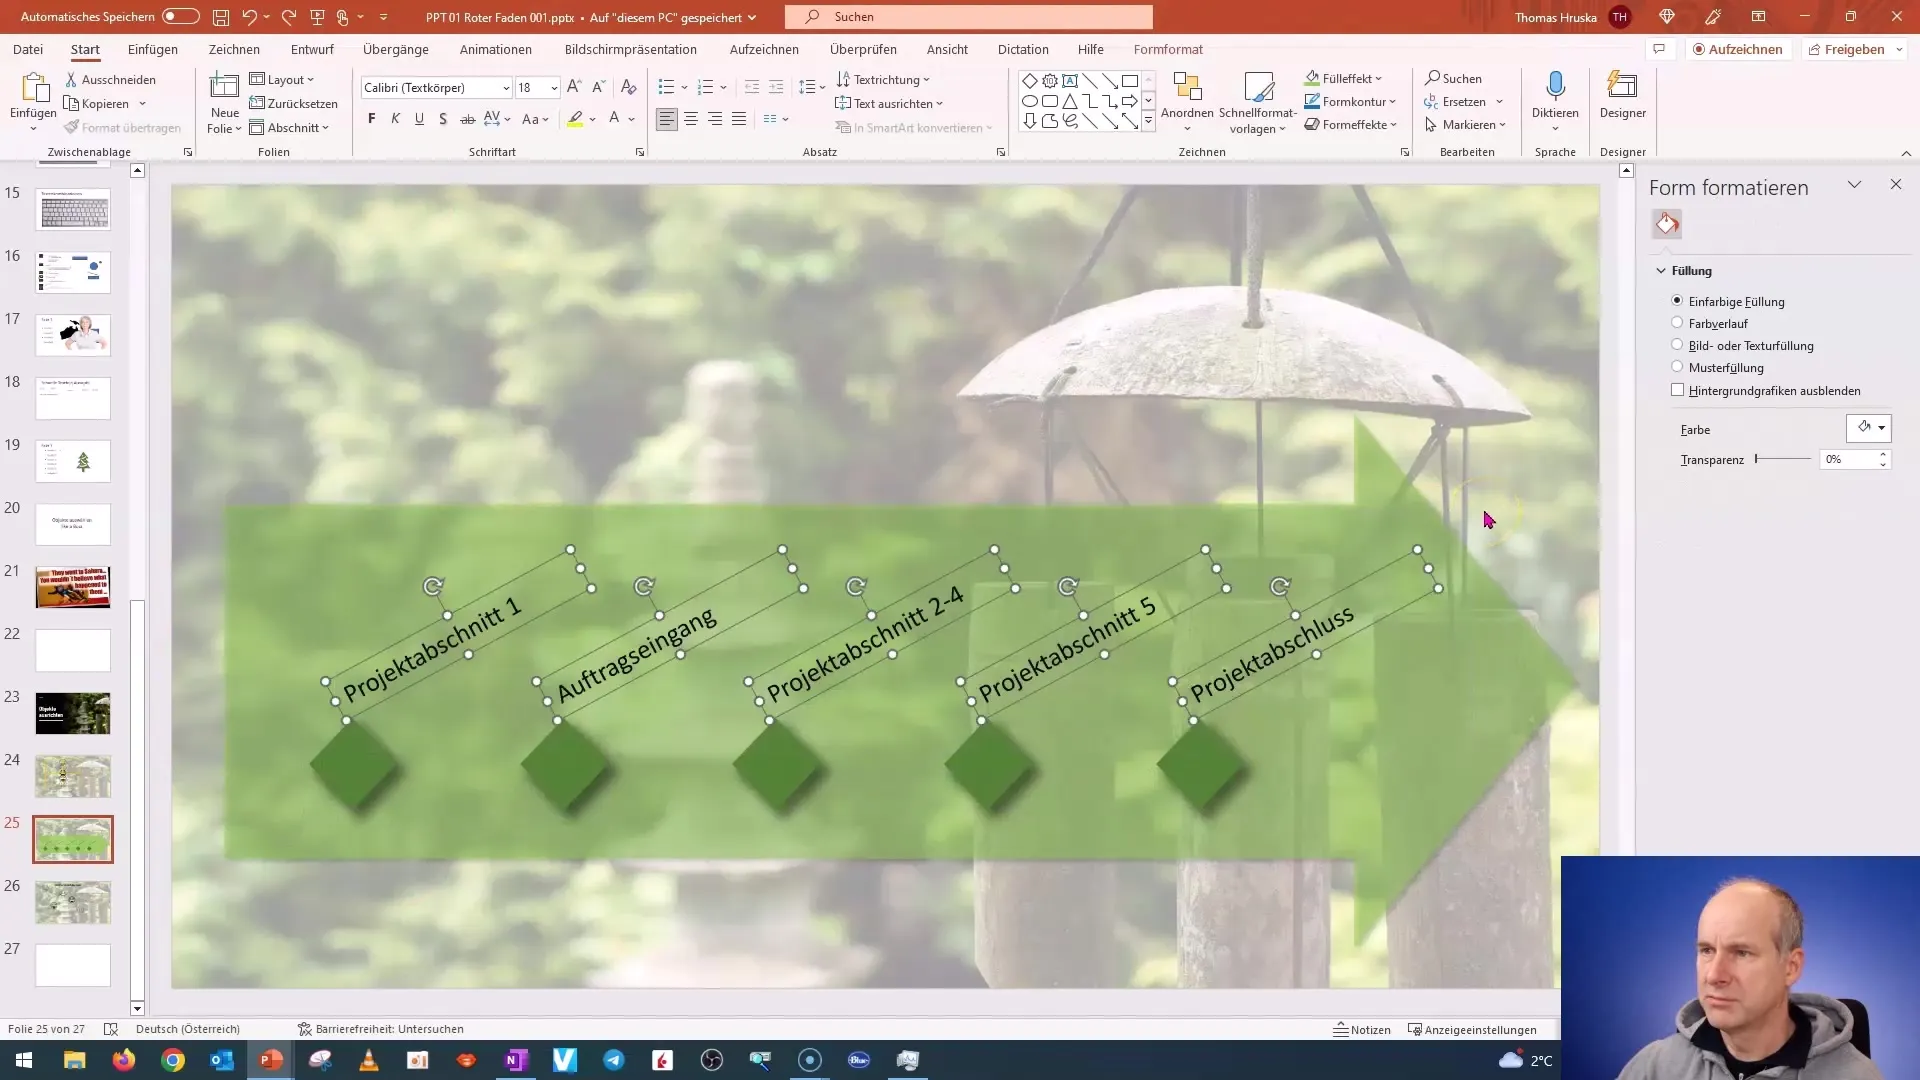
Final Adjustments
By aligning and adjusting the sizes, you can now finalize your slide. Make sure everything looks good and harmonious.
Centering on the Slide
To ensure that a single object (e.g., a smiley) is exactly in the center of the slide, you can use the "vertically center" and "horizontally center" options.
Grouping Objects
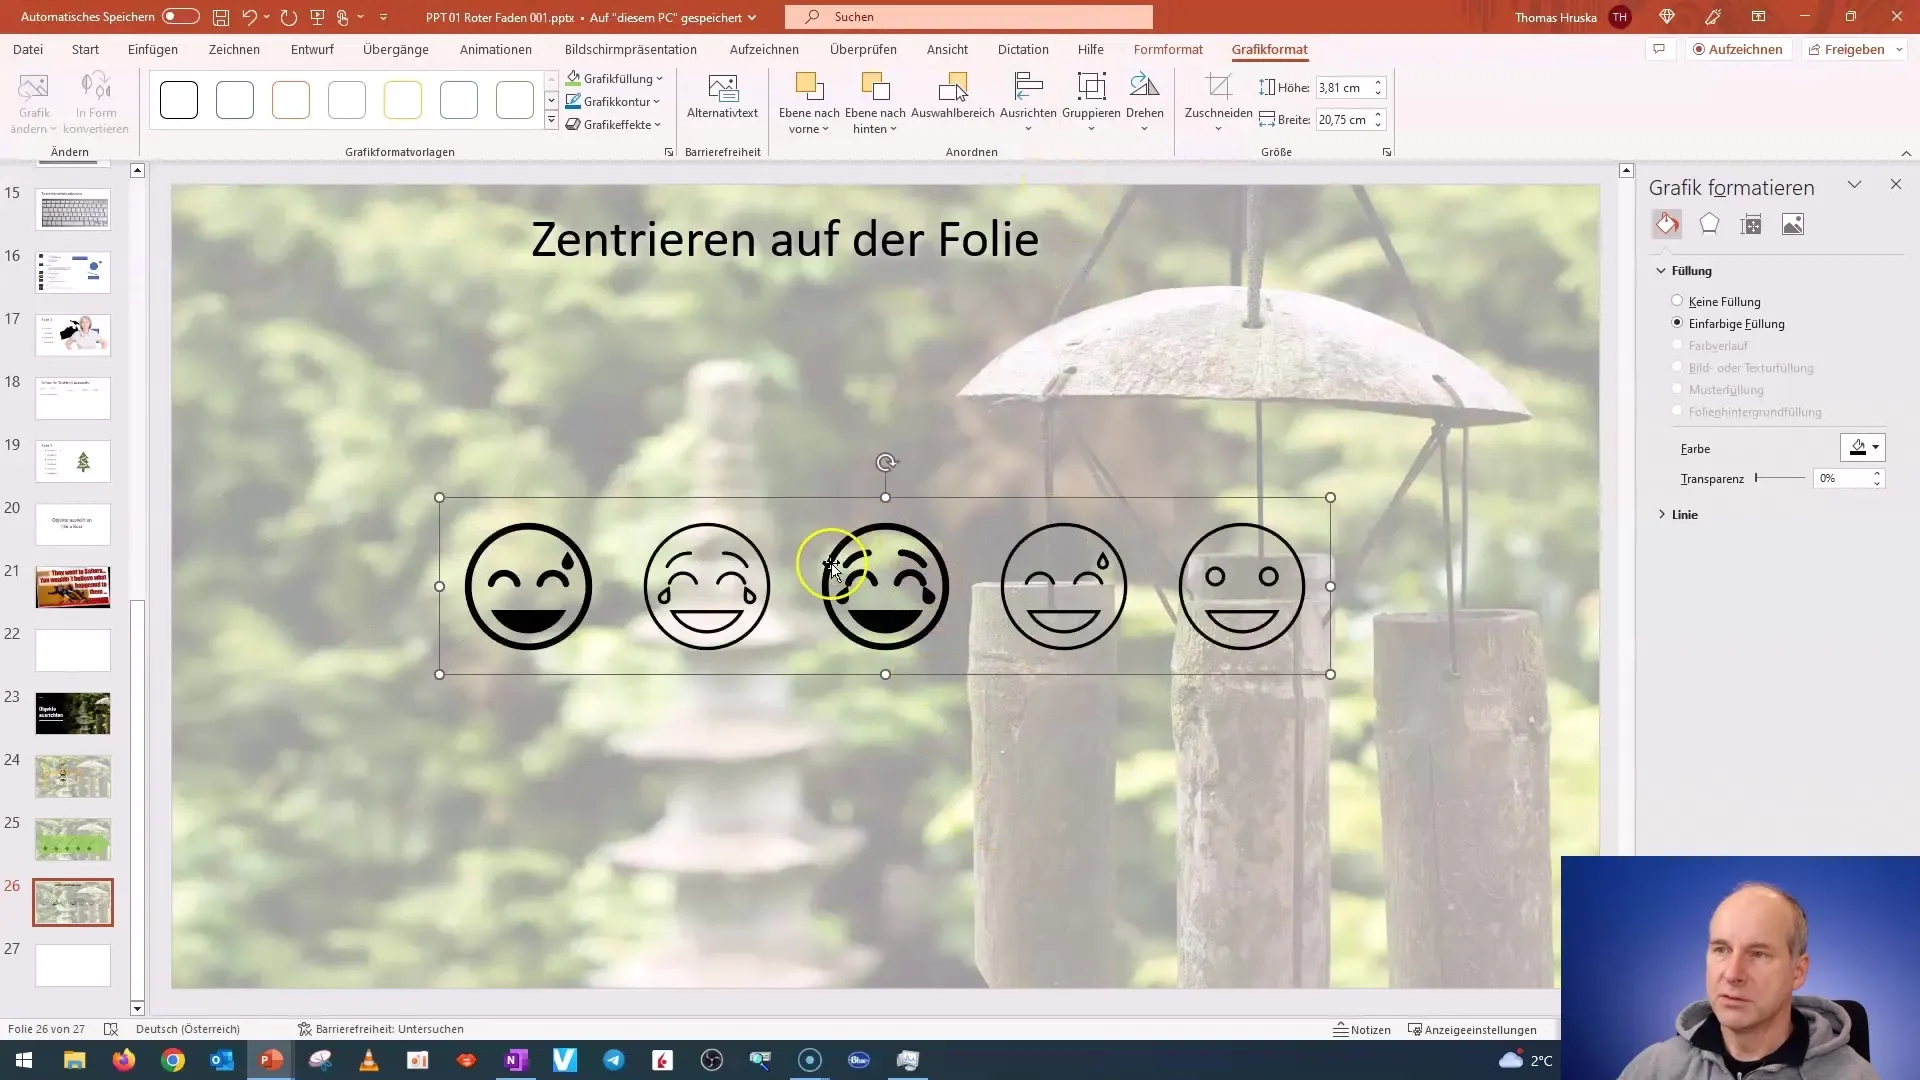
If you want to arrange the smileys in the center of the slide, group them. Go to "Group" and center the entire element on the slide.
Summary
In this guide, you have learned step-by-step how to efficiently align and arrange objects in PowerPoint. Using alignment tools can help you create your slides professionally and neatly. With these techniques, you will be able to save time and elevate your presentations to the next level.
Frequently Asked Questions
How can I ensure that all objects are evenly distributed?Make sure all objects are selected and use the "Horizontal or Vertical Distribute" function.
What do I do if my text boxes are different sizes?First equalize the sizes or use the "Size and Position" menu.
Can I change the alignment of multiple objects simultaneously?Yes, select all objects and hold down the Shift key to change the alignment.
How do I center a single object on the slide?Select the object and go to "Align" and choose "horizontal/vertical center".
Is it possible to create groups?Yes, select the objects and choose "Group" to treat them as a single unit.


