Effective aligning and arranging of objects in PowerPoint is a fundamental skill that will help you create engaging and well-structured presentations. In this tutorial, you will learn through practical exercises how to quickly and precisely align objects. The goal is to apply the techniques learned directly to elevate your presentations to a new level.
Key Insights
- Properly selecting objects is crucial for successful arrangement.
- Use the align and arrange functions to achieve a professional layout.
- Mistakes in selecting objects can lead to frustrating results – be attentive!
Step-by-Step Guide
Step 1: Download and Open the Presentation
First, you should download the provided presentation (on the product page). Don't be surprised if it doesn't look exactly as you saw it in the course. This is normal as this presentation is continuously updated. So, download the file and open it in PowerPoint.

Step 2: Reflect on the Exercise
After opening the presentation, take a look at the current state of the slides. Some disorder is expected so that you can make the most of the exercise. Take your time to observe the different objects and their arrangement.

Step 3: Select Objects
To start the exercise, select multiple objects. Here, you can use the selection frame. Make sure the selection frame is large enough to include all desired objects. This is the only way to ensure that the objects are edited together.
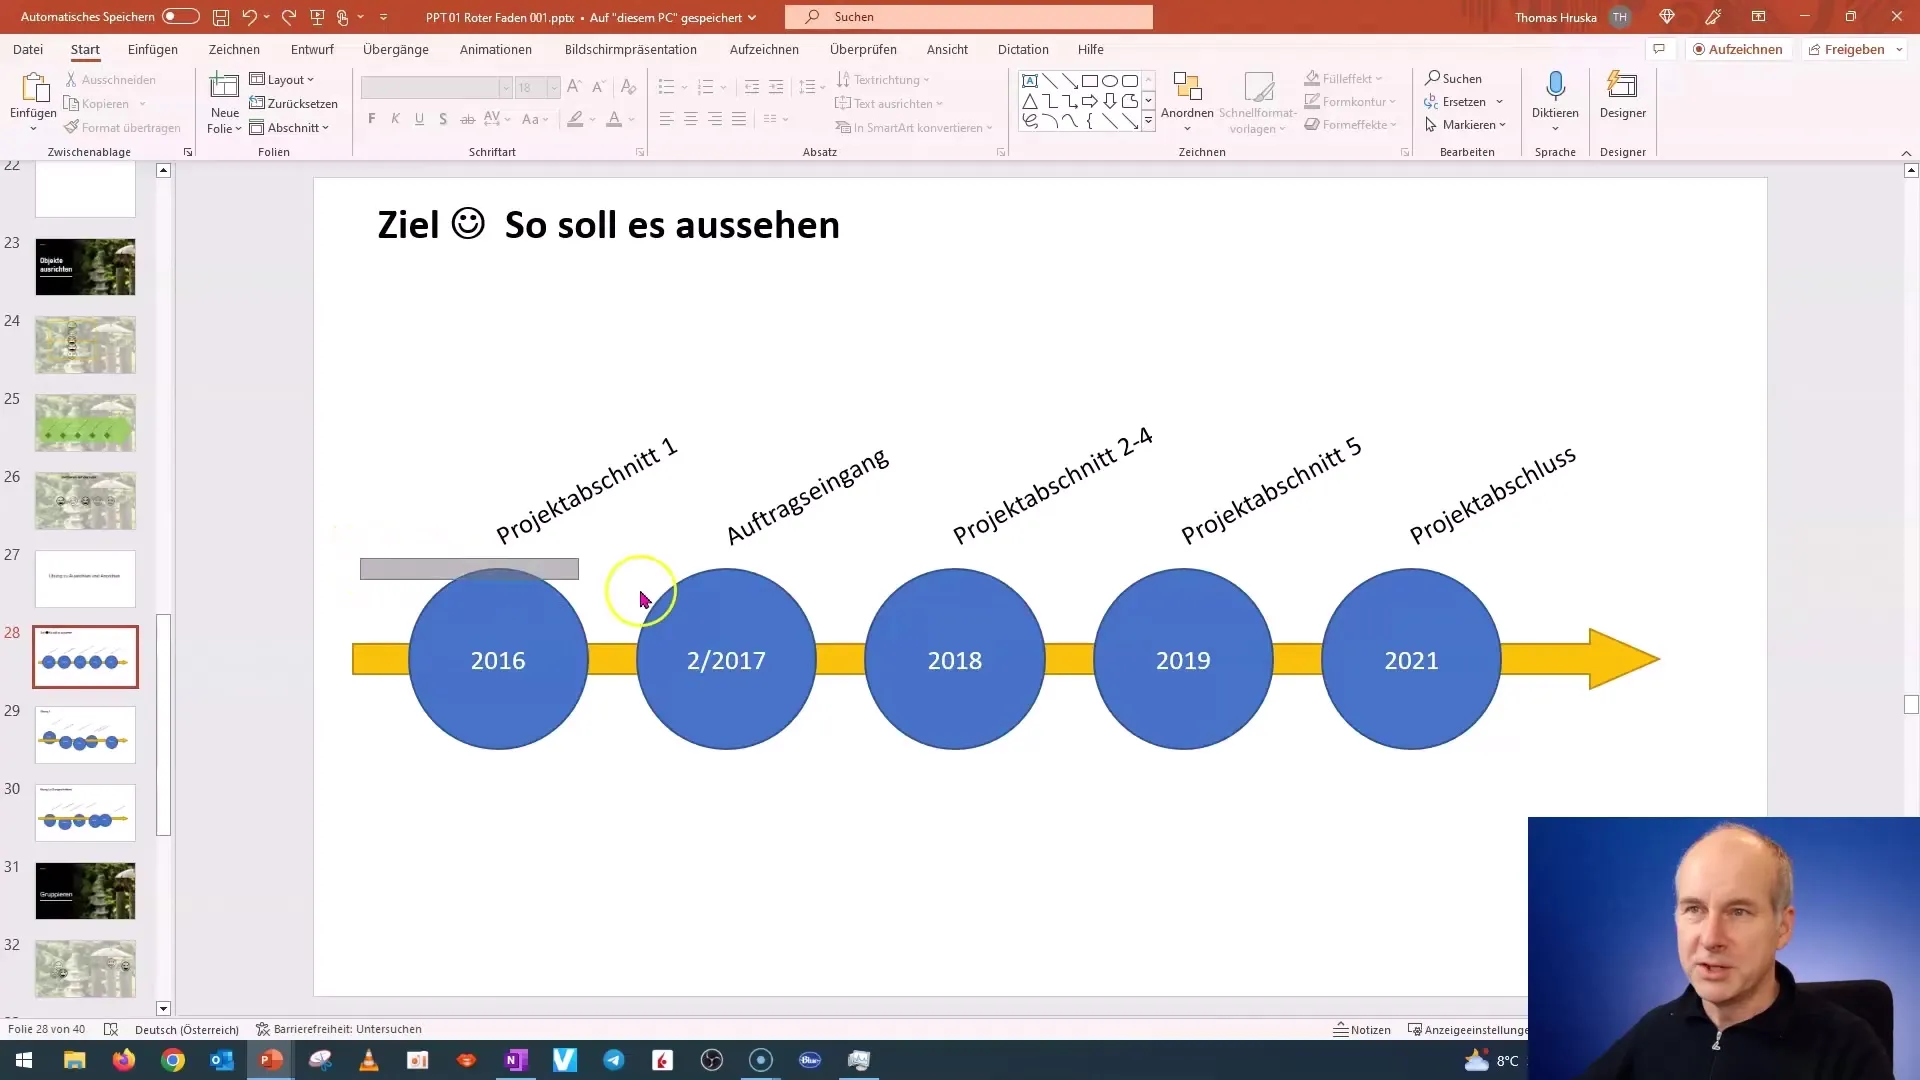
Step 4: Select Fonts
Now that you have selected your objects, it's time to start choosing the fonts. When attempting to change the font for multiple text boxes simultaneously, ensure that all text boxes are the same size. Otherwise, PowerPoint can only select the objects within the desired selection range.
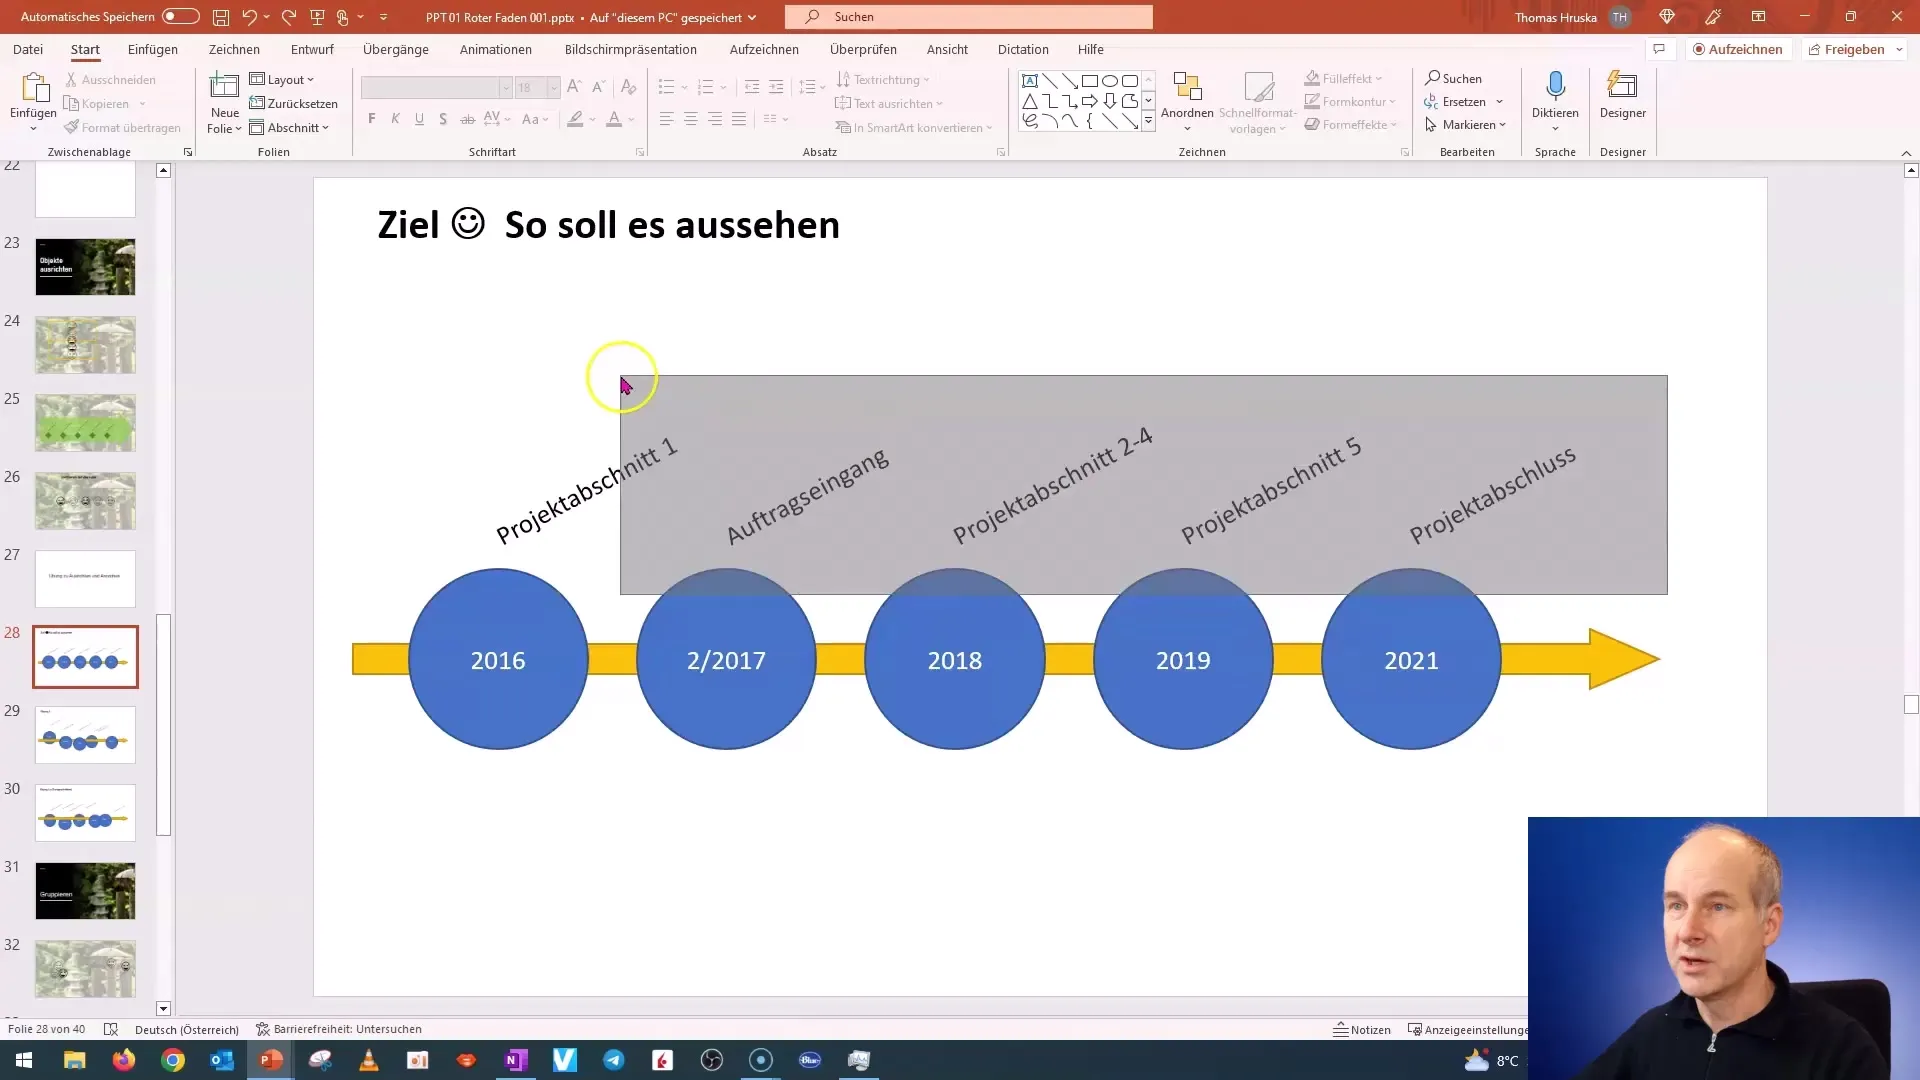
Step 5: Make Objects Equally Long
To ensure your text boxes are of equal length, standardize their lengths. Make sure that all text boxes you want to adjust are roughly the same size. This will make selecting fonts later much easier.
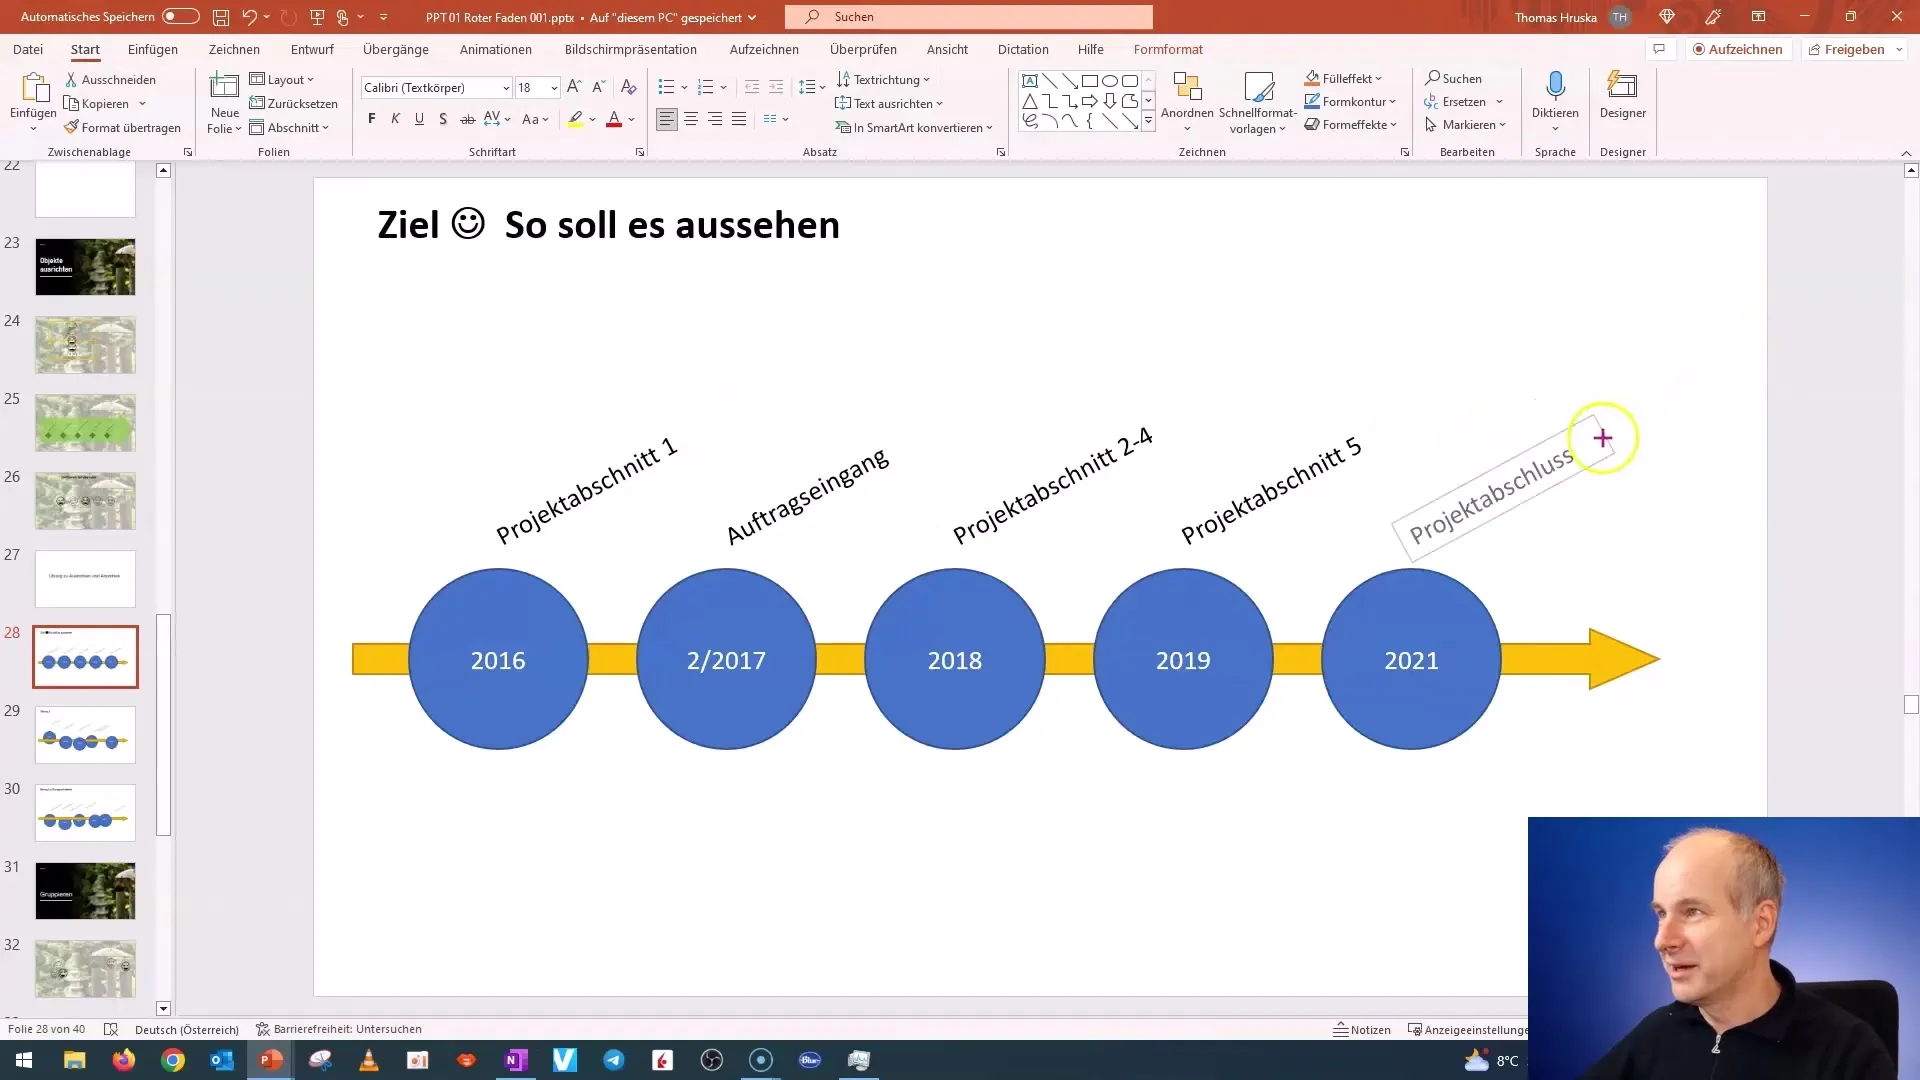
Step 6: Aligning and Arranging Objects
Now comes the exciting part: aligning and arranging your objects. Use the "Align" function in the menu bar to place the objects evenly. These functions are particularly useful in achieving a professional appearance. Experiment with the various available options.
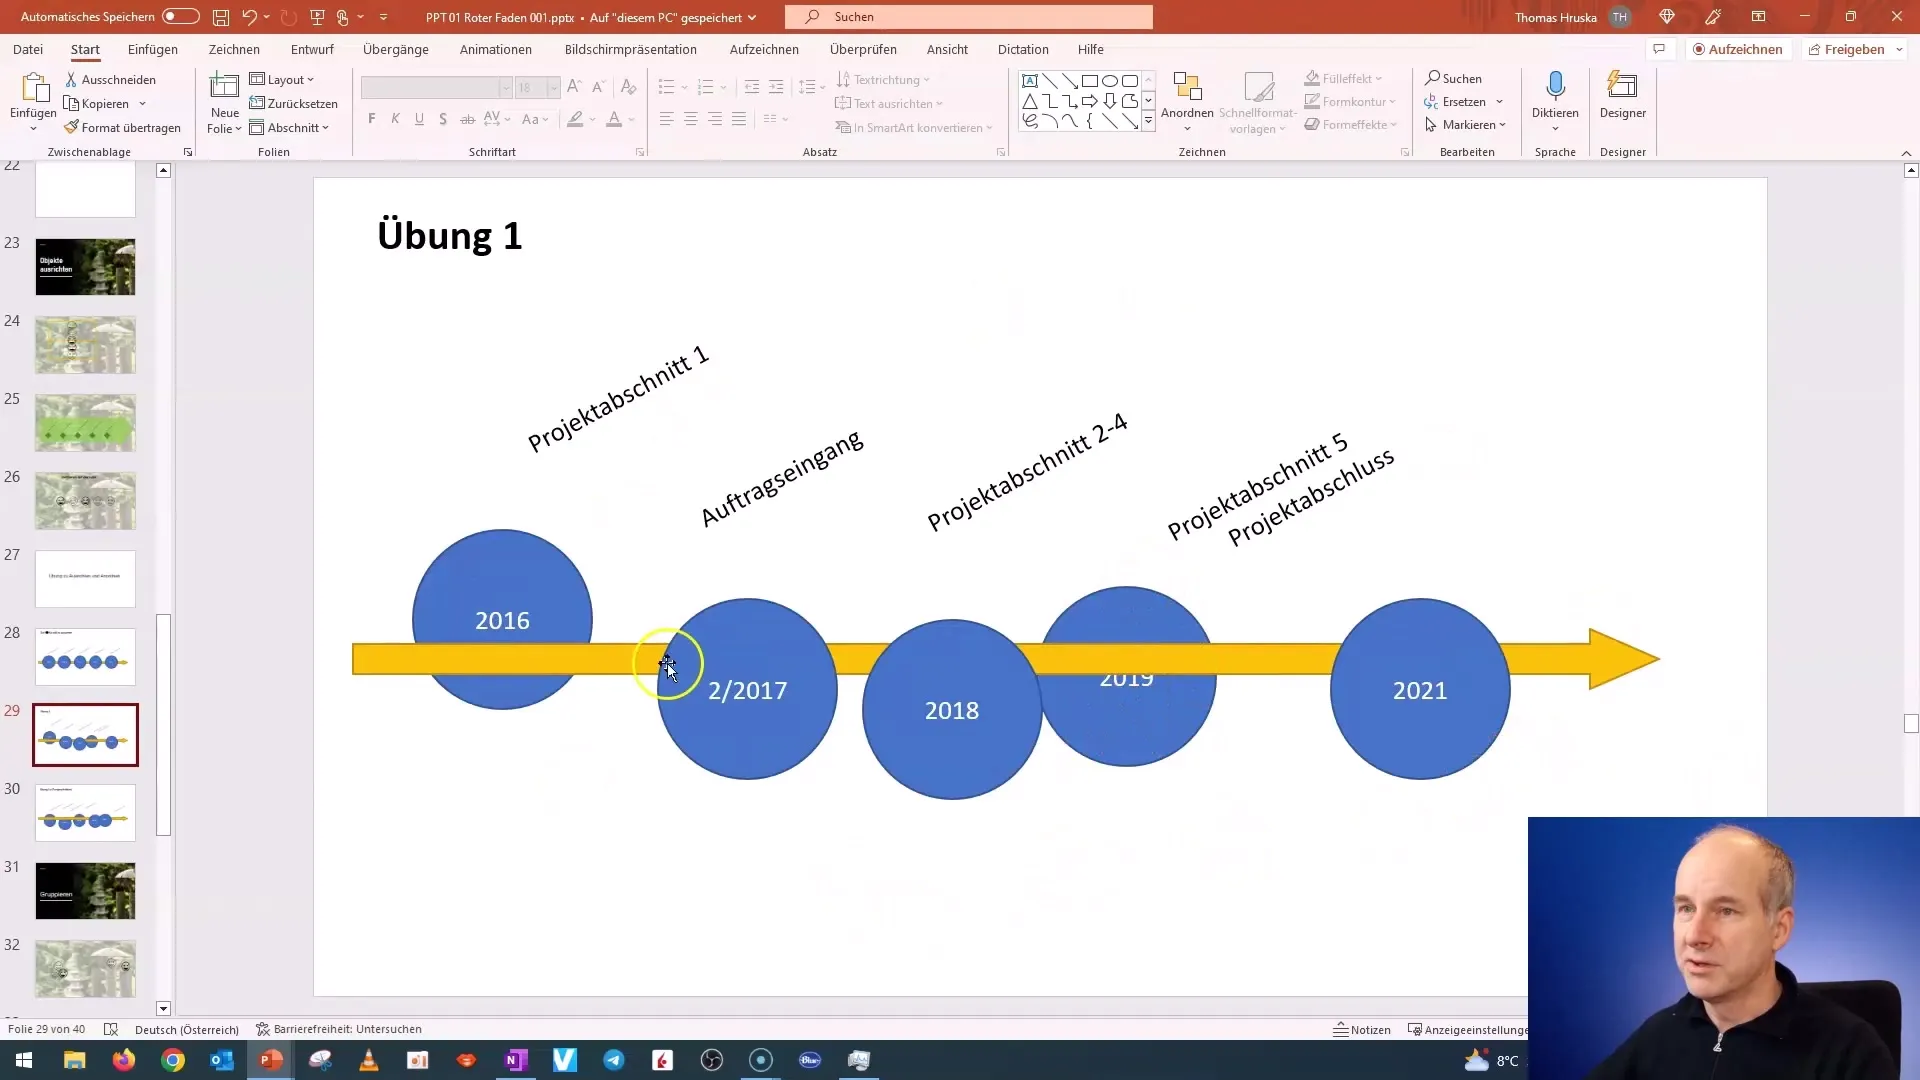
Step 7: Using Boxes for Informational Content
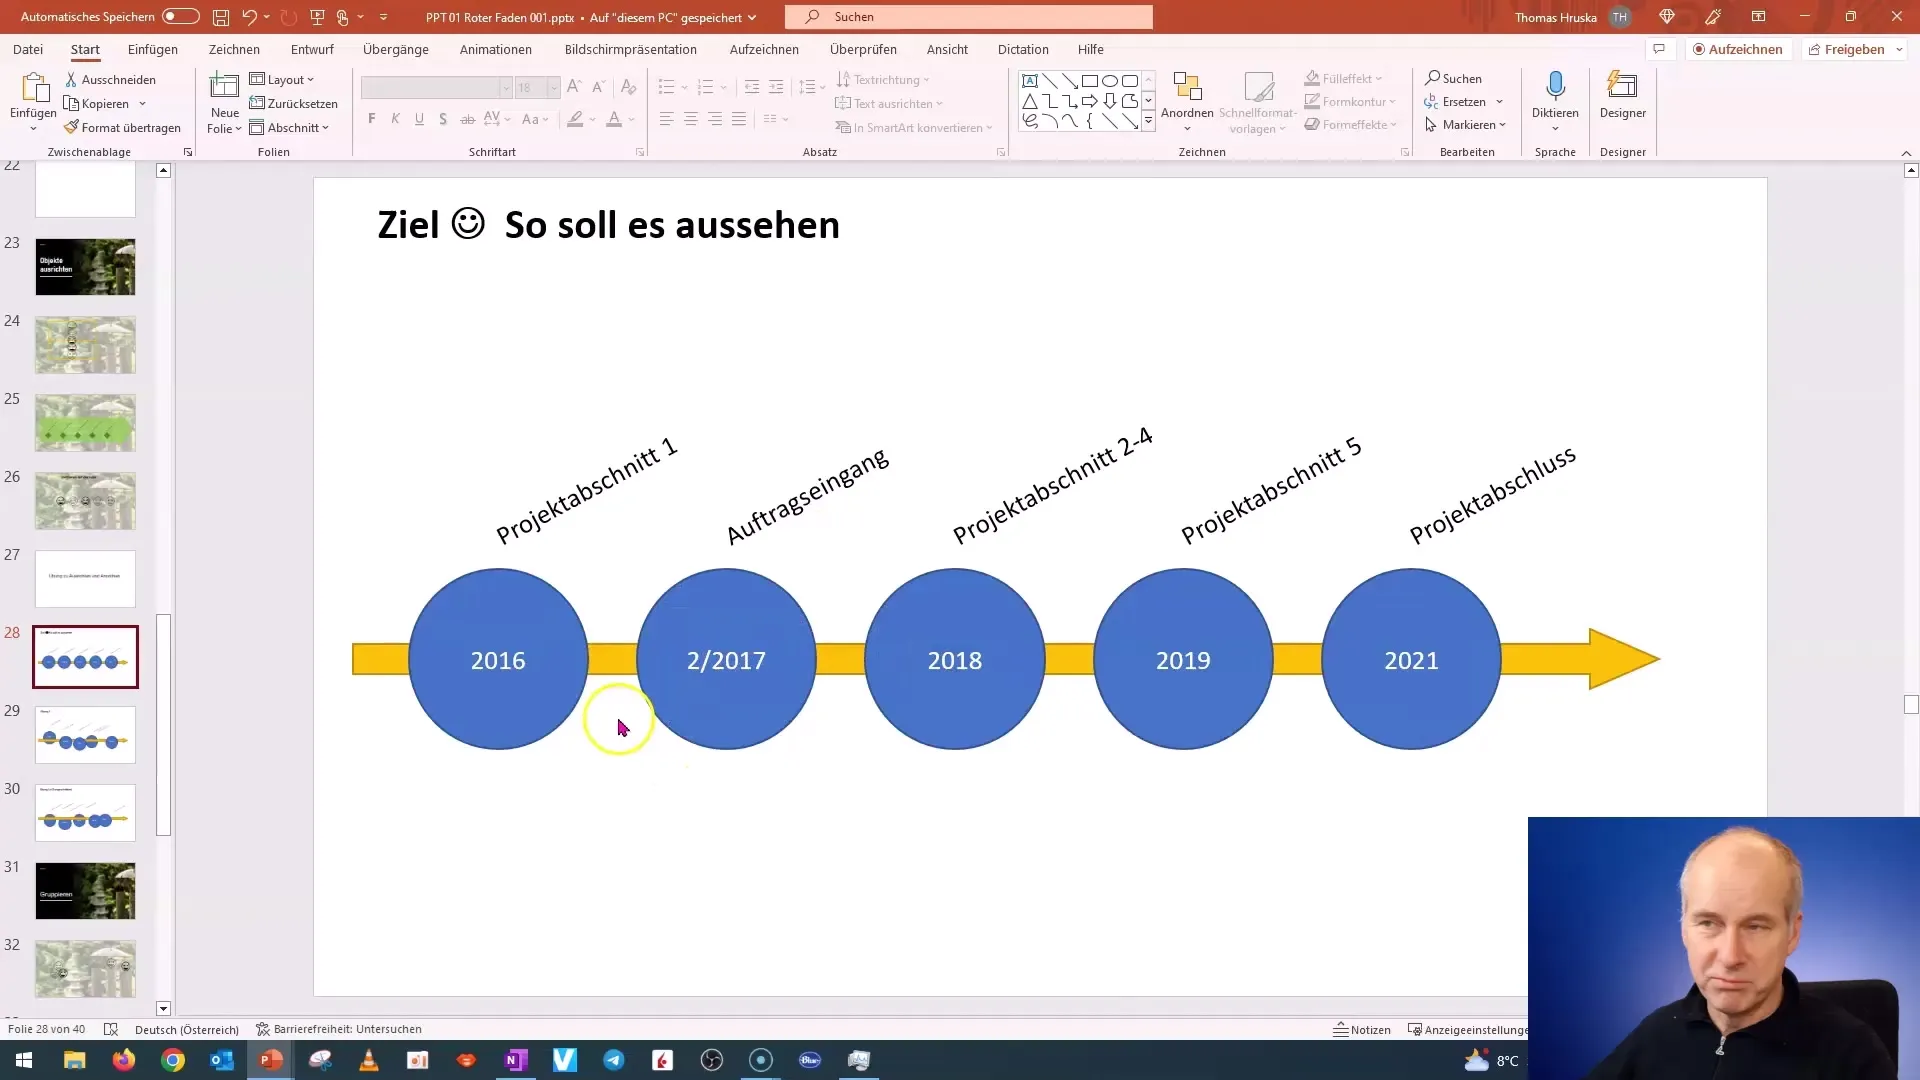
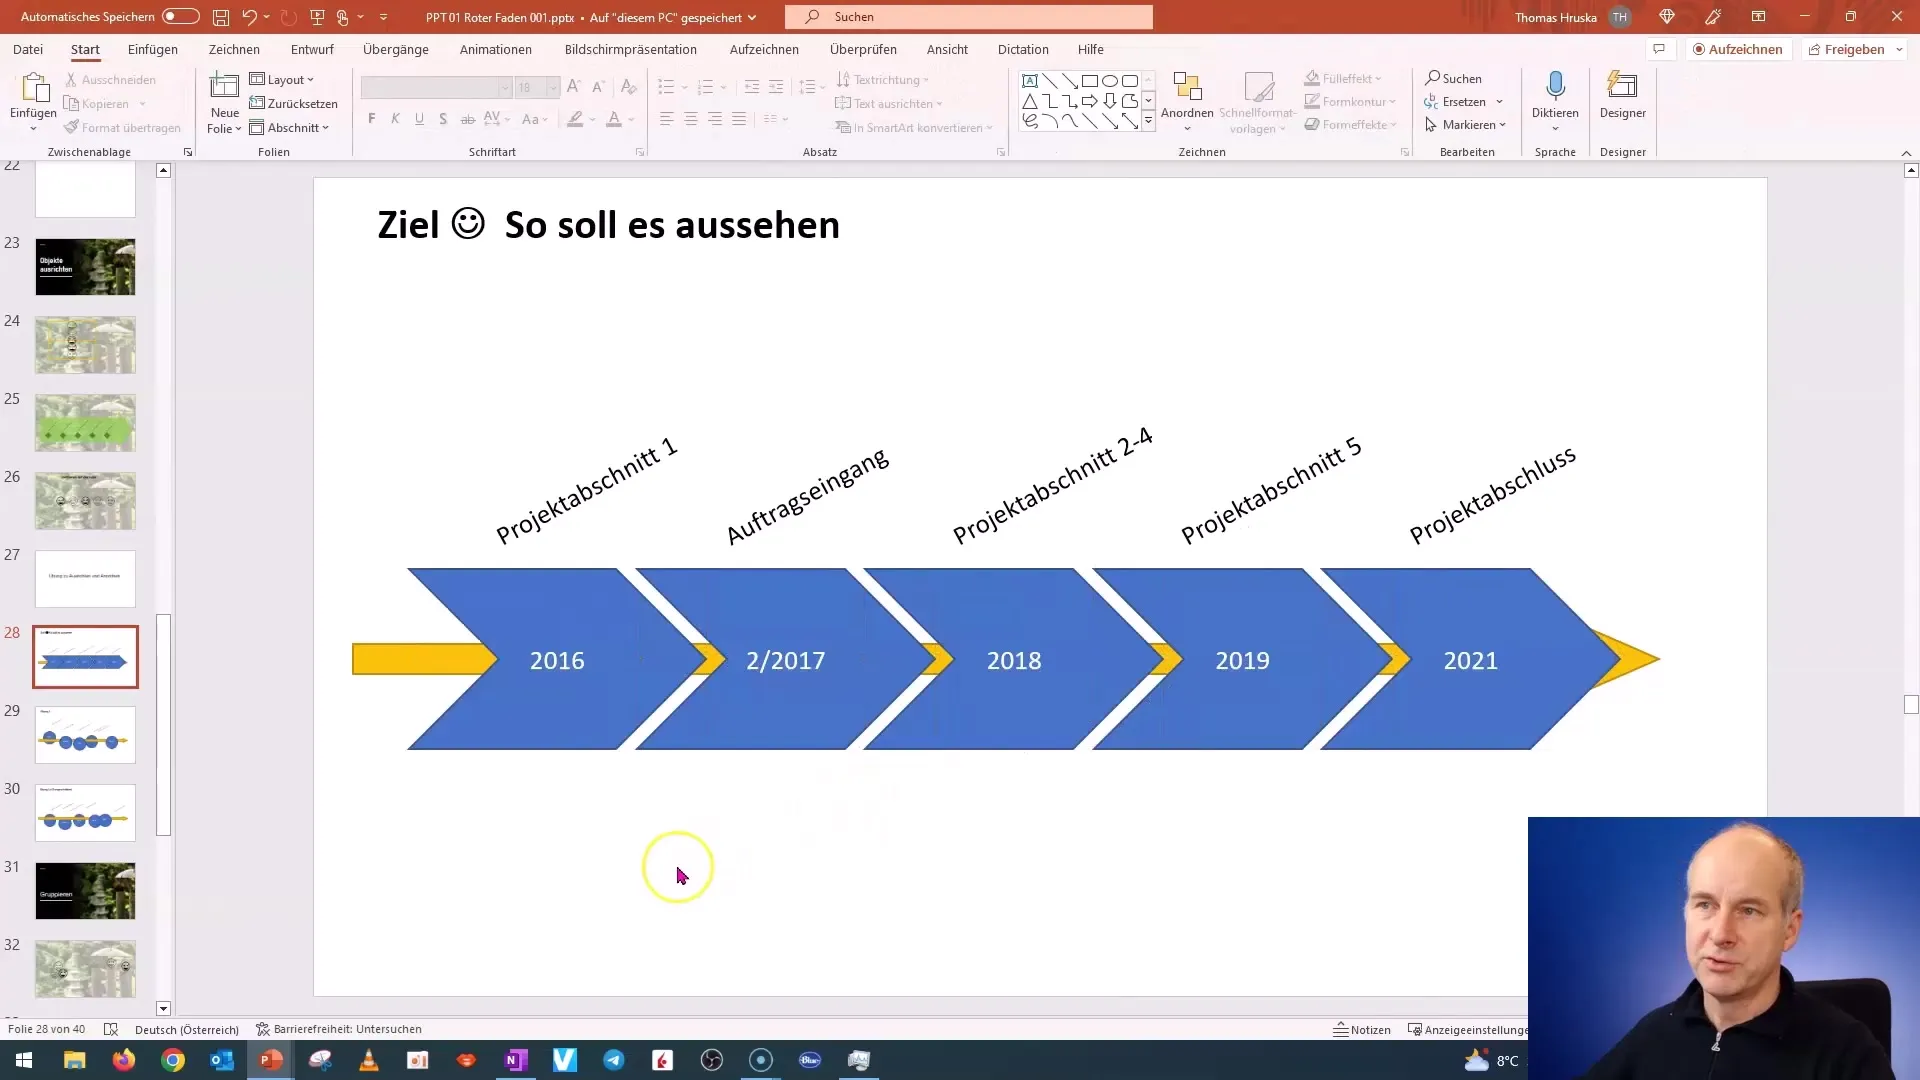
Would you like to present your objects in informative boxes? You can do this easily without creating new boxes. Select all objects, click on "Format," and then "Change Shape." This allows you to transform your objects into different shapes, such as rounded rectangles commonly used in business presentations.
Step 8: Styling and Customizing
Now that you have transformed your objects into boxes, you can make further adjustments. Experiment with sizes and positions to create a harmonious layout. For example, you can elongate the objects or arrange them in a flowing order.
Step 9: Completion and Undo
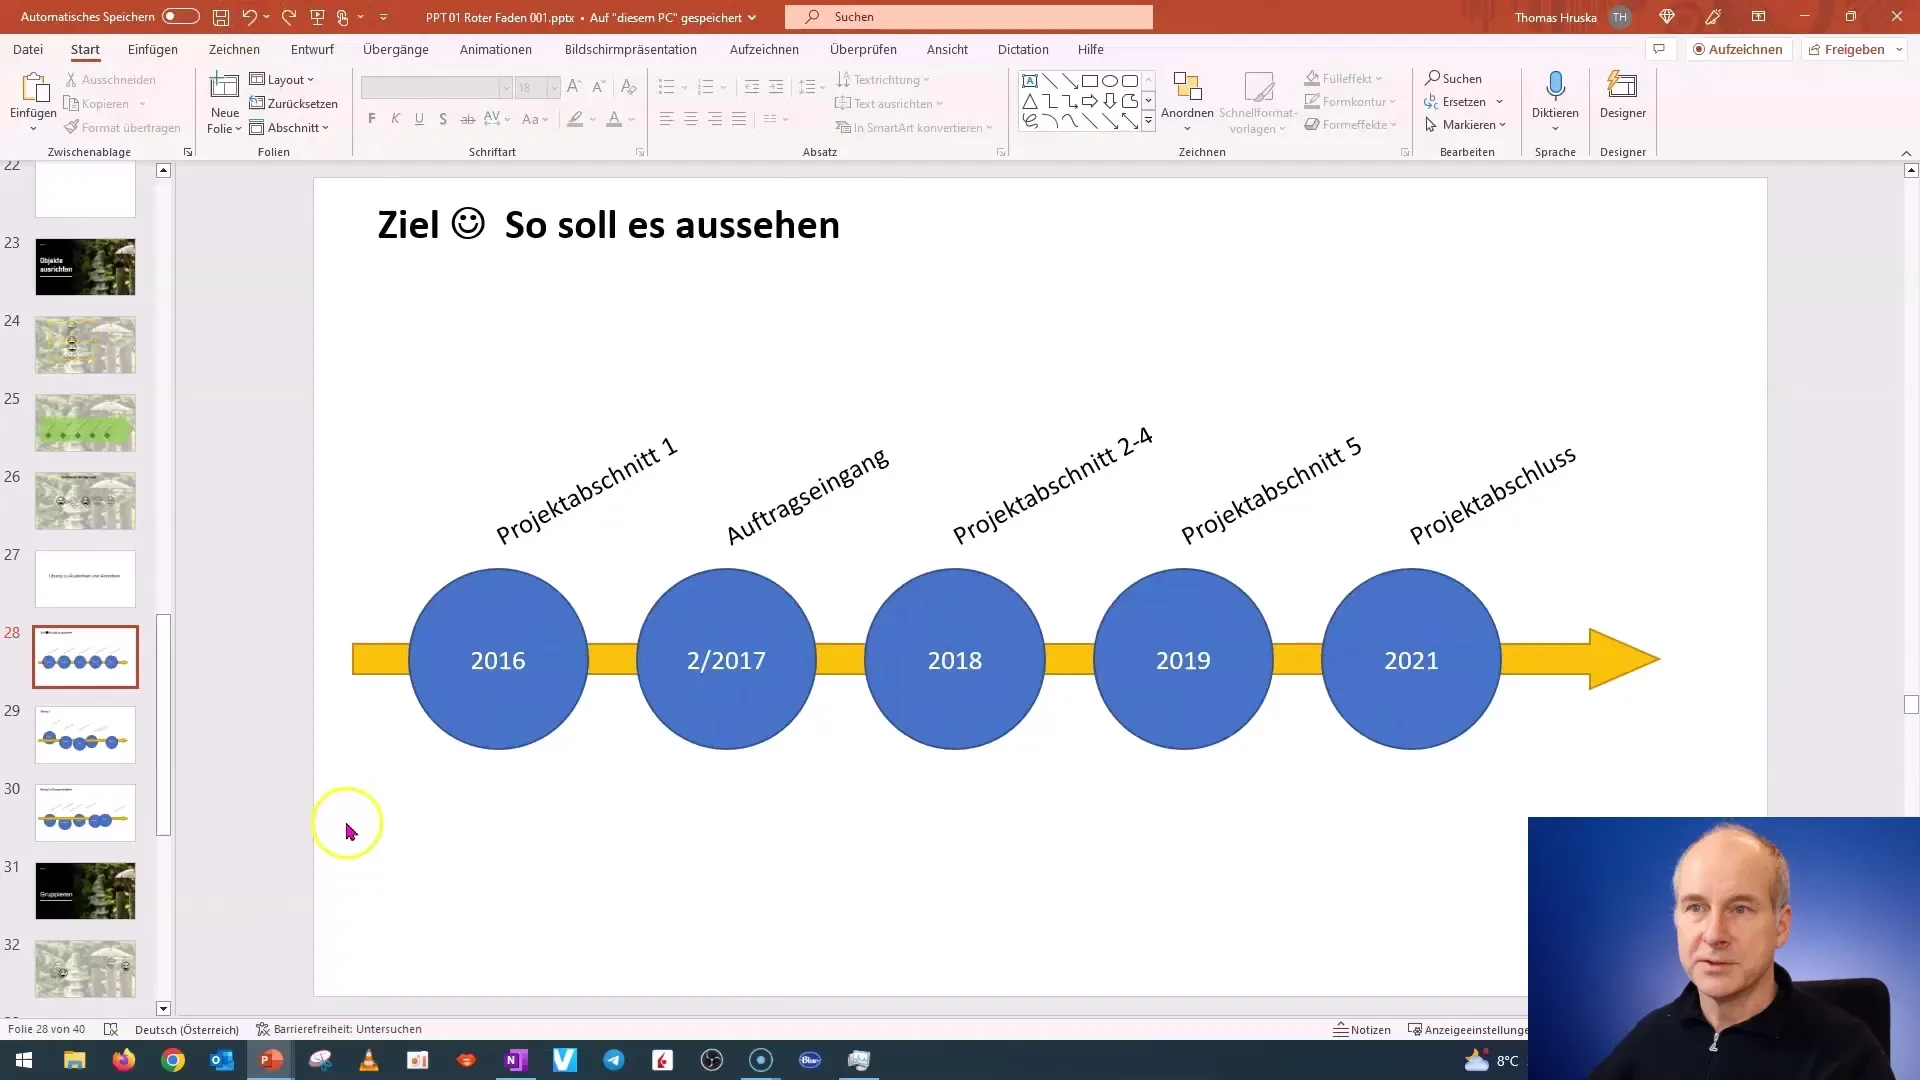
Before you finalize the project, remember to undo any unwanted changes. It is important to preserve the original layout settings for the exercise in case you need to access them again later.
Summary
In this tutorial, you have learned how to quickly and efficiently align and arrange objects in PowerPoint. You are now able to make your presentations clearer and more appealing. Practice the techniques regularly to further enhance your skills!
Frequently Asked Questions
How can I select multiple objects at once?You can select multiple objects by dragging a selection frame around all desired objects.
What do I do if the font is not changing?Make sure all text boxes you want to select are the same size. Otherwise, PowerPoint cannot select them together.
How can I convert my objects into boxes?Select all objects, go to "Format", then "Change Shape". There you can adjust the shape of the objects.


