In this tutorial, I will show you how to masterfully use textboxes in PowerPoint. You will learn how to set the language for spell checking, change the size and shape of textboxes, and make various formatting adjustments. Additionally, I will provide you with tips on selecting the appropriate font to ensure that your message can be clear and easily understood. Let's get started!
Key Takeaways
- The language for spell checking in textboxes can be easily changed.
- Textboxes can be adjusted in size and shape to suit your design.
- When selecting fonts, readability is crucial to effectively convey the message.
Step-by-Step Guide
Setting Up Spell Checking
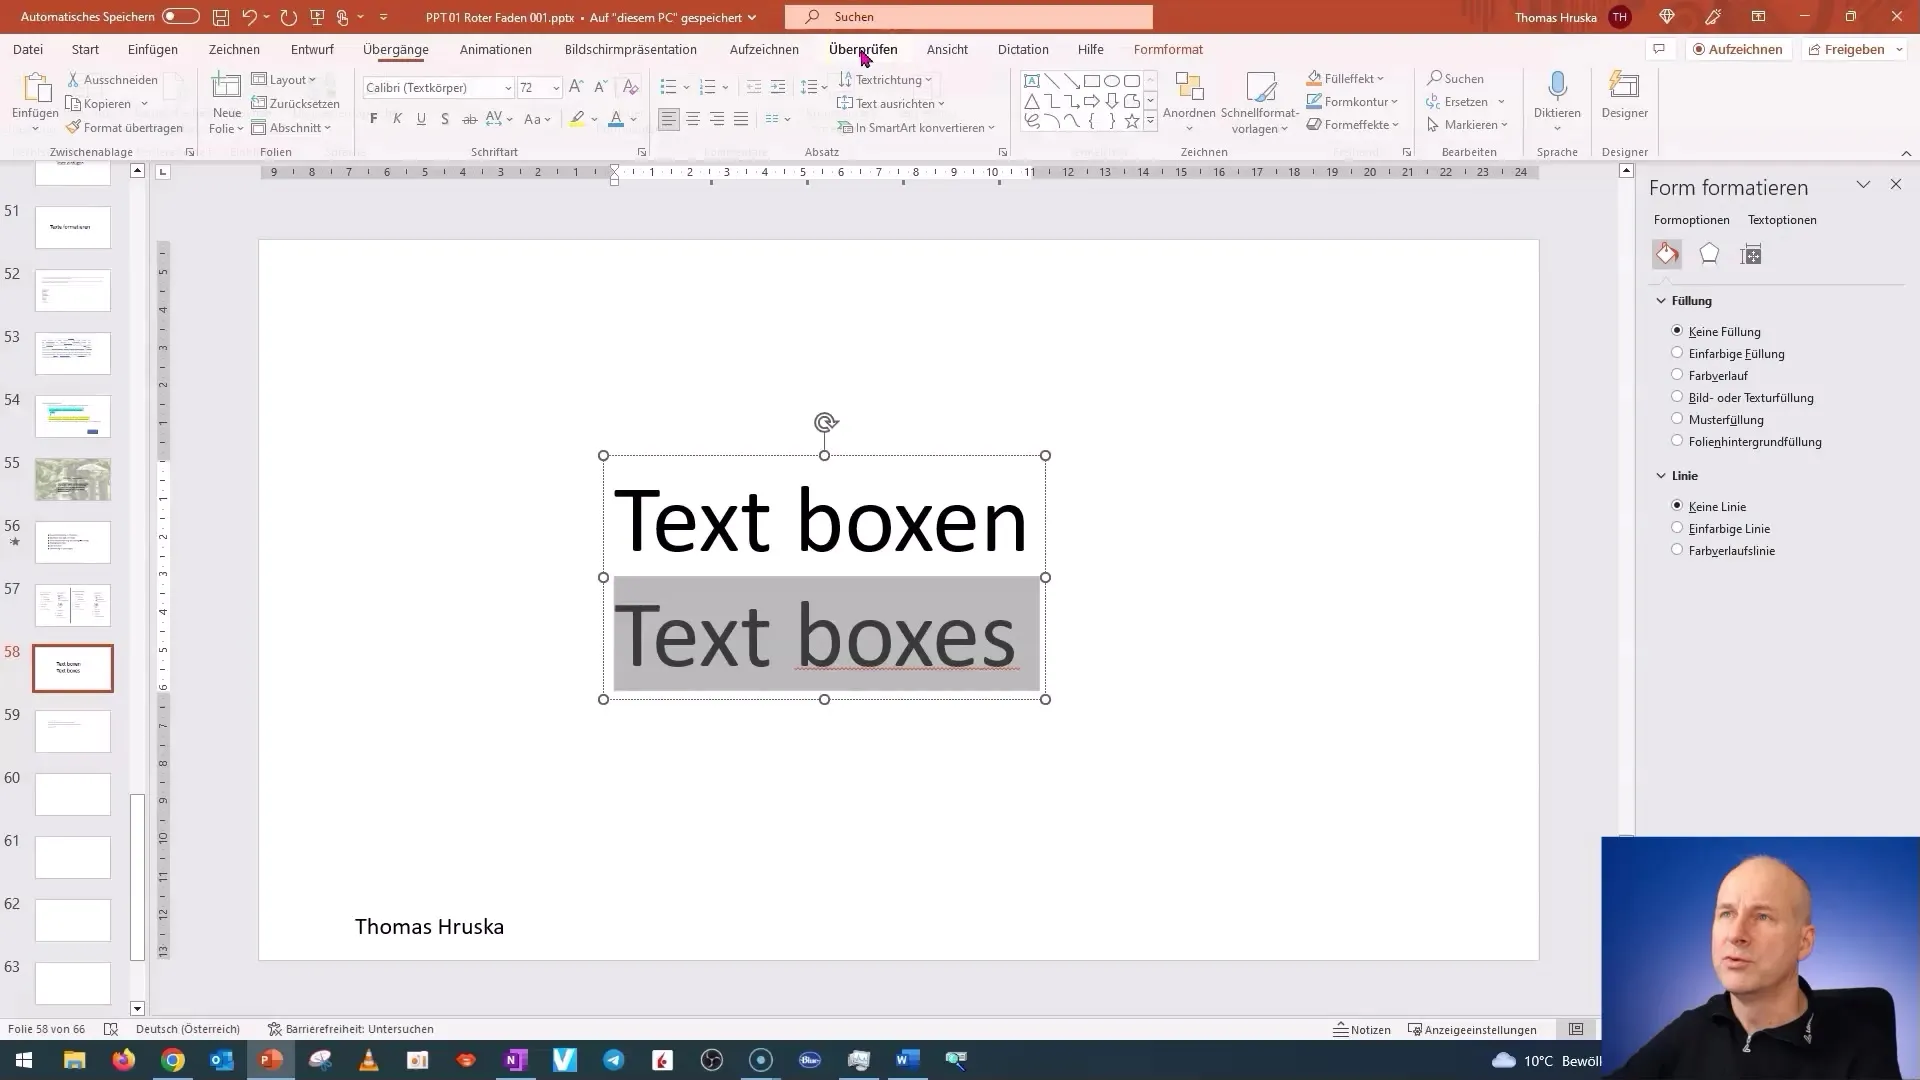
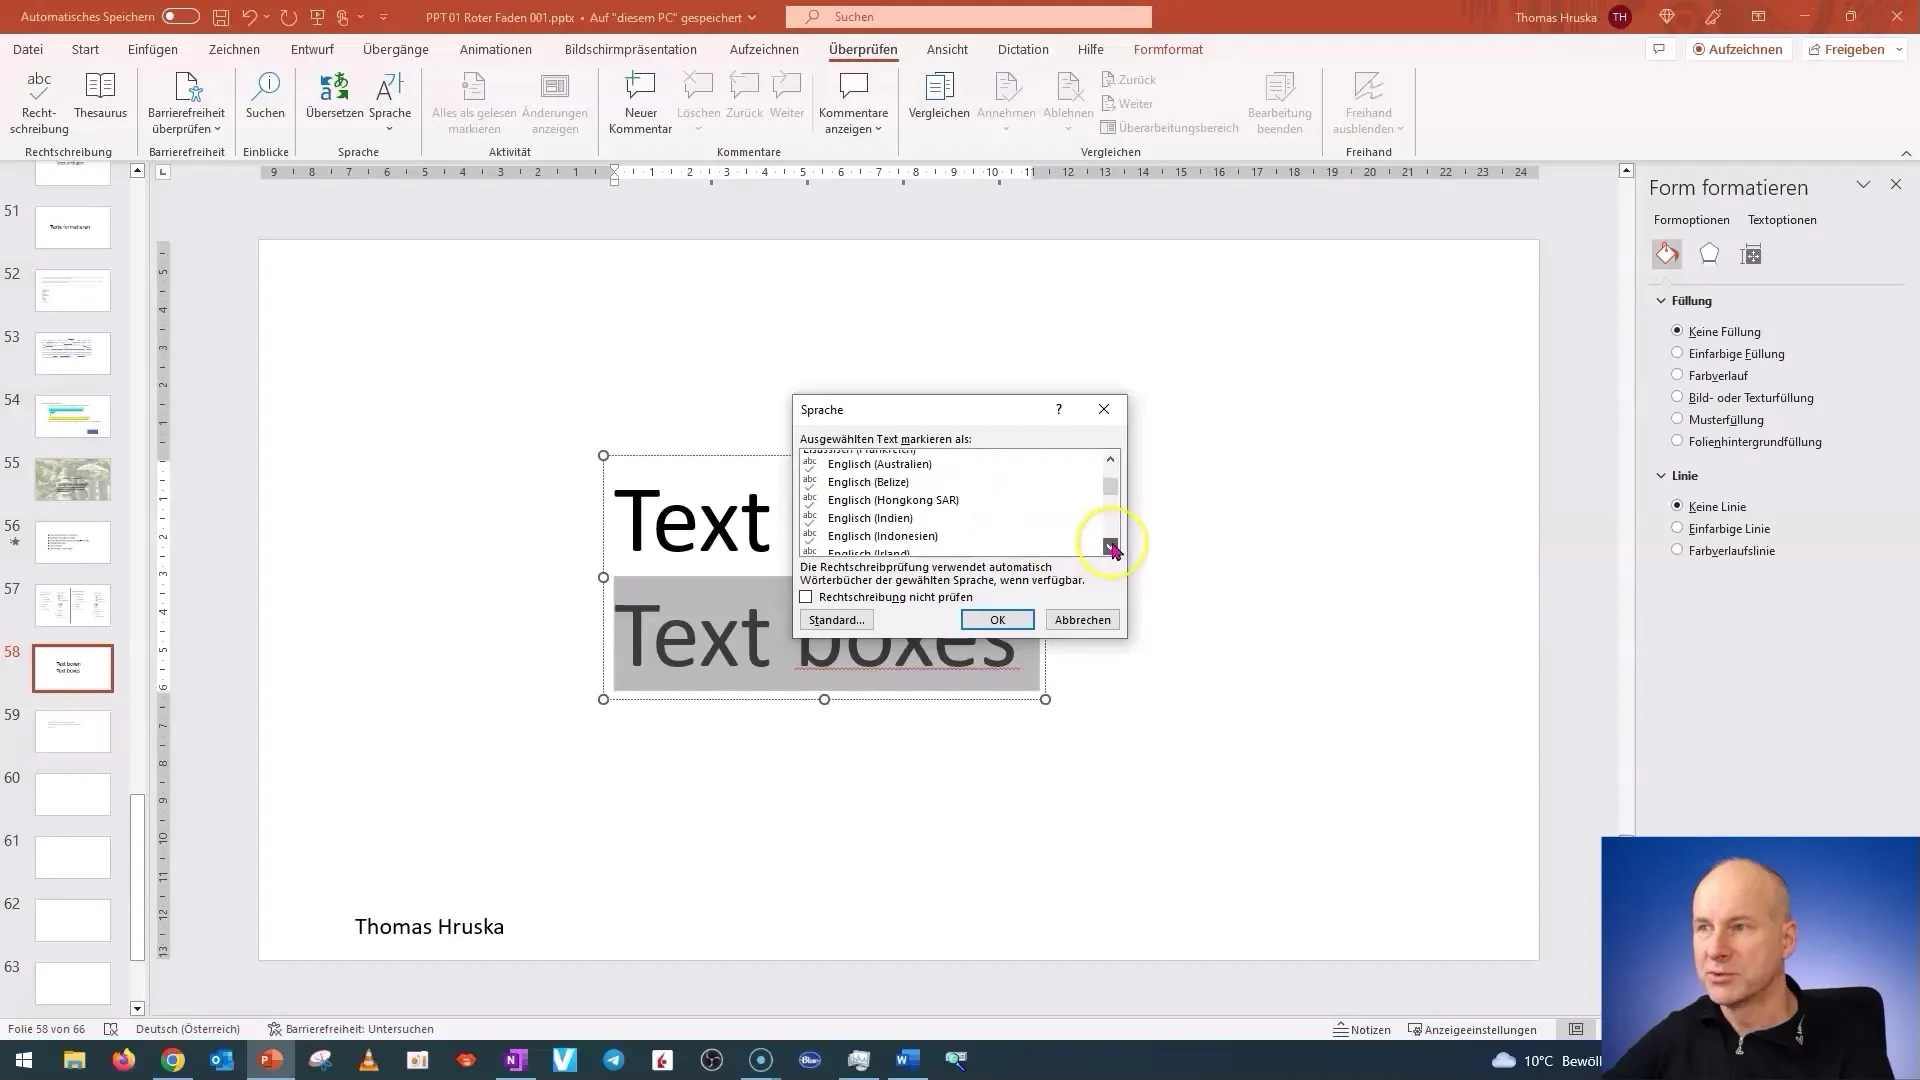
First, we will set up spell checking for your textboxes. To do this, highlight the text in the textbox. Then, go to the "Review" tab and click on "Language". Here you can set the language for correction.
If you want to change the language to English, scroll down in the dropdown menu and select the desired English option.
Now you know that the English spelling of your text is correct, and the red squiggles indicating errors will disappear.
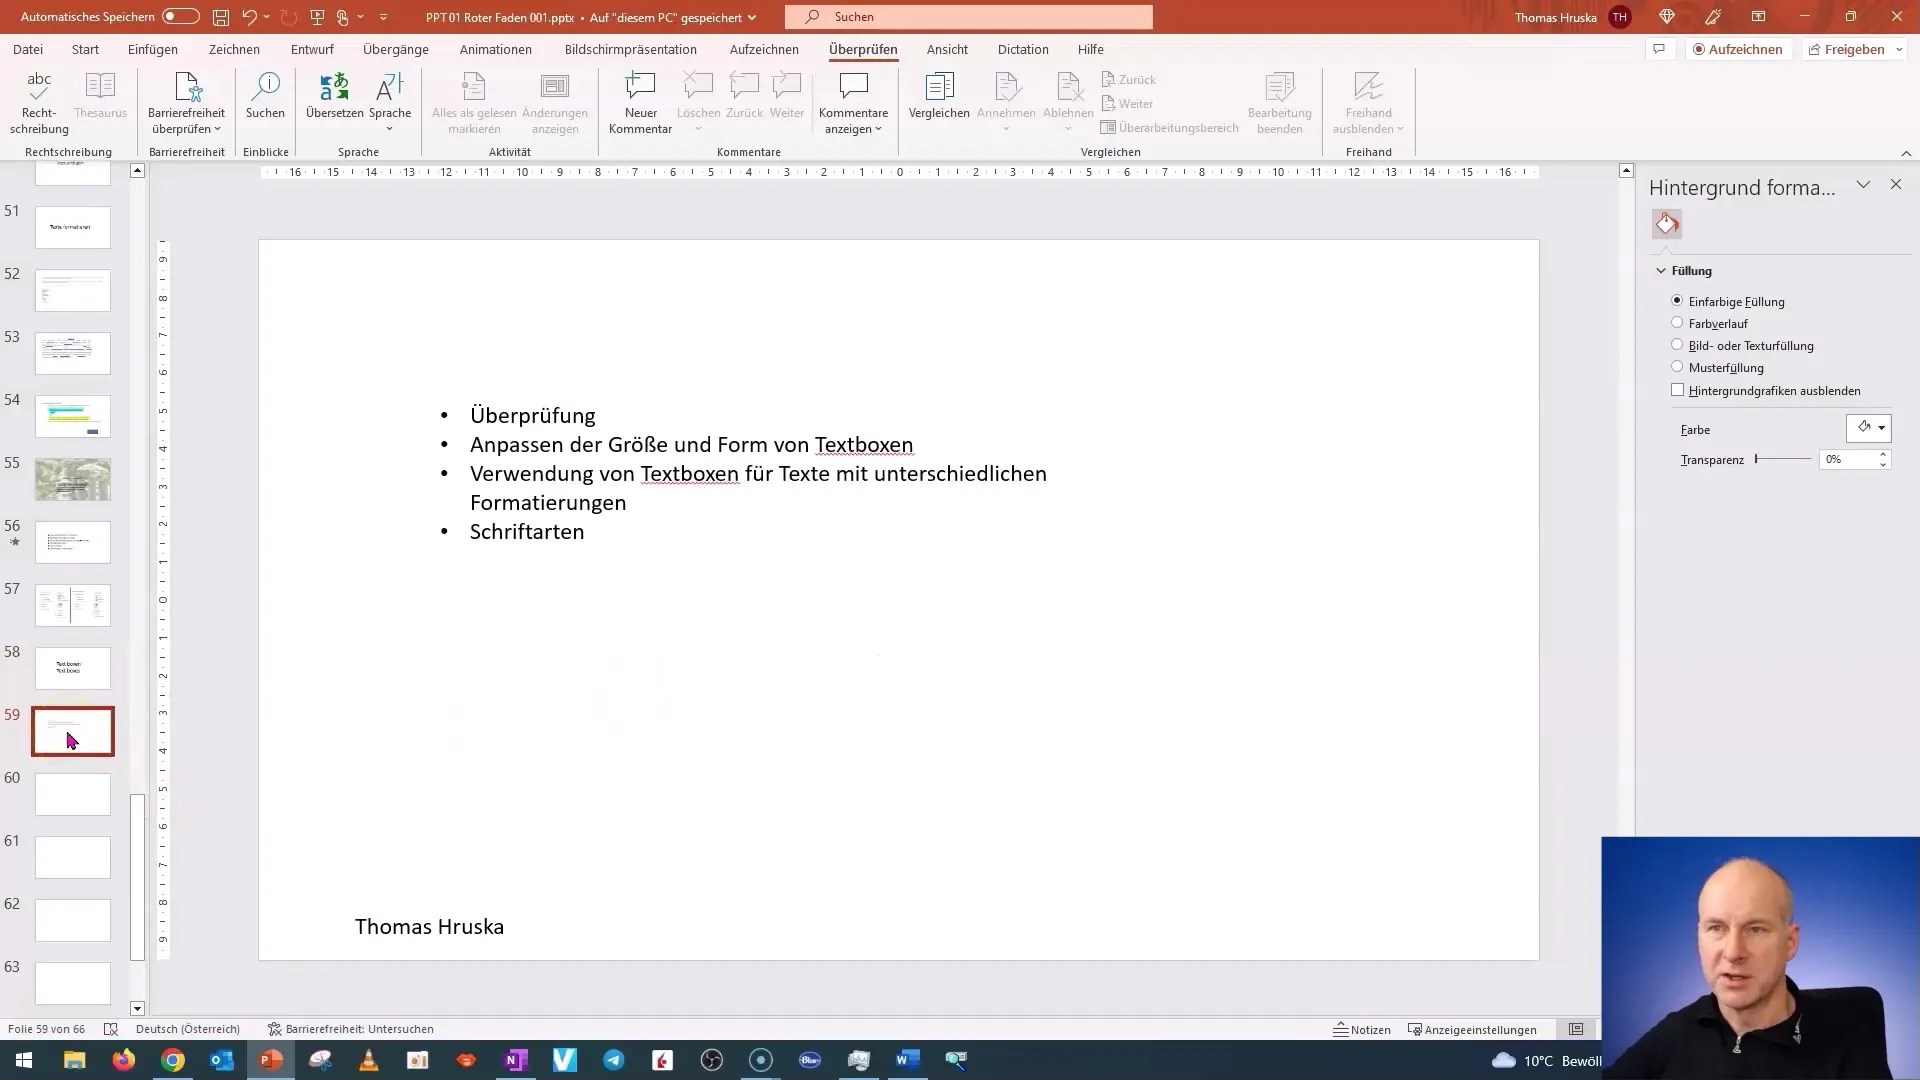
Adjusting the Size and Shape of Textboxes
After setting the language for spell checking, we will look at how you can change the size and shape of your textboxes. Insert a new textbox and enter the desired text. Then, go to the formatting area.
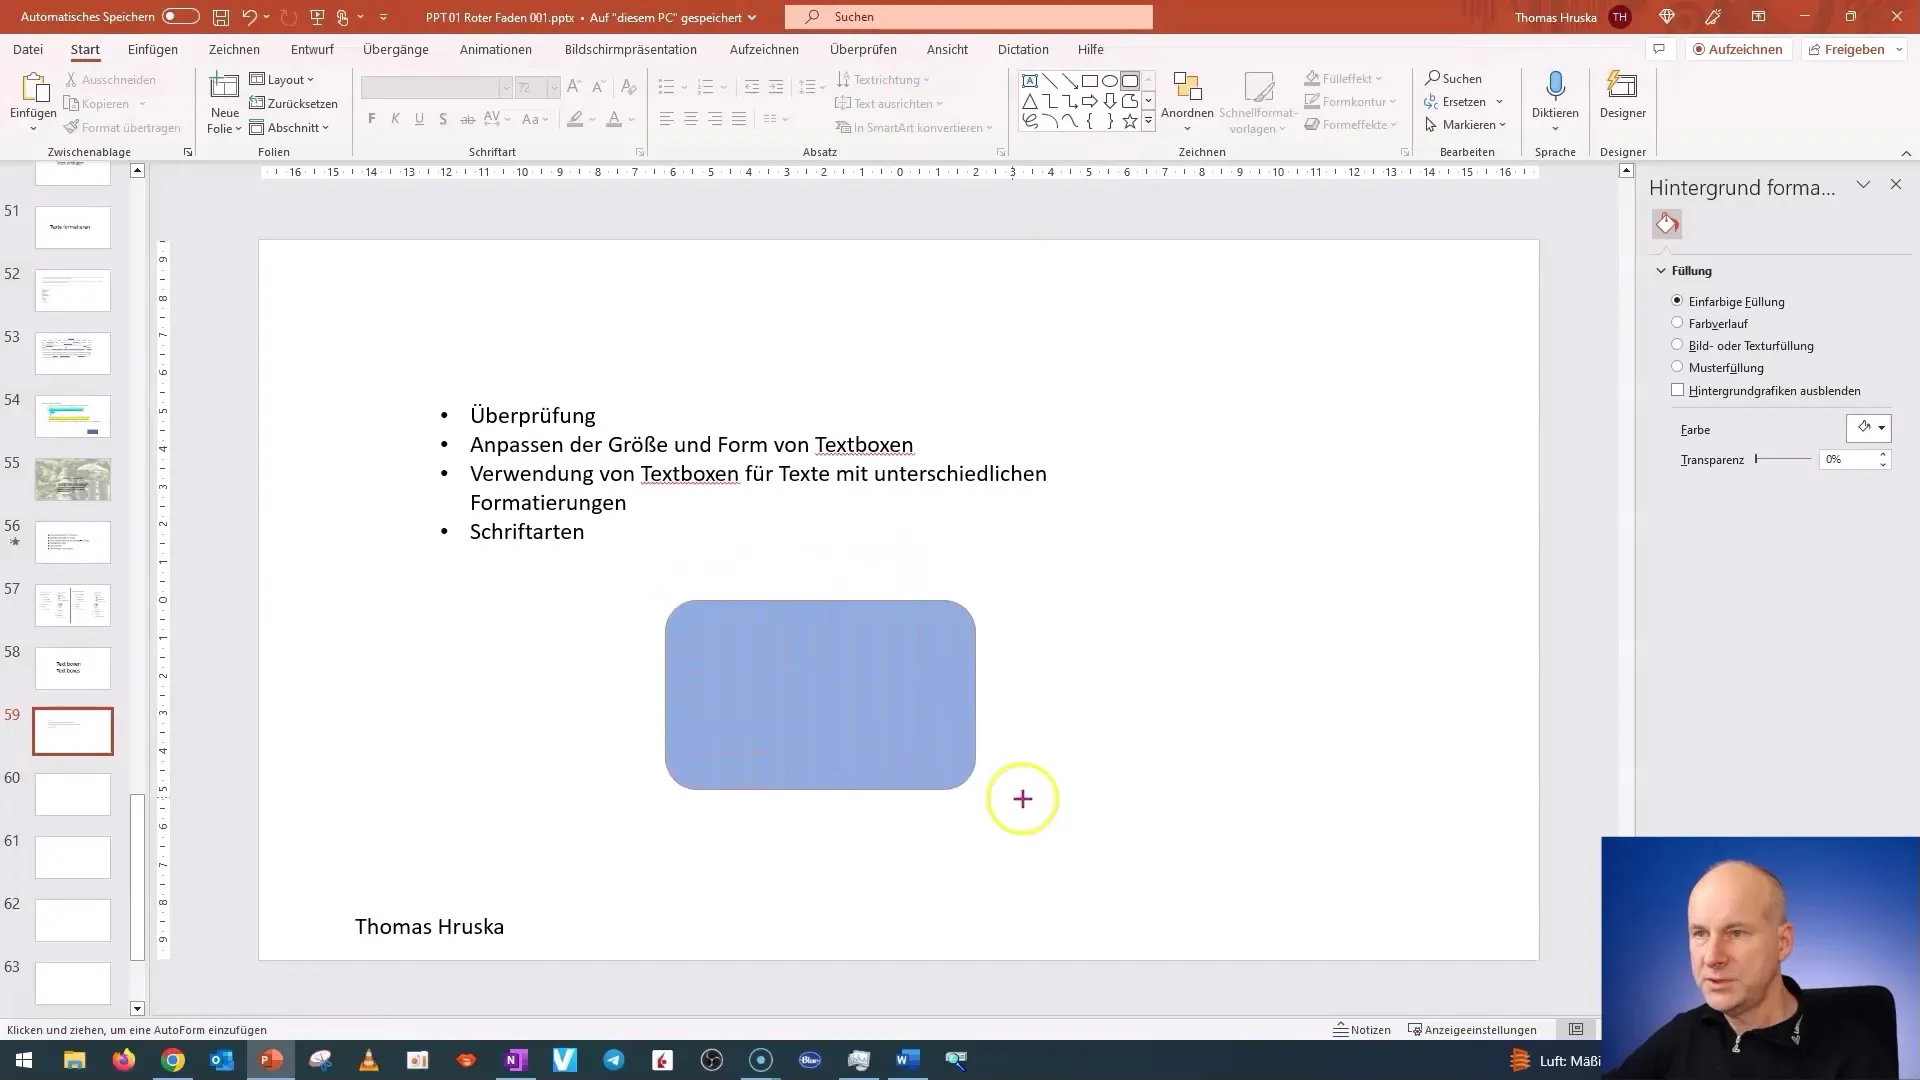
Here you can adjust the textbox by choosing the alignment. You can position the text center, top, or bottom in the textbox.
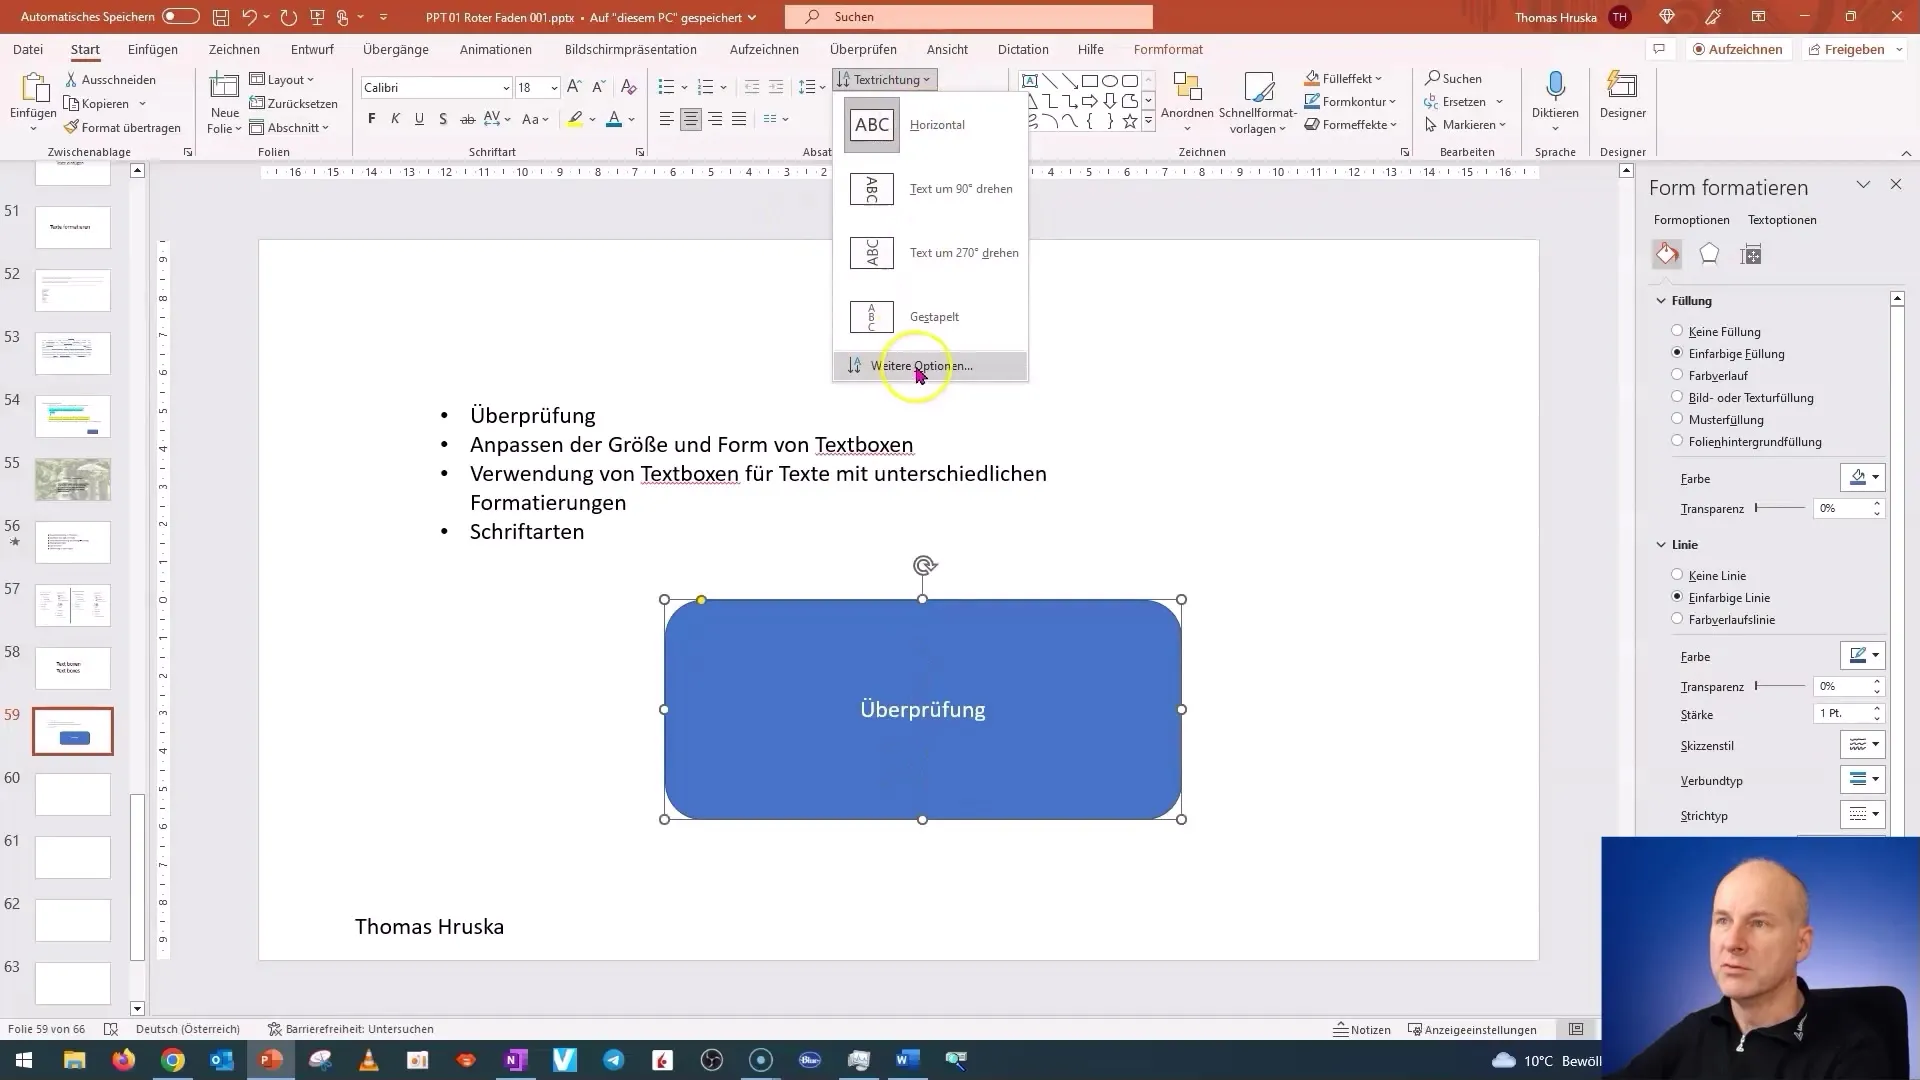
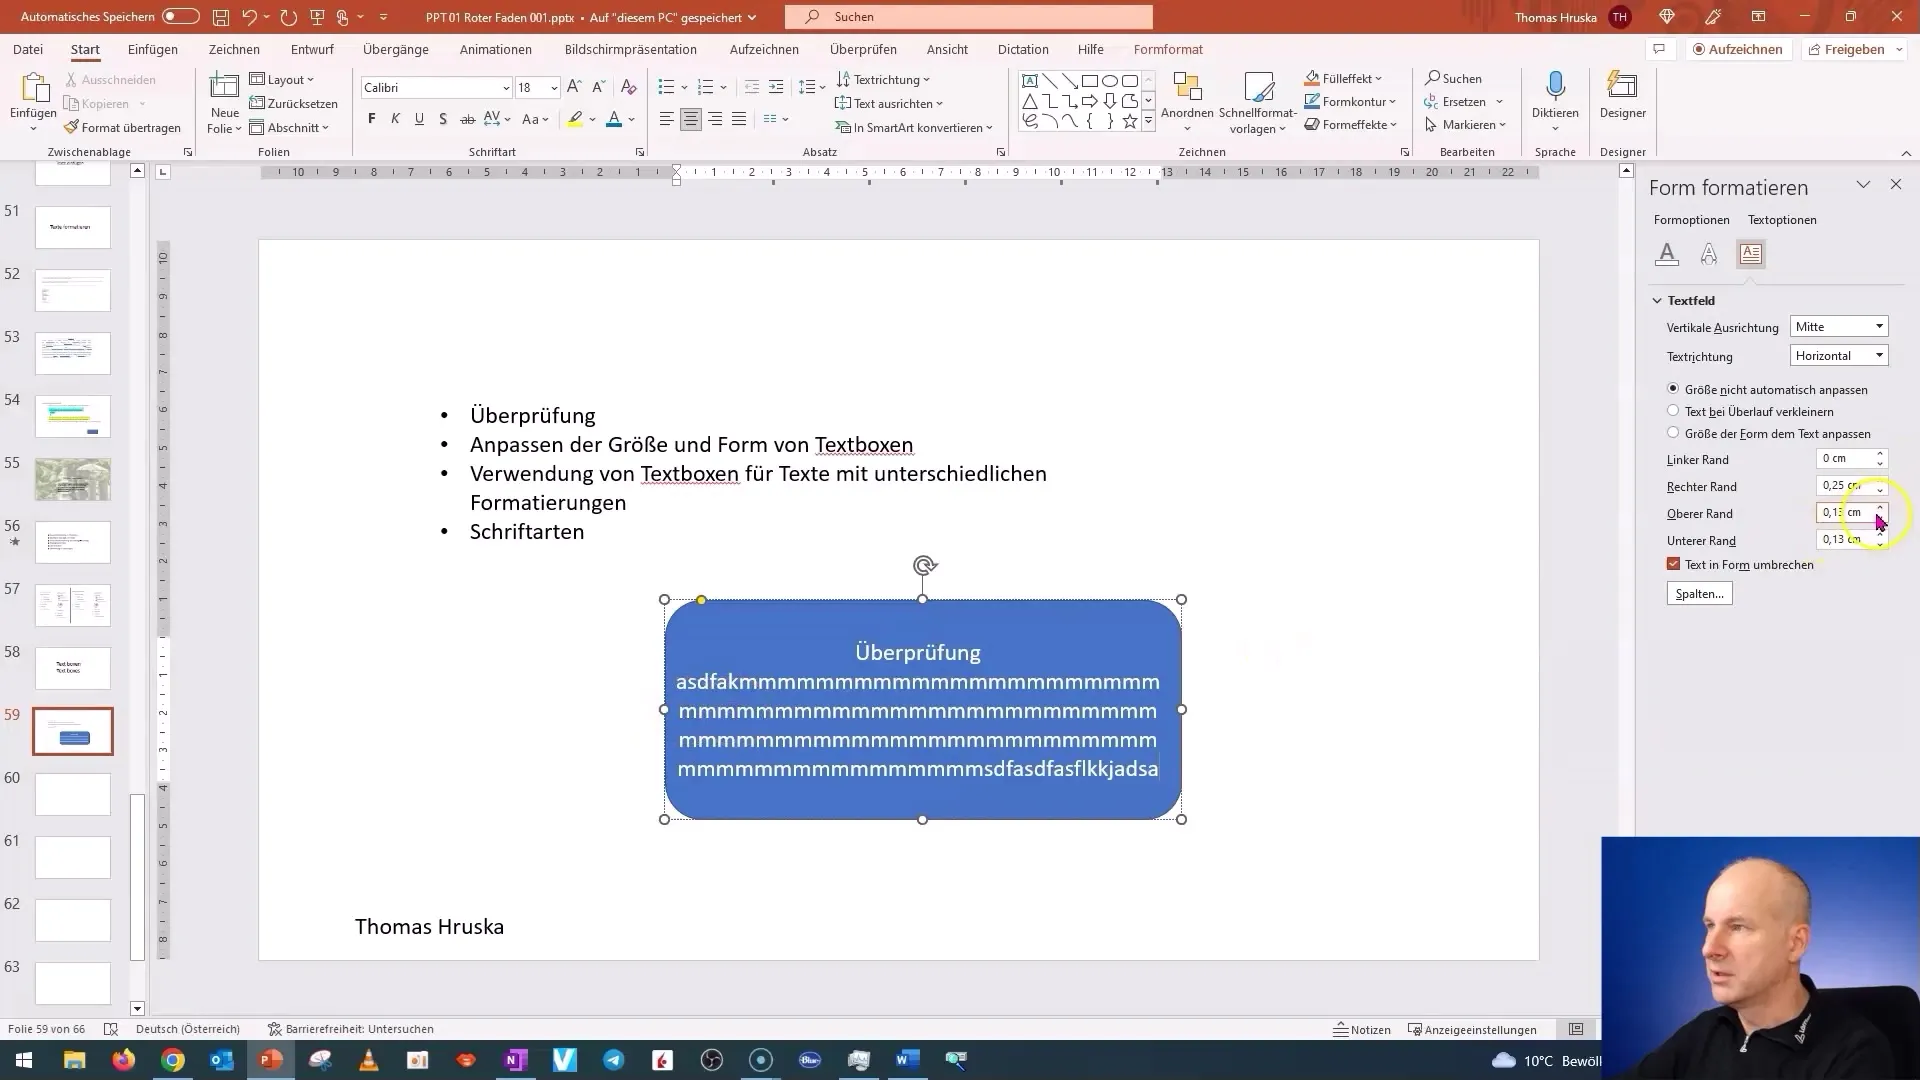
Another important feature is the ability to change the margin. This is particularly important if you have a design later that should not waste too much space at the edge.
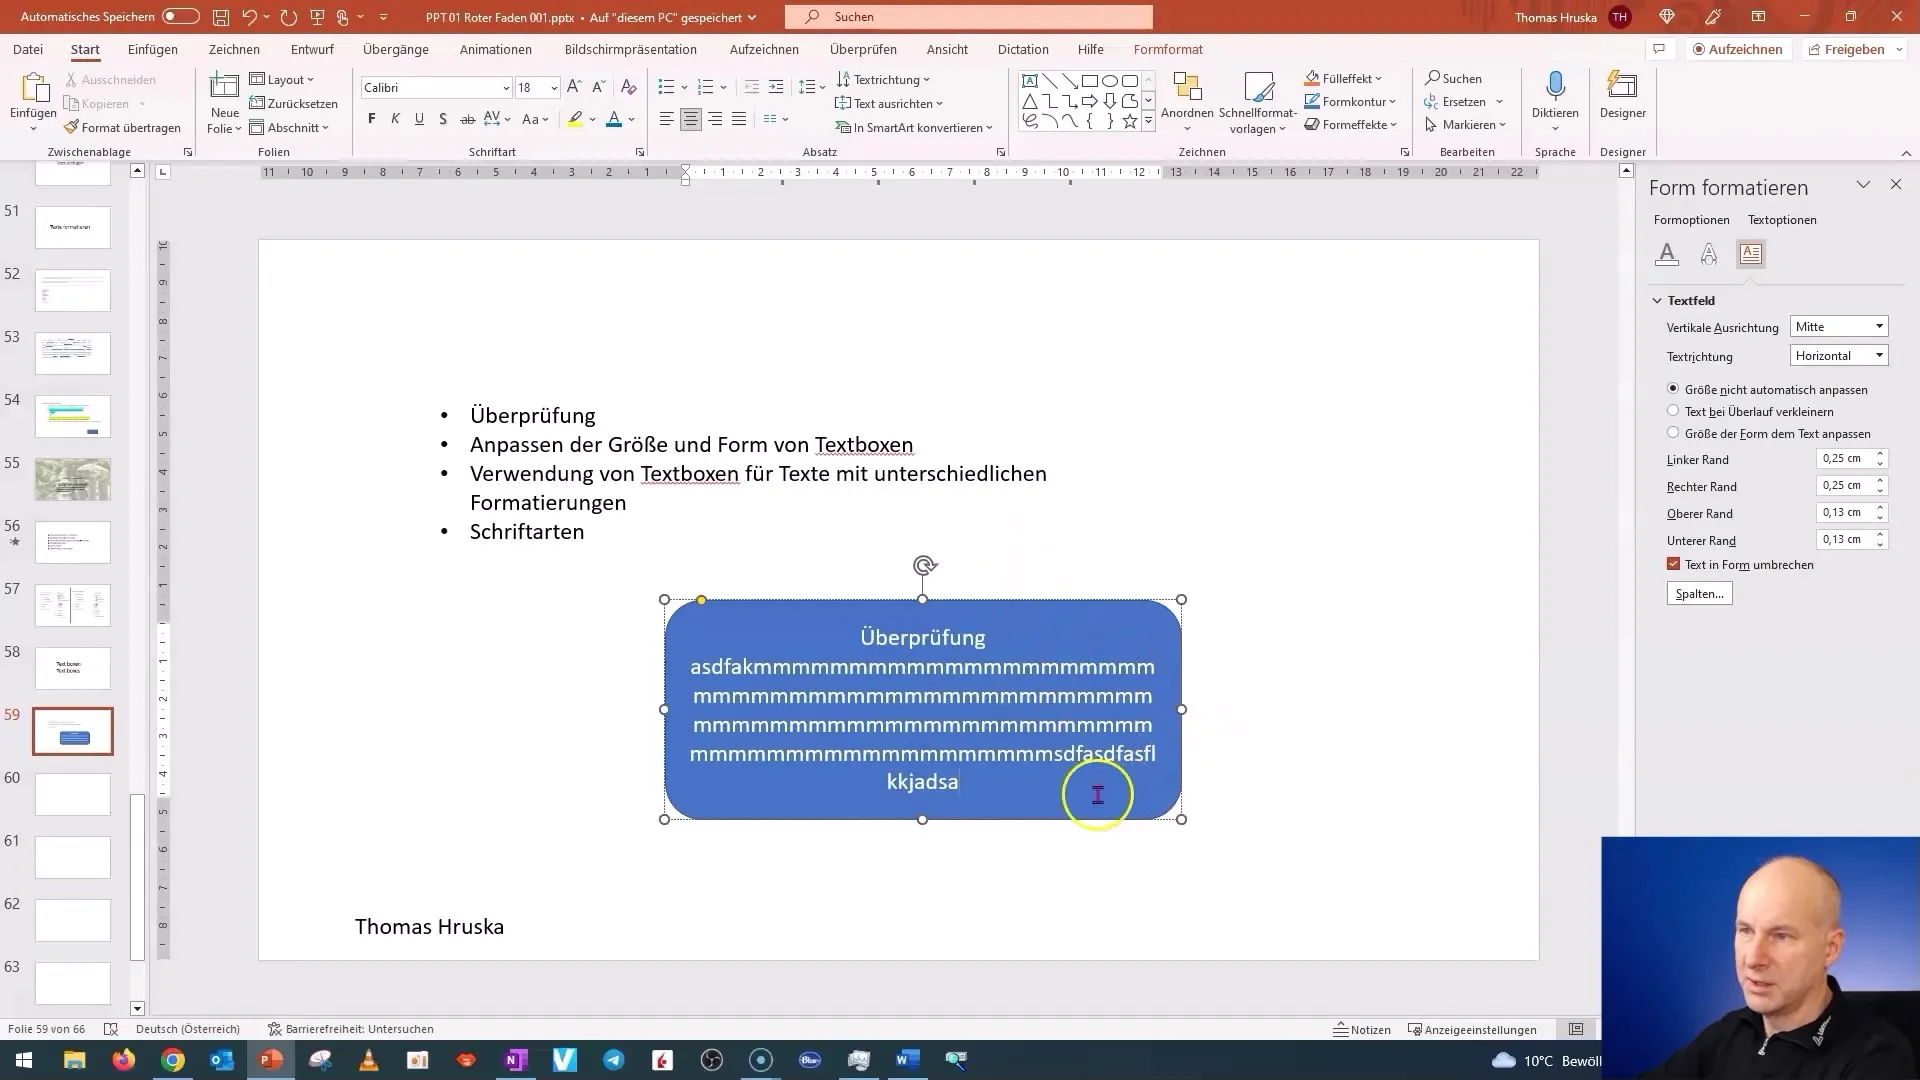
To bring the text closer to the edge, you can use the arrow keys to adjust the position incrementally.
Changing the Shape of a Textbox
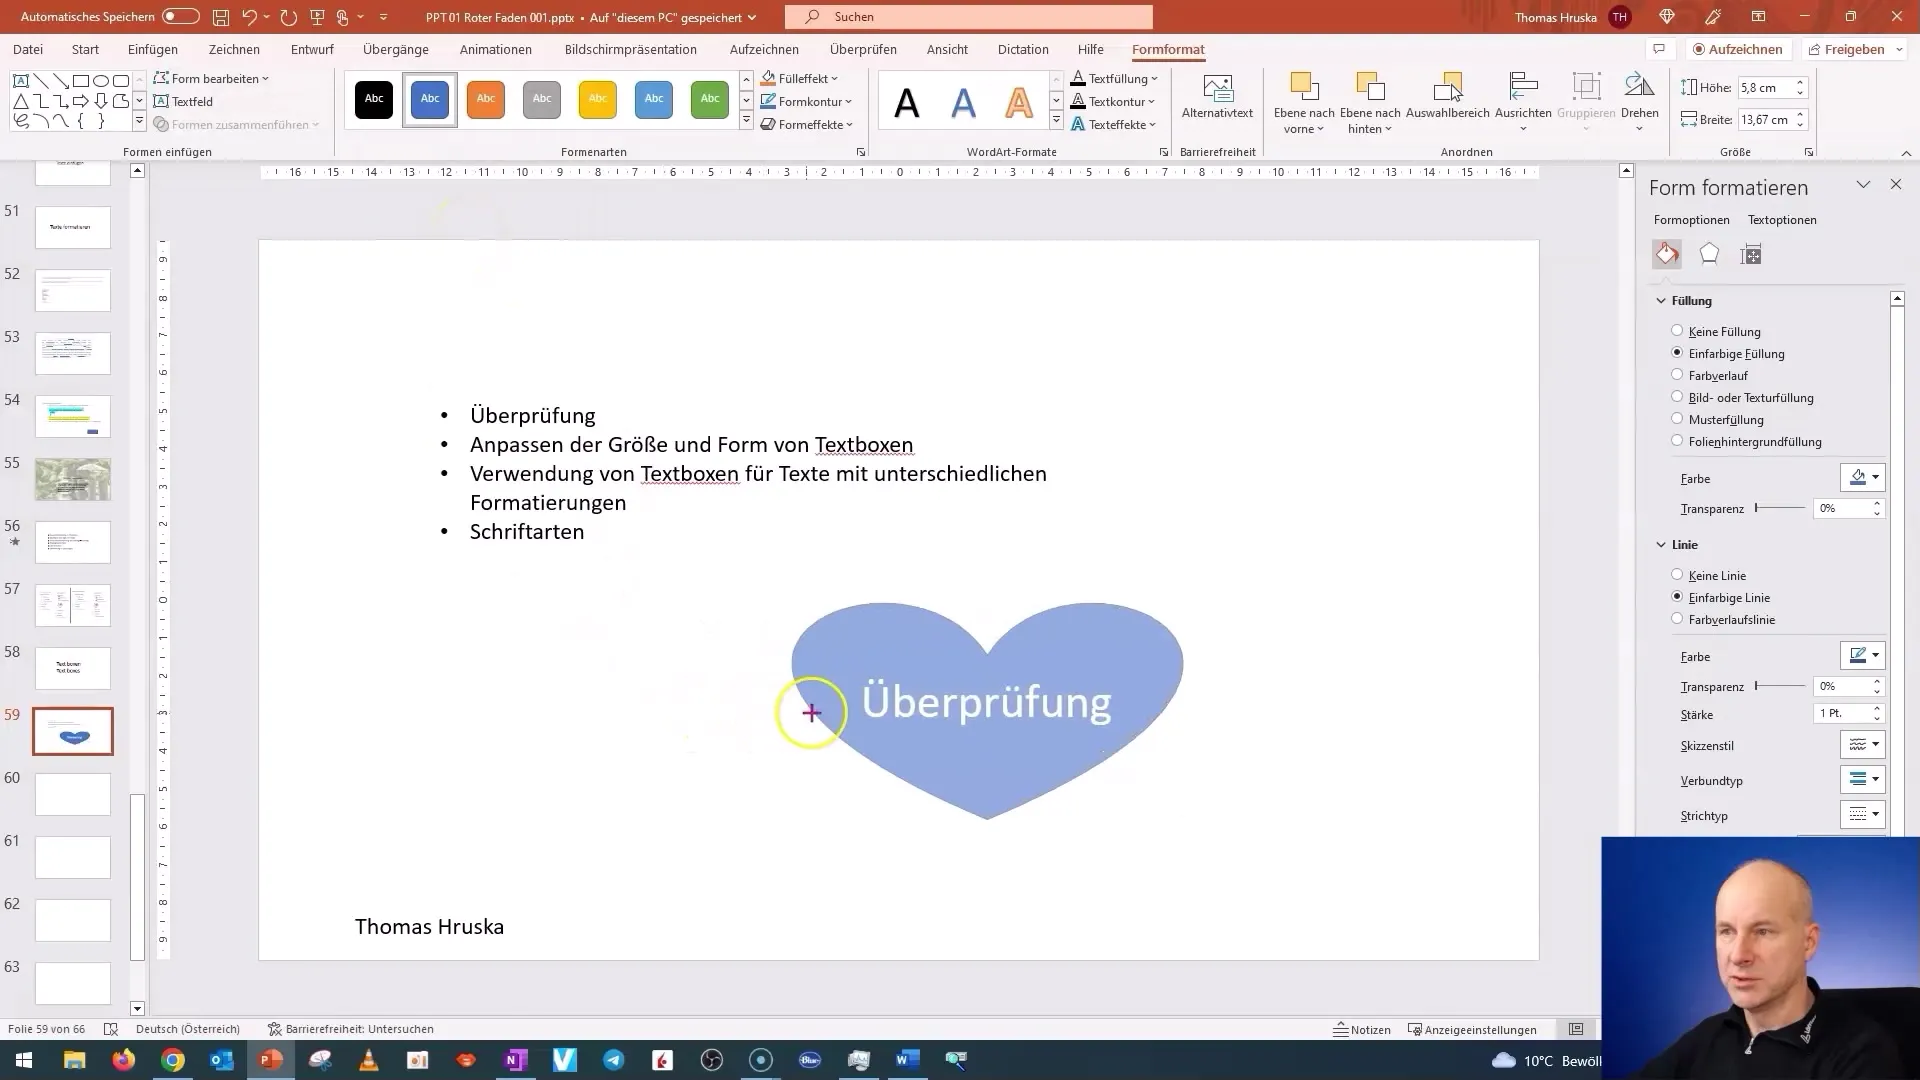
An interesting aspect to change is the shape of the textbox itself. If you have a textbox and the shape is not optimal, you do not have to delete it. You can easily change the shape by going to the "Shape Format" tab and selecting "Edit Shape".
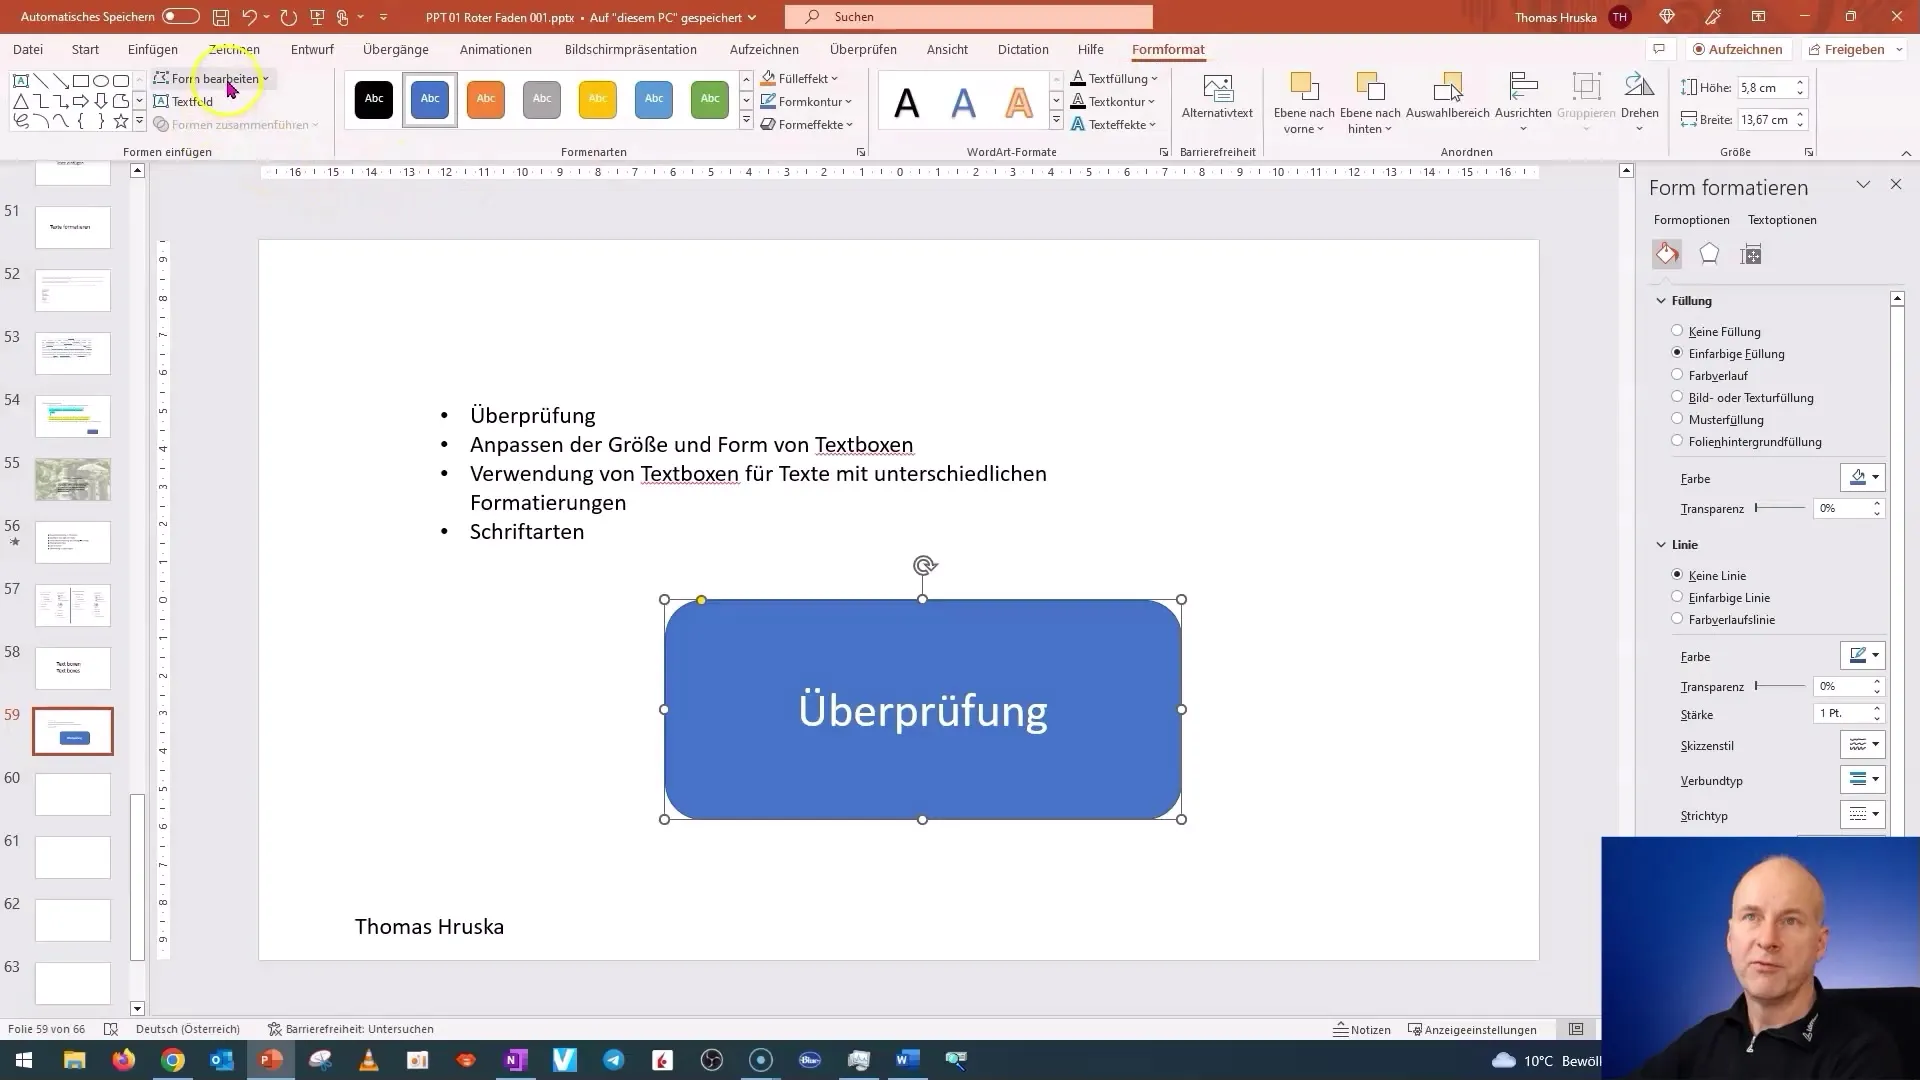
Here you have all the shapes available that you can use for your textbox. For example, choose a circle or a heart to liven up your presentation.
Selecting Fonts
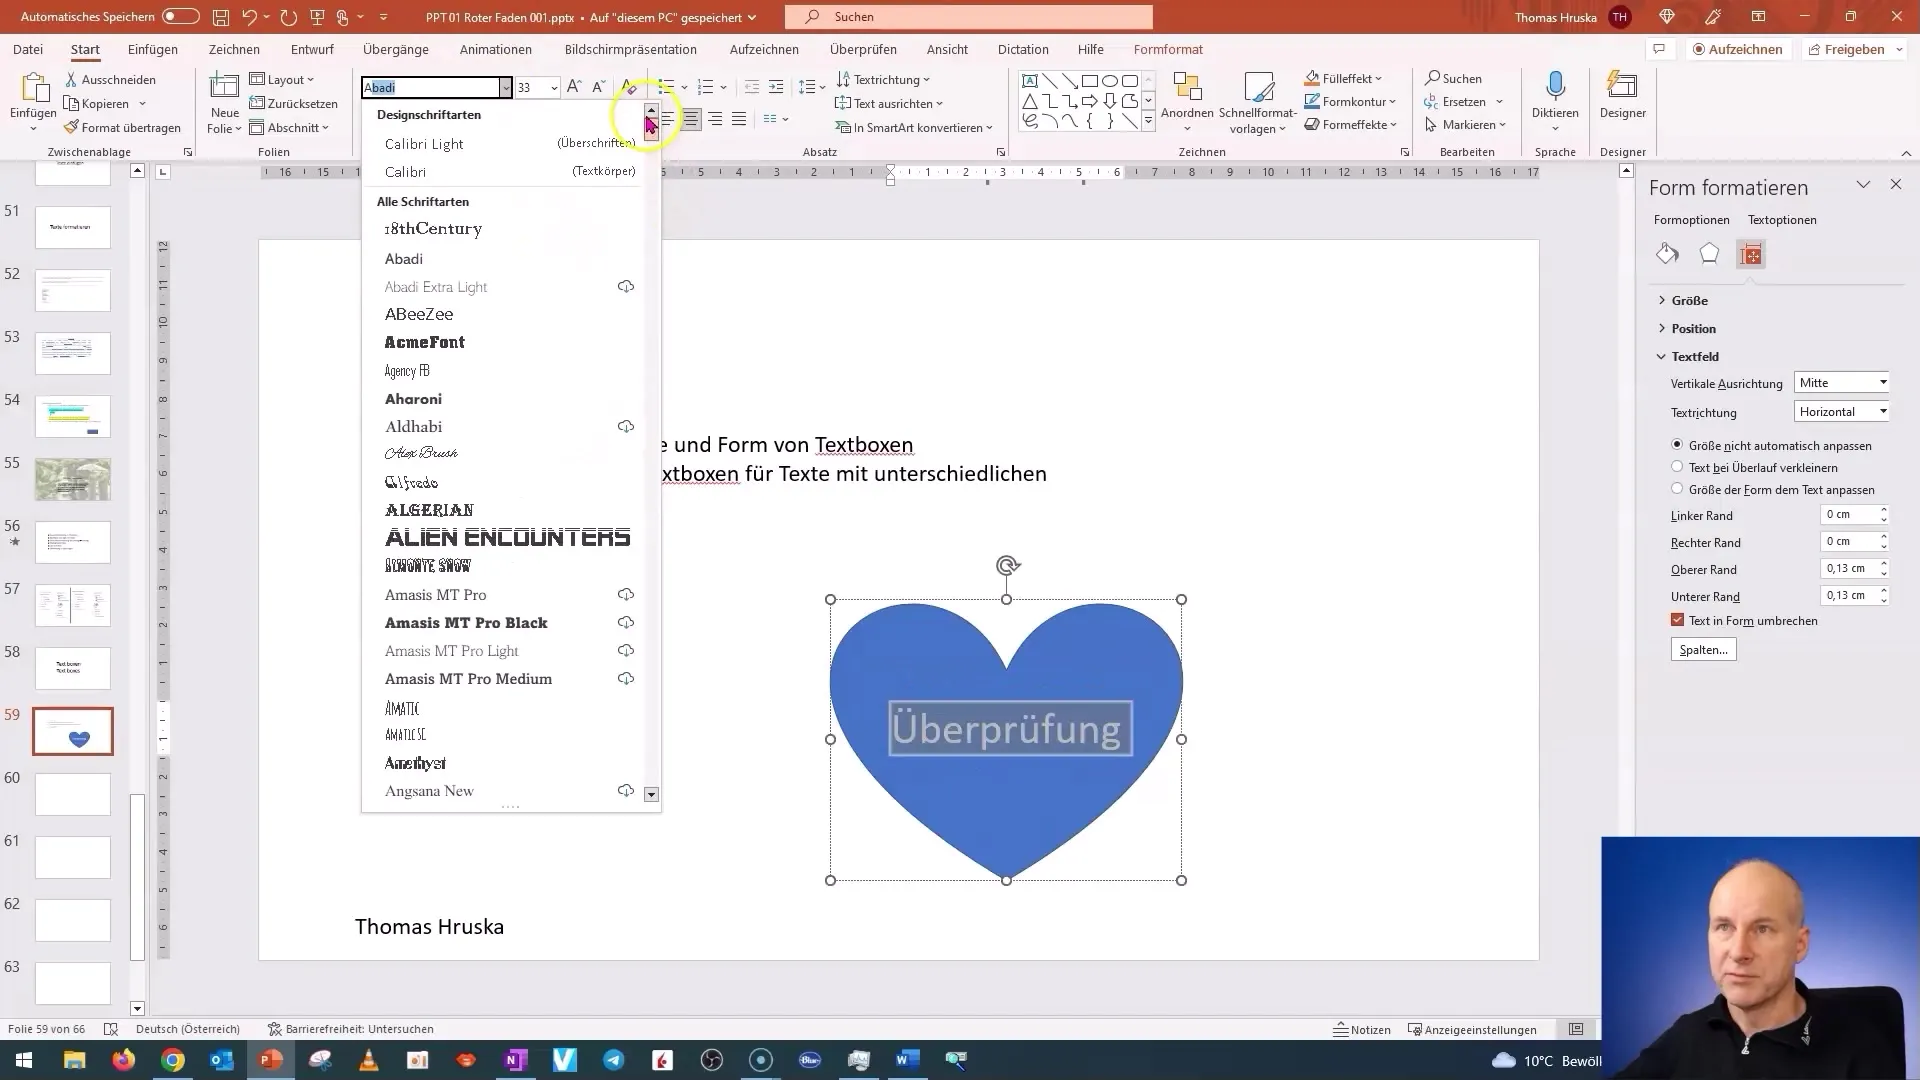
Another crucial point is selecting the appropriate fonts. I generally recommend using the font "Arial" as it is very clear and readable. To change the font, select the desired text and go to the font settings.
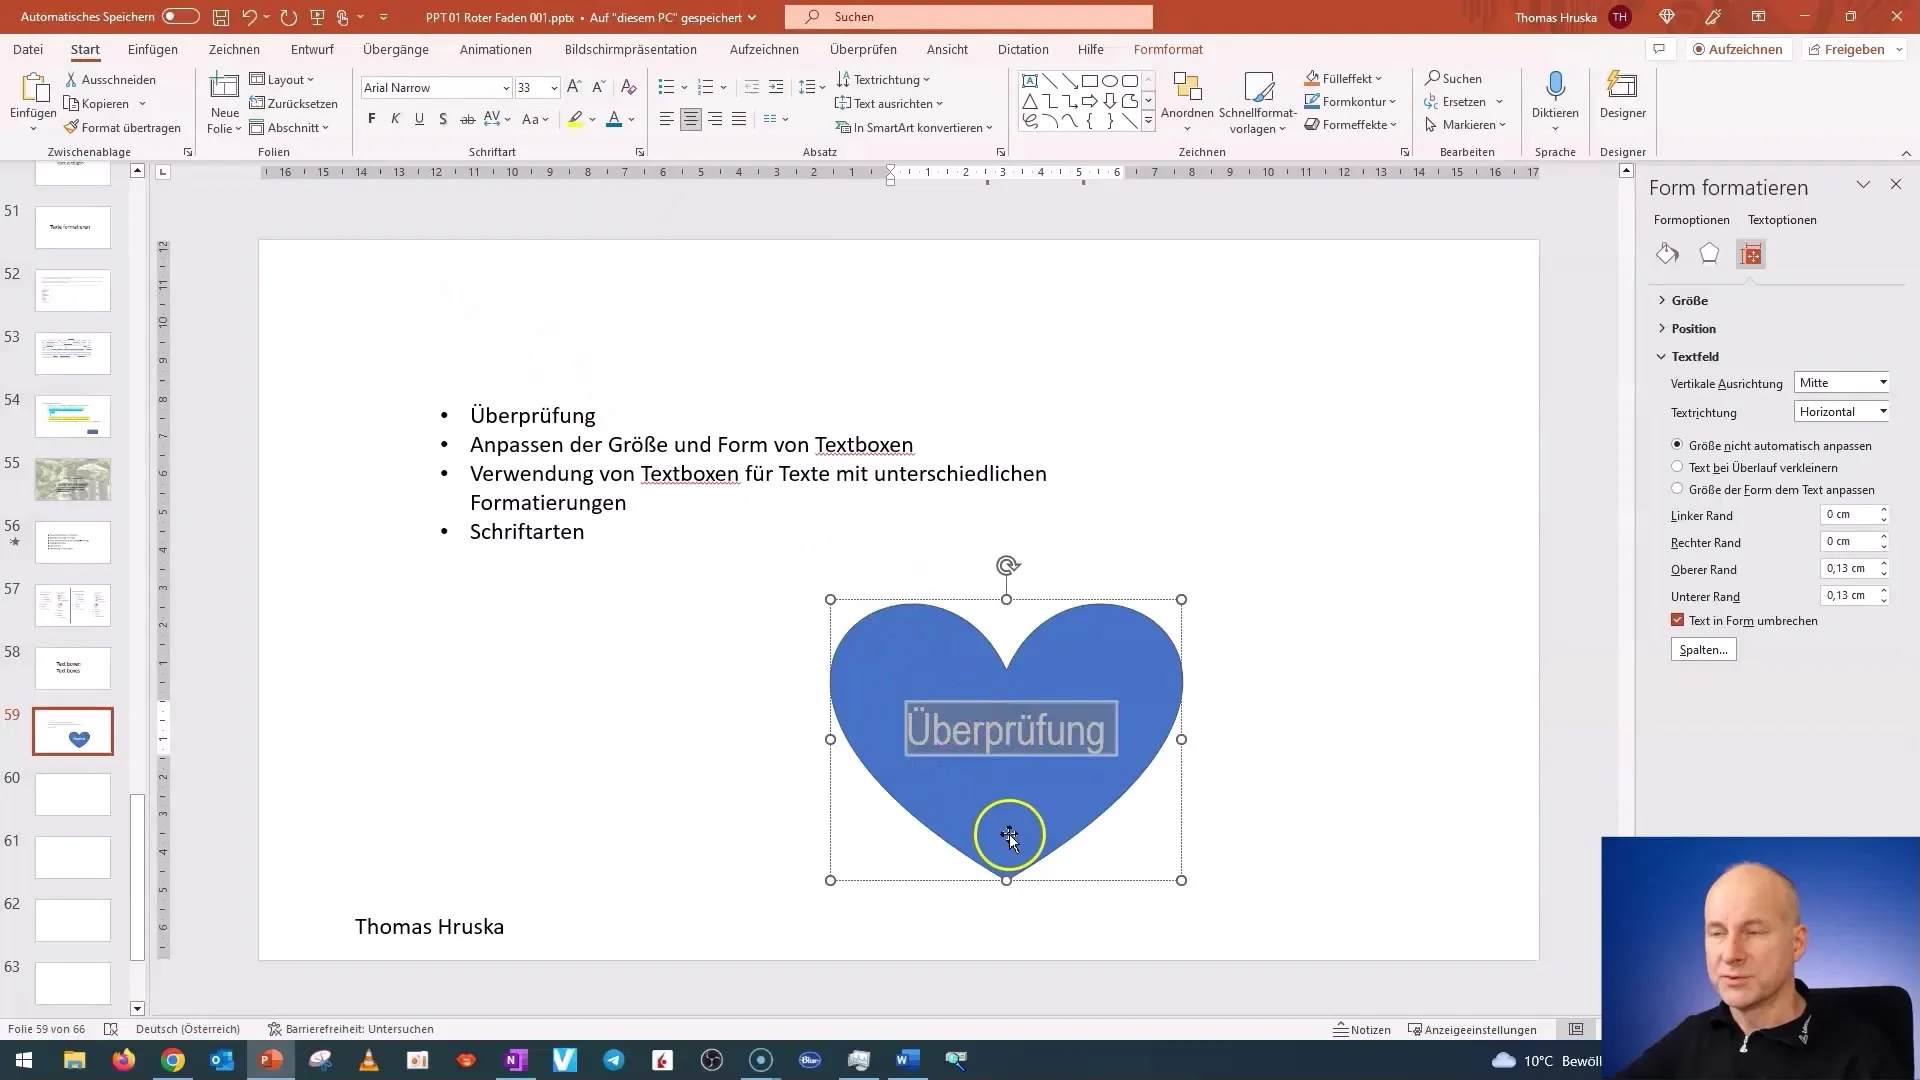
If you need a narrower font, there is also "Arial Narrow," which is still easily readable and helps you to fit text into smaller areas.
Keep in mind that a clear and readable font is important to effectively convey your presentation's message. Avoid playful and hard-to-read fonts as they can be distracting.
Summary
In this tutorial, you learned how to skillfully use text boxes in PowerPoint. You now know how to set up spell check, adjust the size and shape of text boxes, and choose the right font to present your message clearly and distinctly. Use these tips to make your presentations engaging and effective.
Frequently Asked Questions
How do I change the language for spell check in PowerPoint?Select the text, go to "Review," then "Set Language for Proofing," and choose the desired language.
How can I change the shape of an existing text box?Click on the text box, go to "Shape Format," and select "Edit Shape" to choose a new shape.
What fonts are recommended for clear readability?The fonts "Arial" and "Arial Narrow" are very readable and work well for presentations.


