Welcome to this tutorial on how to format Bullet Points in PowerPoint. When you paste text from other applications or sources into PowerPoint, it can often result in uncontrollable and messy bullet points. This can not only be frustrating but also diminish the readability of your presentation. In this tutorial, I will show you step by step how to properly format your bullet points and customize them to your needs. Let's get started!
Key Takeaways
- Activate and modify standard bullet points.
- Adjust the spacing between bullet points.
- Control formatting via tabulator keys.
- Make changes to secondary and primary levels.
Step-by-Step Tutorial
Start by pasting your text into a PowerPoint document. If you copy text from another application like Word or a text editor, the bullet points may not be formatted correctly. To fix this, you first need to ensure that the standard bullet points are activated.
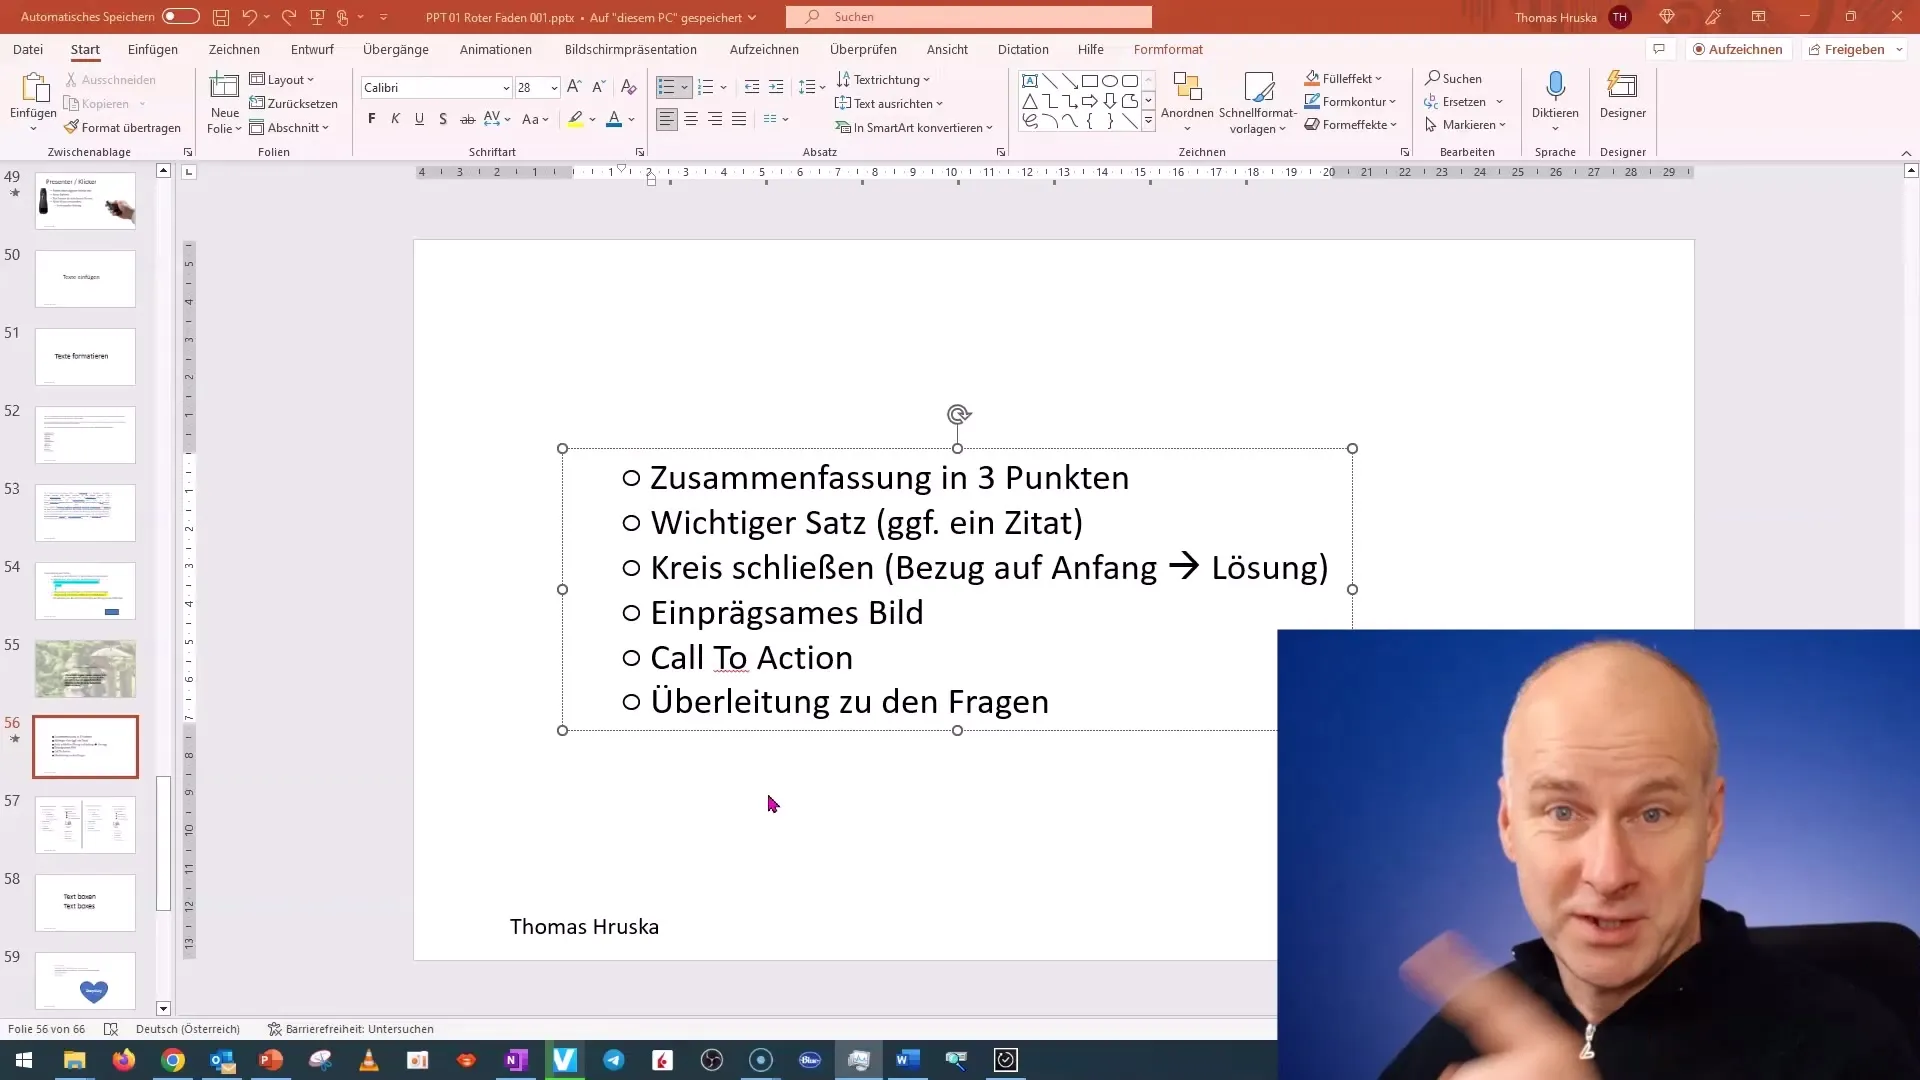
Highlight the entire text containing the bullet points. Then click on the bullet points button in the top menu bar to turn them off and then back on. This will activate PowerPoint's standard bullet points, formatting the text accordingly.
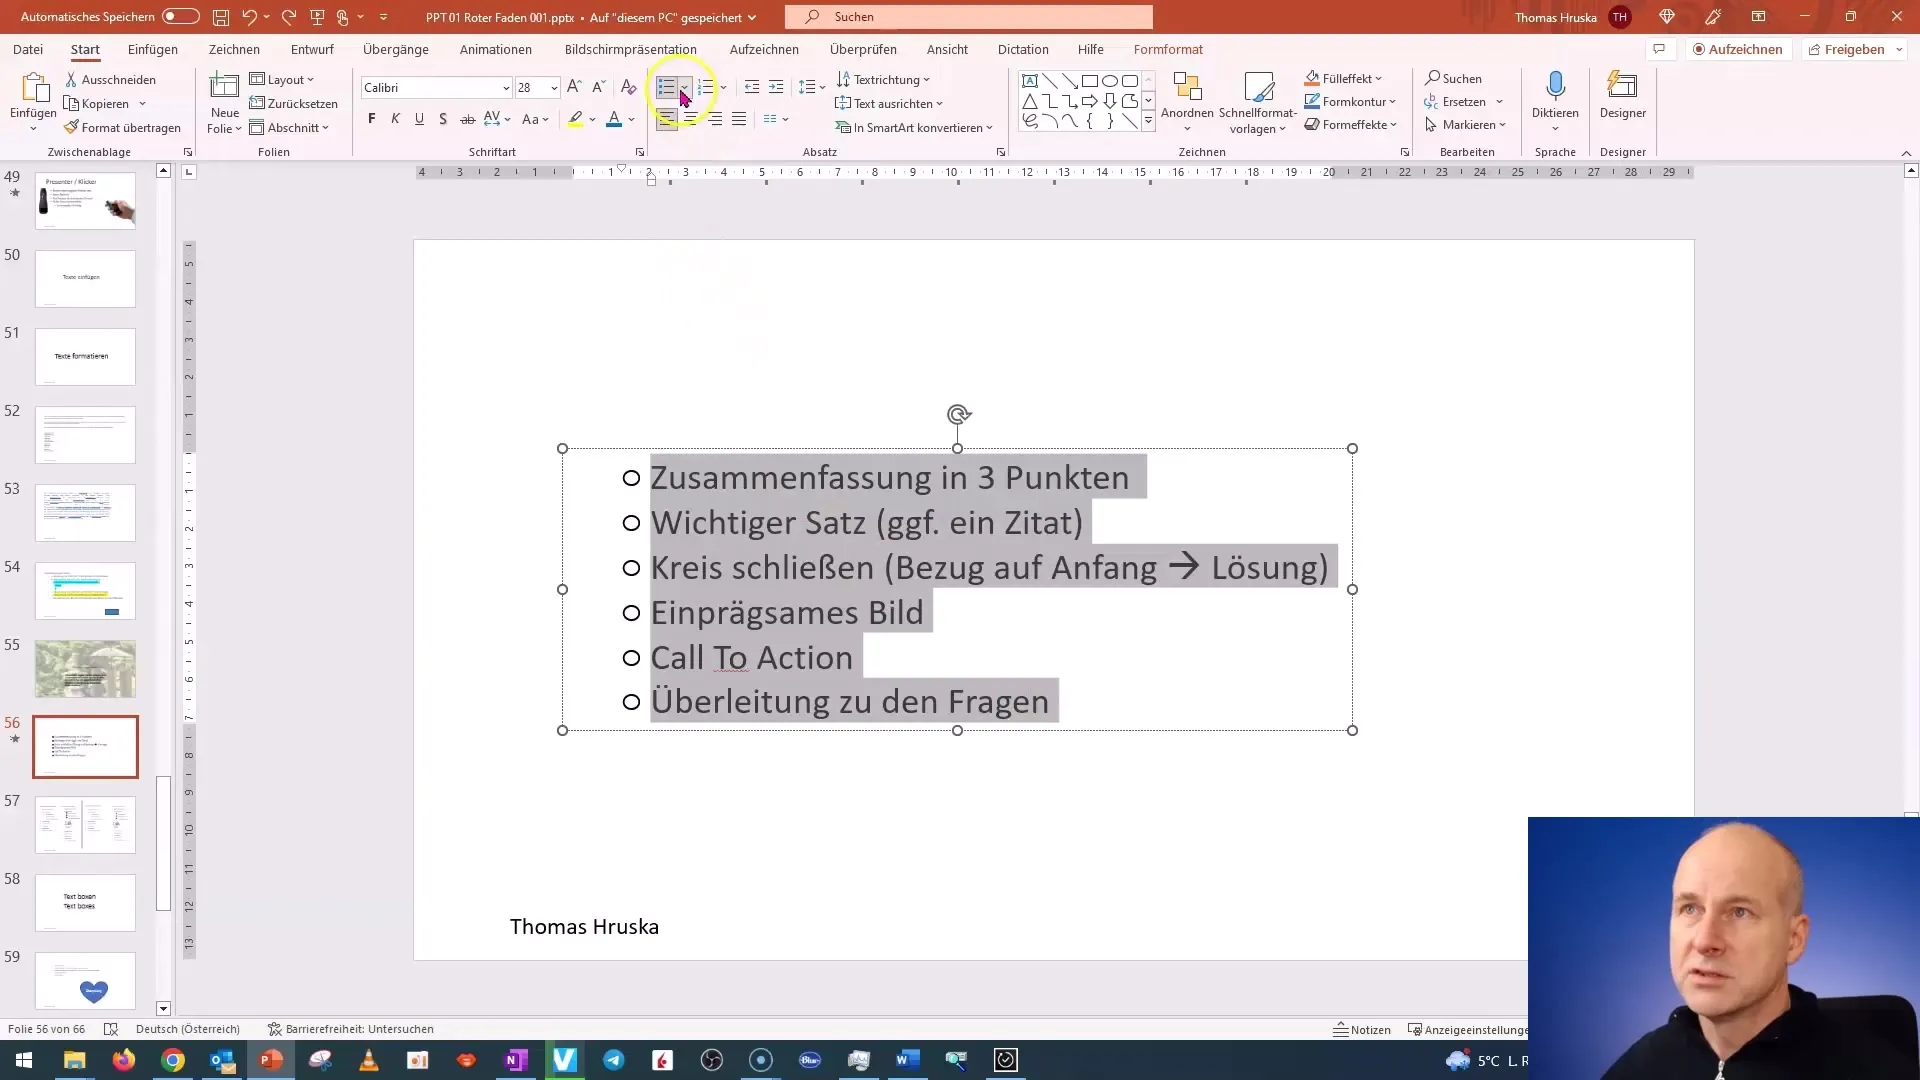
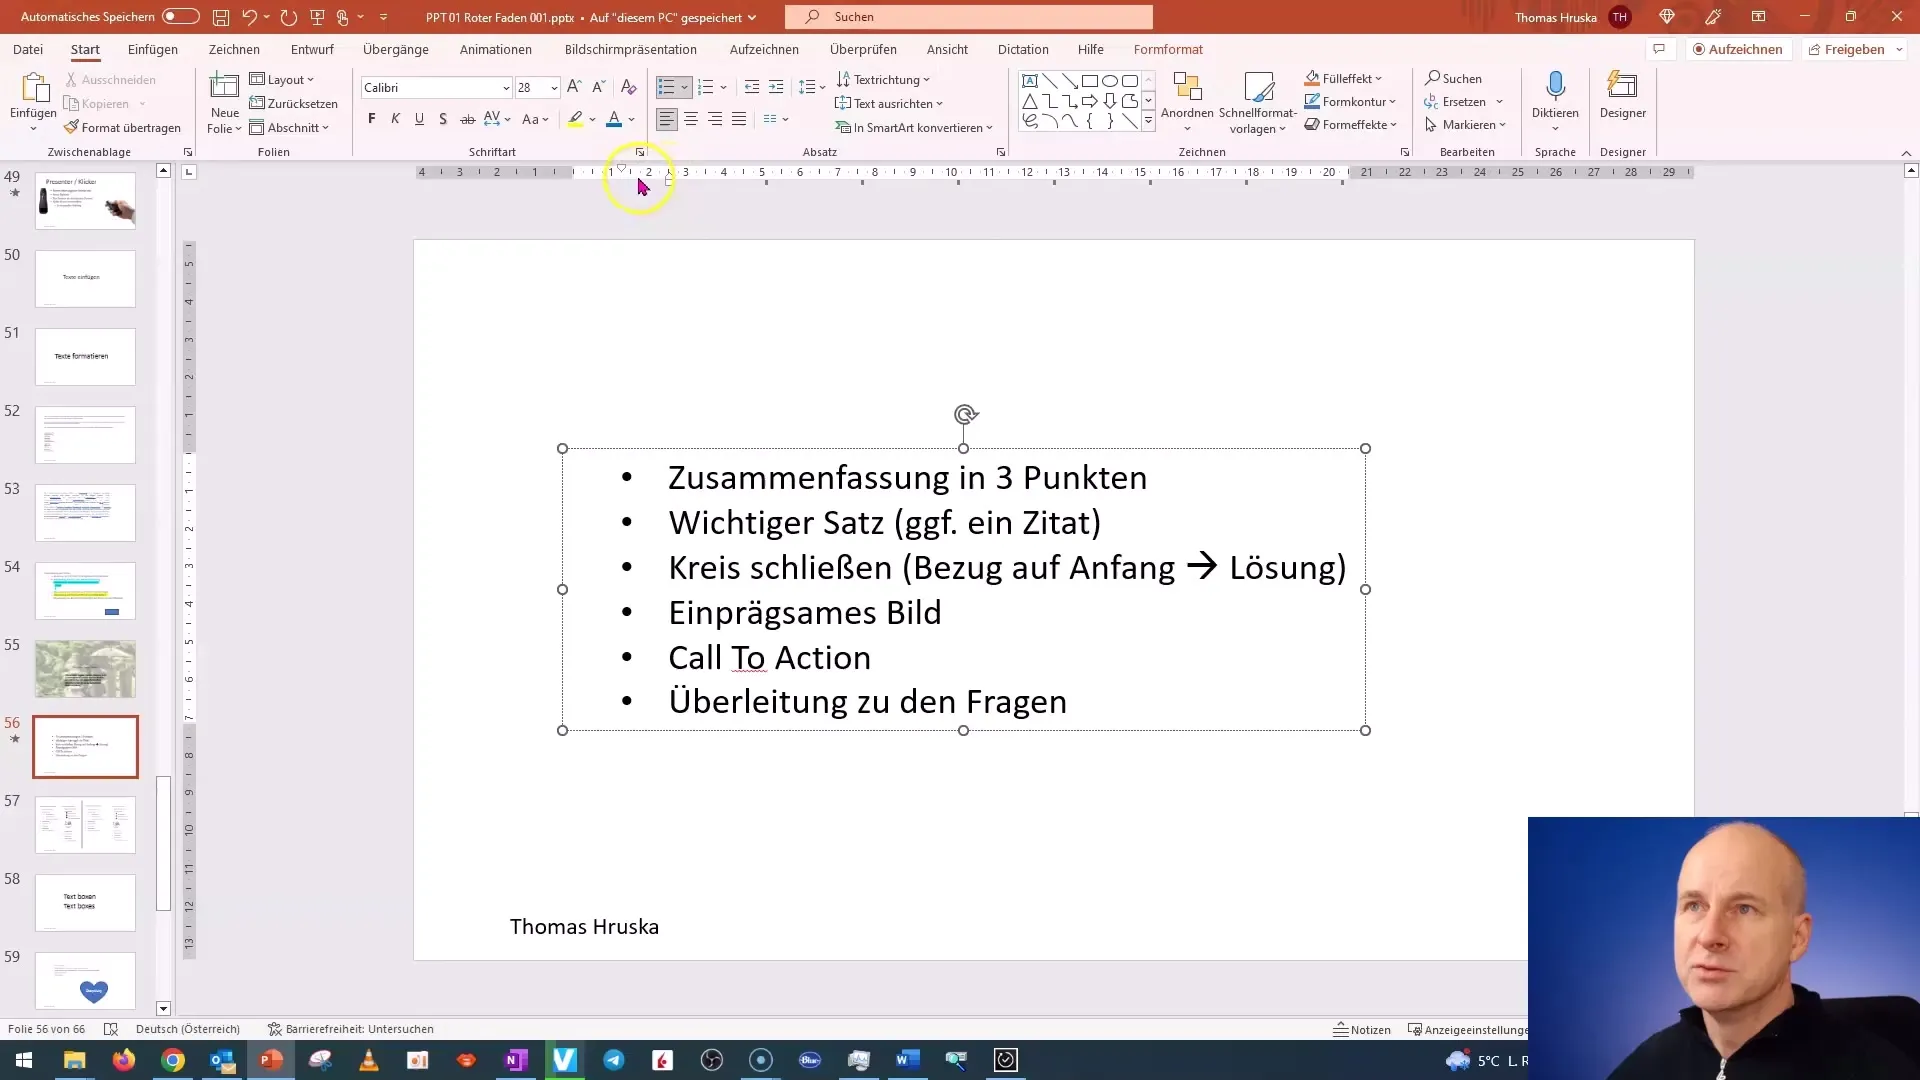
Often, the spacing between bullet points may not meet your expectations. Excessive spacing can make the text hard to read. Therefore, it is advisable to actively control the spacing between bullet points.
Activate the ruler by clicking on the corresponding symbol in the top menu bar. You will now be able to clearly see the spacing between the first and second bullet points. By dragging the upper triangle on the ruler, you can adjust this spacing precisely.
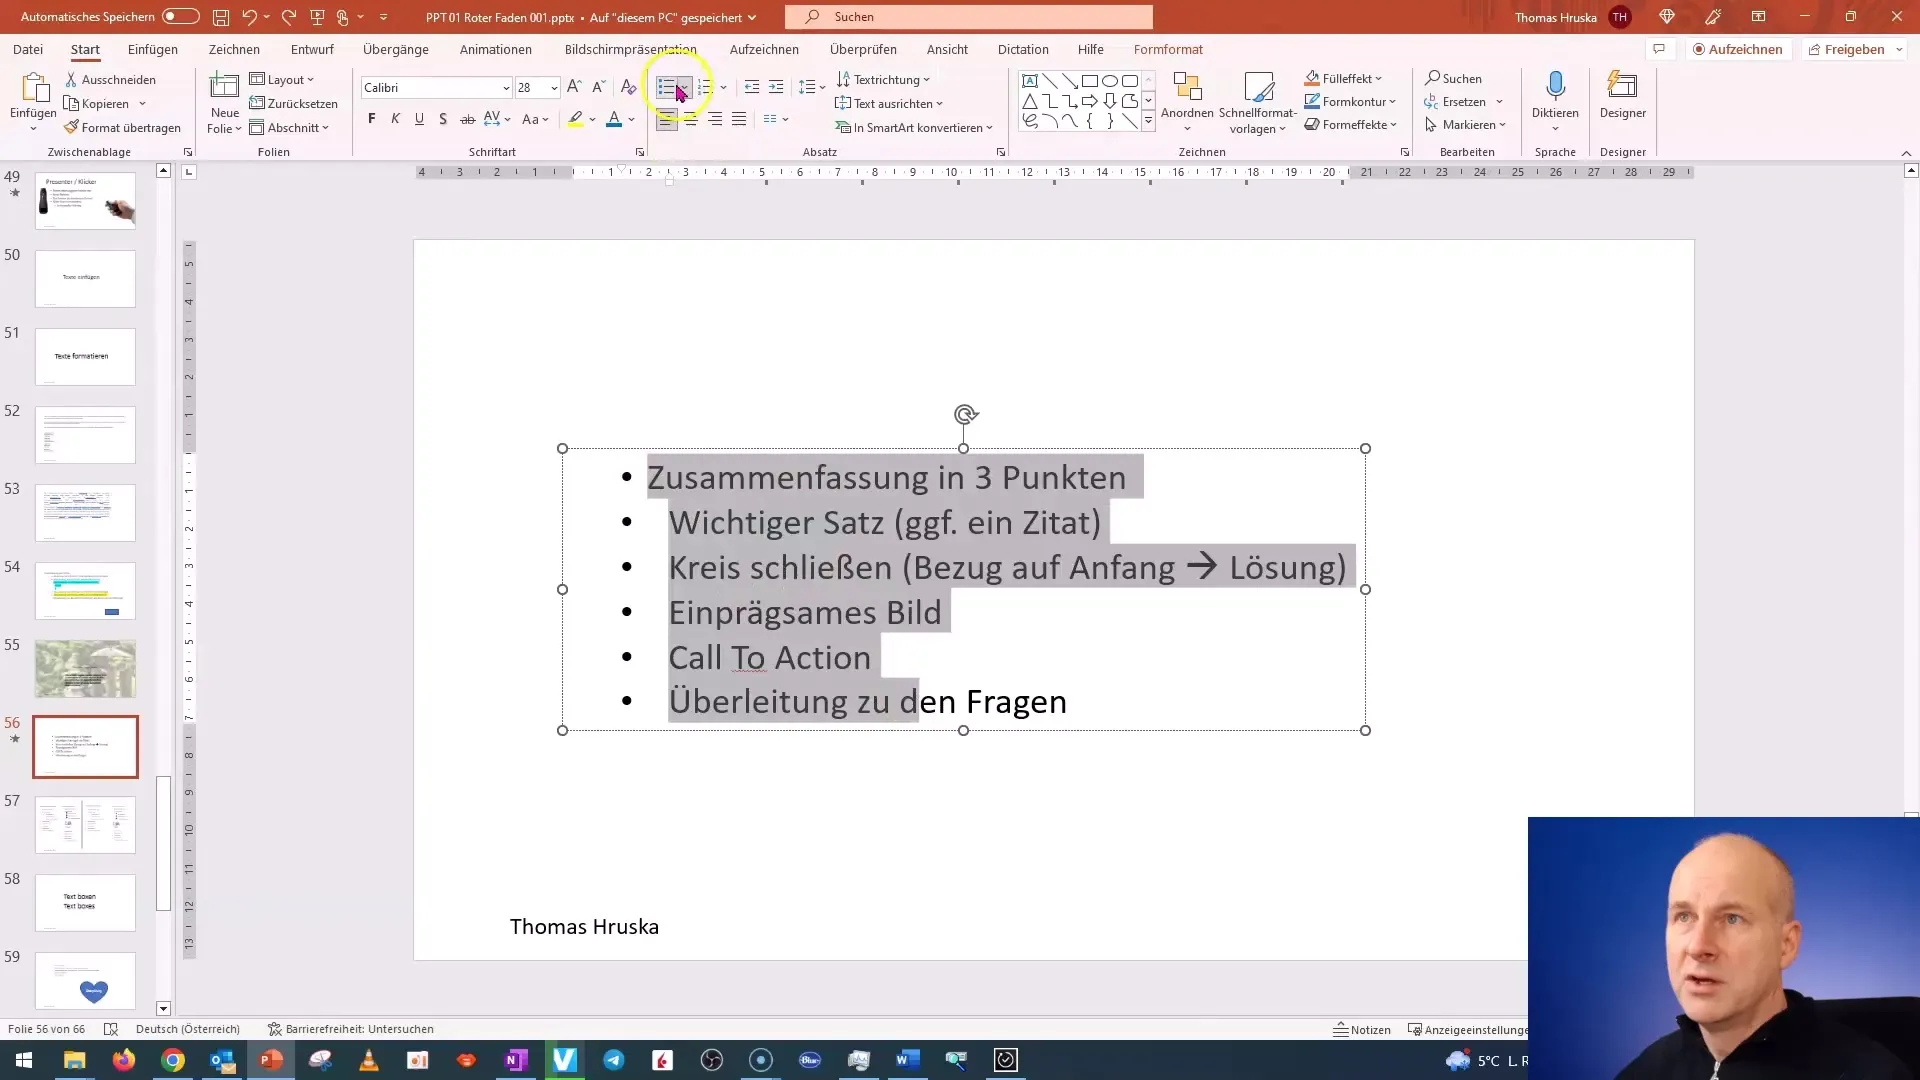
If you find that the formatting with the brush cannot be applied to all bullet points, there is a simple solution: Select all bullet points at once. Then you can adjust the desired tab stops to increase speed and efficiency.
If you are working with bullet points while creating the text, it is advisable to make these settings right at the beginning. This way, you will save a lot of time and effort later on.
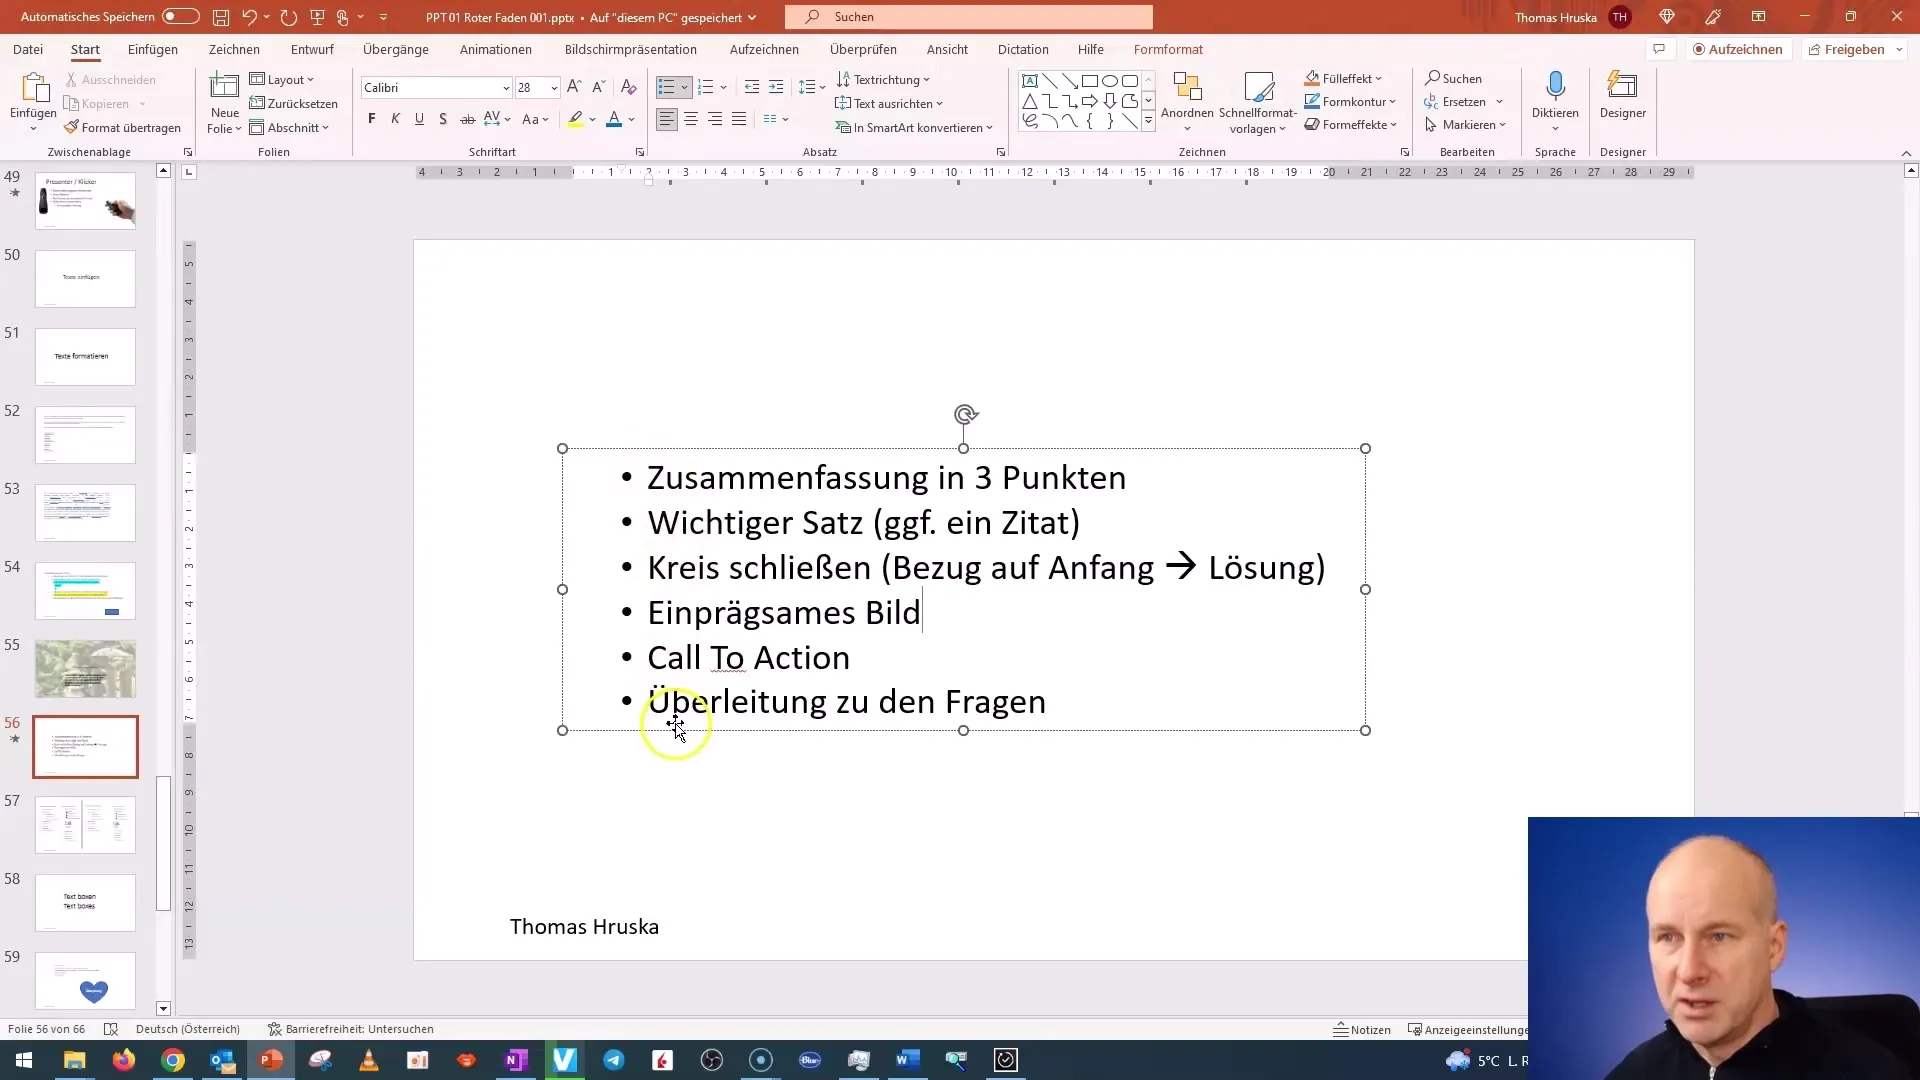
Don't forget, when you use the tab key to move to the next level. This will ensure that all subsequent bullet points follow the same spacing and formatting.
If you already have formatted bullet points and you press the Enter key for a line break while adding a new level with the tab key, this formatting will be transferred to the new level, making your life much easier.
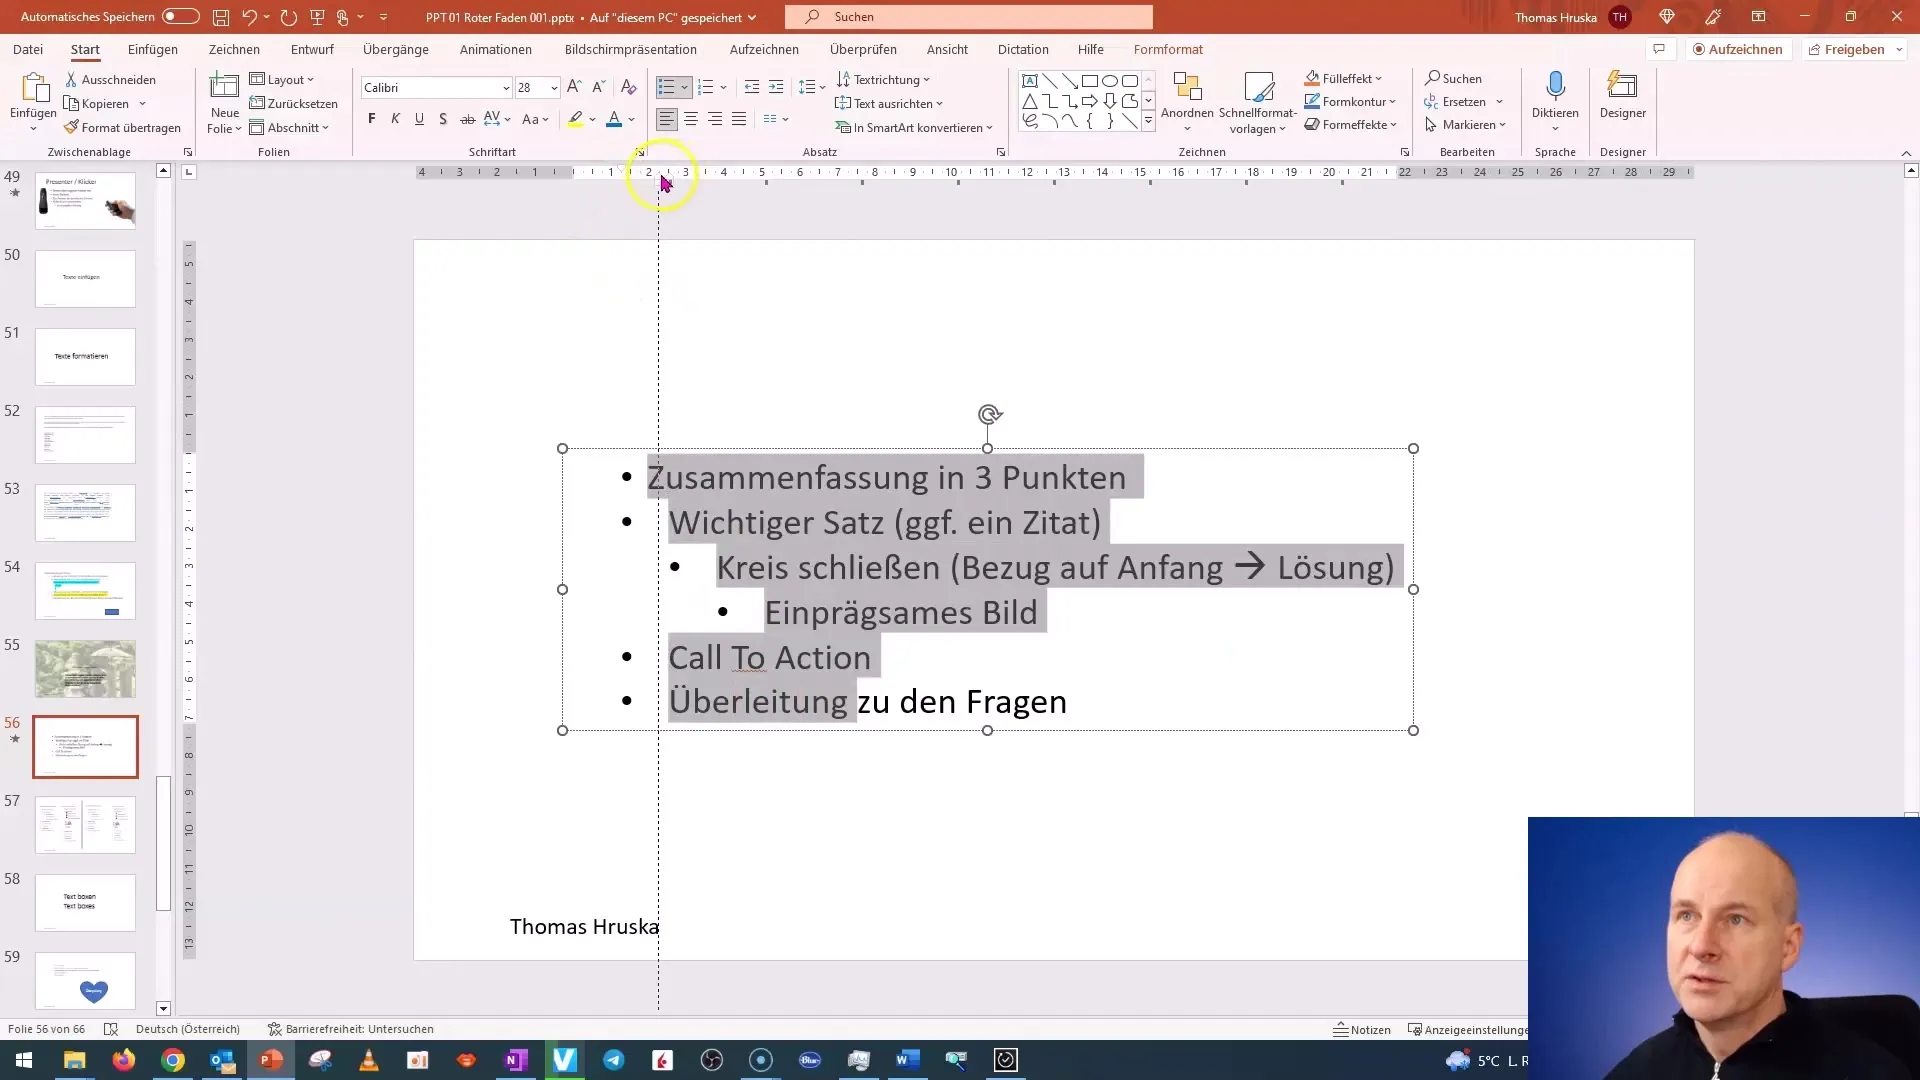
That's it! You have learned the basics to efficiently format your bullet points. With these tips, you are well-equipped to create professional presentations and enhance the readability of your texts.
Summary
In this tutorial, you have learned how to format bullet points in PowerPoint correctly. You now know how to activate standard bullet points, adjust spacing, and work with tab stops to ensure consistent formatting.
Frequently Asked Questions
How do I activate standard bullet points?Highlight the text and click on the bullet point button in the top menu bar.
How can I adjust the spacing between bullet points?Activate the ruler and drag the triangle above it to control the spacing.
Can I transfer the formatting of bullet points to others?Yes, but you need to select all bullet points at once and adjust the tab stops.
Why should I make the settings at the beginning?This saves time and ensures consistent formatting during presentation creation.
What happens if I press the Enter key for a line break?The formatting will be transferred to the new line when you then press the tab key.


