In this tutorial you will learn how to easily insert and edit images in PowerPoint. From selecting appropriate graphics to cropping and adjusting, to different file formats and using stock images - this guide offers you valuable tips and tricks to enhance your presentations. Whether you upload images from your own device or access Microsoft's huge library, you will be able to professionally utilize your images after this course.
Main Insights
- How to insert images from different sources into PowerPoint.
- Cropping, clipping, and adjusting images.
- Overview of various image formats (JPEG, PNG, etc.).
- Methods for compressing images.
- Tips for using stock images.
Step-by-Step Guide
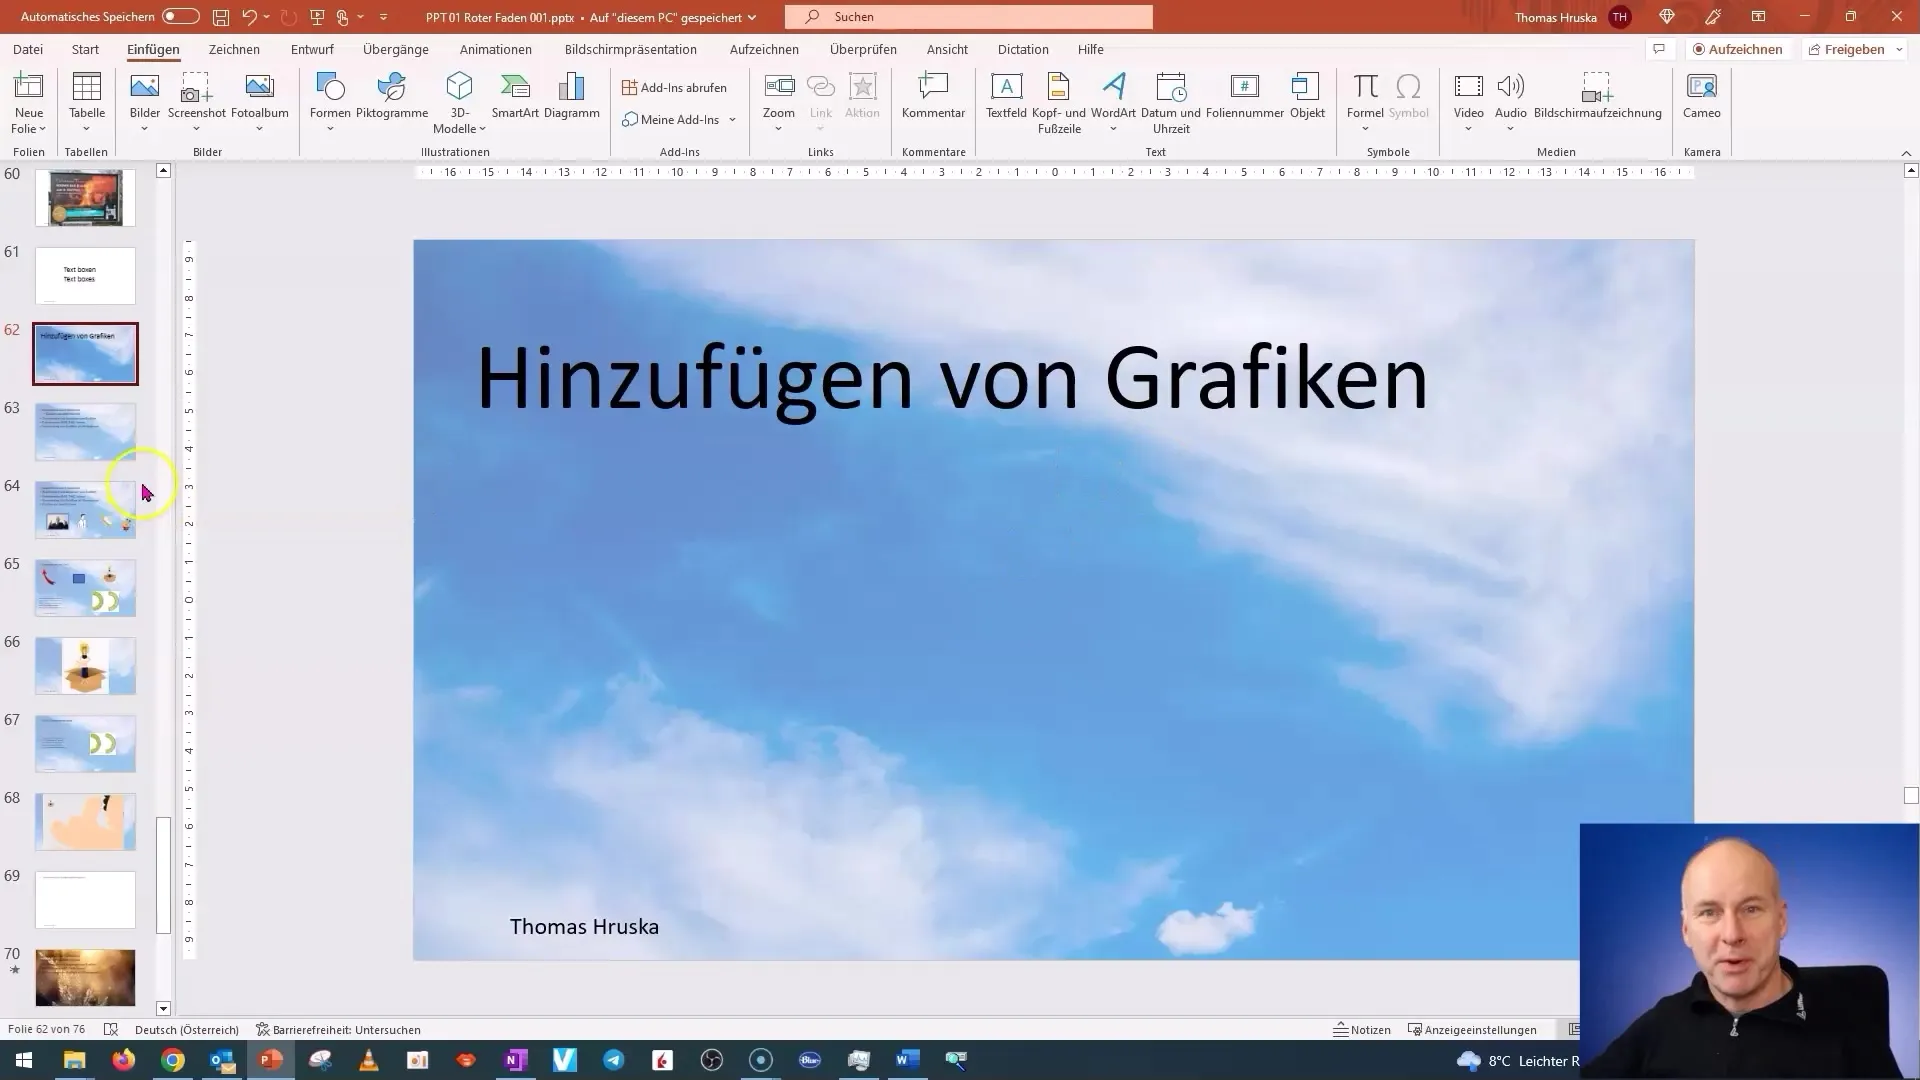
Inserting Images
Open PowerPoint and start the desired presentation. Click on the "Insert" tab and select "Pictures". Here you have the option to add images from your device or from Microsoft's online database. For example, you can select an image from your device, like the "Grandpa", and insert it into the presentation. Typically, the image will be inserted in the center of the slide, and you can easily drag it to the desired position.
Utilizing Stock Images
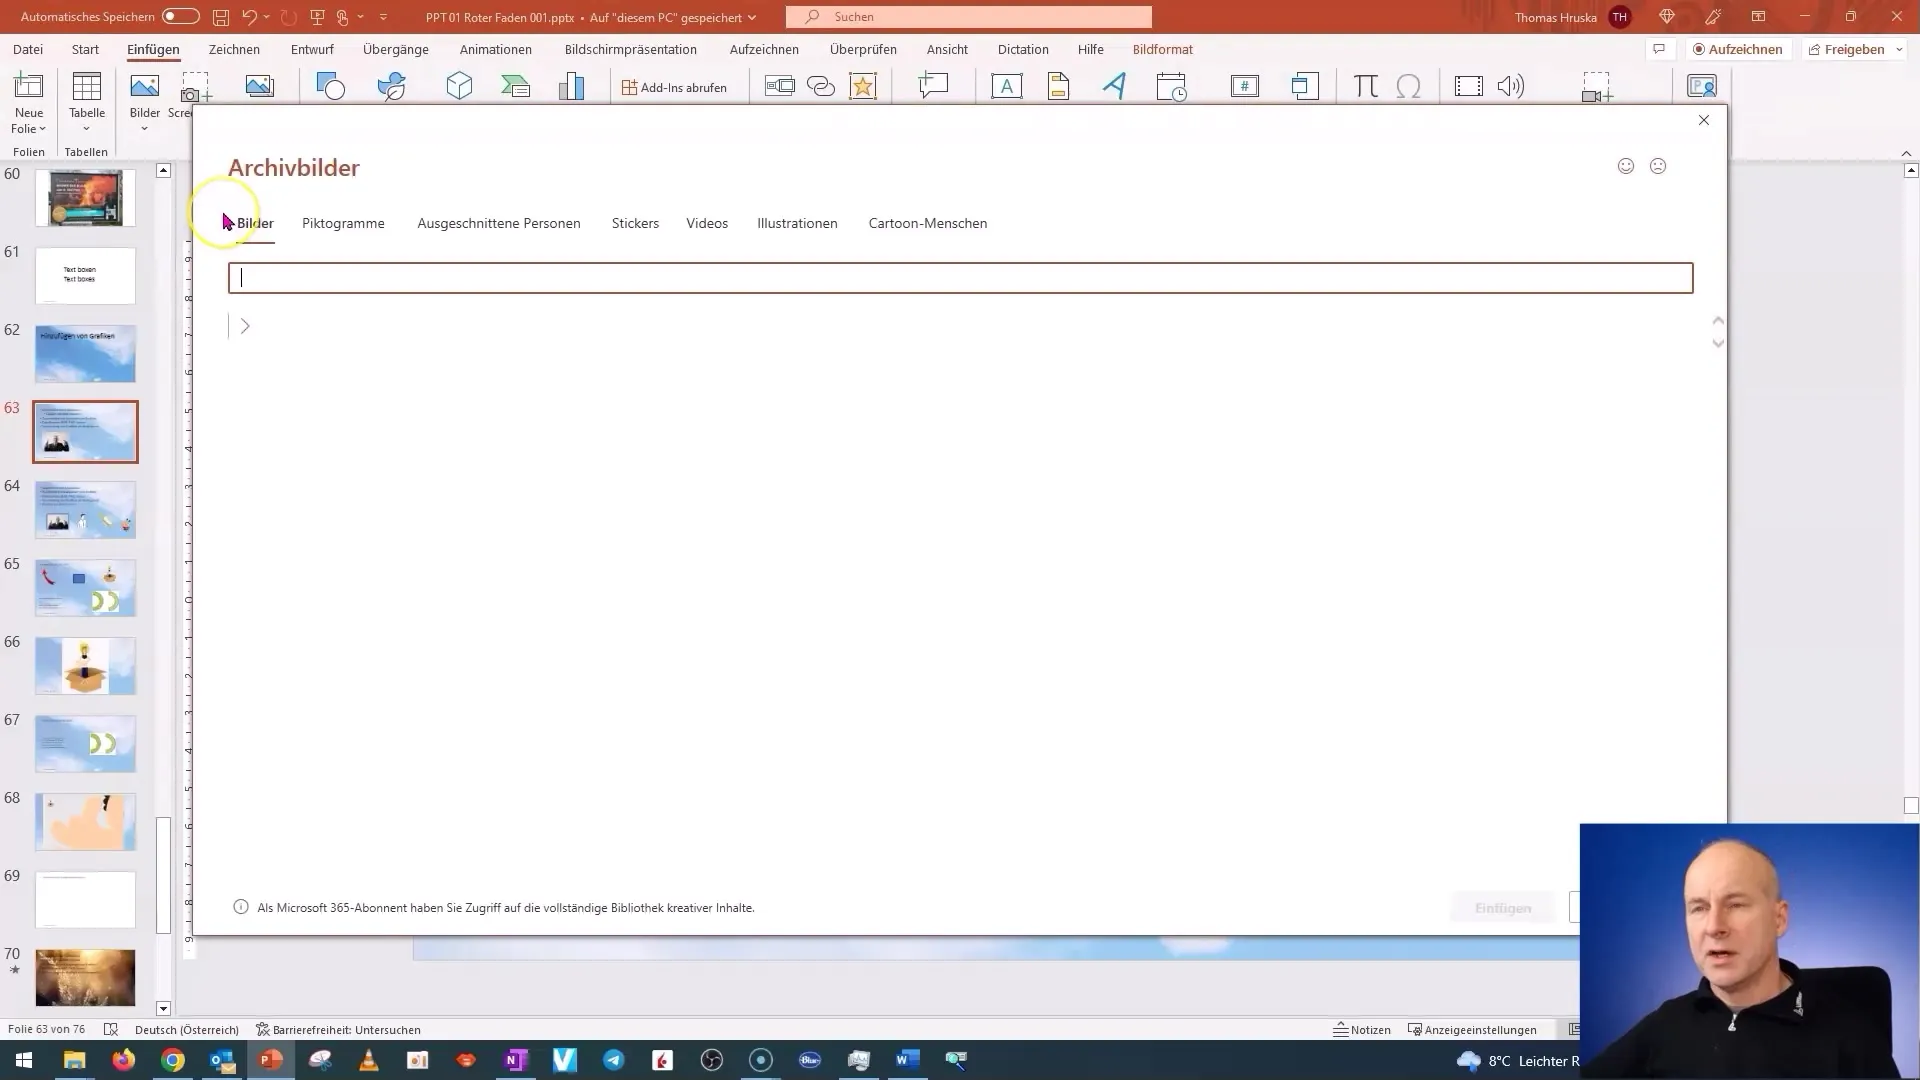
Go to "Insert" again and select "Pictures". There you will find the option of "Stock Images". Microsoft offers a wide selection of images for you to browse through. You can search by keywords or filter the images by categories. For example, searching for "Pictograms" will provide you with a variety of useful graphics.
Cropping and Adjusting Images
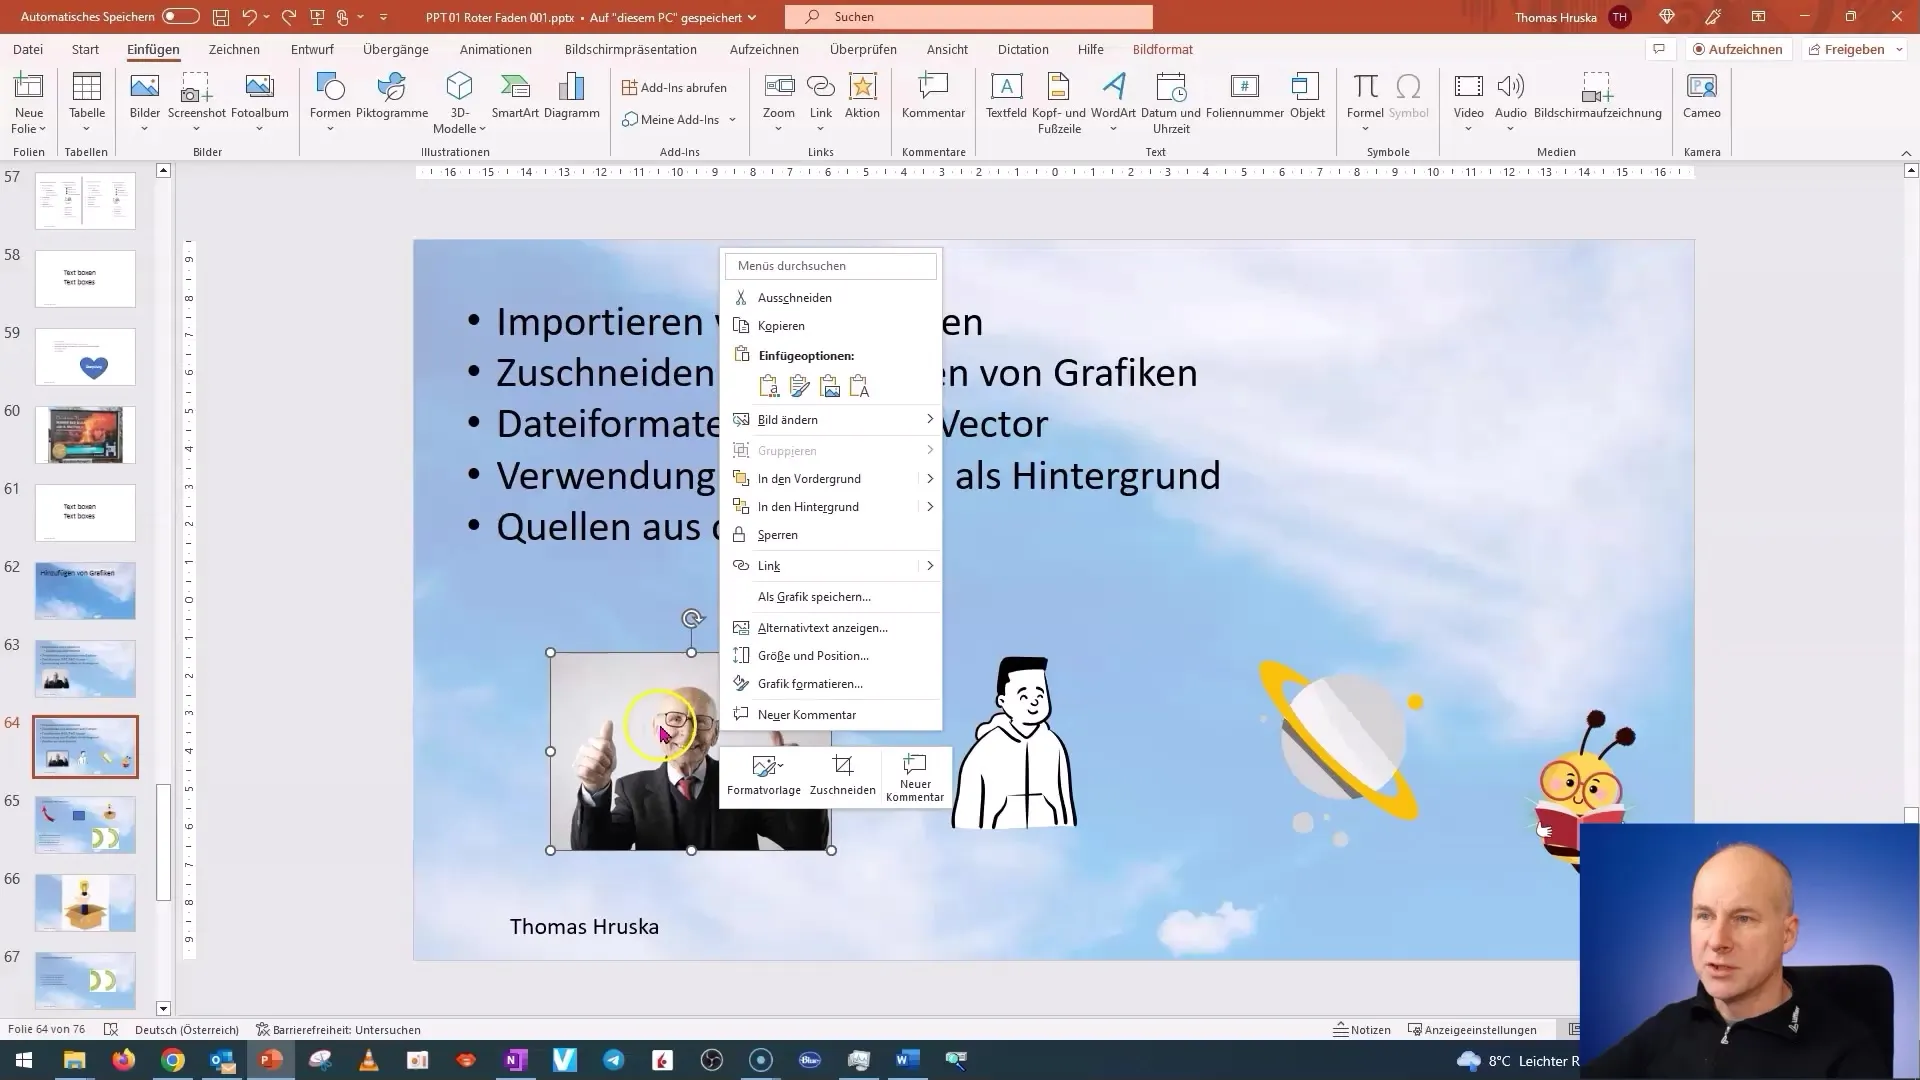
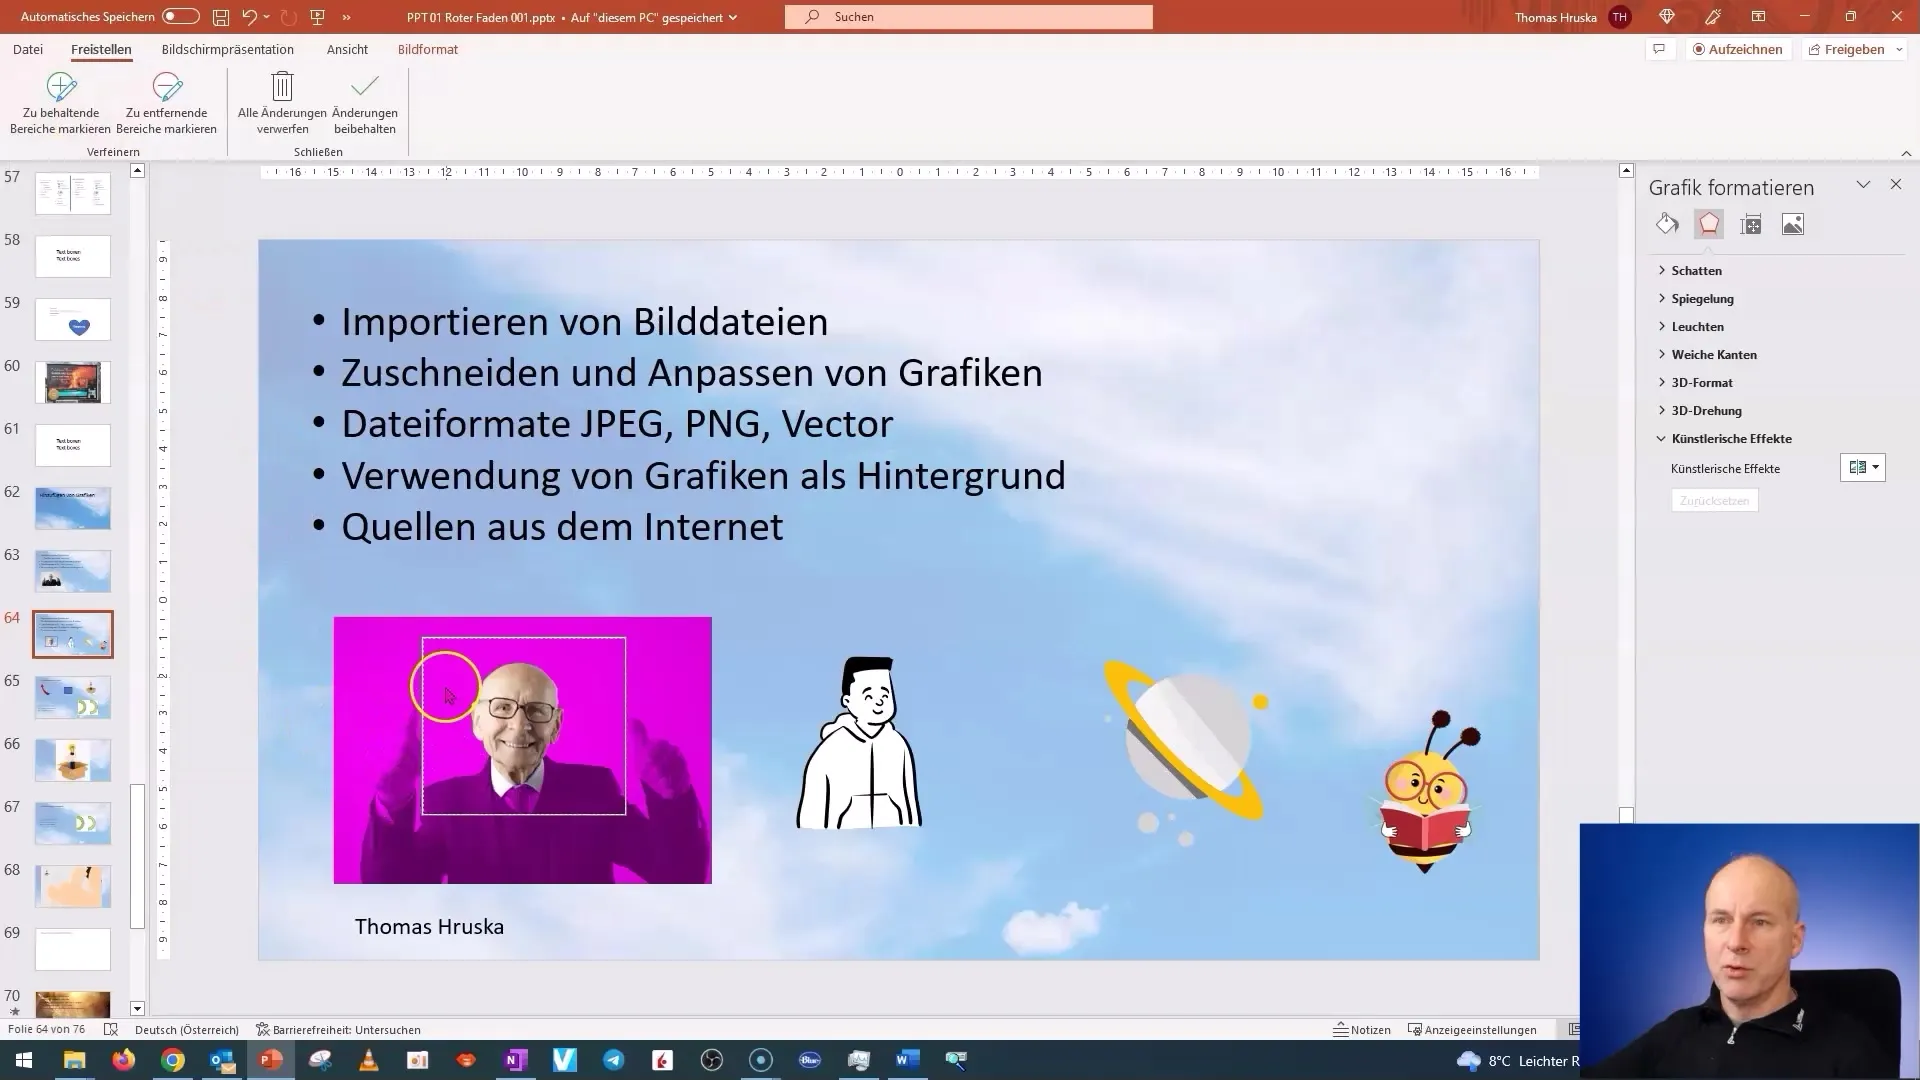
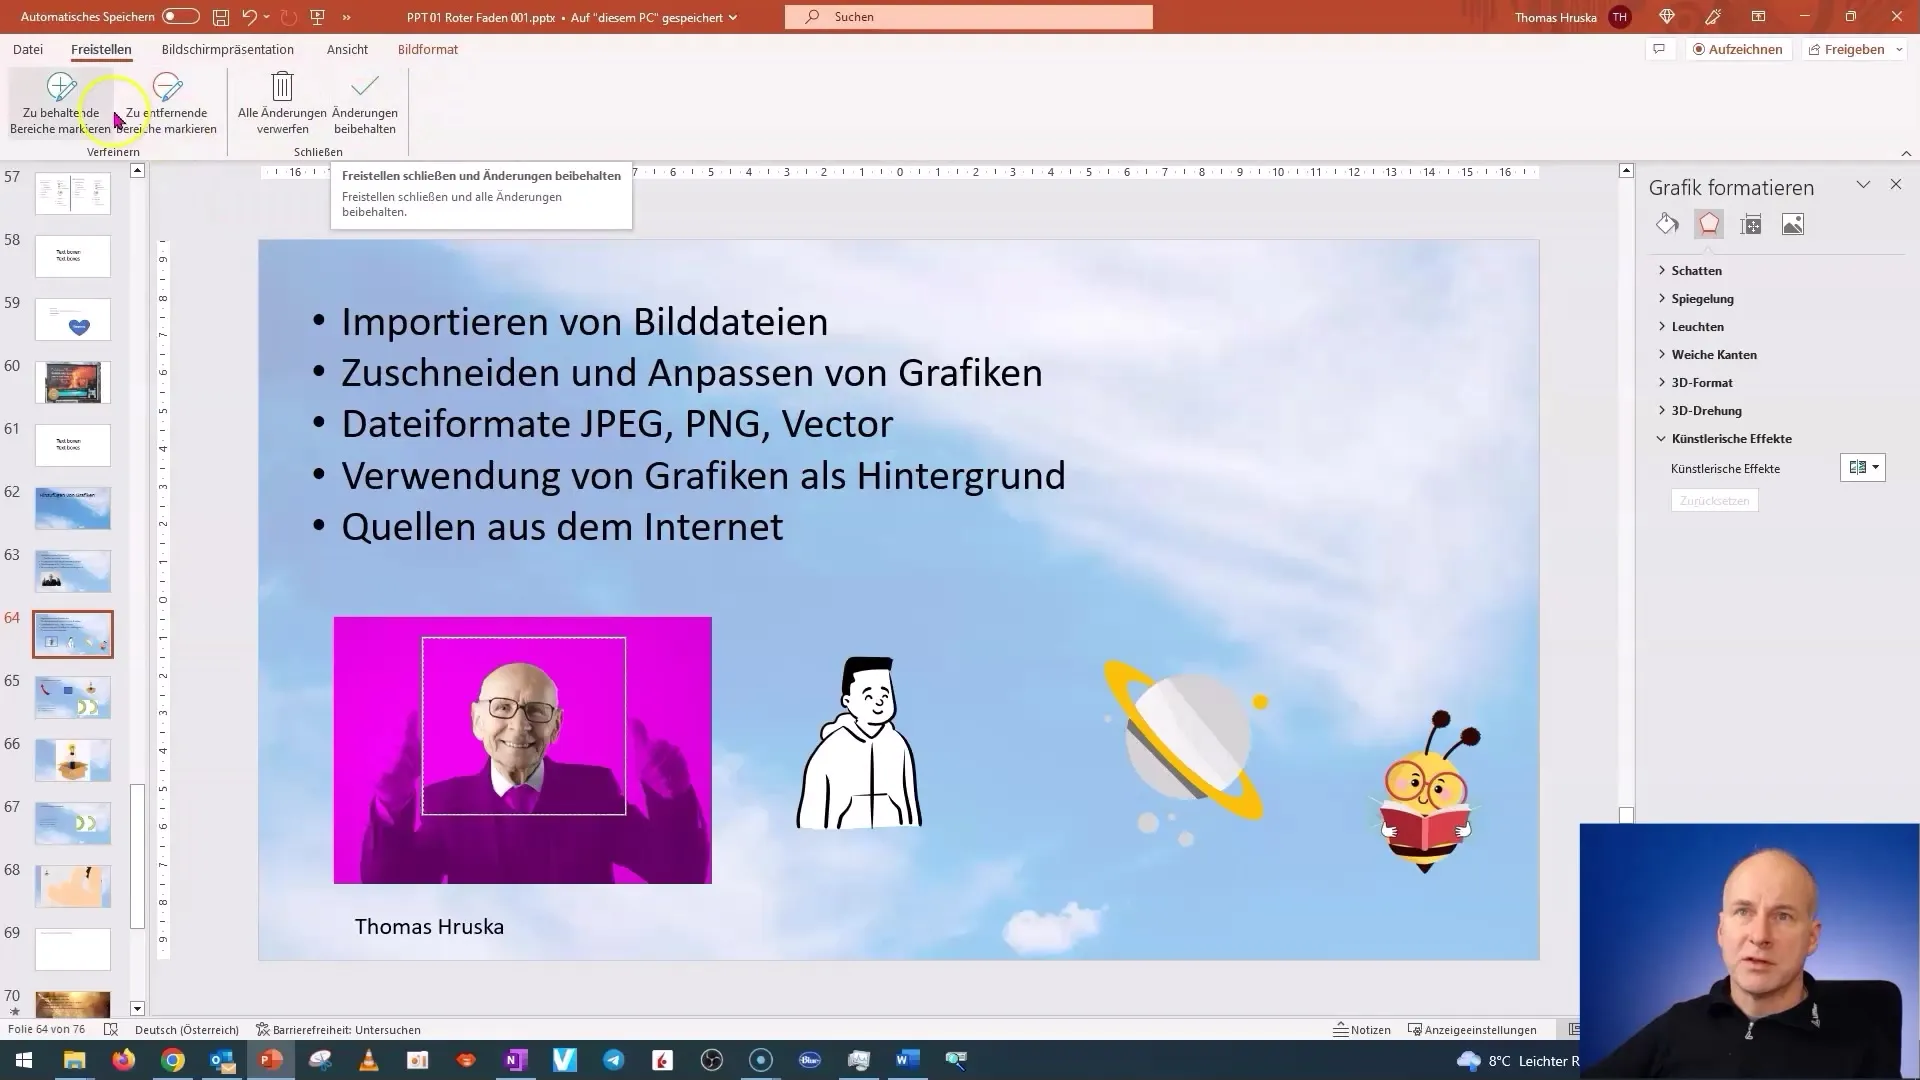
Once you have imported an image, you can crop it to display only the desired image area. Select the image and go to the "Picture Format" tab. Here you can choose the cropping tool. With this tool, you can draw specific markers to edit the image accordingly. Perhaps you only want to display the "Grandpa with his shoulders" and remove the thumbs or other areas.
Adjusting Brightness and Contrast
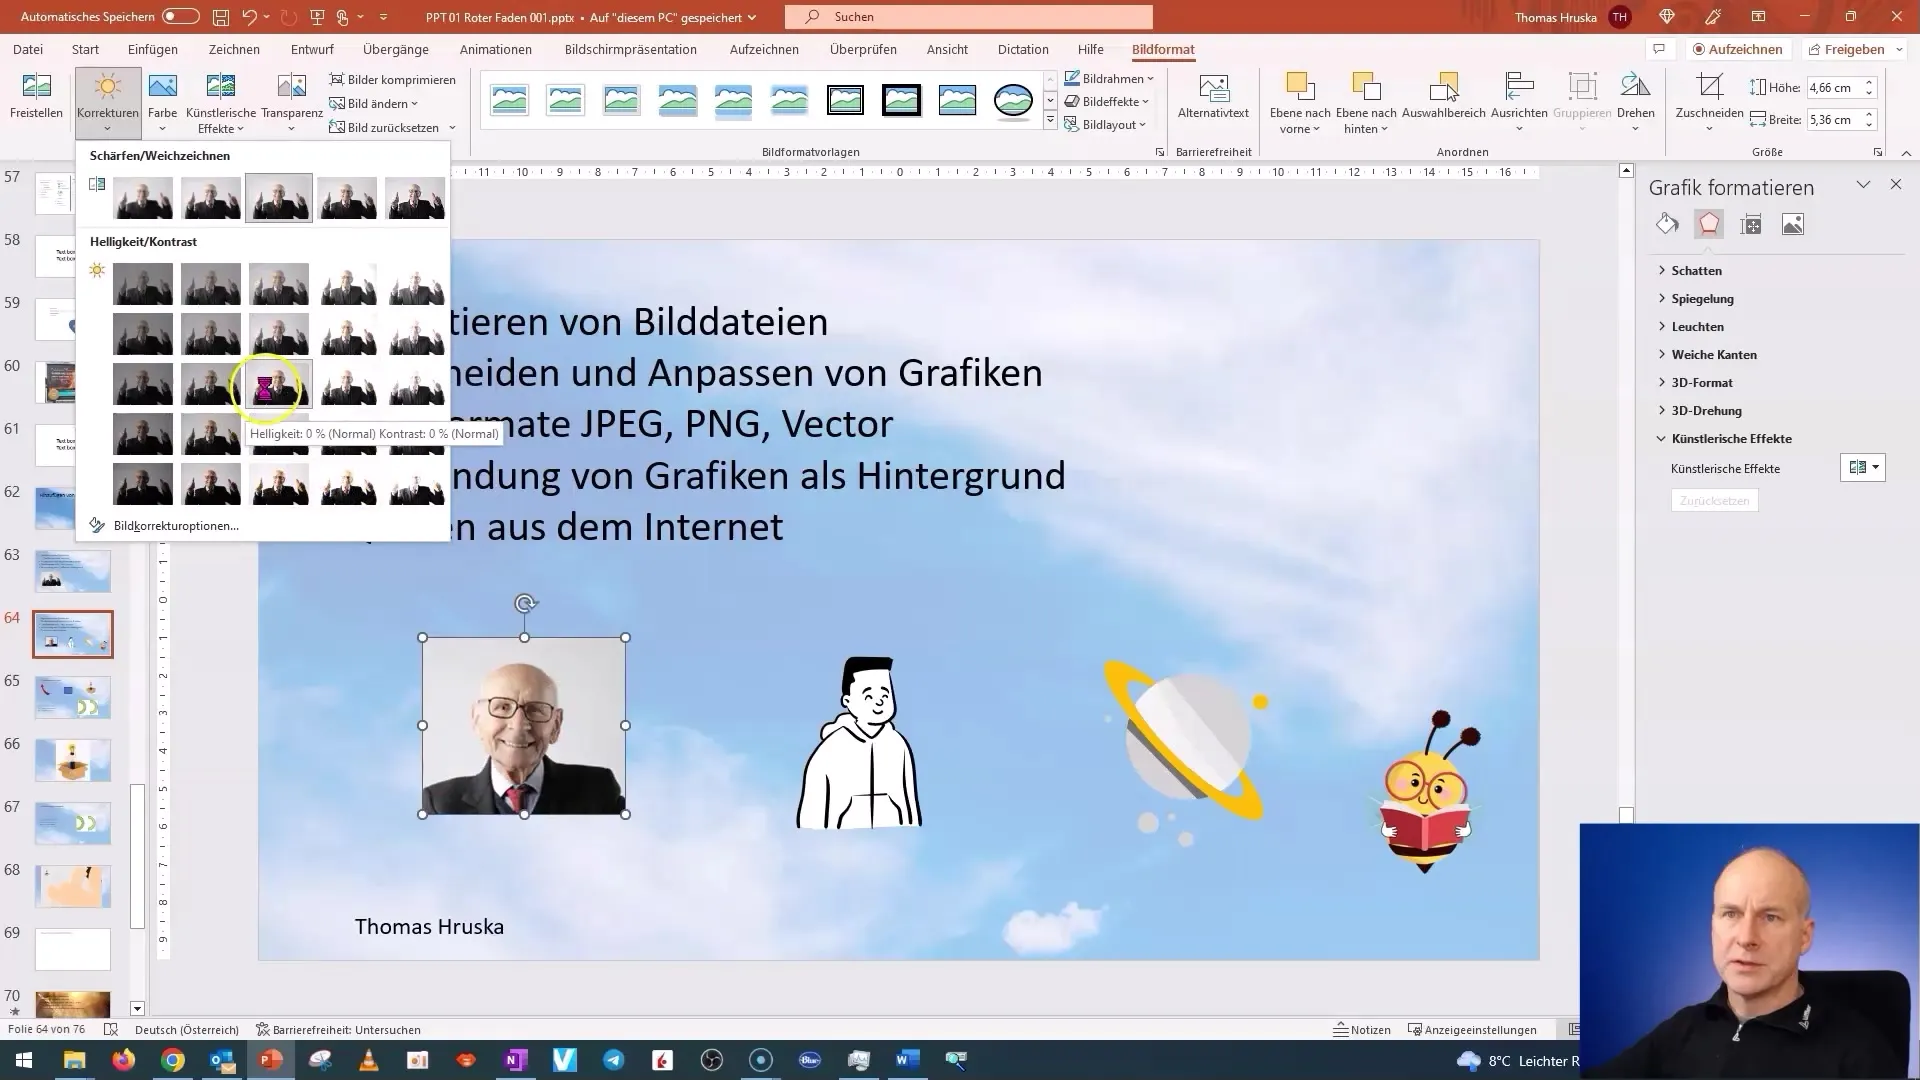
Images are often too dark or too bright. To fix this, select the image and go to "Format Picture". Here you will find the option to adjust brightness and contrast. Brightness is changed sideways, while contrast is adjusted by changing vertical settings. Try out different settings and find the best option for your image.
Adjusting Transparency and Clipping
You can also adjust the transparency of images to achieve a translucent effect. This is particularly useful when you want to see text or other graphics in the background. Clipping images also allows you to remove unwanted parts. It is important to use a consistent background to ensure a good looking result.
Trying Out Cropping
To crop an image, select the respective graphic and go to "Format Picture". Here you can define the area to be removed. Use the pen to make precise selection markings to retain the desired object. This can be particularly useful in technical sketches.
Saving Space Through Image Compression
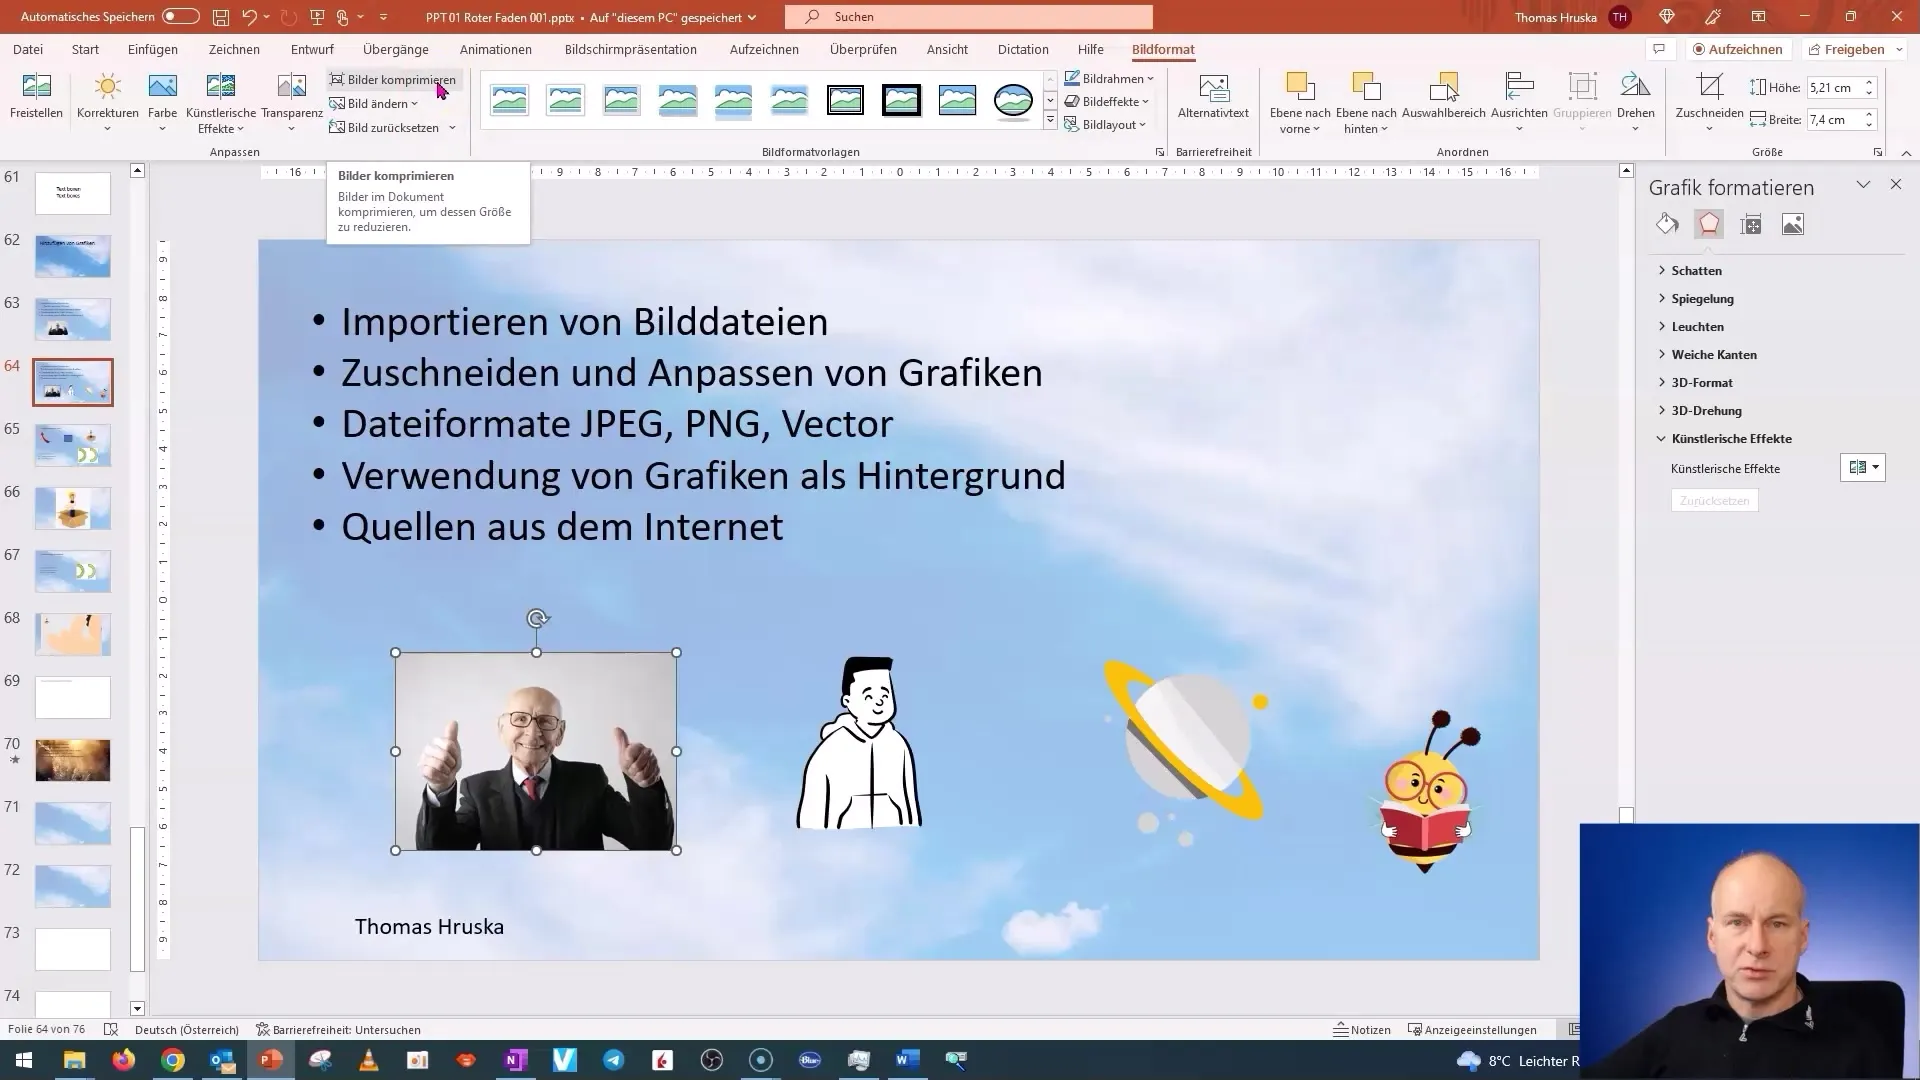
Another important aspect when working with images in PowerPoint is optimizing storage space. When you insert photos or graphics, the presentation can become significantly larger. To save space, you can delete invalid image areas or reduce the image sizes. This is done through image formatting.
Do More with Images
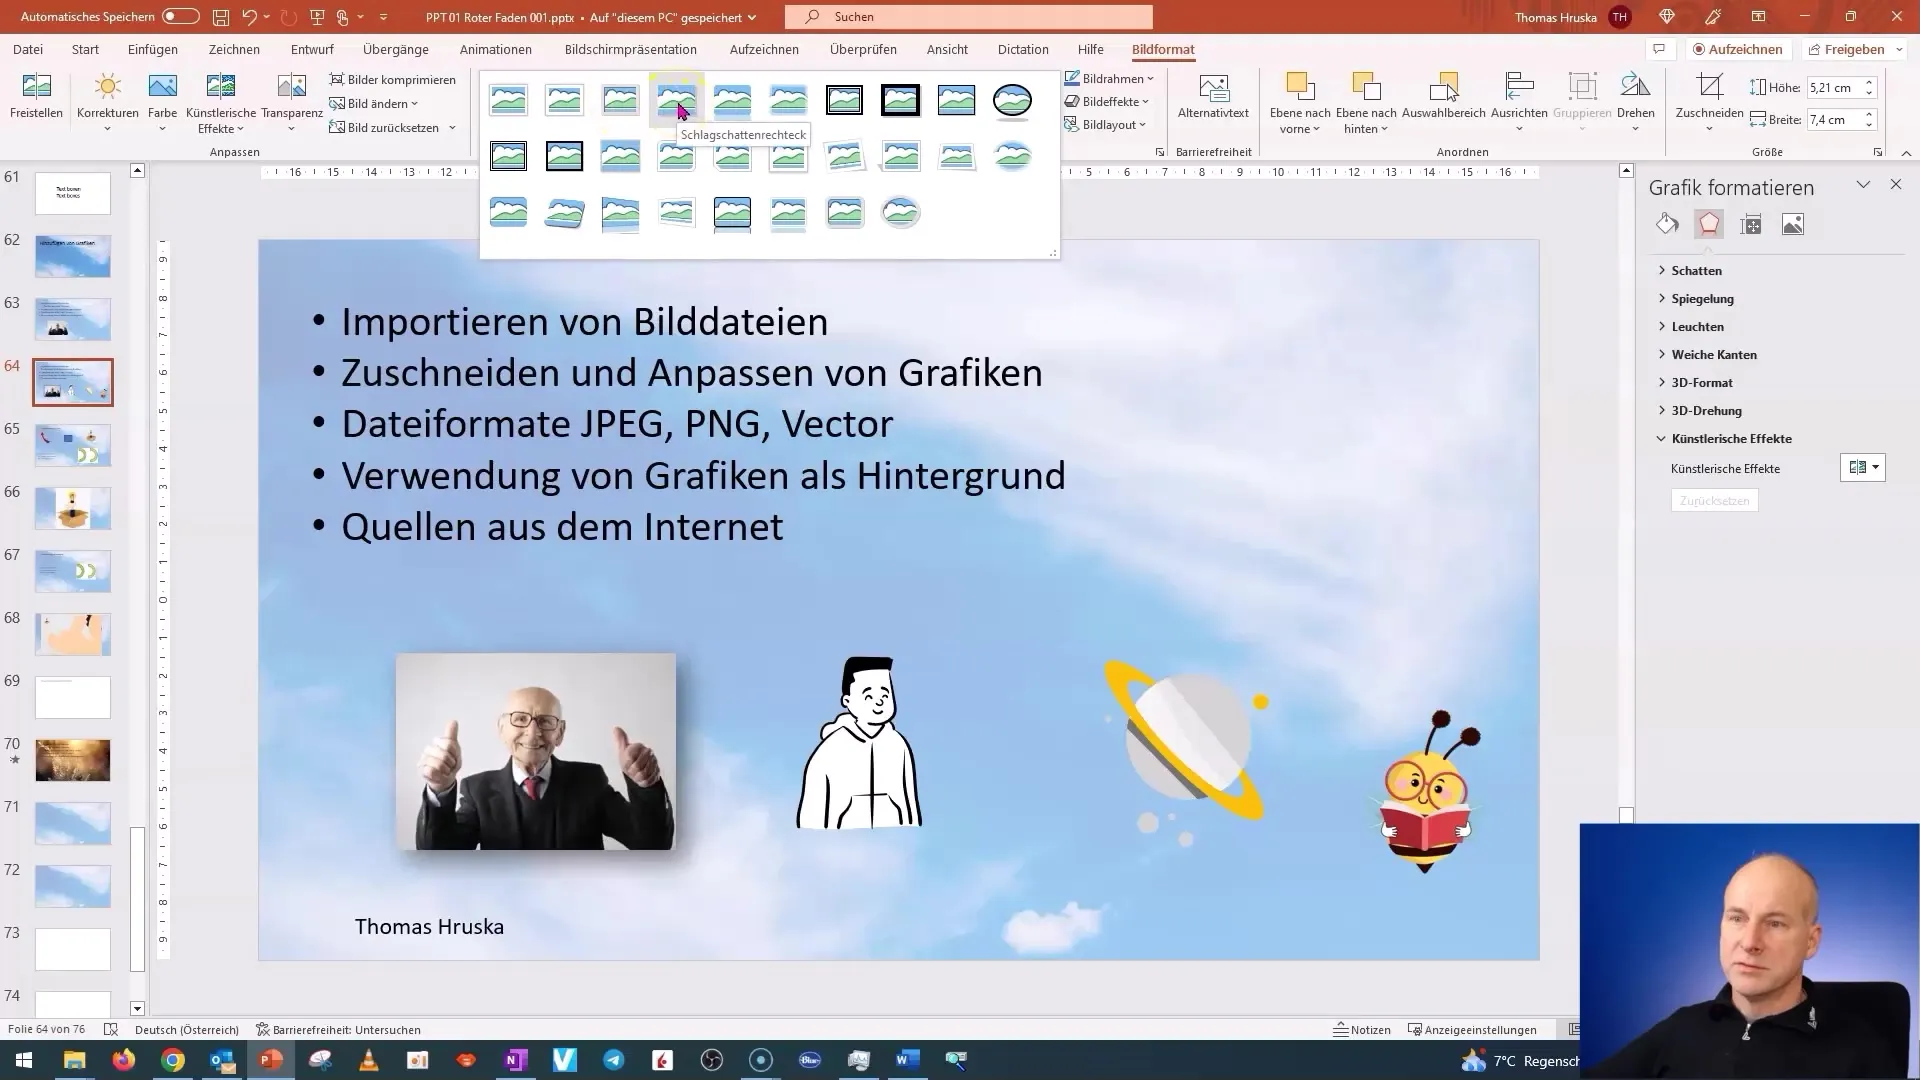
PowerPoint offers many creative ways to design images. In addition to basic cropping and adjustment options, there are also numerous artistic effects, such as frames, 3D effects, and reflections. You can experiment with different colors and effects to give your presentations a unique flair.
Understanding File Formats
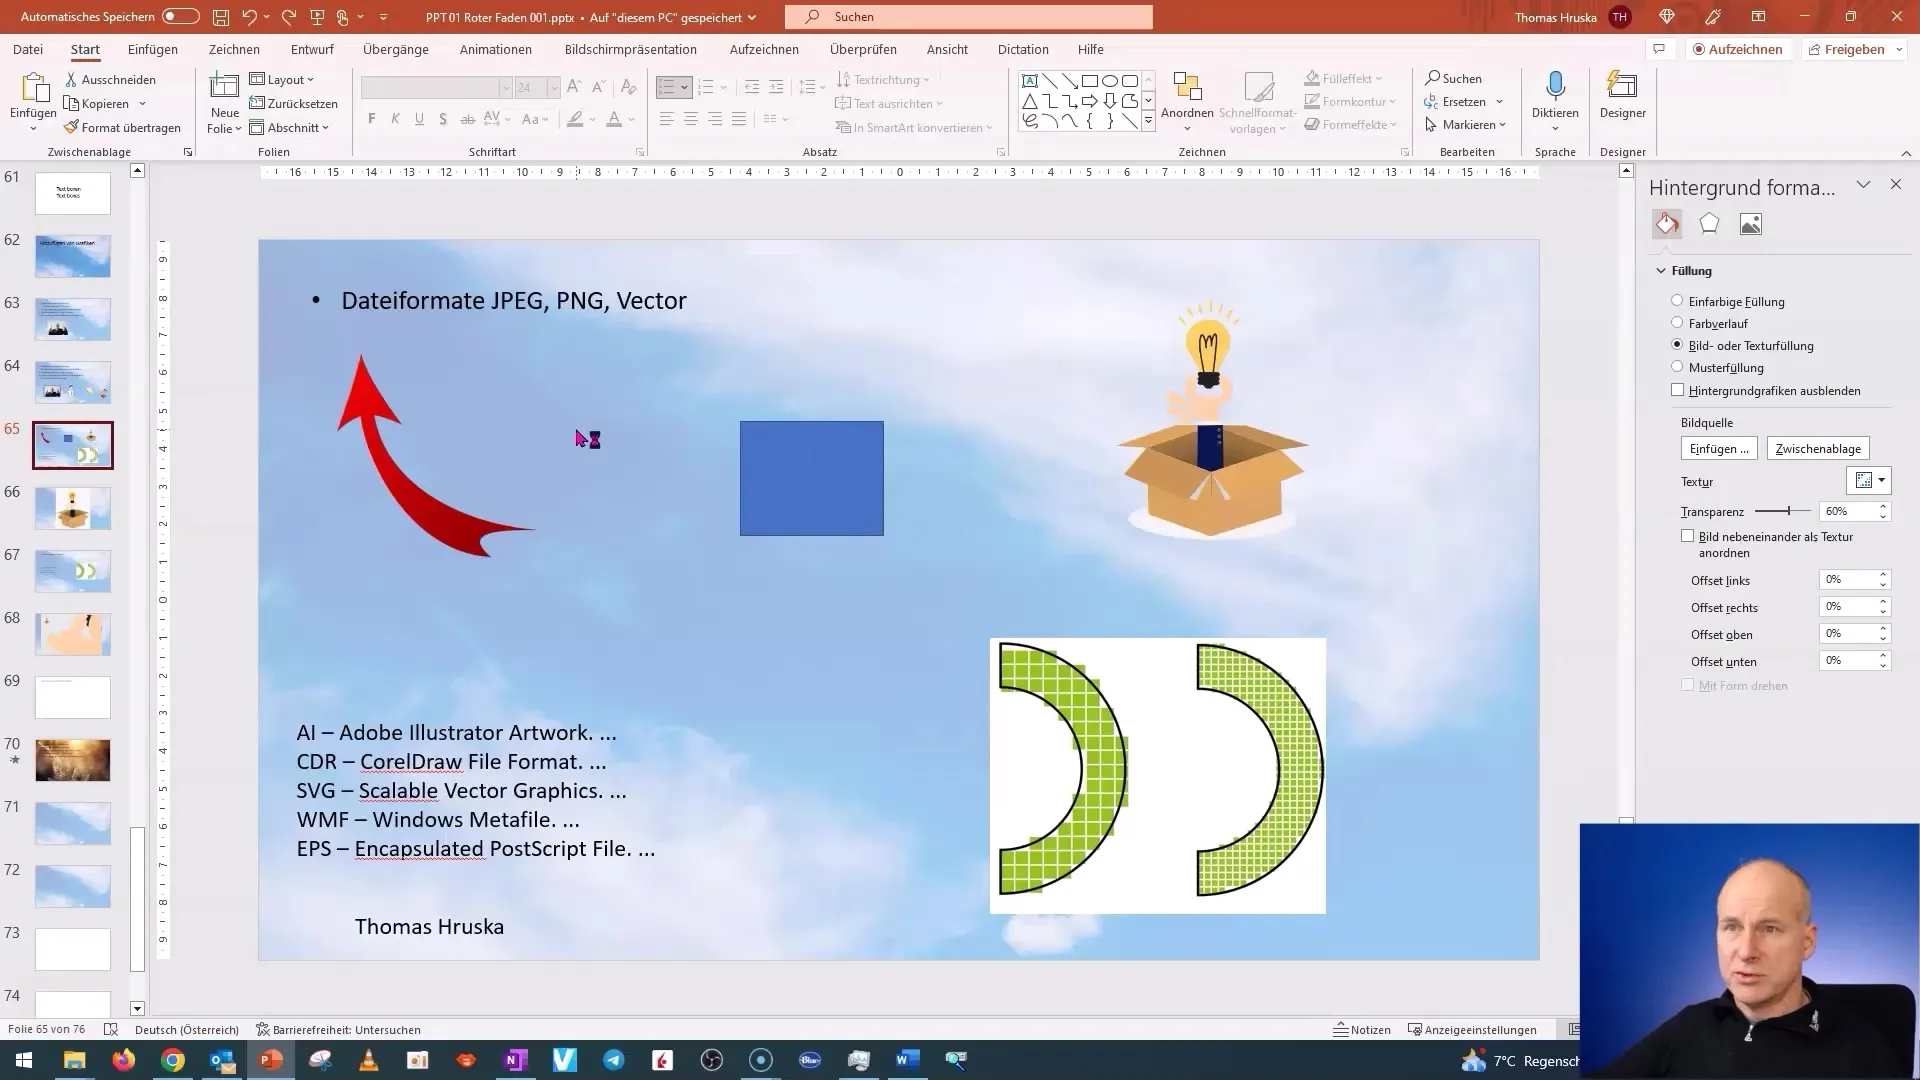
There are different image formats that you can use in PowerPoint. The most common formats are JPEG and PNG. JPEG is ideal for photos, while PNG allows for transparent backgrounds. Be mindful of choosing the right format to maintain the quality of your images.
Summary
In this tutorial, you have learned how to import, crop, and adjust images in PowerPoint. You now have a grasp of the basics of image editing and can effectively utilize various image formats. Additionally, you have discovered helpful tips for using stock images and optimizing storage space.
Frequently Asked Questions
Which image formats can I use in PowerPoint?You can use JPEG, PNG, and vector files.
How can I resize an image in PowerPoint?Use the crop tool to remove unwanted areas or drag the edges of the image to adjust its size.
Can I insert images from the internet into PowerPoint?Yes, you can insert images from the internet using the "Pictures" option in PowerPoint.
How do I compress images in PowerPoint?Go to "Picture Format" and choose "Compress Pictures" to reduce the file size.
How do I adjust the brightness and contrast of an image?Select the image and go to "Format Picture" to adjust the brightness and contrast.


