In this tutorial, you will learn everything important about inserting, formatting, and linking graphics in PowerPoint. Graphics are essential components of any presentation and help to convey information clearly and attractively. You will learn how to use geometric shapes, add lines and arrows, and customize everything to your liking. Let's dive right into the basics!
Key Insights
- Procedure for using geometric shapes and drawing tools
- Inserting and formatting various shapes
- Using connection lines and arrows
- Customization options through colors and effects
Step-by-Step Guide
Inserting geometric shapes
To insert graphic elements into your presentation, start in the "Home" menu and select "Insert". Here you will find the option to choose different geometric shapes. Rectangles and circles are among the most commonly used shapes. By pressing the shift key, you can insert a perfectly symmetrical circle.
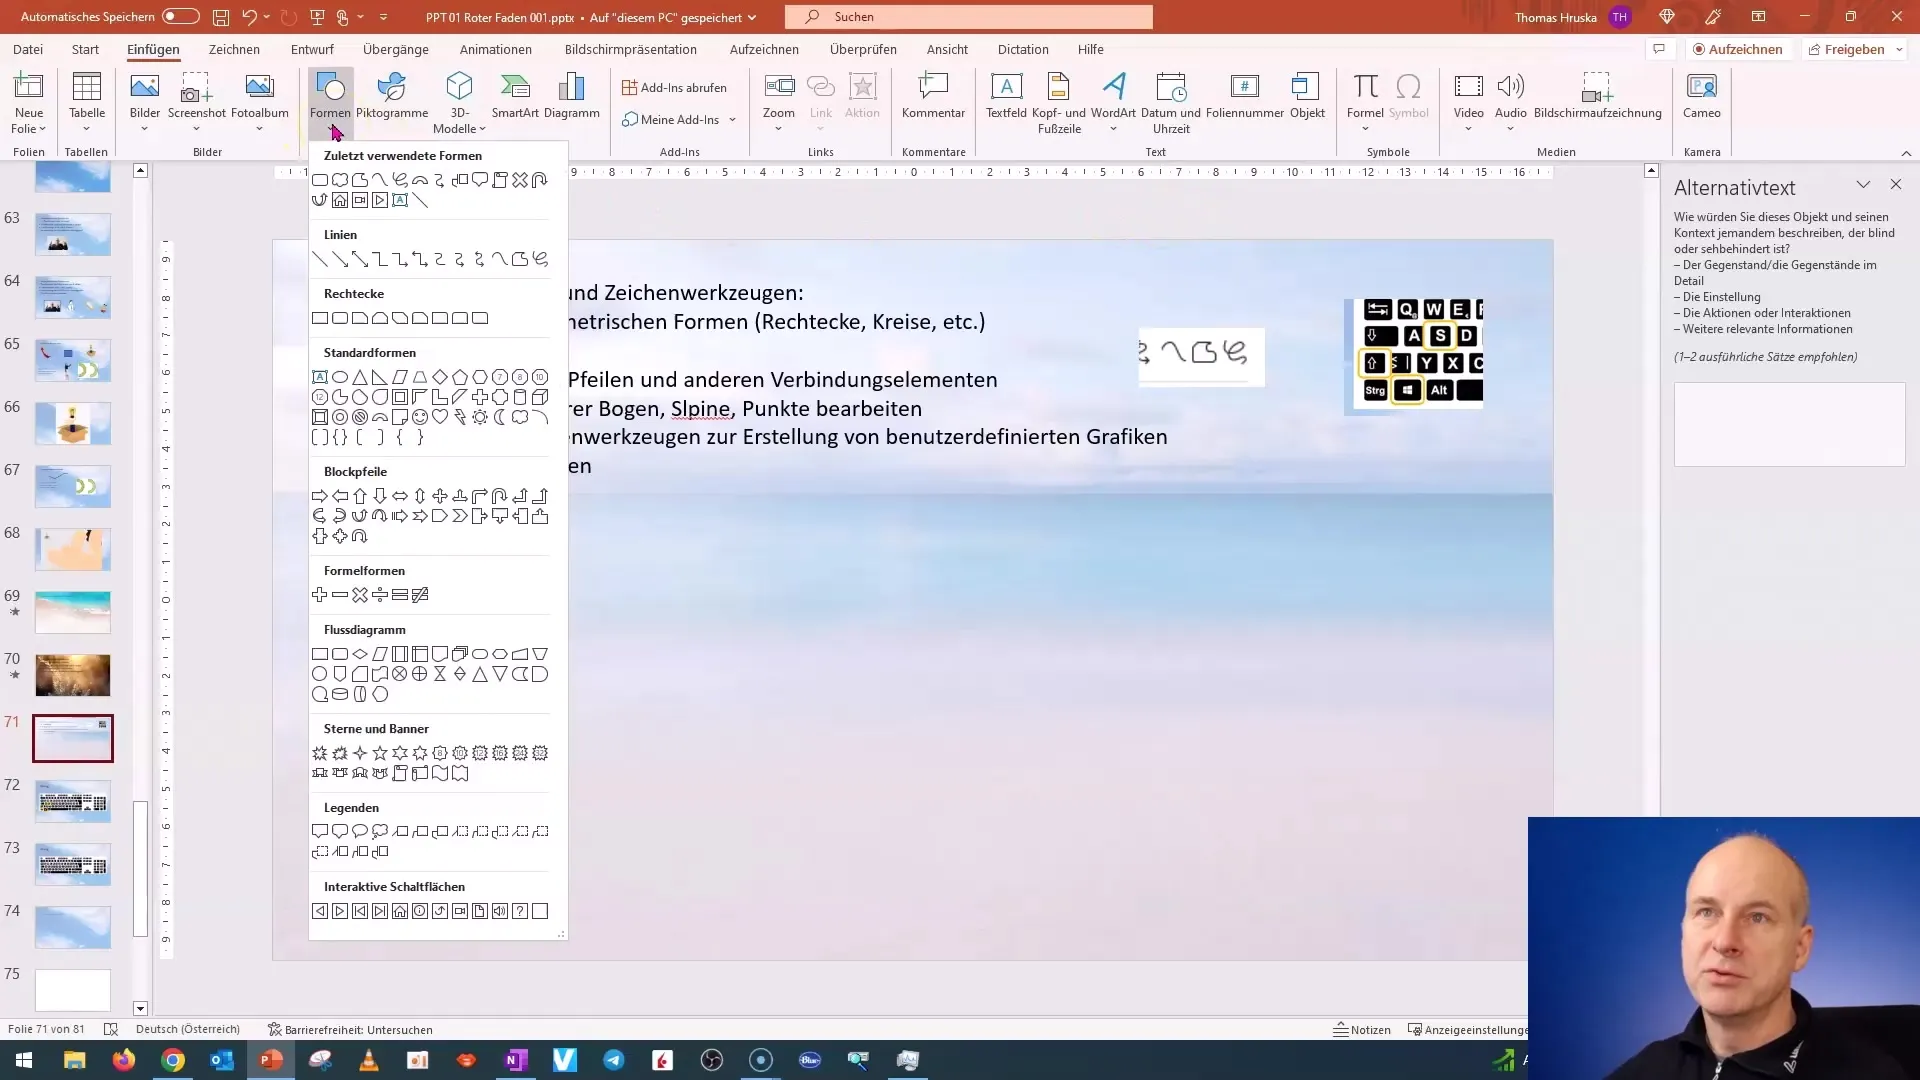
You have the freedom to experiment with different shapes. Let your creativity run wild and try out what you like best by scrolling through the options.
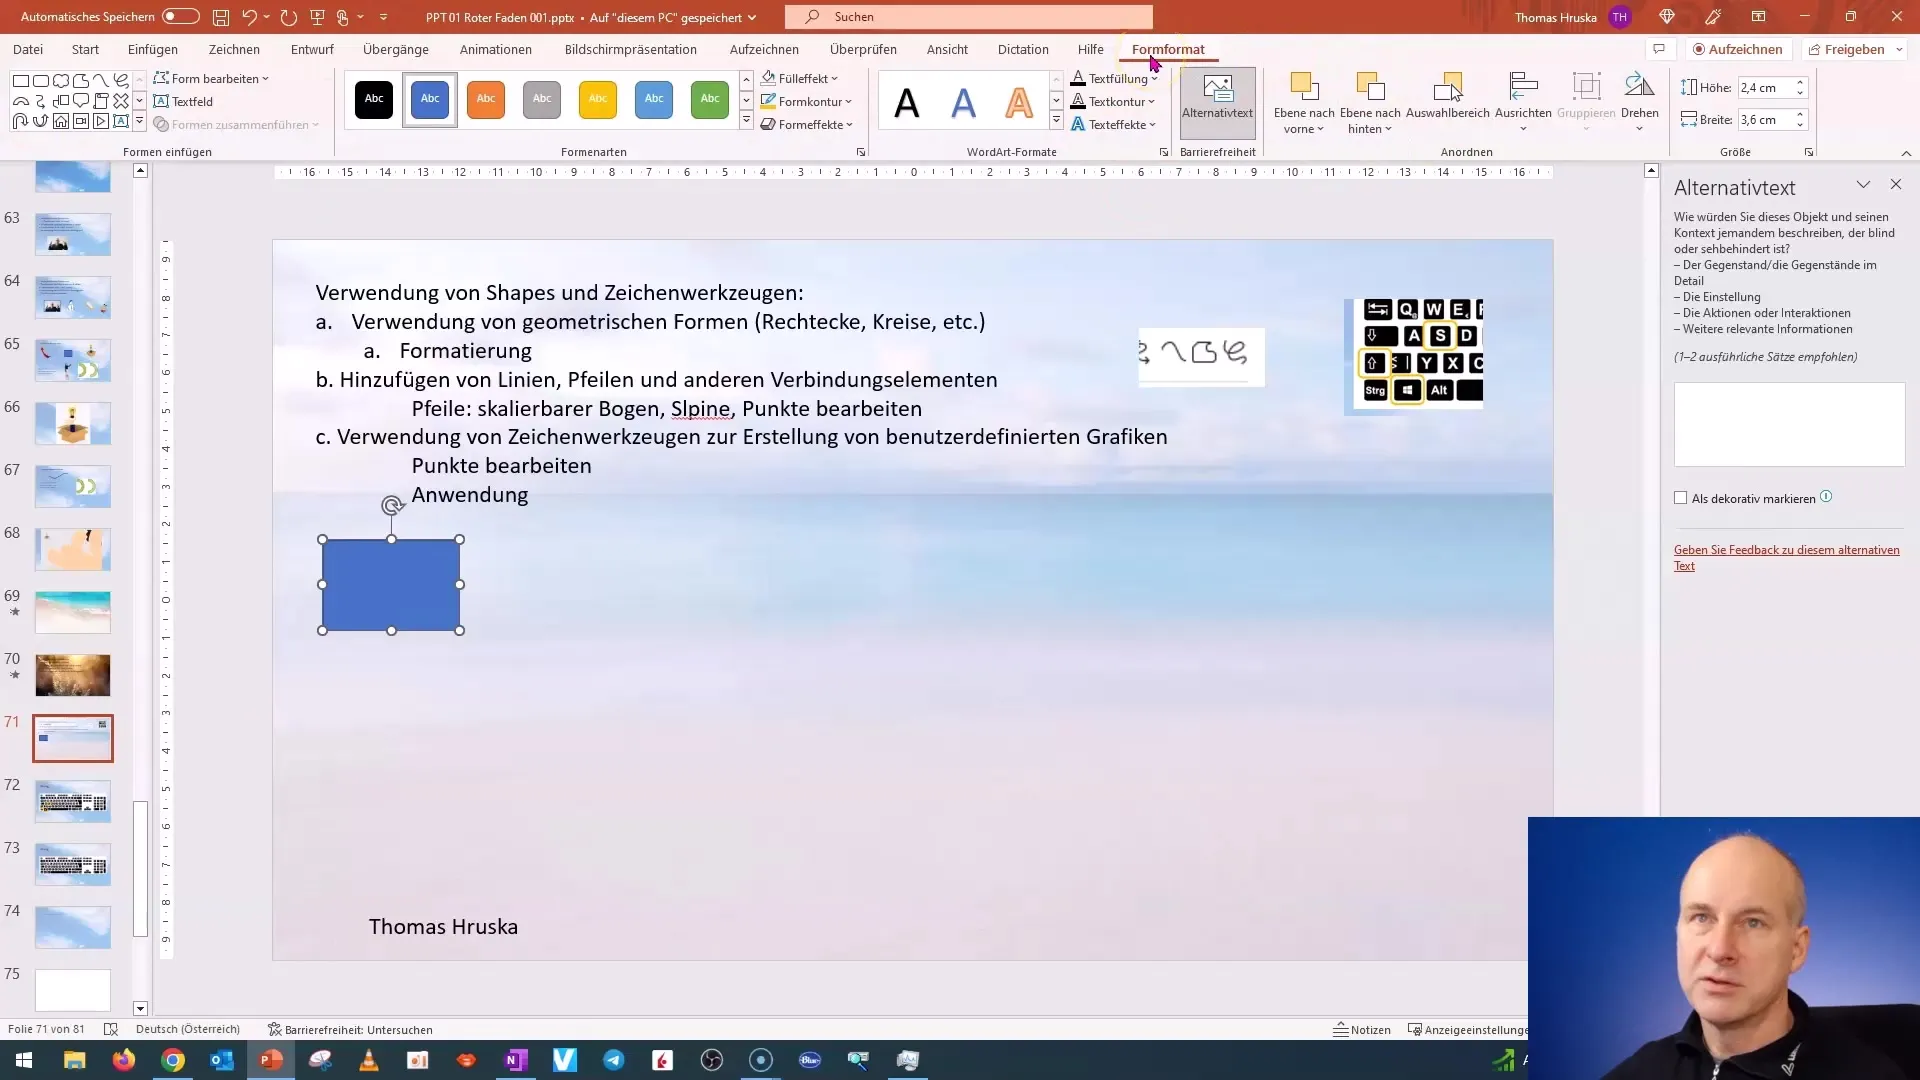
Formatting shapes
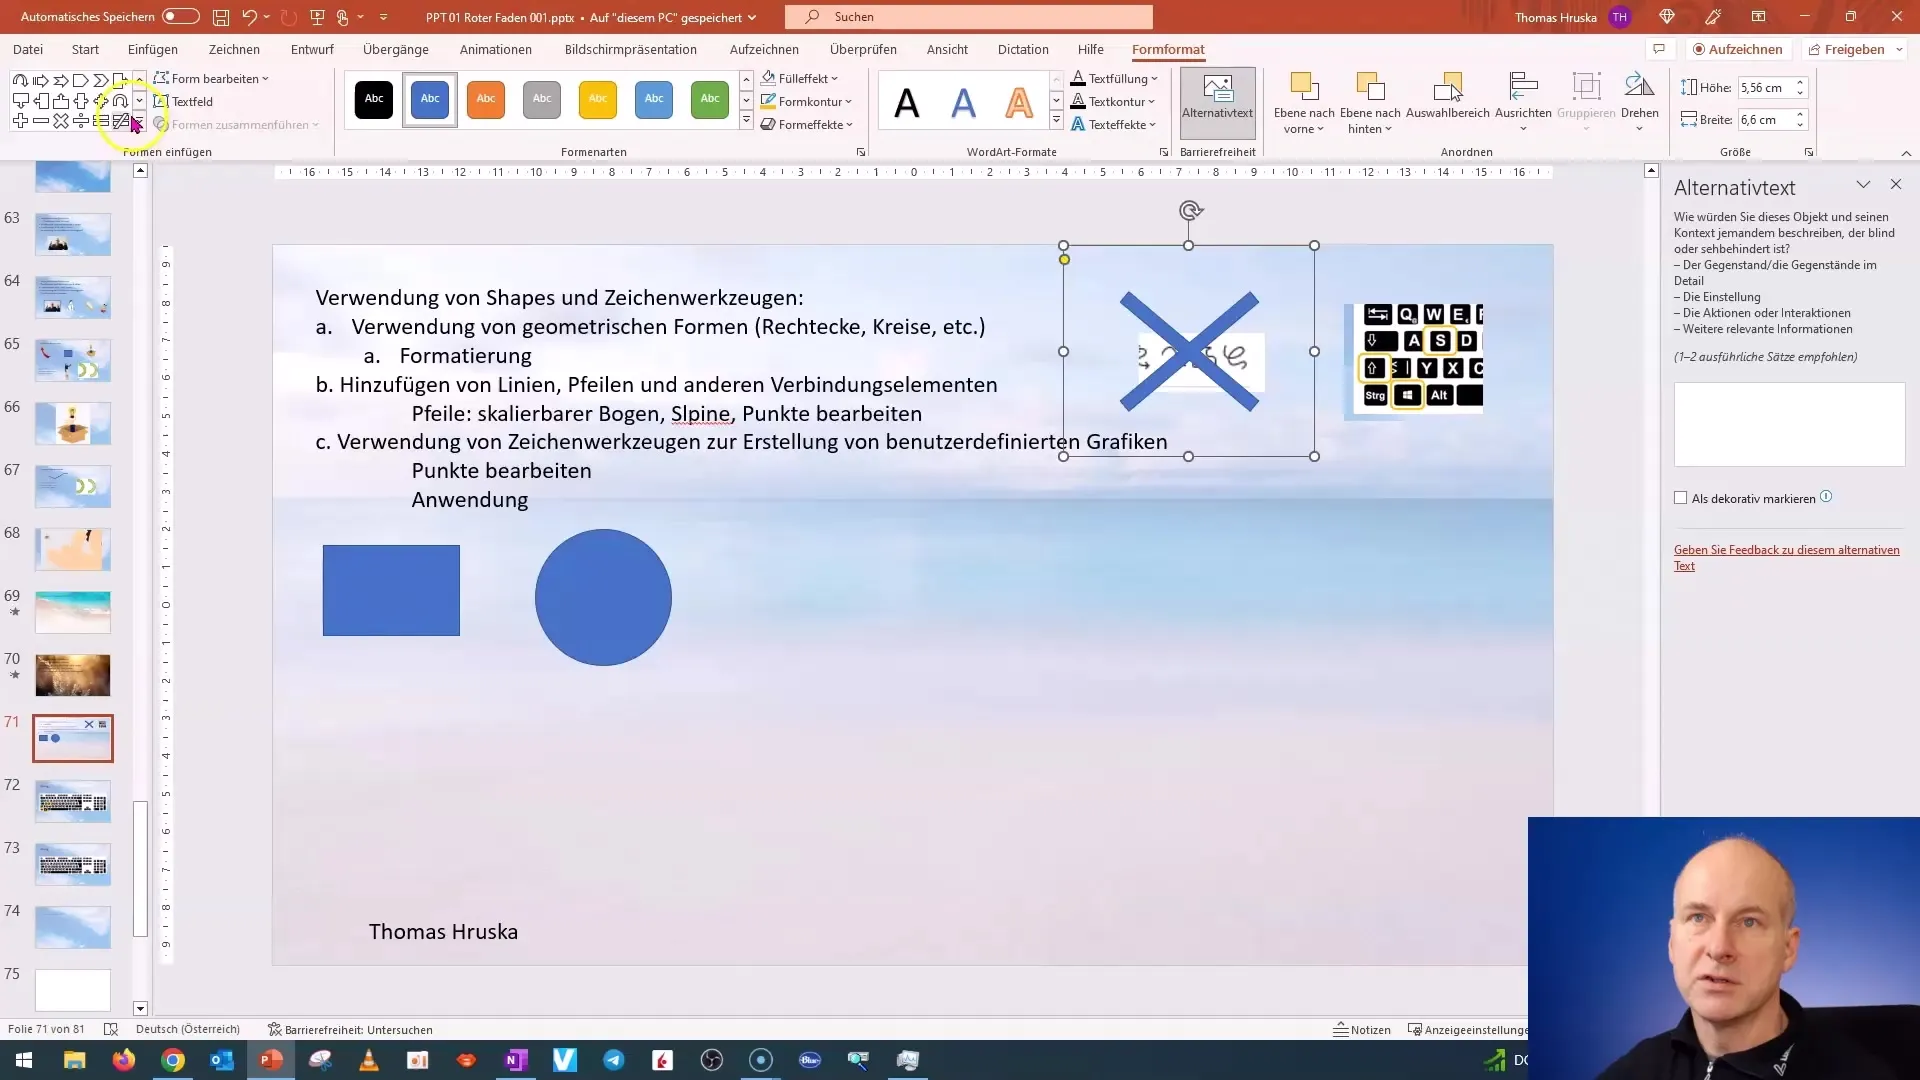
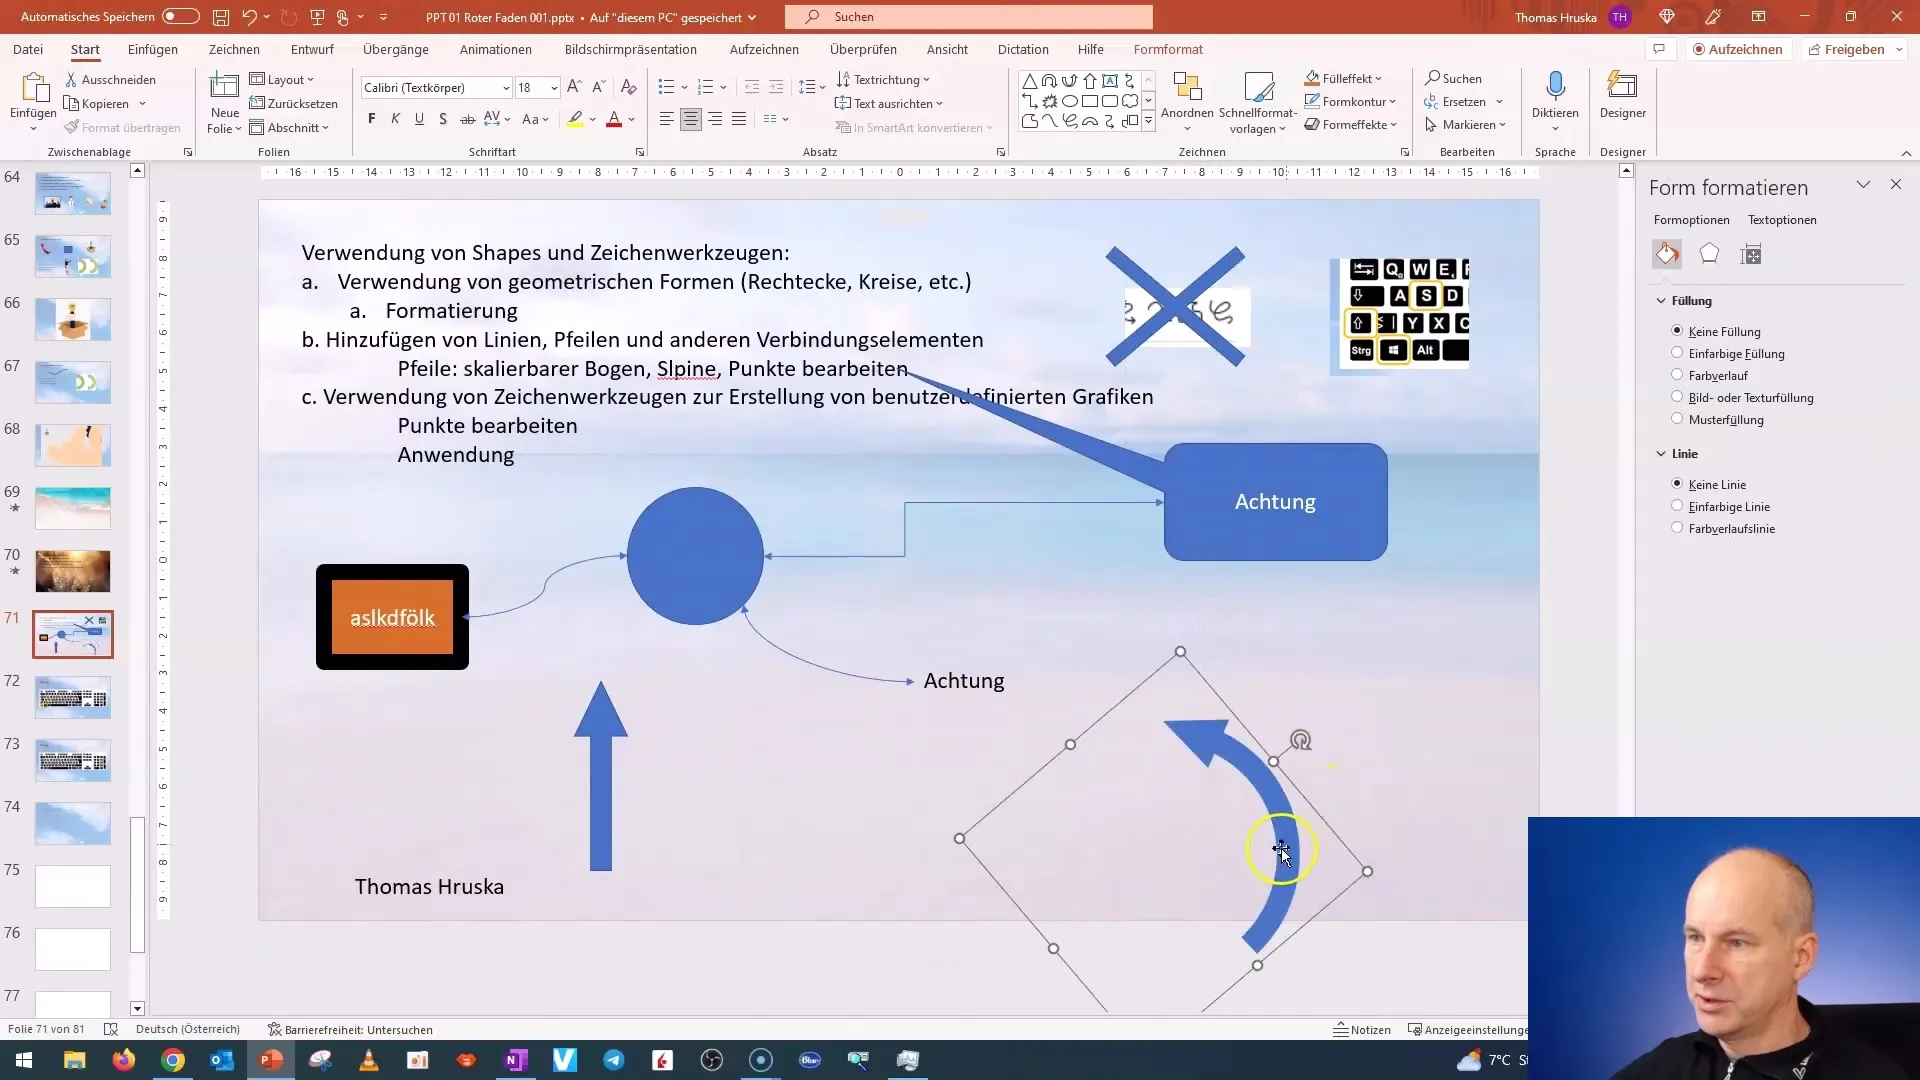
Once you have selected a shape, you can format it directly. For example, to create an X for mathematical representations, start by selecting a rectangle. Use the formatting options to make the line thinner or add a strikethrough. This formatting can be used to highlight information clearly.
Using connection lines and arrows
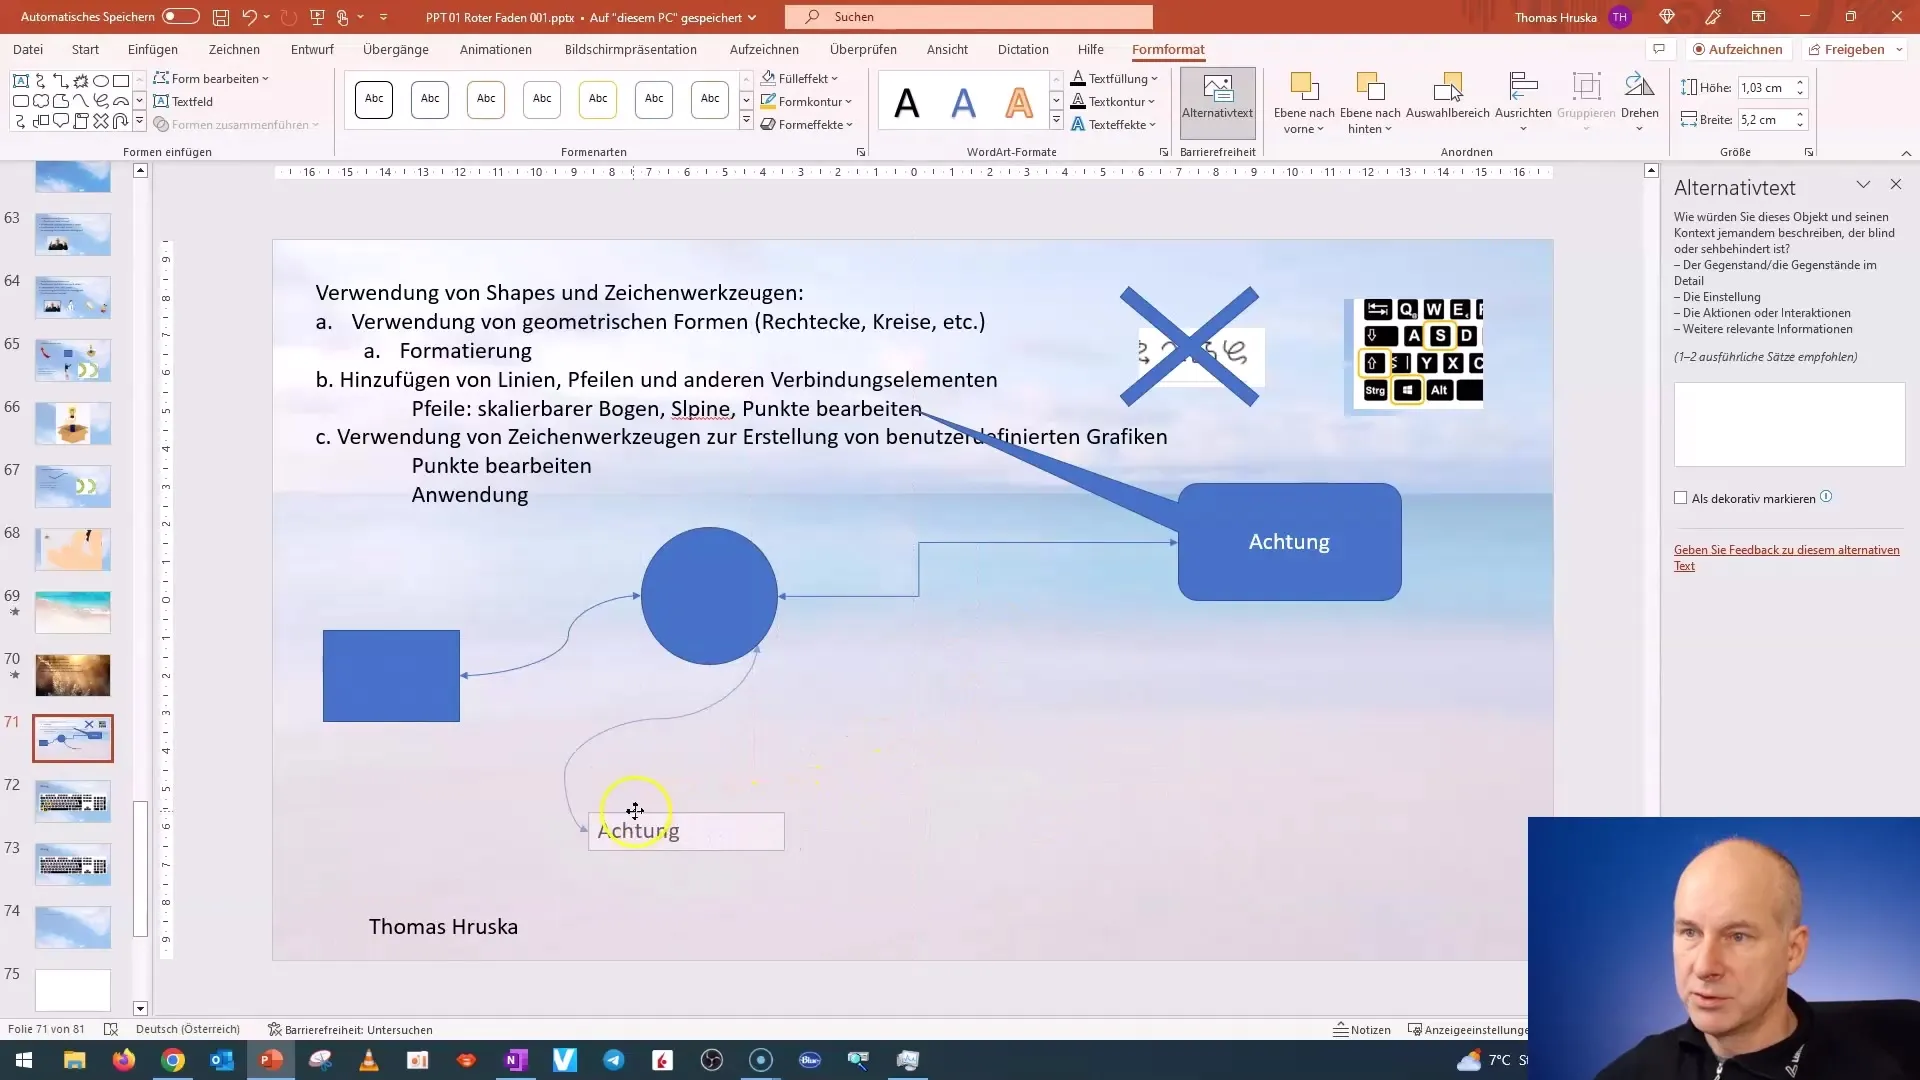
Another important element is connection lines and arrows. You can also find these in the "Insert" menu. By clicking and dragging, you can place the lines between different shapes. These connections remain intact even when you move the shapes, allowing for a dynamic structure in your presentation.
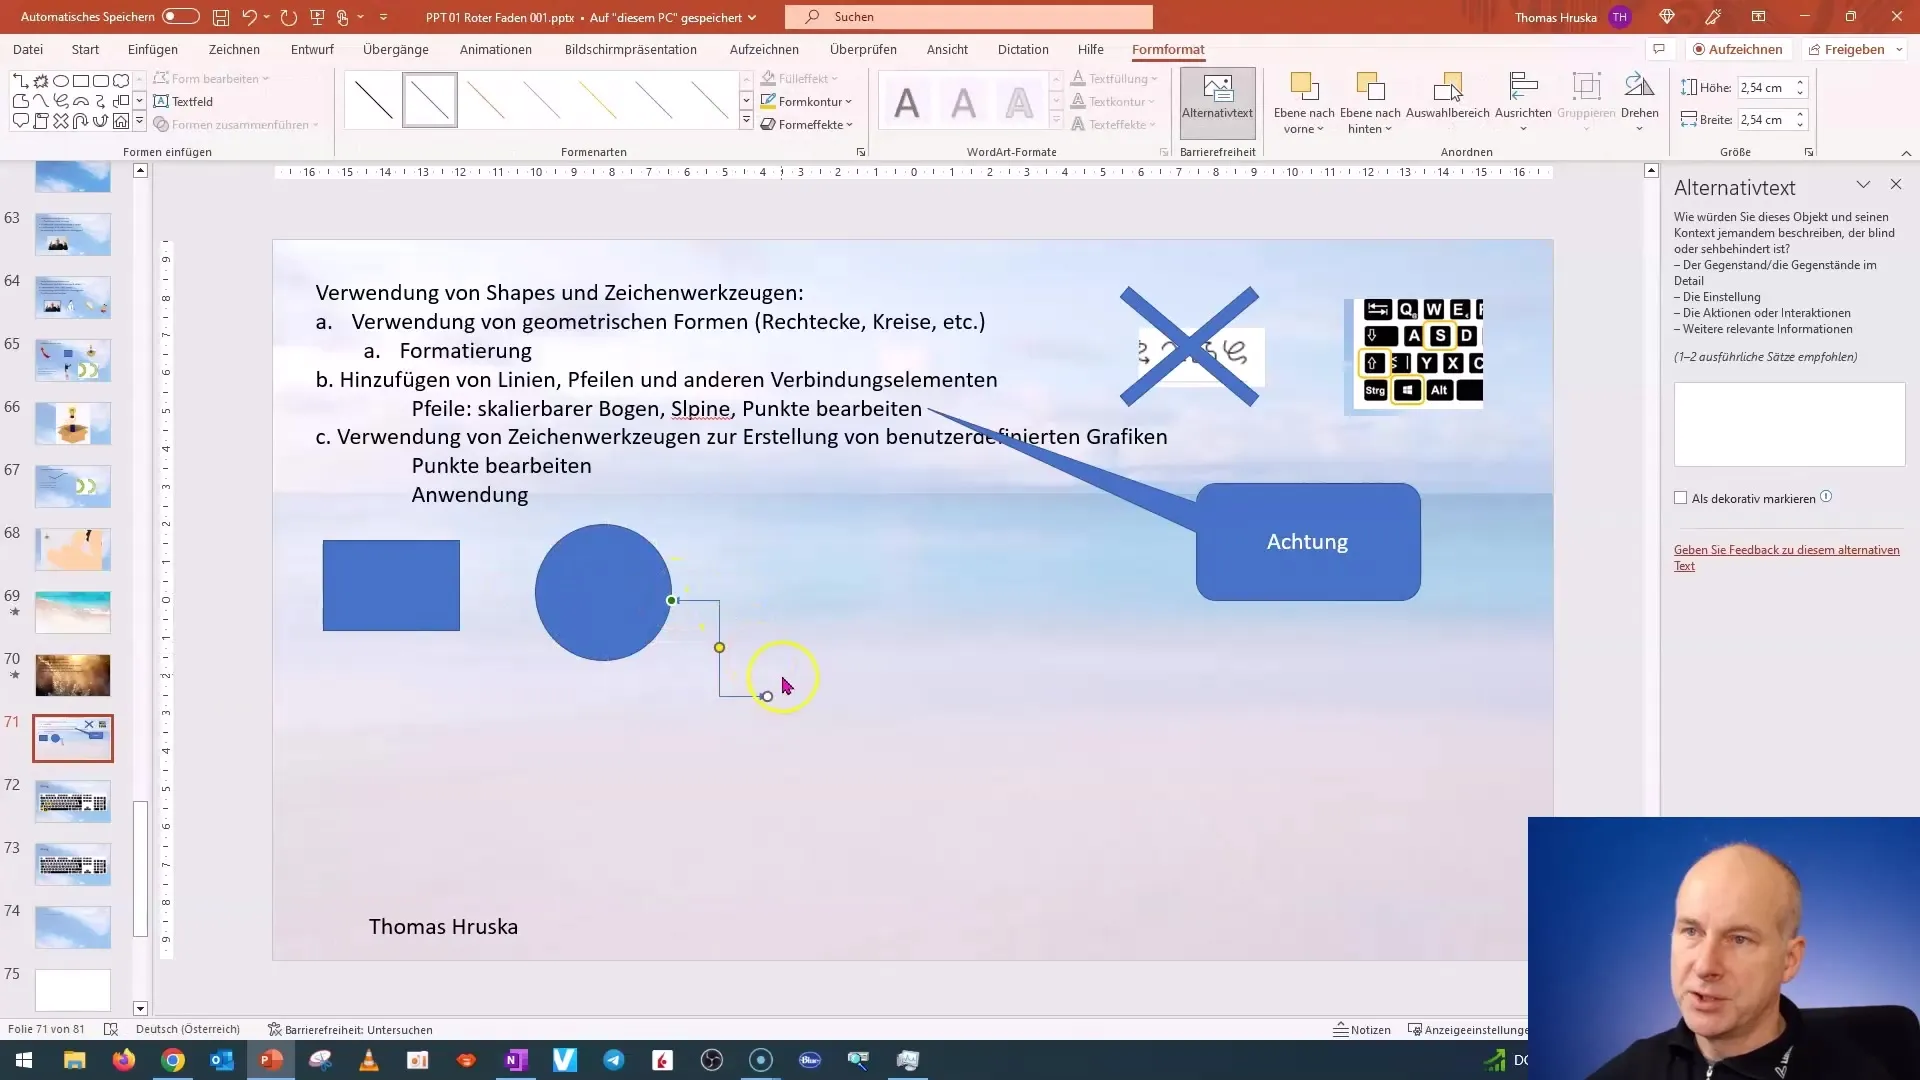
If you want to add text in addition, you can insert a text box and establish a connection arrow to this text box. This way, the connection will remain throughout your work.
Utilizing panels and formatting options
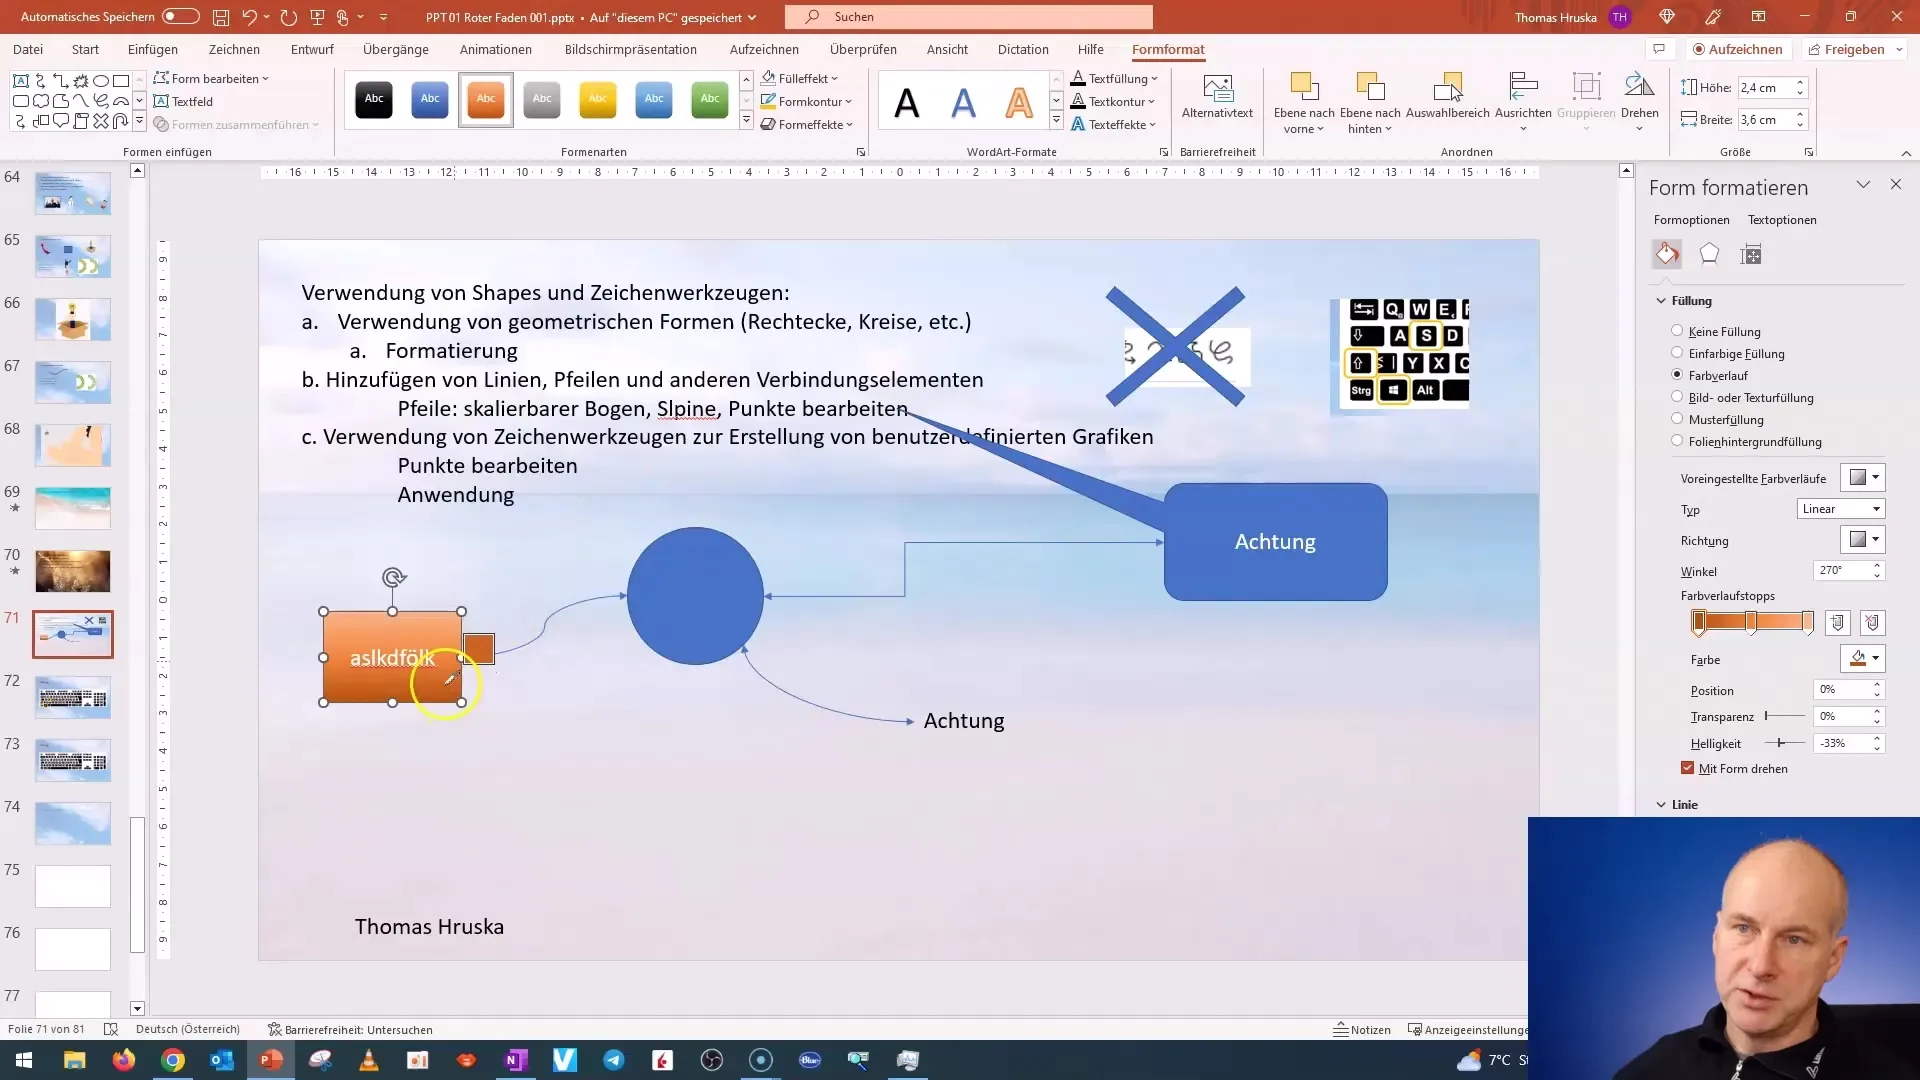
Once you are satisfied with the formatting, check out the quick formatting options that allow you to quickly change colors or styles. Here you can adjust colors, fill effects, and transparencies. To create a transparent box, activate the fill and adjust the transparency.
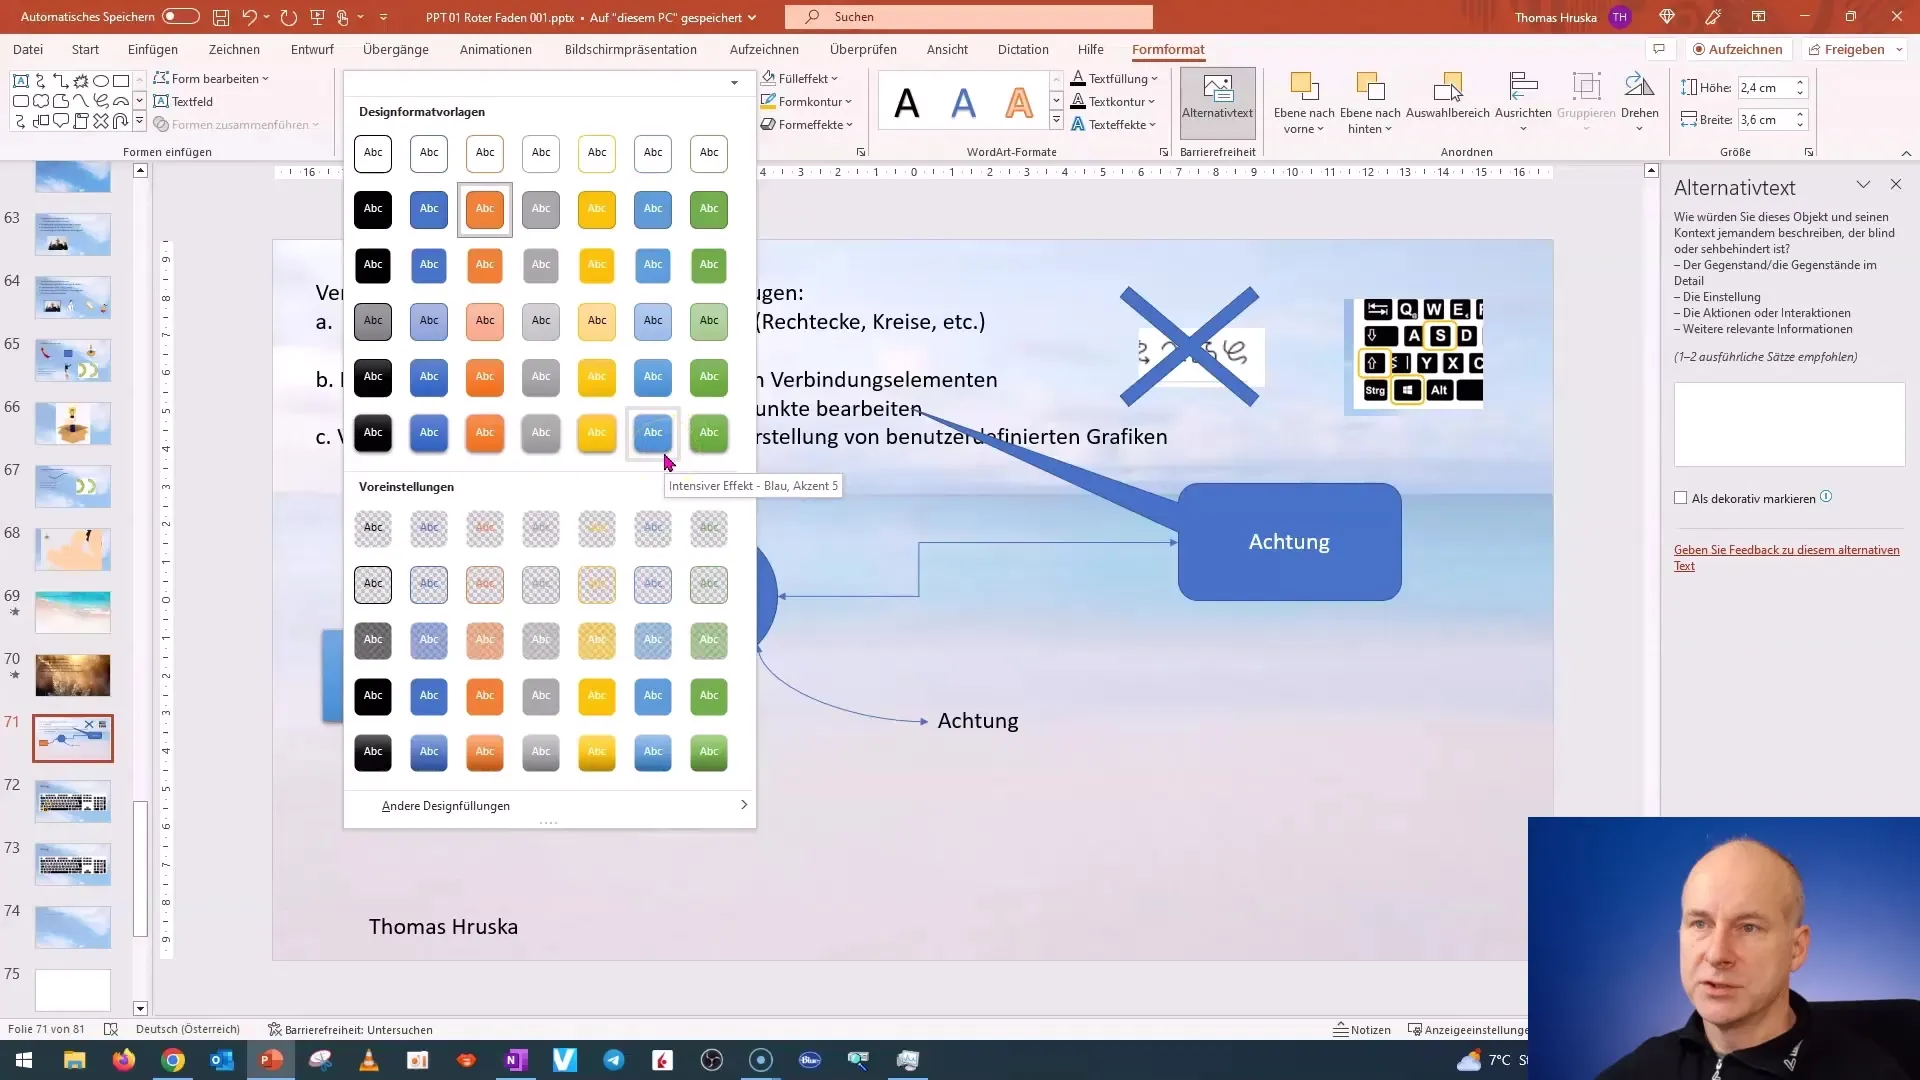
Don't forget that you can use the dropper to select colors from your presentation, ensuring everything looks harmonious.
Customizing arrows and lines
To perfectly adjust arrows, you can use different styles. When creating curved arrows, you can get creative and design them according to your preferences. If you want to create an equilateral arc, it can be helpful to hold the shift key to ensure the arc remains proportional.
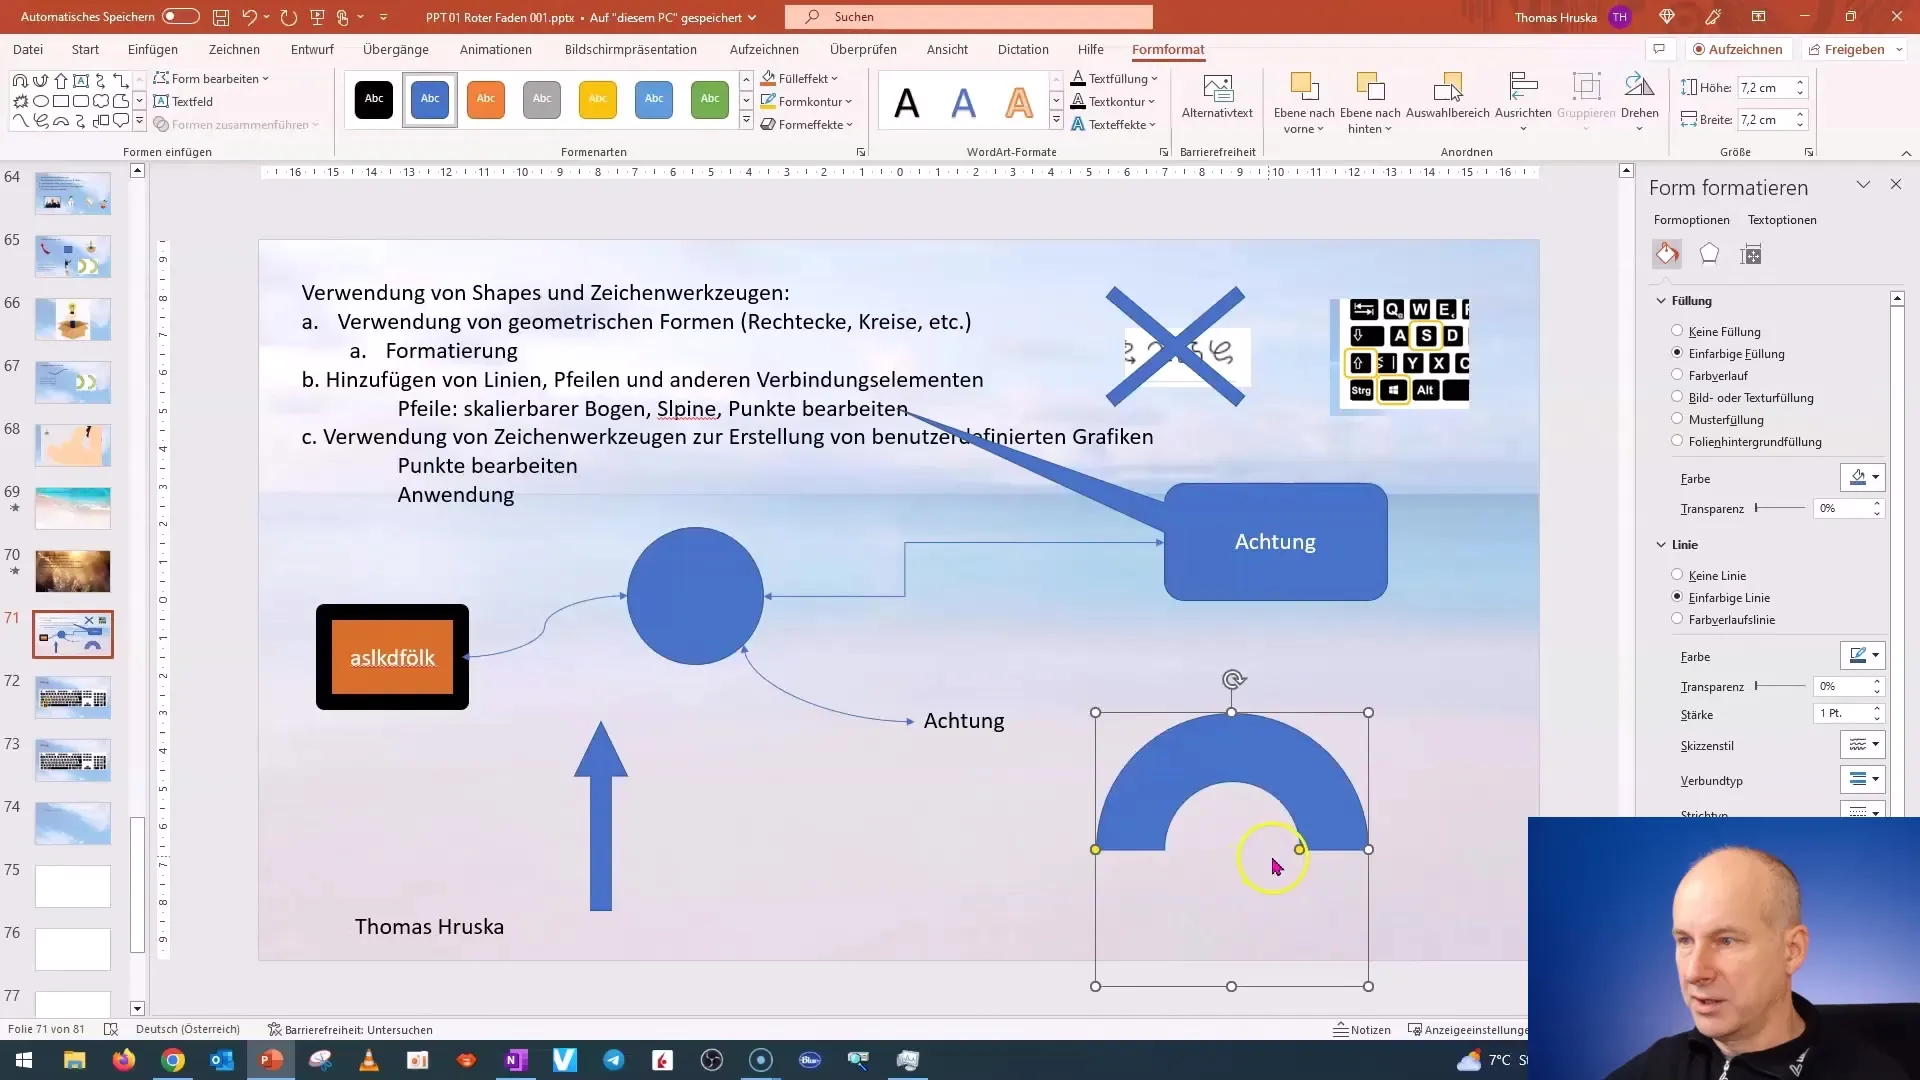
After creating arrows, you can also group them to easily adjust or move them.
Summary
In this tutorial, you have learned how to insert, format, and link graphics in PowerPoint. From selecting geometric shapes to adjusting connection lines and arrows, you now have all the basics to visually enhance your presentations.
Frequently Asked Questions
How do I insert a geometric shape?To insert a geometric shape, go to the "Home" menu, select "Insert", and then "Shapes".
Can I change the colors of the shapes?Yes, you can adjust the colors of the shapes in the formatting menu.
How do I link text to a shape or an arrow?Insert a text box and use connecting lines or arrows to link the two elements.
How do I create a perfect circle?Hold down the shift key while drawing the ellipse to keep it uniform.
Are there options for transparent shapes?Yes, you can adjust transparency in the formatting menu and set the fill to transparent.


