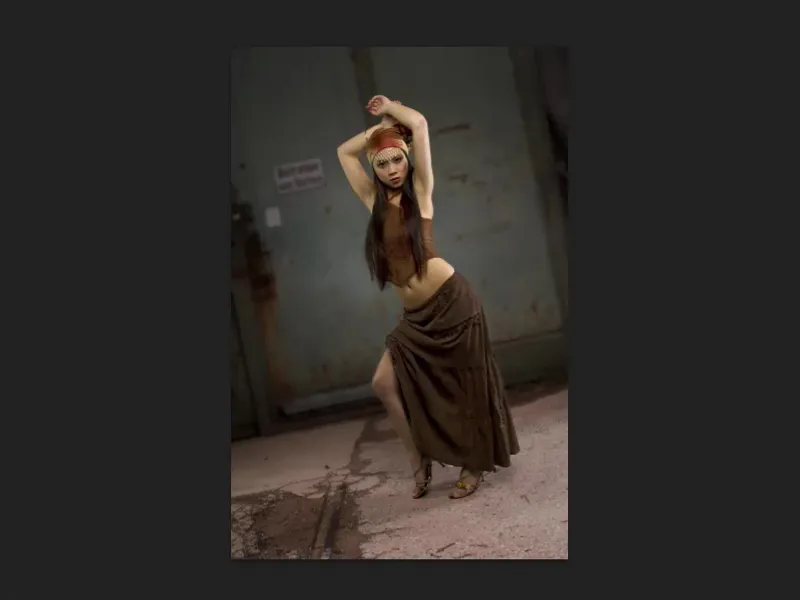
If you are photographing a studio shot in front of gray, then the easiest way at the moment is to work with an overlay technique for a photomontage. The whole thing has the background that if you take such a medium gray as your background, then Photoshop can calculate it out in the calculation mode.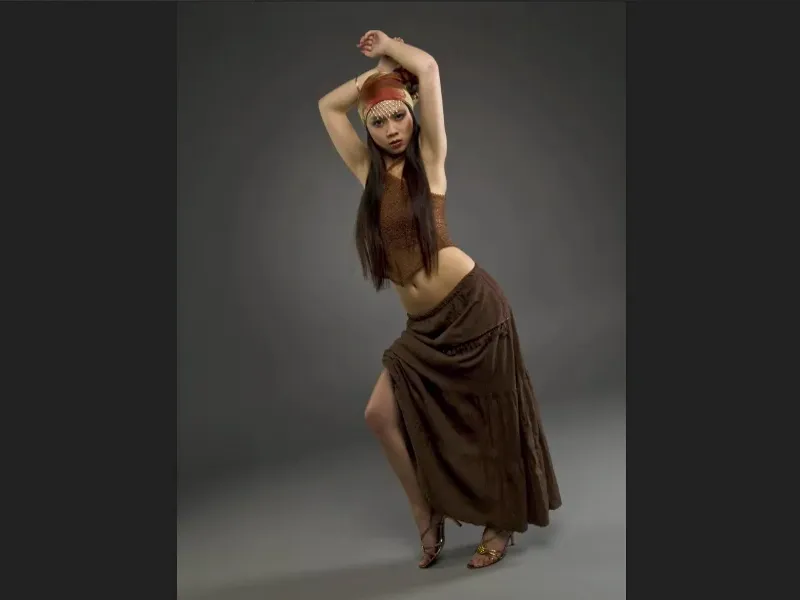
Crop and new background
All you have to do now is to place a suitable location, which you have photographed in neutral light, i.e. with little sun and little shadow, over the image, for example in the Overlay mode.
Next, attach a mask here below and brush your model onto this mask, which doesn't even have to be that precise.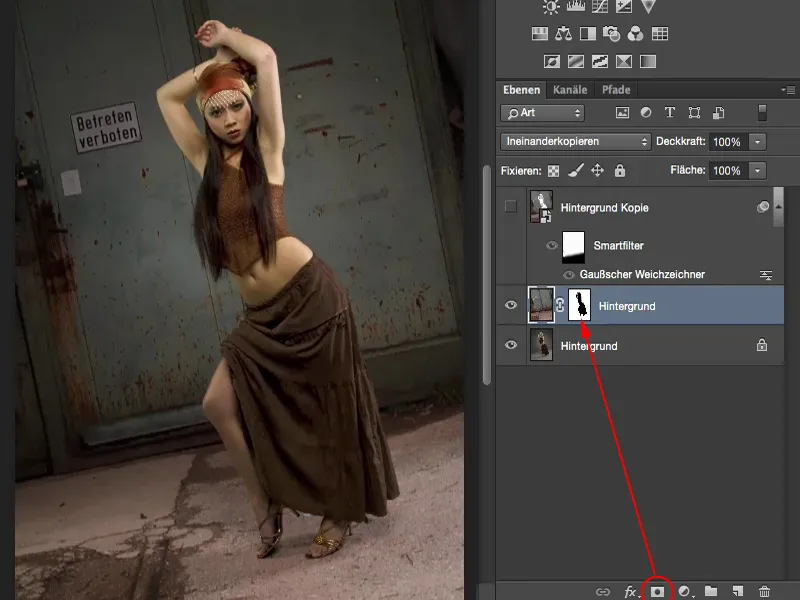
I'll Blenderthis in large here with the Alt key.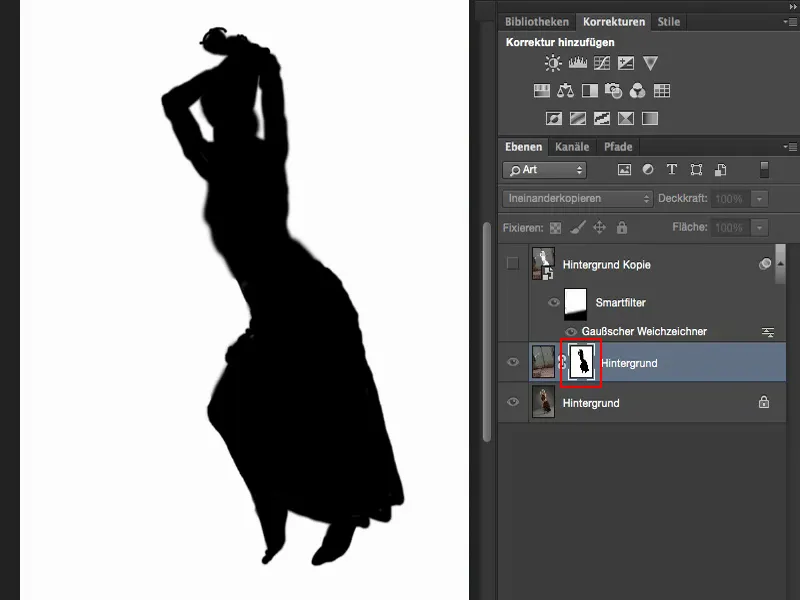
The nice thing about this method is that you don't have to worry about clipping the hair, which is usually the worst part of most retouching, because dark hair and light hair are offset quite well here. You may have to go over it once or twice with a soft brush with reduced opacity, but if you look at the before (left) and after (right), you can see that everything seems to be so translucent here. And that's the advantage of photographing in front of gray: You don't usually have to worry much about clipping hair.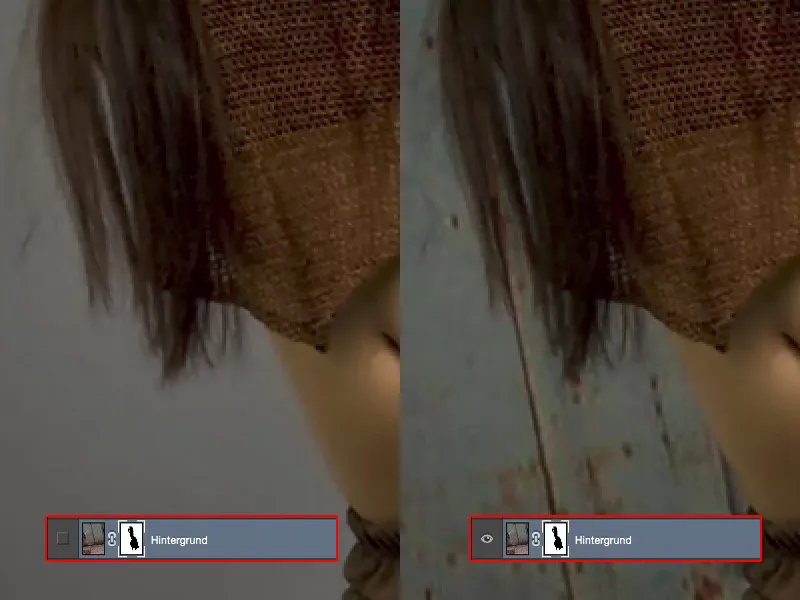
Blurring the background
But what I want to show you now is that the new background, which I think is photographed between Blender 8 and 13, is definitely crisp from front to back. And if I now want to suggest a kind of photographic depth of field with an open aperture, then I have to soften the background.
However, it's not enough to cut the whole thing off at the horizon, i.e. at the bottom of the door, and blur the flat background at the door and not blur the floor, because then I have a hard transition at the bottom edge of the door and the photomontage is immediately exposed.
But how do you make the whole thing look relatively realistic? Basically, all you have to do is turn this layer (1) into a Smart Object and then blur the background. So I'm going to go ahead and say here: Layer>Smart object>Convert to smart object (2).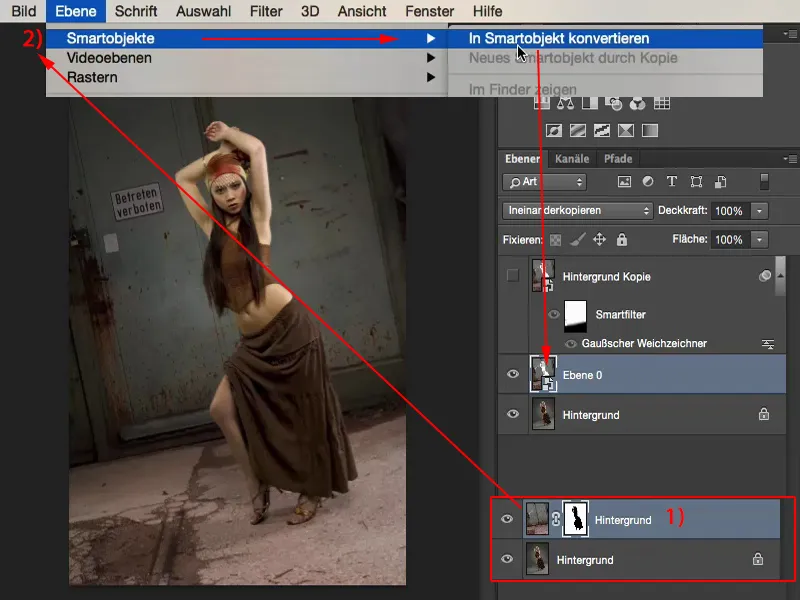
Now my layer mask is hidden behind here. If you then double-click here (1), a new tab (2) will open at the top and you will see that this is your cropped image. Photoshop will now automatically apply this mask to the smart object. And now you can blur the background.
So you don't have to go to the trouble of deleting or erasing the model, for example, or cropping again or loading and removing the mask. Photoshop does this automatically in the Smart Object. It puts it all together and shows you what's left. And that is the cropped background. I'll close the whole thing here again (3).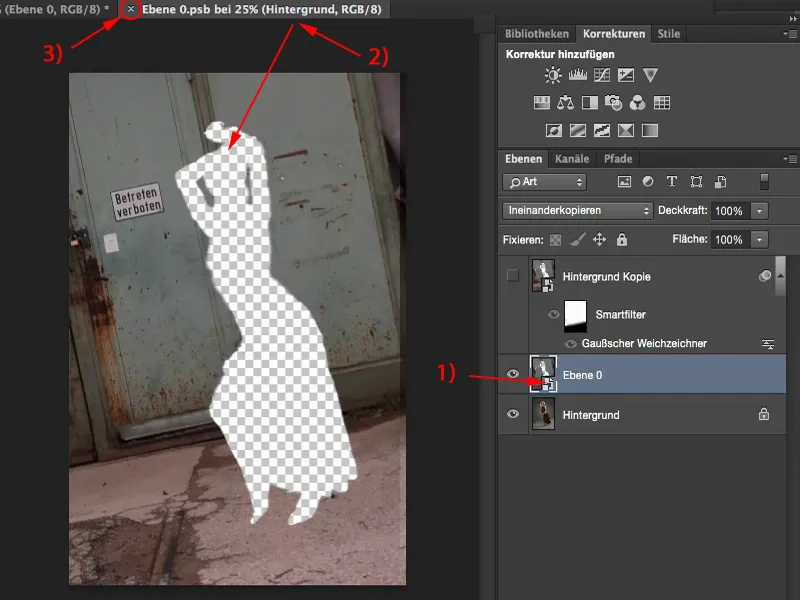
And now I just have to apply the blur filter. I'll use the normal blur filter, the Gaussian blur filter (1). And depending on how much gas I give here, how high I go with the pixel radius, the background becomes blurrier (2).
Something like this, with 34.6 pixels, would be unsightly here. It also means that you get slight edges around the model and the whole thing is exposed again. Too little radius has almost no effect, so you have to find the point where it blends really nicely, where you say: "Yes, she was standing here maybe only 1.50 meters, 2 meters in front of the gate." - The depth of field can't really be that great.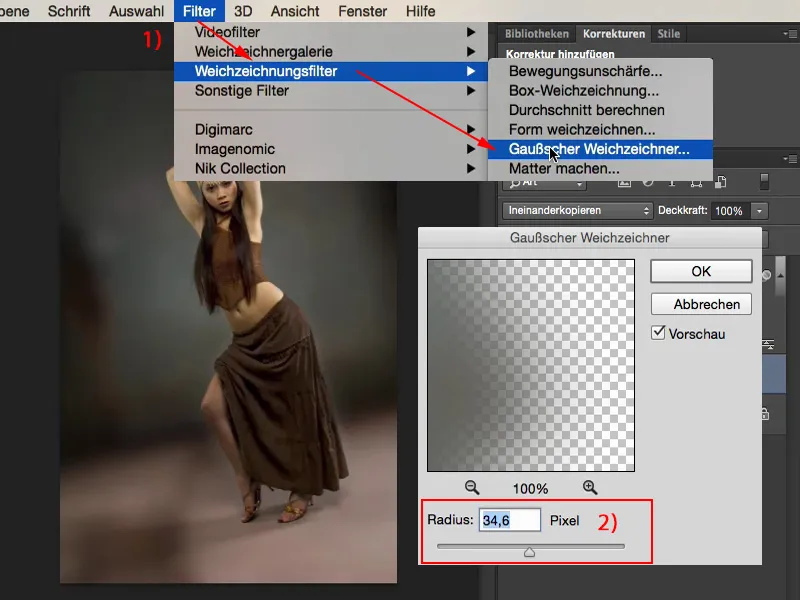
I think with 5 to 7 pixels, let's go for 6 pixels, it looks realistic.
Now, of course, I've blurred the entire image, the entire background, including the ground she's standing on, but I have a smart filter here that automatically applies a mask.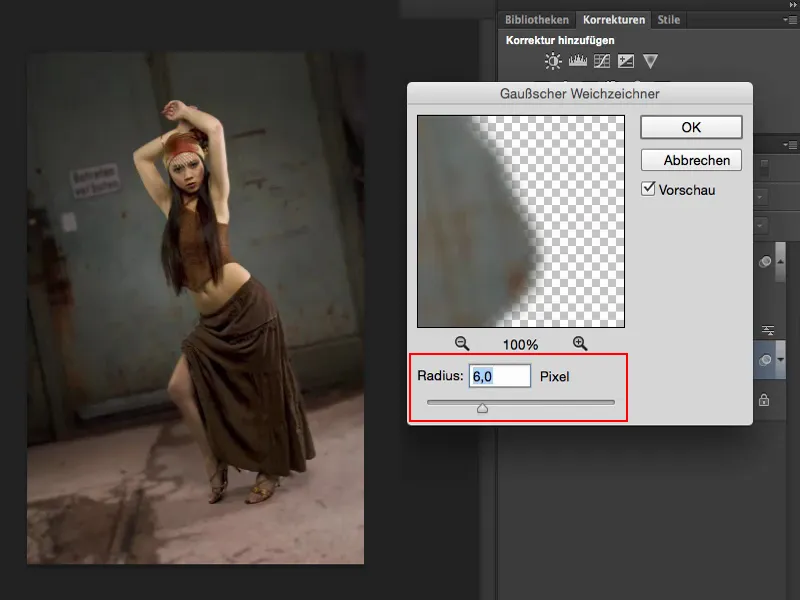
Creating a sharpening gradient
All I have to do now is use a black brush (1), which is very soft. And here in the front, where she's standing, I'll just go over it with 100% opacity (2), because it definitely has to be the same hardness as the model, i.e. the same sharpness.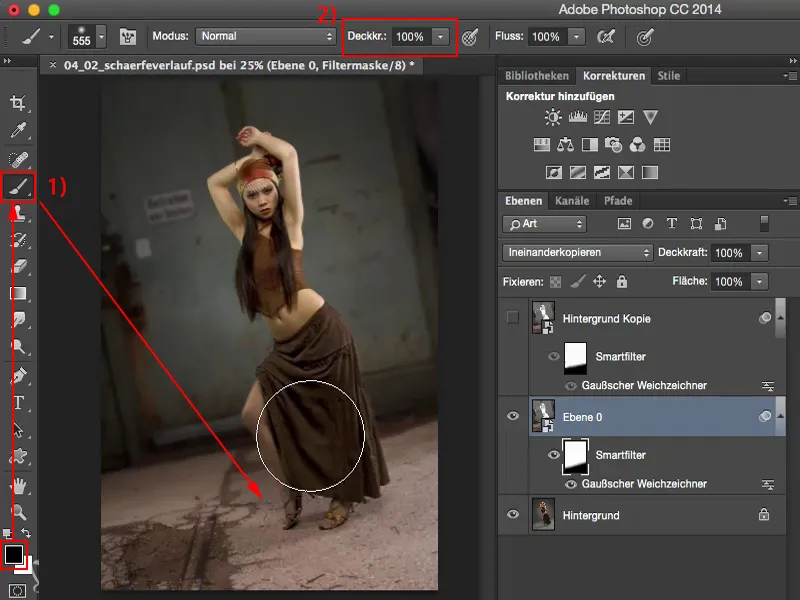
And then I simply go down with the opacity to 20% to 30% (1) and perhaps brush over it once in the horizon line and again slightly below the horizon line (2). When I look at it now, I have a gradient from the front on the ground, very sharp, to the horizon line at the back, and it's getting blurrier and blurrier.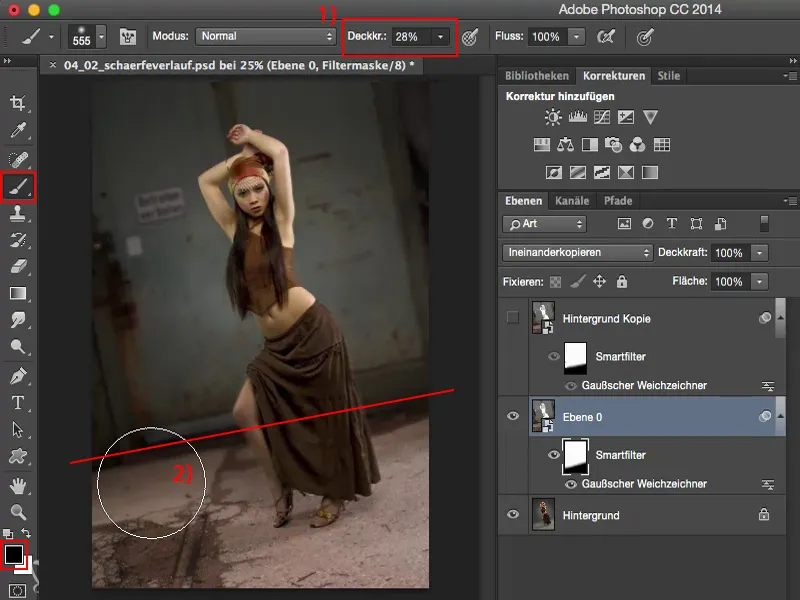
I zoom out again and take a look at the before and after comparison, then I can get a very good overview of whether it worked or not. And I think it worked very well.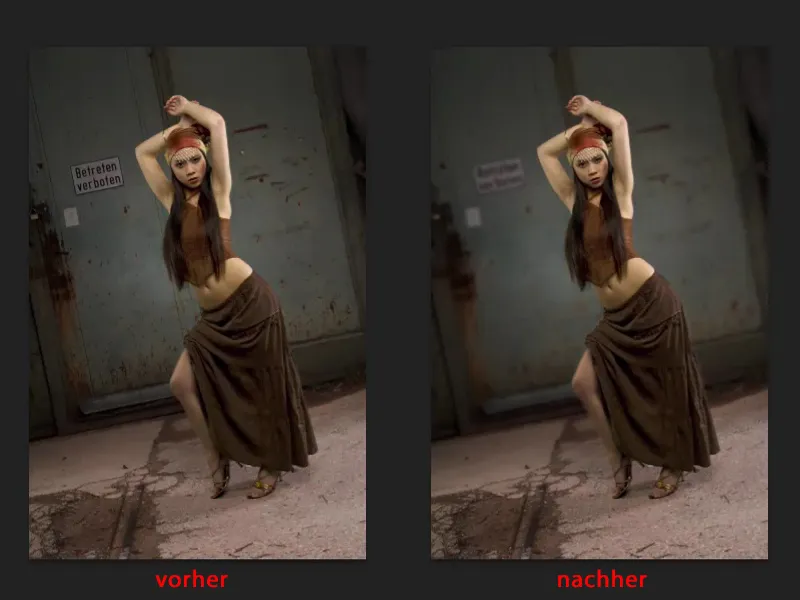
The model stands out from the background and the fact that I've created a soft transition here means that the whole thing blends in perfectly.
Alternative: gradient
You could also work with a gradient (1). If you simply apply a gradient from black to white (2), you'll basically get the same result. Personally, I always like to brush on a gradient like this because then I really have the option of saying: "A little more here, a little less there", and I can control it.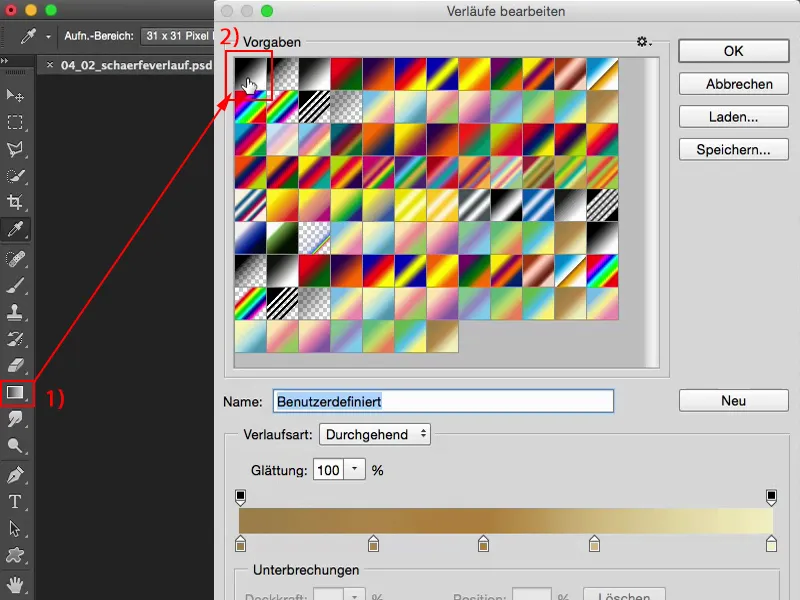
Blur mask
Here is my mask again, activated by clicking on the mask while holding down the Alt key(1). What you can also do is blur the mask.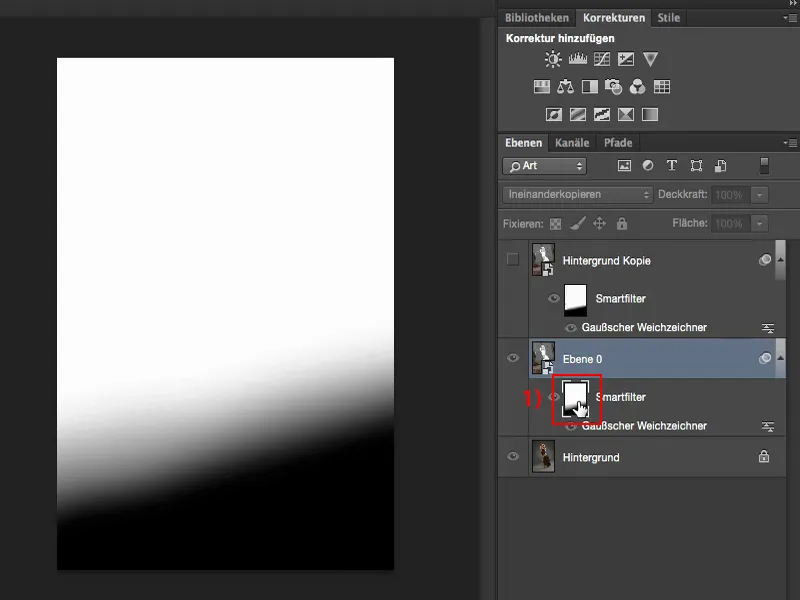
Here you can see all the filters that you can apply to masks. Many people don't know this because they think: "Well, I don't have any pixels here and masks are only used for painting." You can indeed run blur filters on masks. Only the blur gallery doesn't work here.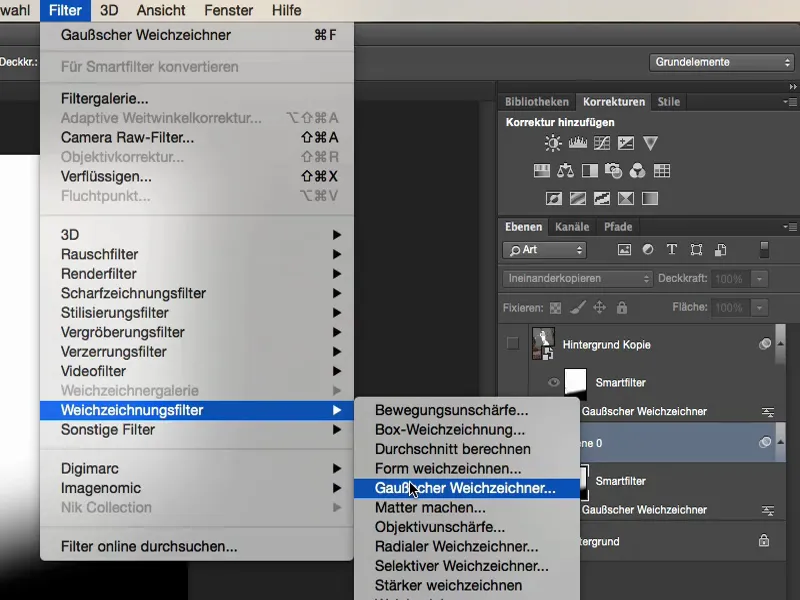
If you want the transition to be a little softer, simply increase the radius a little and you have created an even softer transition. In principle, it's the same as if you were to apply the gradient here. This also works very well with masks.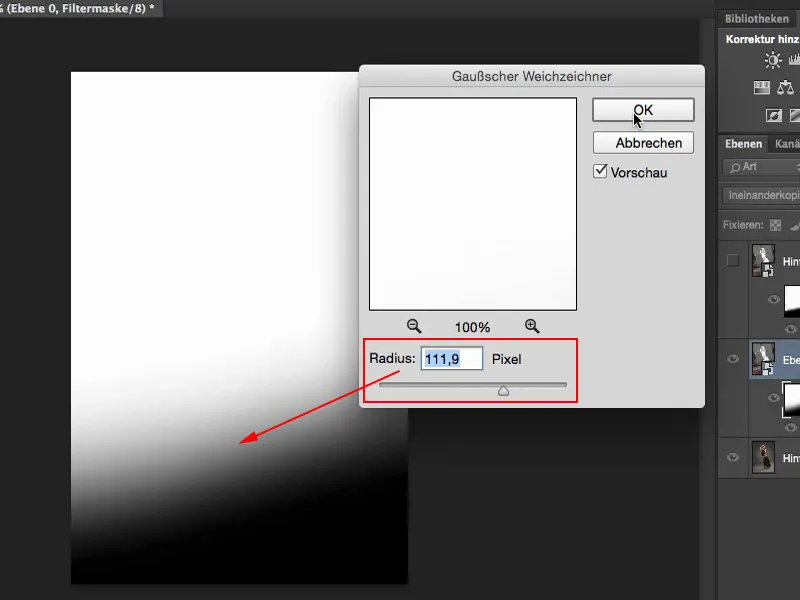
Result
And now my model is actually quite well integrated here. And all of this only works with this blurred background, which suggests a photographic depth of field.