In this tutorial, I will show you how to work with freehand lines, arrows, and various shapes in PowerPoint. Creating and editing splines (freeform lines) is a valuable tool for designing custom graphics. Whether you are technically savvy or a beginner, with the right steps, you will be able to make your presentations more visually appealing. Let's dive right in!
Key Takeaways
You will learn how to create splines, edit points, and customize arrows. Additionally, I will show you how you can refine your shapes with outlines and other effects.
Step-by-Step Guide
First, I want to show you how to create a freehand line, also known as a spline. It is a simple process that offers you many creative possibilities.
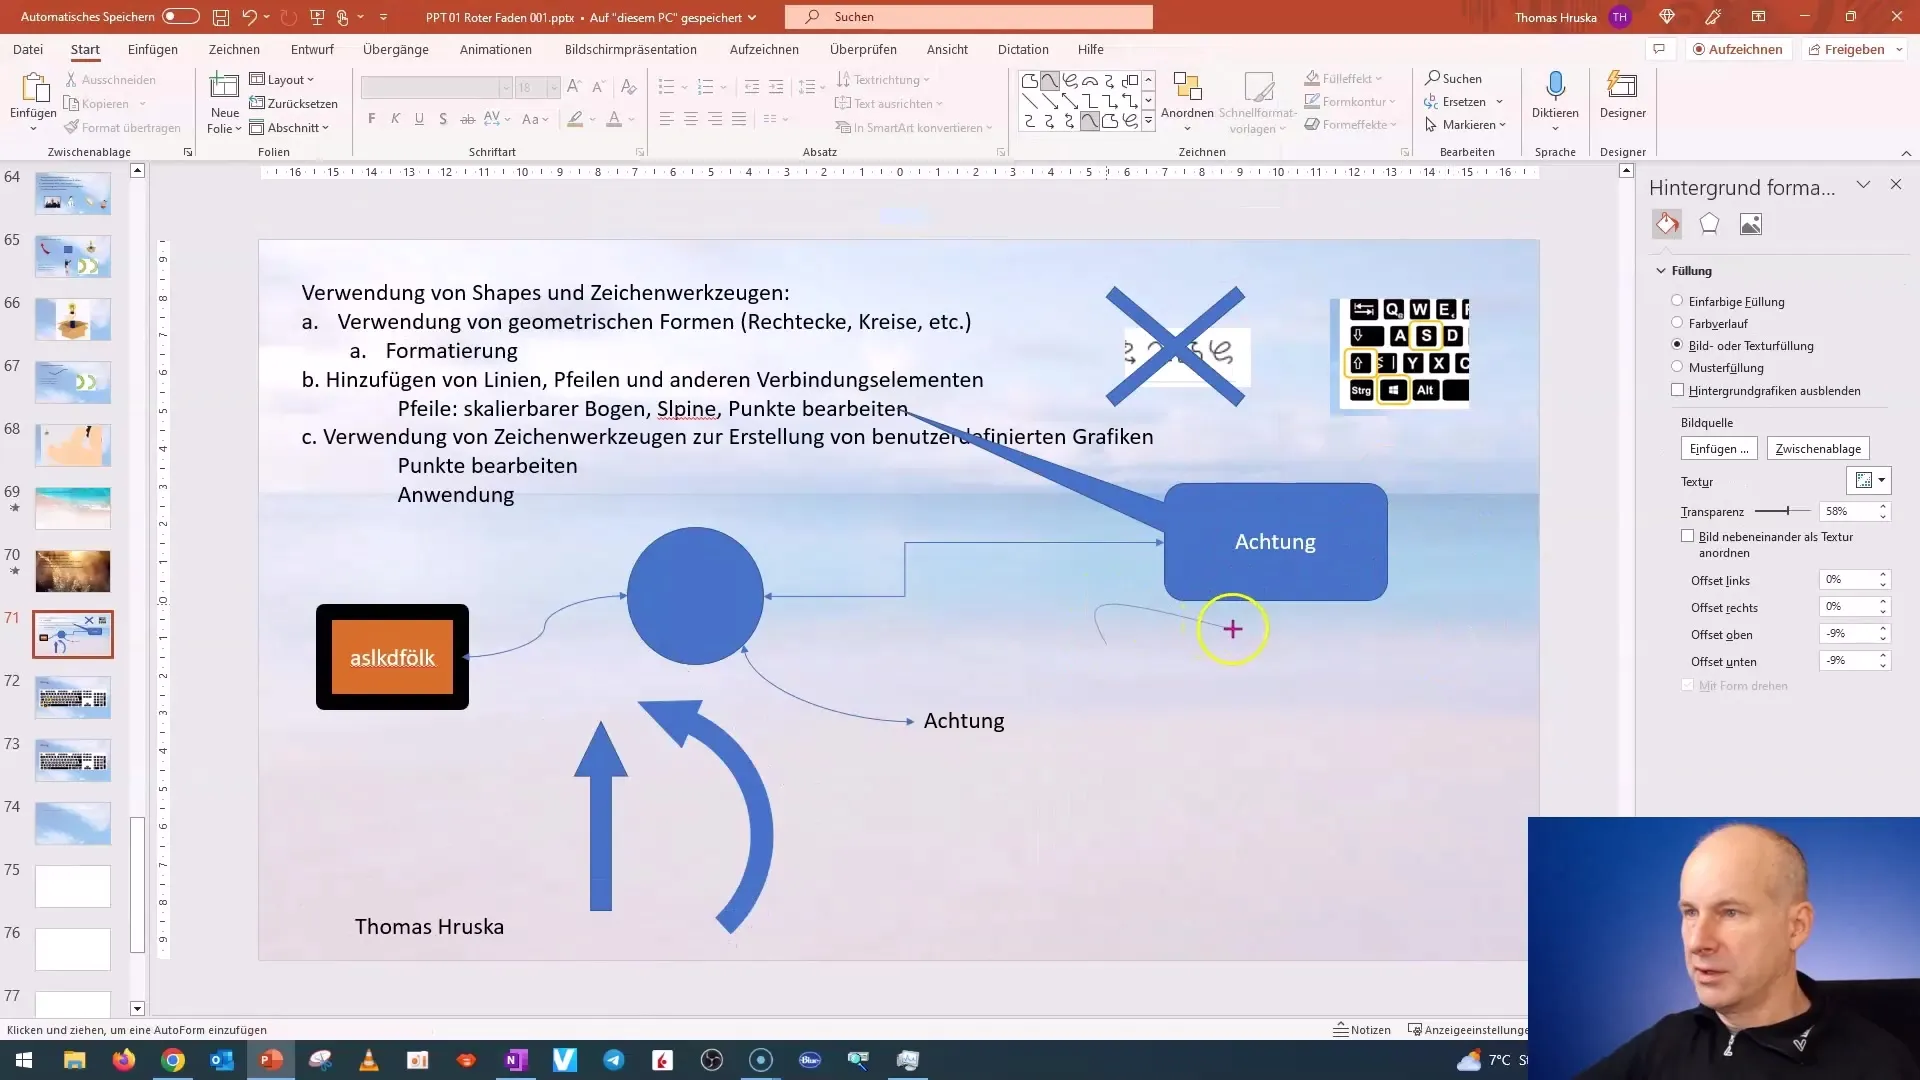
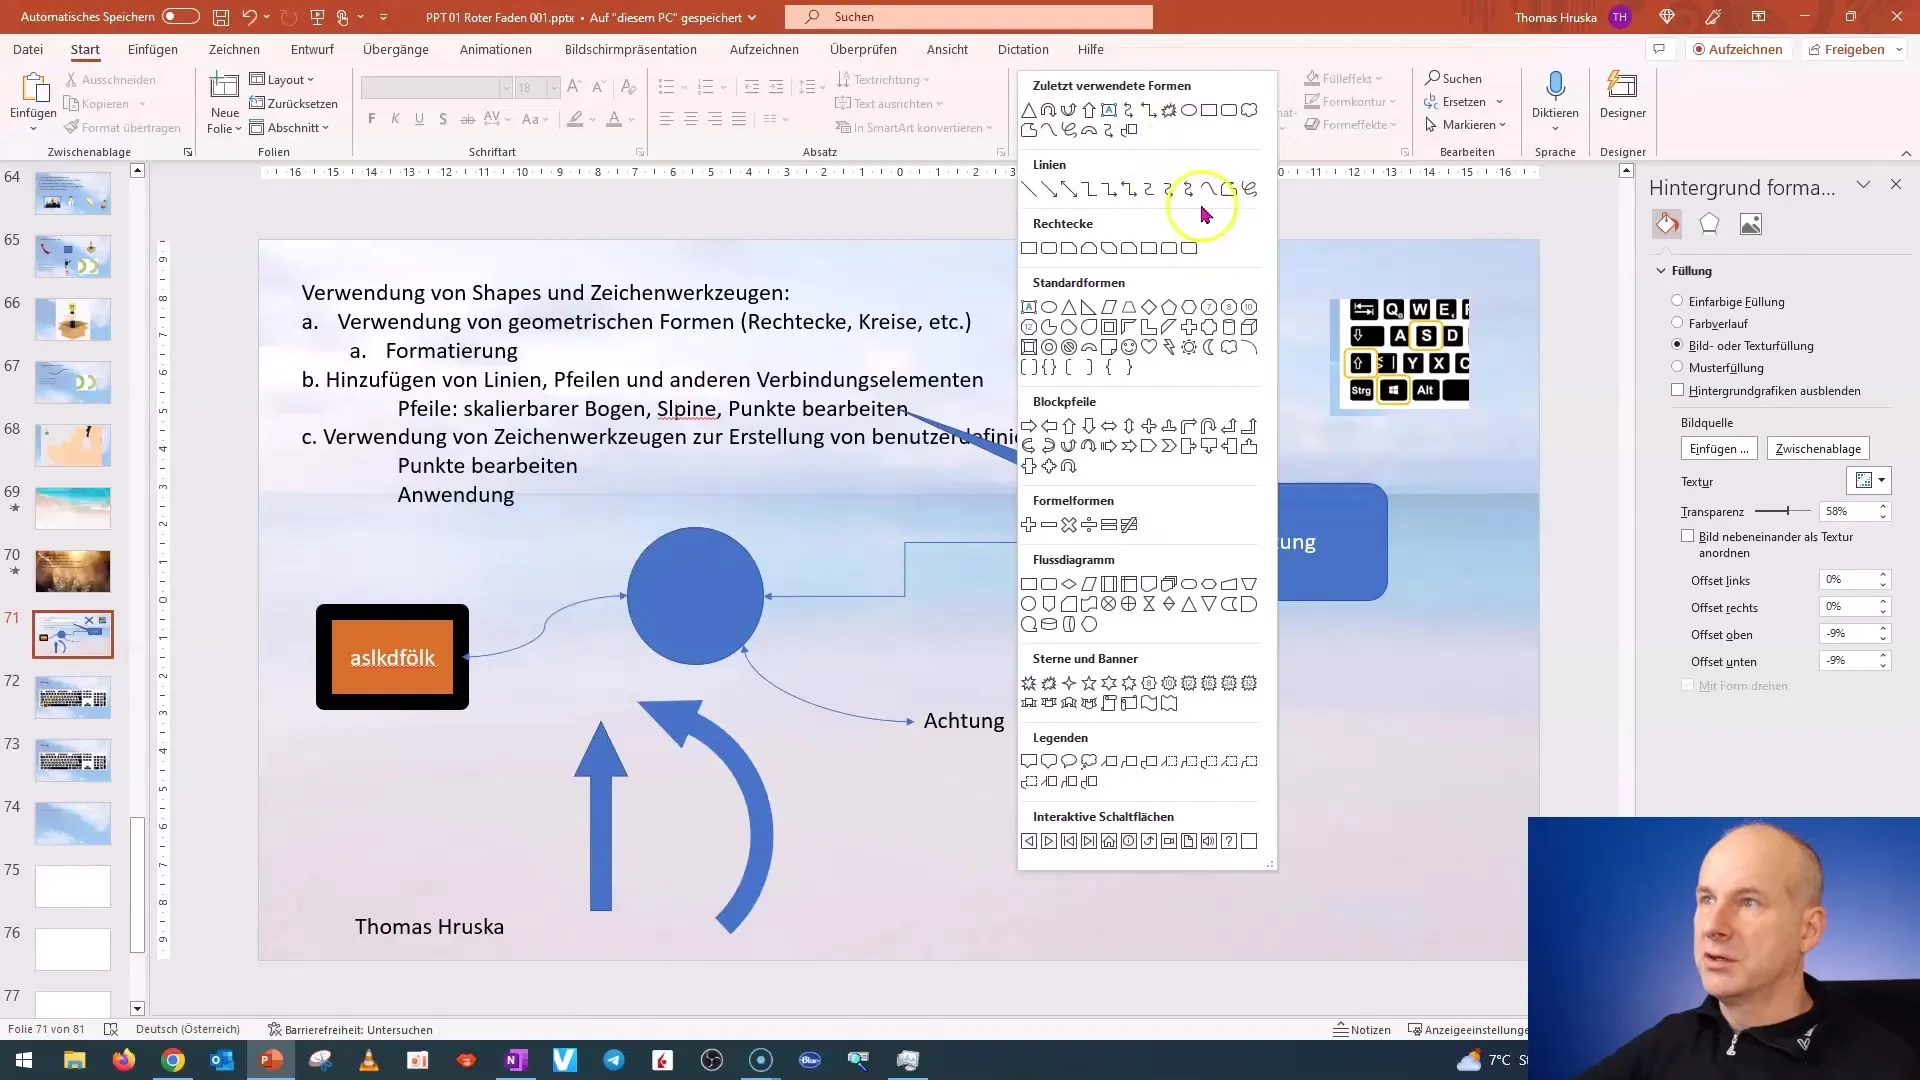
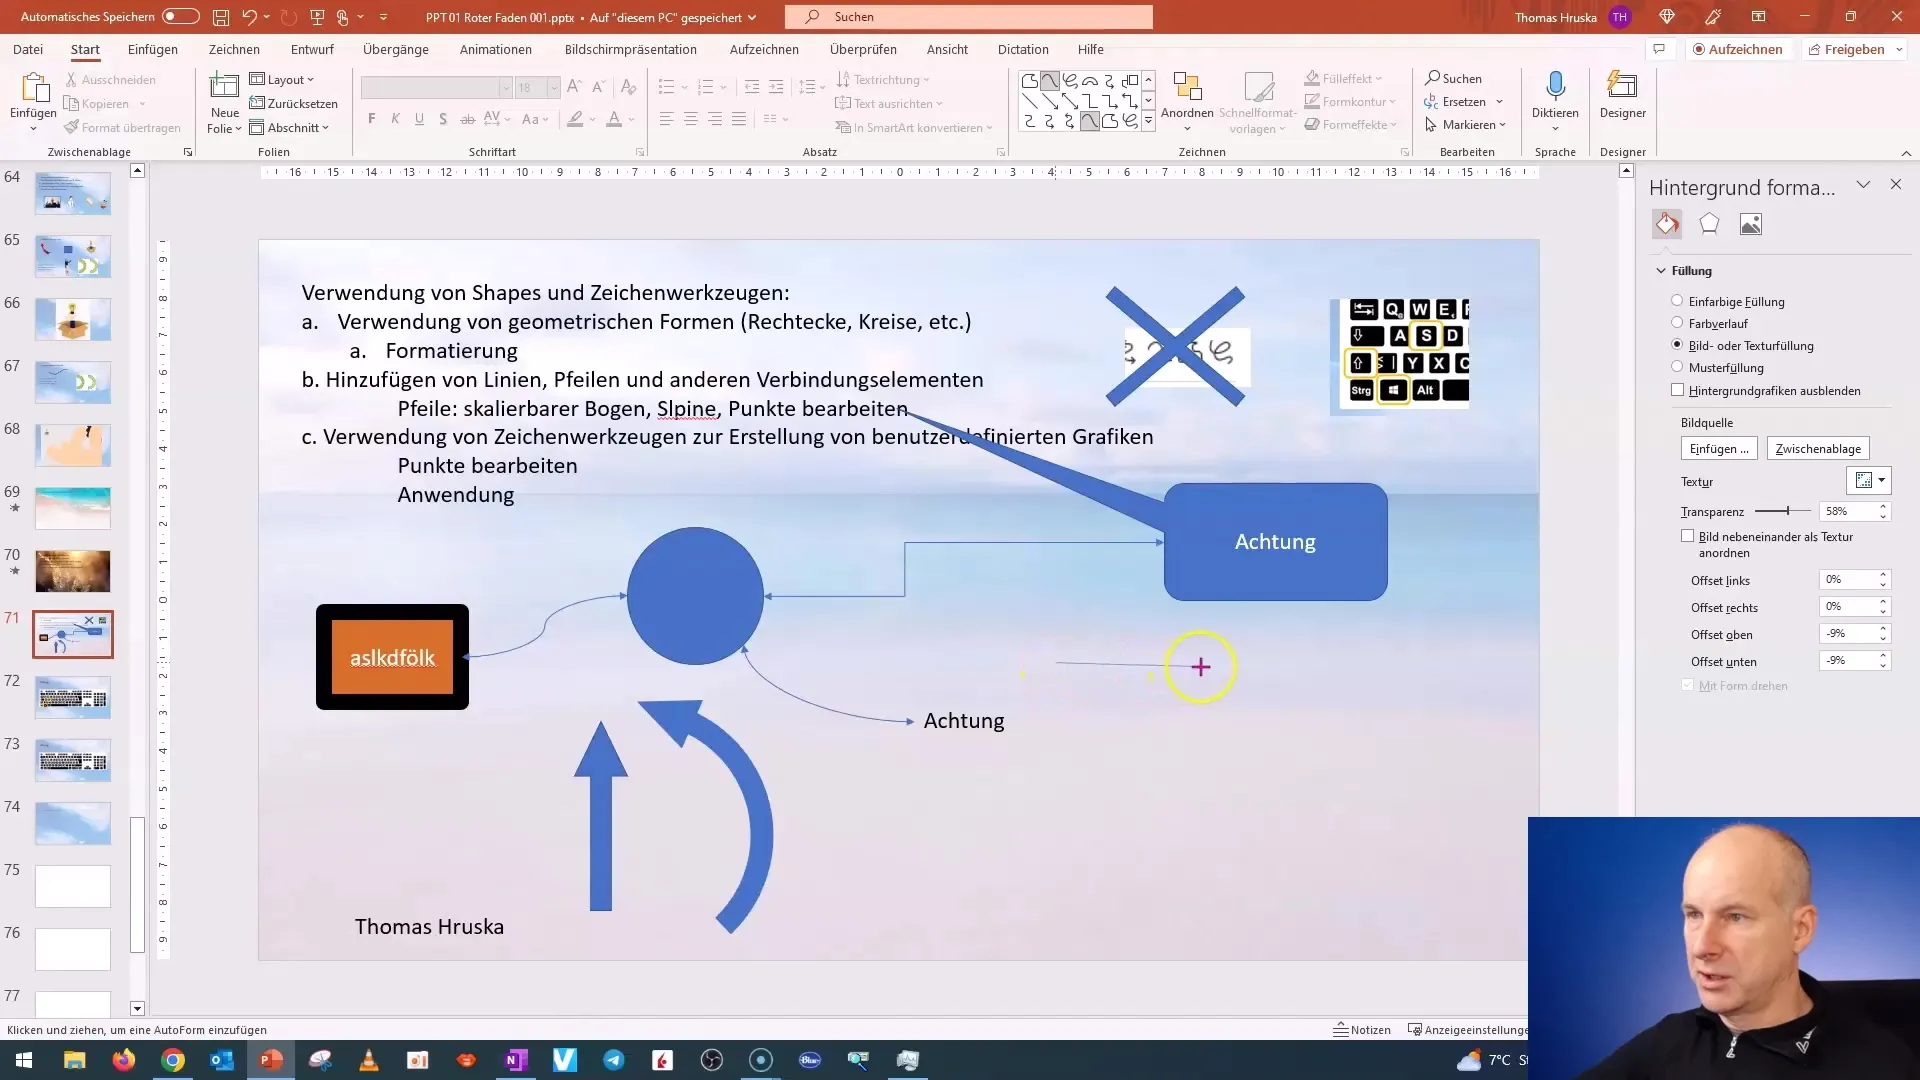
When you are ready, open PowerPoint and select the option to draw freehand lines. You can start by clicking on the slide to set the base or starting point. Then, with another click, set the next anchor point. With each additional click, you can further shape the line, giving you a certain freedom in design. The line automatically adjusts to the points you set. Once you are satisfied with the design of the line, double click to complete it. The process will become familiar to you.

To further adjust your line, there are various options available. First, it is important to select the line. Then, you can adjust the line thickness through the format menu. I recommend experimenting with different thicknesses. You can try out different values to achieve the right visual effect, such as selecting 18 points or more.
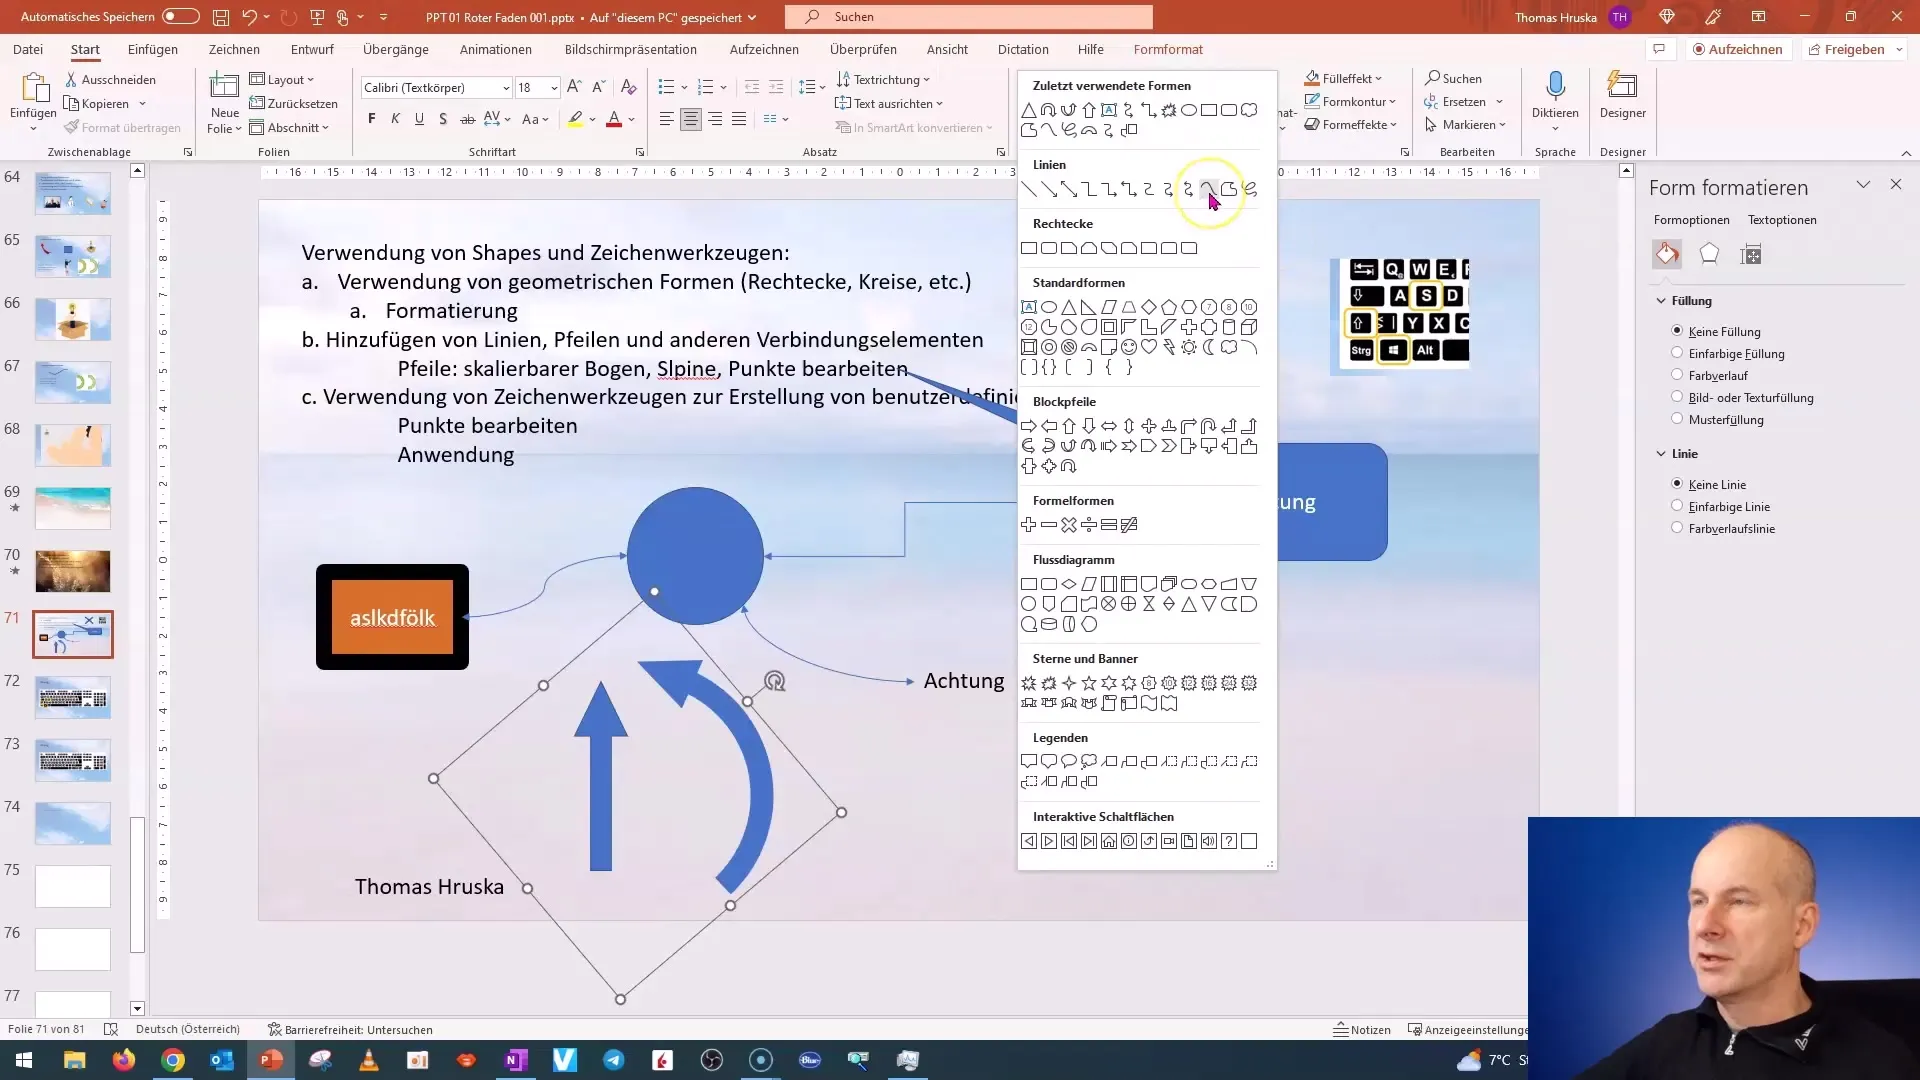
Now that you have adjusted the line thickness, let's look at the option to add an arrow. In the outline menu, you can choose and edit different arrow styles to find the one that suits your presentation. Since you have already added an arrow, you can further customize it by changing its direction or moving it to another point.
If you want to further edit the arrow, you have the option to change its size as well. An important note here is that the arrow size depends on the line thickness. You can choose between different types and sizes, ensuring your arrow integrates perfectly into your graphic.
Another important aspect is editing the points on the line. After selecting the line, right-click and choose "Edit Points." You will see that the points are now marked in red. You can move these points and adjust the white tangent controls to customize the curve of the line to your liking.
If you have a specific design in mind, you can also delete or add points. This gives you even greater control over the appearance of your freehand line. When you delete a point, you get a corner point that you can arrange according to your preferences.
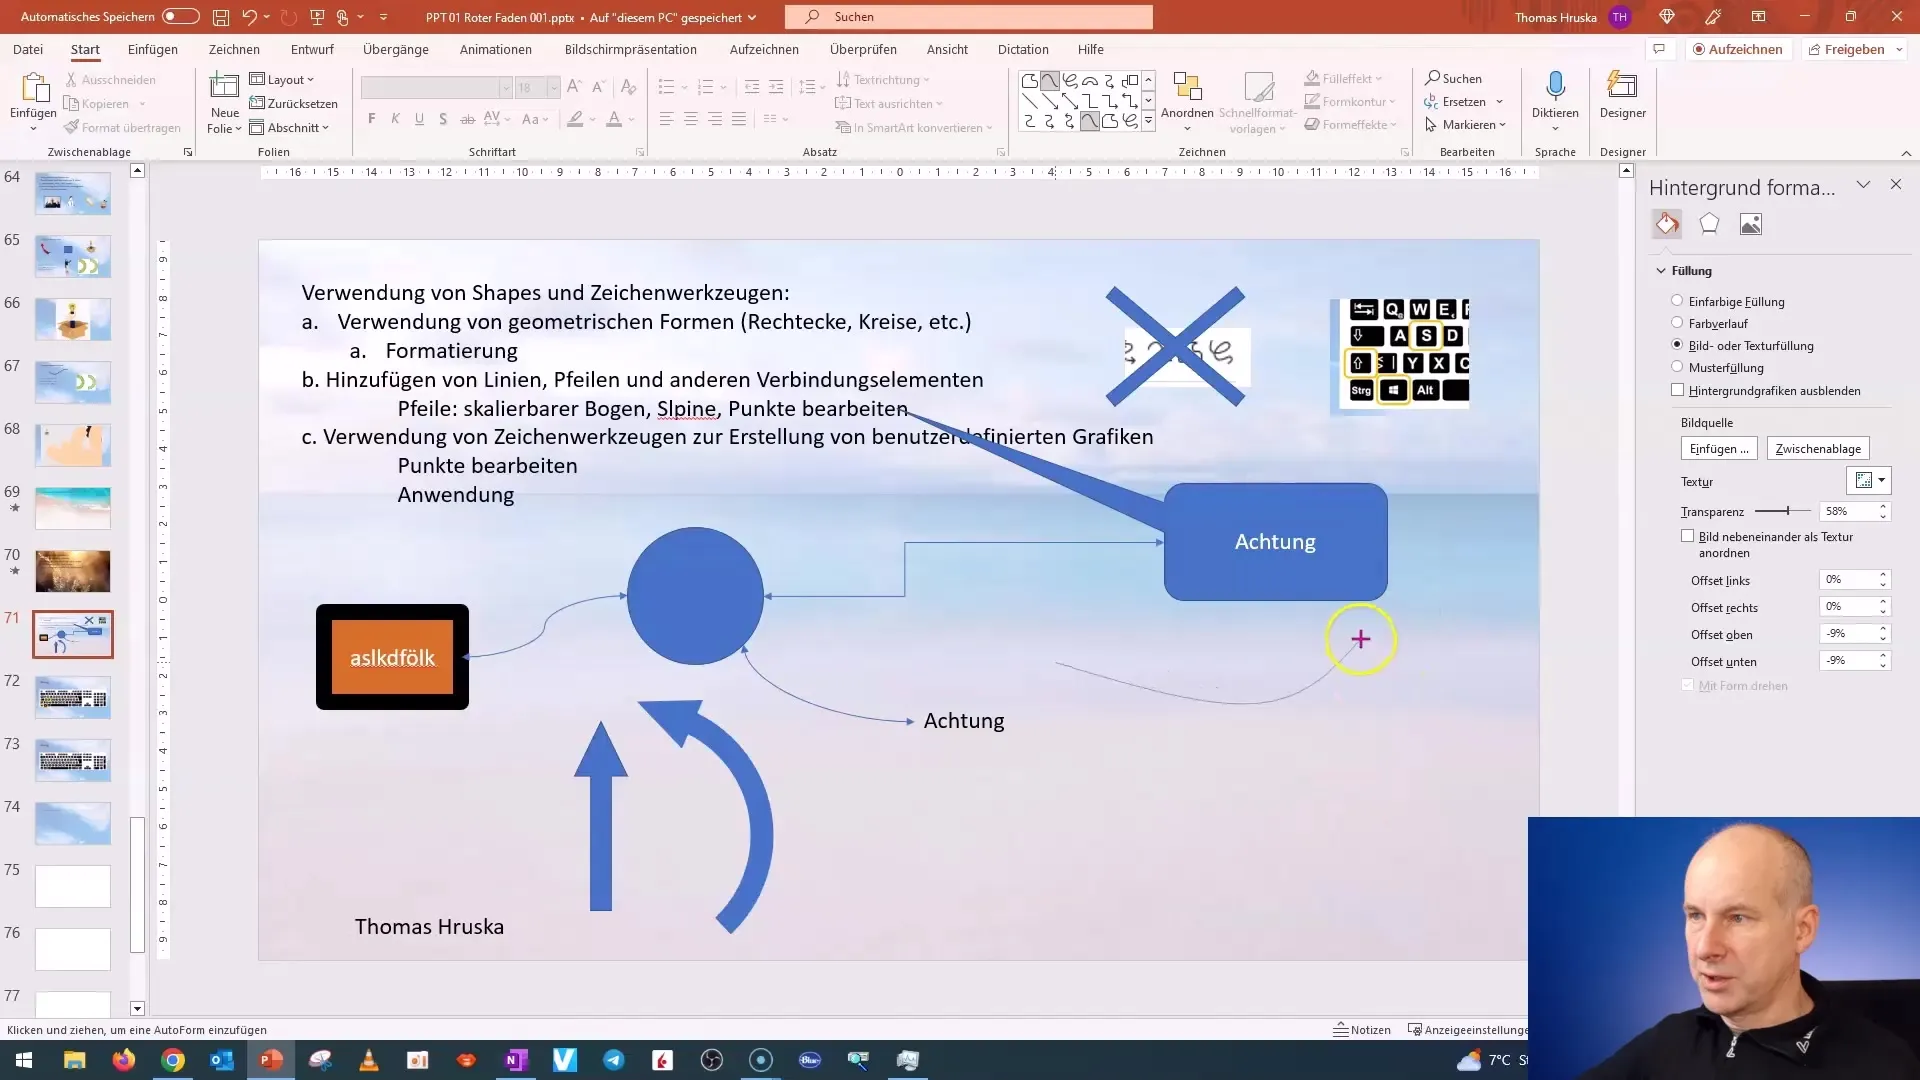
To further perfect the curved shape, you can give the aforementioned tangent controls an additional boost. Change the direction and length of these controls to make the base curve more precise.
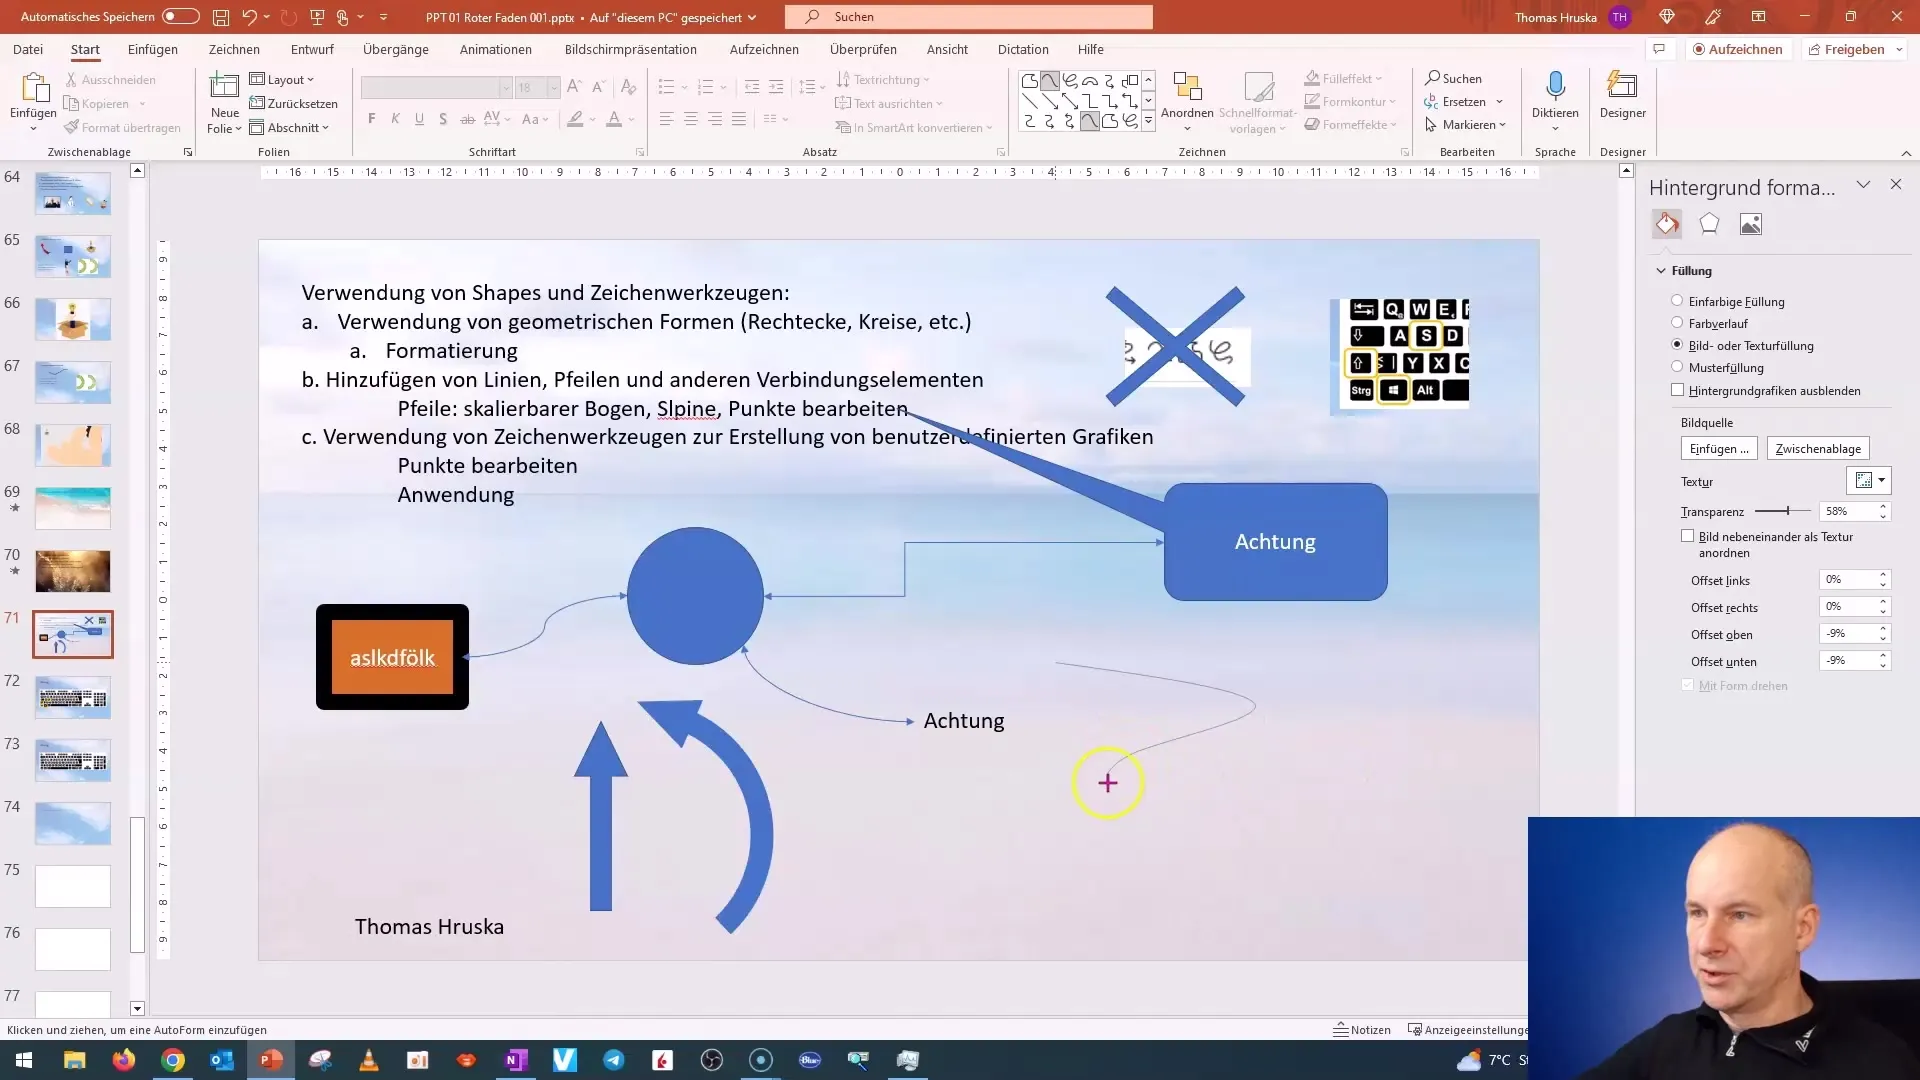
You have now learned the basics of creating splines and adjusting them. I invite you to continue experimenting with different drawing tools and custom graphics to bring your creative ideas to life.
Frequently Asked Questions
How do I create a freehand line in PowerPoint?Click on the drawing options and use clicks to draw freehand lines on the slide.
Can I adjust the thickness of the line?Yes, you can adjust the line thickness as desired in the format menu.
How do I add an arrow to a spline?Select the line and choose arrow options from the outline menu.
How do I edit points on the line?Right-click on the line and choose "Edit Points" to adjust them.
Can I add or delete points?Yes, you can add or delete points for fine-tuning as needed.


