In this tutorial, I will show you how to create and edit freeform and freehand shapes in PowerPoint. Freeform shapes are an excellent way to customize graphics and create impactful visual representations. This is particularly useful when you want to illustrate or highlight something. Let's go through the steps together to make the most of these features.
Key Insights
- You can use freeform and freehand shapes to create complex forms.
- With the right tools and techniques, you can customize graphics and add effects.
- Freeform shapes can be used to visually highlight important information in presentations.
Step-by-Step Guide
To start creating and editing freeform shapes in PowerPoint, follow these simple steps.
Step 1: Activate the Freeform Tool
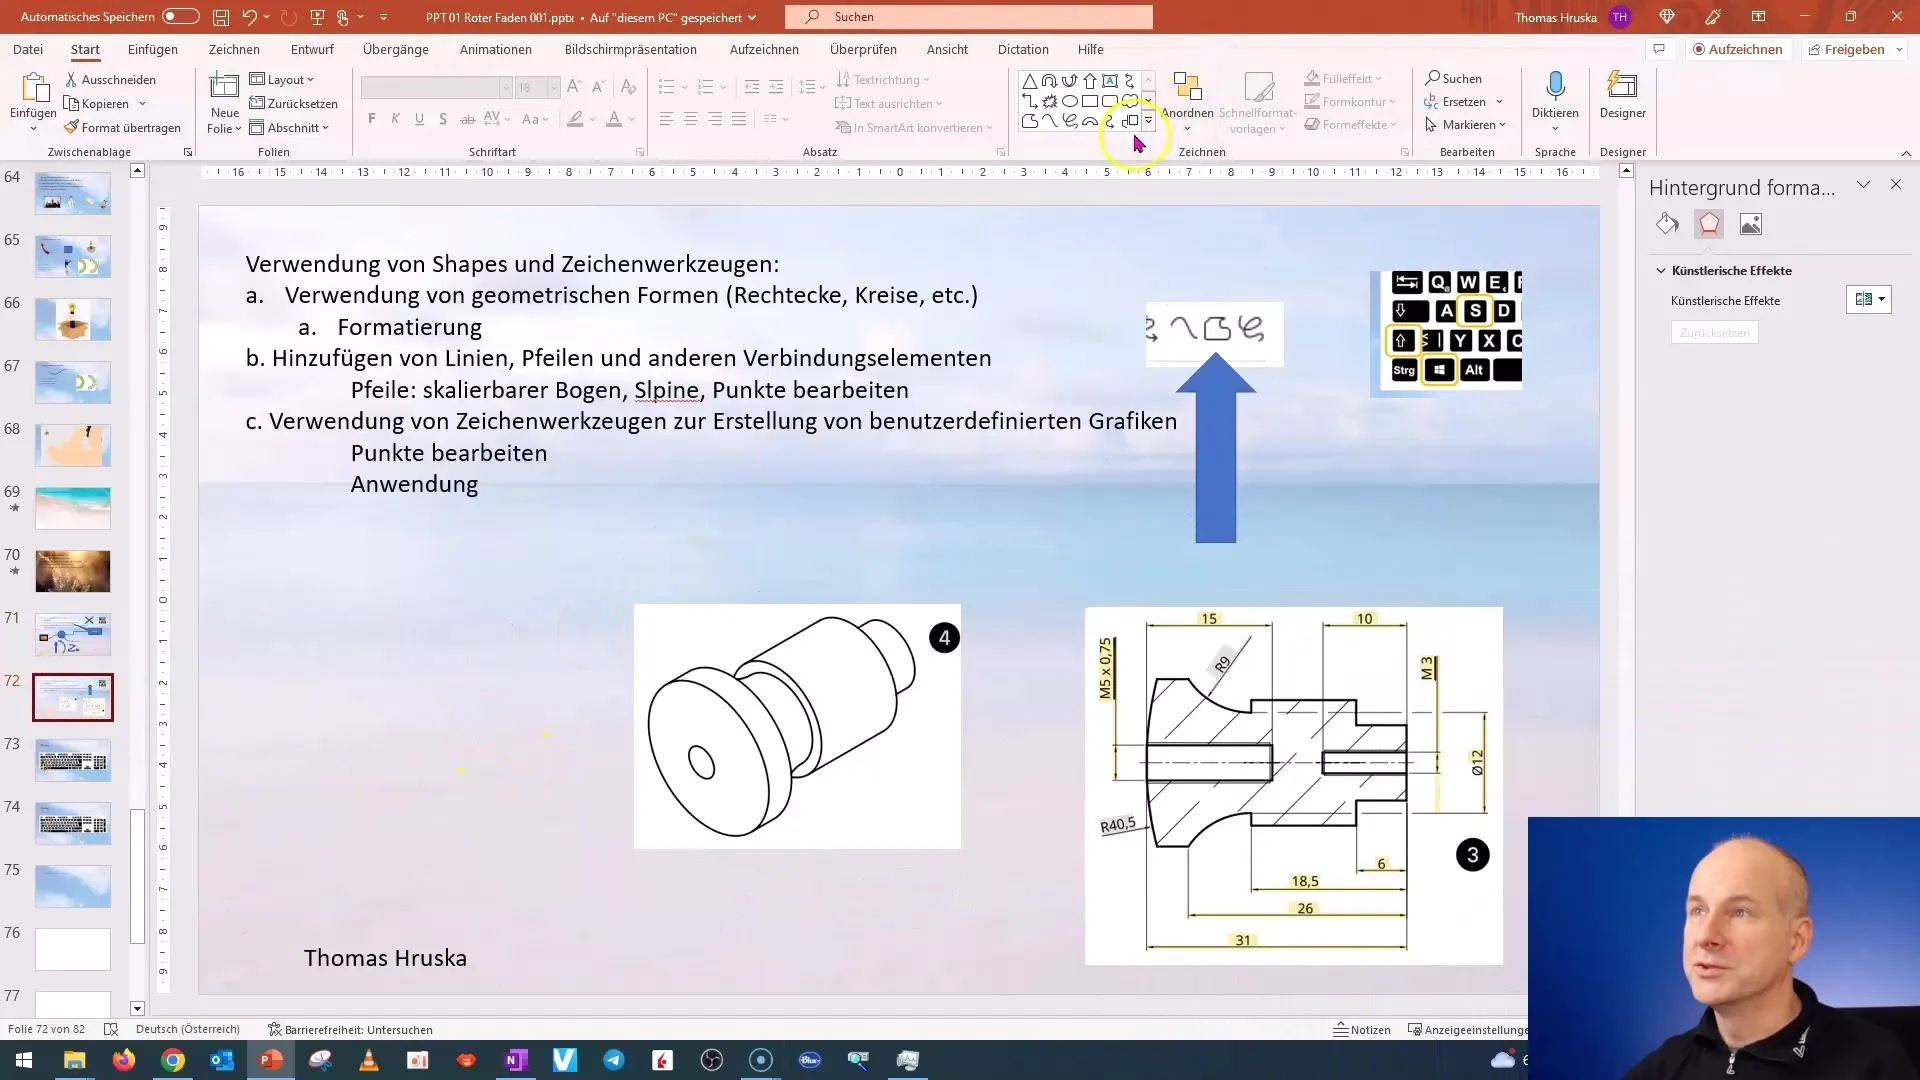
Start PowerPoint and open a blank slide. To use the freeform tool, go to the "Insert" tab and select "Shapes". Here you will find the symbol for freehand drawings. Click on it to activate the tool.
Step 2: Draw a Freeform Shape
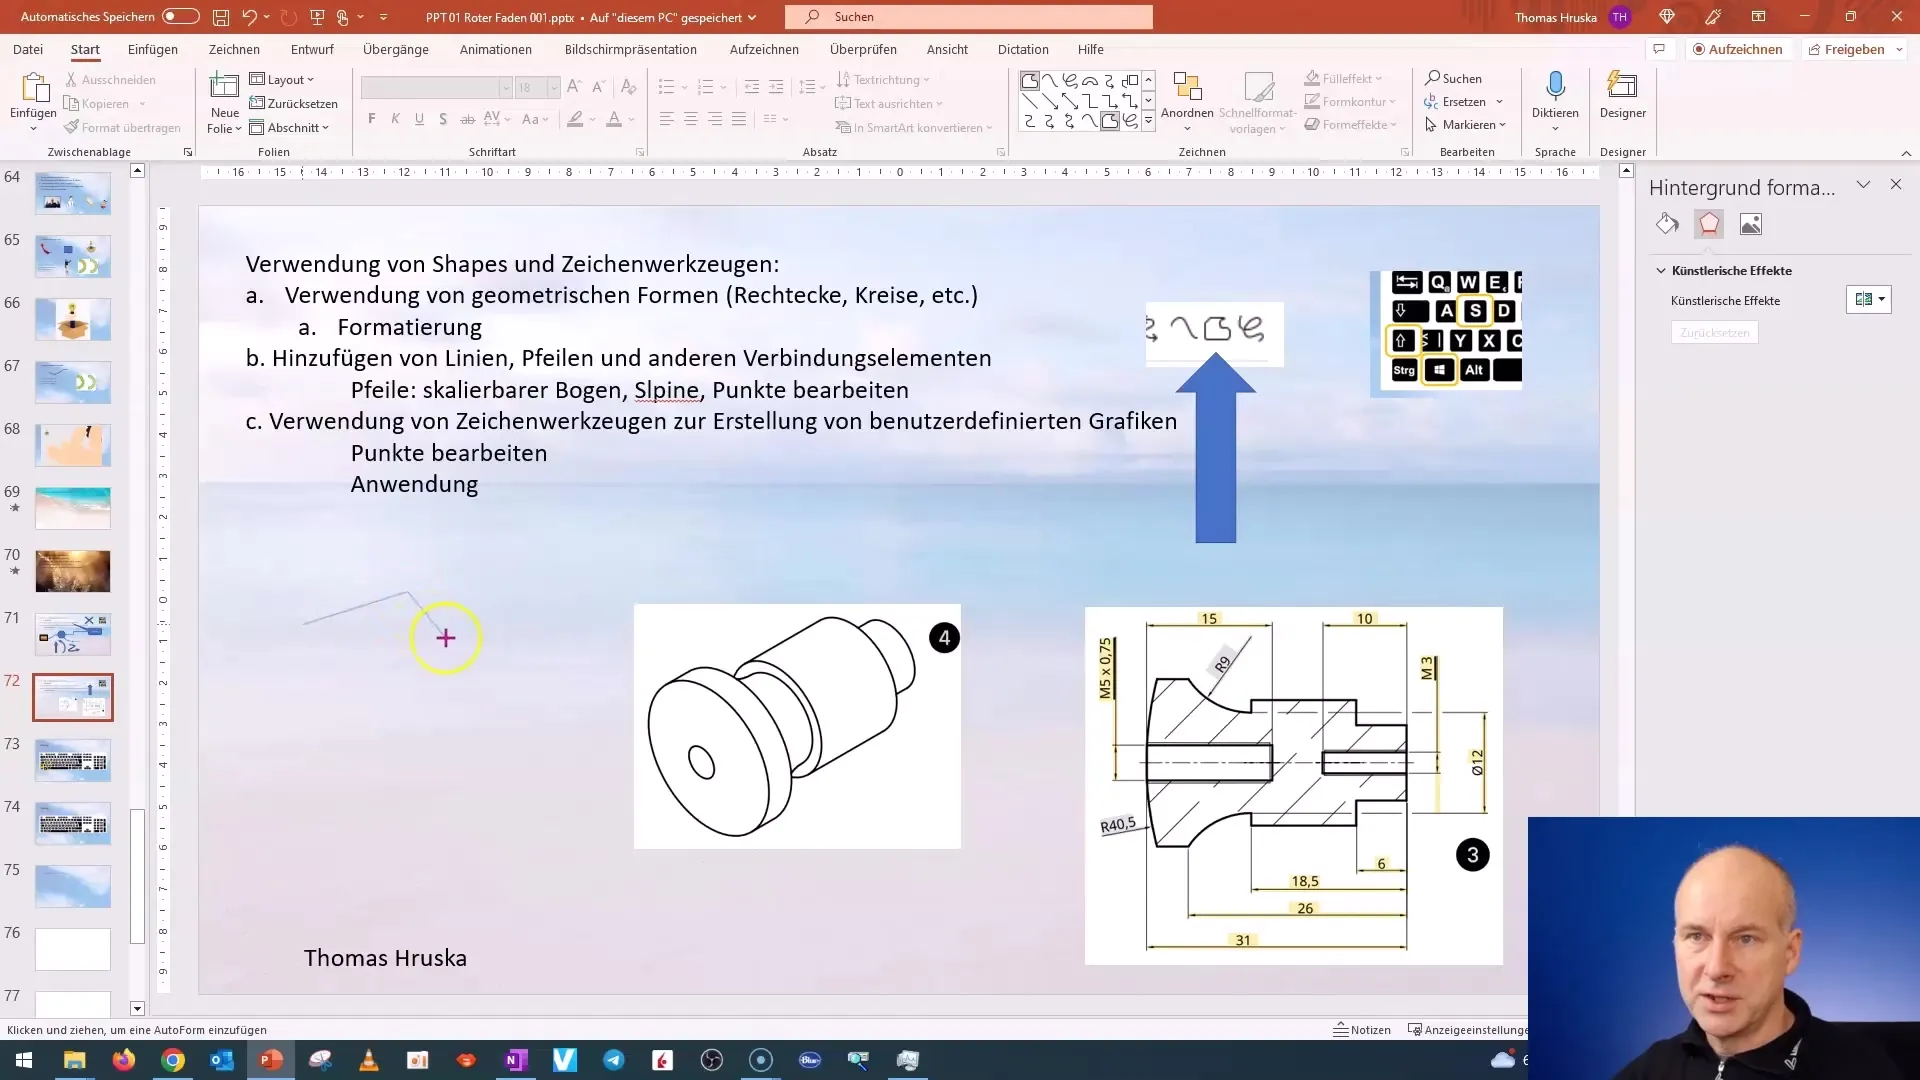
Start drawing your freeform shape by clicking on the slide. Place an initial point, then move the mouse to where you want a straight line and click again. Hold down the mouse button and drag the line to create a curve. Release the mouse button to finish the shape.
Step 3: Correct Points
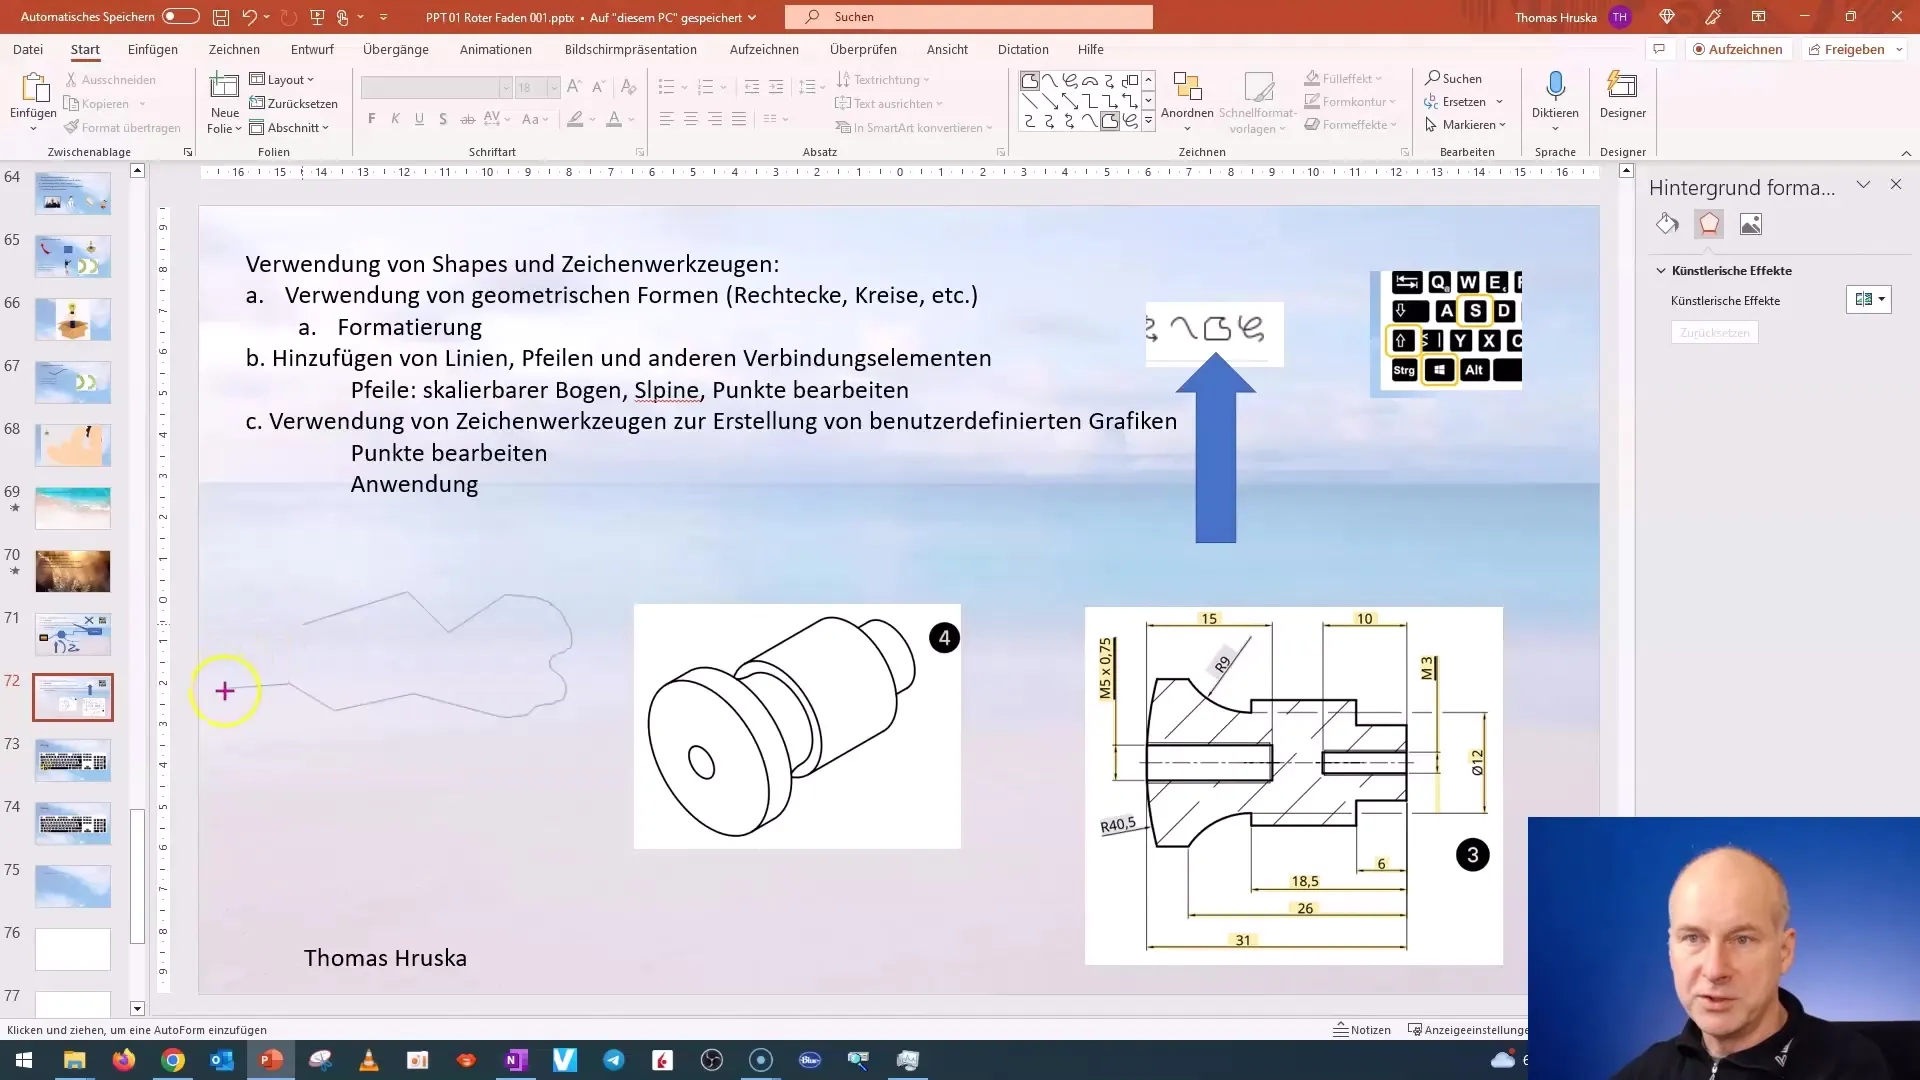
If you make a mistake, you can remove points. Press the Delete key to delete the last point. You can also go back if you make a mistake. This is a useful function that helps ensure the accuracy of your drawing.
Step 4: Adjust the Shape
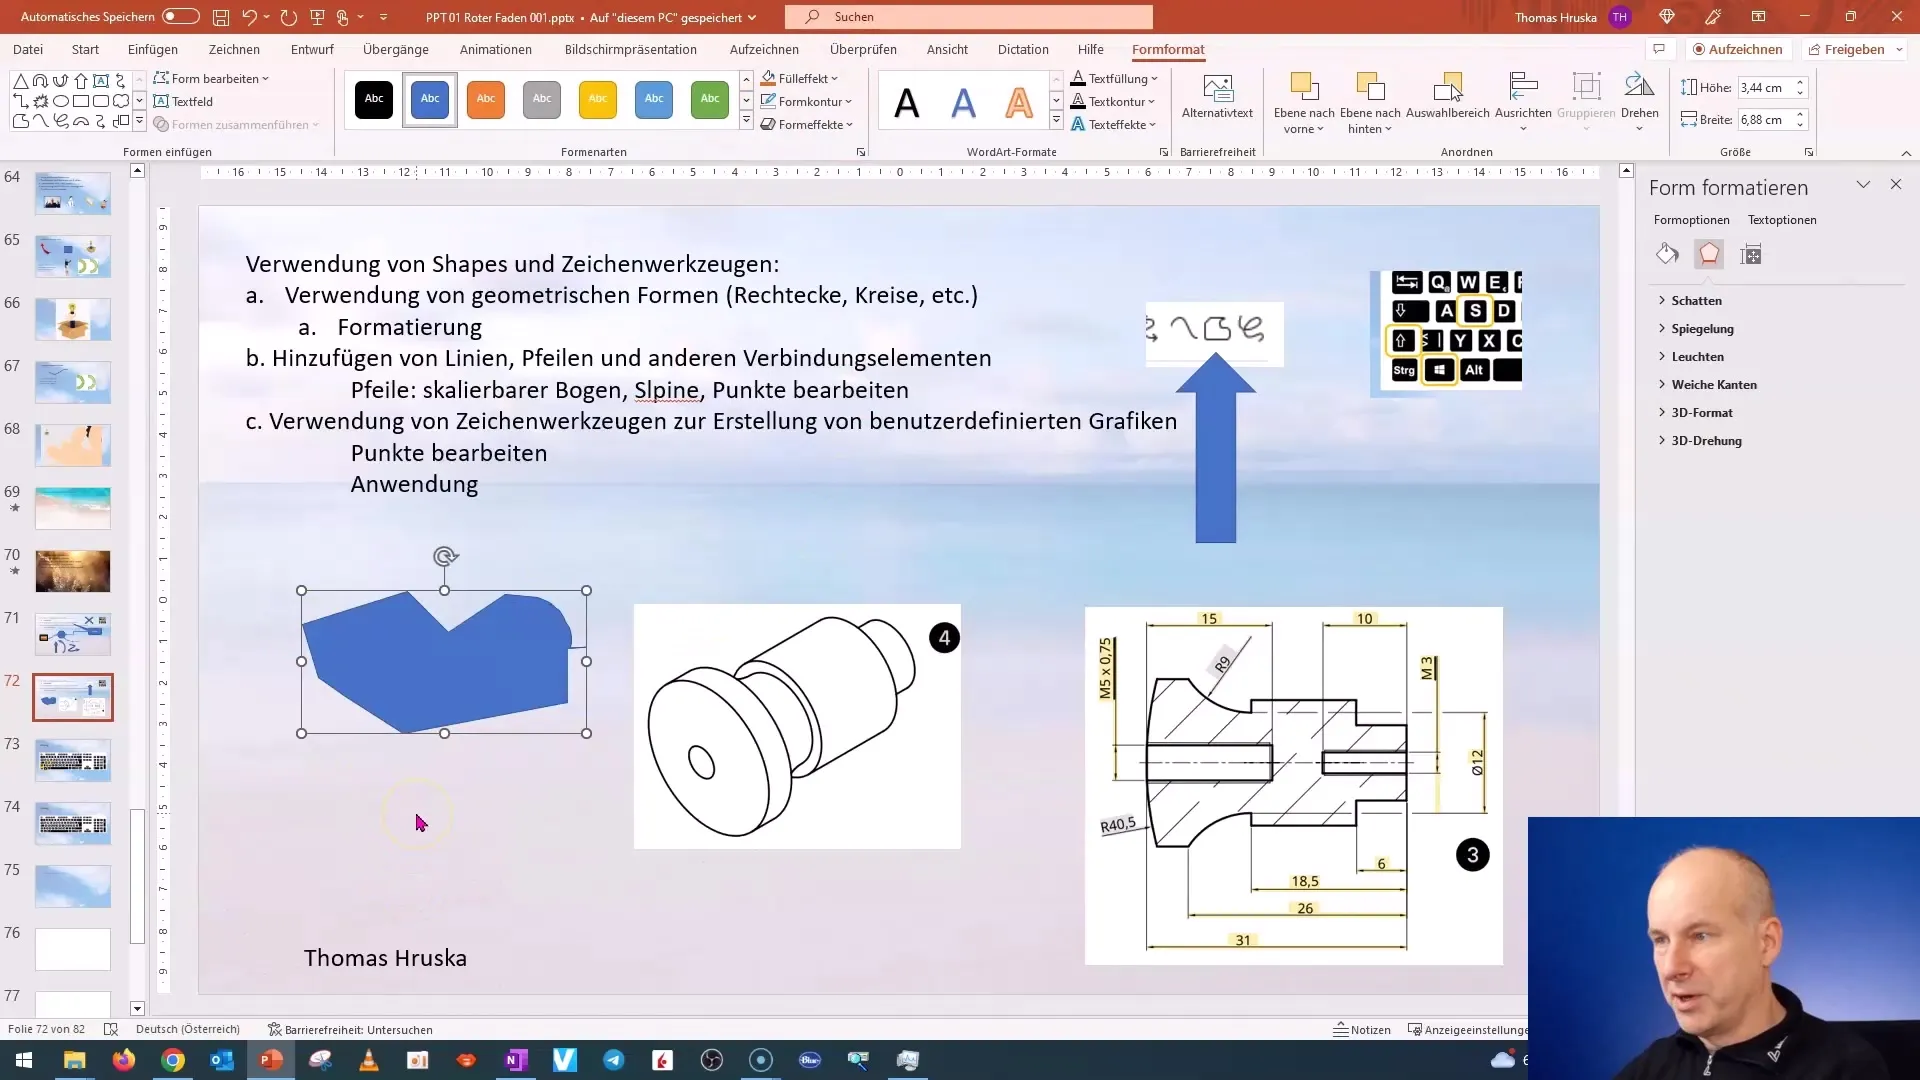
Once you have created your freeform shape, you can adjust it. Right-click on the shape and select "Format Shape". Here you can add color, style, and other effects to highlight the shape.
Step 5: Application in Communication
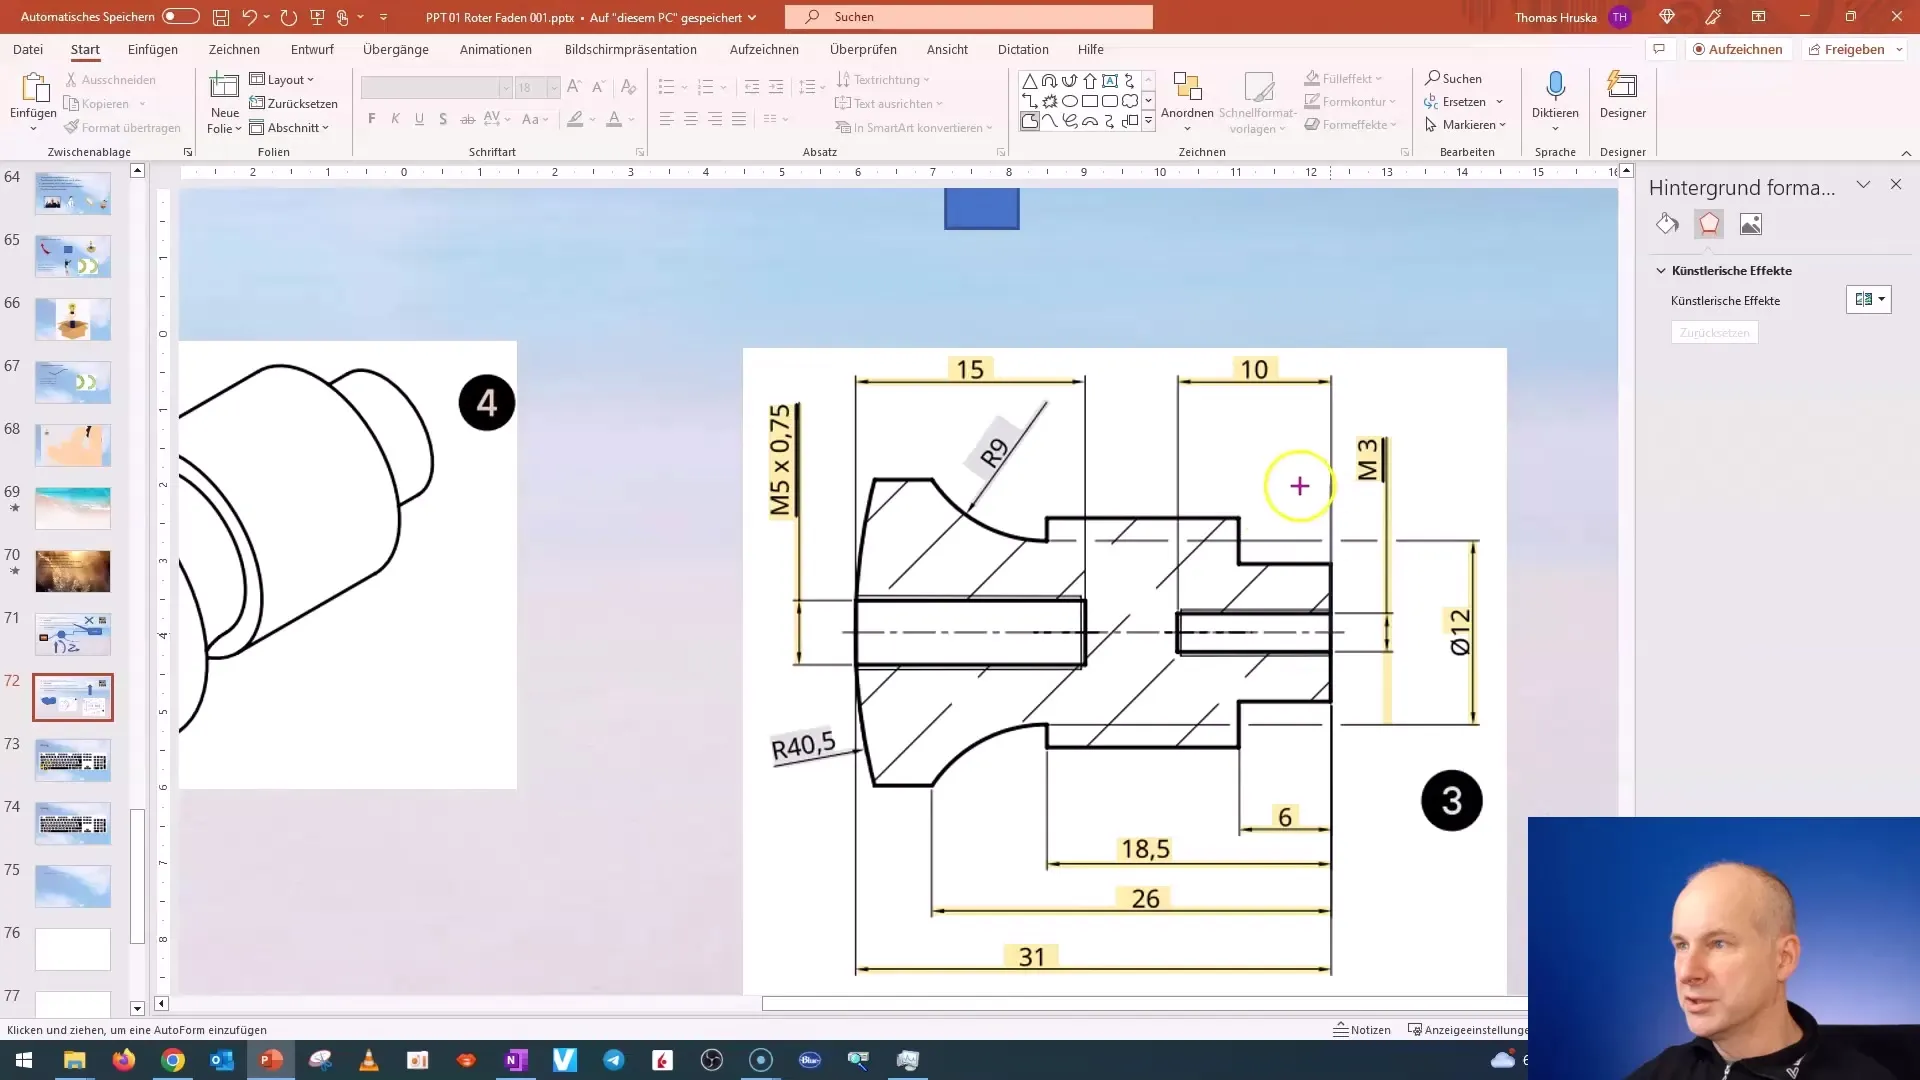
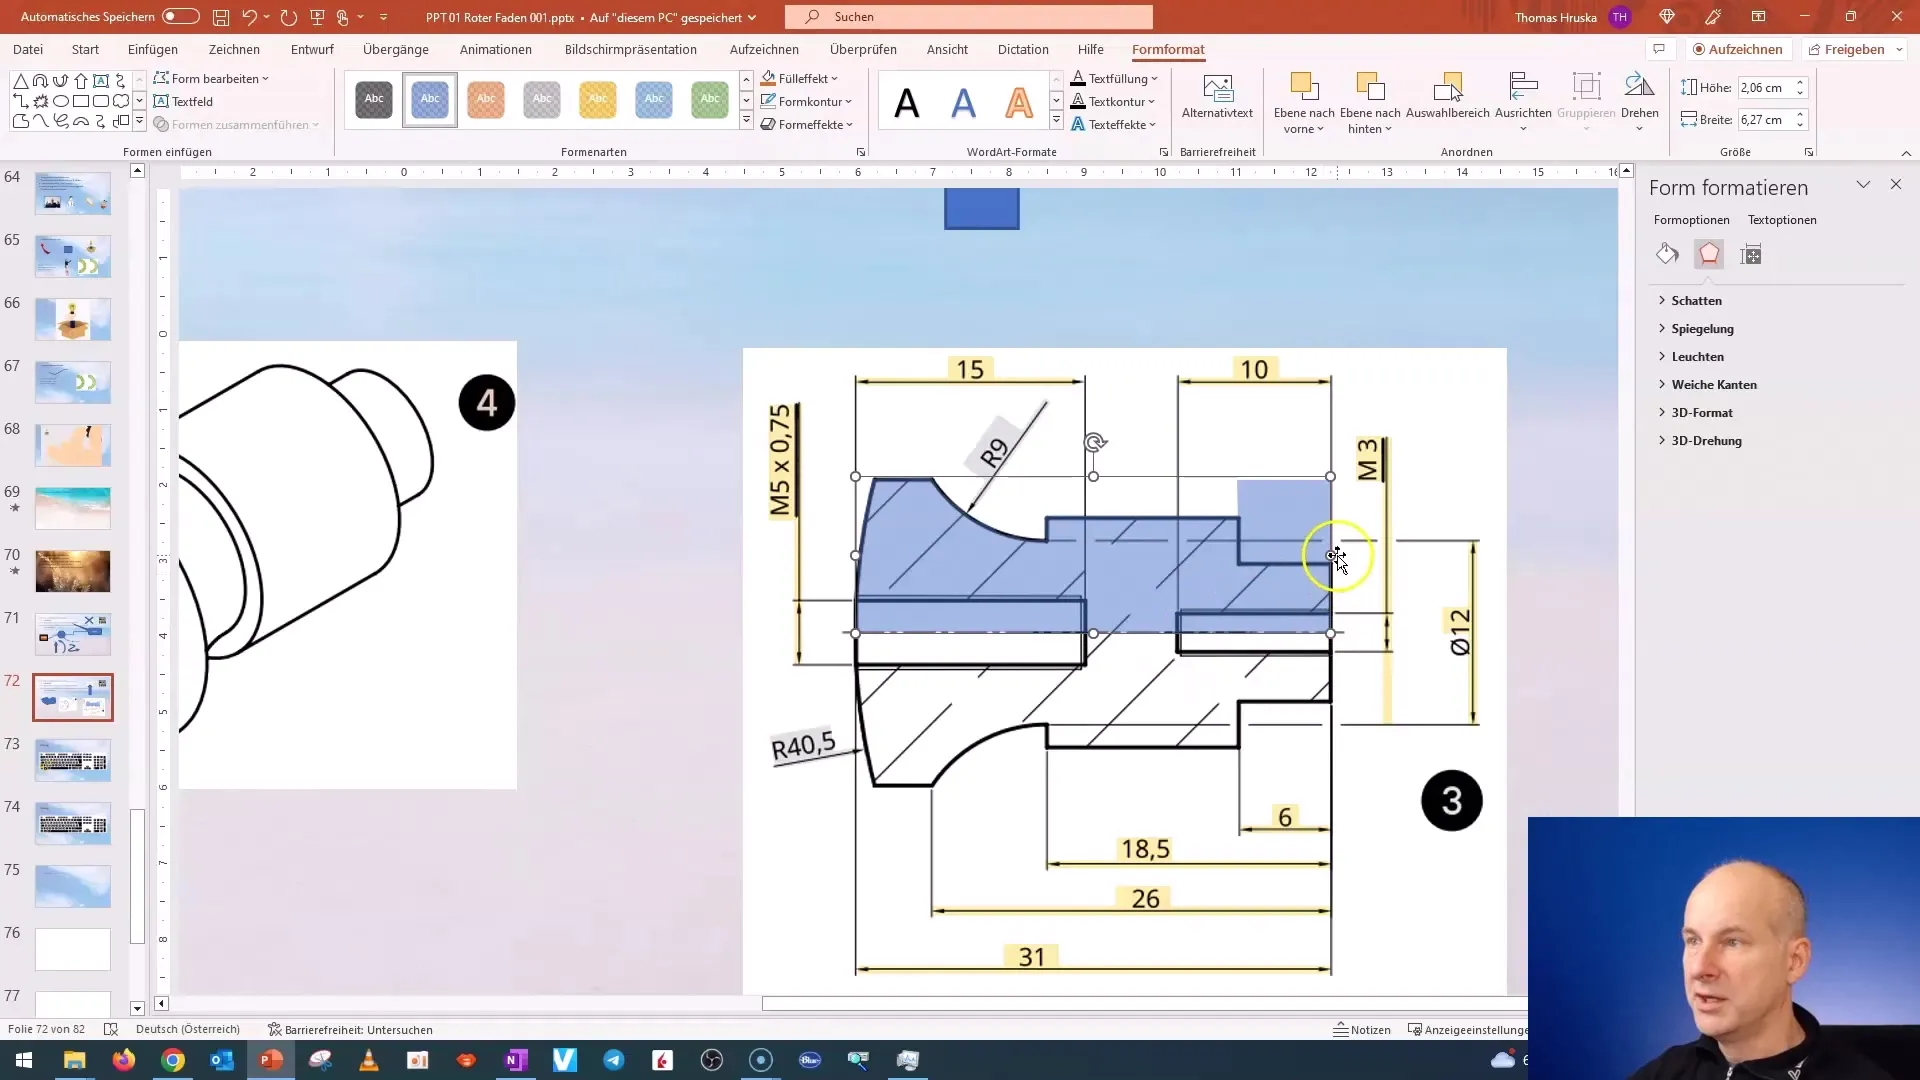
Imagine you are a technician and need to present an issue. Use the freeform tool, for example, to sketch the diameter of an object. Start in the middle of the shape and draw lines to represent your wishes. Hold down the Shift key to create straight lines.
Step 6: Fill the Shape with Color
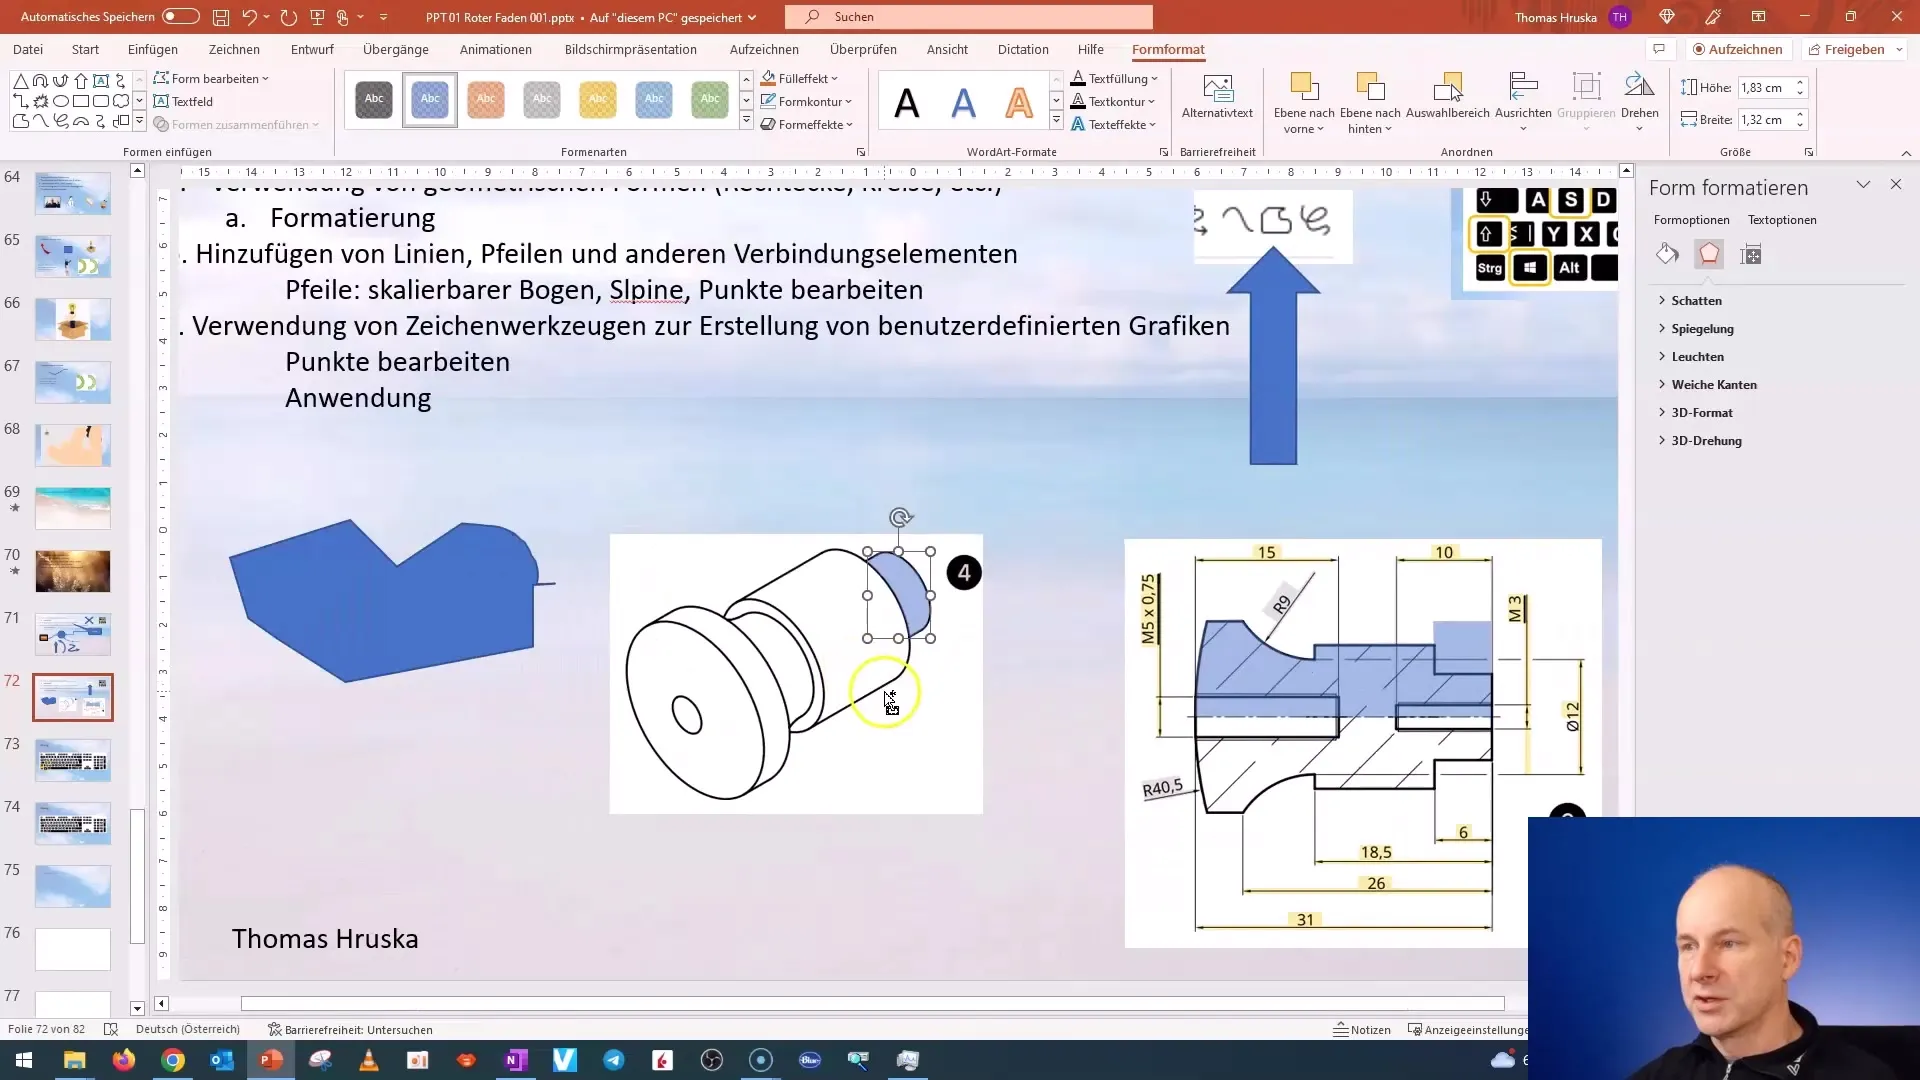
Once you have the desired shape, you can fill it with color. To do this, select your freeform shape and go to "Format Shape" again. Choose a transparent color to clearly highlight the information.
Step 7: Adjustments
Review your finished graphic adjustment and consider if changes are needed to clarify your message. If necessary, you can add additional shapes to provide more clarity.
Step 8: Conclusion and Practice
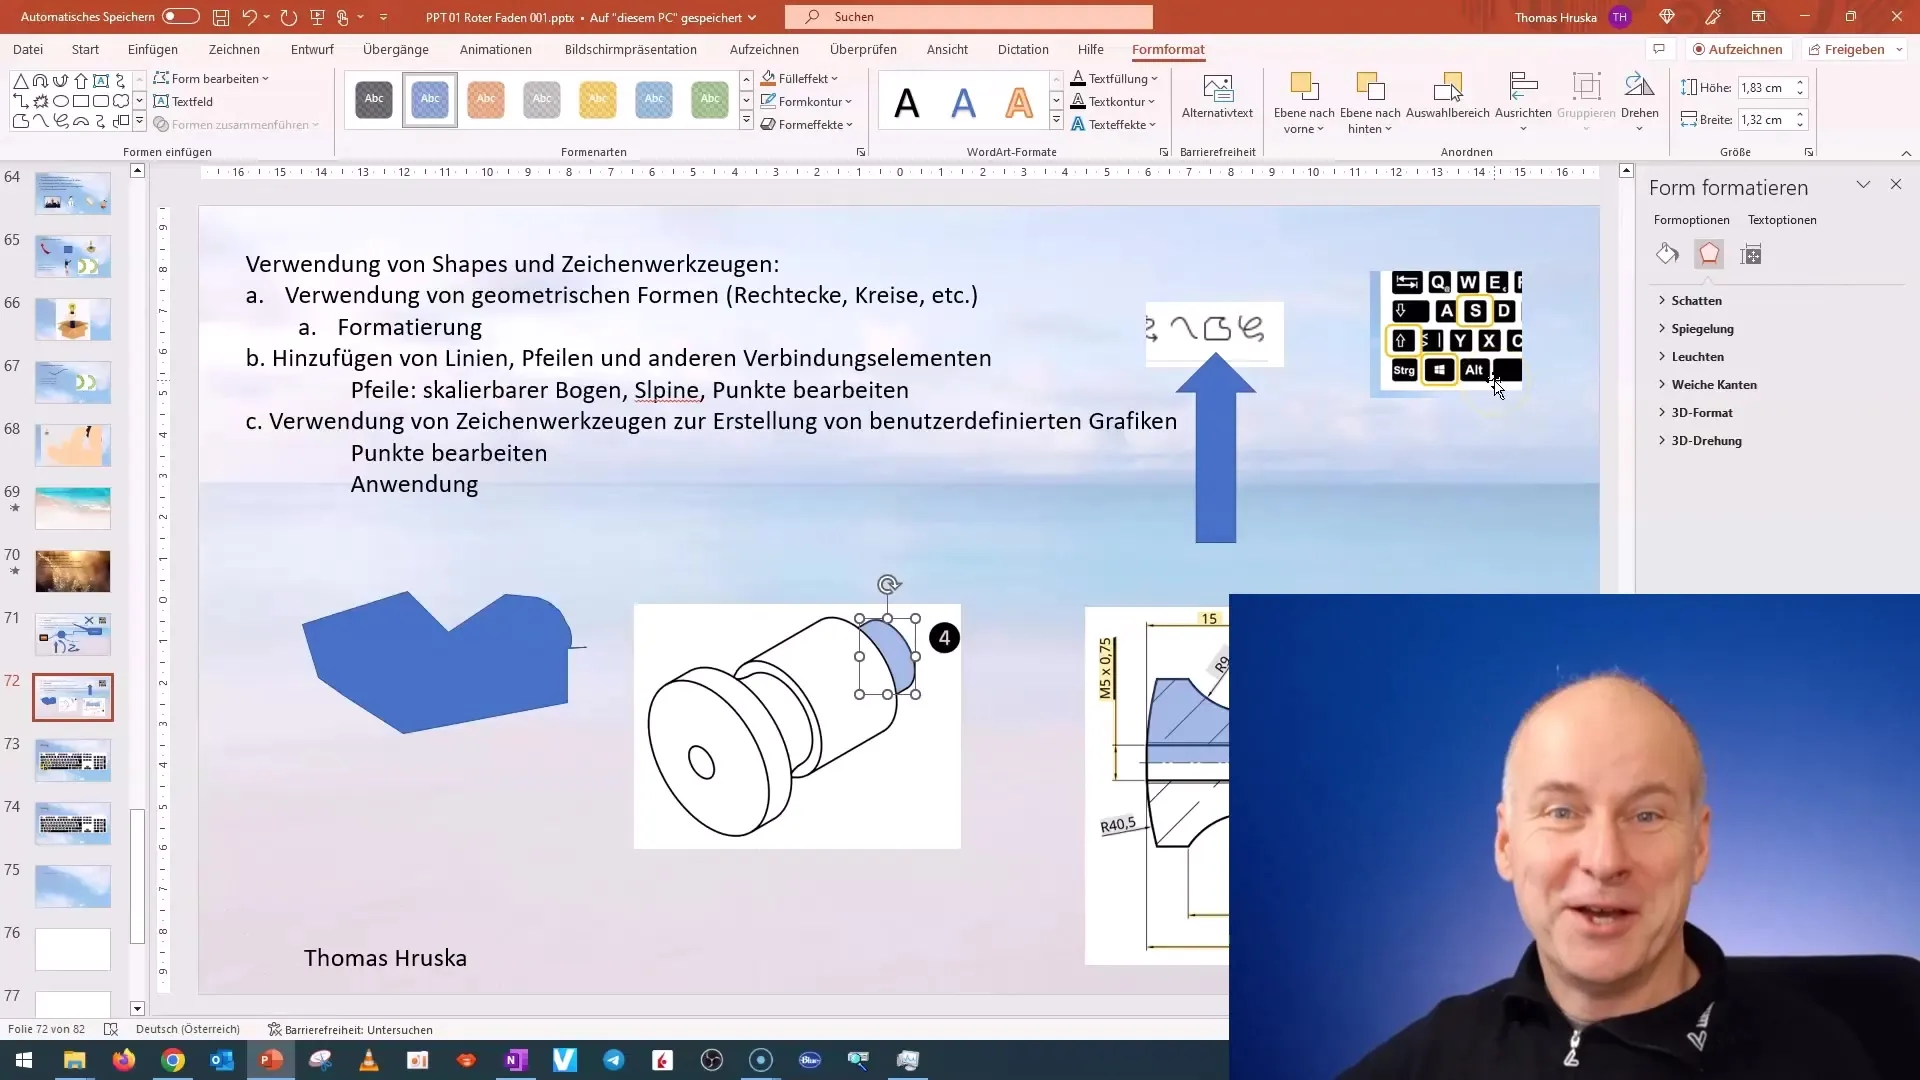
You have now learned the basics of creating and customizing freeform shapes in PowerPoint. I recommend practicing these techniques in your own exercise to solidify the effectiveness.
Summary
In this tutorial, you have learned how to create freeform and freehand shapes in PowerPoint. You have worked through the steps from activating the tool to adjusting the colors. With these skills, you can design your presentations based on data and visually appealing.
Frequently Asked Questions
What are freeform shapes in PowerPoint?Freeform shapes allow you to draw and customize any type of shape or line individually.
How can I correct mistakes while drawing?You can delete points by pressing the Delete key or undo if you have made a mistake.
Can I change the colors of freeform shapes?Yes, you can adjust the colors and effects of freeform shapes through the "Format Shape" menu.
How can I improve my drawings?Use the Shift key for straight lines and try different shapes to enhance your communication.


