Welcome to this practical PowerPoint tutorial, where you will learn how to efficiently insert and edit graphics into your presentations. In this exercise, we will focus on post-editing illustrations and drawing graphics using the Snapshot tool. With simple key combinations, you can significantly accelerate the insertion of images and the adjustment of your slides.
Main Takeaways
- You can take screenshots using the key combination Windows + Shift + S.
- Use the Snapshot tool to accurately insert graphics from other applications into your presentation.
- Formatting and editing images to make them anonymous and professional is easily done through rectangles and color adjustments.
Step-by-Step Guide
To make the most of this tutorial, follow the steps below.
Start by opening your presentation and getting ready for the first exercise. We will prepare a graphic and use the Snapshot tool. This is one of the fastest methods to insert graphics from other applications into your PowerPoint presentation.
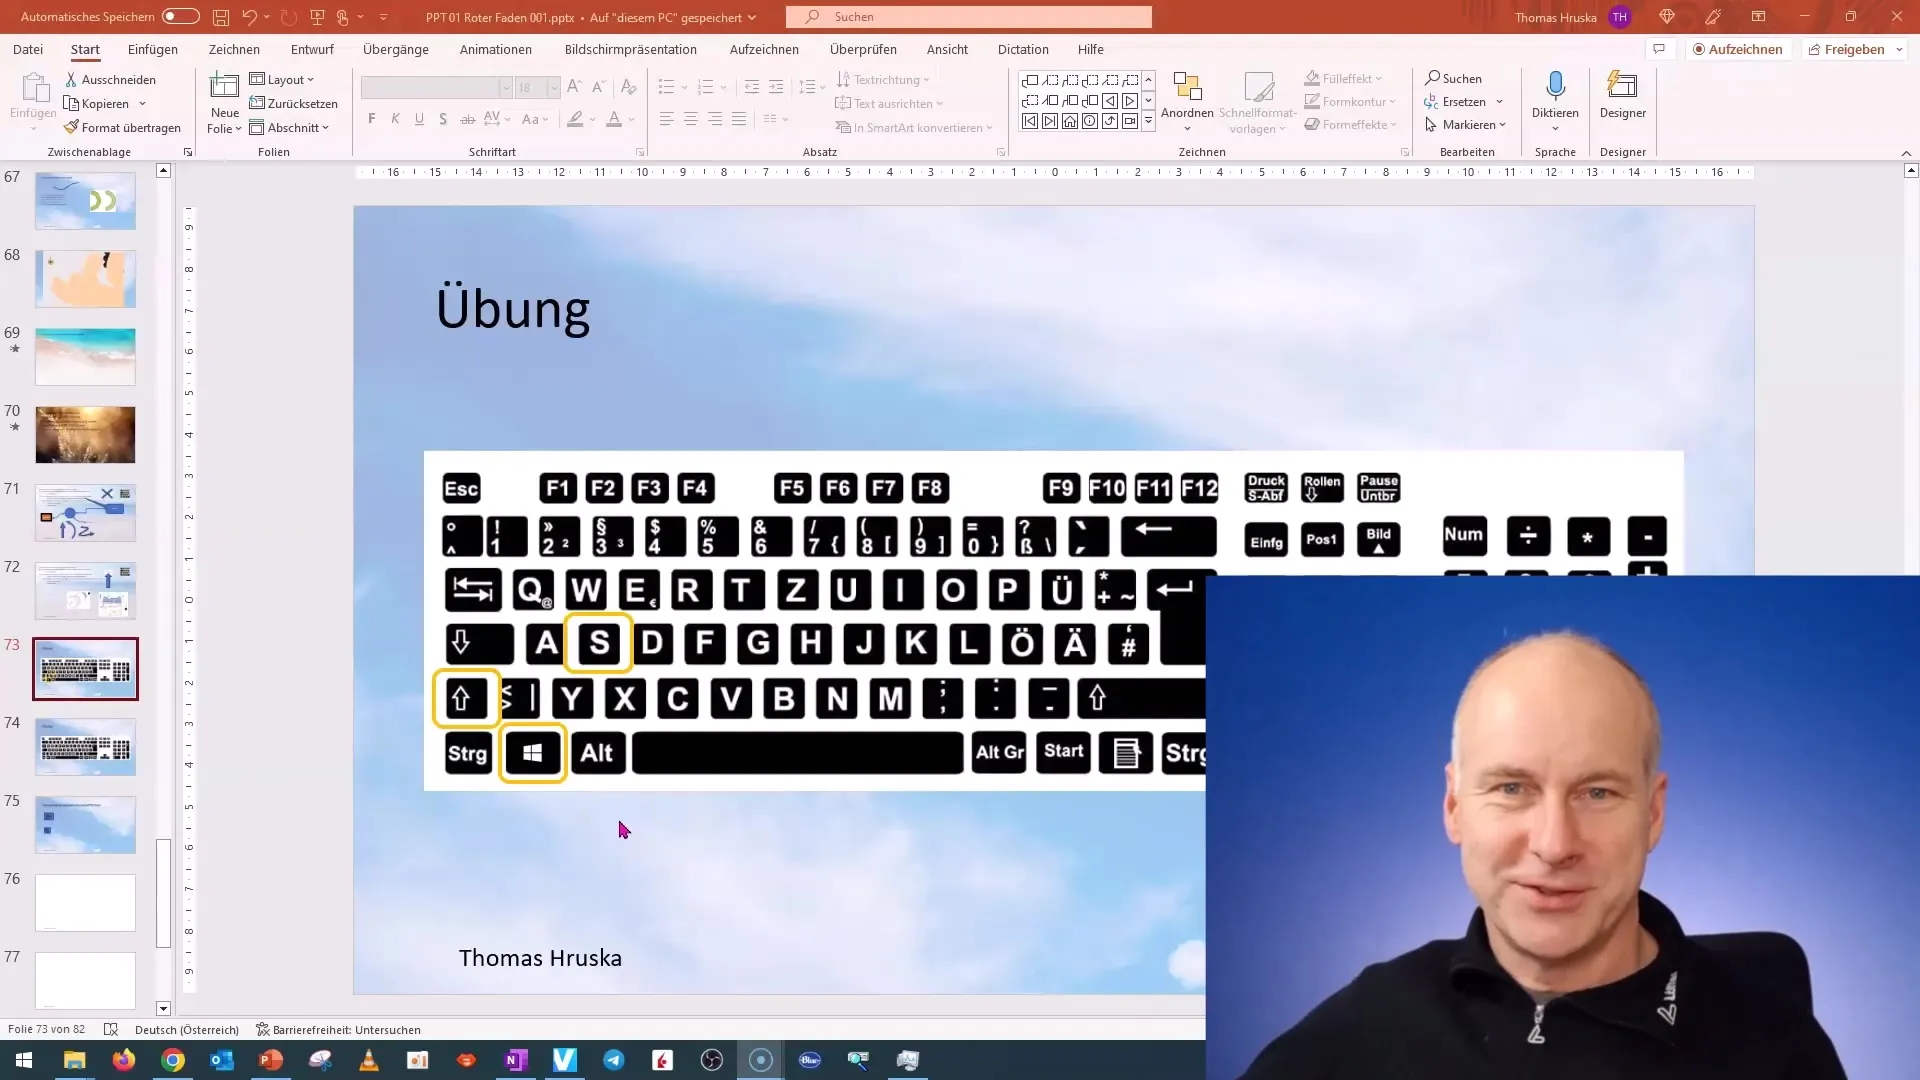
The first thing you need to do is activate your Screenshot tool. Press the keys Windows + Shift + S to do so. This will open a small window where you can select the desired area on your screen.
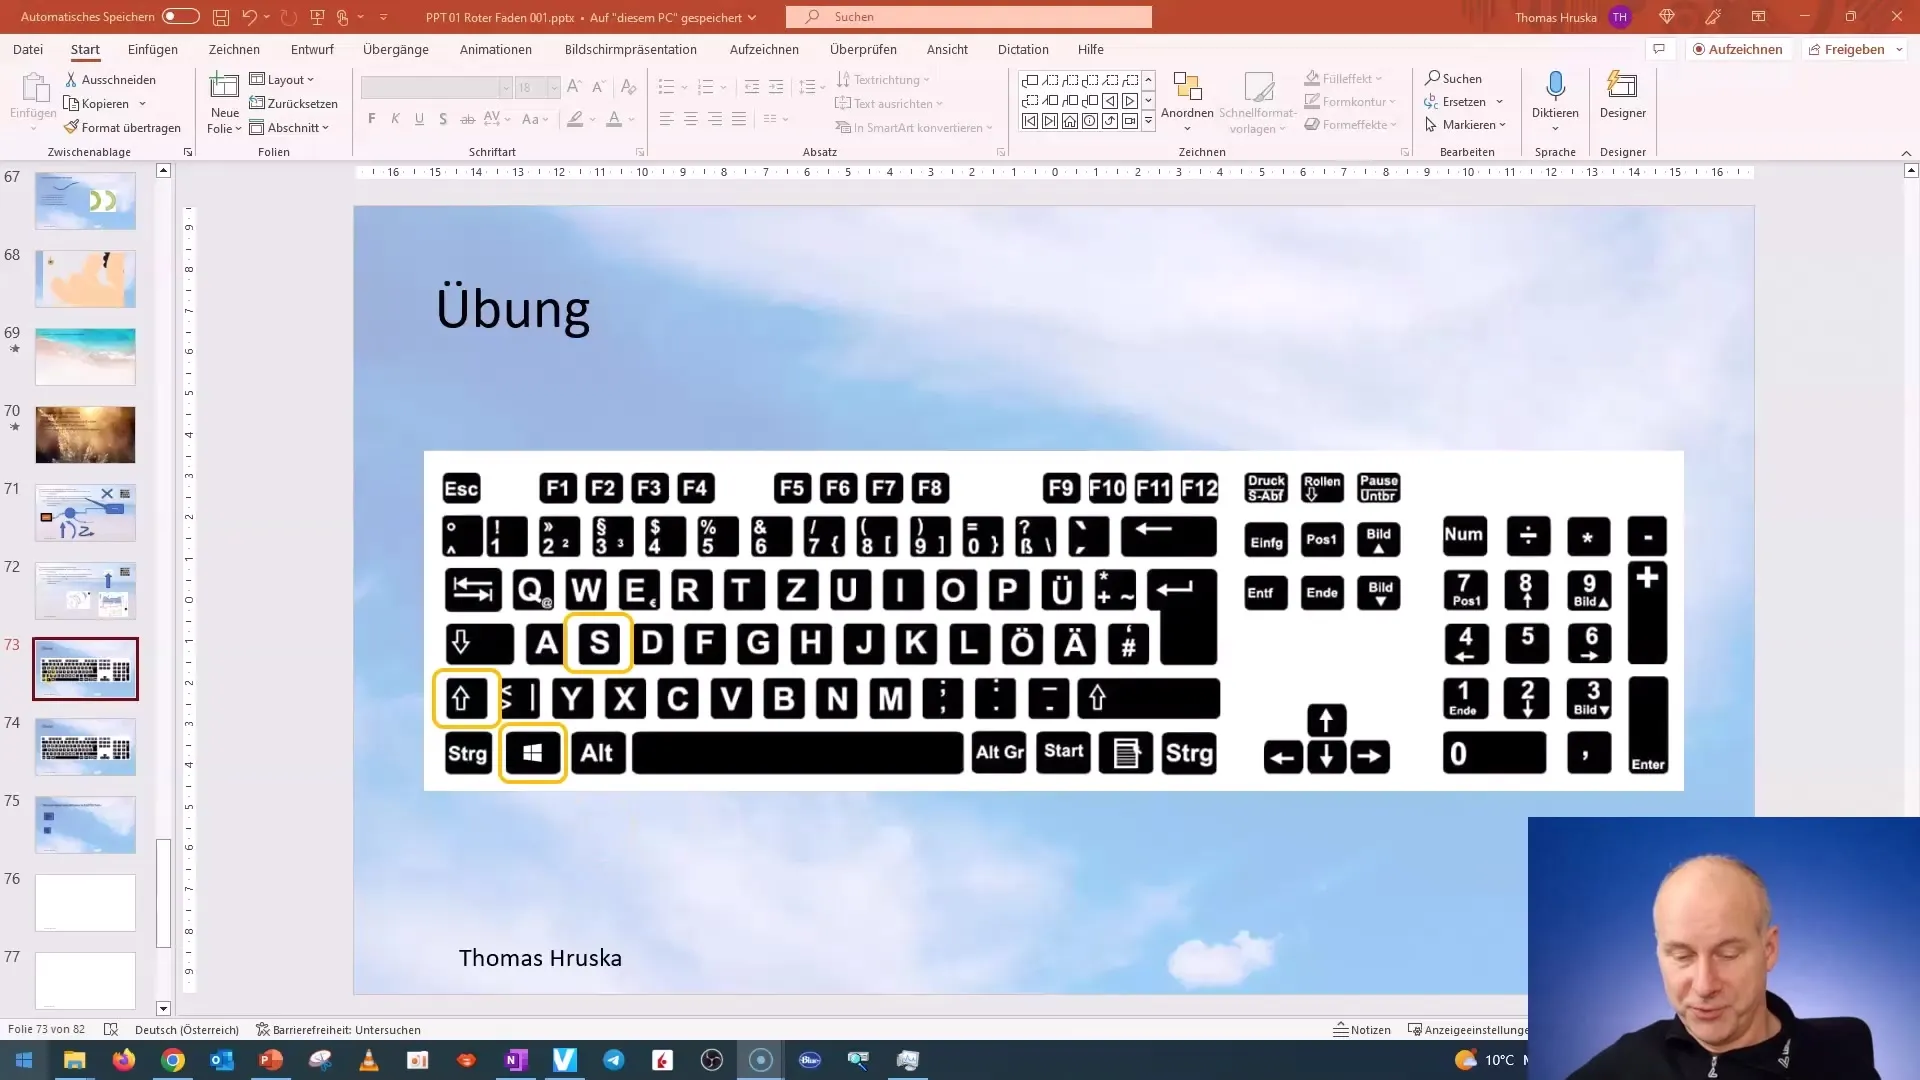
Cut out the area that interests you, in this case, the graphic or symbol you need. This function helps you capture only the relevant part of the screen without unnecessary content.
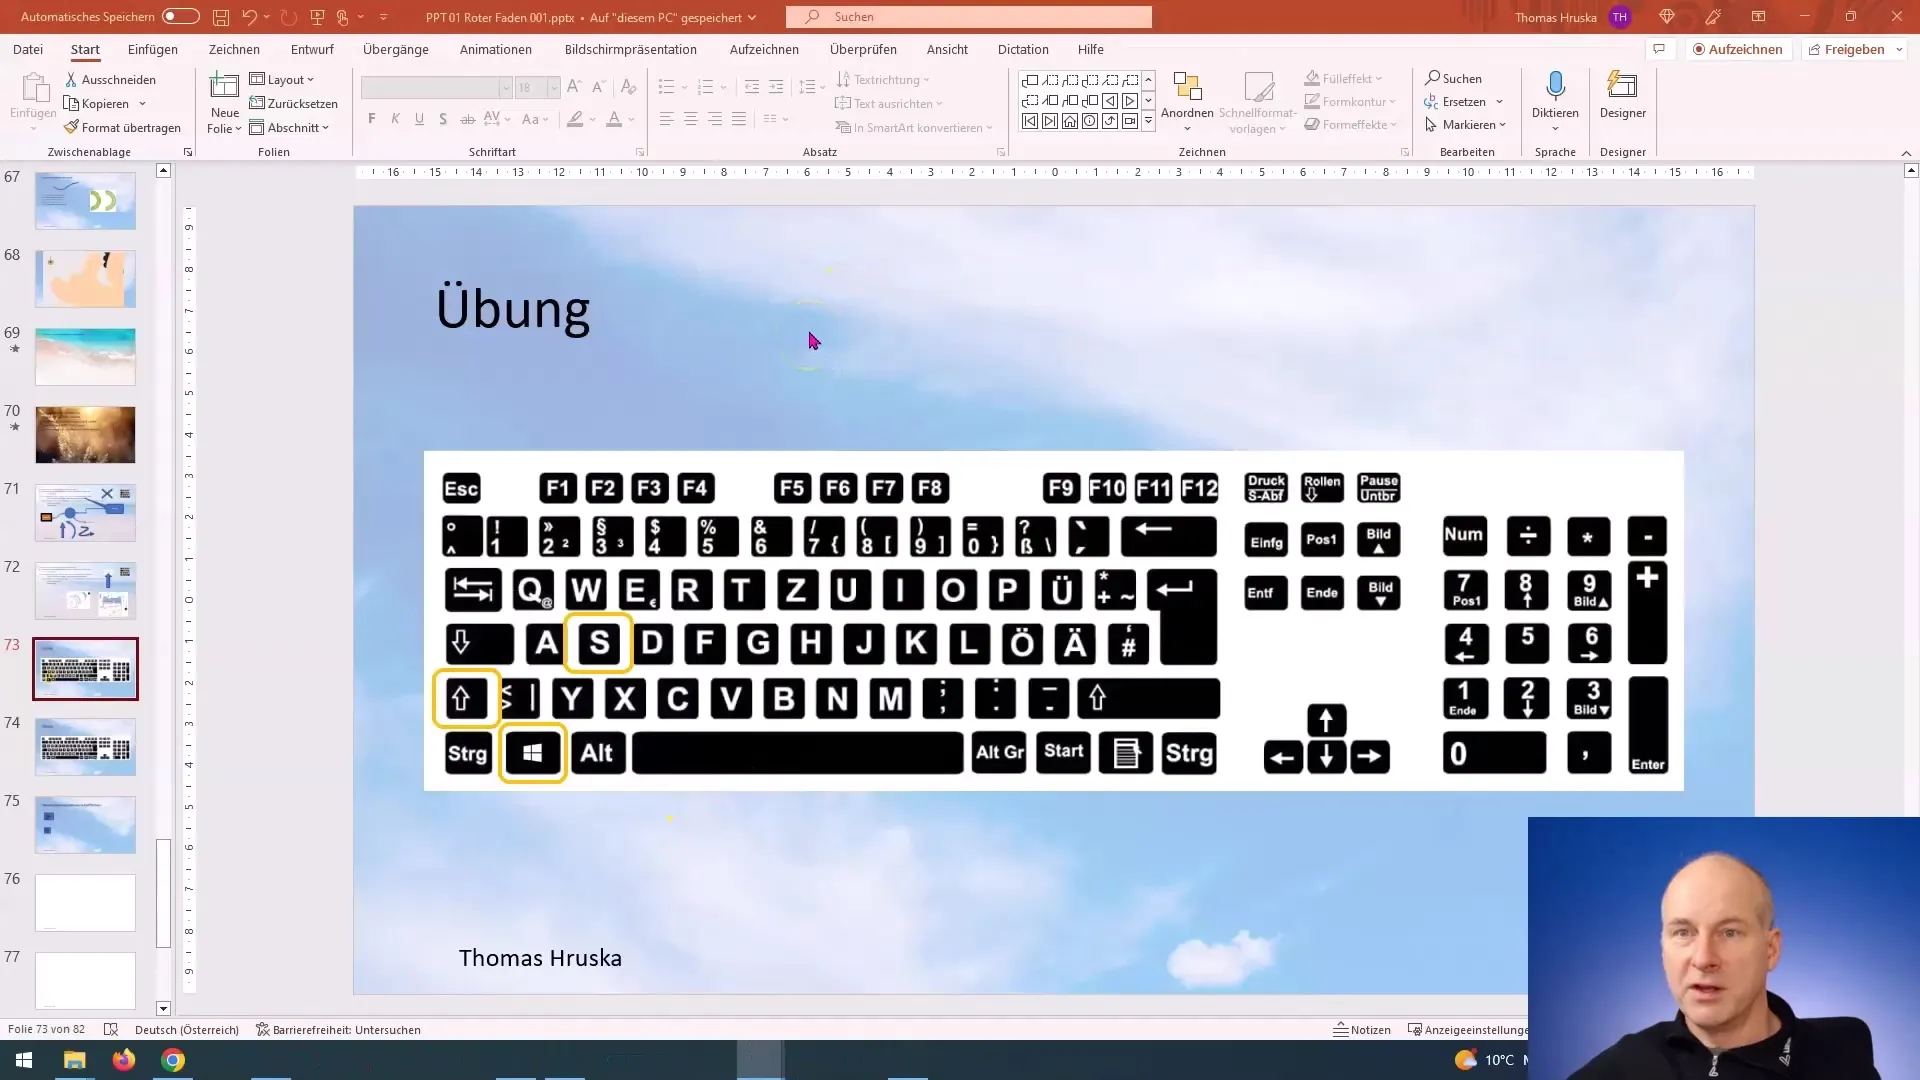
Now go back to your PowerPoint presentation and insert the image where desired. You can easily do this by pressing Ctrl + V. The image will now be transferred onto your slide.
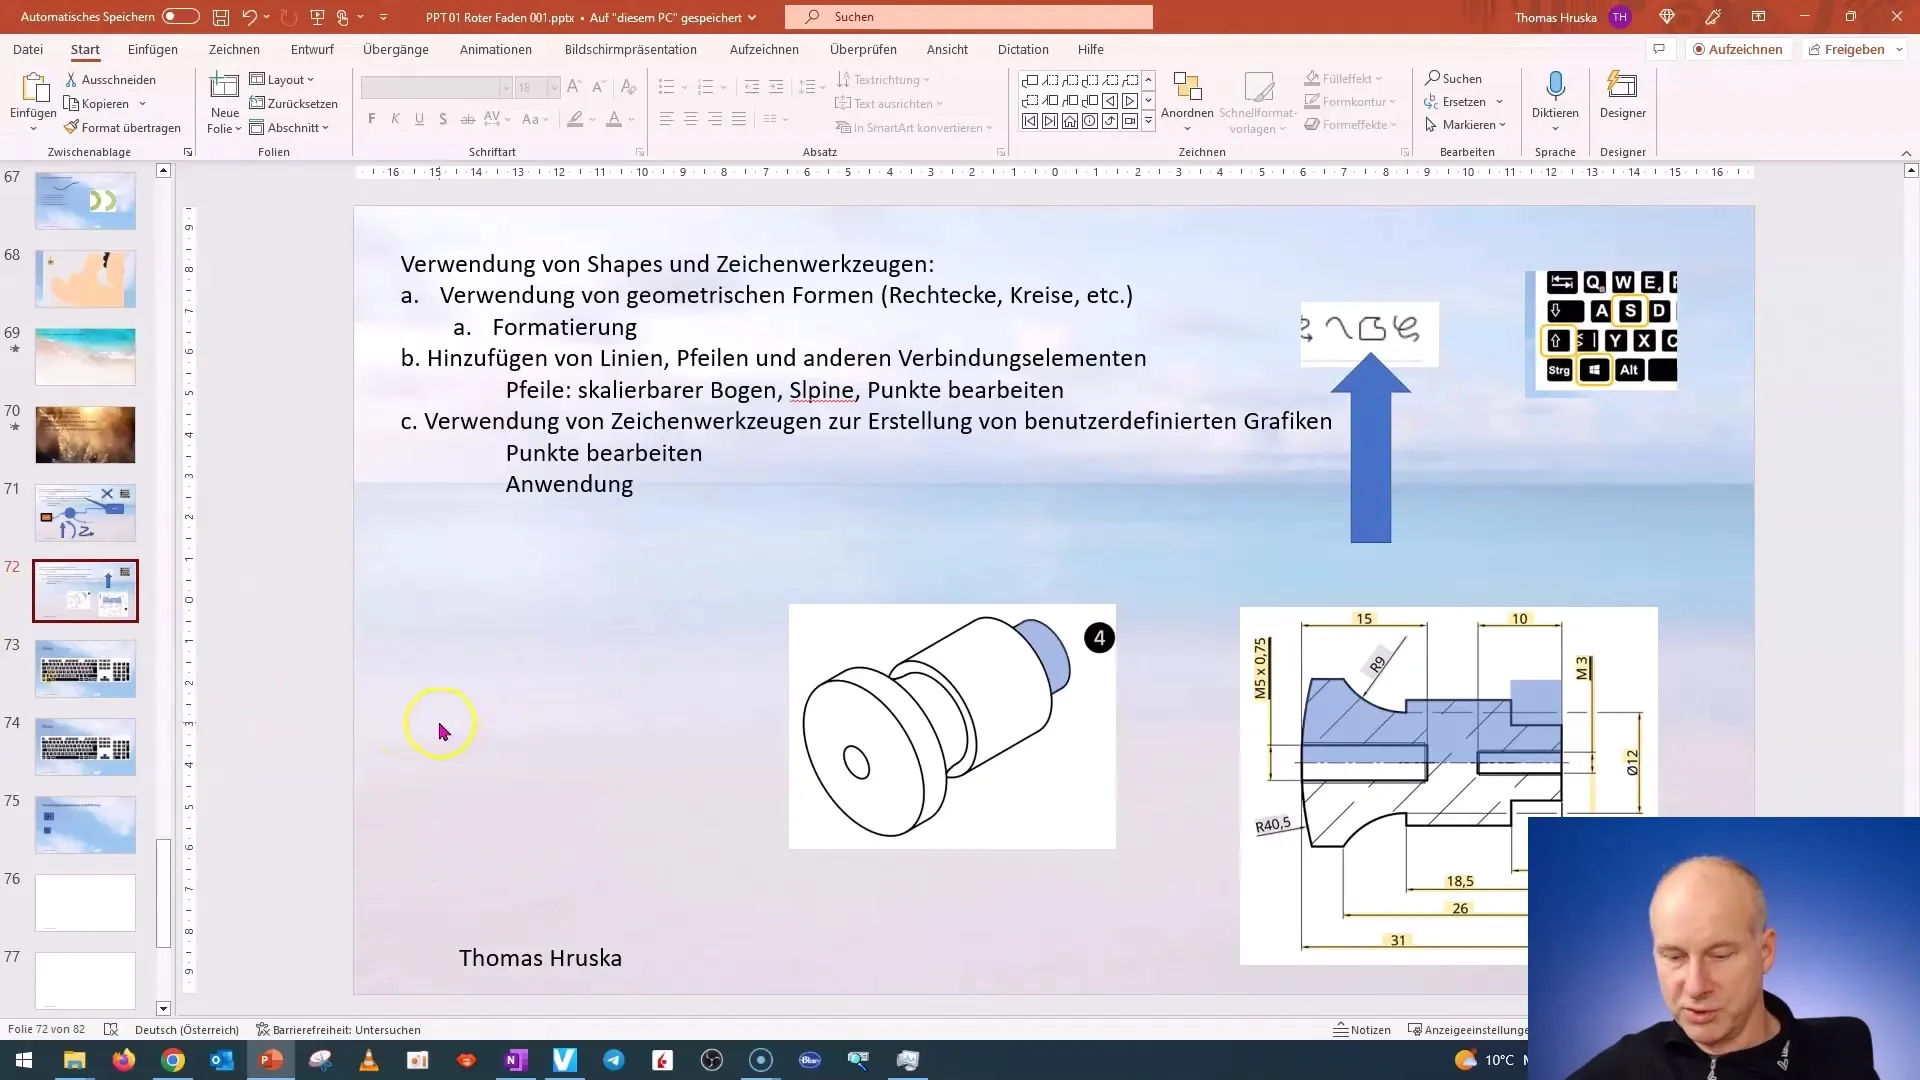
After the image has been inserted, you can adjust it as needed. Move the image to the center of the slide to place it optimally. To further edit the image, you can resize it, depending on what looks best.

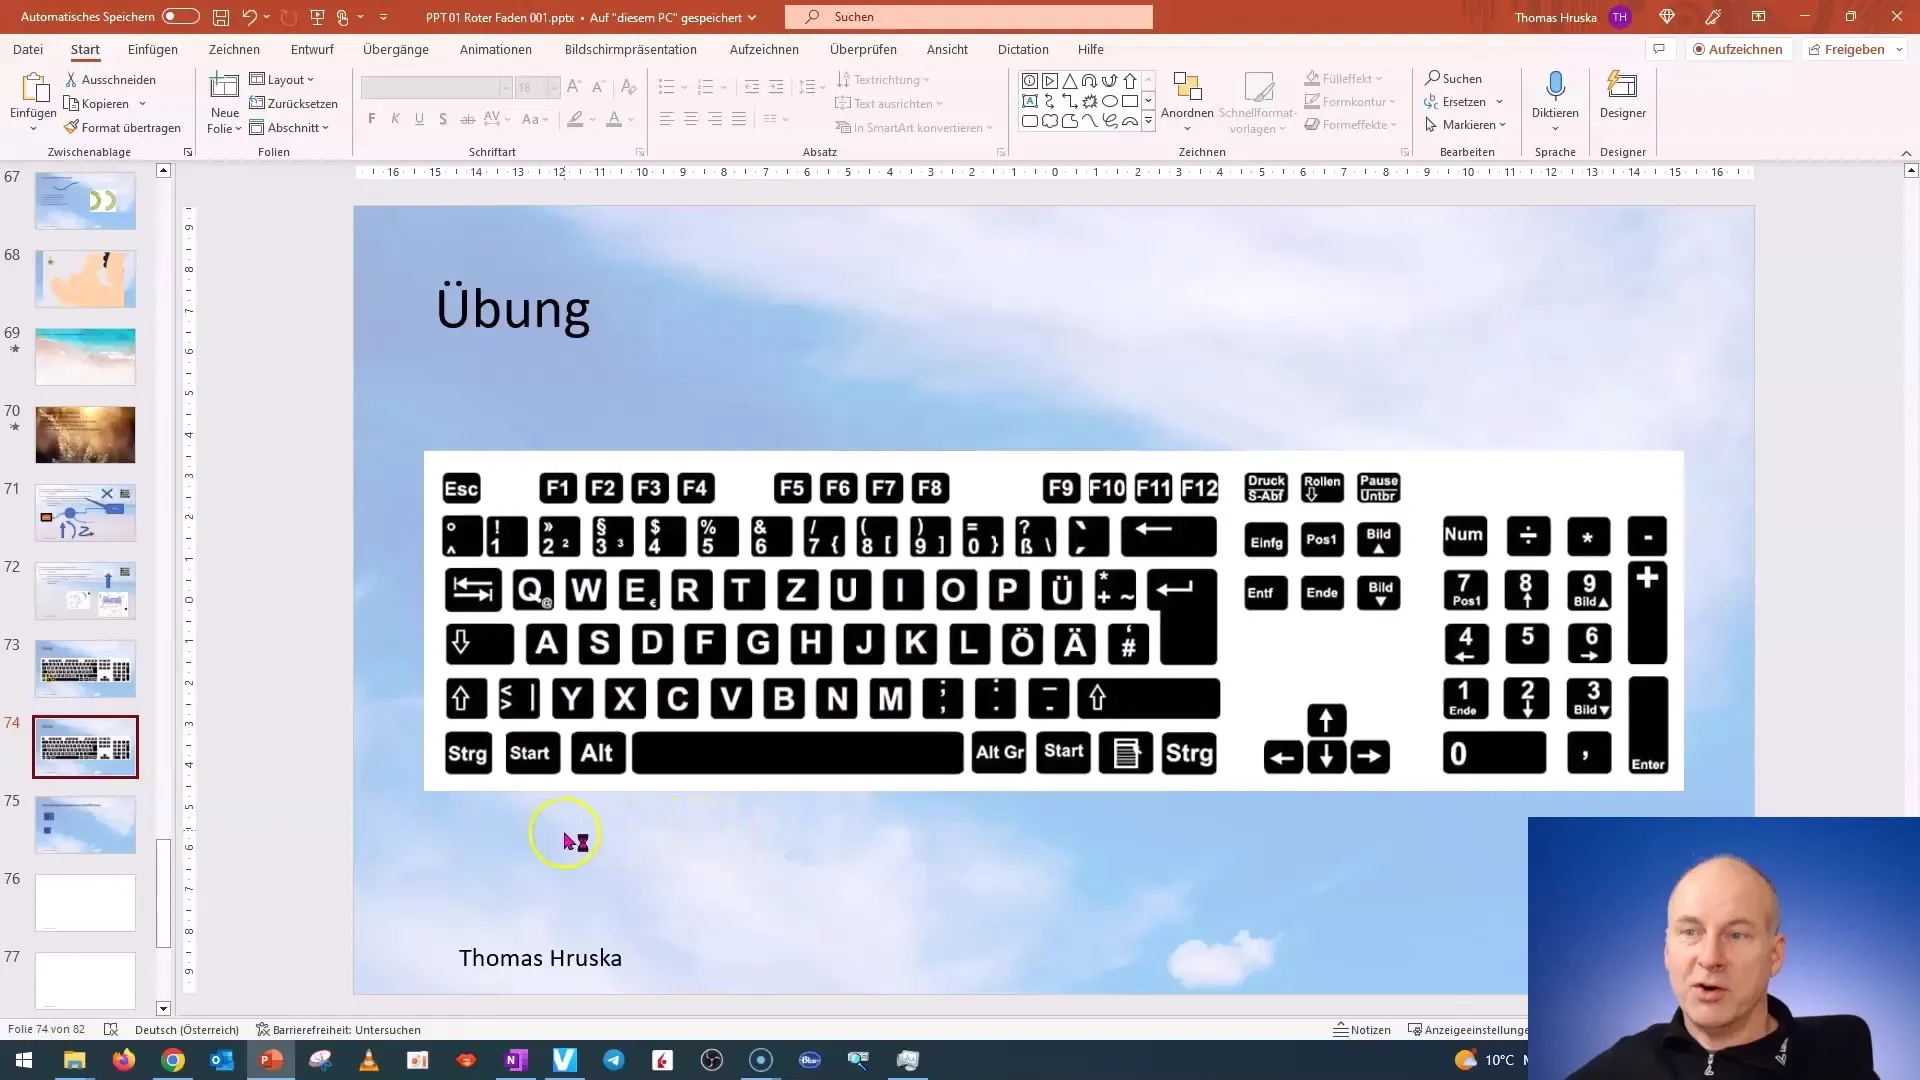
Now let's look at a practical example. Suppose you have downloaded an image of a keyboard. To customize the Windows symbol, you first need to search for a high-resolution black-and-white image of the Windows logo. A simple search term like "Windows logo image high resolution black and white" will help you with this.
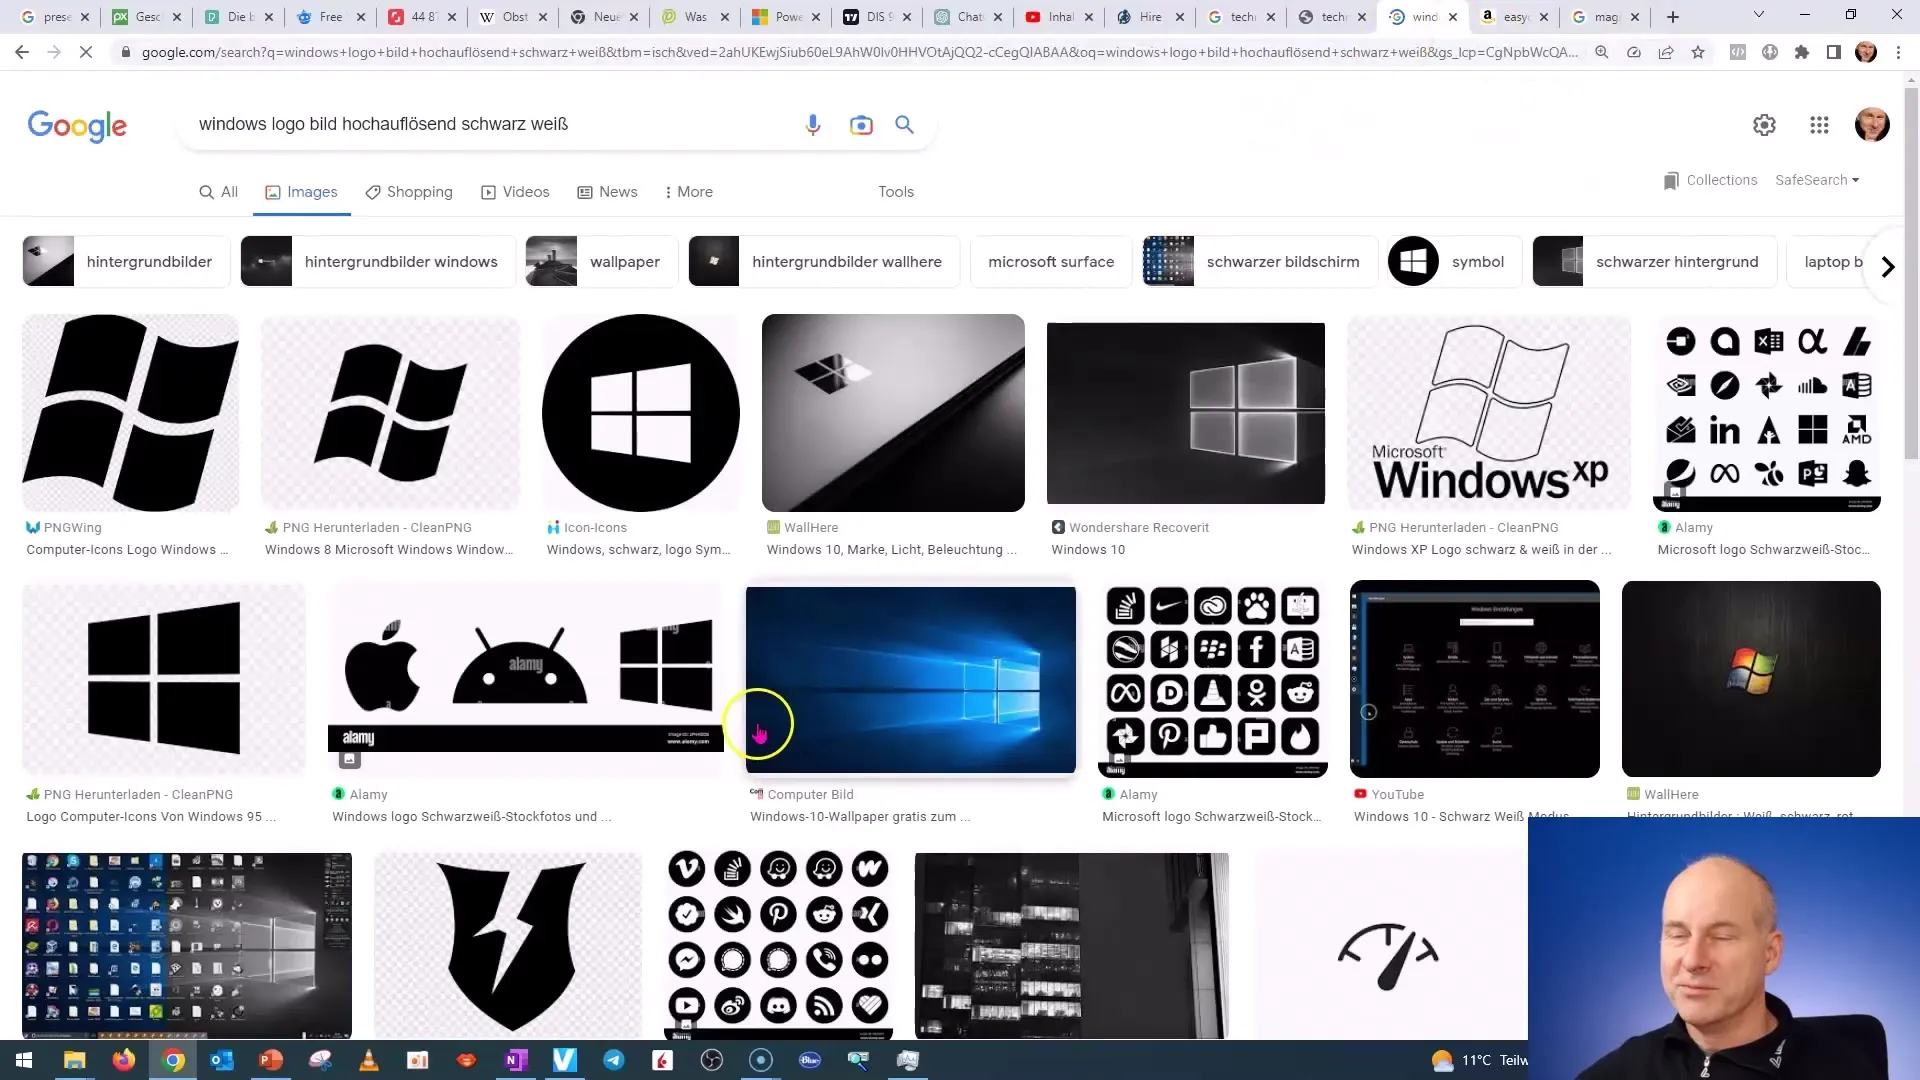
Once you have found the image, use the Snapshot tool again to cut out the logo. Make sure to do this accurately so that only the symbol is included without any artifacts.
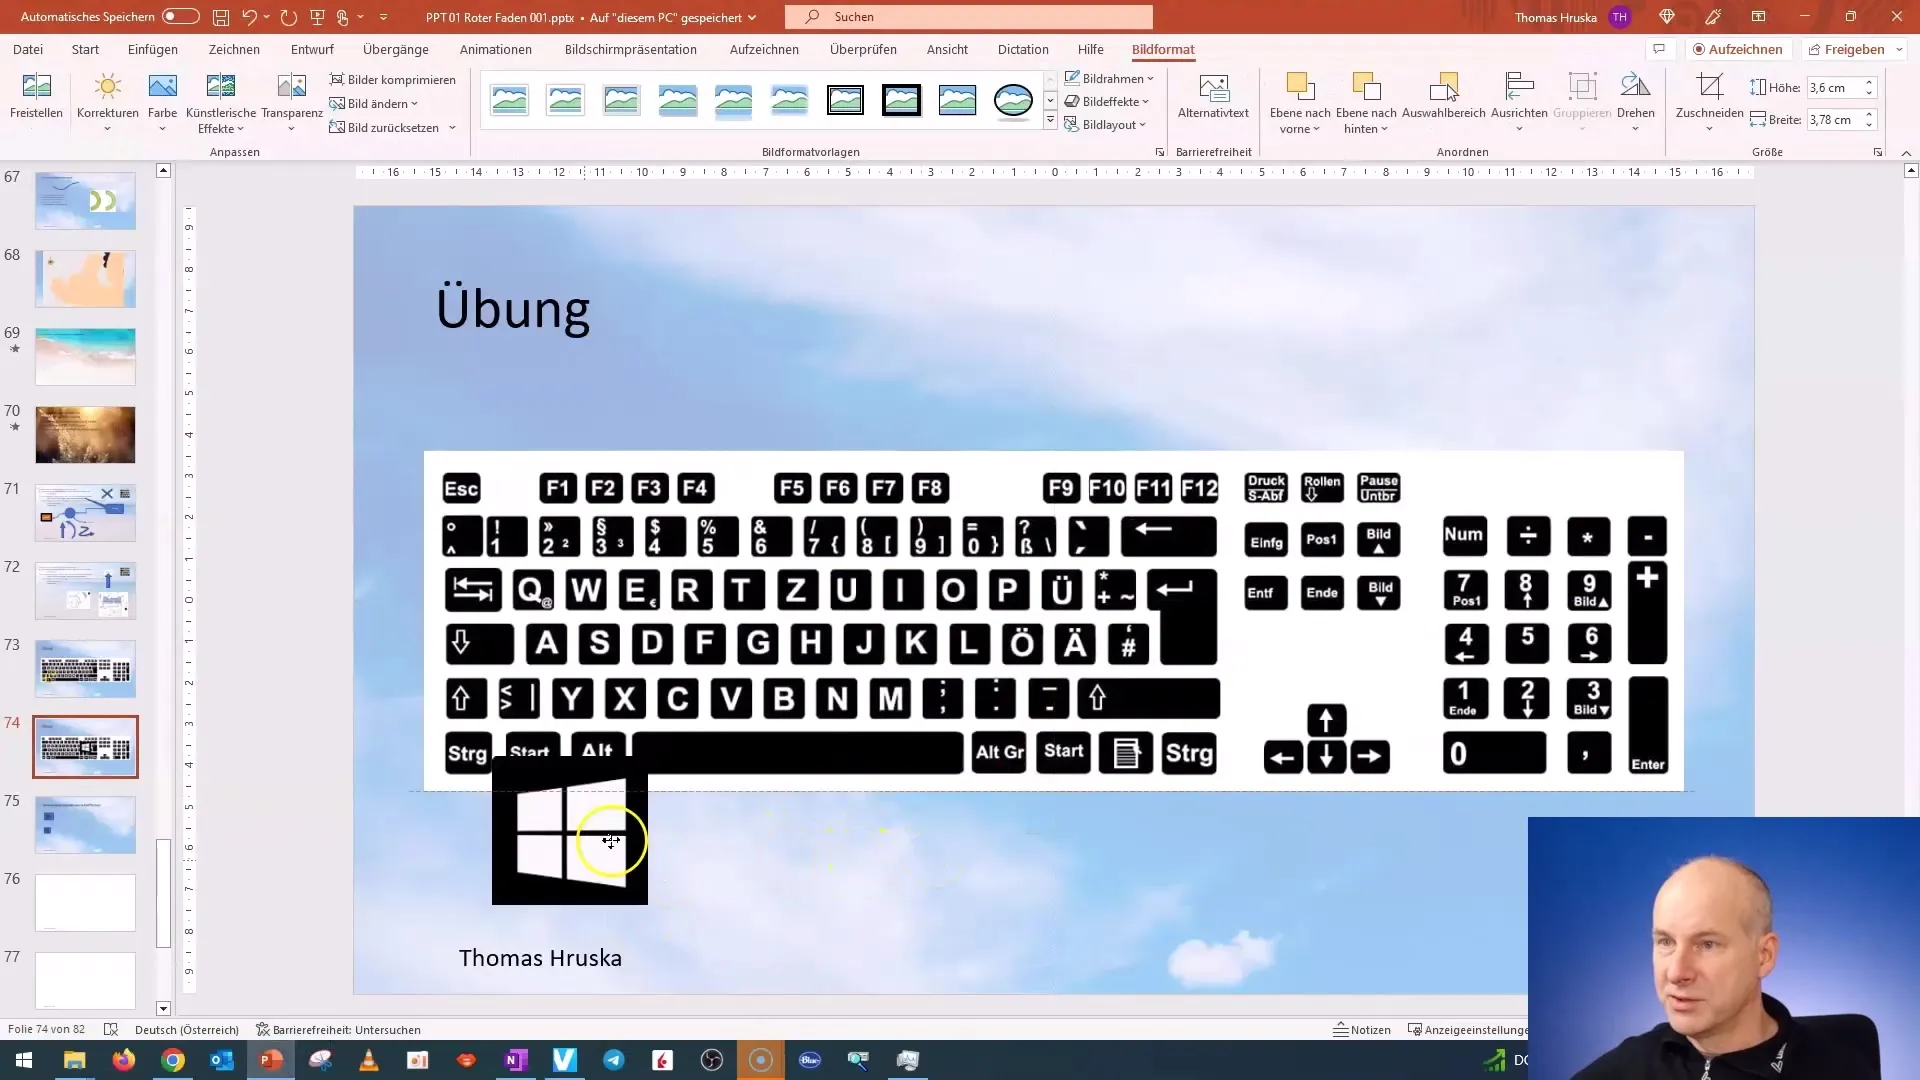
Now go back to your presentation and reinsert the cropped Windows logo. Position it correctly on your graphic.
To ensure the Windows symbol looks perfect, you can work with a rectangle. Draw a rectangle over the "Start" text to hide it. You can adjust the fill color of the rectangle to ensure it properly covers the Windows symbol.
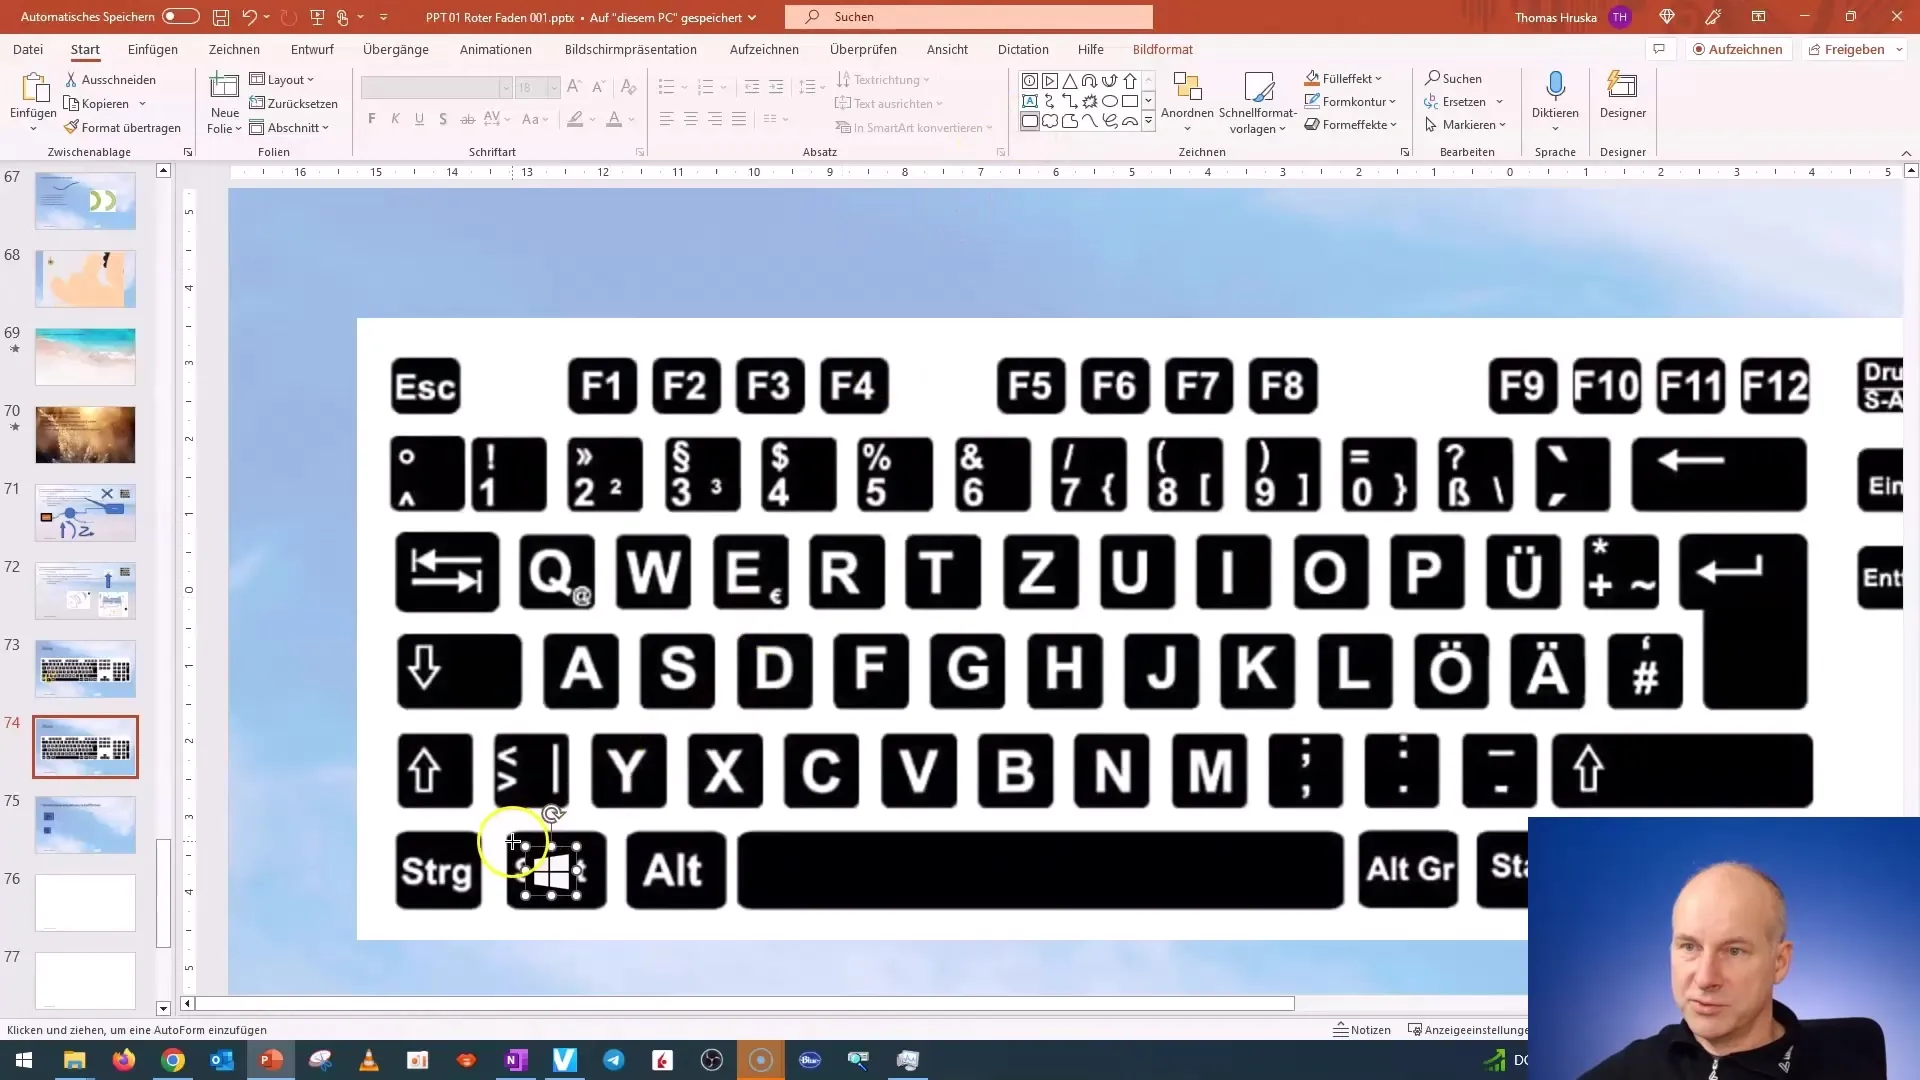
If you wish, you can adjust the color of the rectangle. Right-click on it and choose "Format Shape," then you can use a fill effect or the eyedropper tool to select the suitable color.
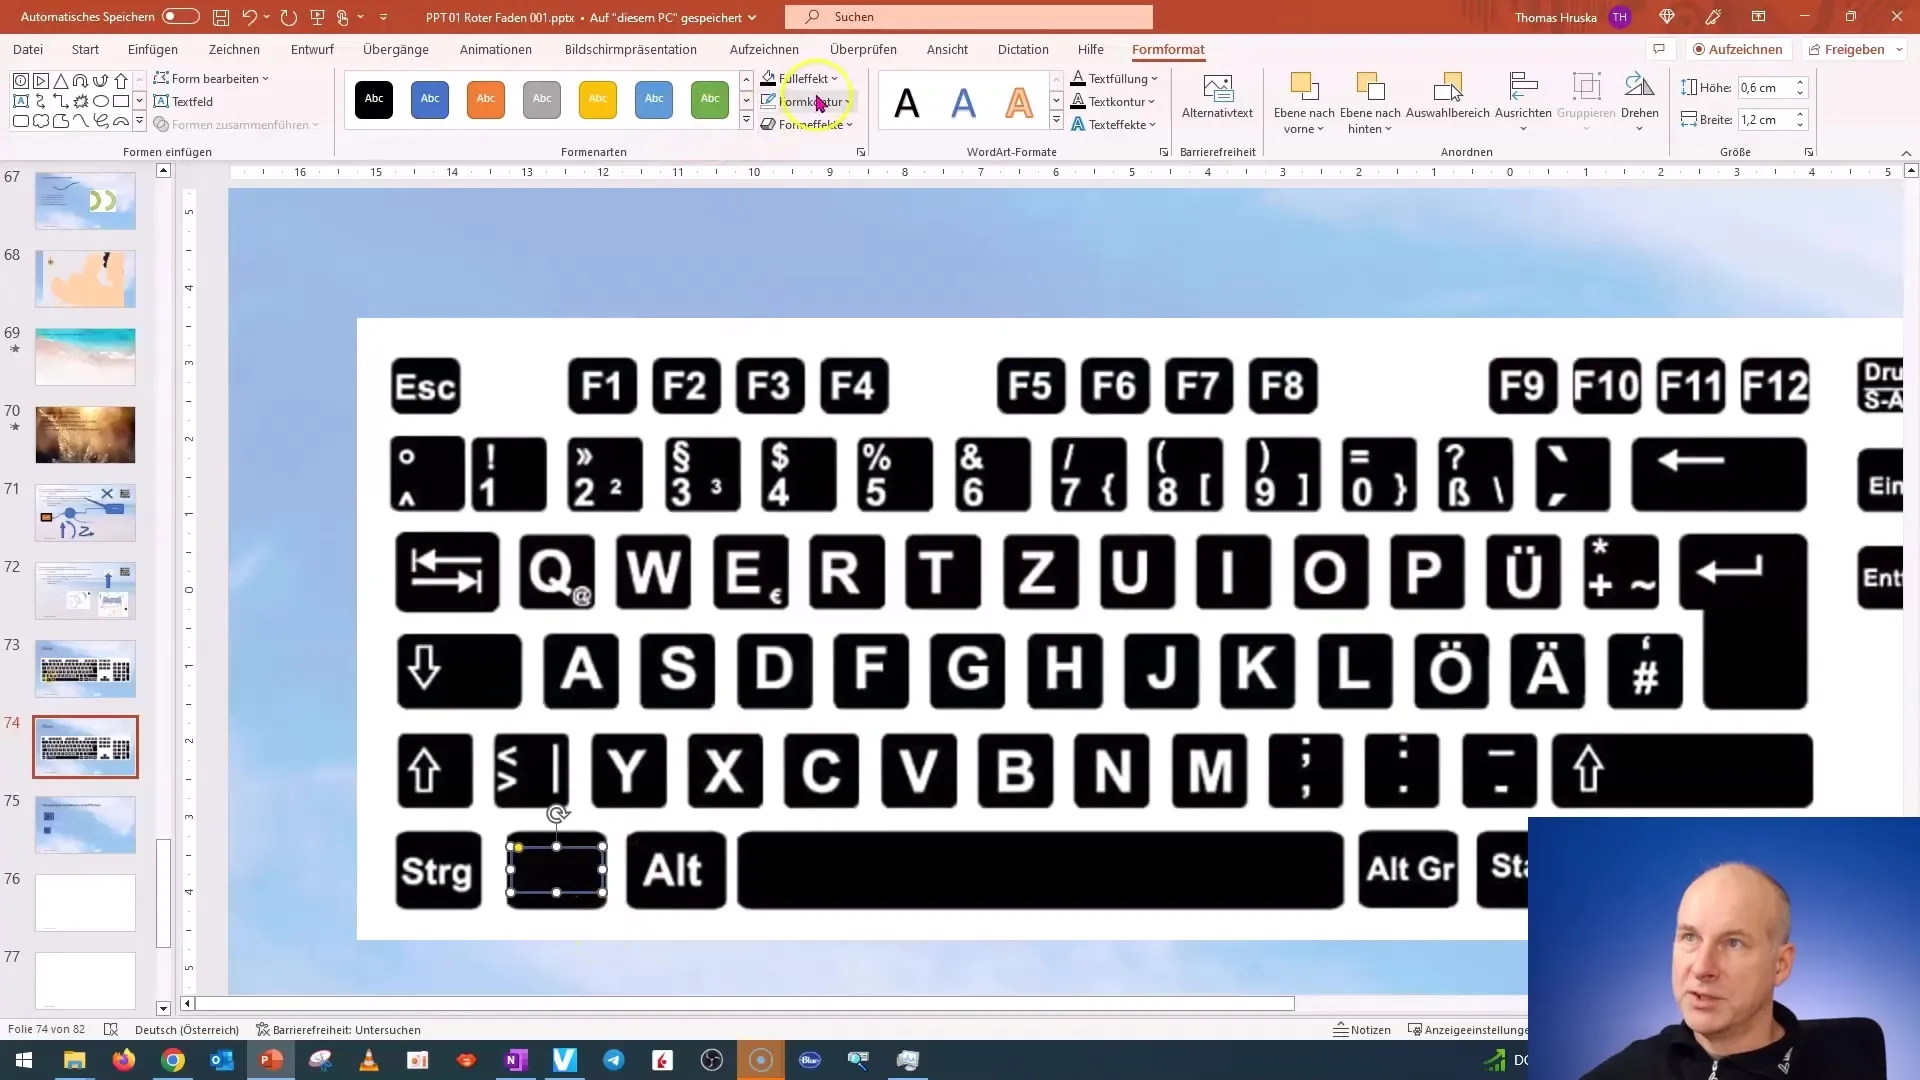
Now remove the border of the rectangle to ensure a clean display. Go back to the Format menu and select "no outline". Now you should only see the Windows symbol, which fits perfectly with the keyboard.
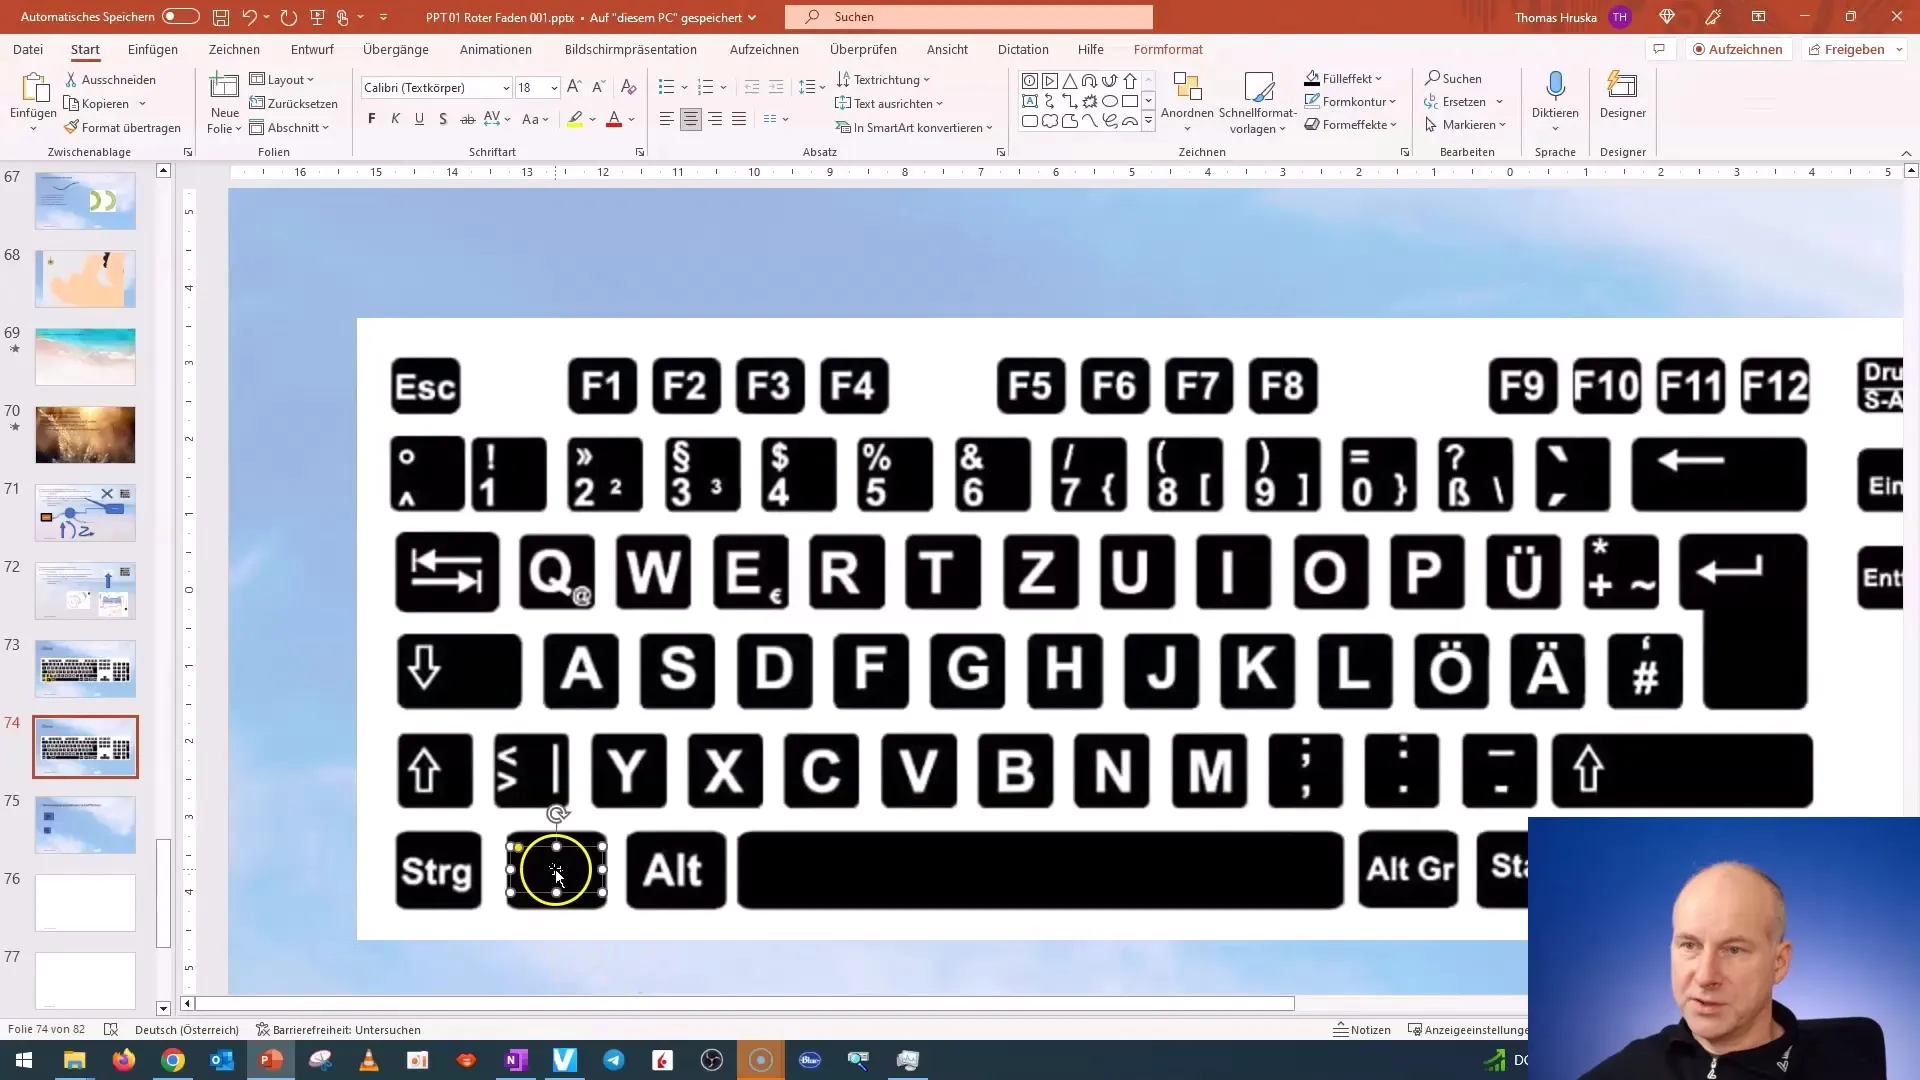
To optimize the positioning, you can simply move the different graphics. Hold down the Alt key while dragging the image to insert an exact copy at a new location. This makes it easier to work when you need to adjust multiple elements.
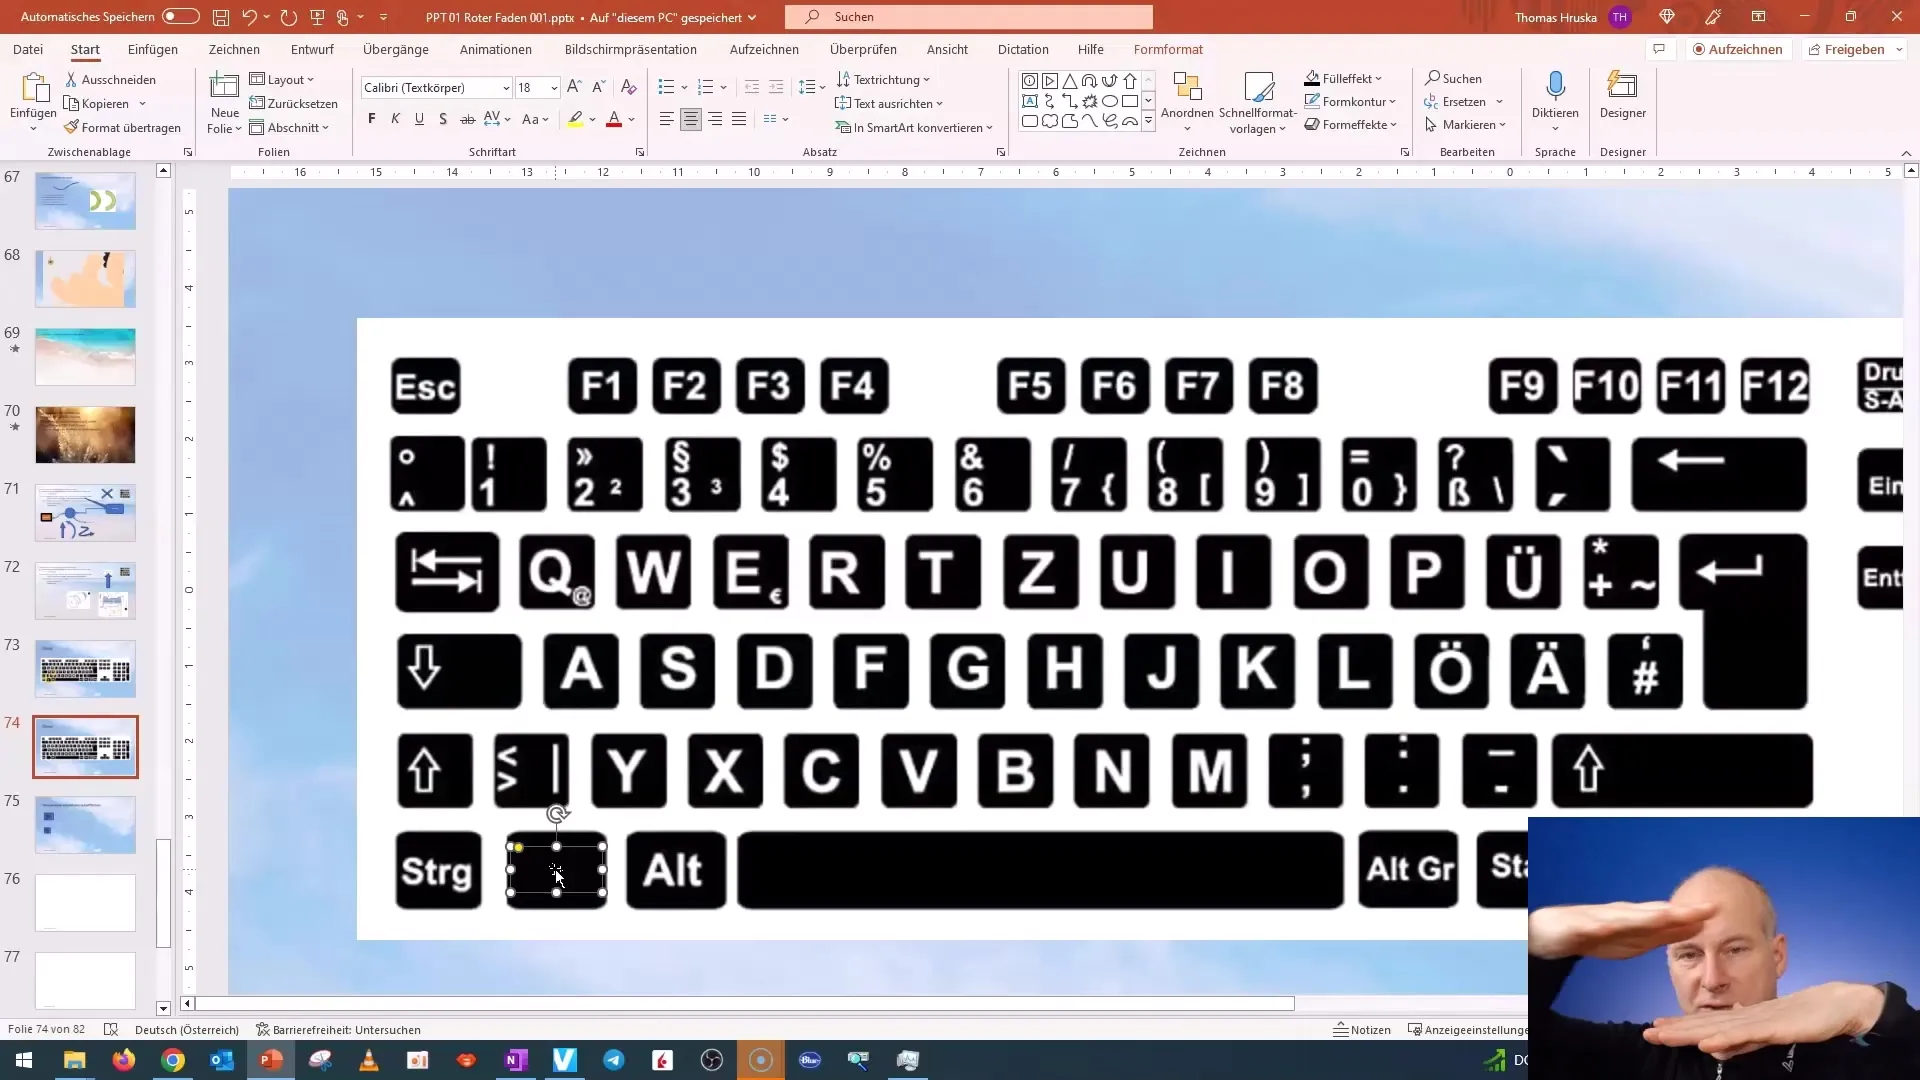
Now you can add the key labels. Repeat the process with another rectangle and customize these elements as desired.
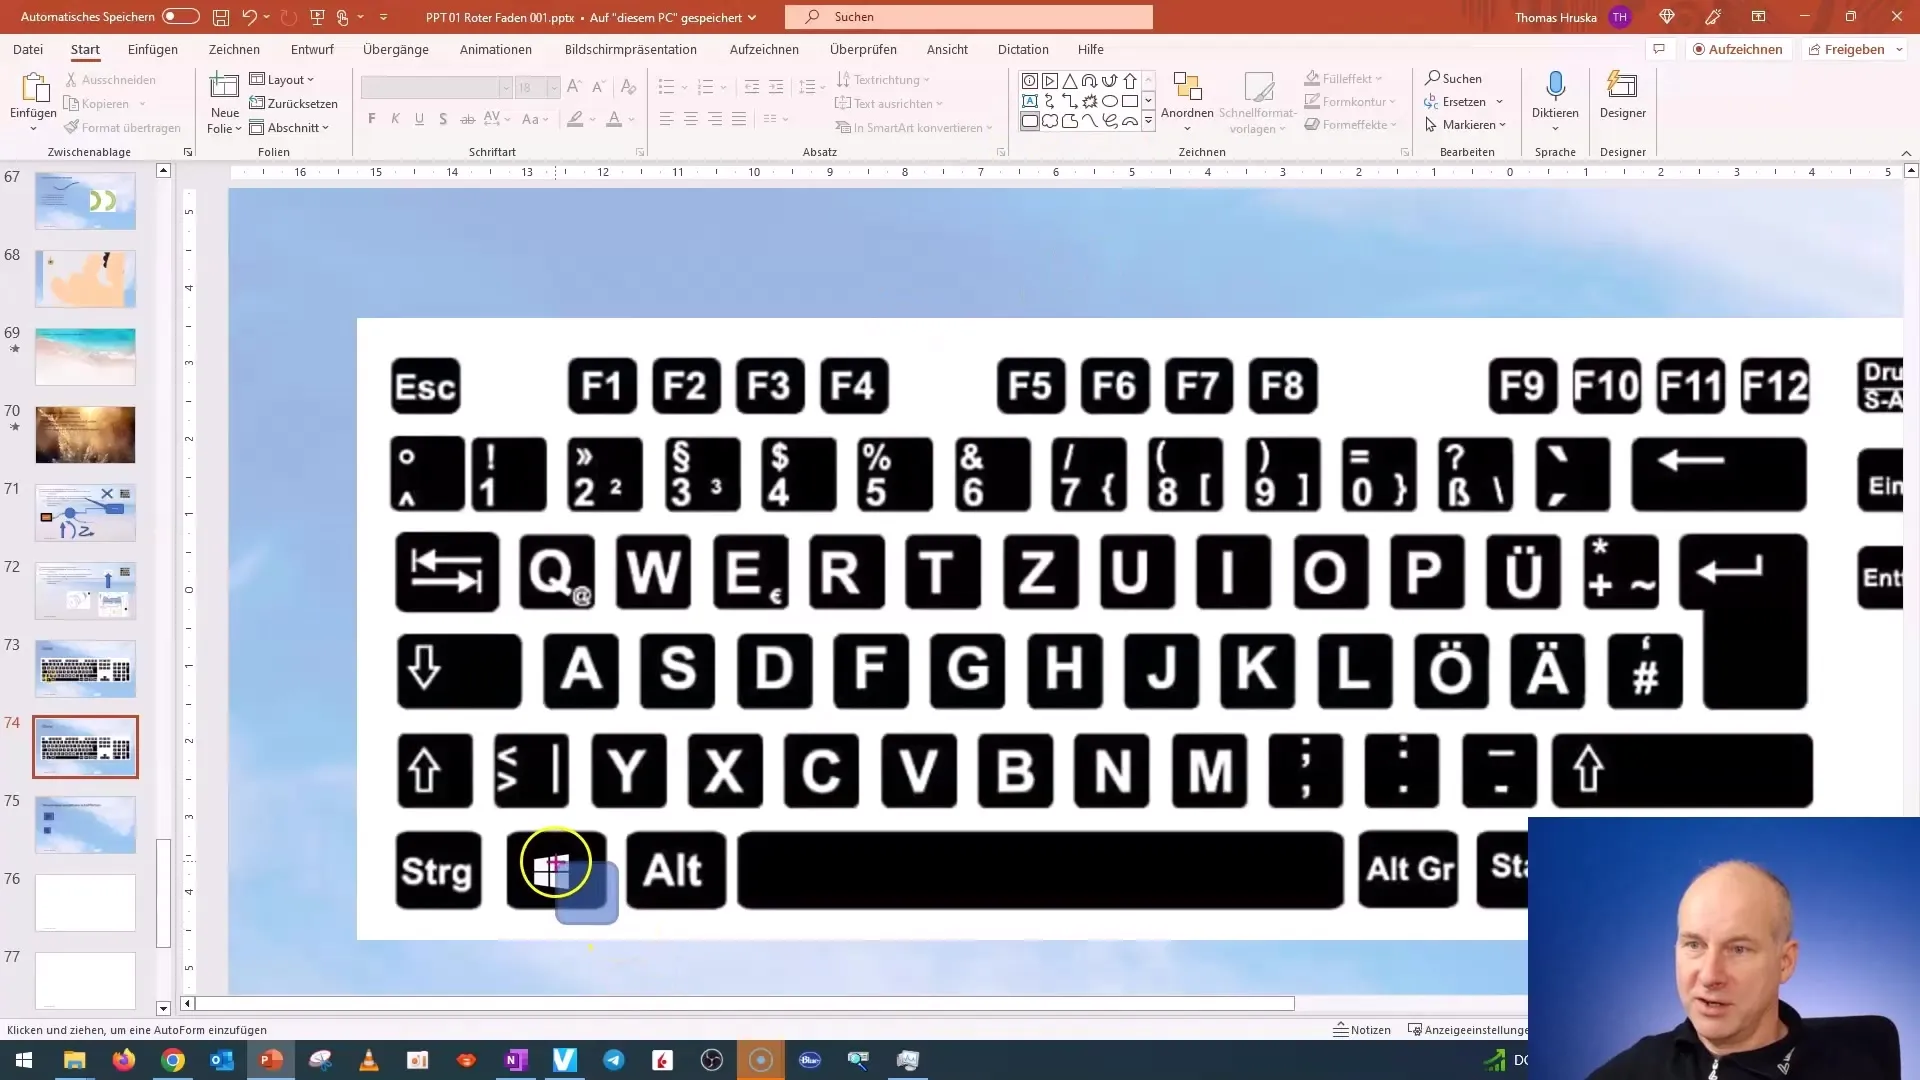
Use transparency for the shape to ensure it does not appear too intrusive. This ensures an appealing look.
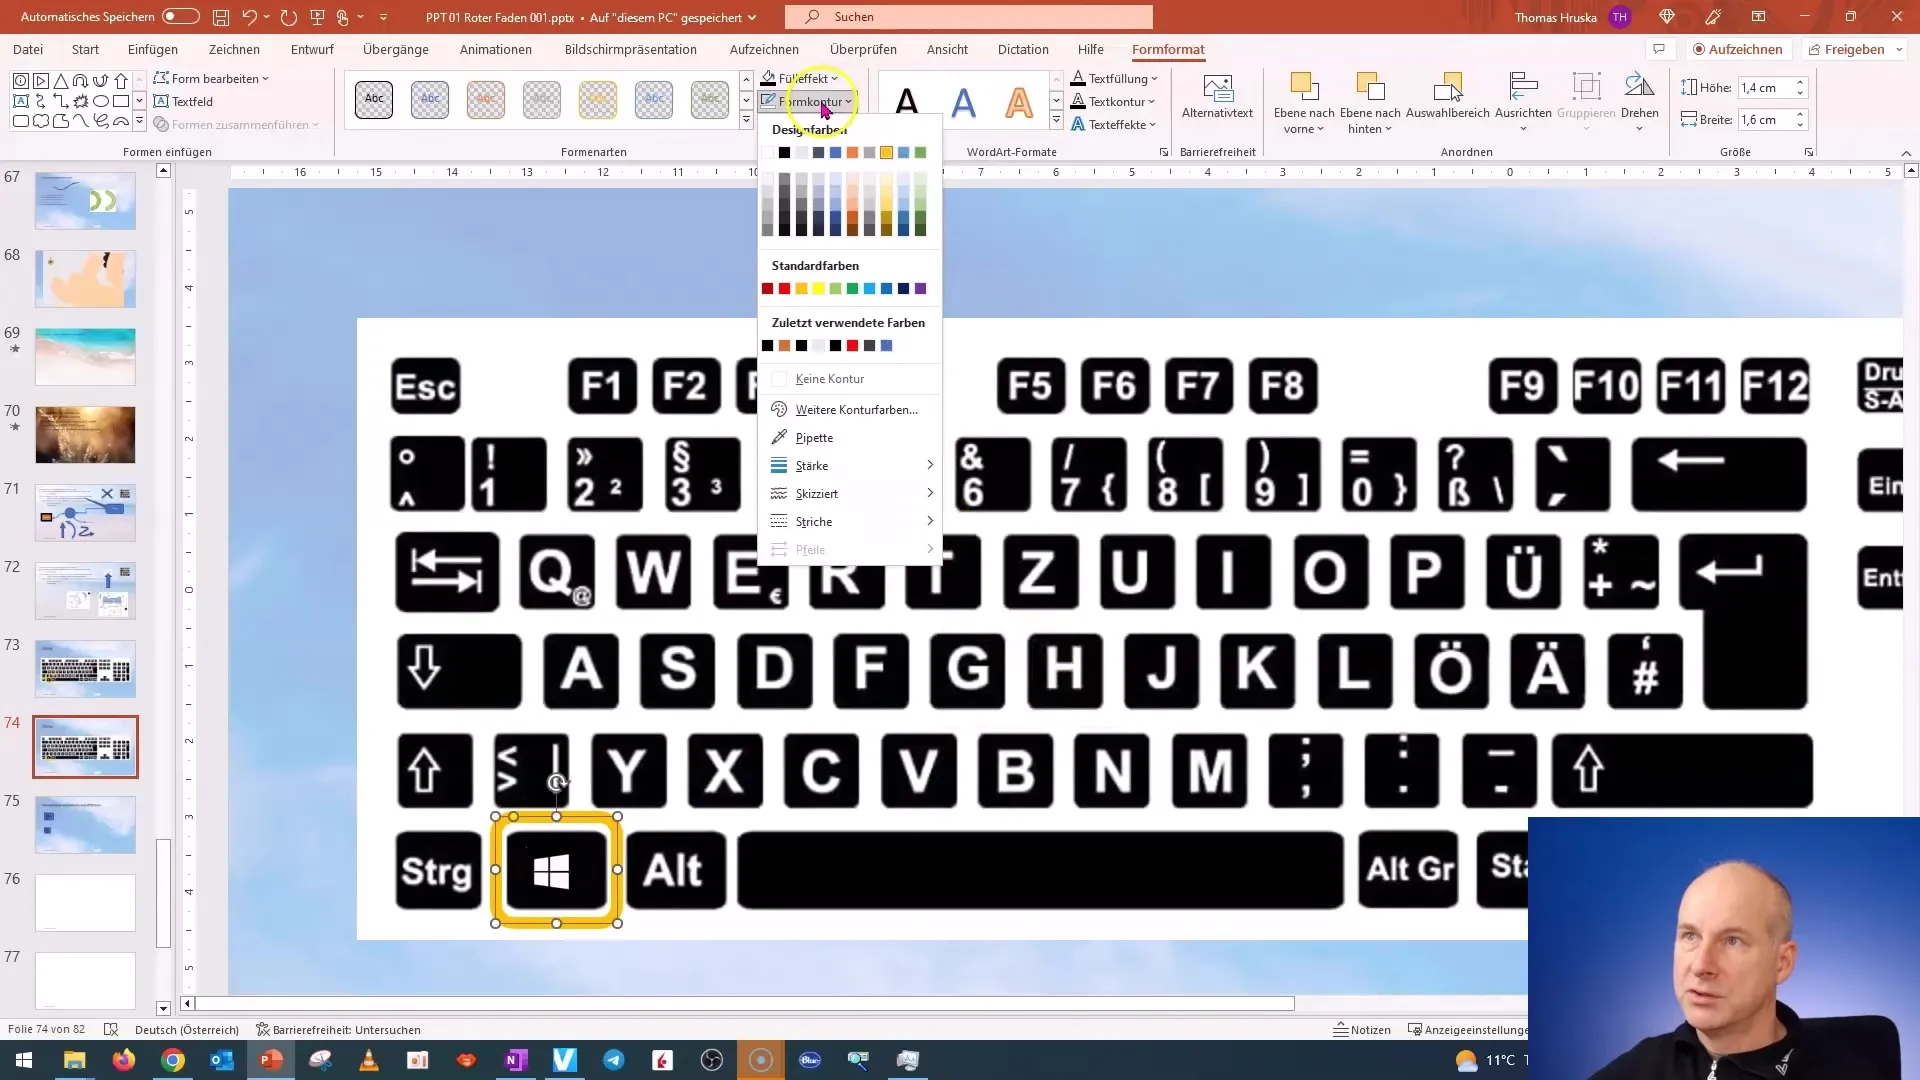
If you need a copy of a graphic, simply press Ctrl + D and drag the copy to the desired position. In combination with the Alt key, you can align the elements precisely.
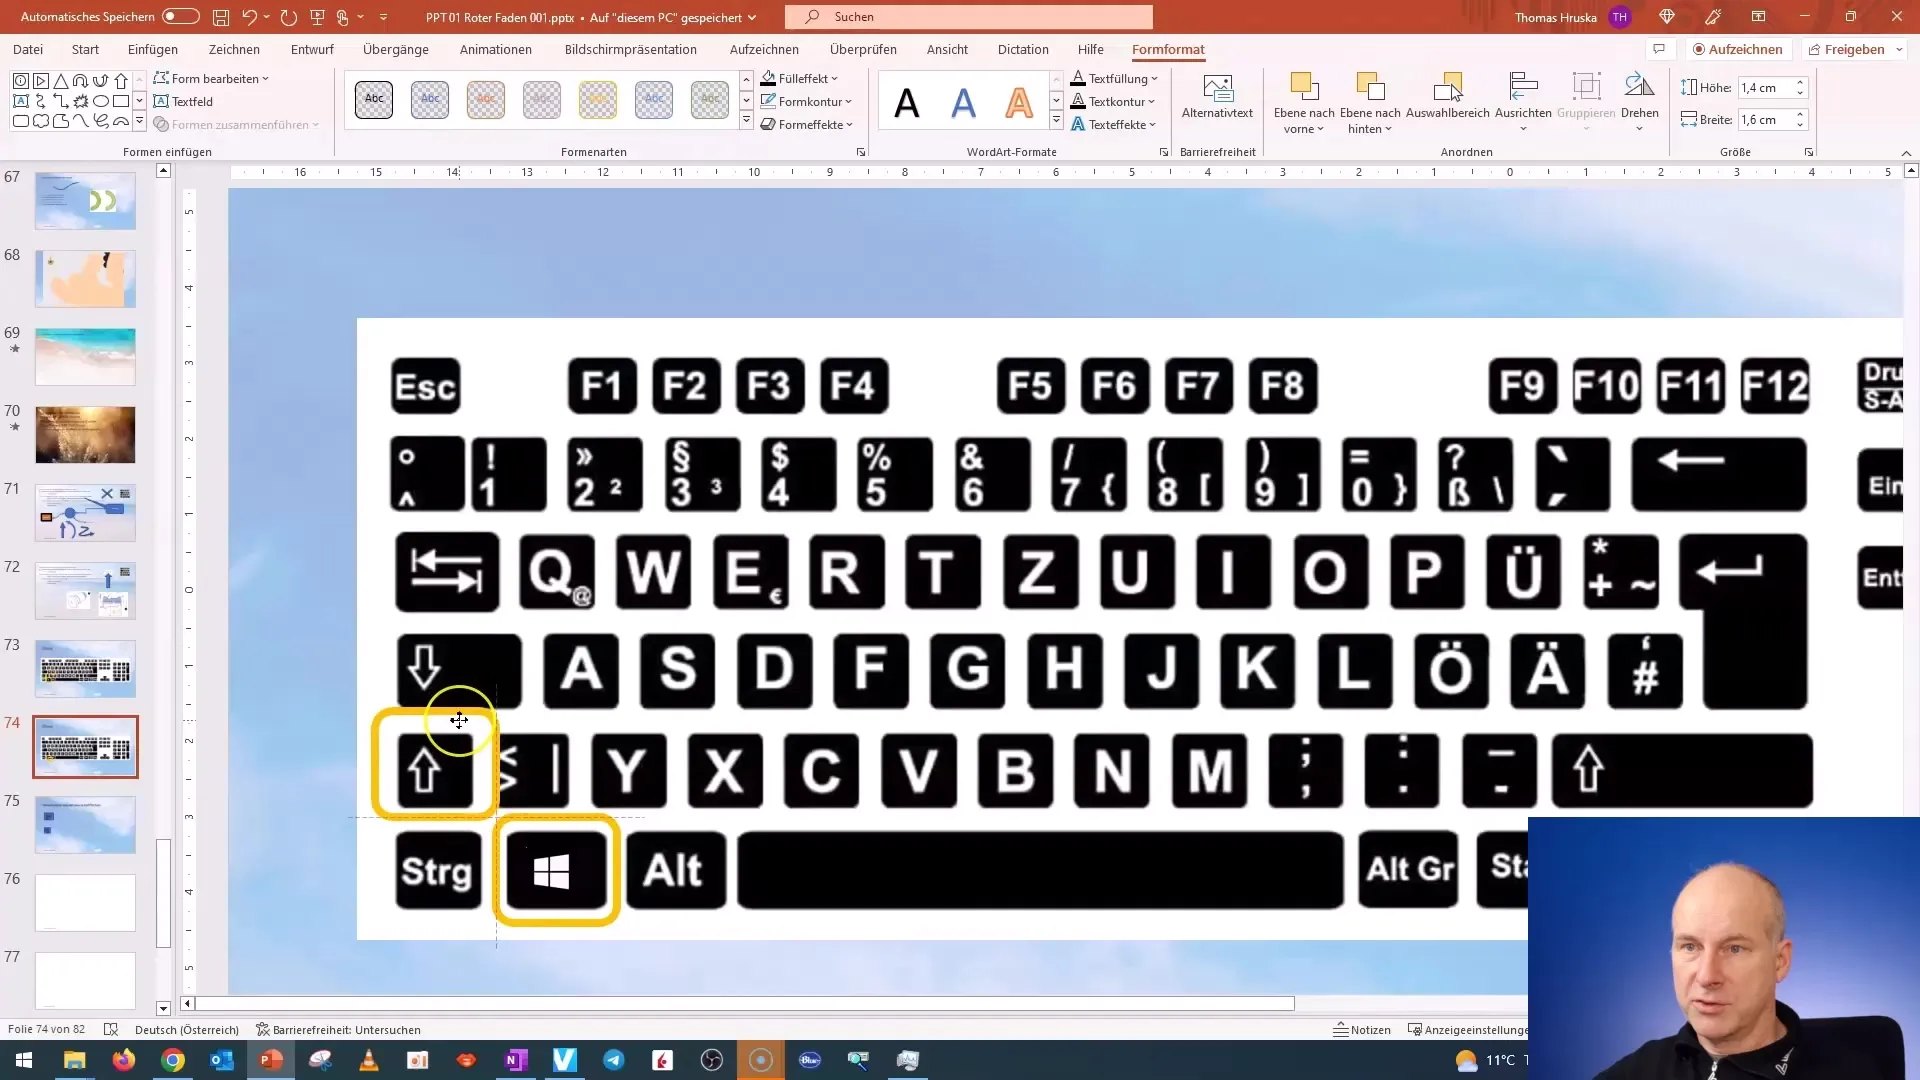
Finally, make sure all graphics are perfectly aligned. Ensure there are no color inconsistencies, especially if the original images are from different sources.
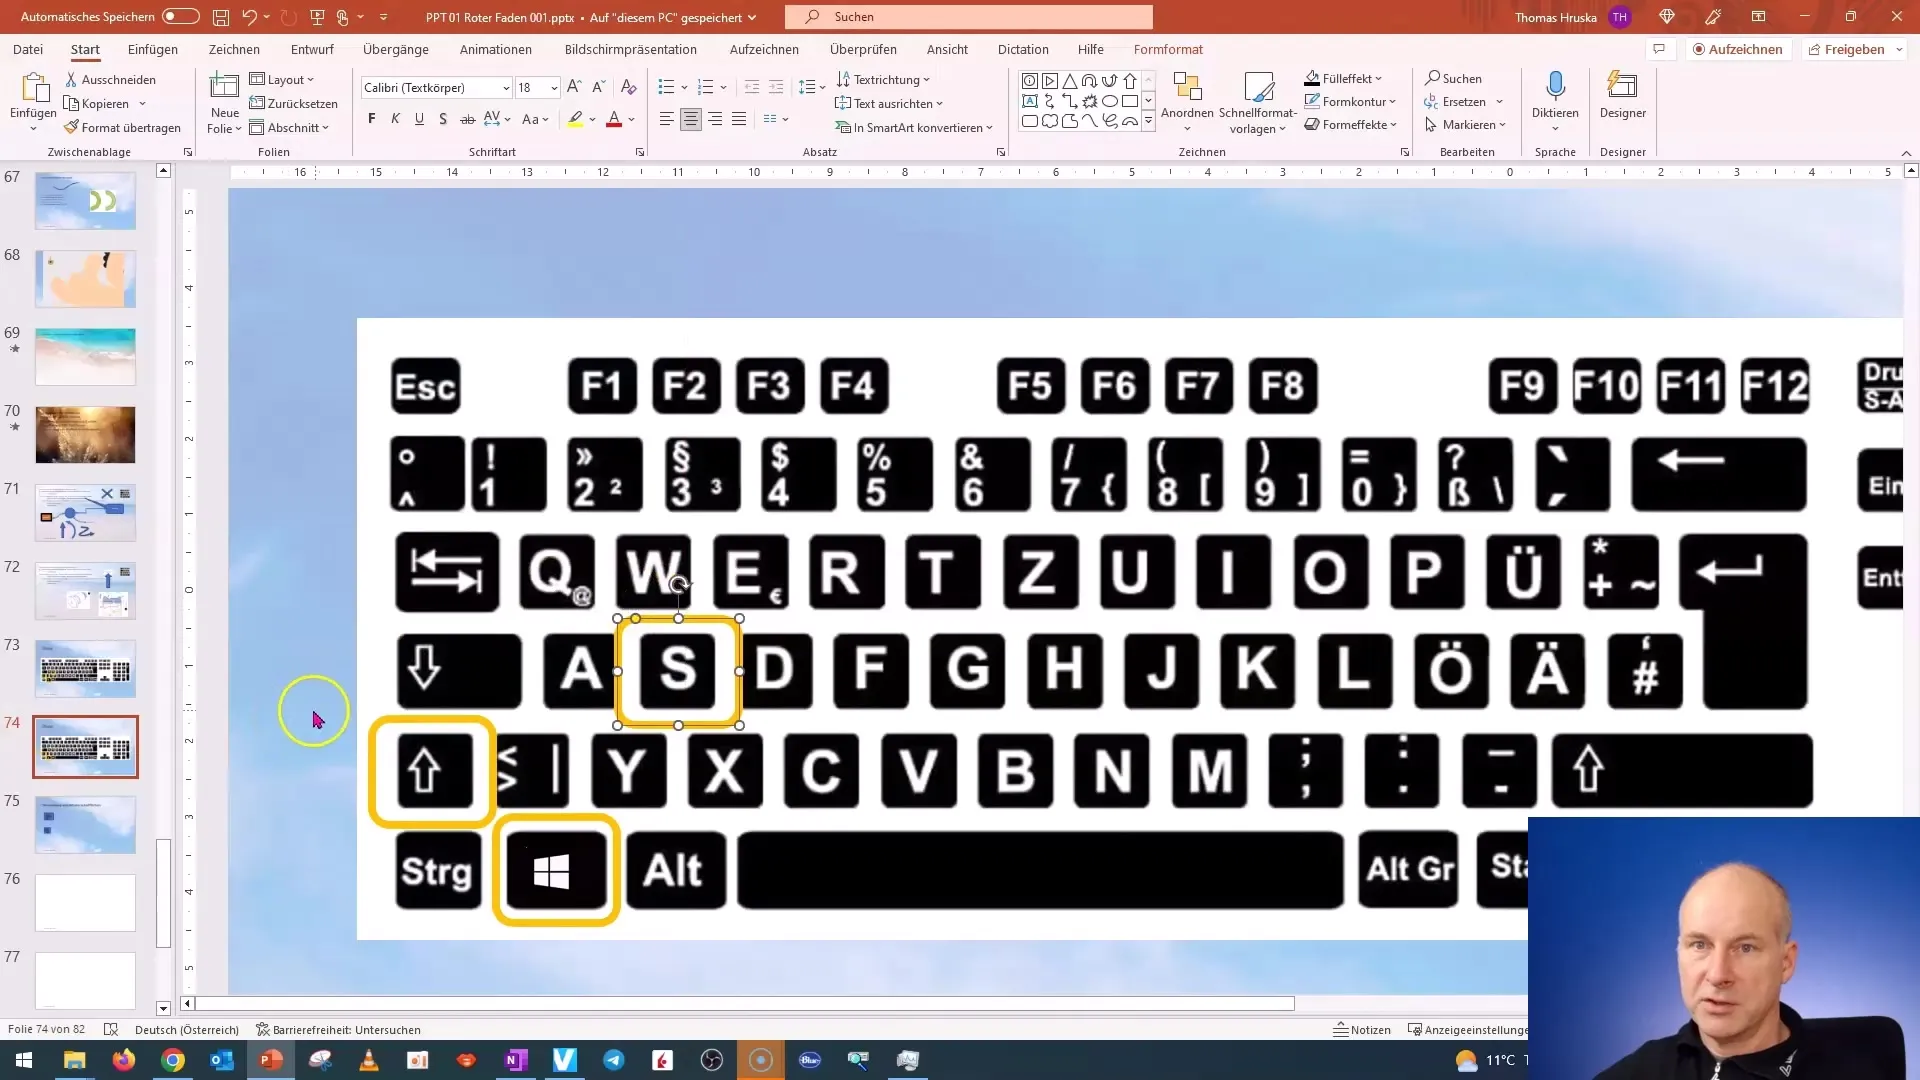
The partial steps are now completed. You have successfully made a graphic adjustment in PowerPoint. Use the provided materials for practice to further deepen your skills.
Summary
In this tutorial, you learned how to insert graphics in PowerPoint and professionally adjust them. The use of the Snapshot tool combined with effective formatting is crucial for appealing presentations.
Frequently Asked Questions
How do I take a screenshot in Windows?Press Windows + Shift + S to activate the screenshot mode and select the desired area.
How can I customize colors in PowerPoint?Select the object, go to "Format", and use the options for fill effect or color selection.
How do I insert an image in PowerPoint?Use Ctrl + V to insert an image you copied previously.
How do I align objects in PowerPoint?Use the arrow keys or drag the objects while holding down the Alt key for precise positioning.


