Welcome to this PowerPoint tutorial, where you will learn two helpful hacks: How to extract, modify, and colorize 2D graphics from the PowerPoint database, and how to retrieve colors from other applications or screens outside of PowerPoint using the eyedropper tool. These techniques will help you make your presentations more visually appealing and significantly expand your creative coverage.
Key Takeaways
- You can easily break down and customize 2D graphics from the PowerPoint database.
- With the eyedropper tool, you can pick up colors from sources outside of PowerPoint and use them.
Step-by-Step Guide
Accessing Graphics in PowerPoint
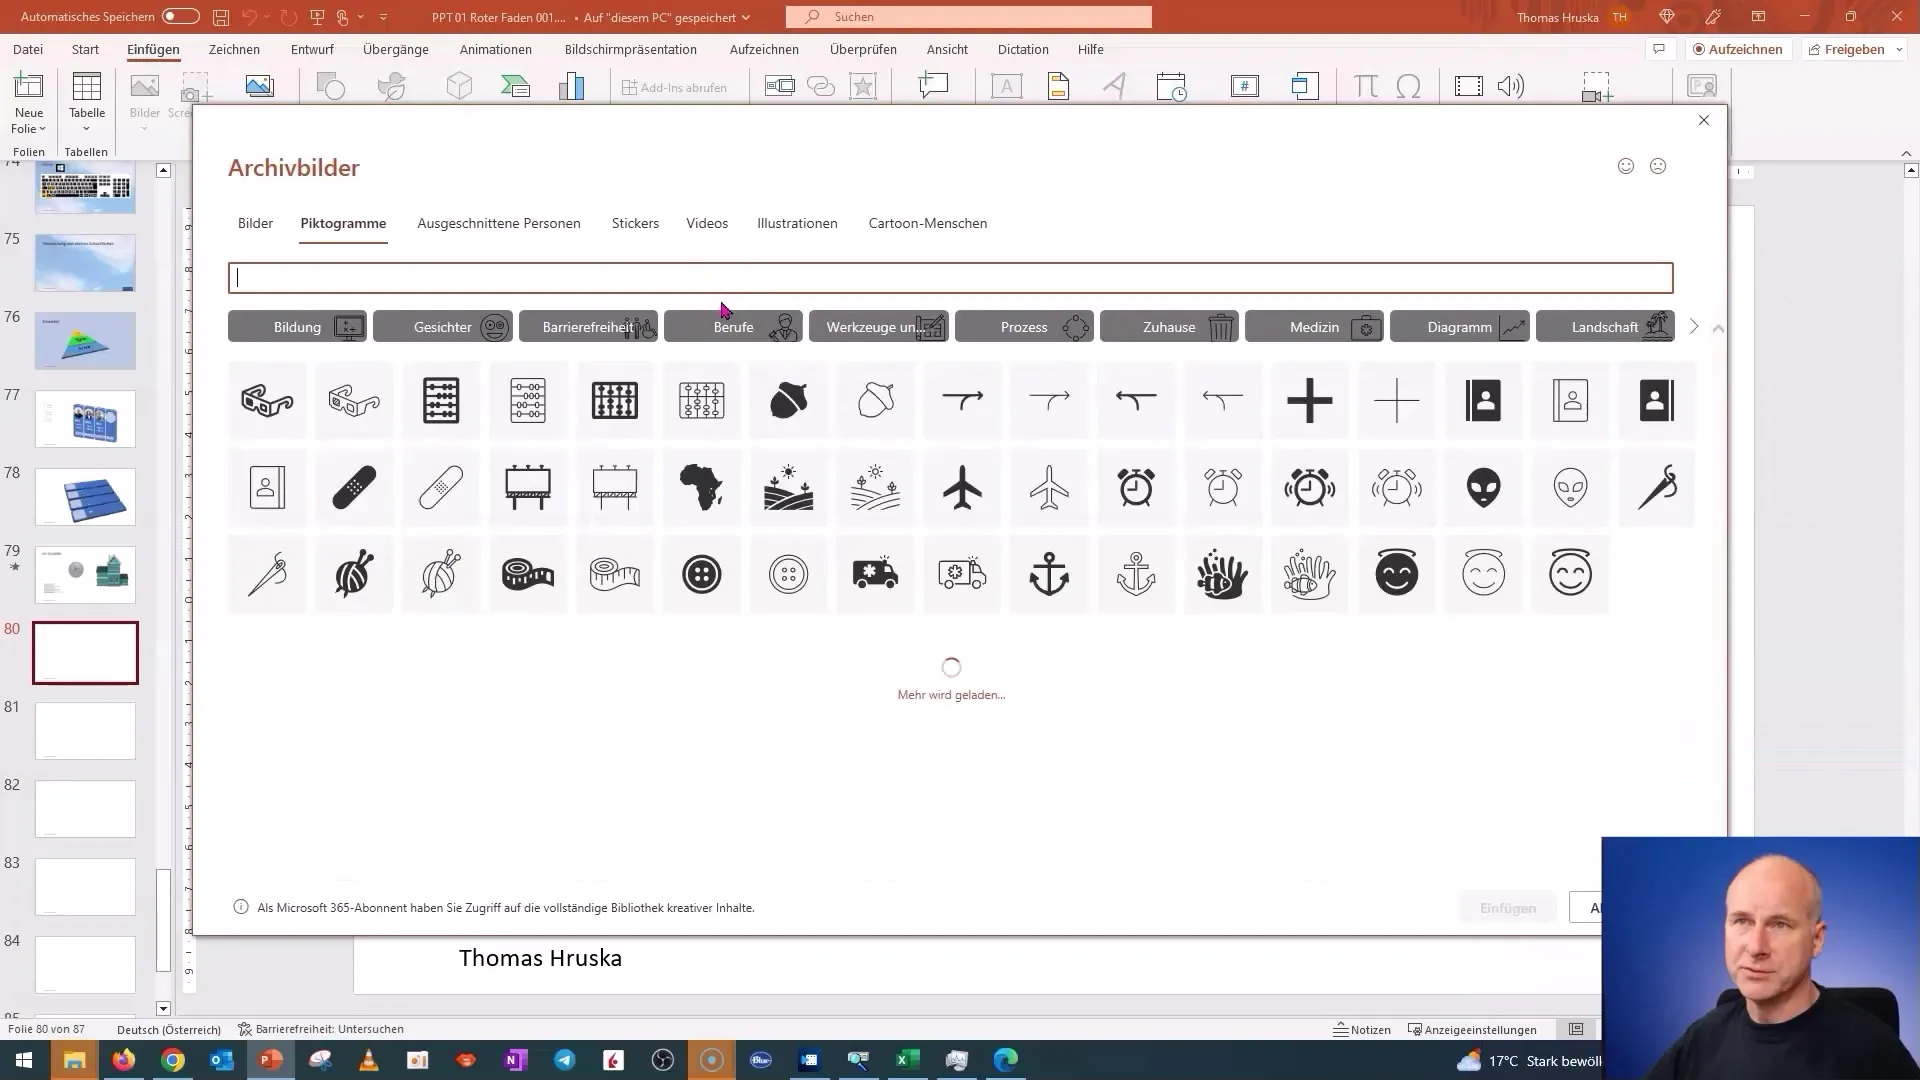
To use the wide variety of graphics, first open your PowerPoint and go to the "Insert" tab. Here you will find the category "Icons."
A window will open with a huge selection of icons, illustrations, and other graphics available to you.
Inserting and Breaking Down a Graphic
Now select a graphic – for example, a 3D illustration. You have the option to regularly load new graphics and use them in your presentations.

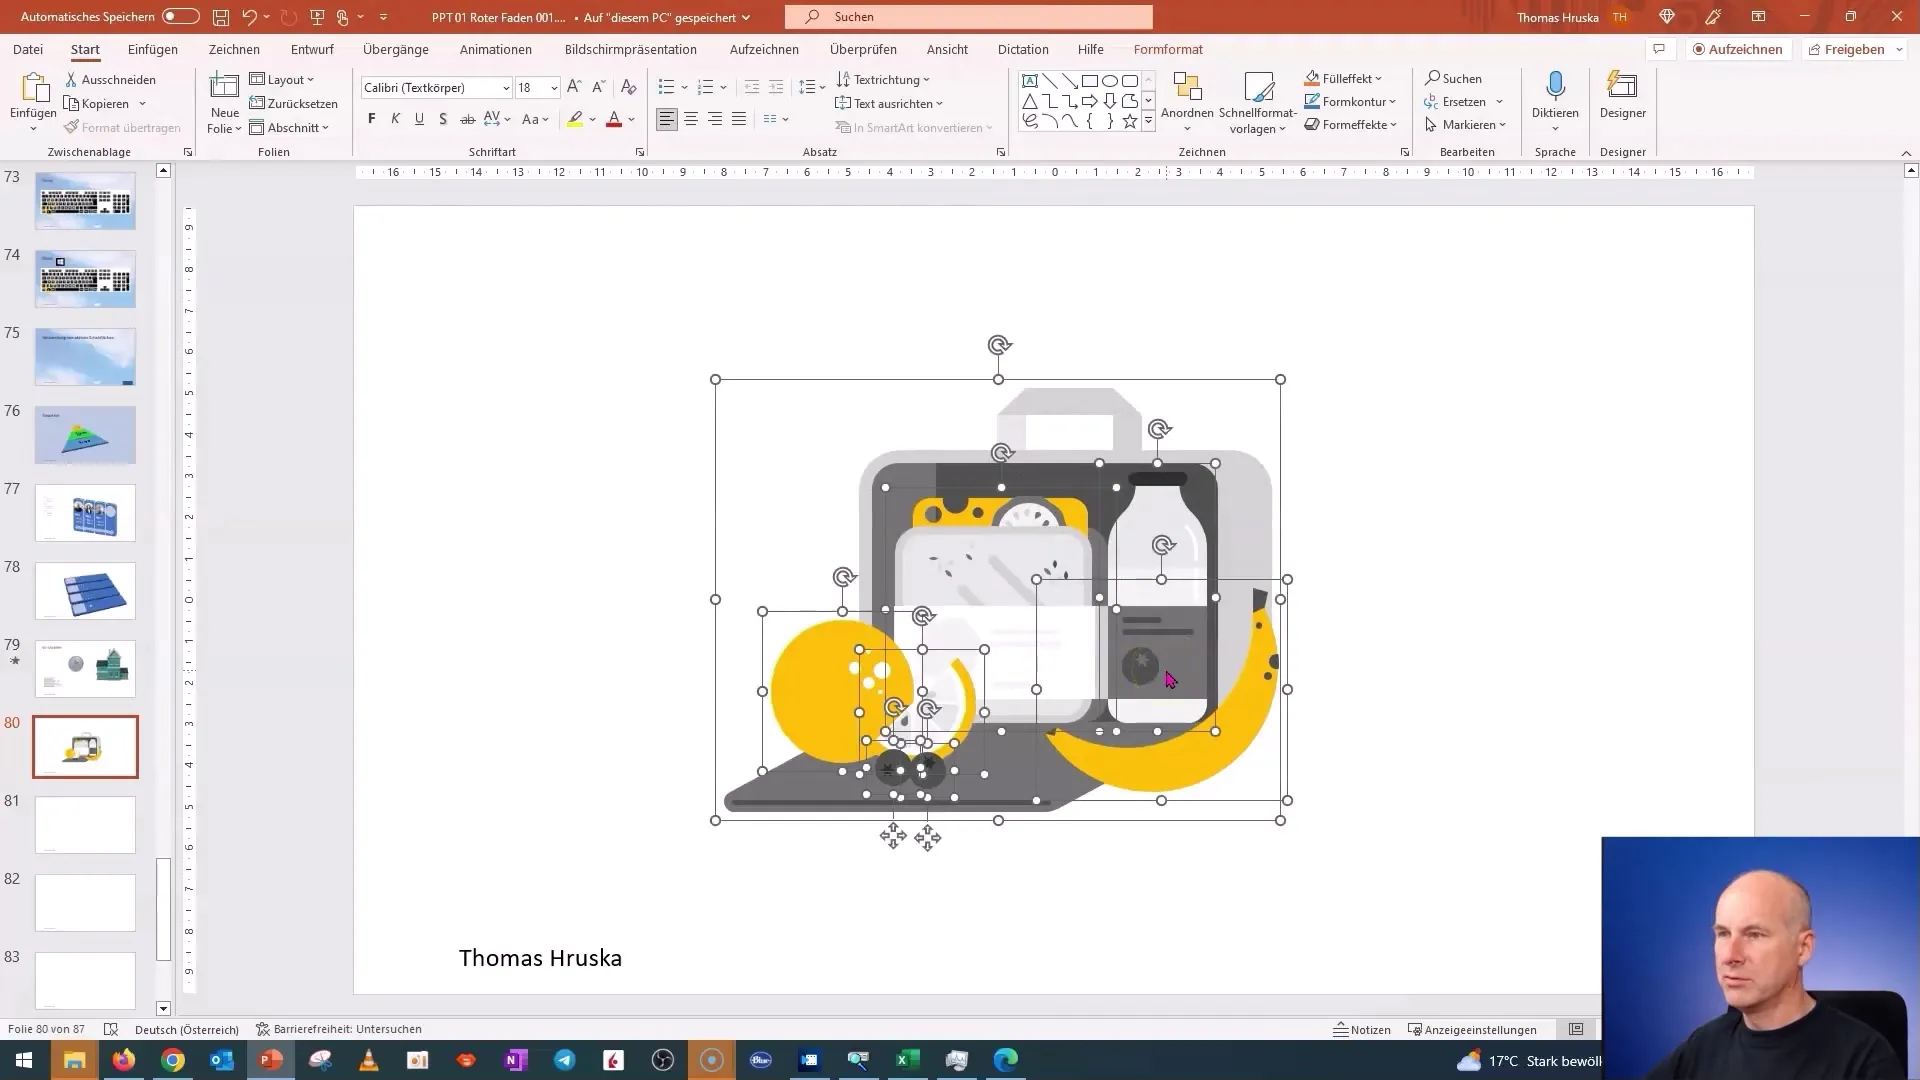
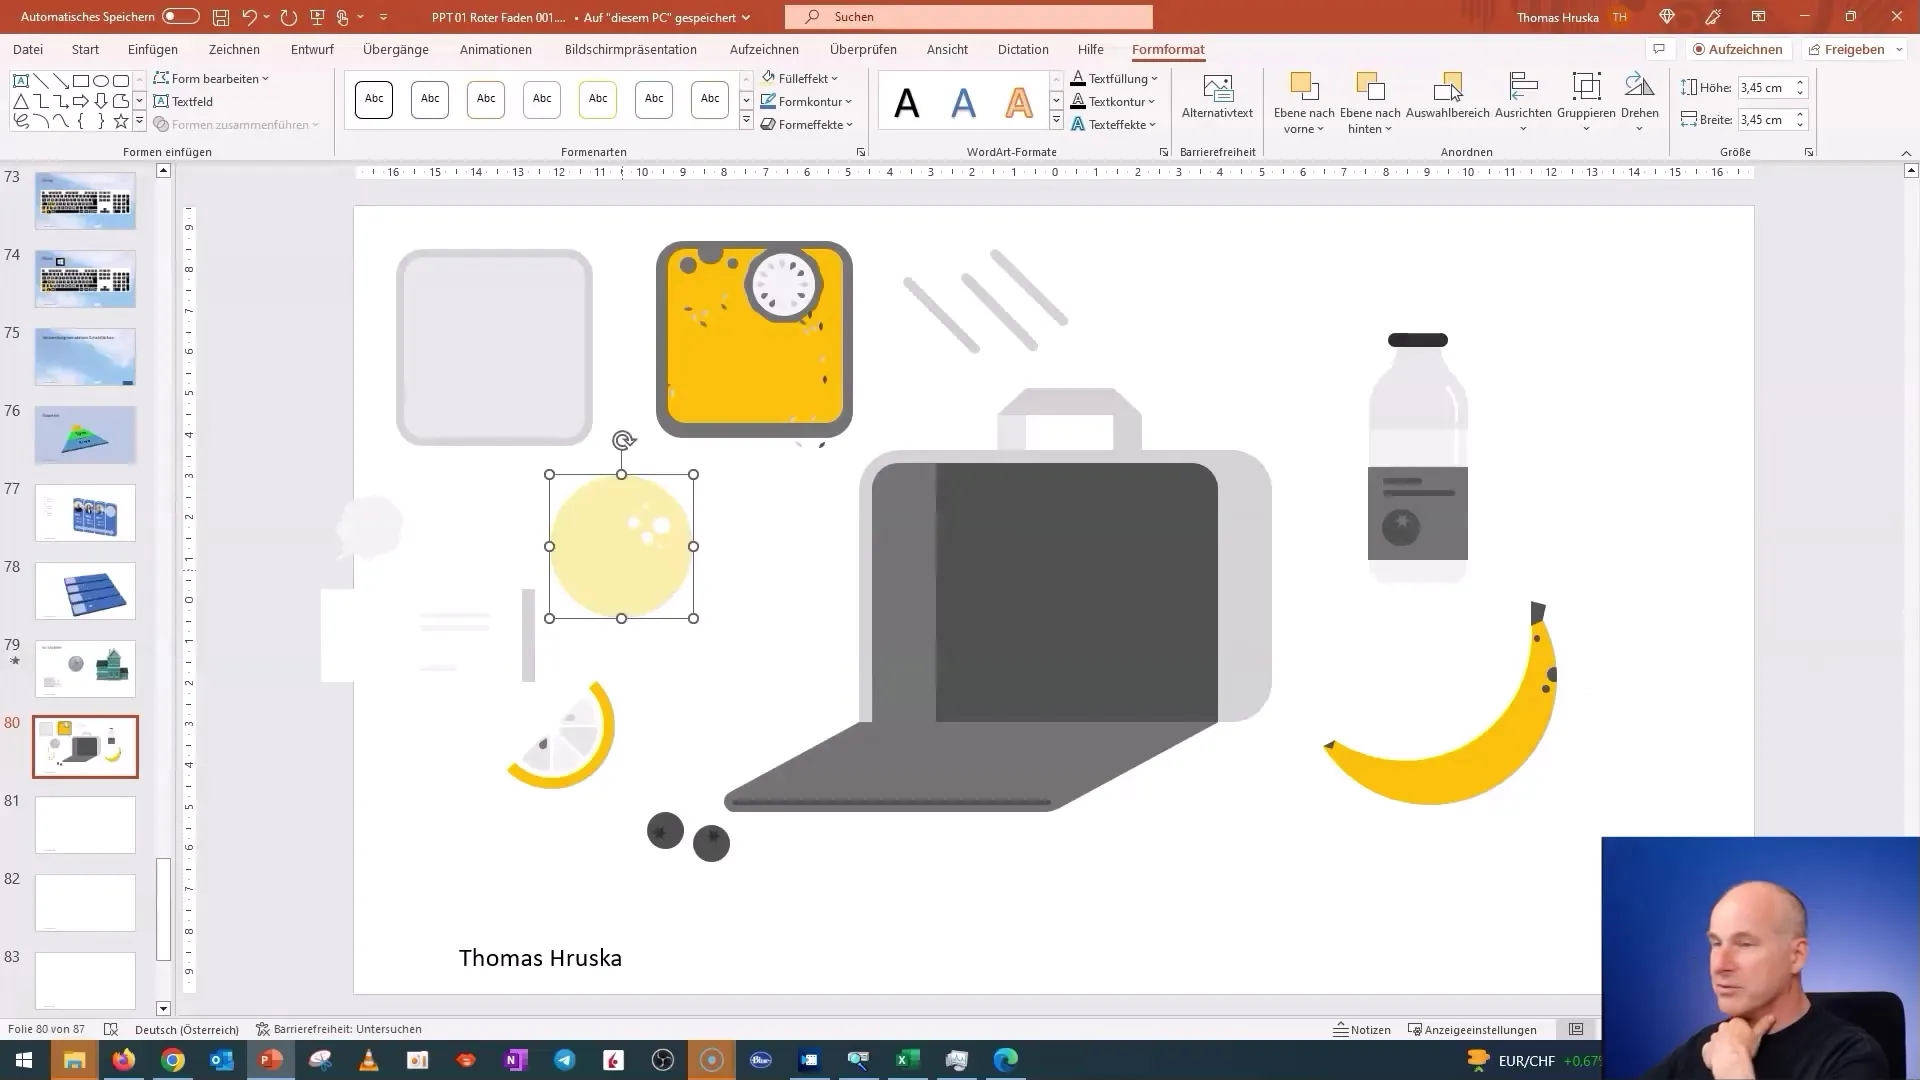
Once you have inserted a graphic, such as a dog, you can customize the graphic. Right-click on the inserted graphic and choose the option "Convert to Shape." This will break down the graphic into its individual elements.
Editing Graphic Elements
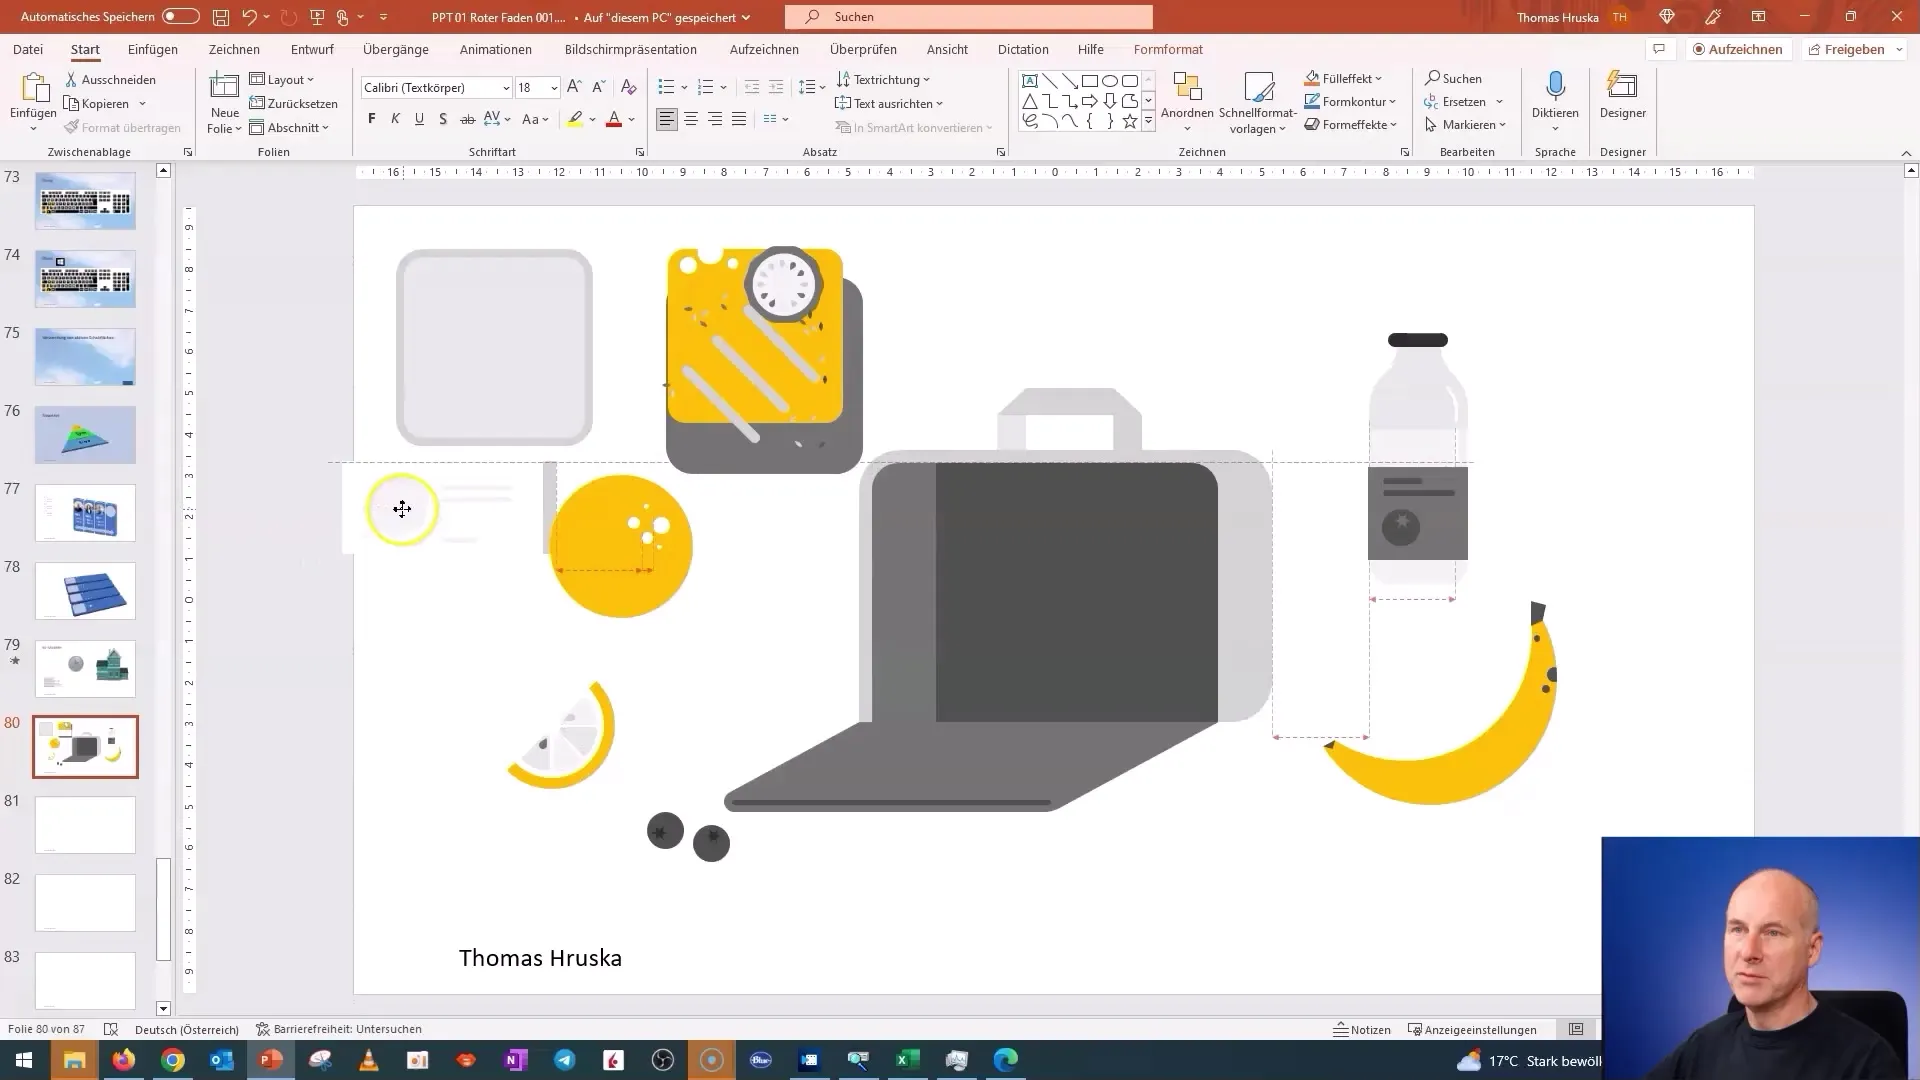
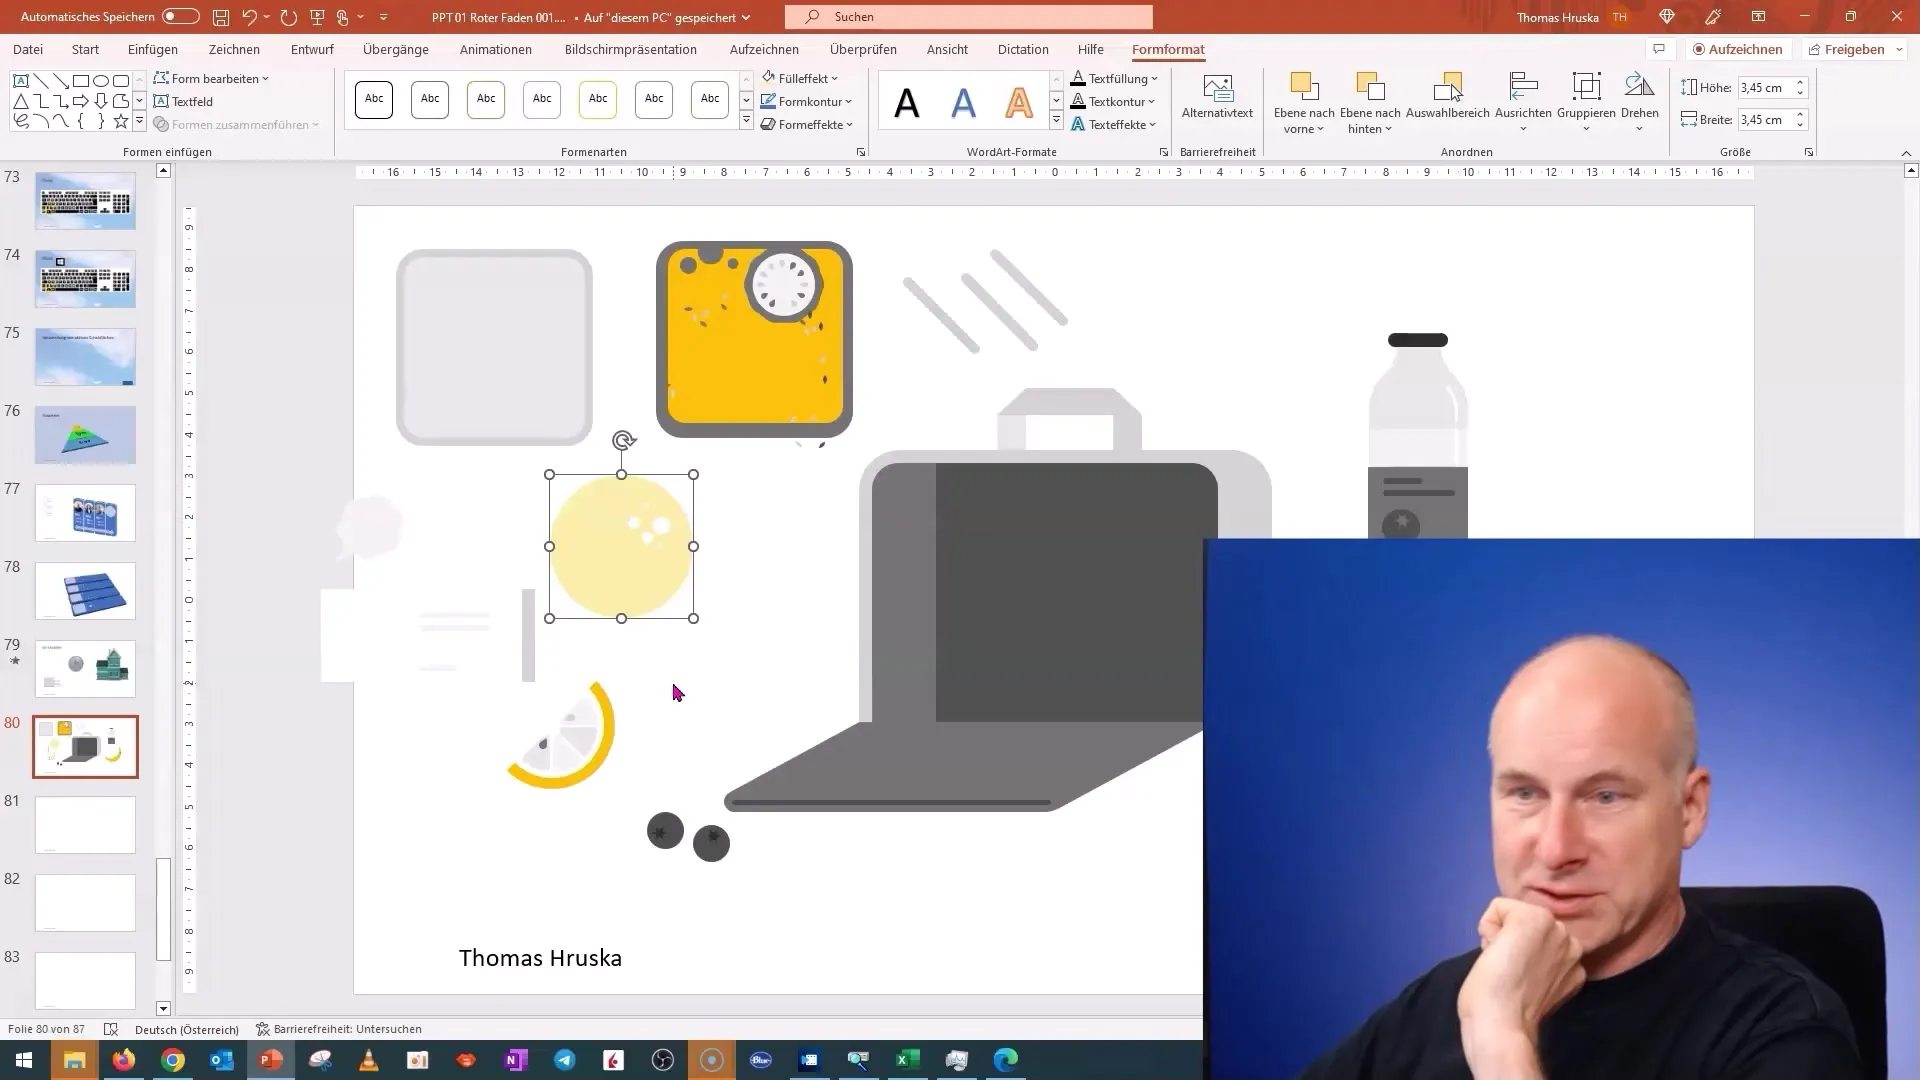
After breaking down the graphic, you will now see different parts, such as a banana, a full orange, a sliced orange, and other elements. You can now edit and customize these individually.
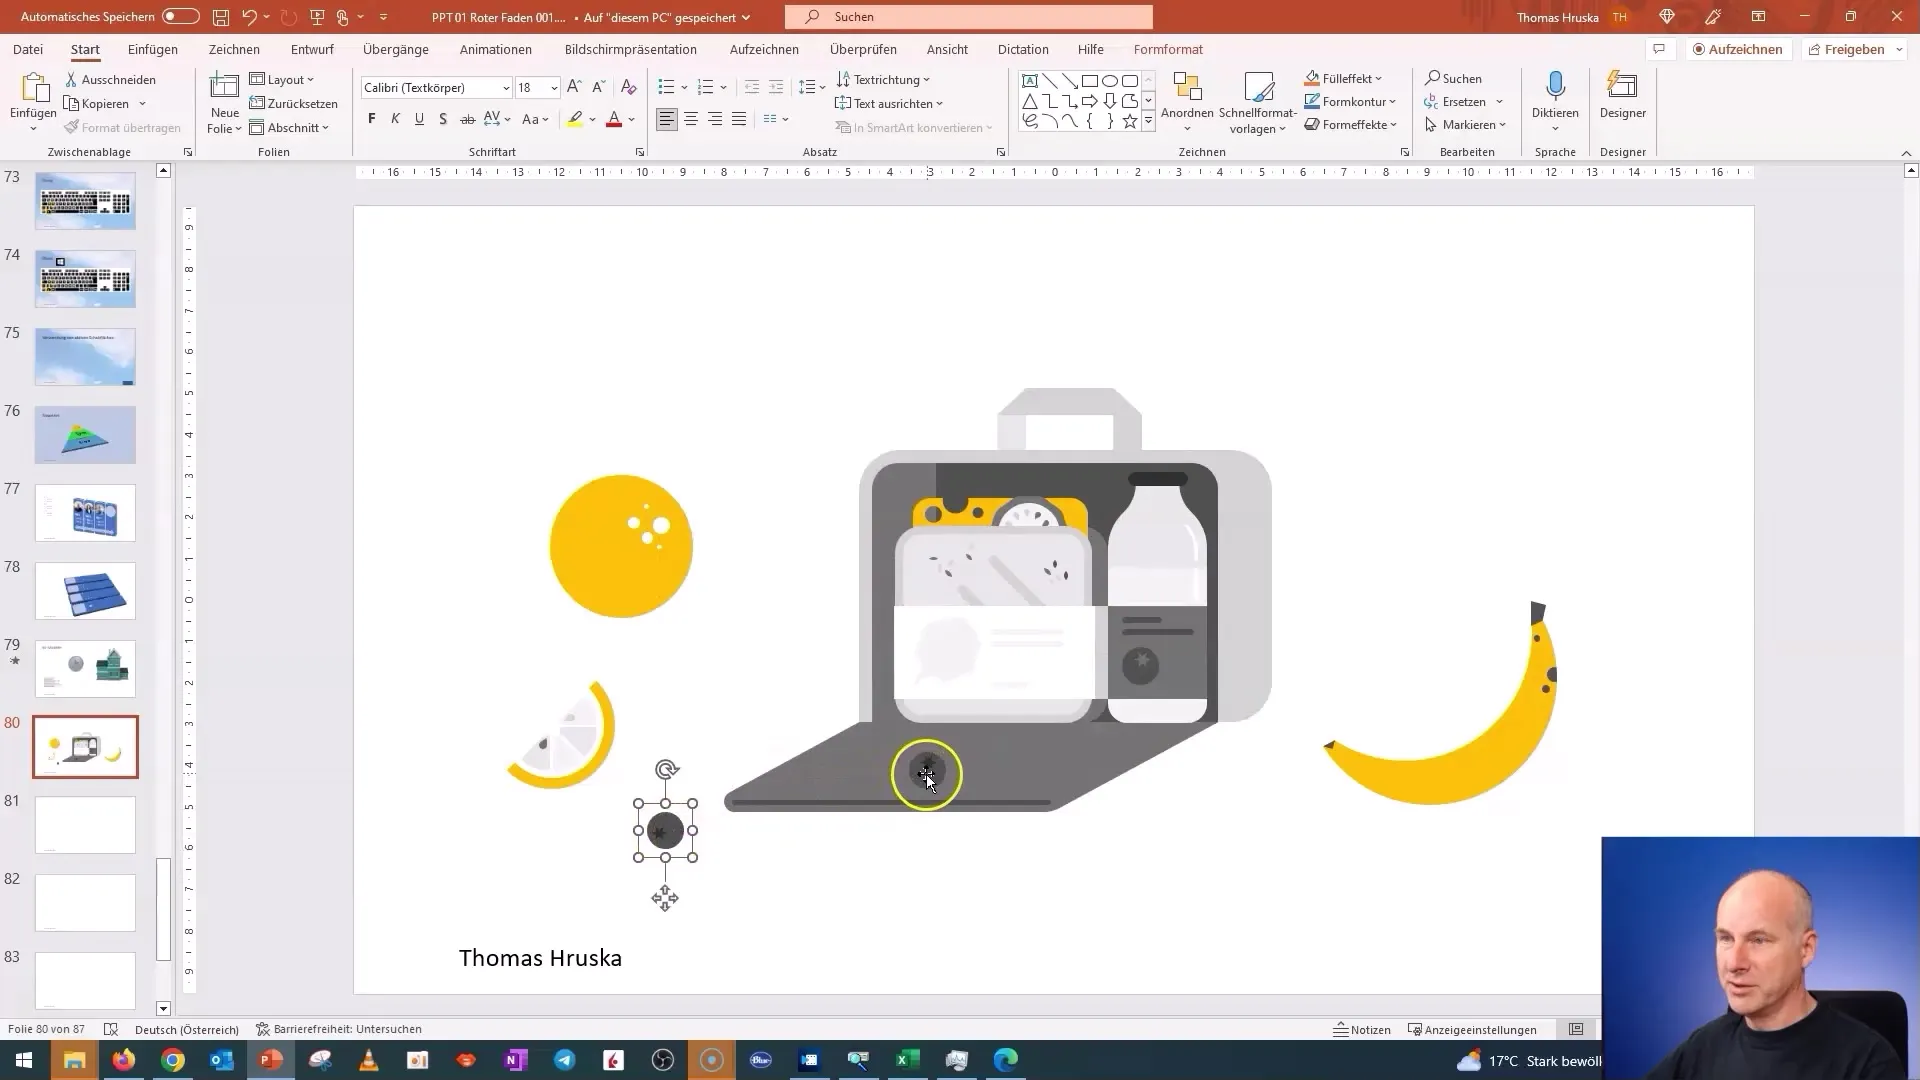
If you want to further edit the elements, you can right-click again and use the "Group" option to organize the elements into groups.
Making Color Changes
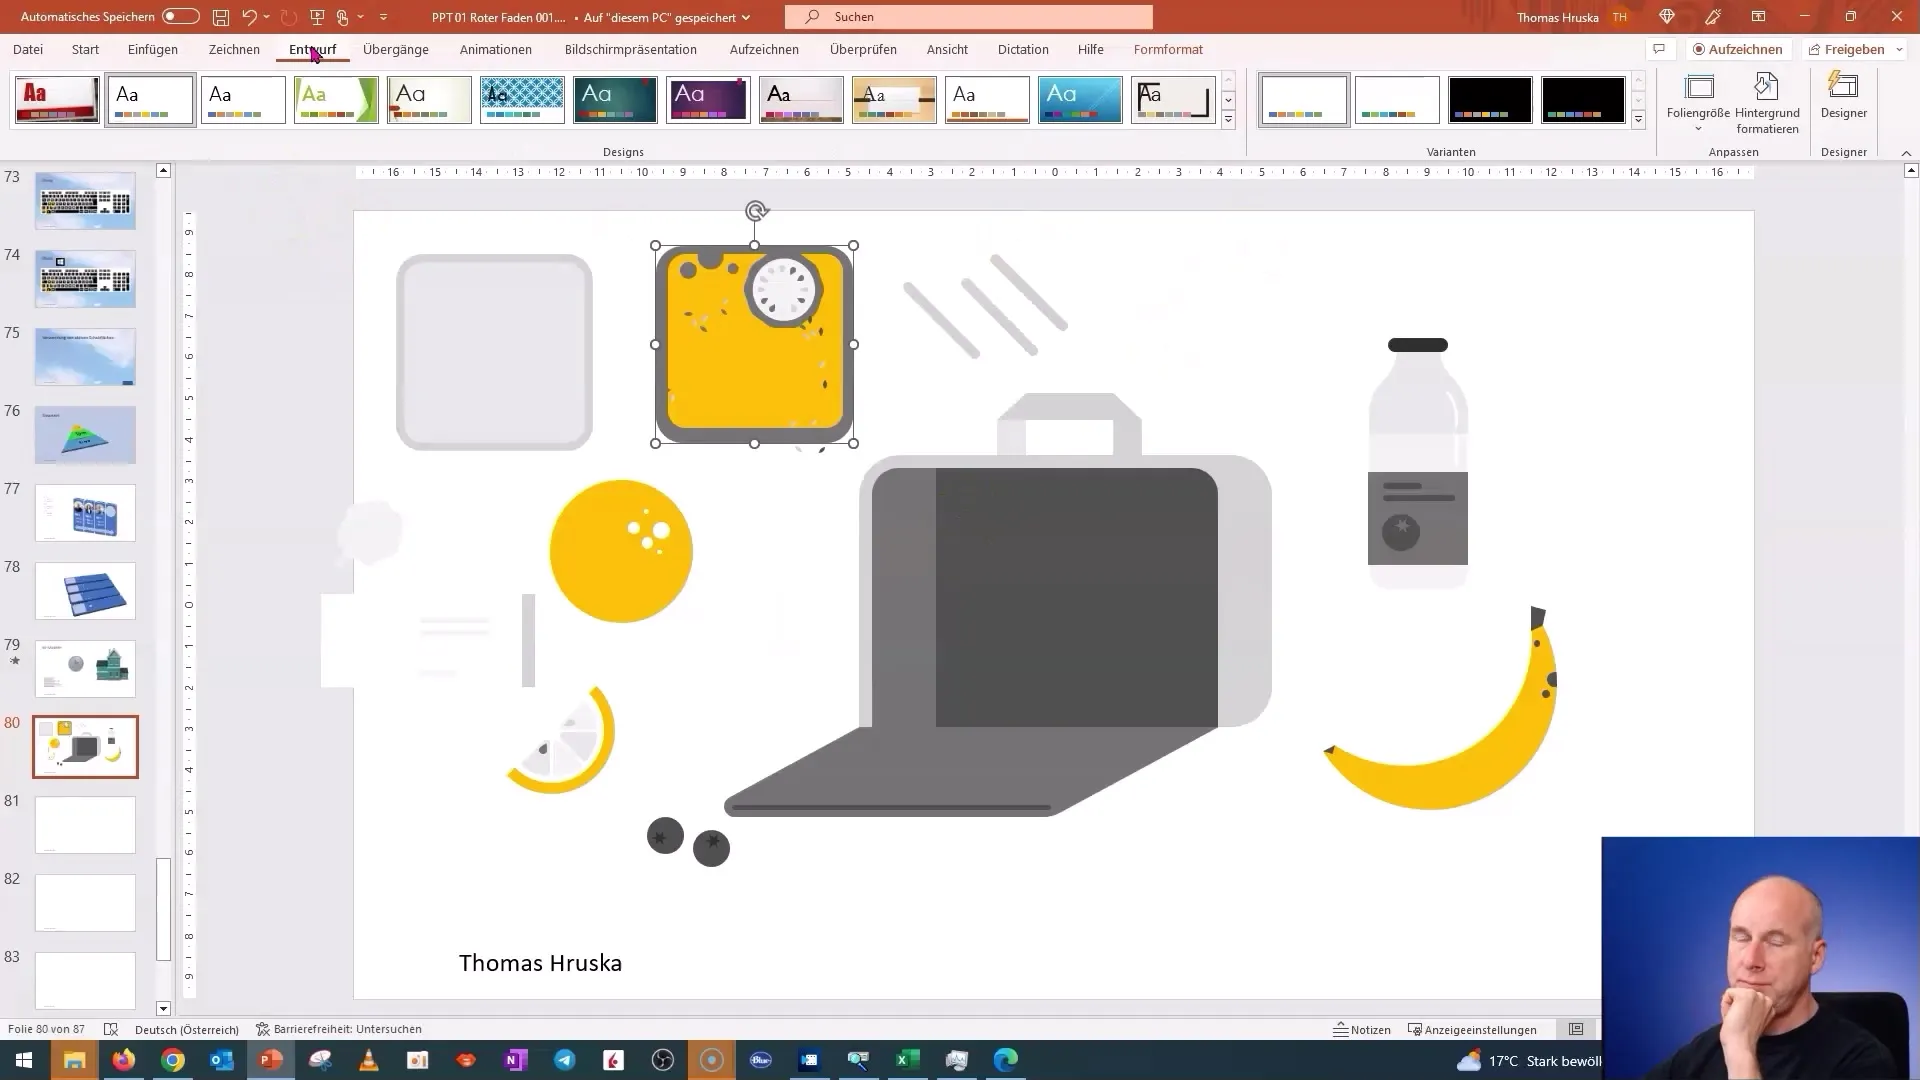
Another important aspect is color adjustment. Go to the "Design" tab and select a new color scheme. Note that the colors of the graphic elements will adhere to the chosen color scheme.
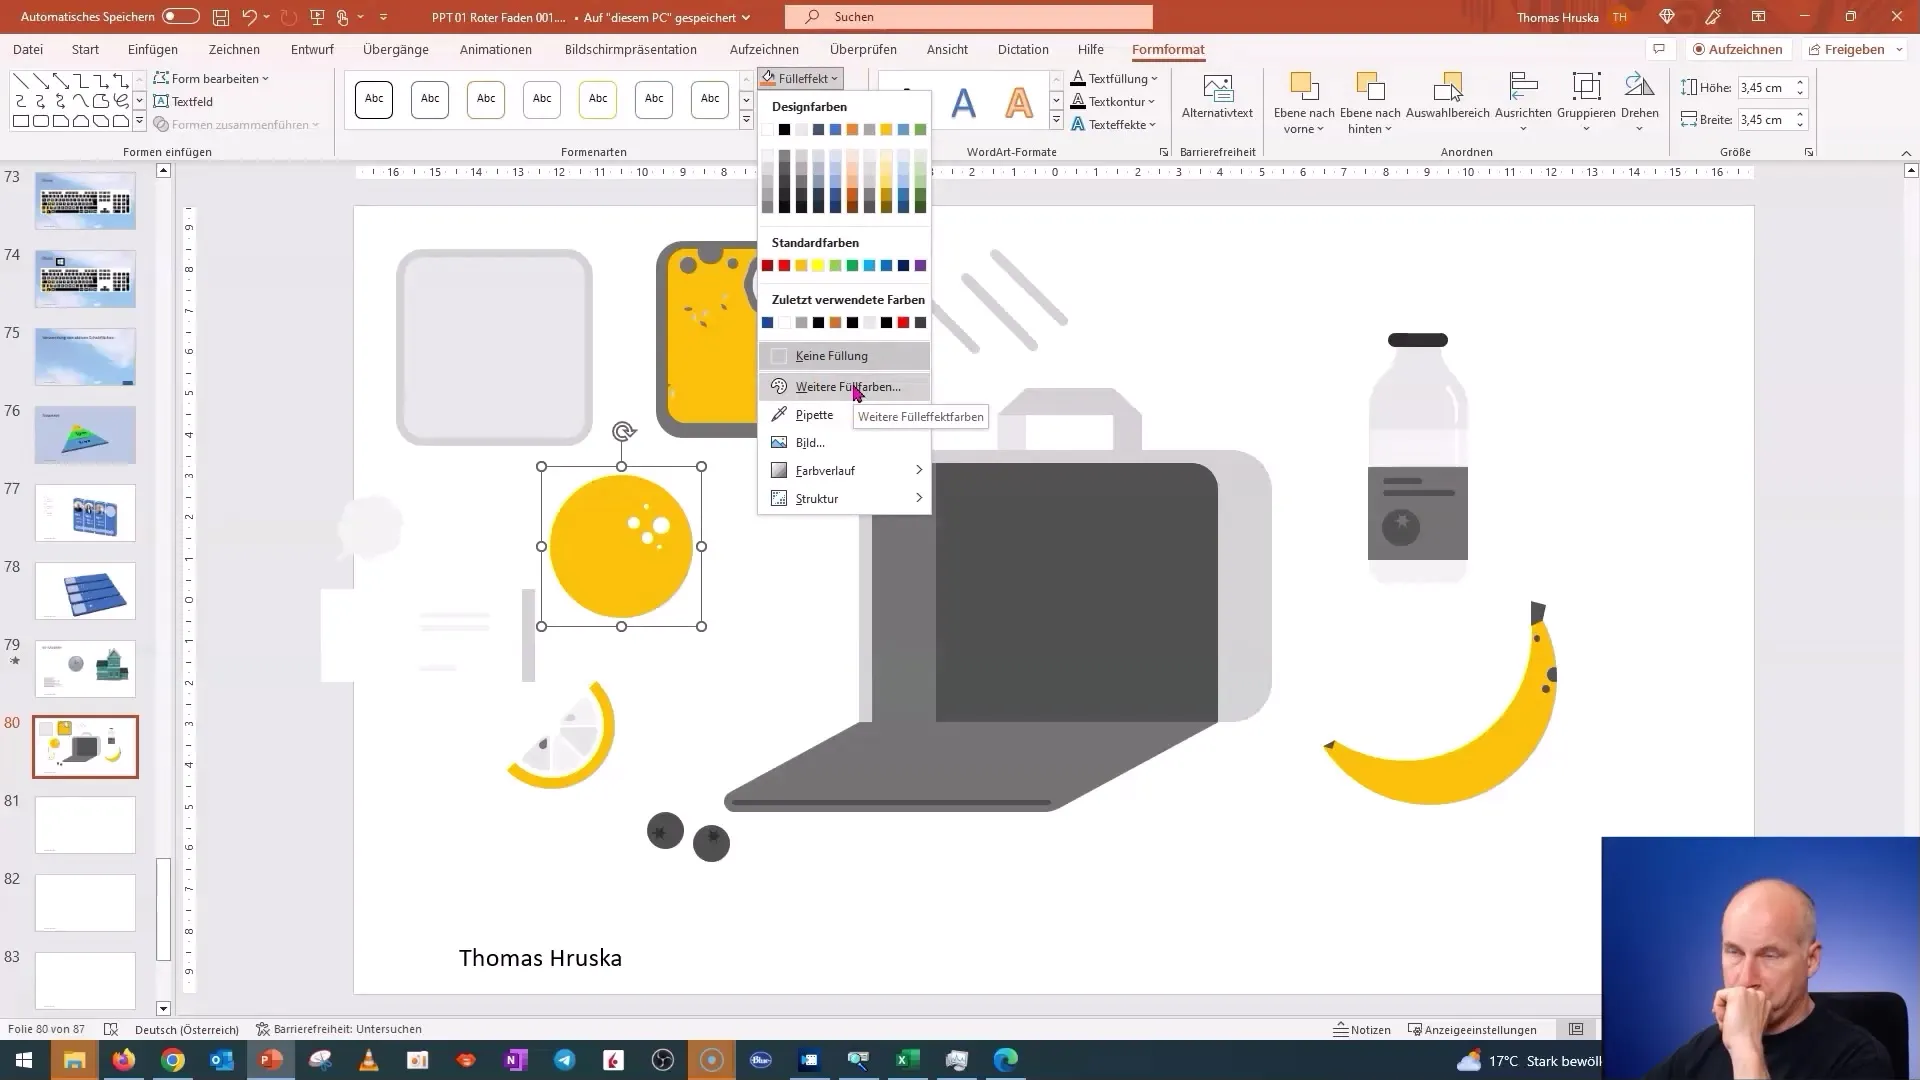
You may want to manually adjust the colors. Click on the element, go to "Format," and choose "Fill Effect." Here you can adjust the color of the individual parts.
Using the Eyedropper Tool
Now onto the actual hack! You can use the eyedropper tool to pick up colors from other applications or screens. Click again on "Fill Effect" and choose the eyedropper.
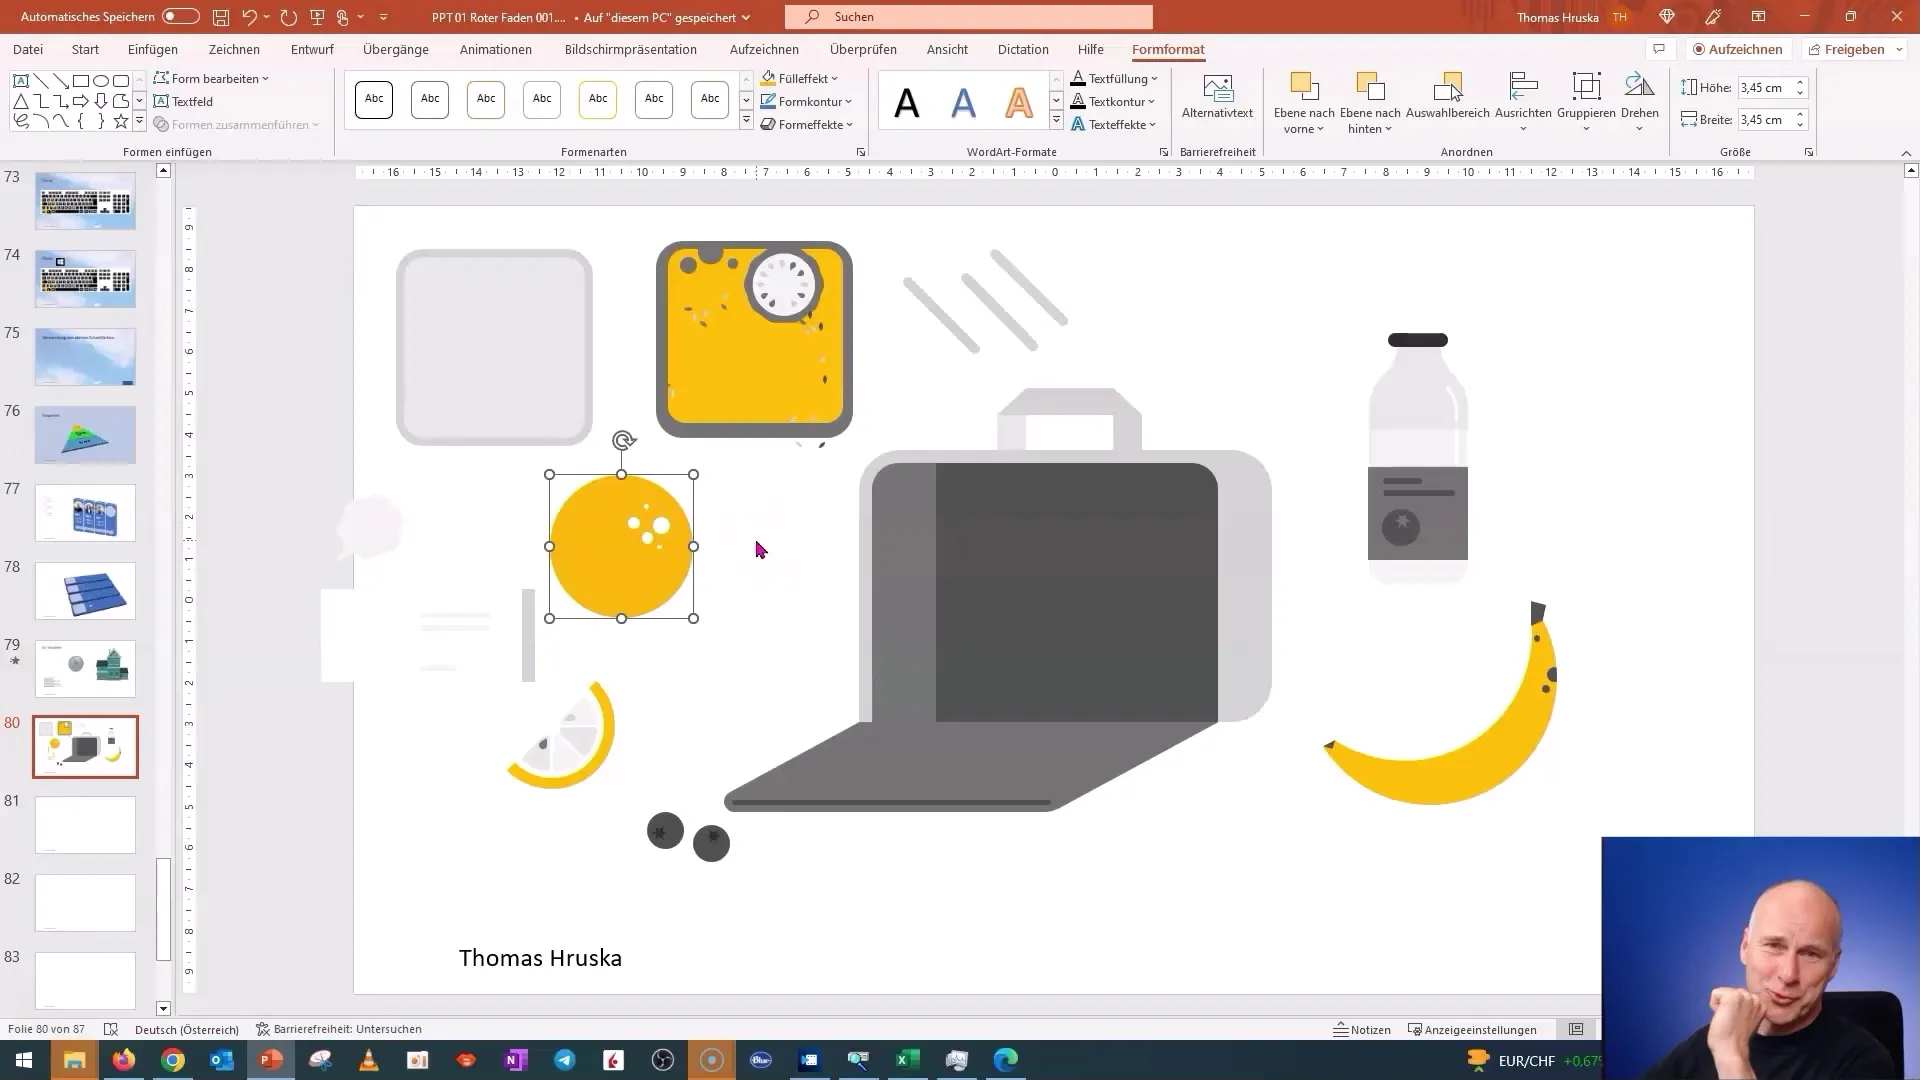
Hold down the left mouse button and move the mouse outside of PowerPoint. You can select a color from another screen to capture the desired colors.
This feature is extremely useful for capturing colors from designs, websites, or other presentations.
Summary - PowerPoint Tricks: Disassembling 2D graphics and picking colors with the dropper
In this tutorial, you have learned how to disassemble and customize 2D graphics in PowerPoint. You have also discovered how to pick colors from external sources using the dropper. These techniques significantly expand your possibilities in PowerPoint and help make your presentations more appealing.
Frequently Asked Questions
How can I retrieve 2D graphics from the PowerPoint database?Go to the "Insert" tab and select "Icons" to access the graphics.
How do I disassemble a graphic in PowerPoint?Right-click on the graphic and choose "Convert to Shape" to get the individual parts.
Can I change the colors of graphics?Yes, you can customize the colors using the "Format" tab and "Fill Effect".
How does the dropper work in PowerPoint?Select the dropper in the Fill Effect and drag the mouse outside of PowerPoint to pick colors from your screen.
For what purposes can I use these hacks?These hacks help personalize presentations and make them visually appealing.


