In this tutorial, I will show you how to quickly and easily create an impressive 3D graphic in PowerPoint. We will walk through the creation of an appealing project report together, and I will provide you with valuable tips to enhance your presentation. Whether you are a beginner or somewhat experienced, with this step-by-step guide, you will be able to achieve a professional result.
Key Insights
You will learn how to create basic shapes, combine them, and adjust them in three dimensions. Additionally, you will receive tips on aligning elements and choosing colors to make your graphics more appealing.
Step-by-Step Guide
Let's start with our first design task. First, open PowerPoint and select a blank presentation.
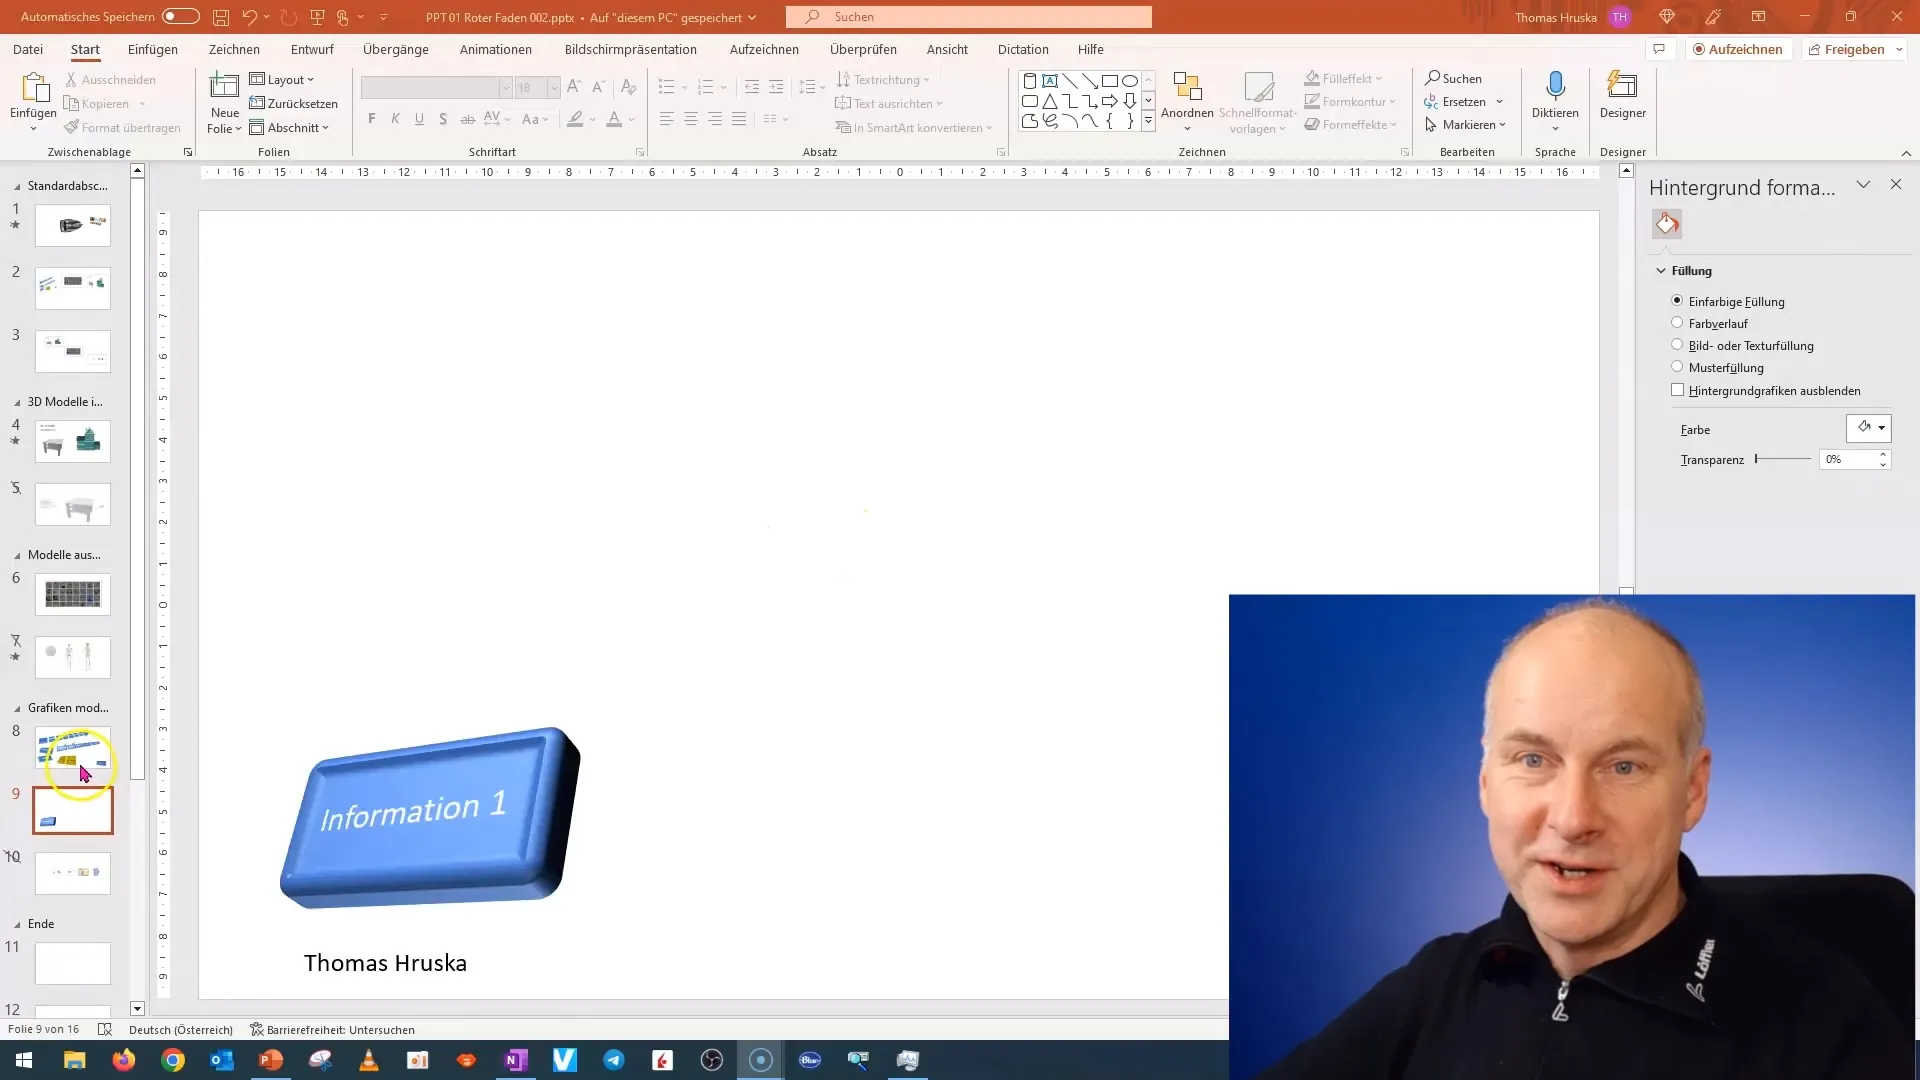
Here, we will now create a simple arrow. First, add a rectangle to form the base of your arrow. You can do this from the "Shapes" menu.
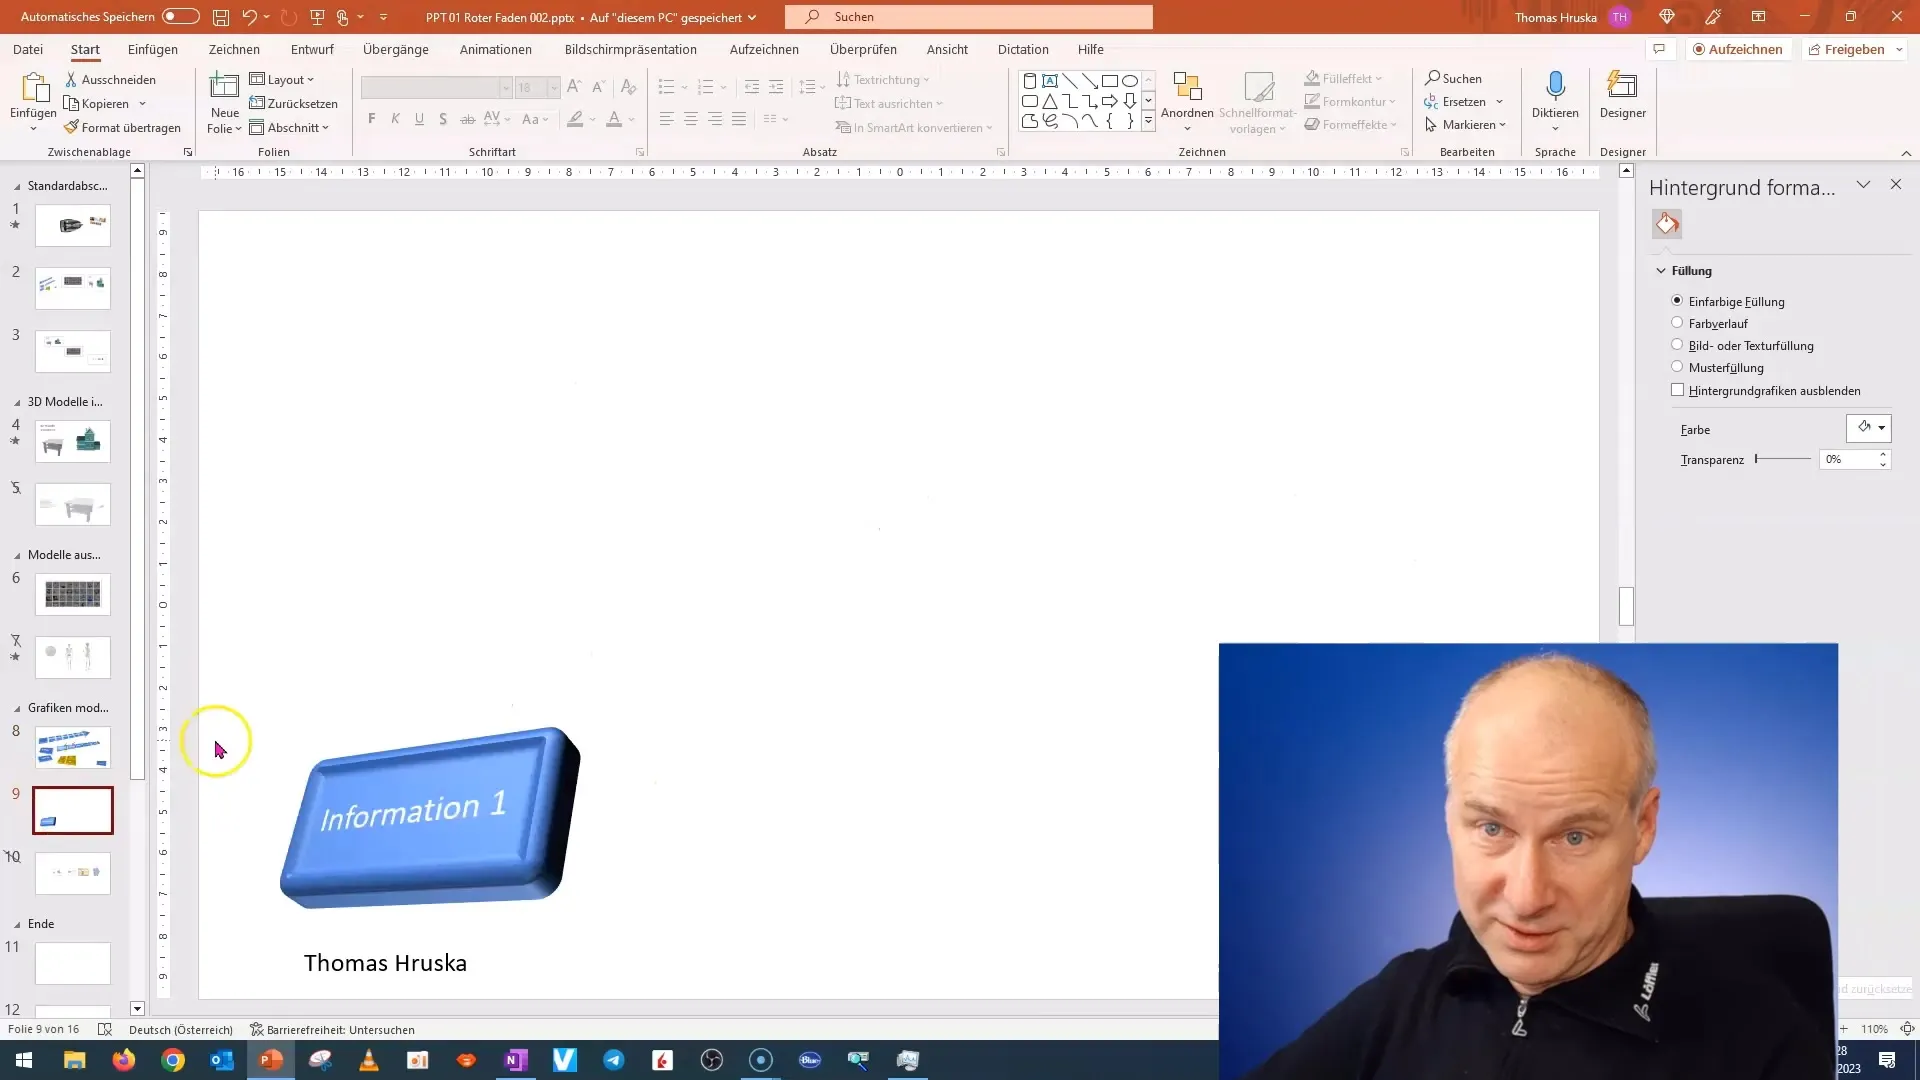
Next, add a division to the rectangle to create the arrow shape. To do this, select the rectangle and use the "Format" function.
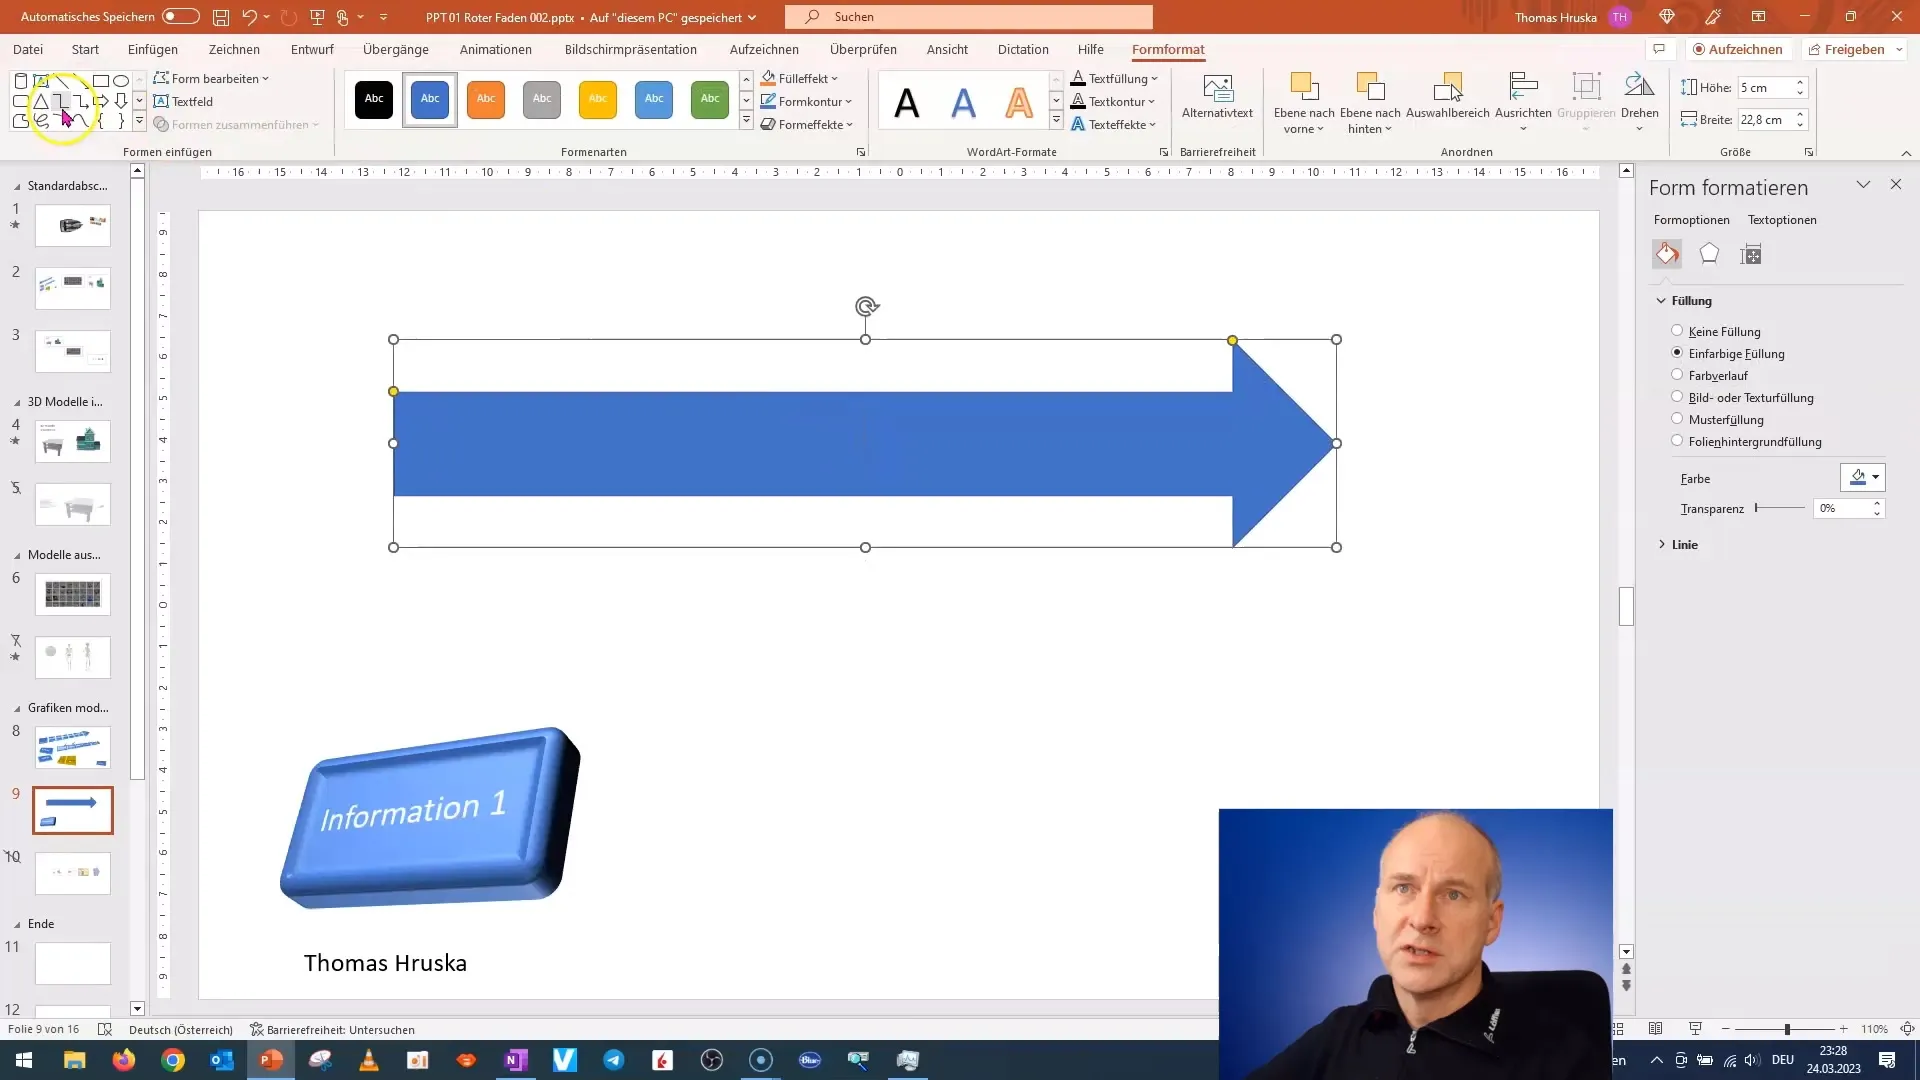
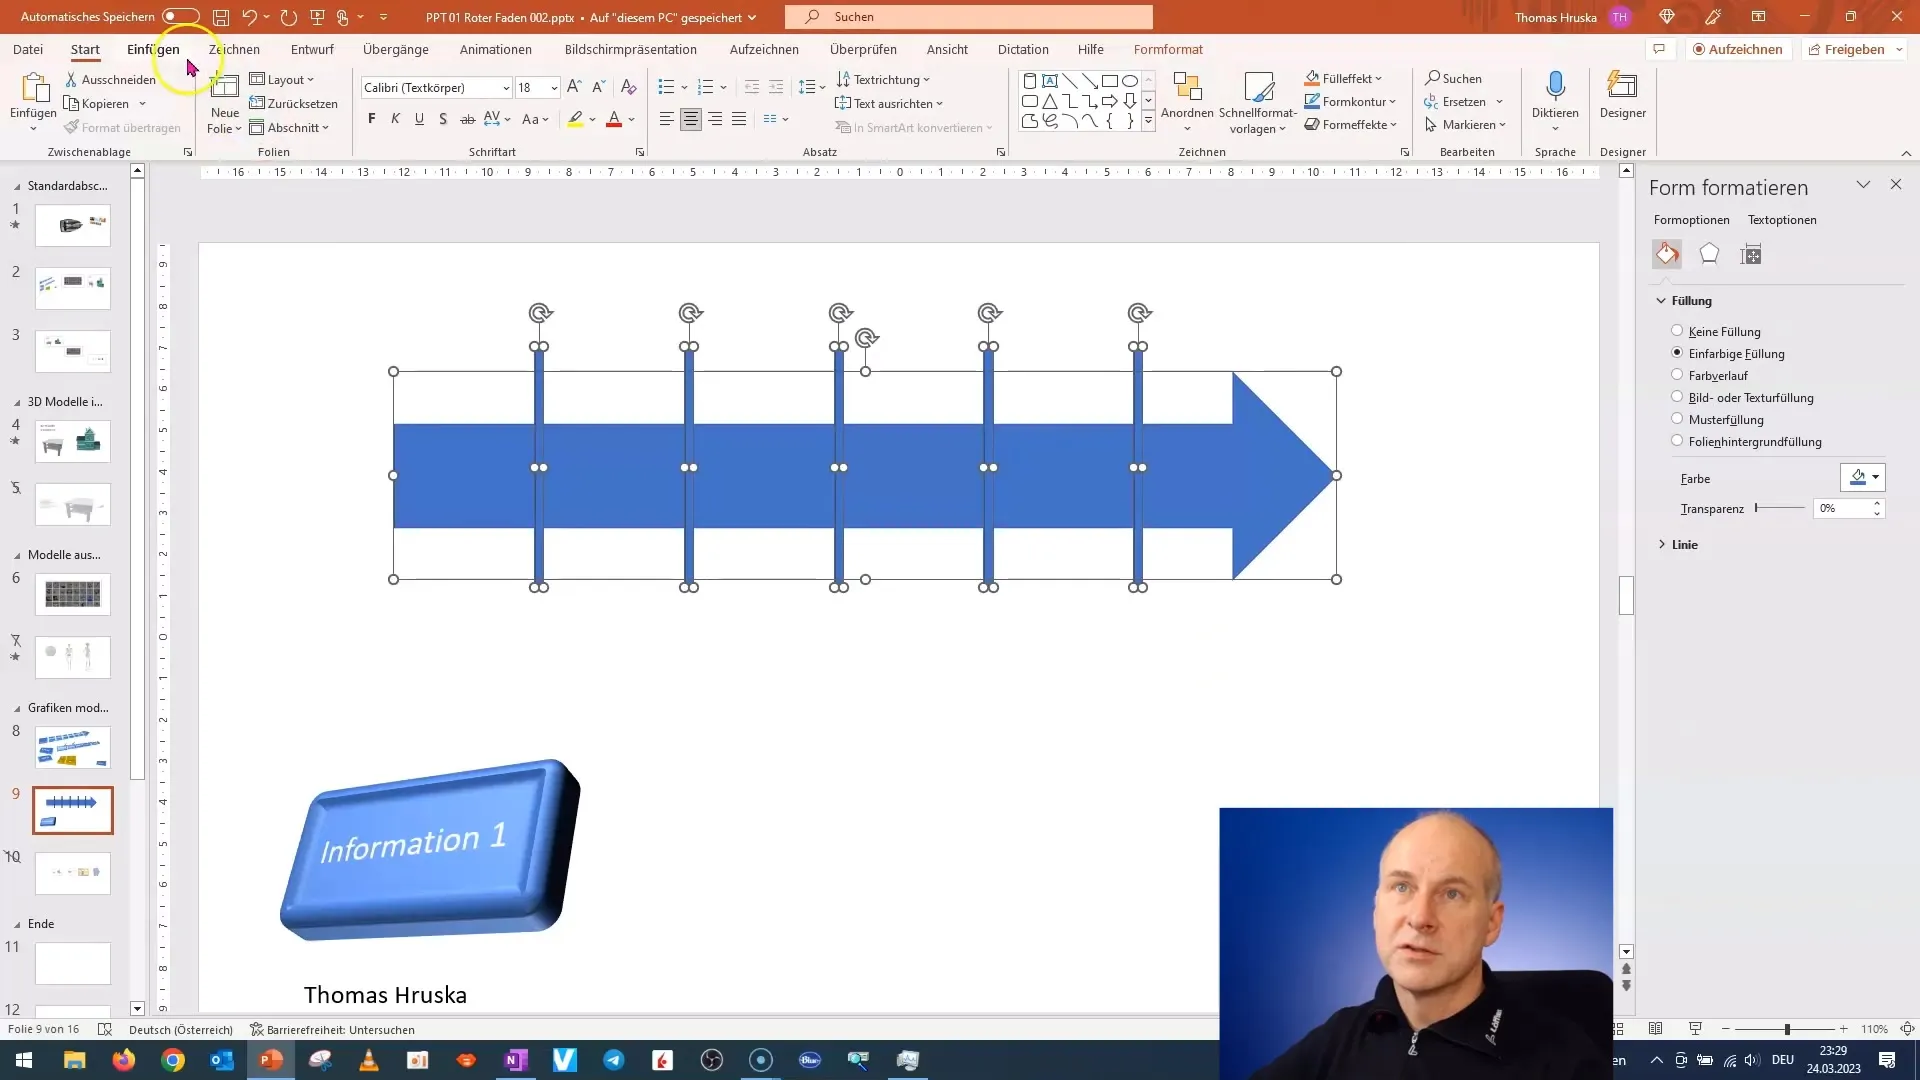
To duplicate the division, press the Control + D keys multiple times until you reach the desired number.
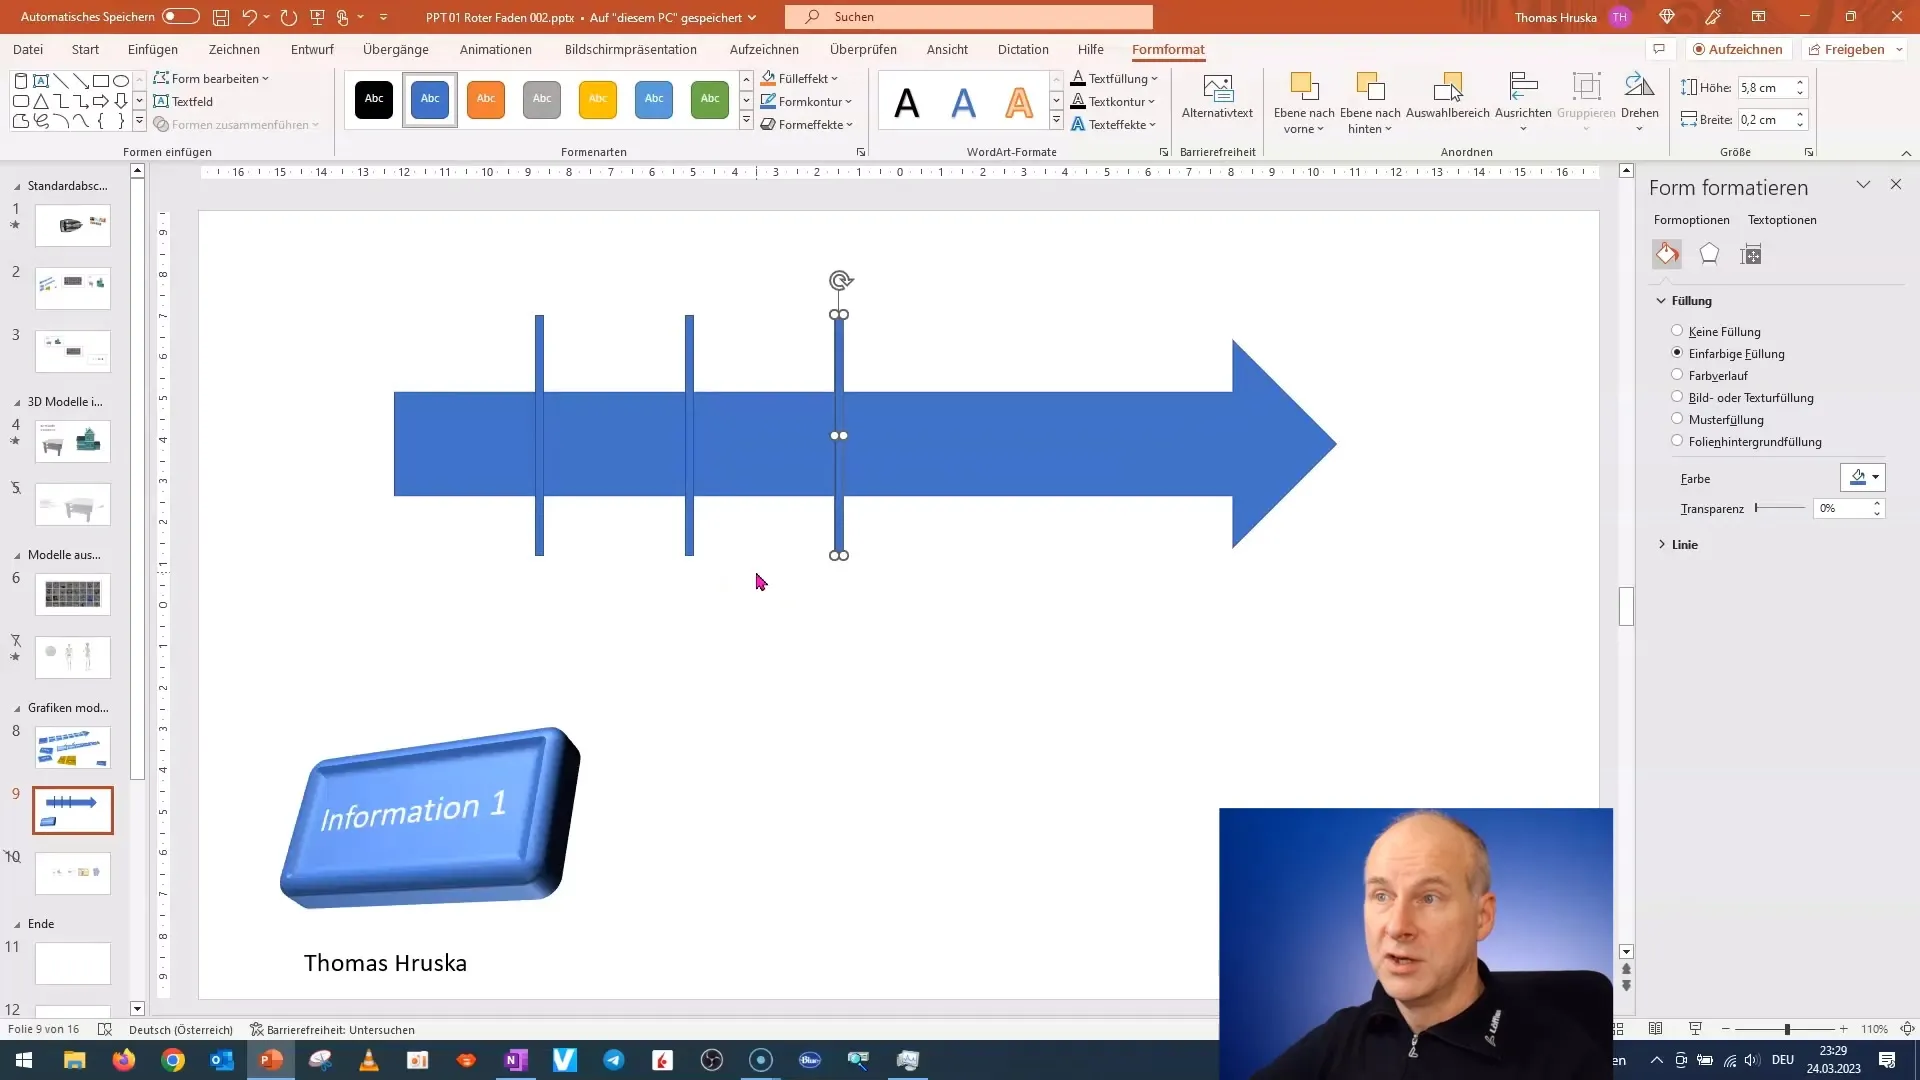
Now you have multiple rectangles evenly distributed forming an arrow shape. To combine them, select everything and use the functions mentioned above.
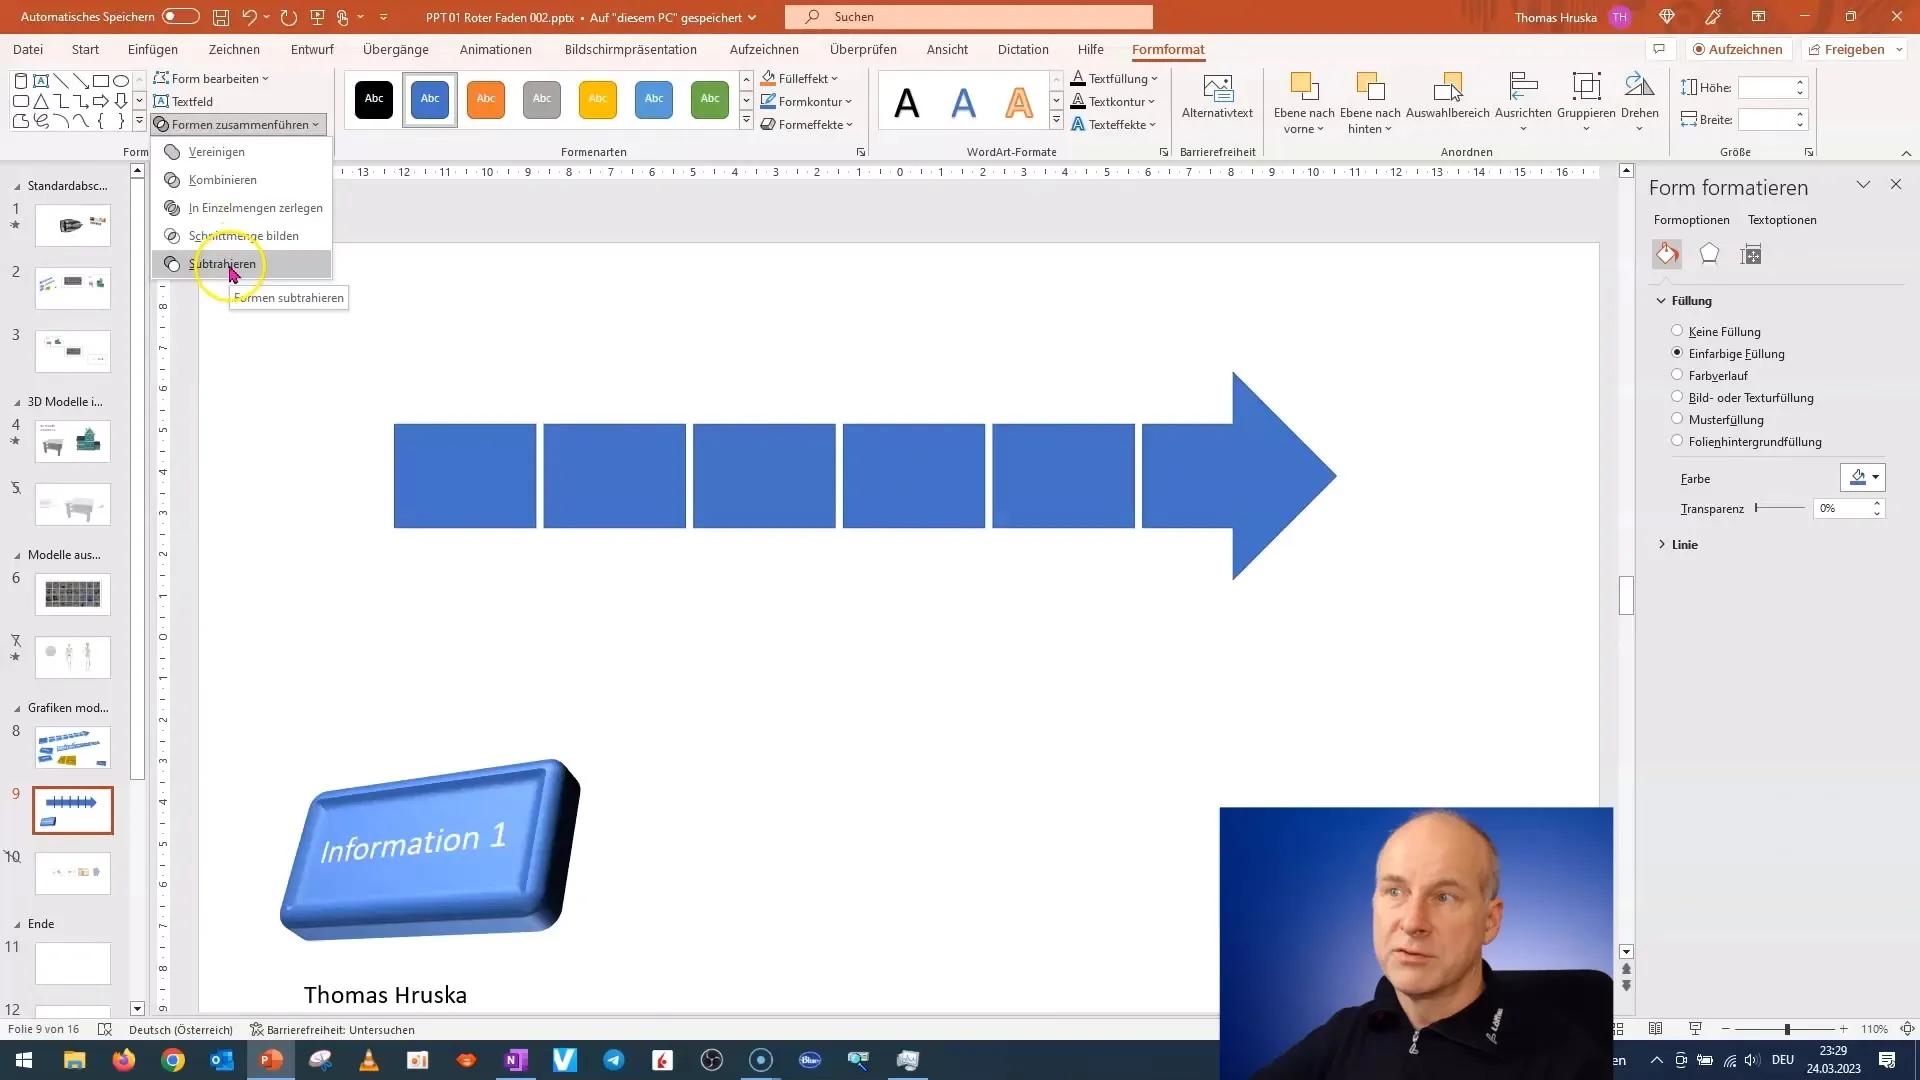
There are two ways you can proceed: either combine the shapes or apply subtraction. I recommend subtraction to get a clear, definitive arrow.
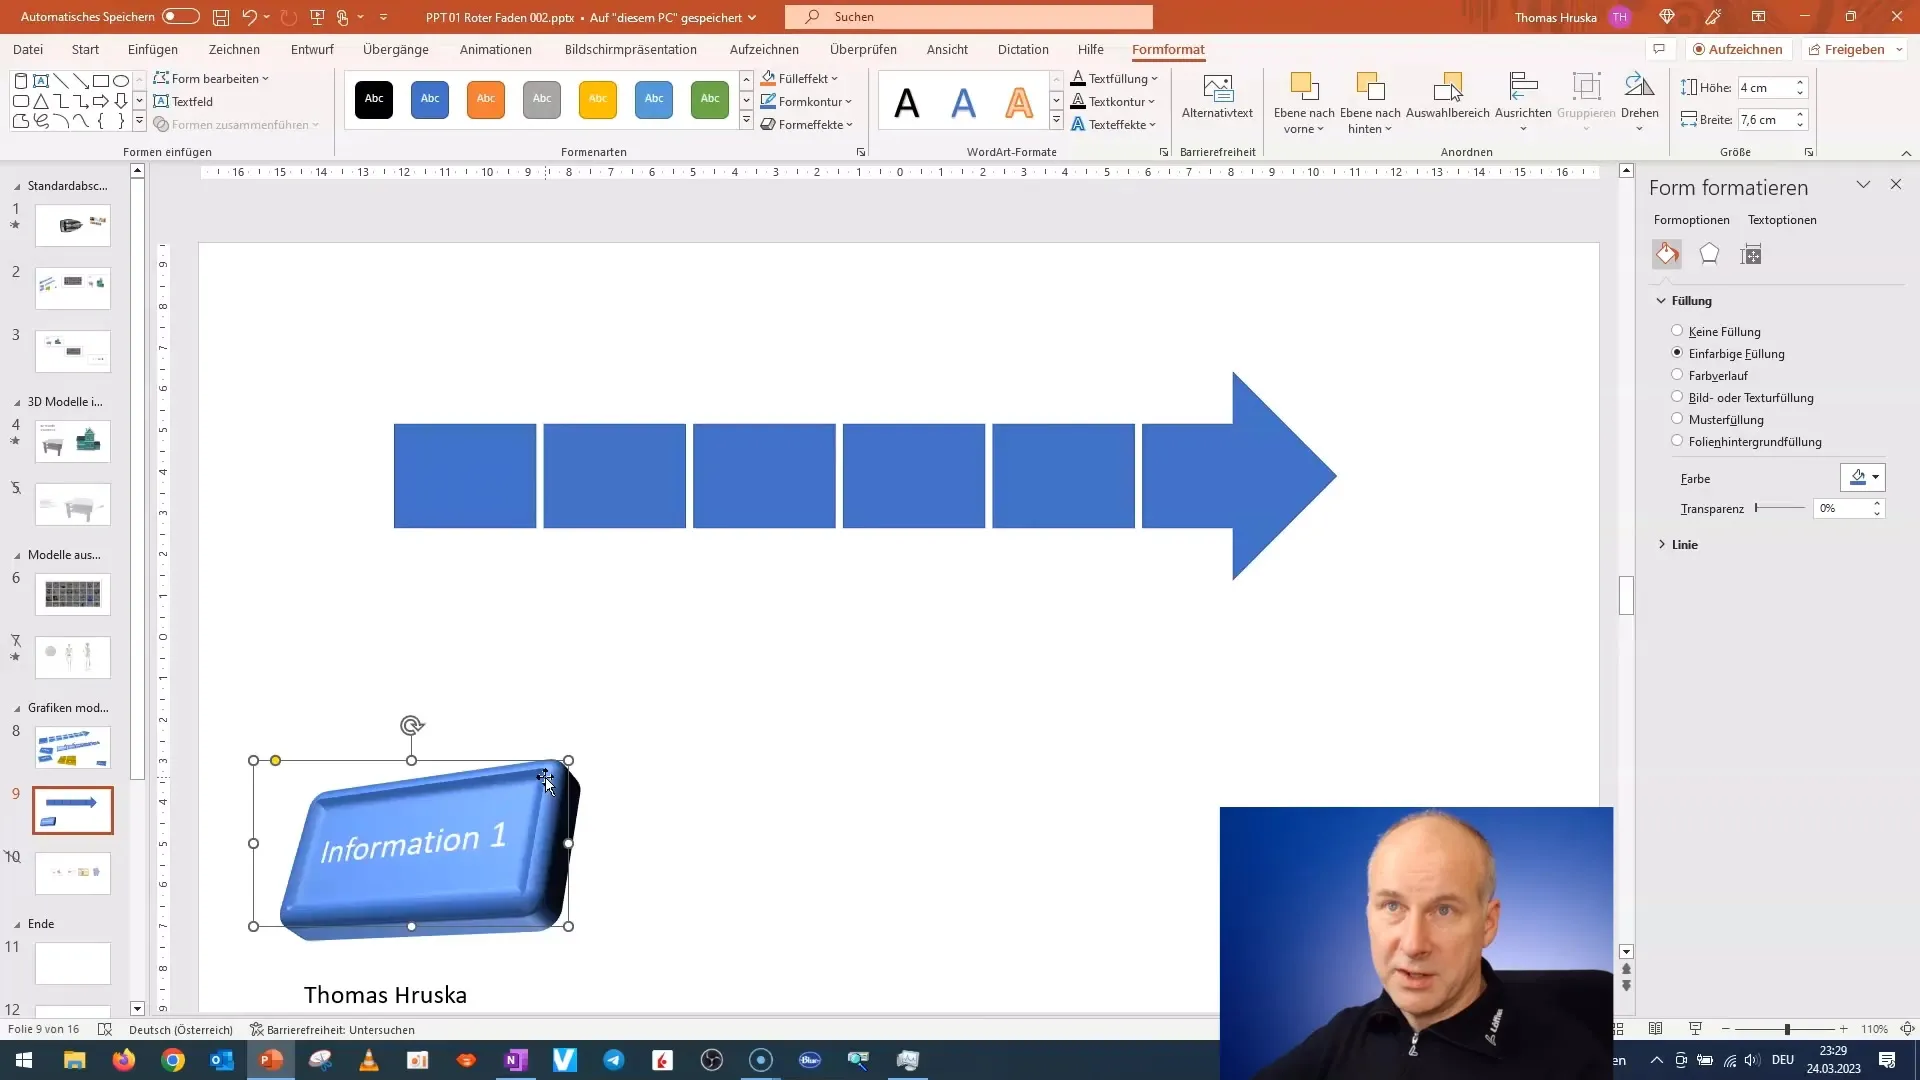
Once your arrow is finished, you can color it. Select the shape and go to "Format" > "Fill Color" to make an appealing color choice.
Now comes an important psychological point: anything pointing upward is considered positive, and arrows pointing to the right symbolize progress. Ensure that your shapes support this psychology.
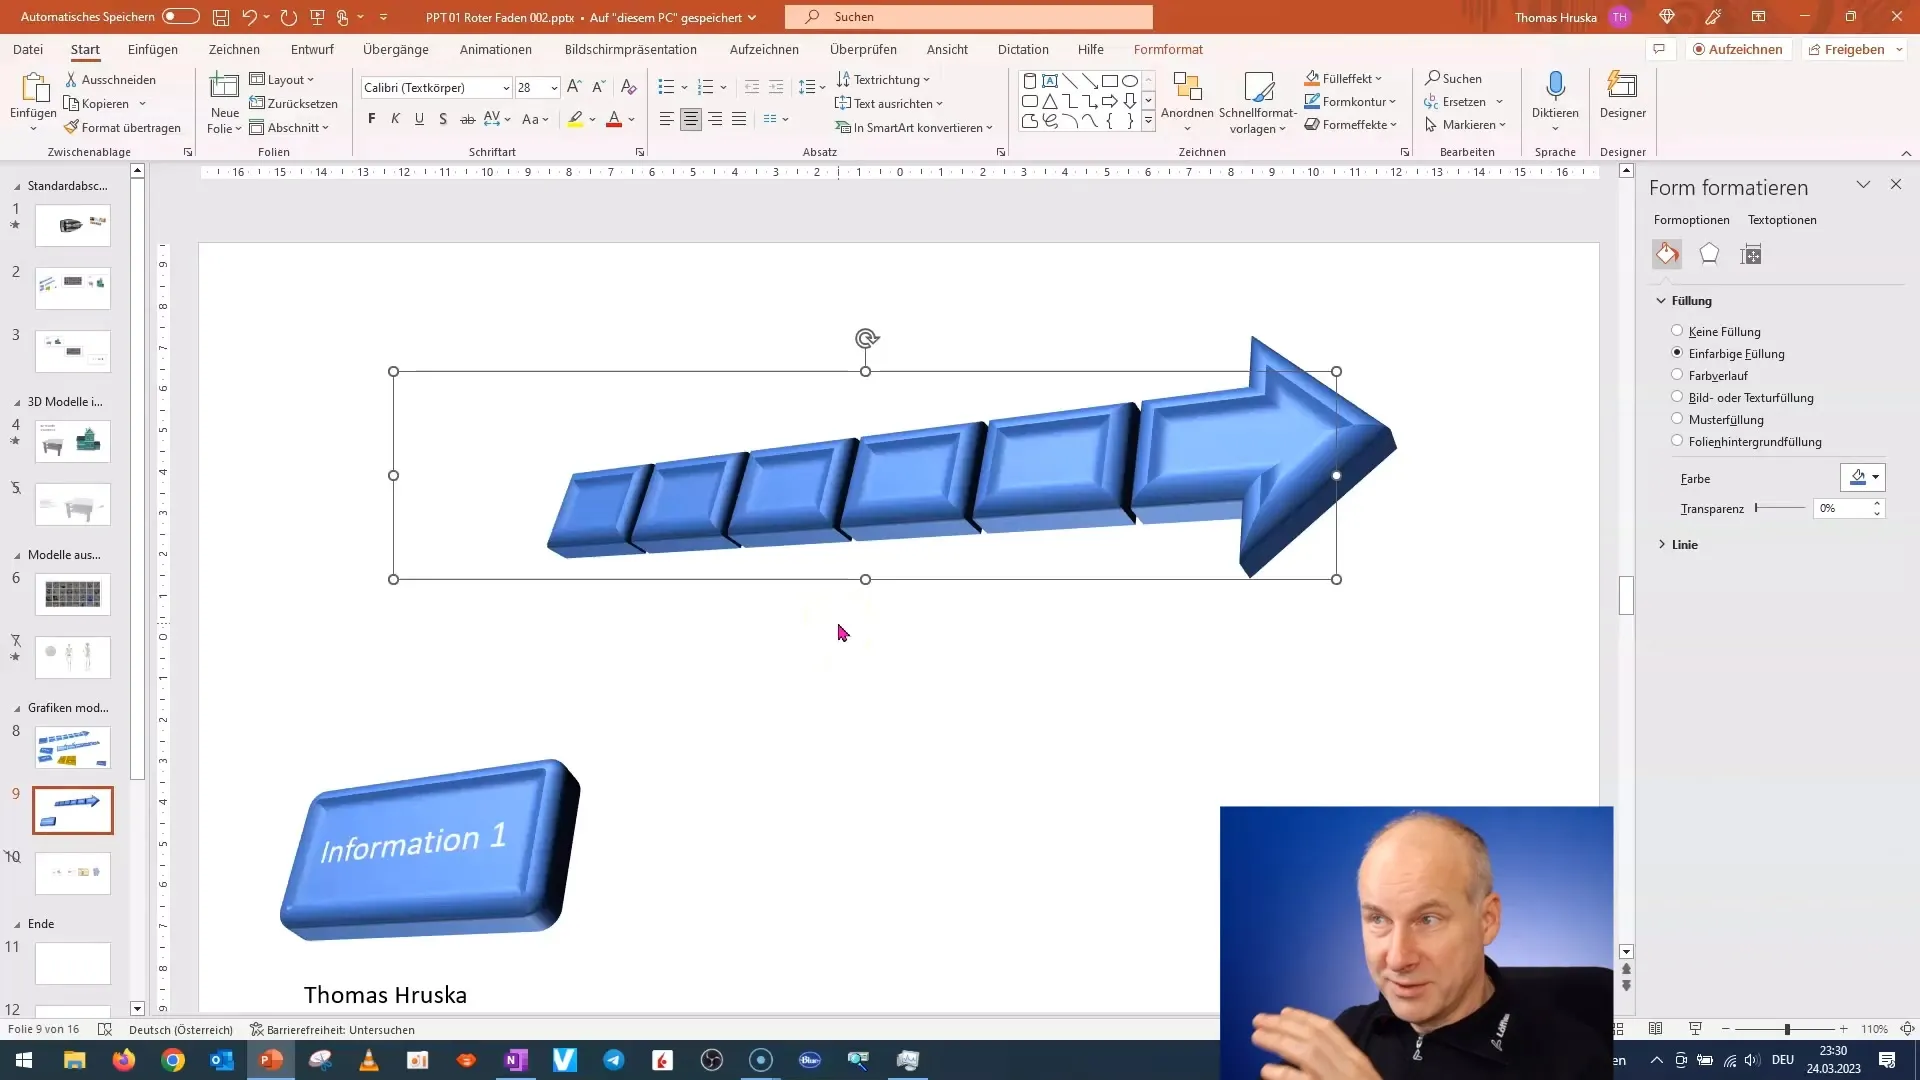
If your arrow doesn't look exactly as you envision it, you can simply copy the shape and adjust the appearance by rotating it. Experiment with different rotation options until it matches your vision.
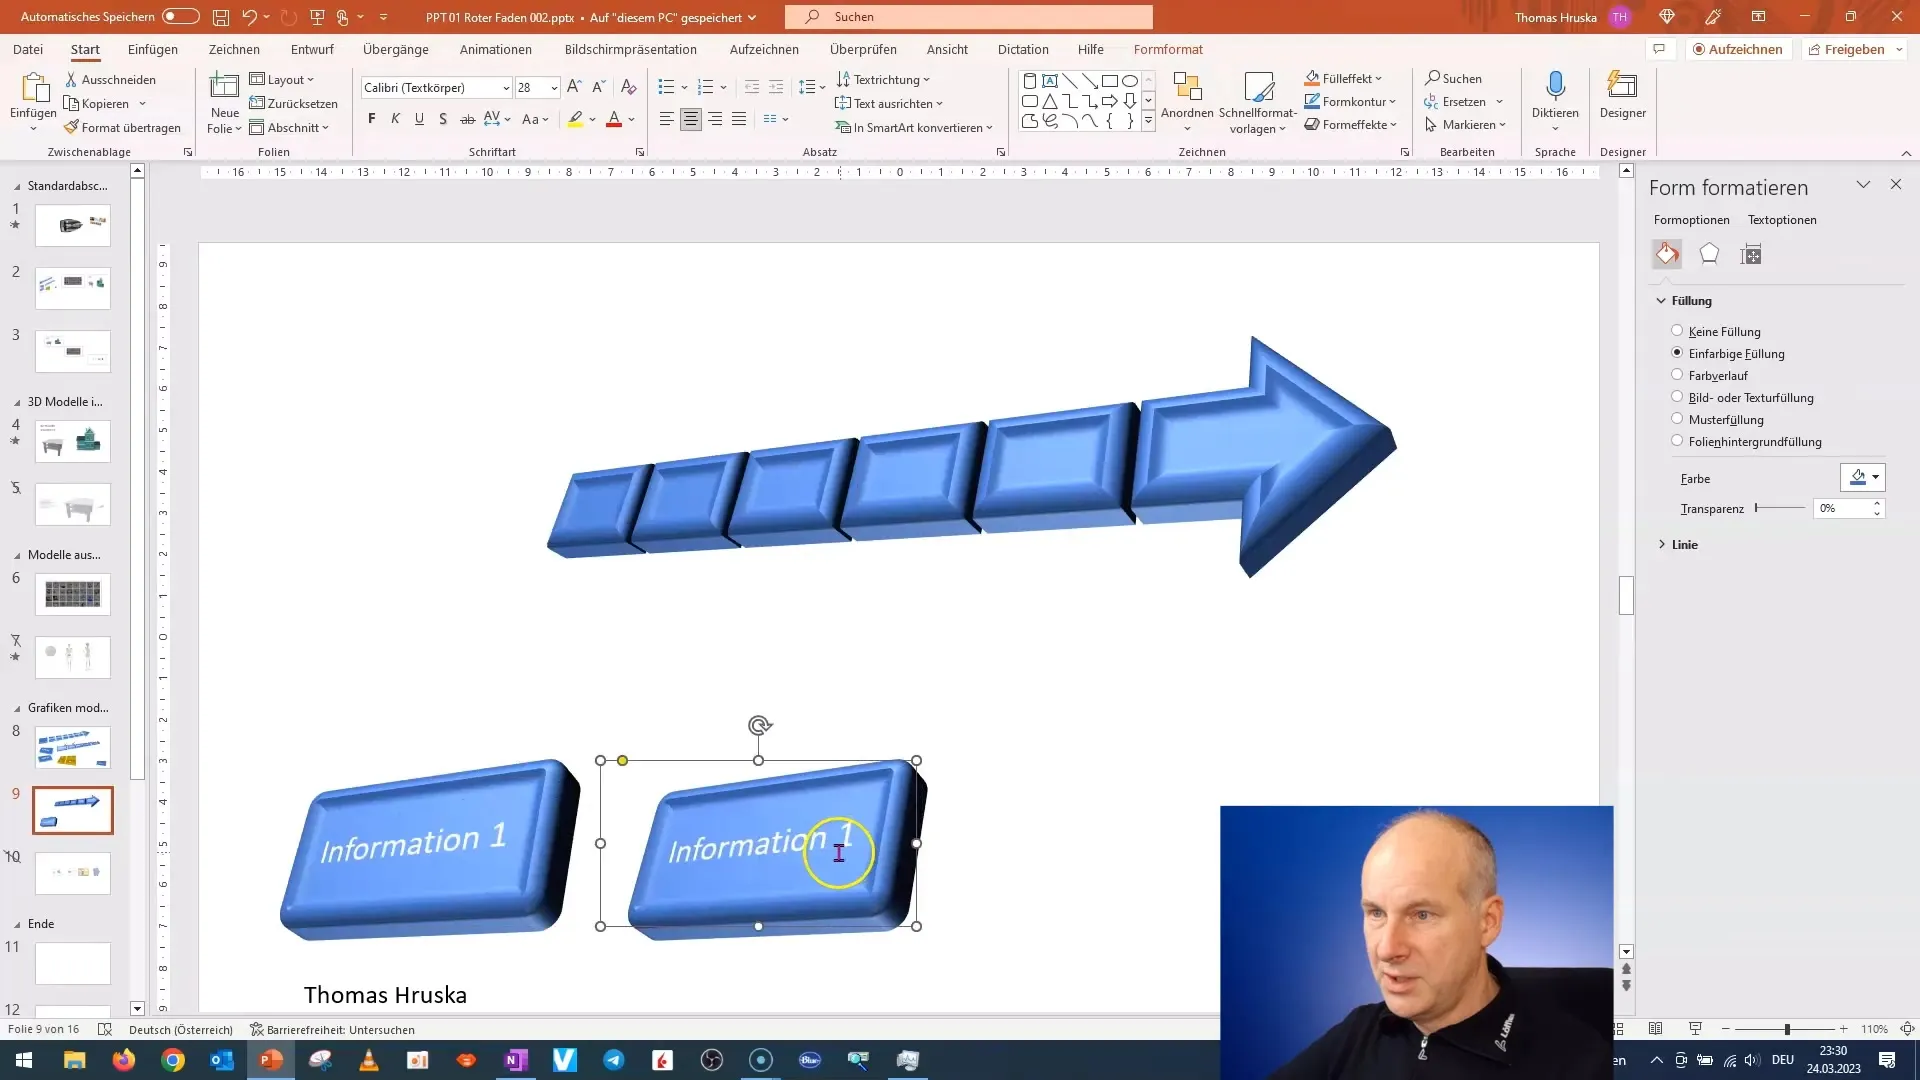
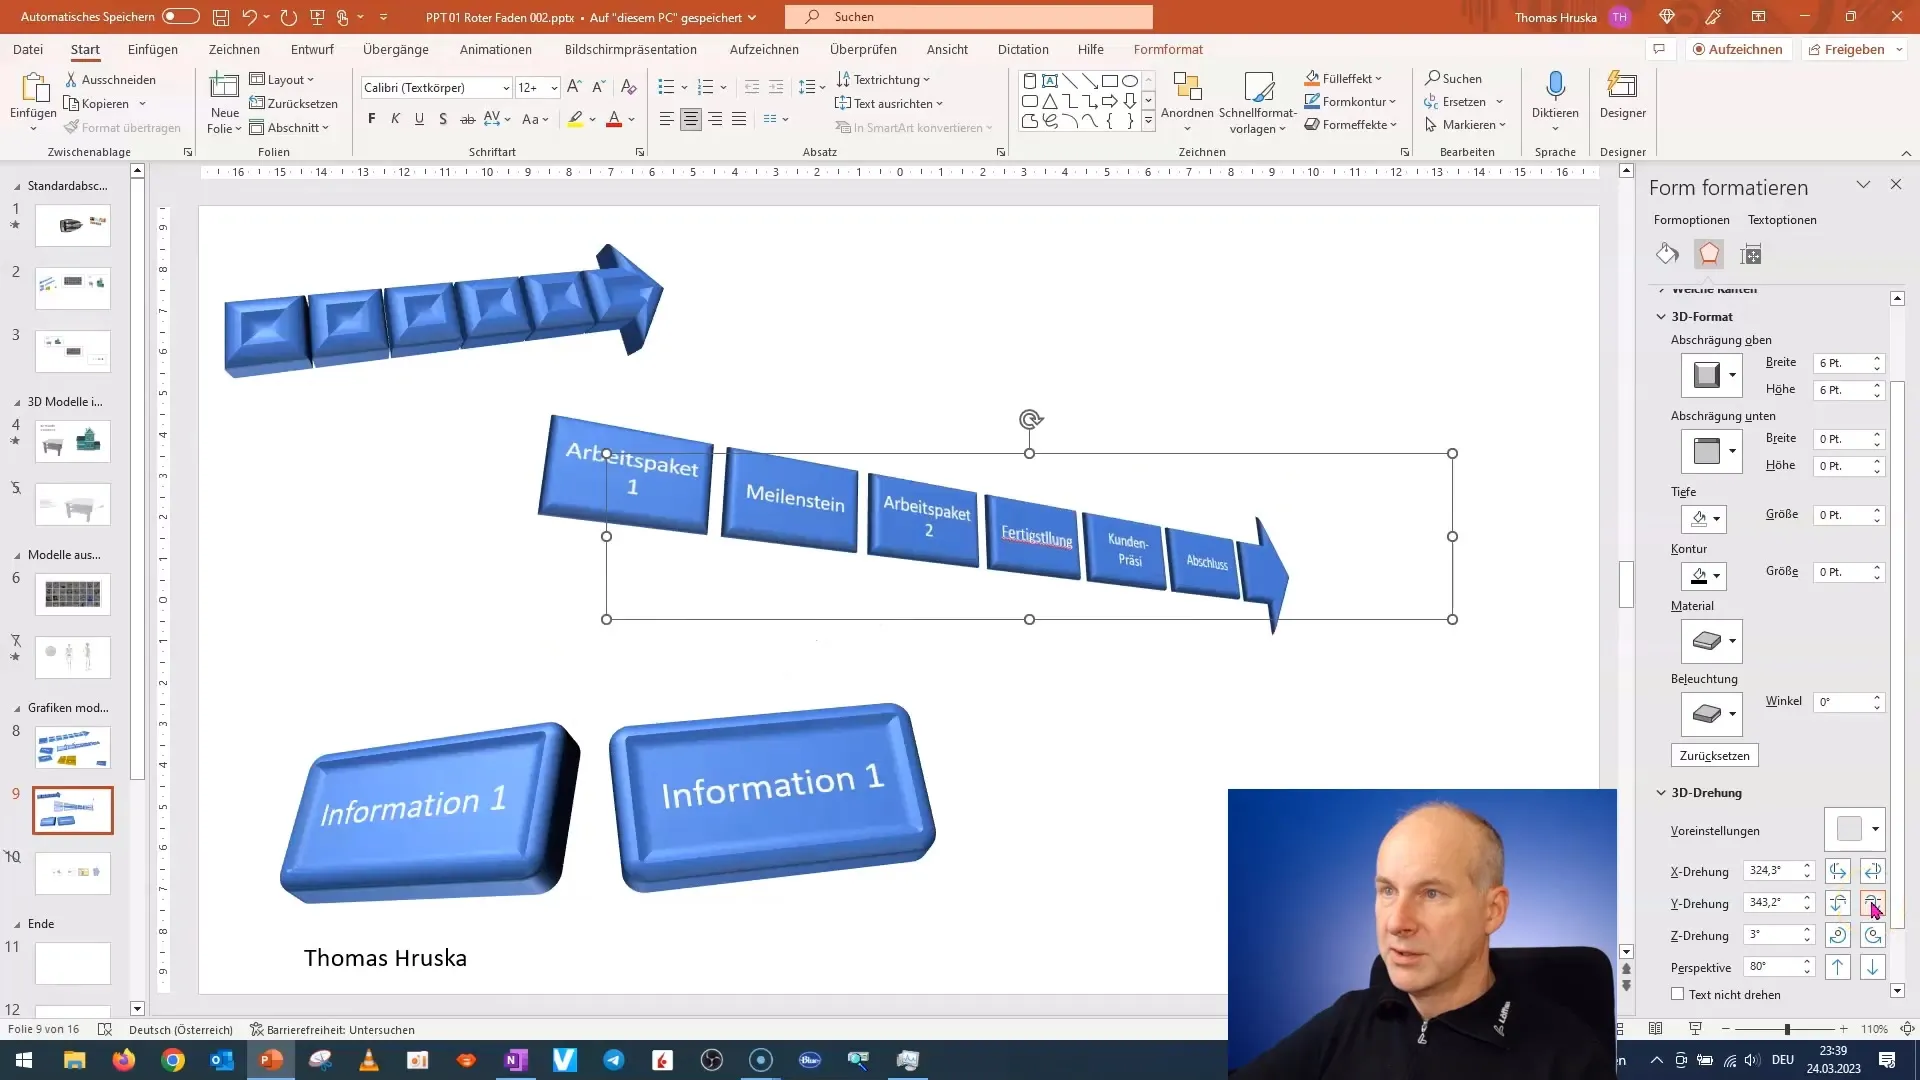
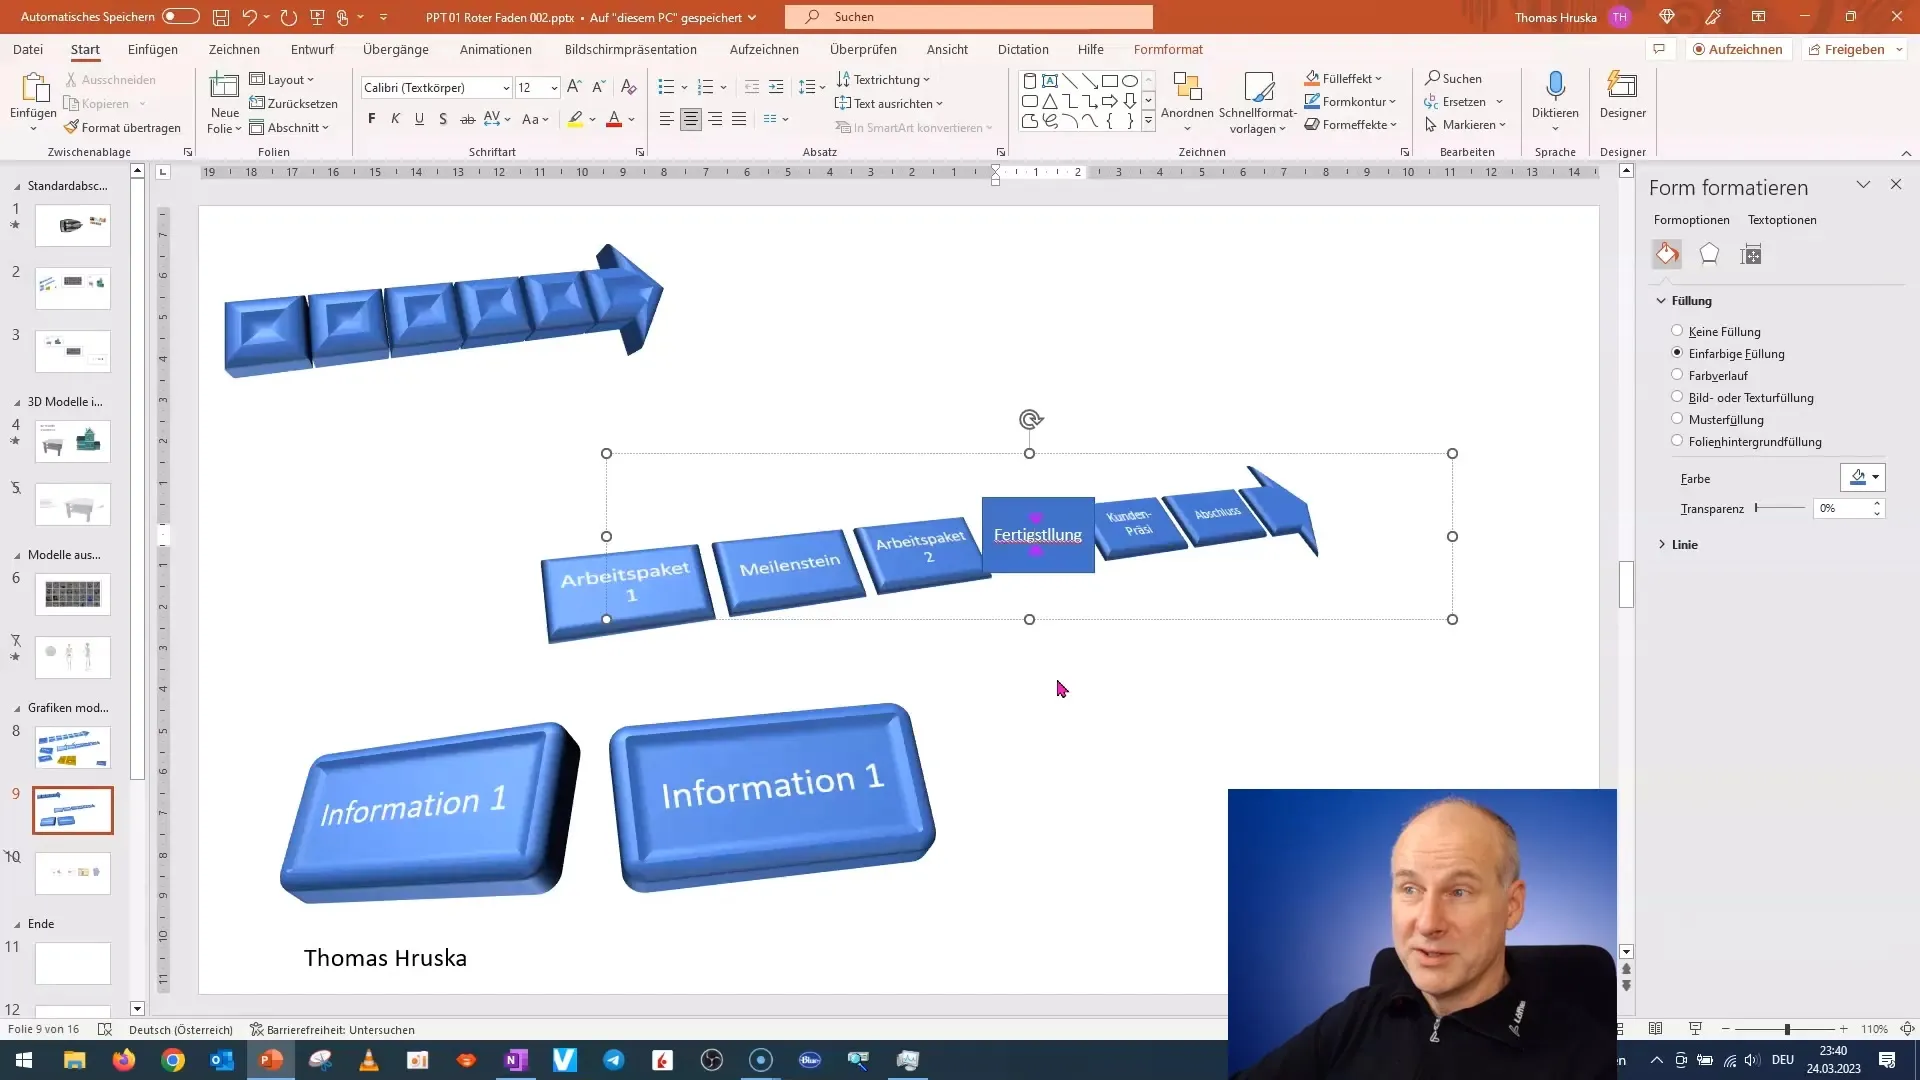
If you want to adjust the arrow in a three-dimensional perspective, go back to the shape formatting and slightly tilt the shape backward and upward.
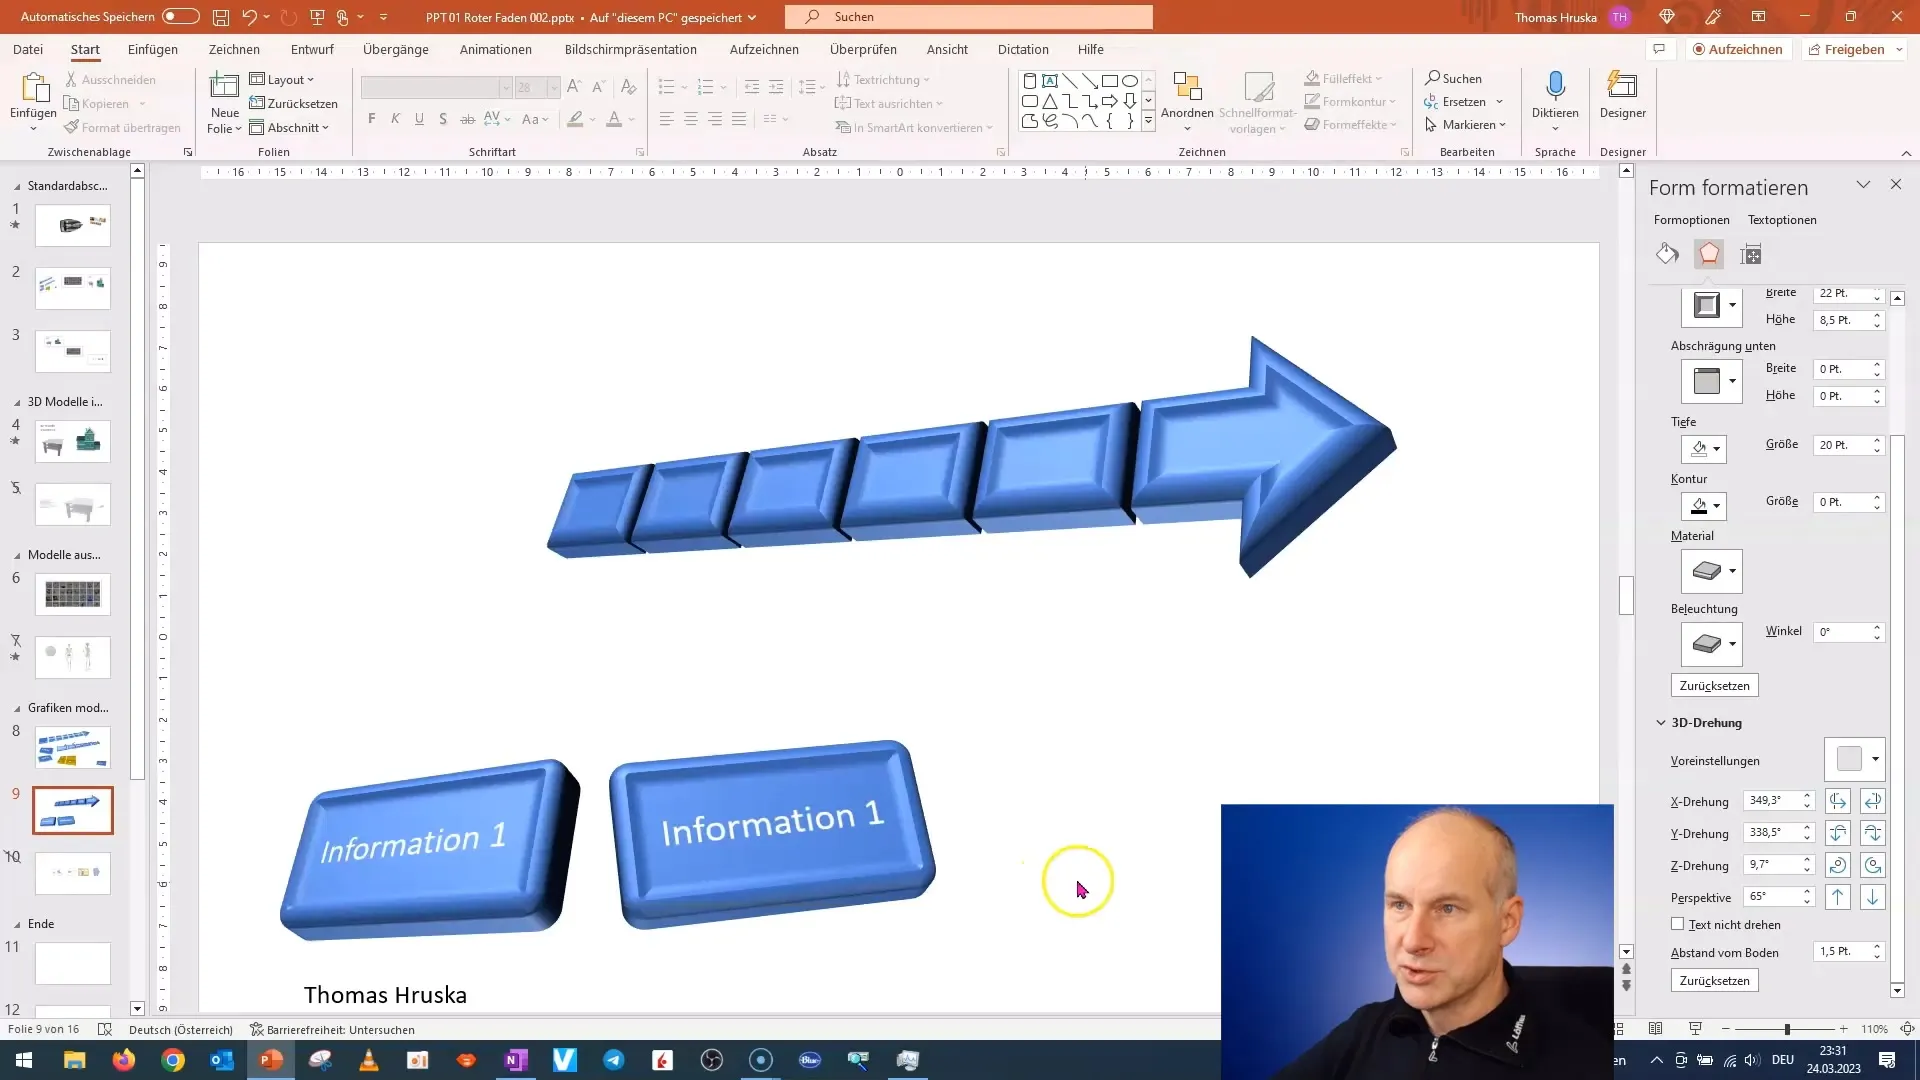
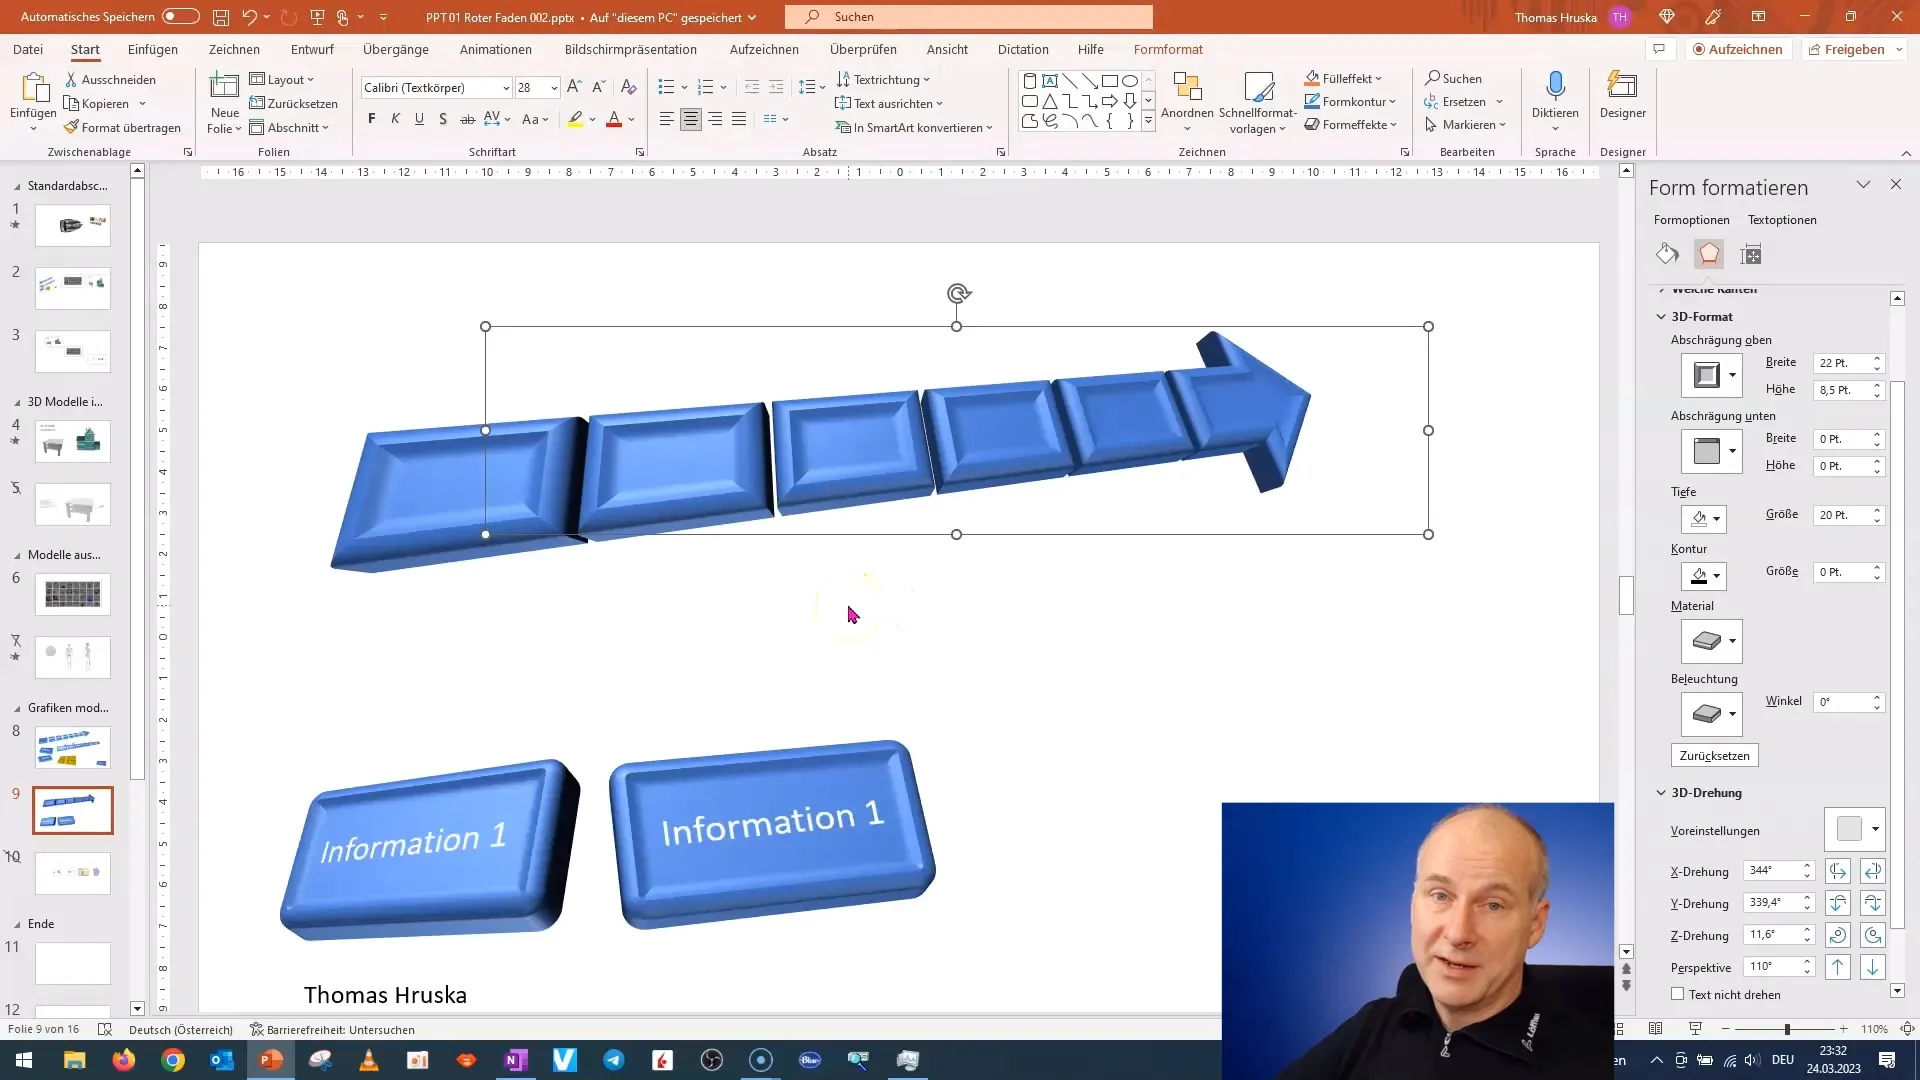
However, since the shape can sometimes create distortion effects, make sure to adjust the size of the shape and its perspective accordingly so that the text remains legible.
To add text like "Work Package 1," you'll need to create some space. Therefore, move your element and consider the overall area.
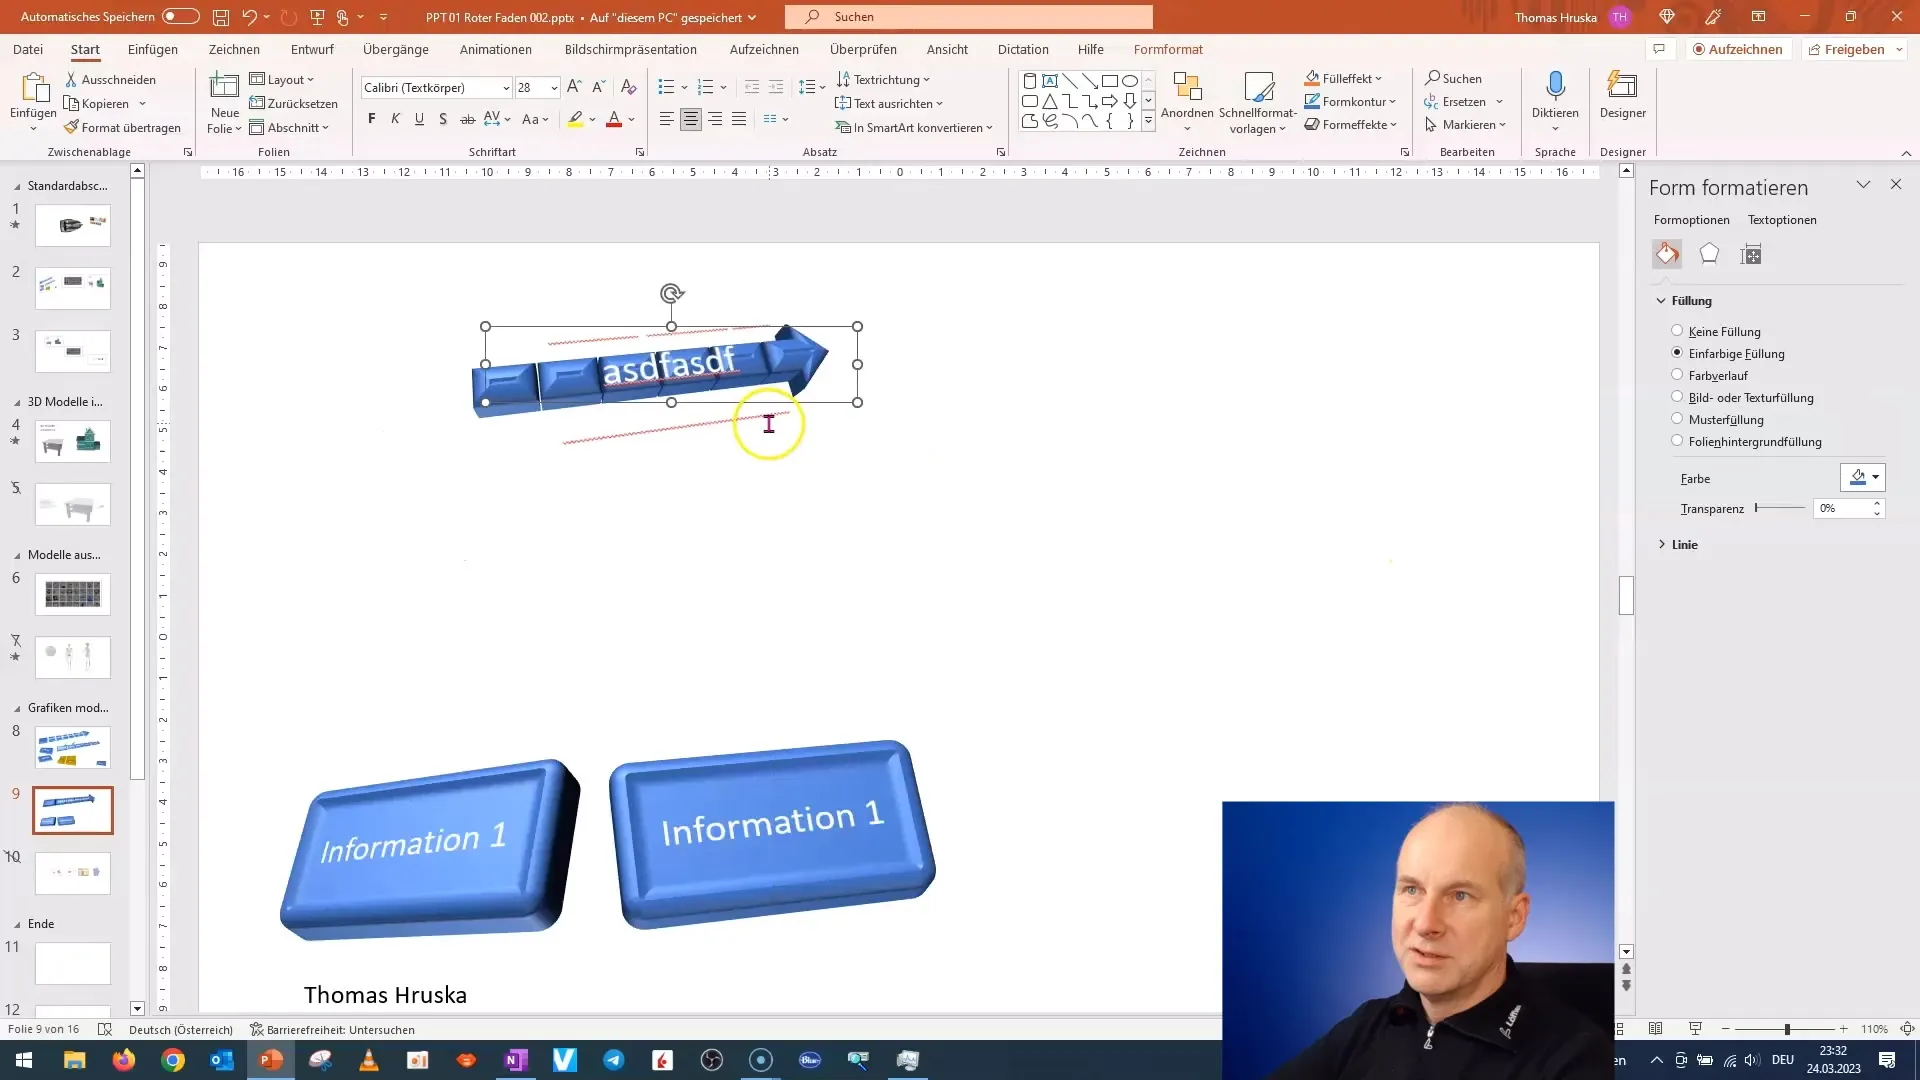
Now you can create another rectangle next to it. This time, ensure that all windows are of the same size. You can directly adjust the size through the properties.
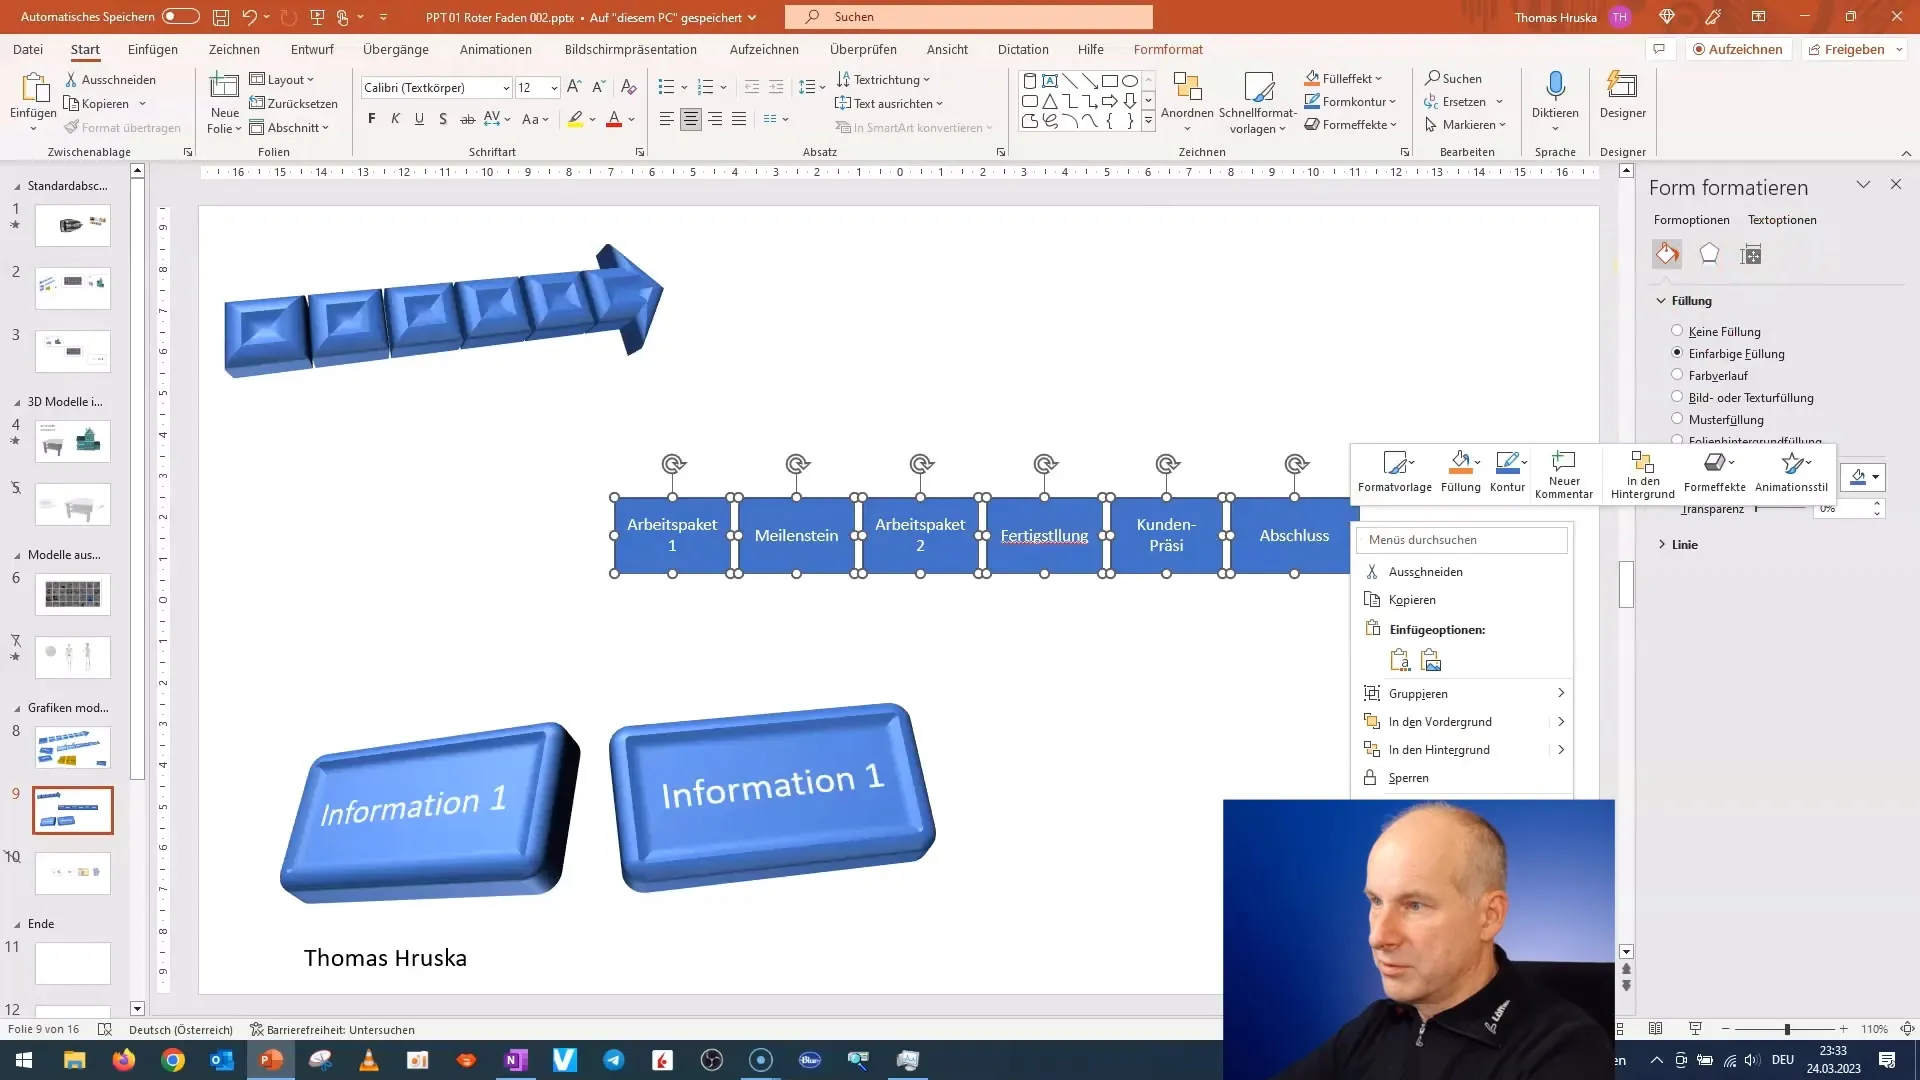
To distribute the spacings evenly, go to the "Arrange" menu and select the "Distribute" function. This will align the spacings perfectly.
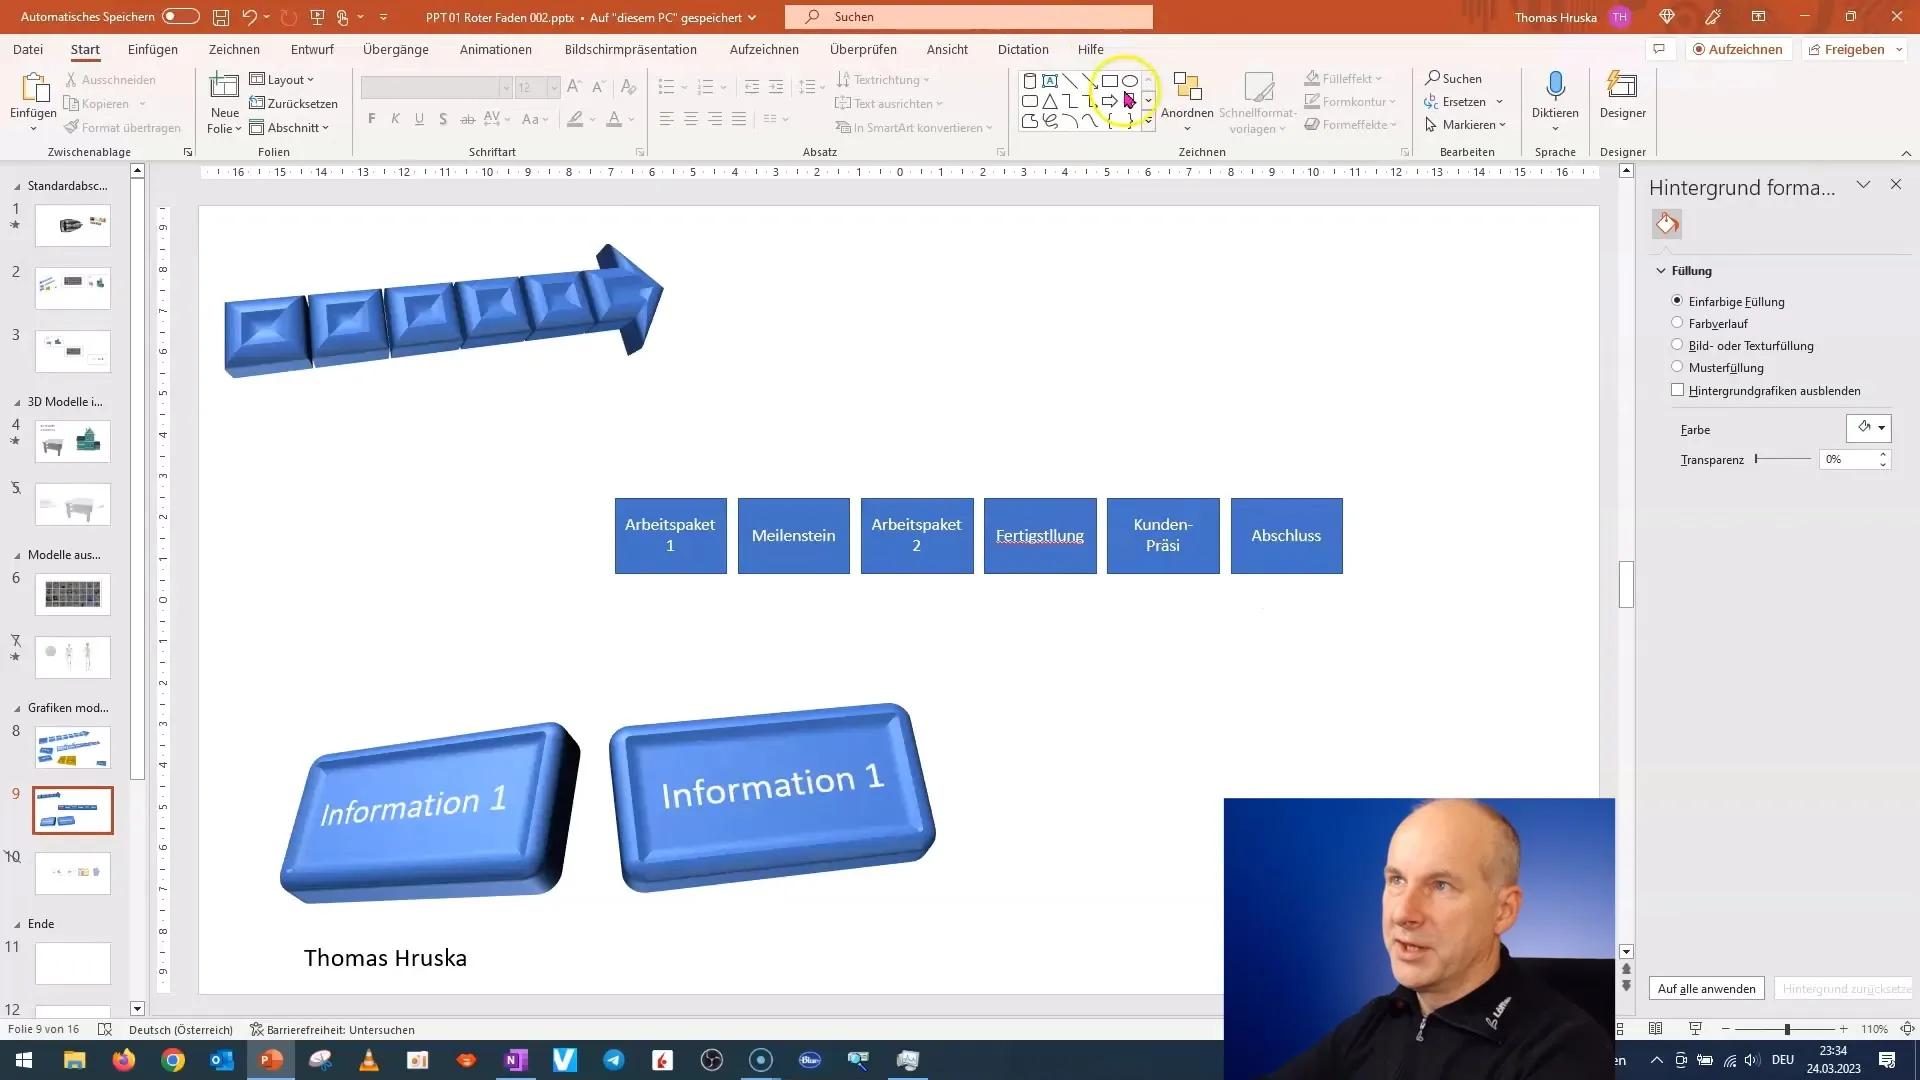
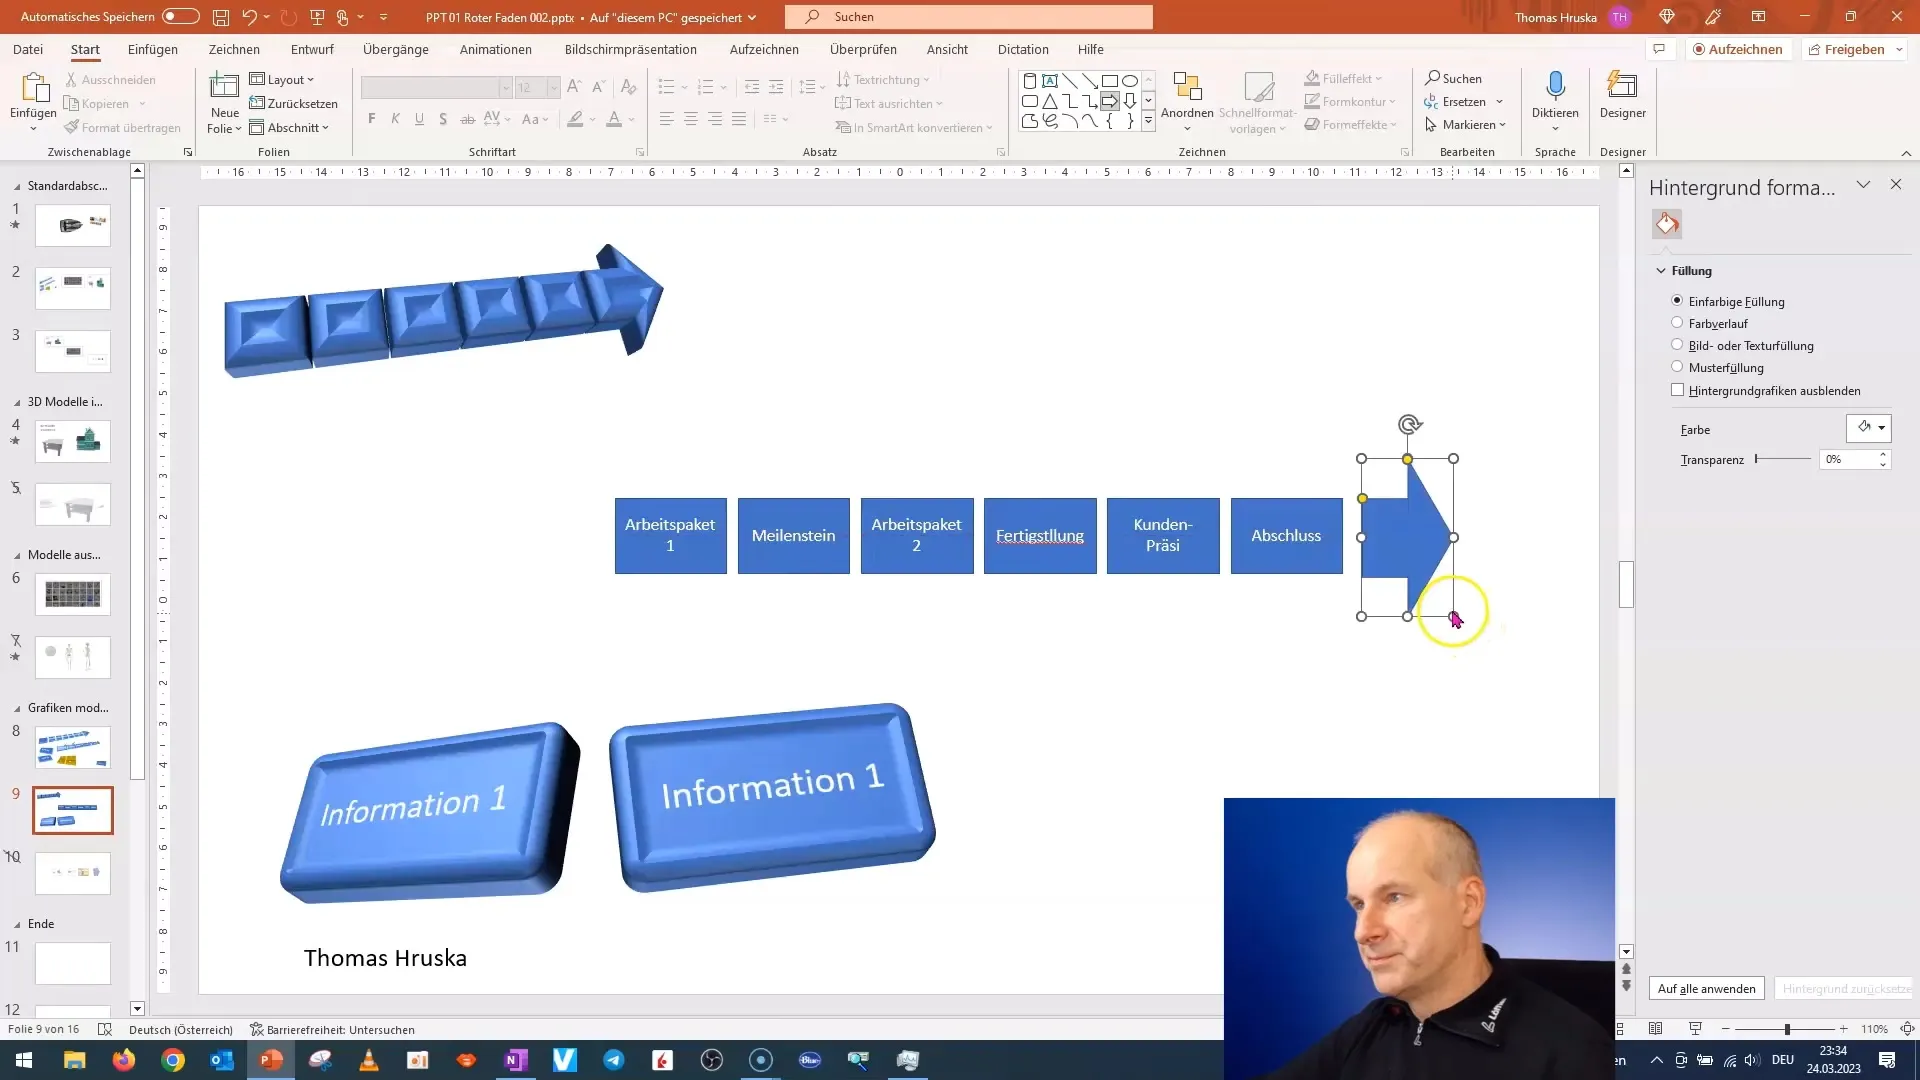
Next, add an arrow to clearly indicate the progress between the work packages. Create a new arrow by following the same steps as before.
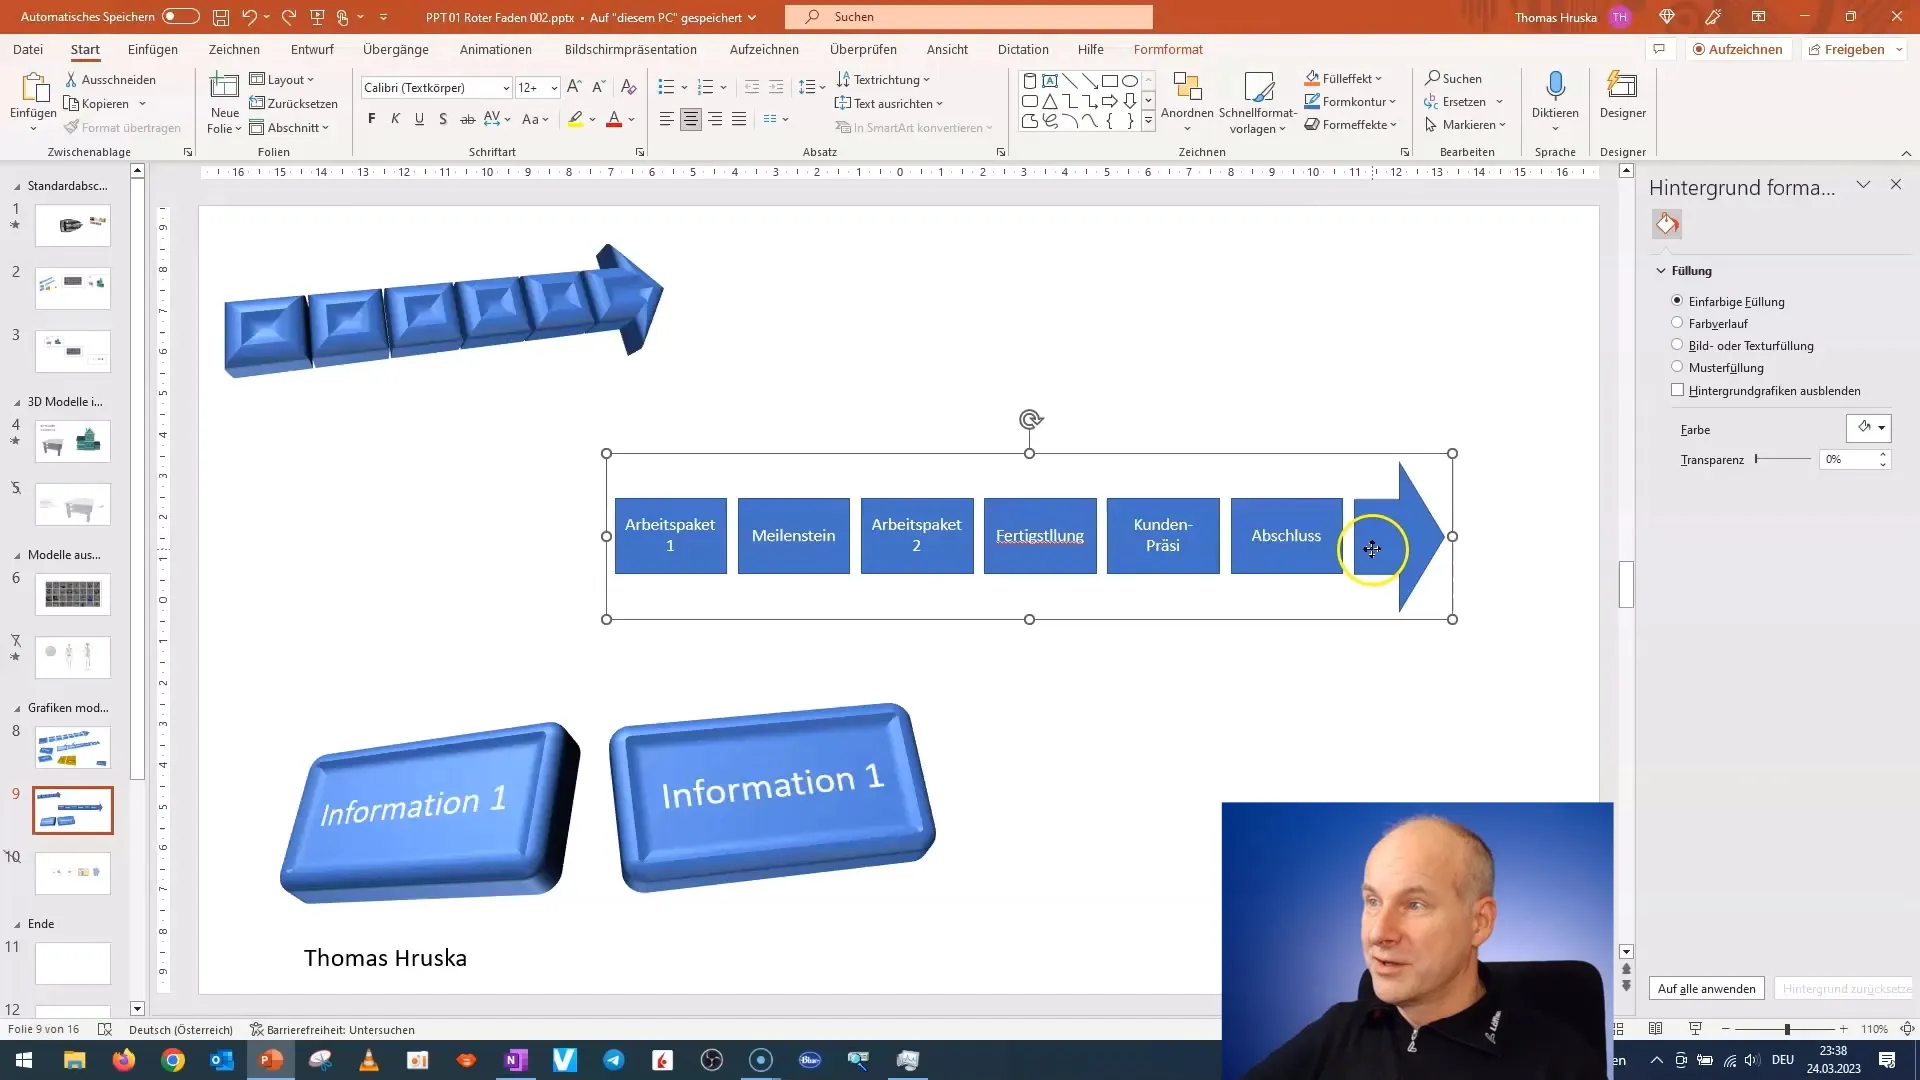
You can group the shapes together so you don't have to move them individually. This will give you a uniform layout.
Take it a step further by adding some 3D effects to increase visual interest. Choose the "Shape Format" option and experiment with the depth effects.
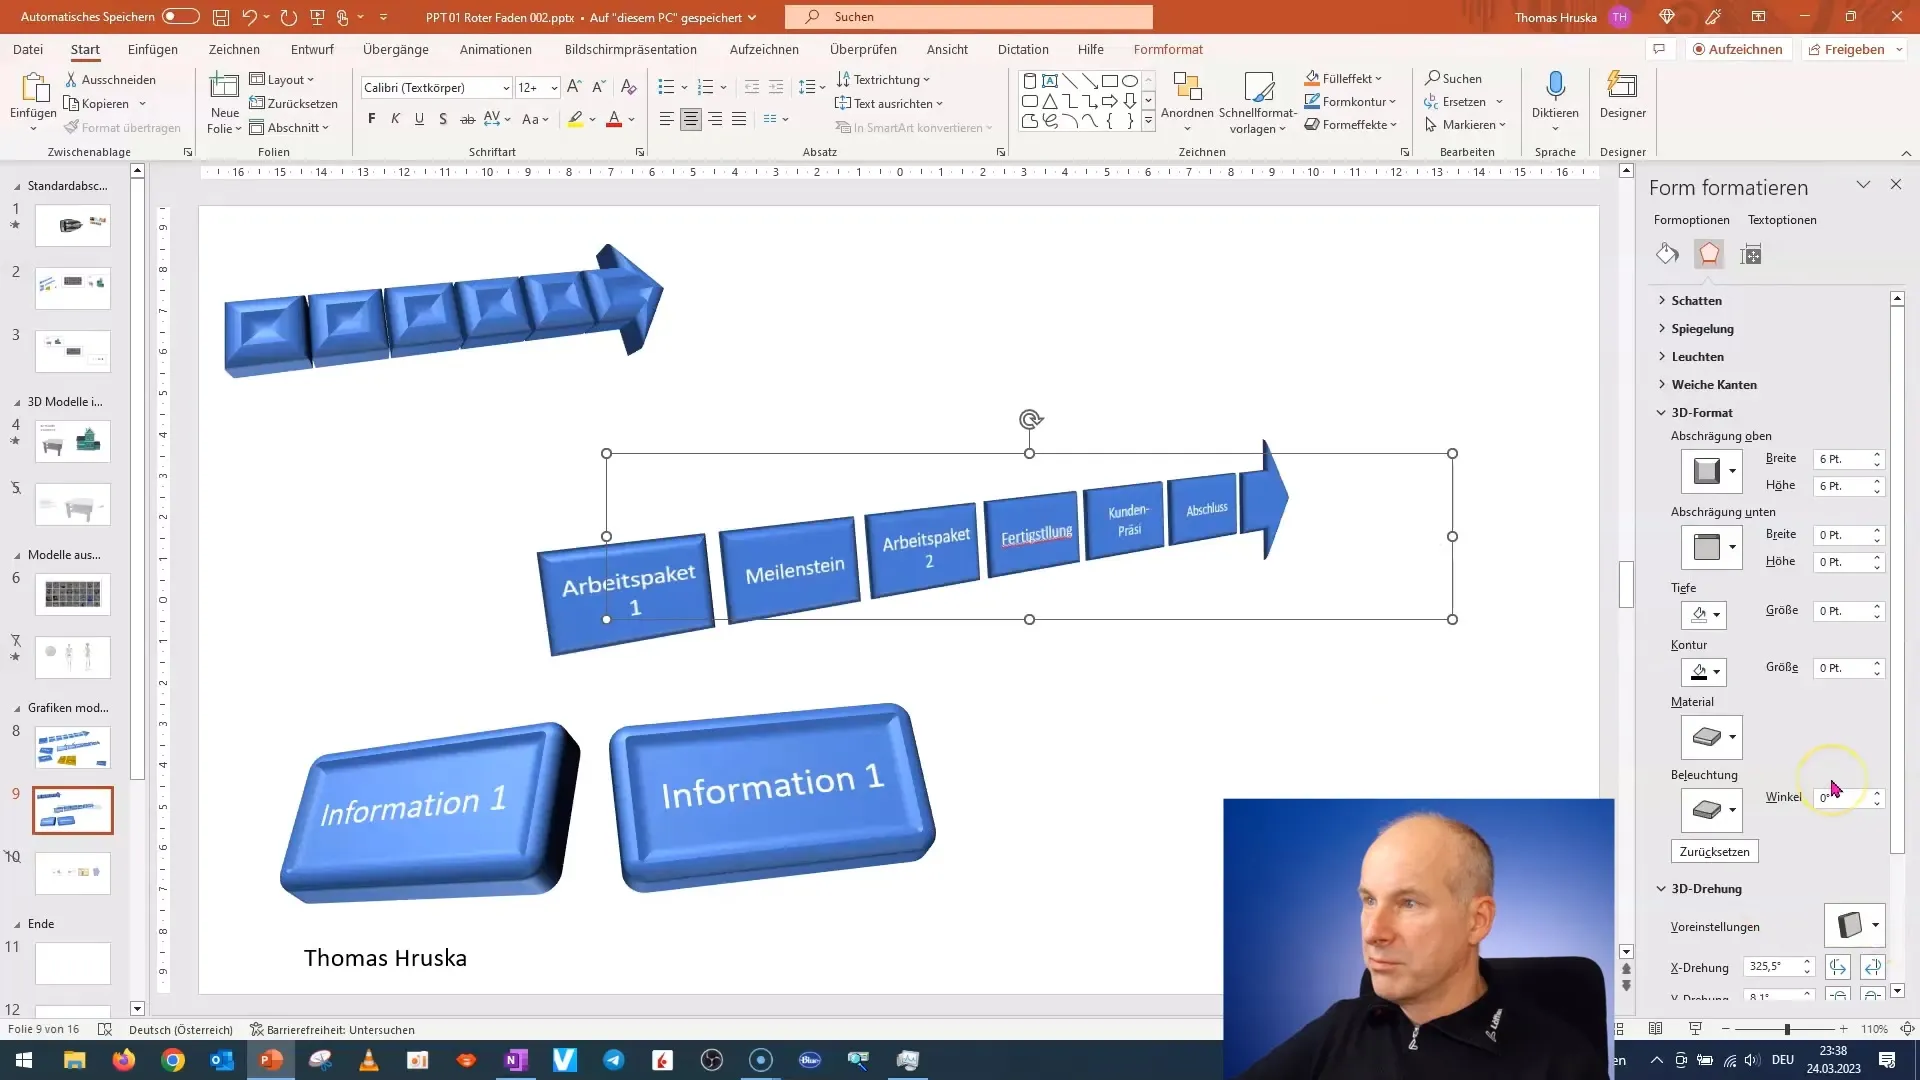
Consider the perspective: if you rotate the shape too much, it can look unnatural. Make sure your viewing angles are even and realistic, enhancing the overall impression.
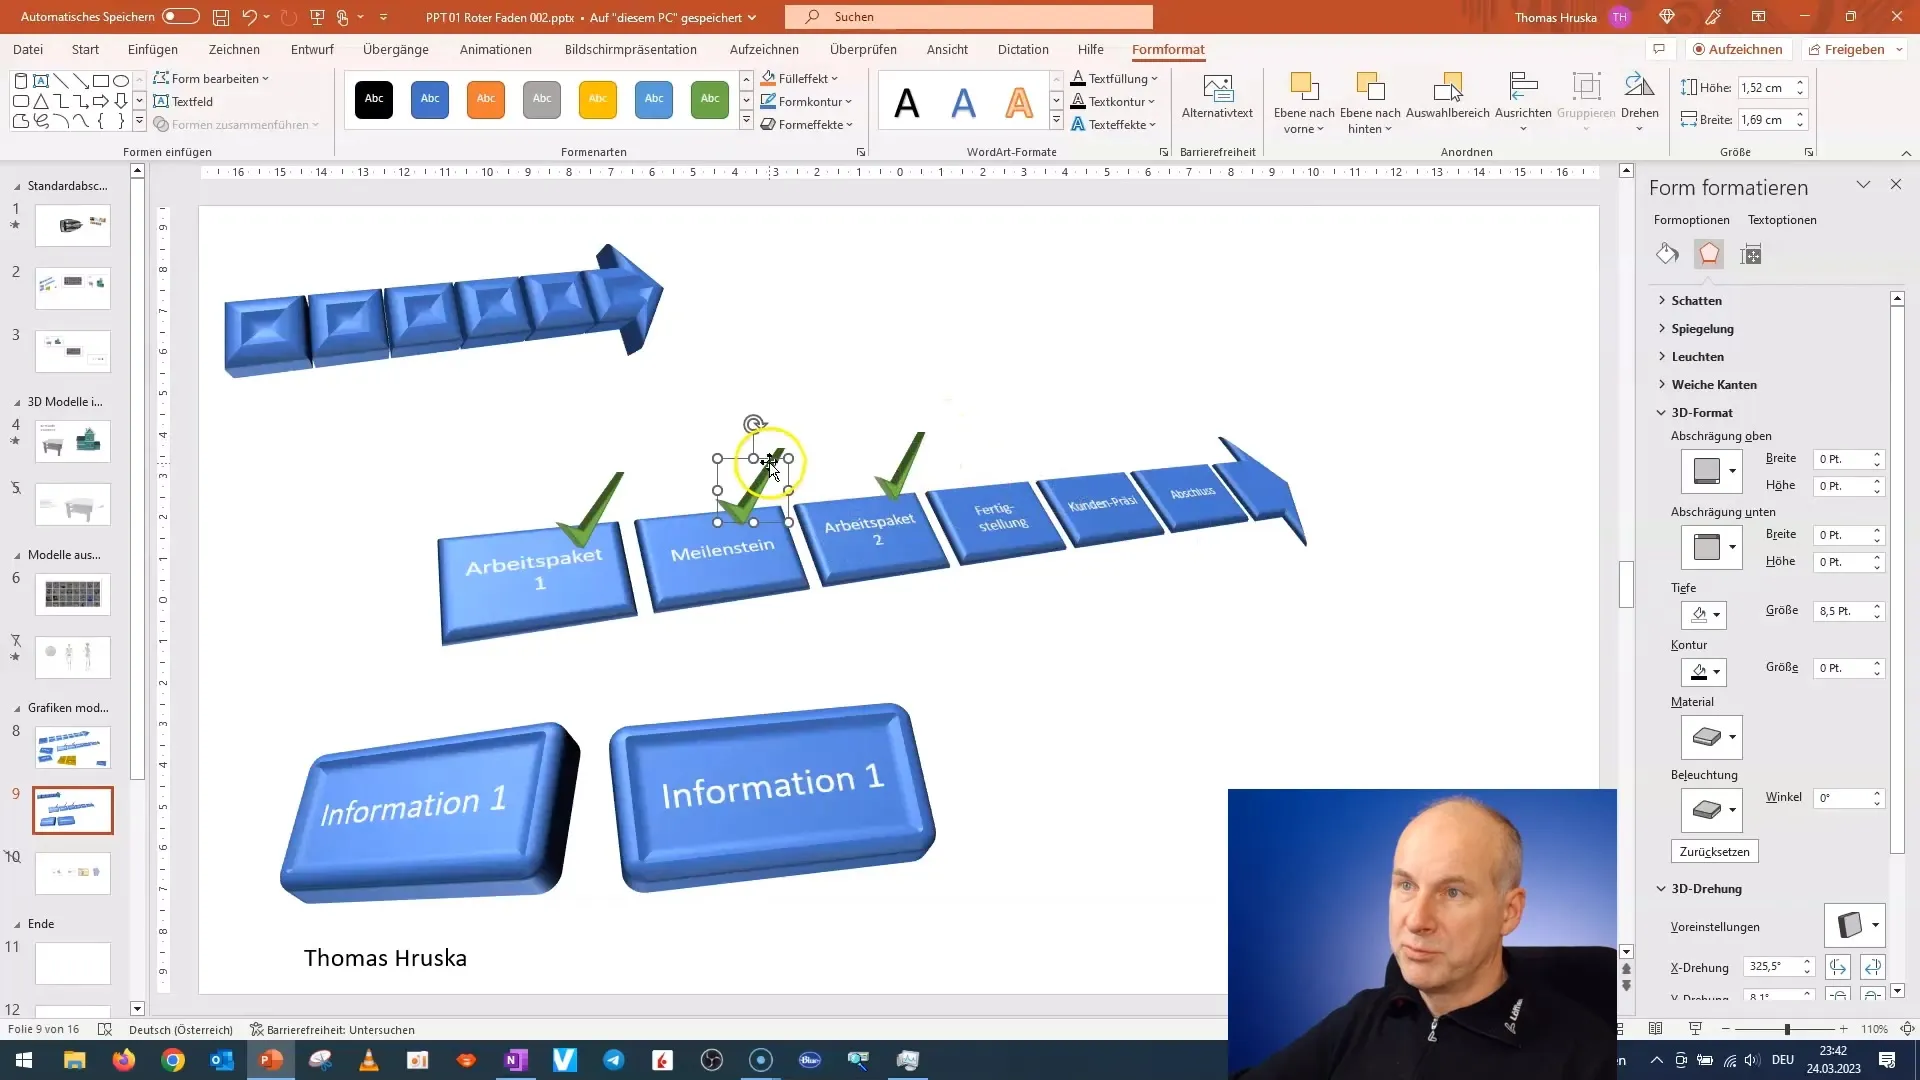
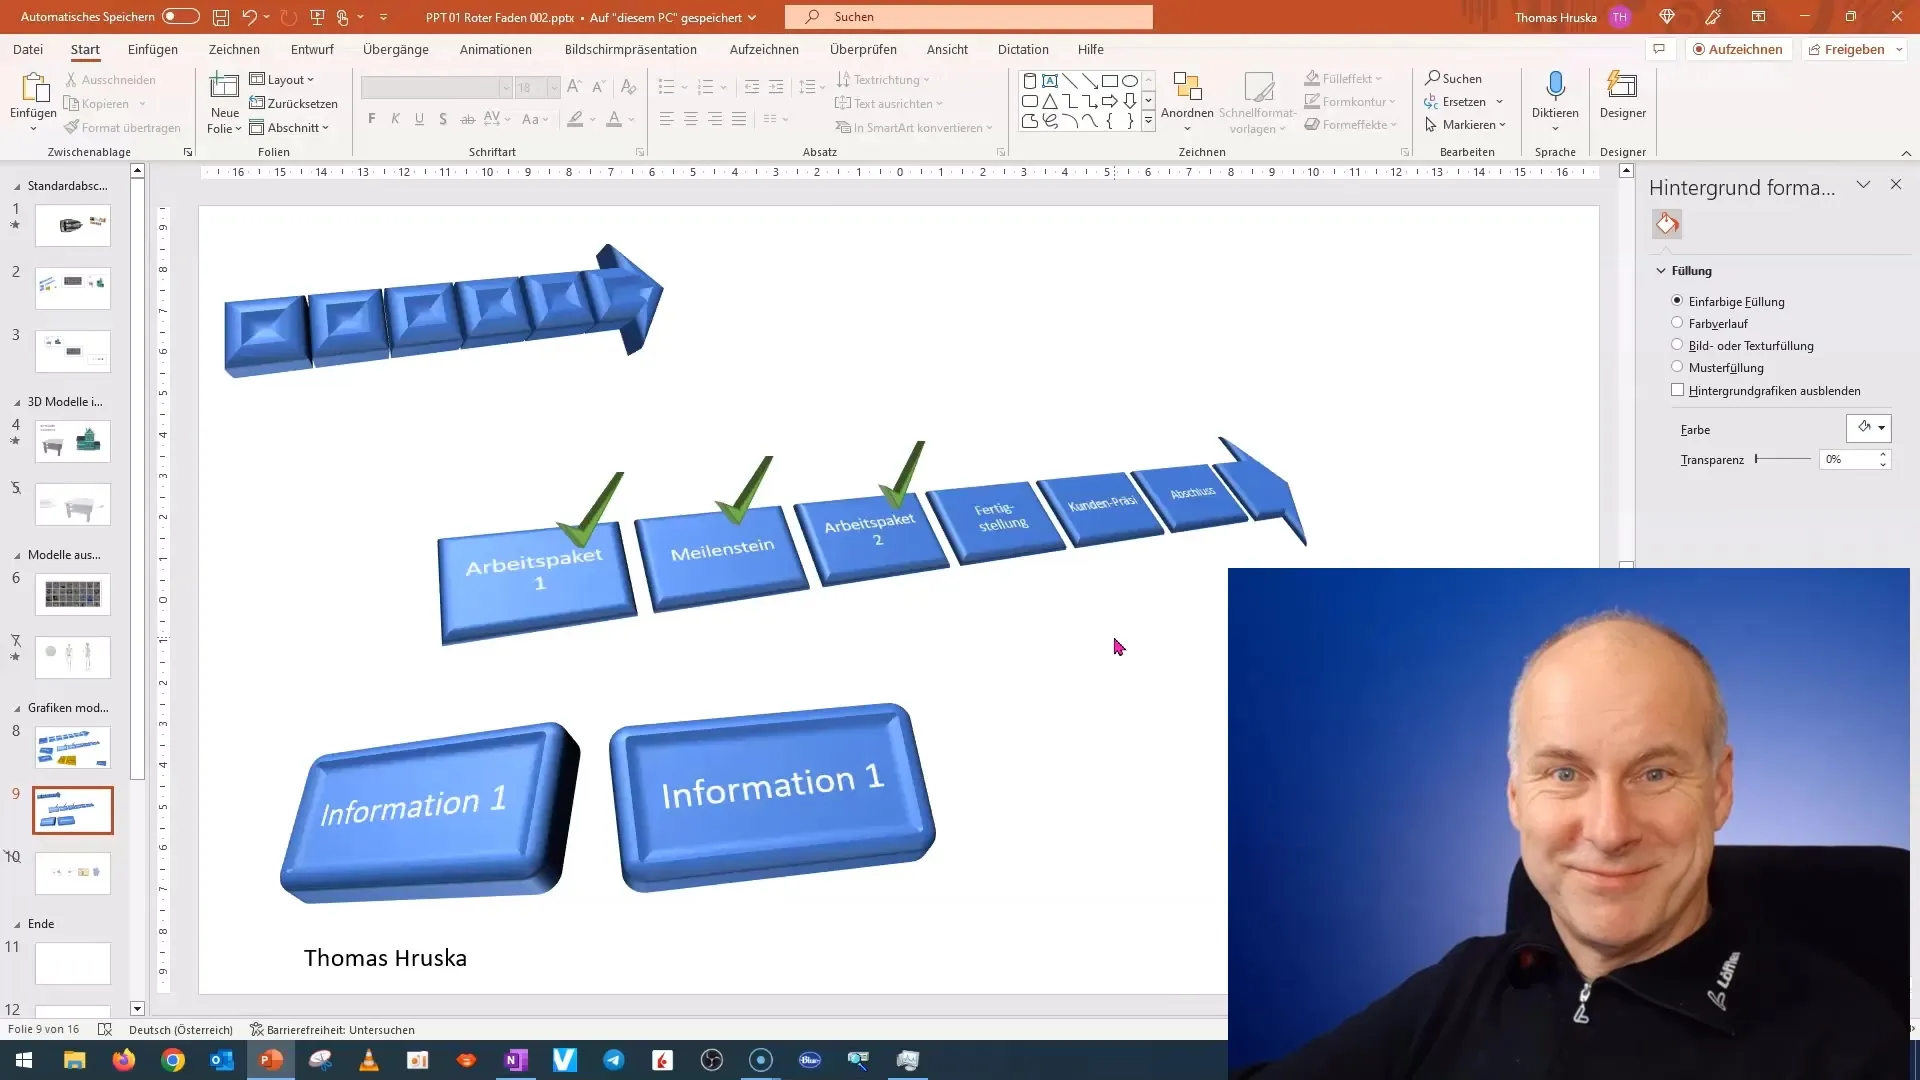
Once you are satisfied with the design, add a green tick to indicate that the tasks are completed. You can also select this from the shapes available.
Don't forget to check the spacings and visibility of the elements on the presentation slides. You could make the ticks a bit smaller and position them at an appealing angle.
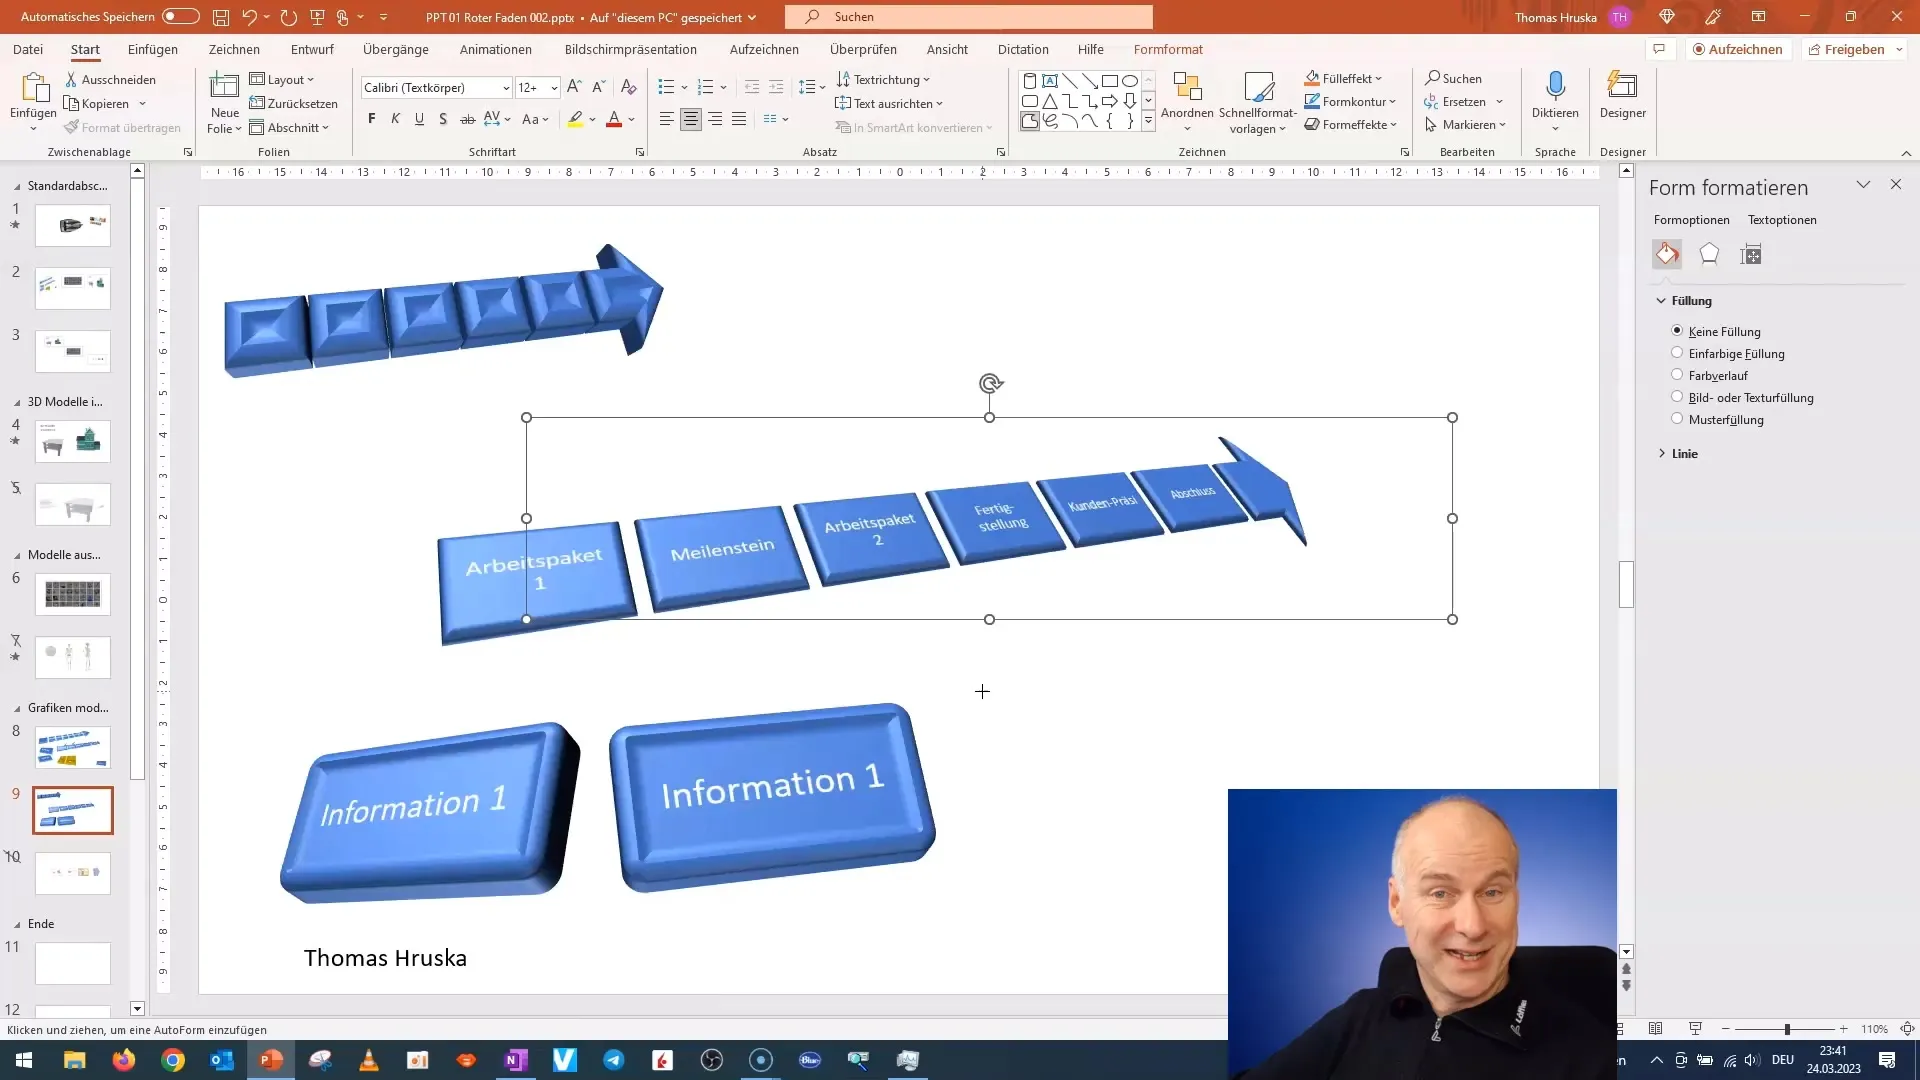
Now that all elements are in place, it's time to give the project flowchart a final revision. Check for spelling errors and ensure the text is correct.
Once everything is completed, save the presentation and share the result with others. Success stories are always welcome here.
Summary
In this guide, you have learned how to quickly create an attractive 3D graphic in PowerPoint. You have learned how to use and creatively design basic shapes to enhance your project-related communication. With the right techniques and appropriate formatting, your presentation will become a real eye-catcher.
Frequently Asked Questions
How can I customize my shapes in PowerPoint?You can do this by selecting them and then using the options in the "Format" toolbar.
What do I do if the colors of my shapes don't match well?Experiment with different shades under "Fill color" or use the color settings to find the perfect color gradient.
Can I add text to 3D shapes?Yes, you can add text to 3D shapes, but this can sometimes affect readability. Make sure to adjust the shape accordingly.
How do I save my presentation?Go to "File," then "Save As," and choose the location and desired format.
Which format is recommended for the presentation?The recommended format is the PowerPoint format (.pptx), as it supports the 3D features.


