Particles in composings with Photoshop create a dense image mood. I now have an initial image here, ...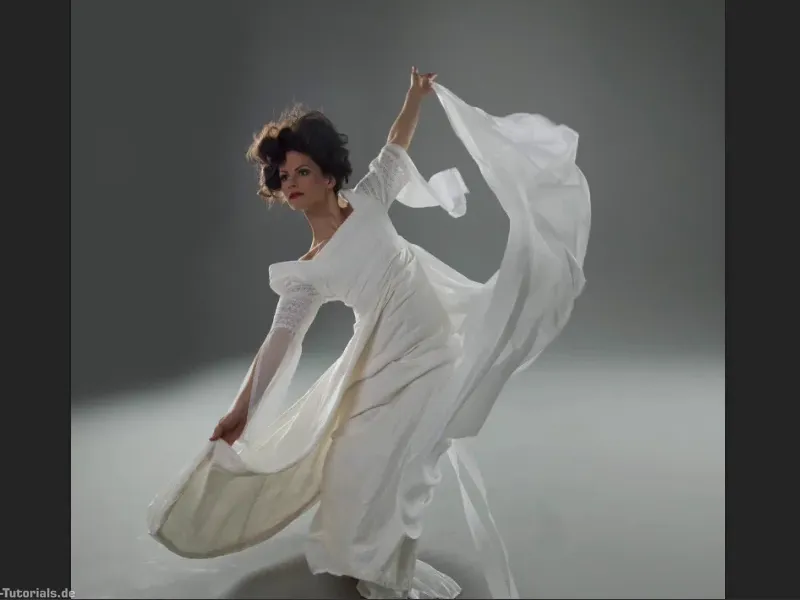
... I've created a combined layer that shows what it looks like when I paint on the background here. I've made a bit of a snow-covered railing with gray, black and white and I've added this flare.
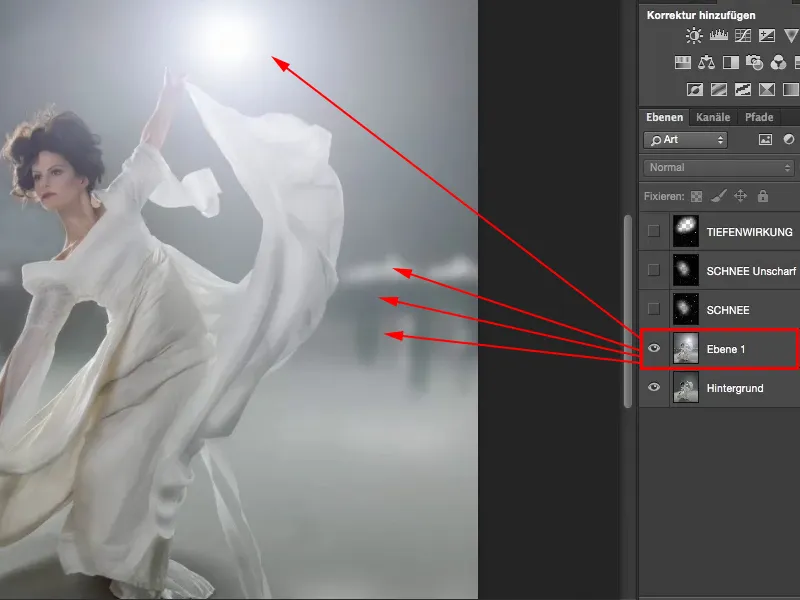
I'll take that out and put a few particles over it.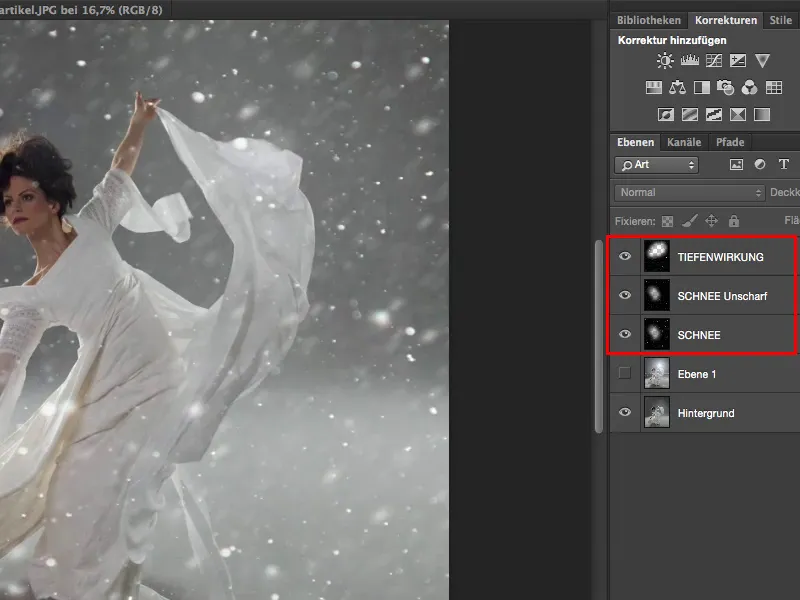
It normally looks like this, by the way. It's nothing more than snow that's been flashed at night. If I zoom in, I have sharp and blurred particles, some that I can only see very slightly and some that are really white dots. And I can now work well with these particles. I can cut out individual ones, I can cut out areas and so on.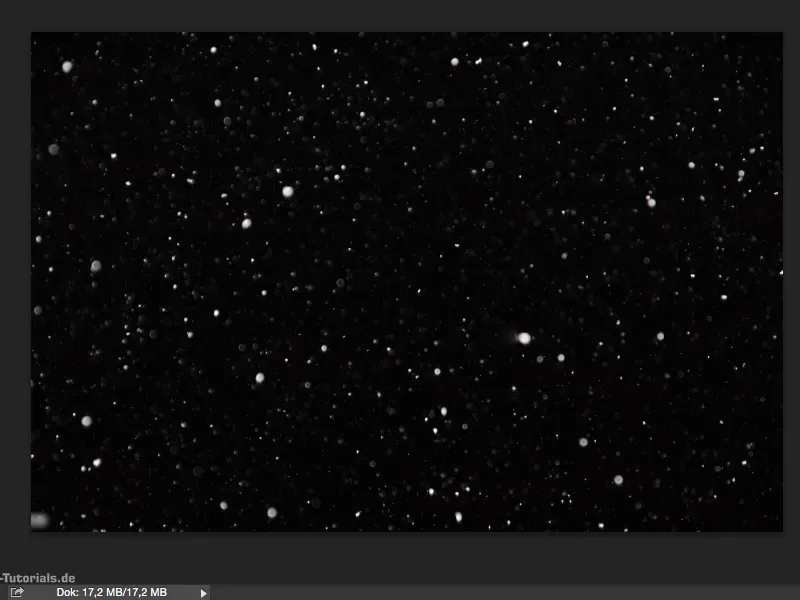
If I incorporate such particles into composings, I don't lay them over the whole picture, but only attach them to certain elements of the picture, then I create atmosphere. Sometimes you have that in real life too, when you look like that and some particles shine through in the backlight, then you can use the whole thing for a composing.
In this case, I can now use the snow as real snow. But there are still just small particles that make the picture exciting. I'm completely free to decide what I ultimately do with it.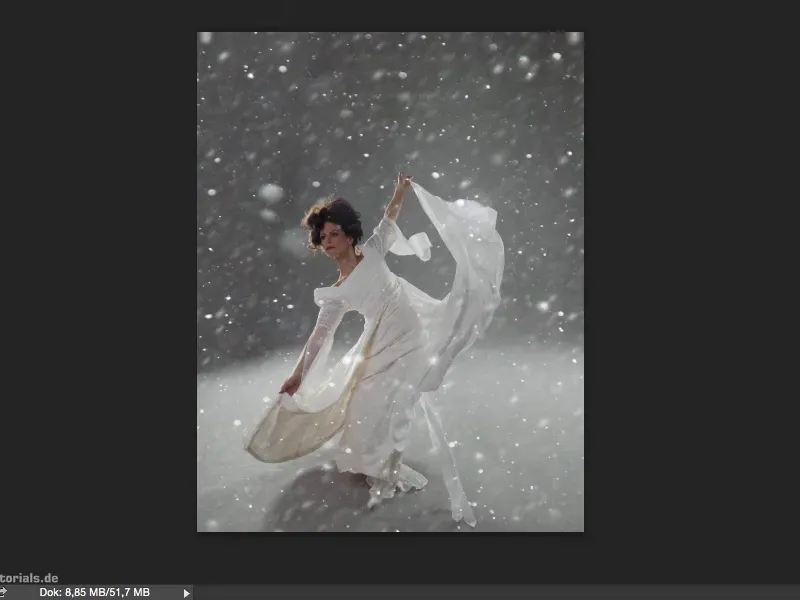
For example, I can't offset the snow one-to-one, I can always use the motion blur filter, ...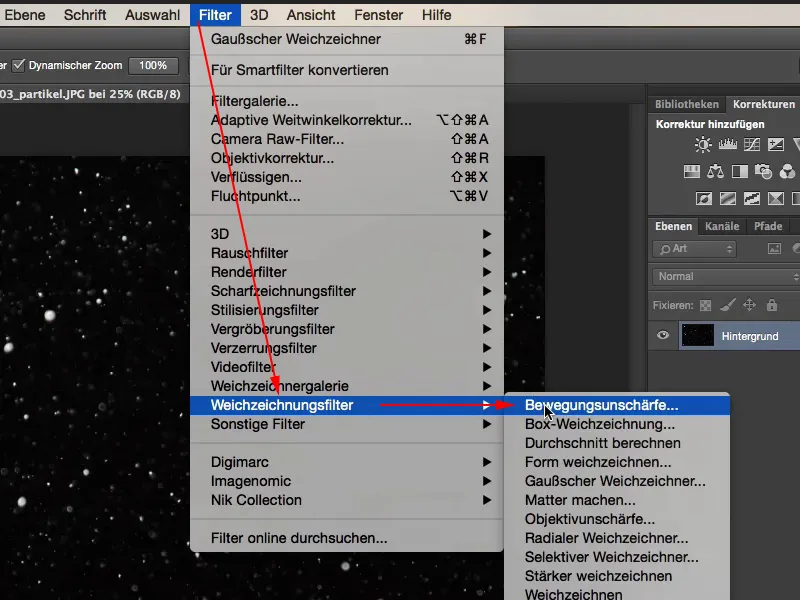
... pull this at an angle and reduce the distance a little - and I can incorporate this into a composing as rain, for example. So I can conjure up rain from snow here in Photoshop at any time and vice versa, but I've also used these small particles again. So they are really, really useful. I'll go to Cancel here.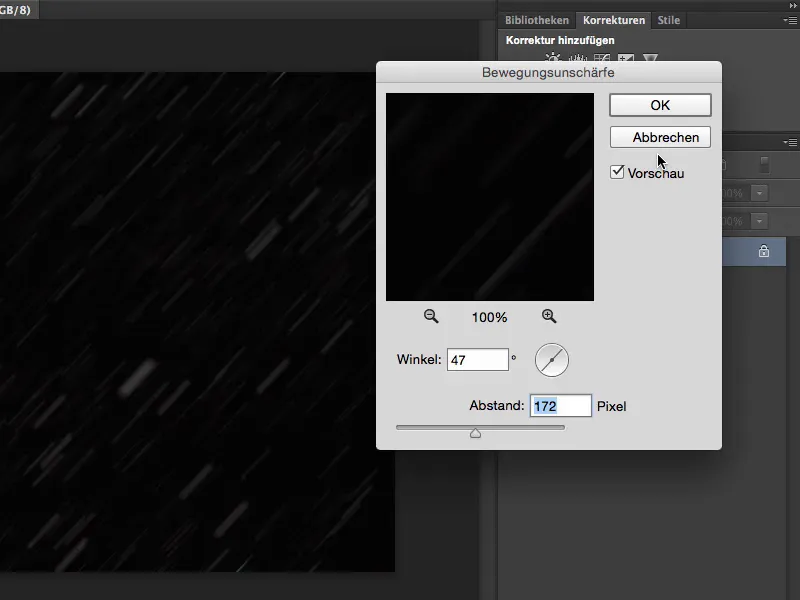
If I add the snow, these particles, here like this, then it's somehow still no fun. What I need is not necessarily this background, because it almost disappears in all the snow flurries anyway, but what I definitely need is a light source - these particles need a light source!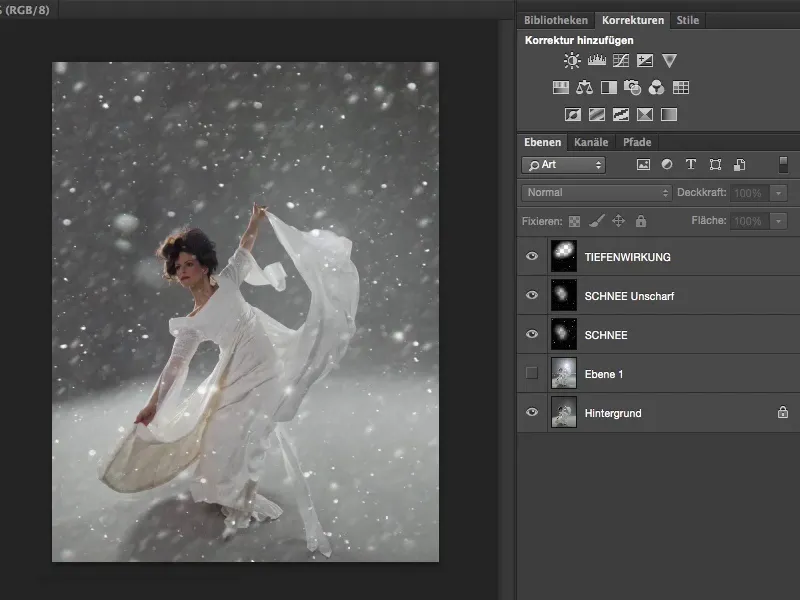
Where does this light source come from now? I'll Blender out this layer, go to the background layer and create an empty layer.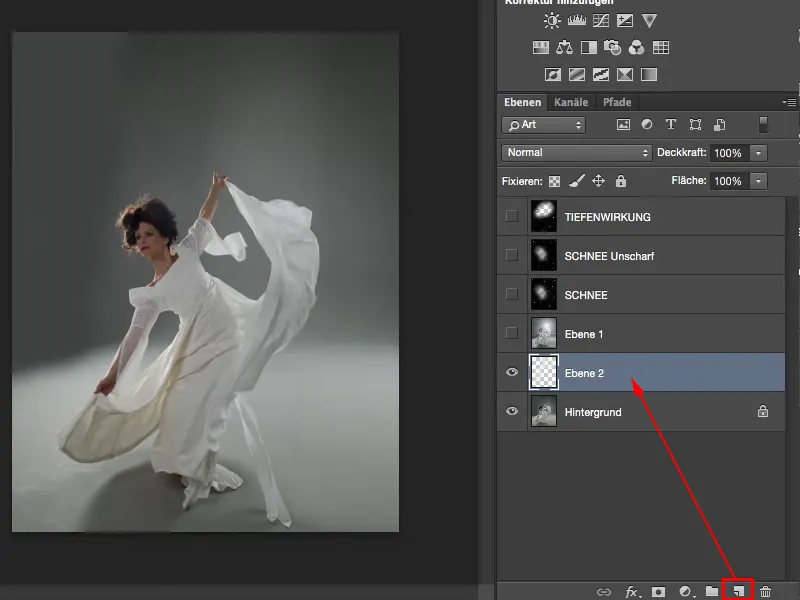
This is filled with black via Edit>Fill Area...>Black>OK (1 and 2).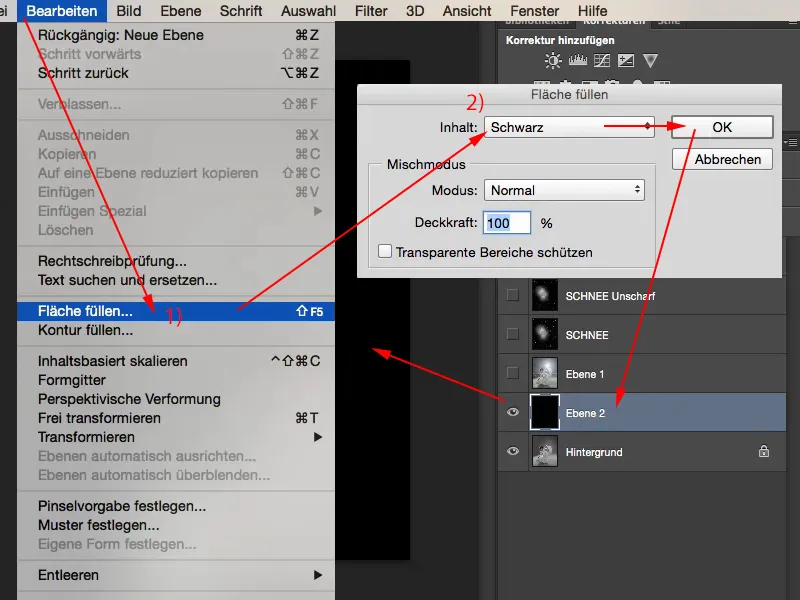
The reason for this is that I can of course hide black at any time using Multiply Negative (1). The black pixels are still present on the layer, they are just removed. And on this black layer, in Multiply Negative mode, I now apply the Flare Spots render filter (2).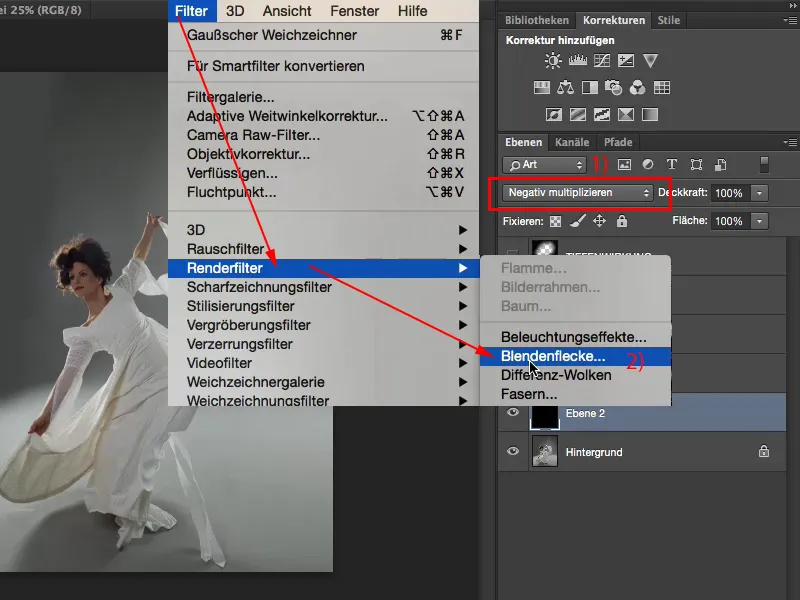
Unfortunately, the preview is terribly fuzzy, I always place the window a little next to the image. I know that I would have liked to position the flare in the upper third, on the hand. I just look through the lens type and I realize - this one (105 mm) is the one, I like it, and I increase the brightness a bit. Then I confirm the whole thing with OK (1). And because this is all happening on a black layer, black is faded out (2).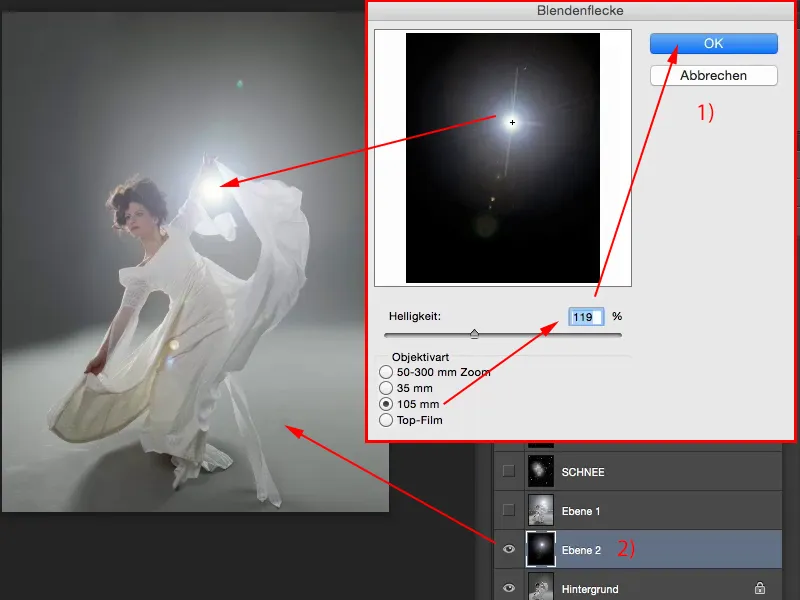
In Normal mode it would look like this (left). In Negative Multiply mode it would look like this (right).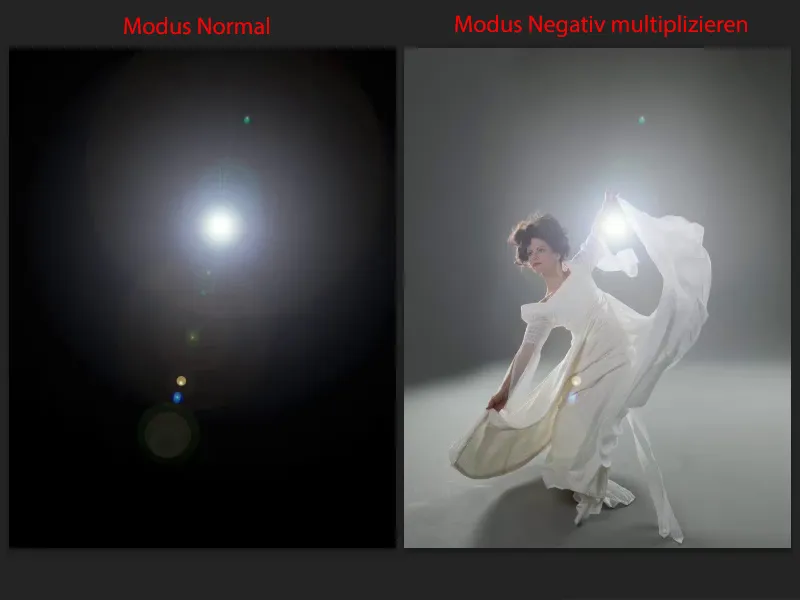
Now I can still transform the flare and I can also retouch out distracting elements. I simply go to my normal area repair brush (1), uncheck the Include all layers checkbox (2) and can now move over here (3). Then these mini-flares here in the large flare will be removed. And of course I can also, here at the top for example, go over this relatively hard edge (4), then it will be softened a little.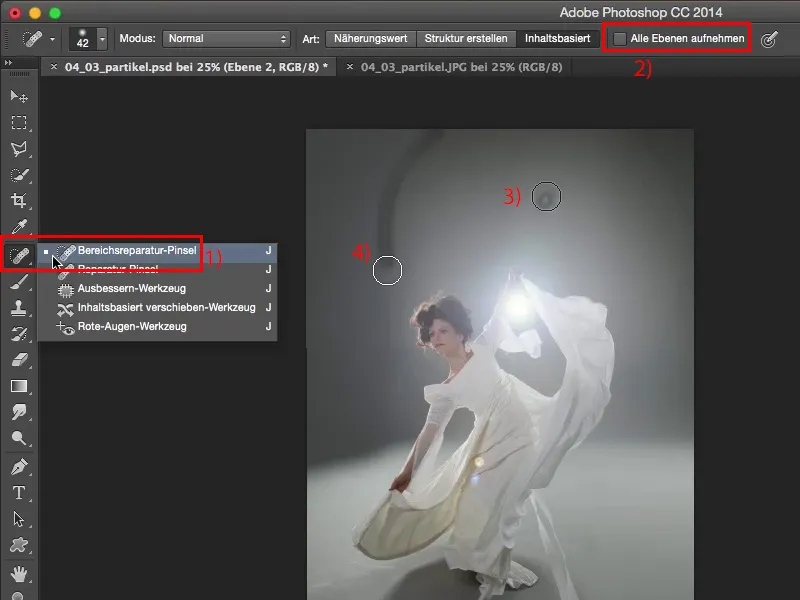
Or I can grab a mask (1) with reduced opacity (2) and just take the whole thing up here out of the picture a bit (3). Something like that, then it fits to some extent.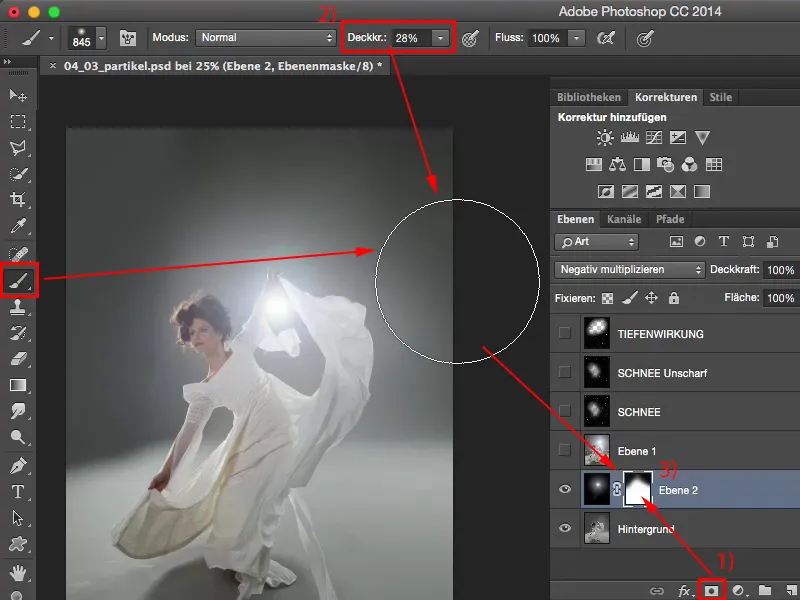
Now I've added the flare to the image. Next, I need the snow. I'll Blender in this snow layer (1). And it also looks like this in Normal mode (2), except that I've really destructively brought back a bit of my model's face with the eraser.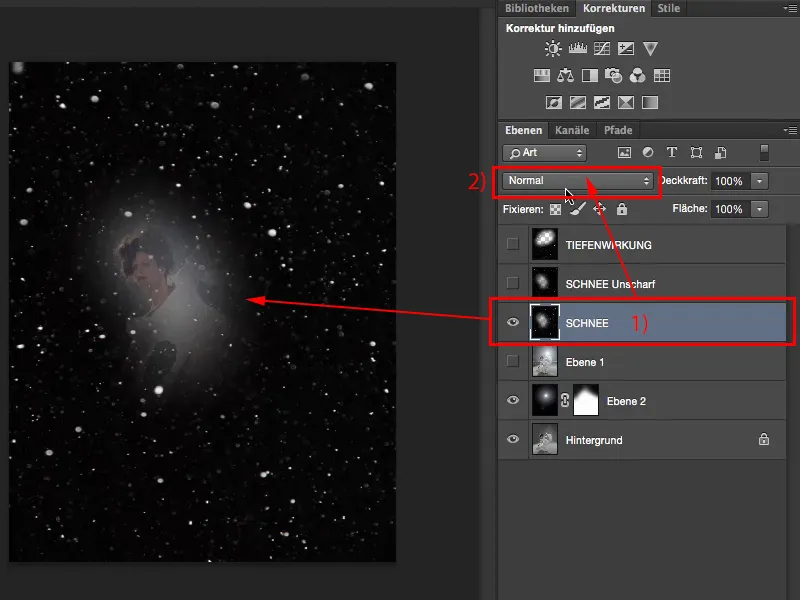
In Multiply Negative mode, the whole thing is more fun. From this layer (1), I simply cut out a corner here below with the rectangular selection tool (2) and duplicate it onto a new layer (3) using Ctrl + J. Now I can control this area and I'm going to make it large again over the whole image (4). As a result, these disturbances become a little blurred.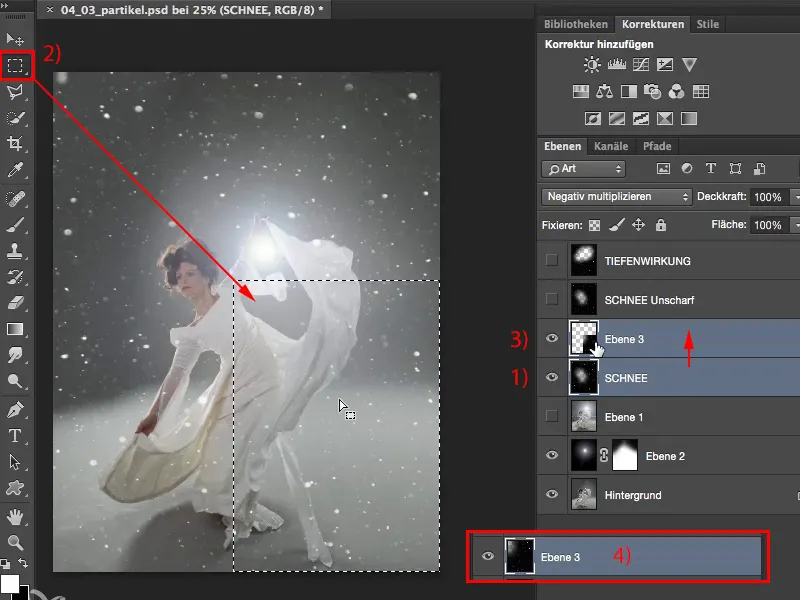
I would now like to have a bit of motion blur in there. Filter>Soft focus filter>Motion blur... - it looks quite spacy.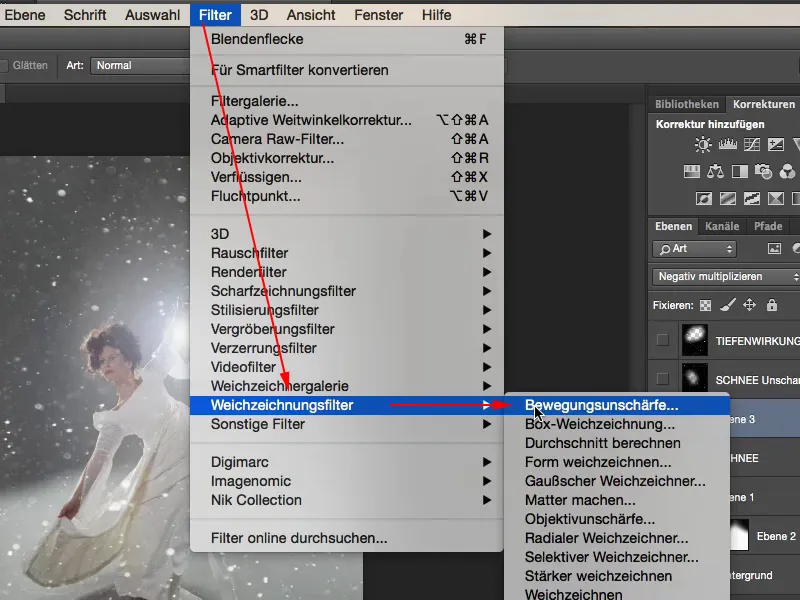
I would like an angle. Of course, the distance is nowhere near as large, just so that there is minimal motion blur. I'm basing the whole thing on the lines given by the model here. And now I've got these blurred particles here, which whiz from top right to bottom left with a bit of motion blur.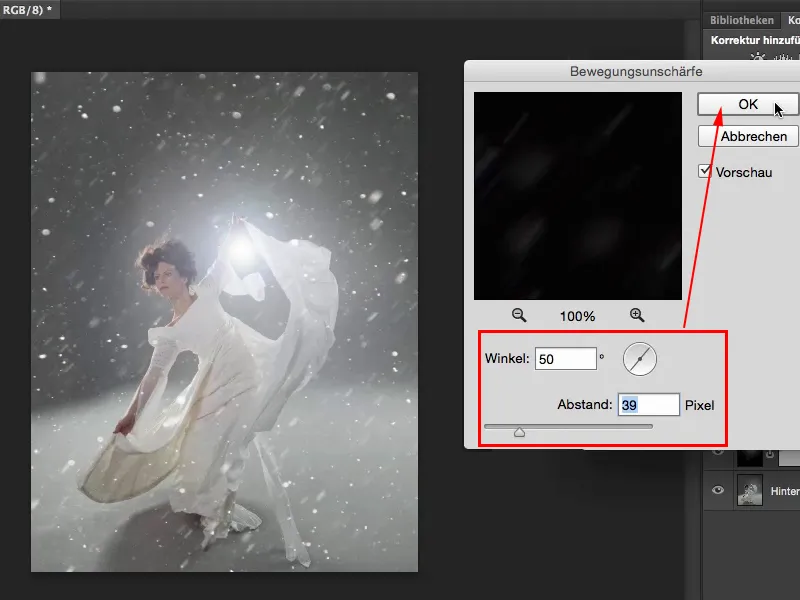
Next, I'll take a much, much smaller section of the particles, perhaps only this big, and place it right at the top of my layer stack.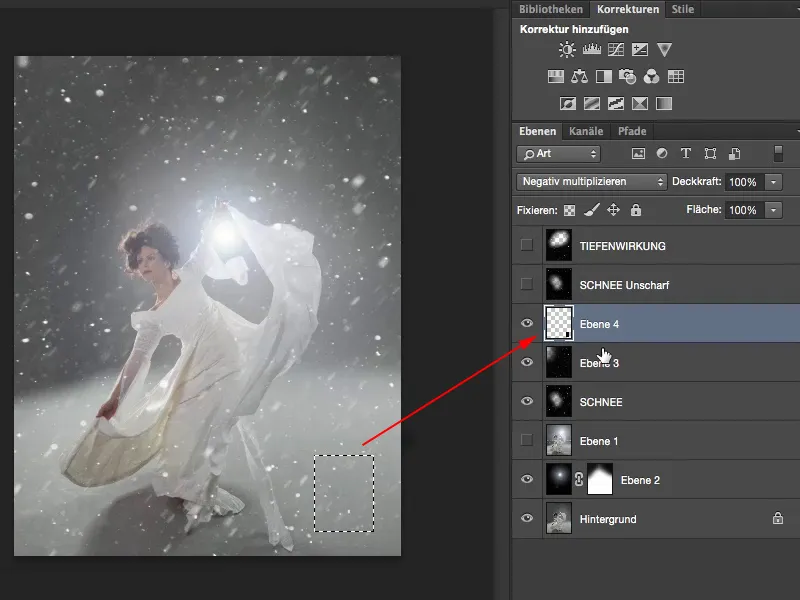
If I now transform it freely and make it large, I get very, very large particles in the image. I confirm the whole thing with OK.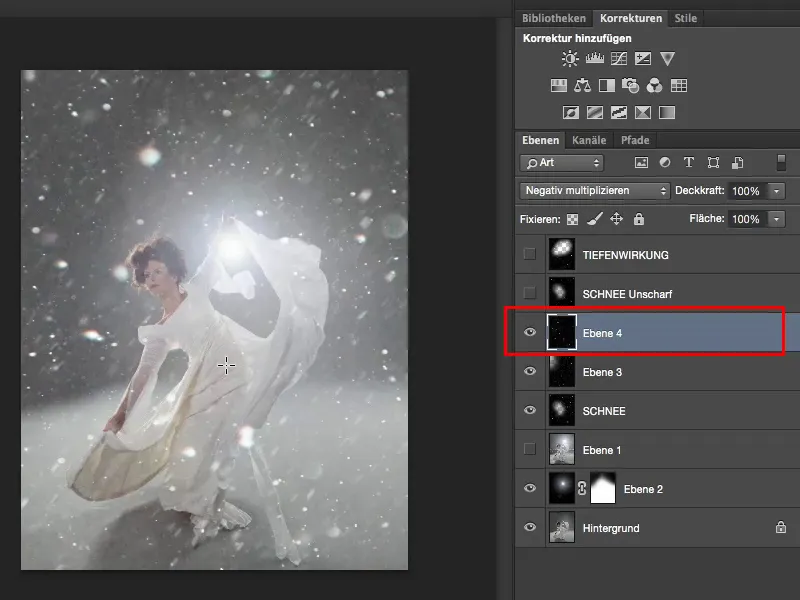
And that's also a bit like the rule of image composition - I need a foreground, I need my model and I need a background. In this case, I would still have to add a background, but because the image is photographed in front of gray, it's really easy to do. Or I could draw something if I can. But what you should definitely bear in mind is that you need blurred elements in the foreground when you work with these particles, because these particles alone don't make the picture round.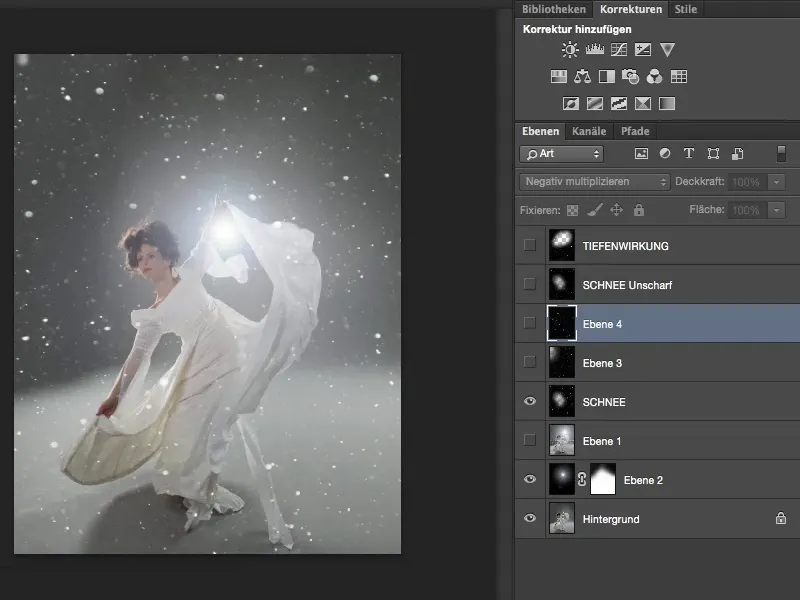
Because they are relatively sharp, you think: "Well, it must all be above, but not much is happening behind the model." With the motion-blurred particles, you can incorporate the whole thing a little better, but only when you create blur in the foreground, i.e. when these particles whiz past a centimetre in front of the lens, then the whole thing is really built in. And that's what these particles are there for. They may also distract from a somewhat poorly mounted background and give the whole thing a spatial depth. You can use particles for this purpose, whether they are water splashes or snow that you have photographed and flashed at night. Particles can really be used universally in composings.
