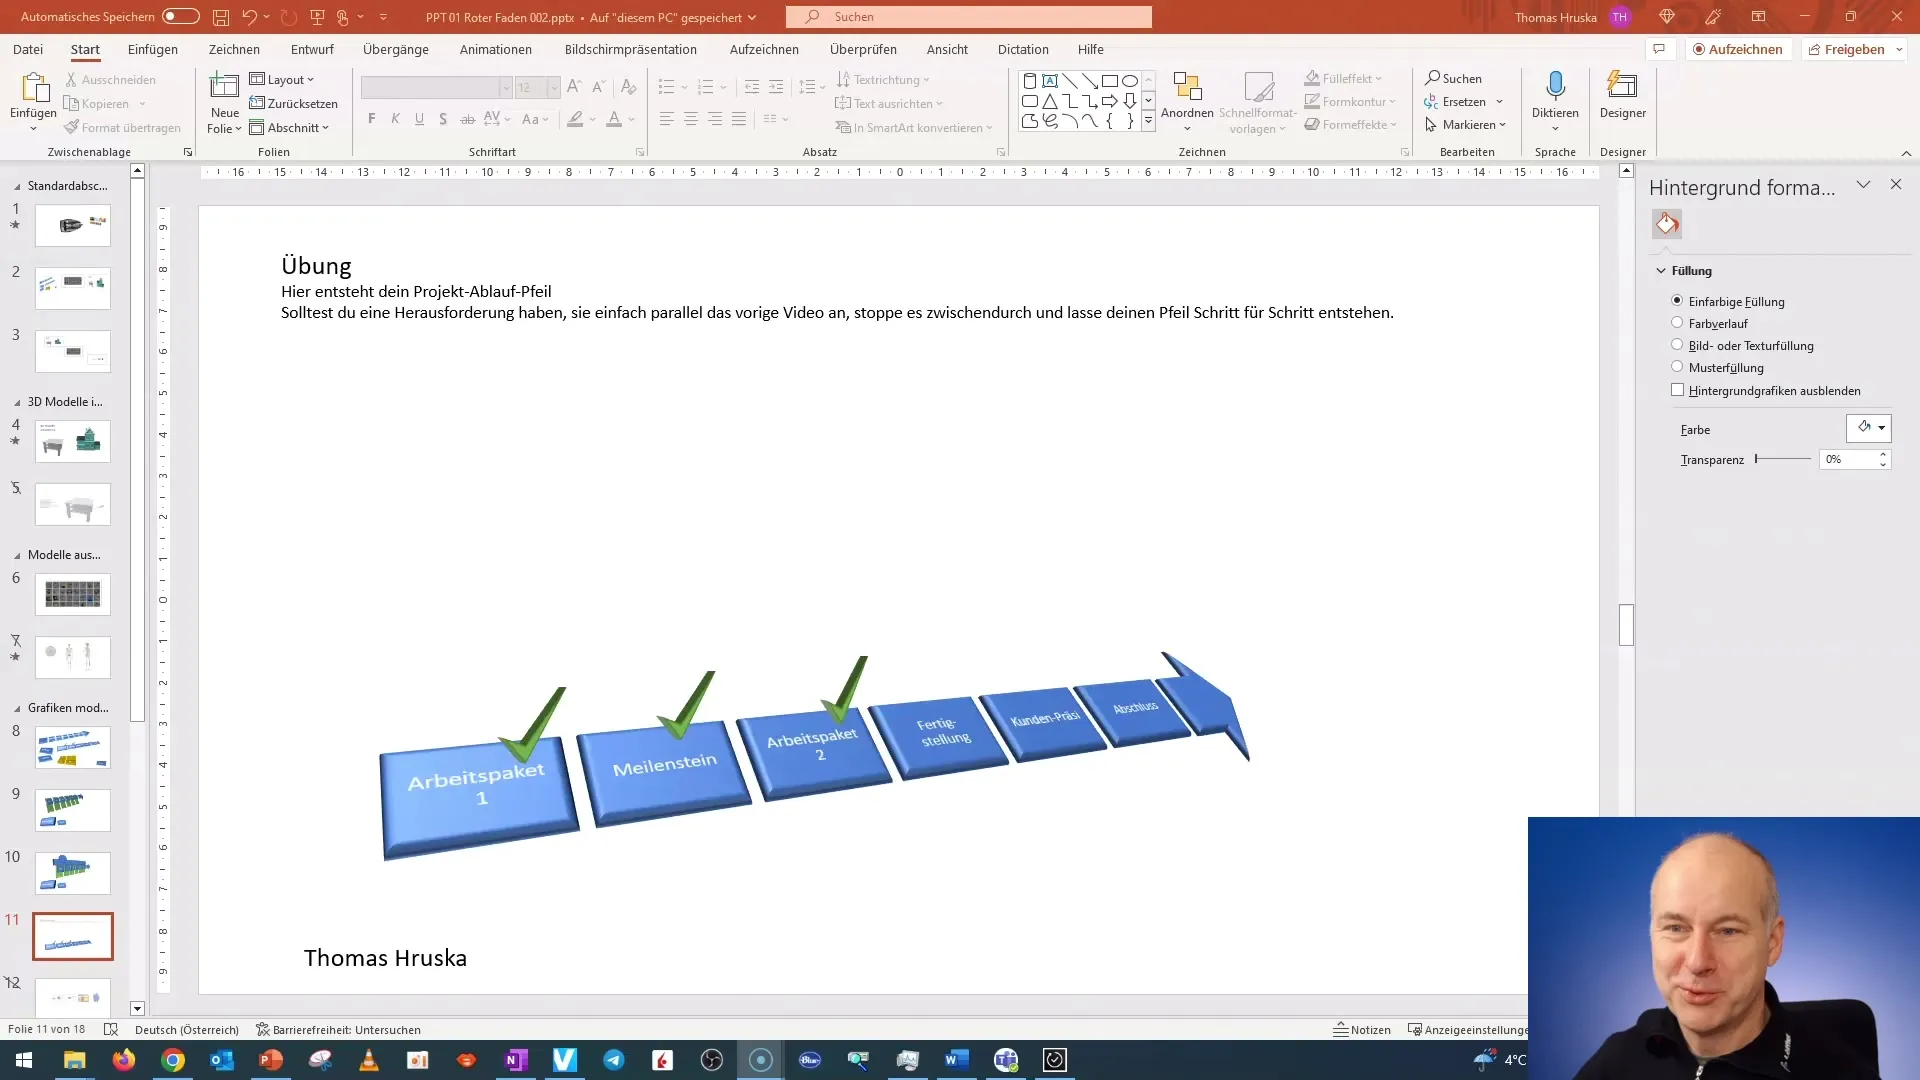
In this tutorial, you will learn how to create an appealing 3D model in PowerPoint. This exercise is designed to equip you with the necessary skills to visually enhance your presentations. By successfully completing this exercise, you will be able to insert various 3D objects into your presentations and customize them to your liking.
Key Insights
- You will learn how to insert and customize 3D models in PowerPoint.
- You will follow a step-by-step guide to help you master the challenges of creating 3D objects.
- By the end, you will be able to make your presentations more effective and attractive.
Step-by-Step Guide
Start by preparing your materials. It is advisable to have the last video of this series open next to your PowerPoint presentation. This way, you can visually follow each step and implement it directly into your presentation.

If you encounter difficulties, follow the instructions step by step. The exercise is designed to help you understand and apply the different aspects of 3D modeling. It is important to be patient and not rush.
After watching the last video, you probably have an idea of what you want to achieve. Do not be afraid to be creative and experiment with different 3D options to achieve the best result.
A good tip is to try out and combine different 3D models. Utilize the various options that PowerPoint offers to give depth and dimension to your model. This way, you can create unique and appealing presentations.
Remember to integrate what you have learned into future projects. The ability to effectively use 3D models will not only help you in this exercise but also in many other presentations and projects.
Upon completion of this exercise, you will be able to create appealing 3D models and insert them into your presentations to make them visually engaging. I wish you success and creativity in your implementation!
A few quick tips on handling 3D models in PowerPoint in general:
Step 1: Inserting 3D Objects
First, let's insert a 3D object into our presentation. Here's how you do it:
- Open PowerPoint and select the slide where you want to place the 3D element.
- Click on Insert in the menu at the top.
- Choose the option 3D Models. You now have two options:
- From a File: If you already have a 3D model saved on your computer.
- From Online Sources: PowerPoint offers a collection of pre-made 3D objects that you can directly insert.
Step 2: Customizing 3D Objects
After inserting your 3D model, you can customize it as you like:
- Click on the 3D object to select it.
- To rotate the object, drag the circular control handle in the center of the model. This way, you can display it from different angles.
- Using the Format options (at the top of the menu bar), you can change the size, alignment, and position of the model.
Step 3: Adding Animation
A static 3D object is already cool, but a bit of movement can attract even more attention:
- Select your 3D object.
- Click on the Animations tab.
- Choose a suitable animation, such as Fly In, Rotate, or Grow.
- In the animation options, you can adjust the duration and start time of the animation.
Step 4: Testing the Presentation
Now comes the exciting part: Test your slide!
- Press F5 to start the presentation in full-screen mode.
- Check if the 3D object is correctly placed and if the animation runs as you imagine.
Extra Tip: Interactive 3D Models
You can also make 3D objects interactive. This means that viewers can rotate the model during the presentation by clicking on it and dragging it. This makes your presentation even more exciting and remains in memory longer.
Have fun trying it out! 3D elements are an easy way to make PowerPoint presentations visually more interesting - just give it a try and see for yourself how easy it is.
Summary - Guide: Create an attractive 3D model in PowerPoint
In this guide, you have learned how to create appealing 3D models in PowerPoint. Through the structured step-by-step instructions, you have learned the basics to elevate your presentations to the next level.
Frequently Asked Questions
How can I insert 3D models in PowerPoint?In PowerPoint, you can insert 3D models via the “Insert” tab and then select “3D Models.”
Which version of PowerPoint do I need for 3D models?3D models are available in PowerPoint 2016 and later versions.
Can I customize my 3D models?Yes, you can customize the size, rotation, and other properties of your 3D models to tailor them to your needs.


