In this tutorial, you will learn how to build and nest impressive 3D models in PowerPoint. Thanks to these techniques, you can elevate your presentations to a new level by creating three-dimensional objects that are not only aesthetically pleasing but also functional. Let's get started!
Key Insights
- You can nest 3D models effectively by utilizing layers and variations of depth.
- Using shadows and perspective changes gives your designs a realistic touch.
- By grouping and duplicating objects, you create complex representations that emphasize your content.
Step-by-Step Guide
First, prepare the necessary objects for your project. In this tutorial, we will use an arrow as an example that you can create in PowerPoint.
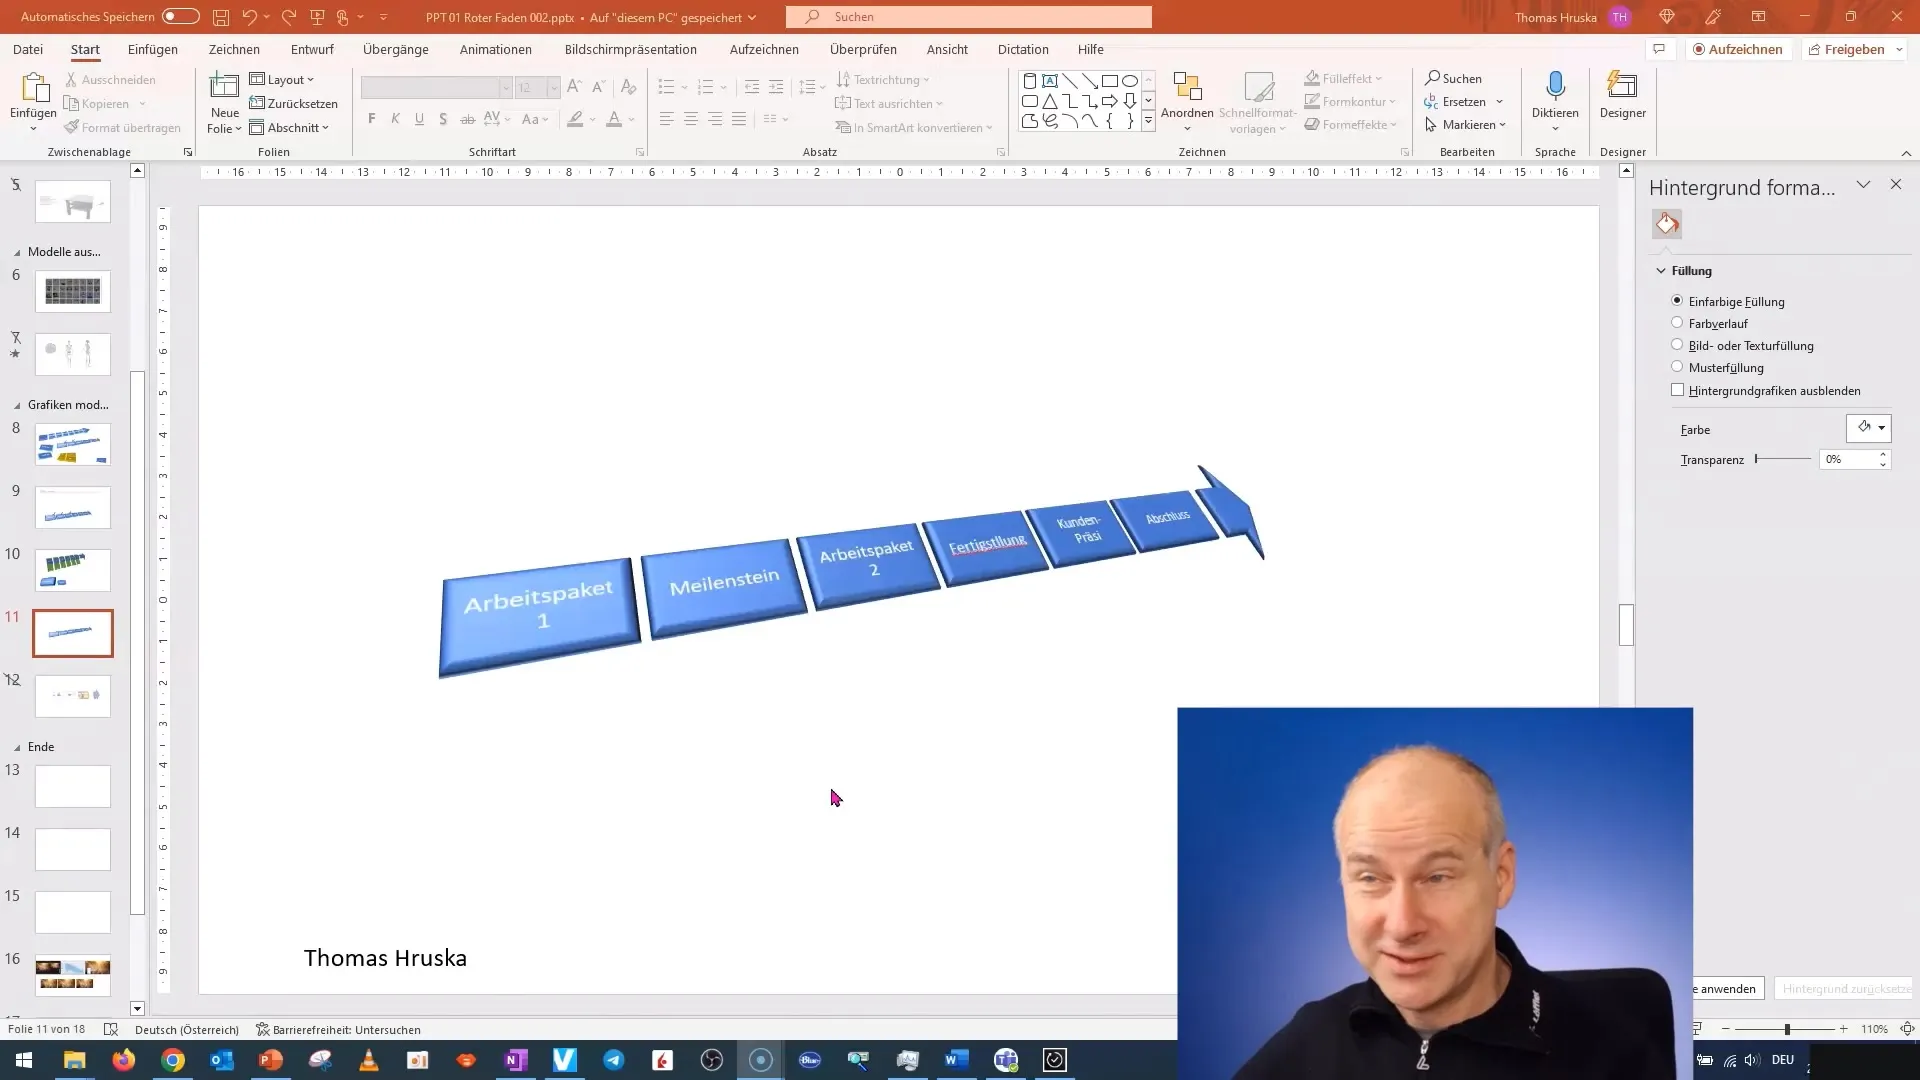
To add more depth to the arrow, first select the object. To achieve this effect, go to the object's formatting options.
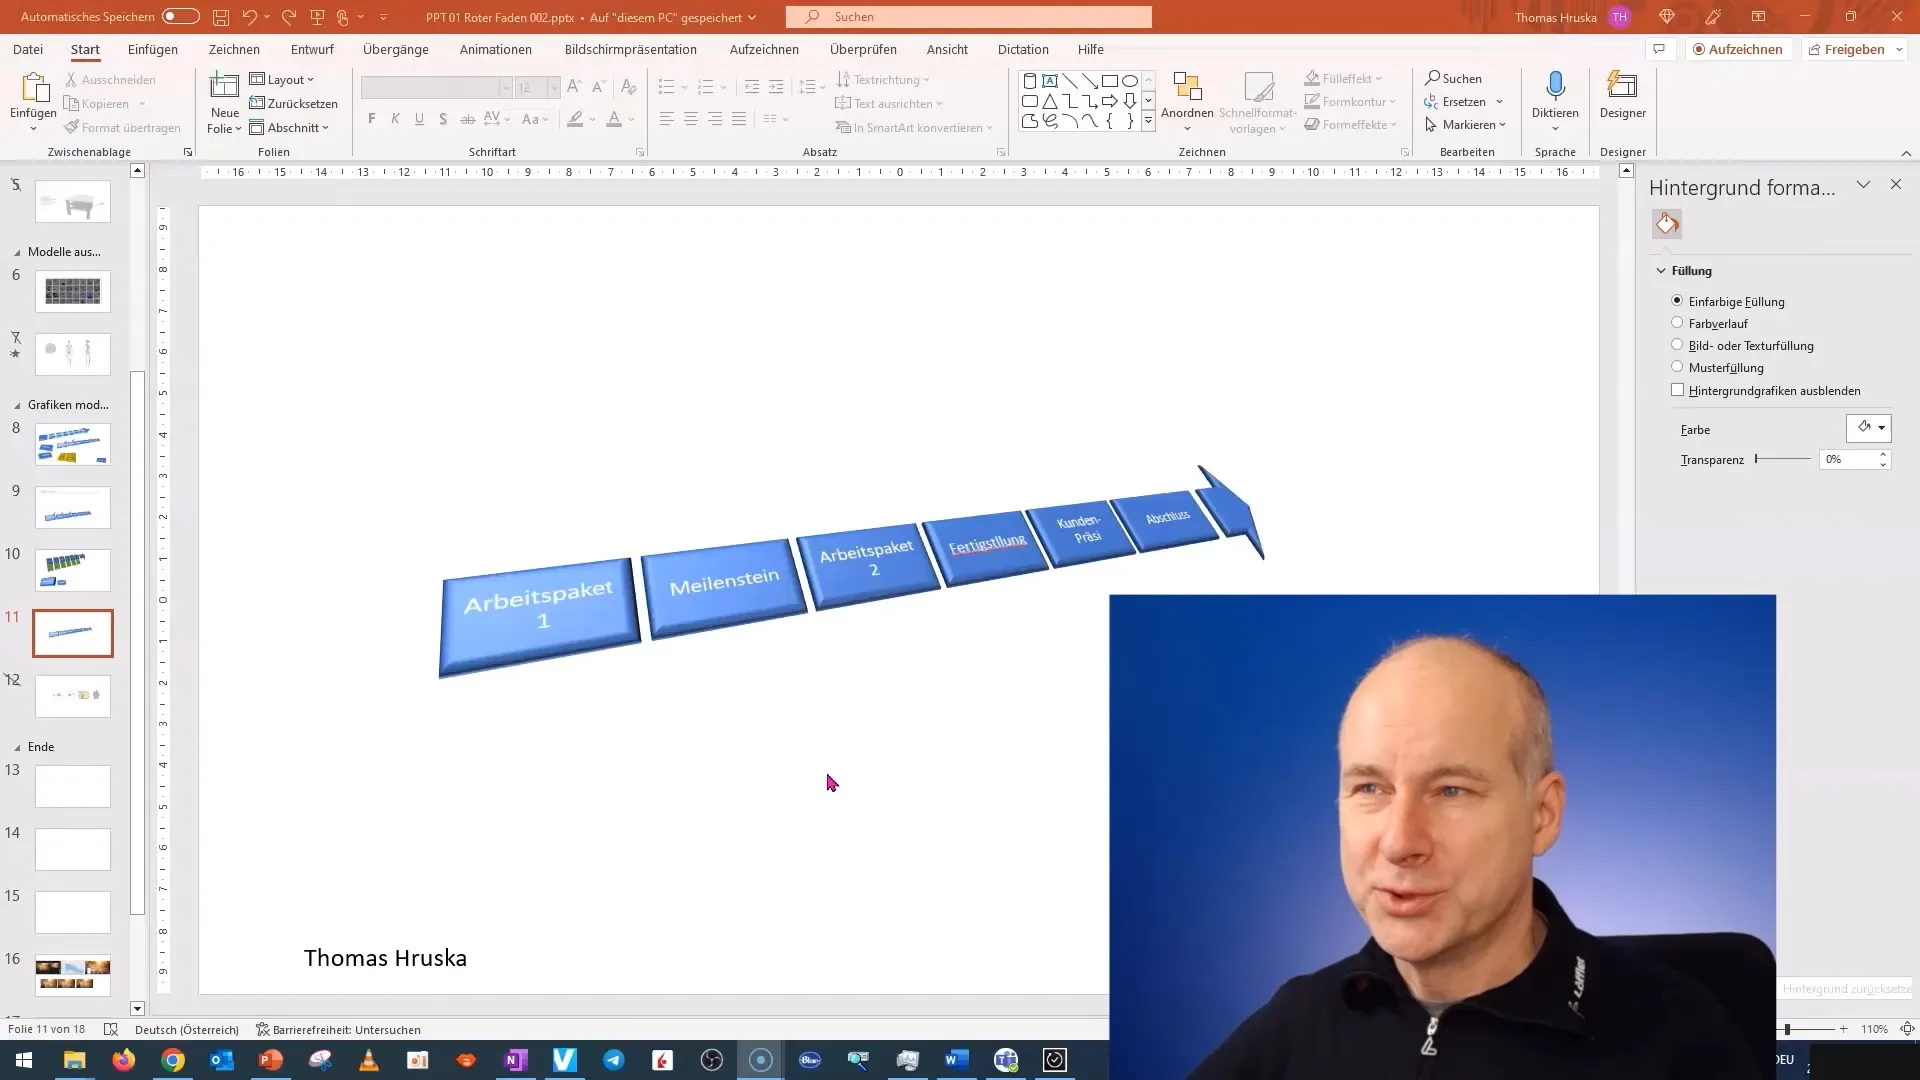
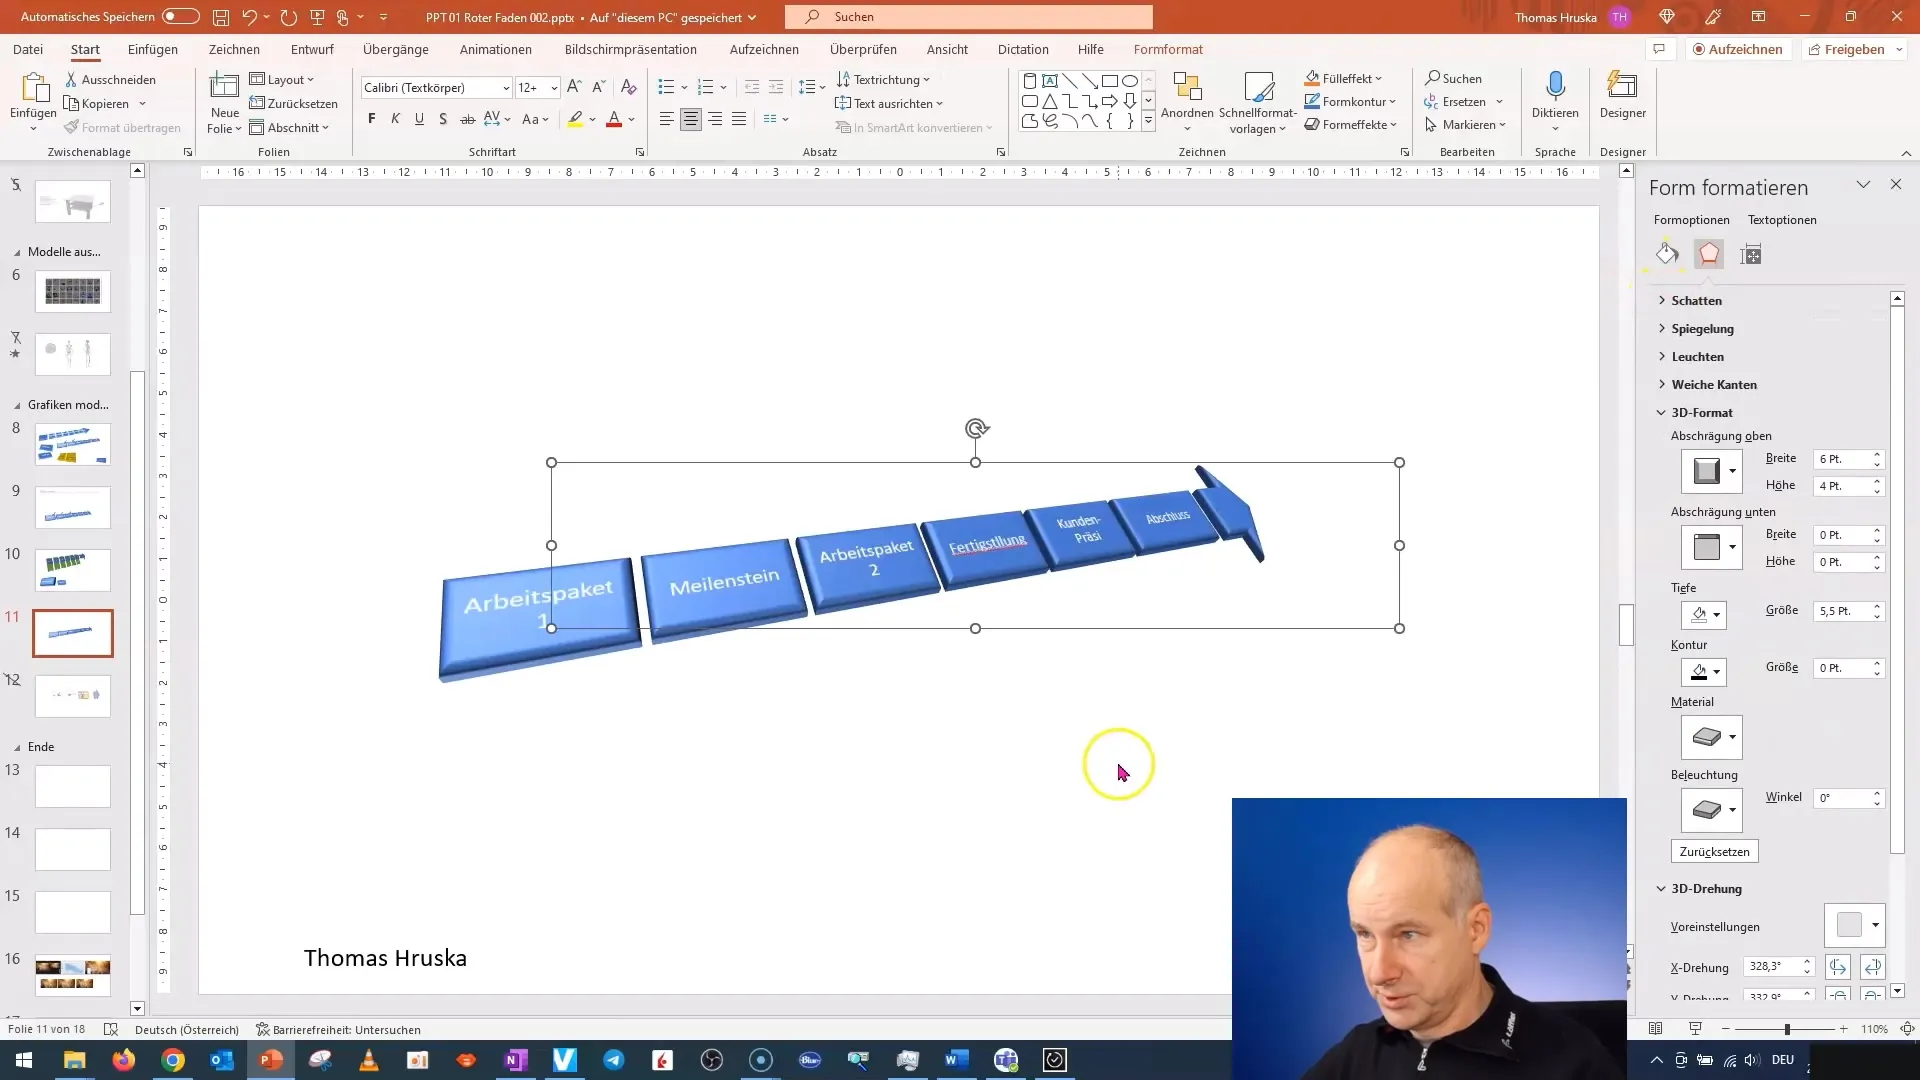
Activate the shadow options to refine the appearance of the arrow. This allows you to create an impressive 3D effect.
Now we focus on the layers. For 3D nesting, you need multiple objects arranged in a specific order to achieve the desired effect.
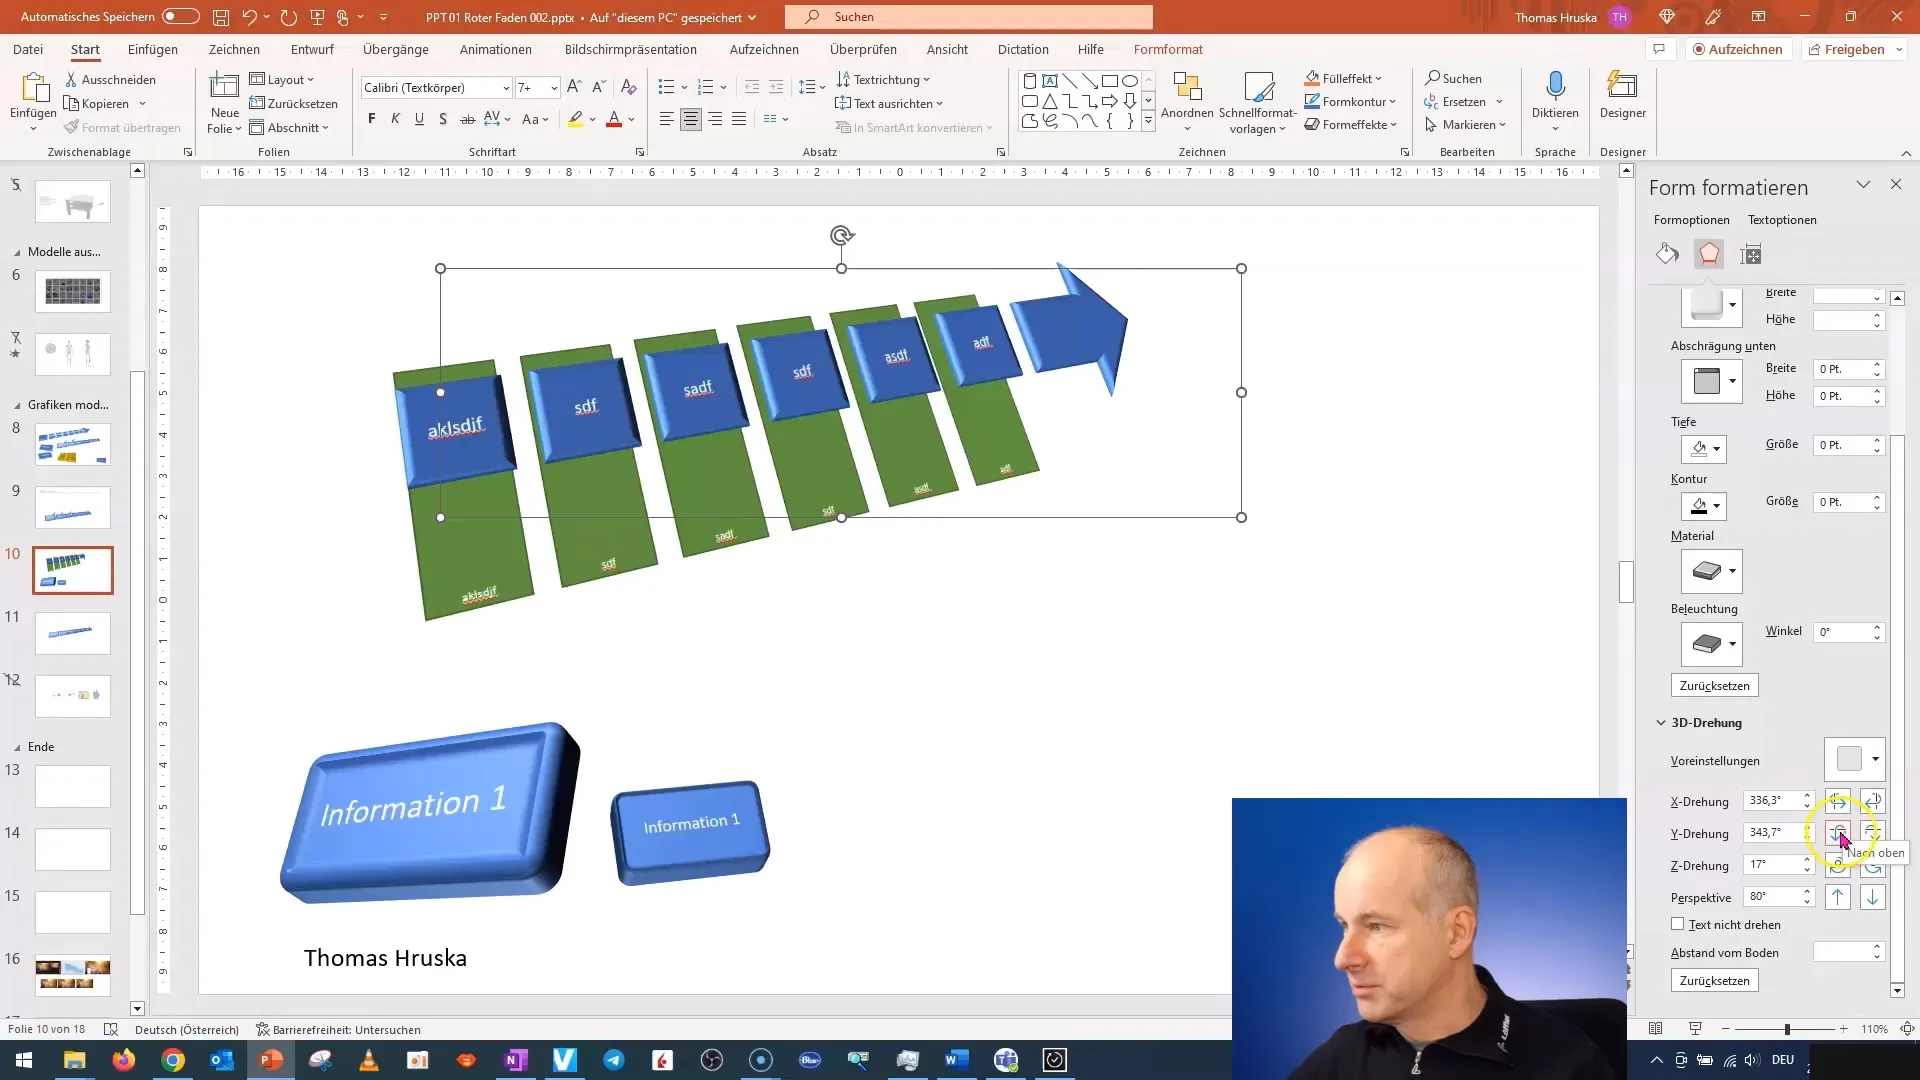
Select the specified arrow and duplicate it by holding down the "Ctrl” key and selecting more objects. You can now create multiple copies by using "Ctrl + D”.
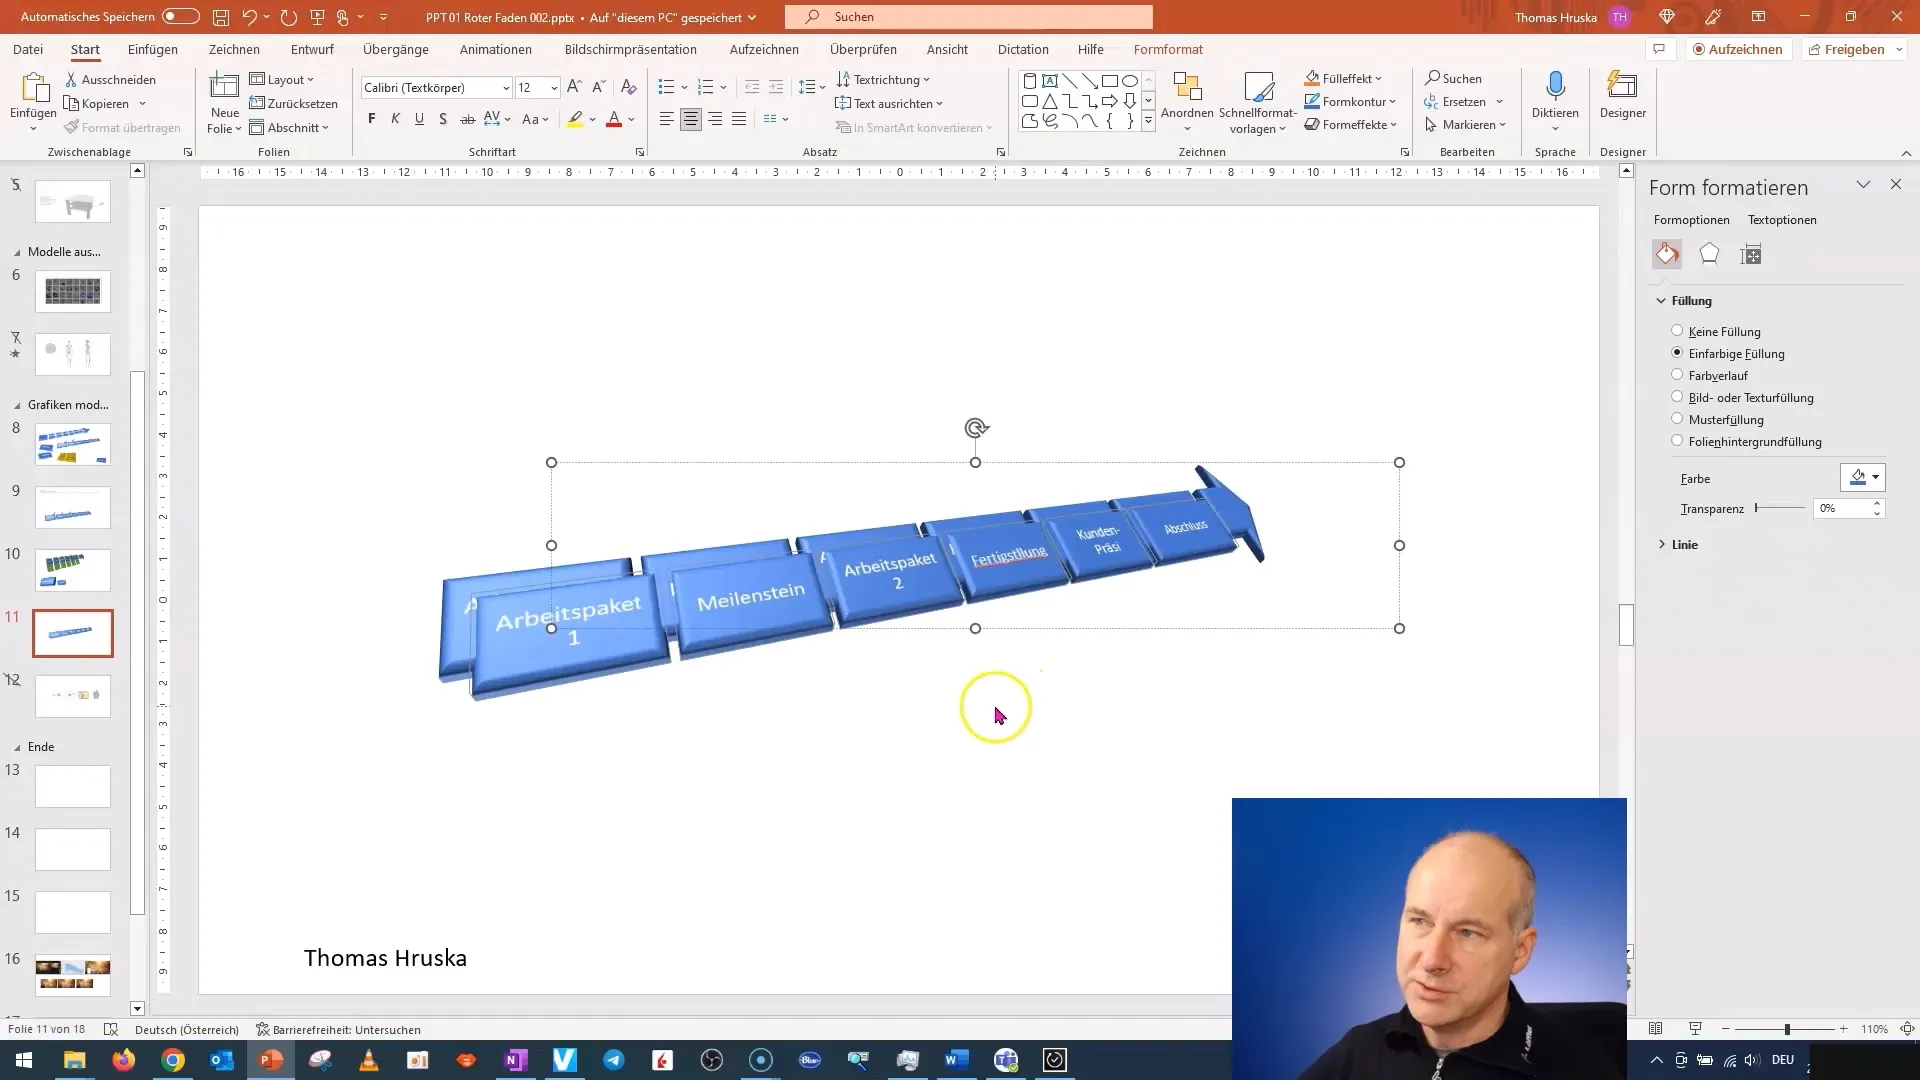
Watch how the objects merge with each other. This creates a cool visual effect that you can further refine now.
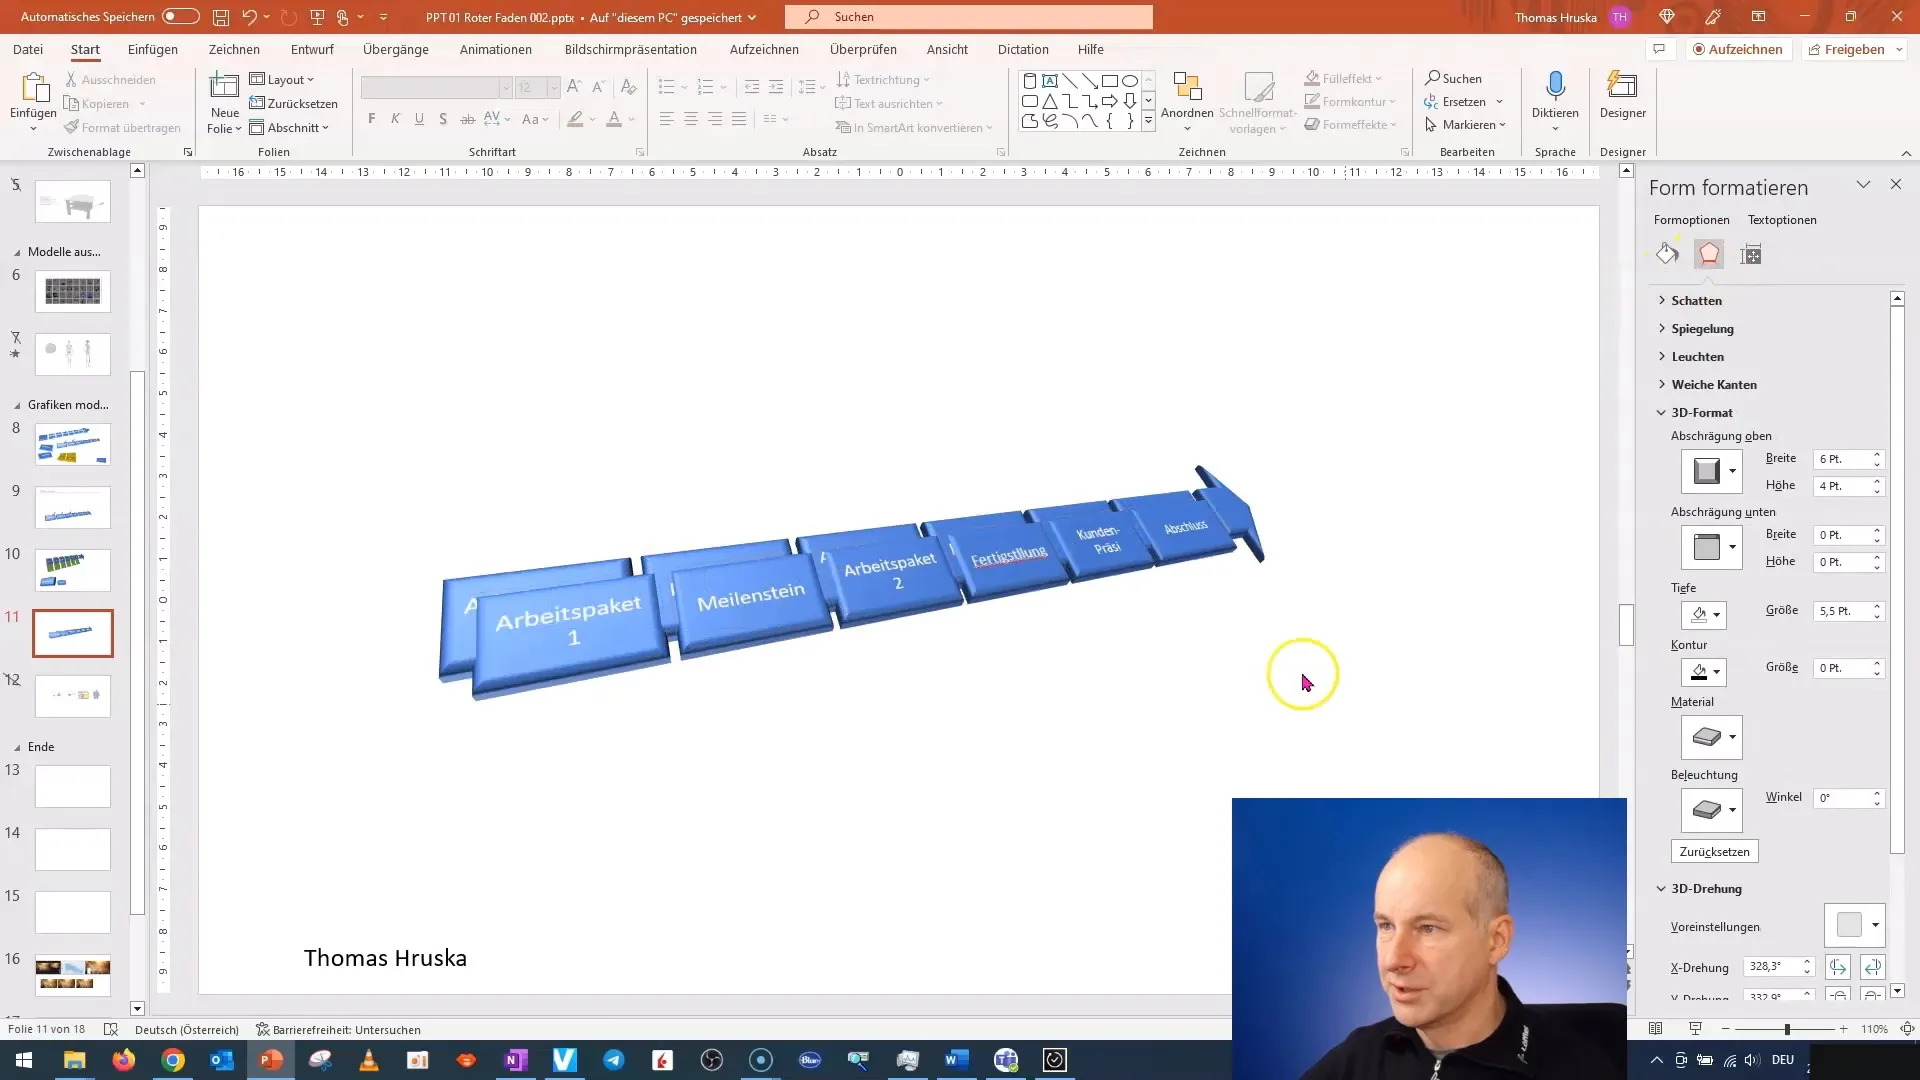
You can now move the objects into depth using the arrow keys on your keyboard. Experiment with different positions to create a three-dimensional model.
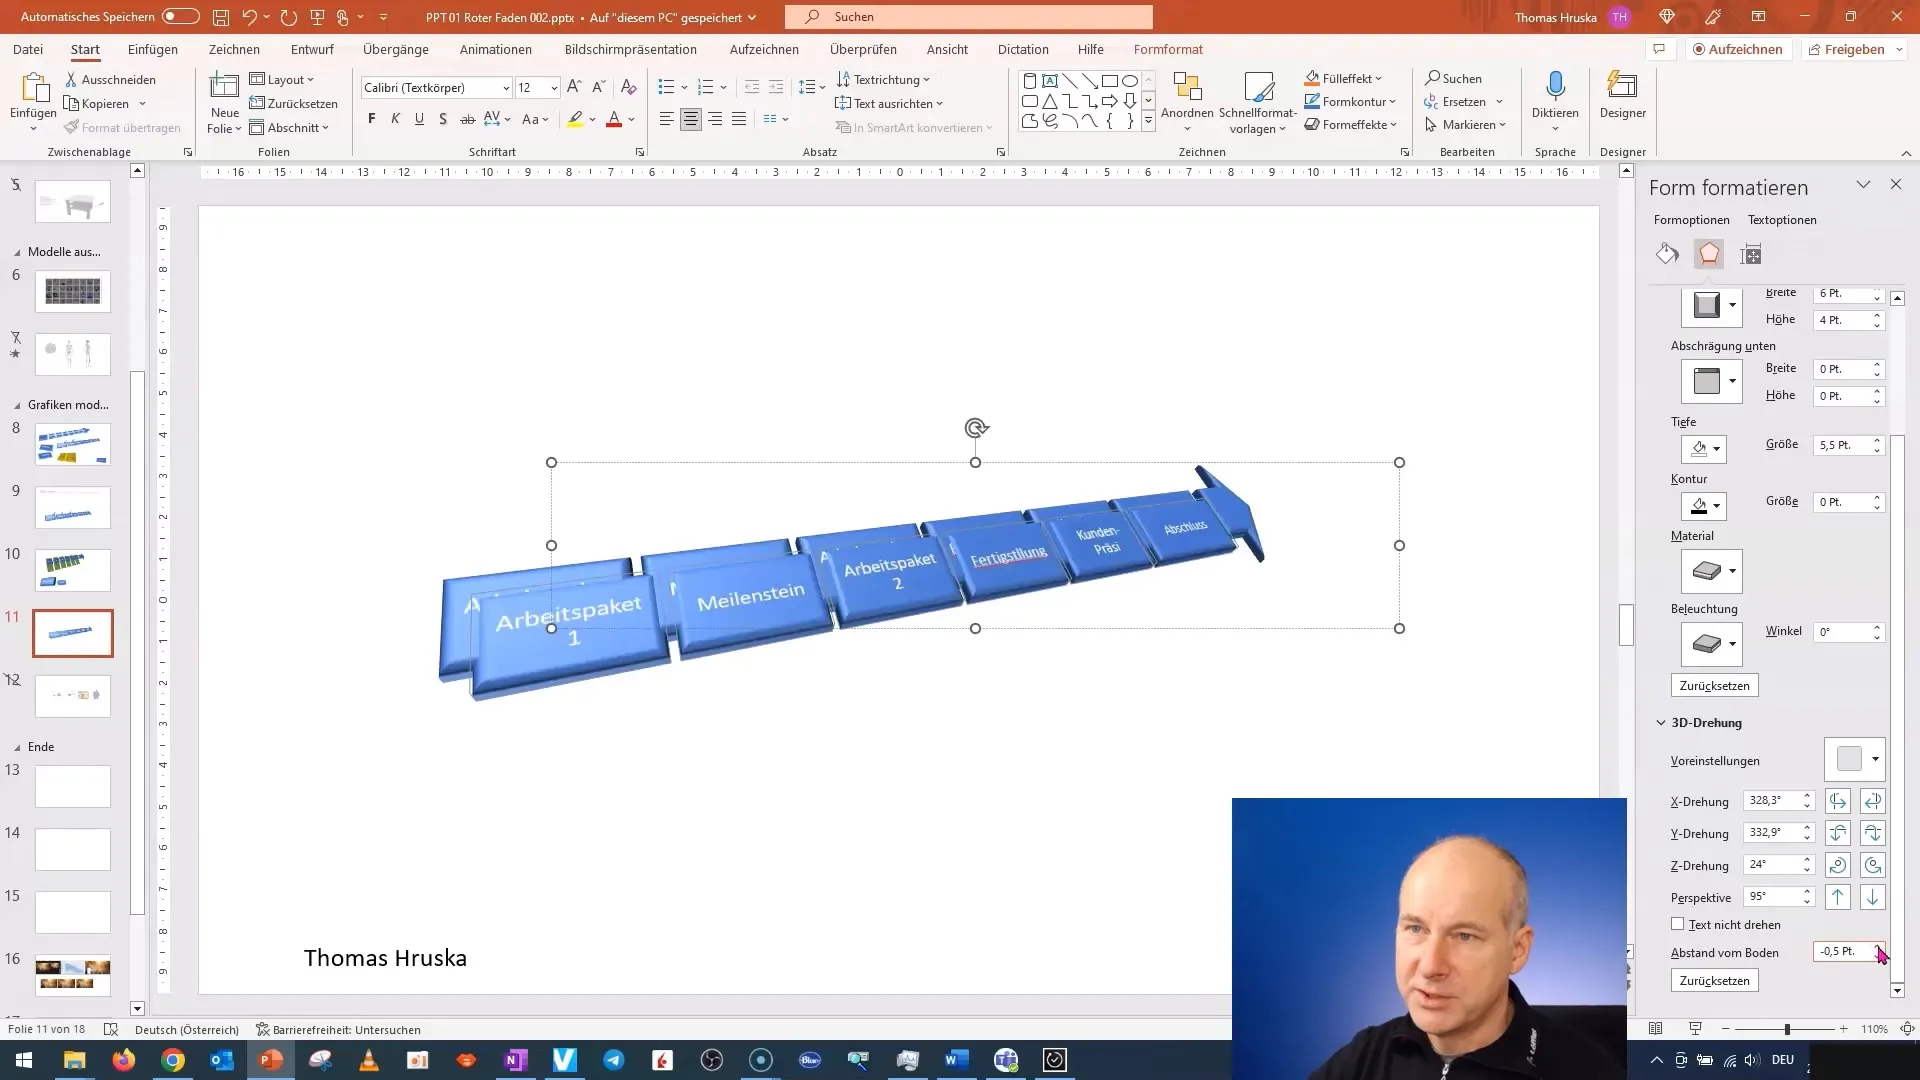
If you want to adjust the positions, select the sub-layers and move them accordingly. It is helpful to use certain points as references for this.
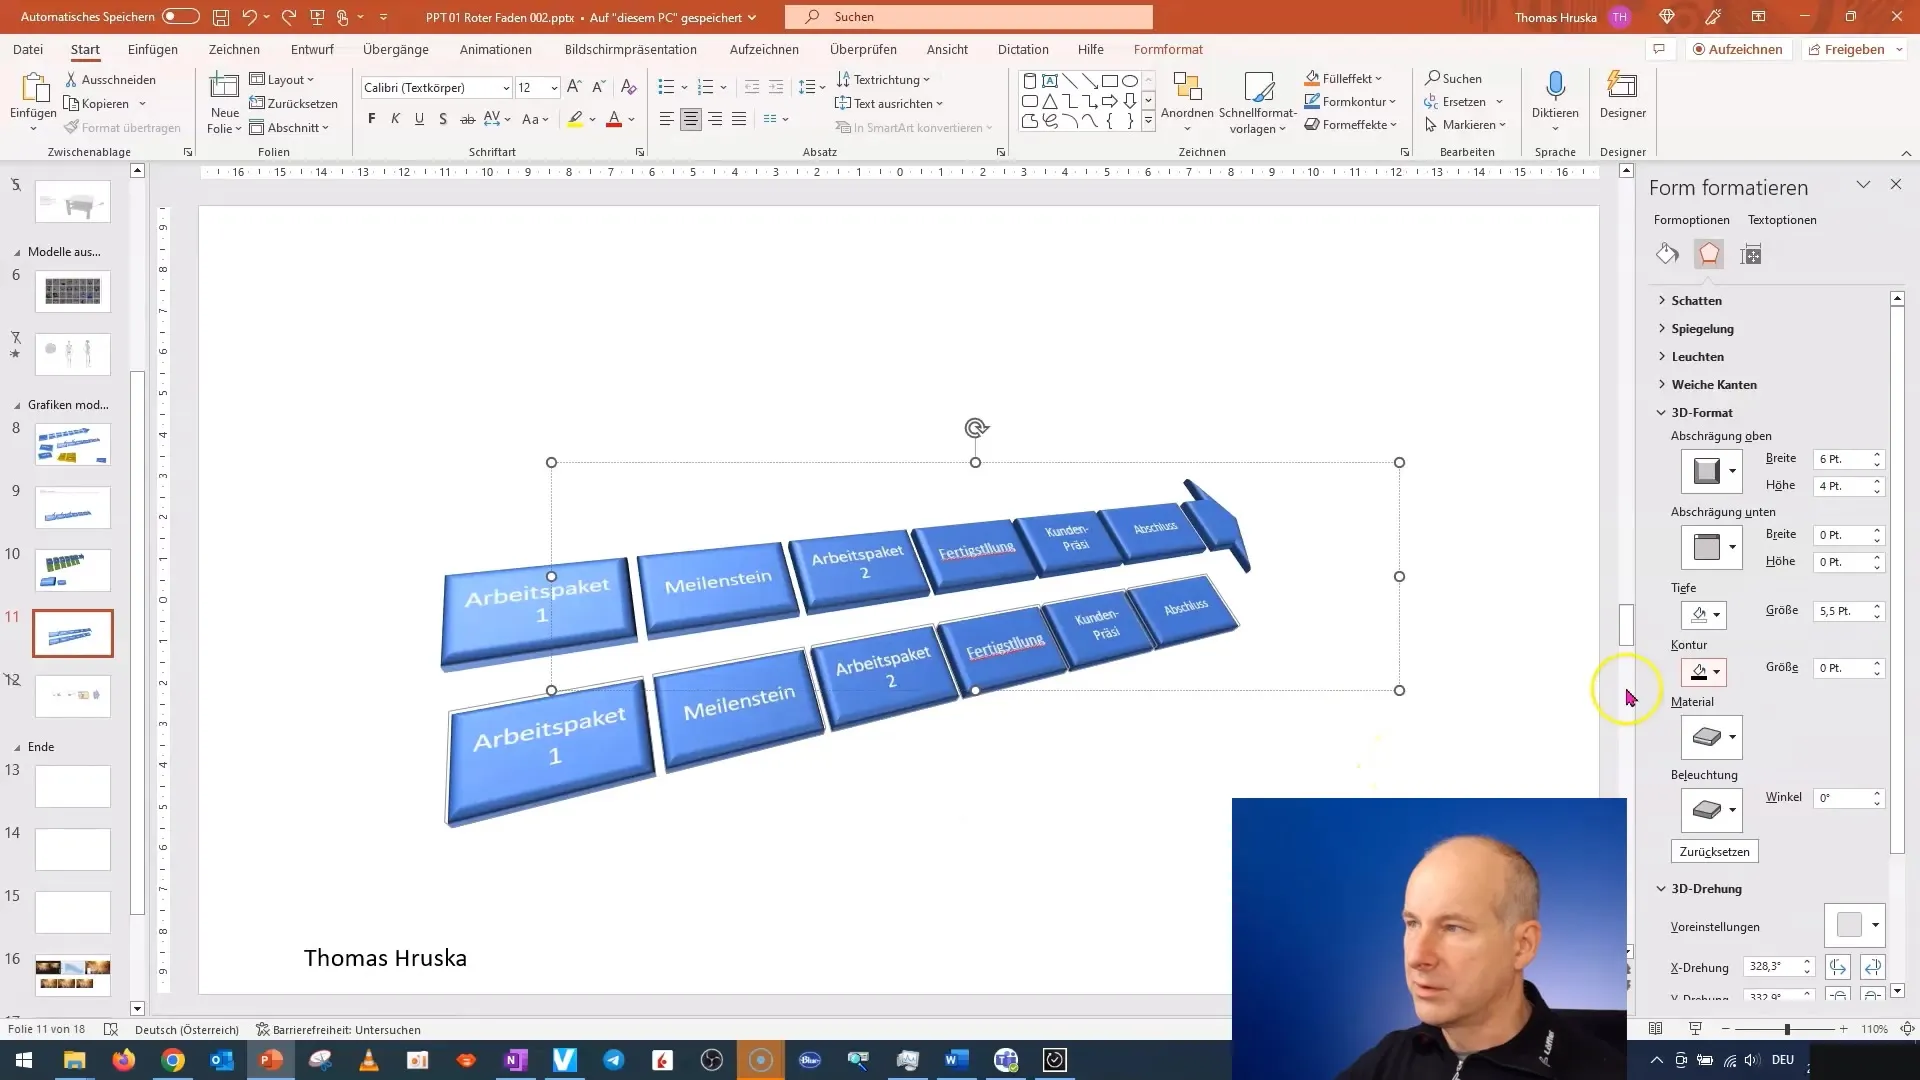
Equally important is to correctly set the text alignment of the respective objects. You should set the vertical alignment to "Middle" to create a consistent overall picture.
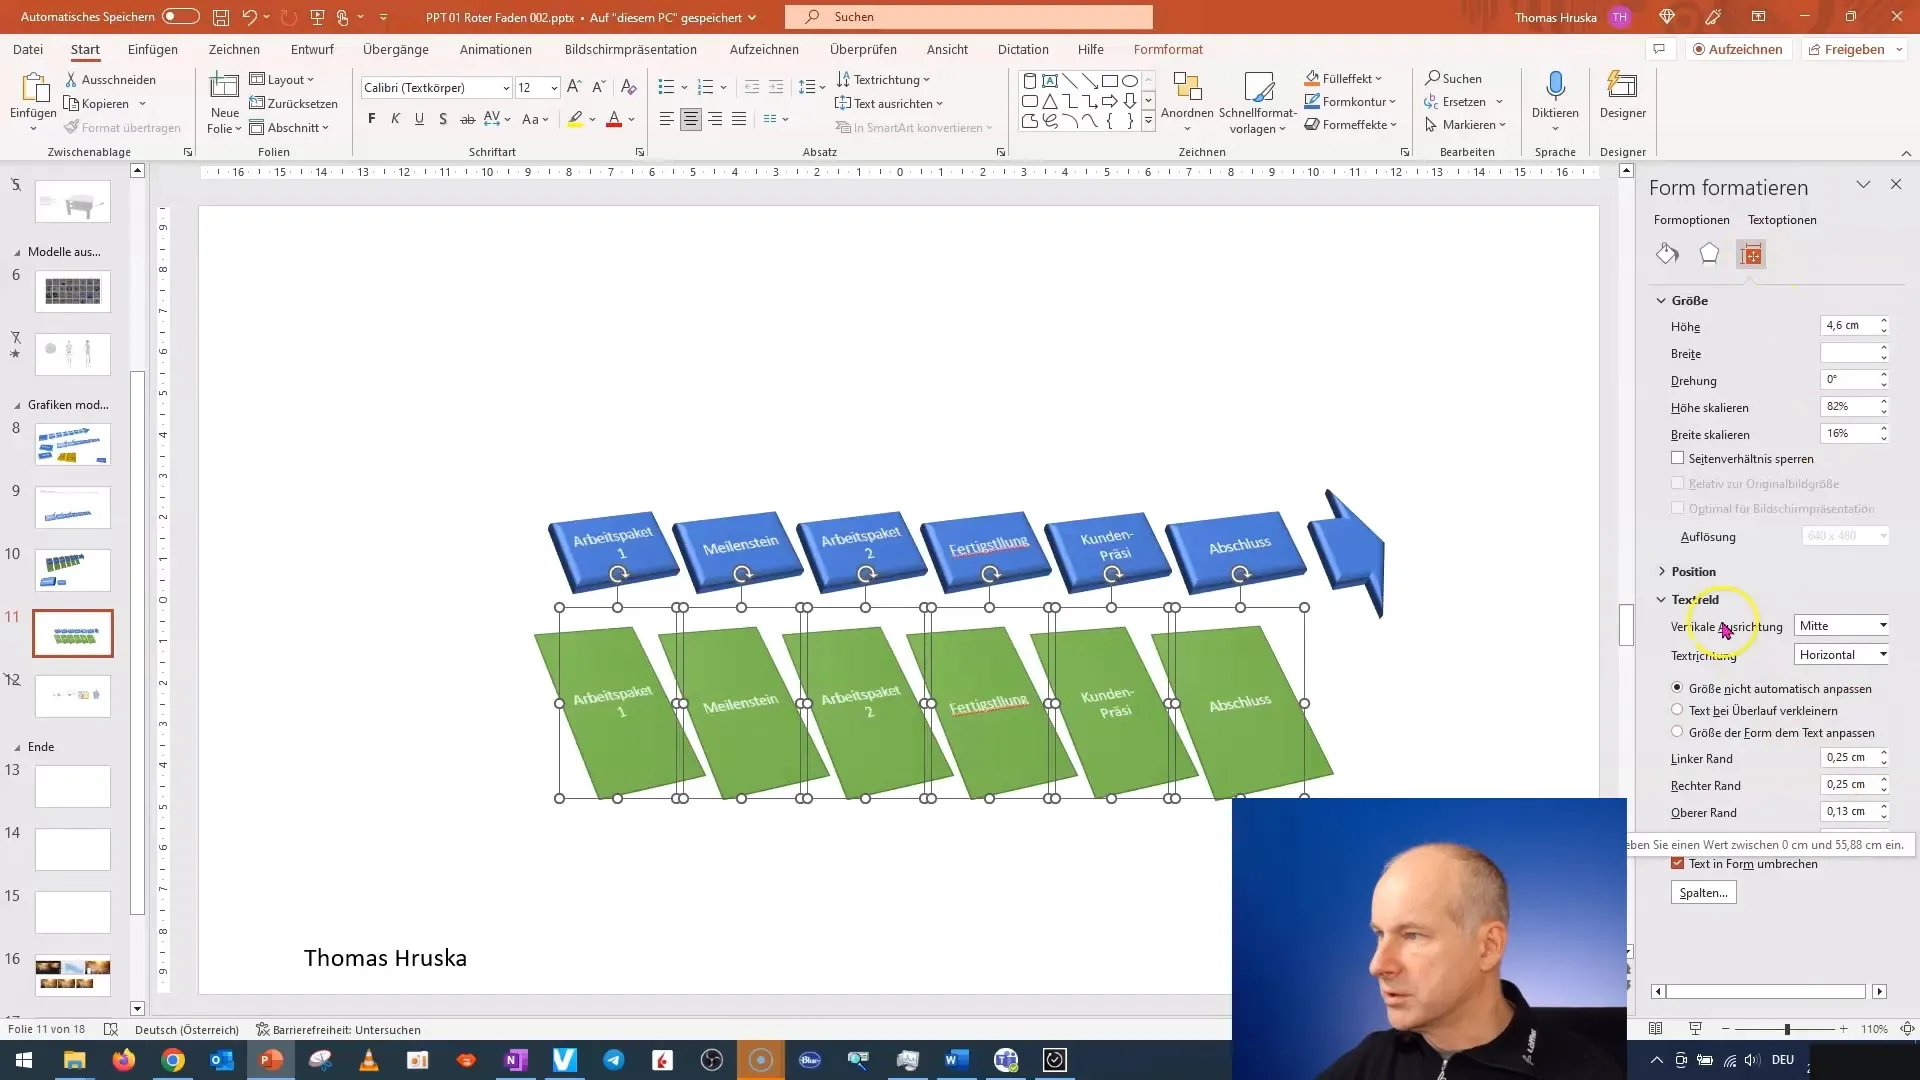
After adjusting the text alignment, it is time to restore the object grouping. Right-click on the objects and select the "Group" option.
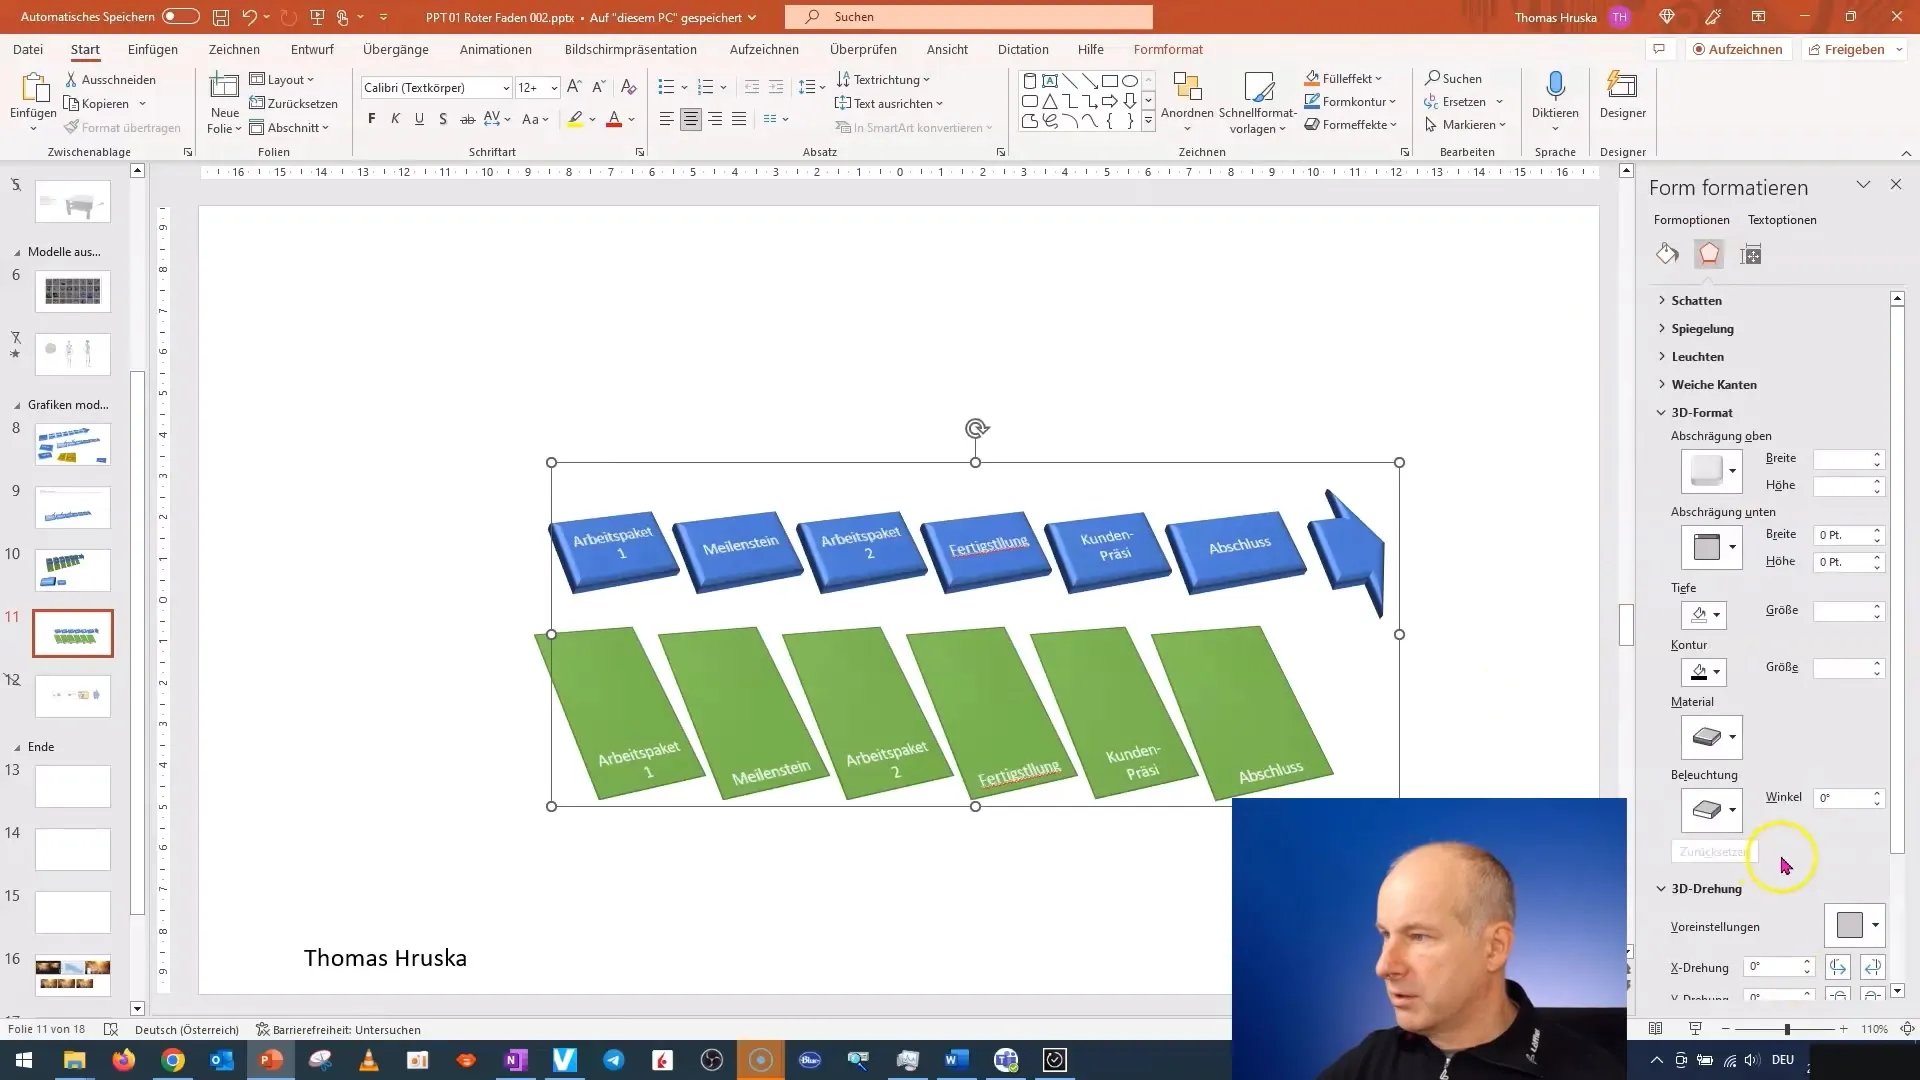
For an additional 3D effect, you can change the perspective of the objects by selecting and adjusting the corresponding options.
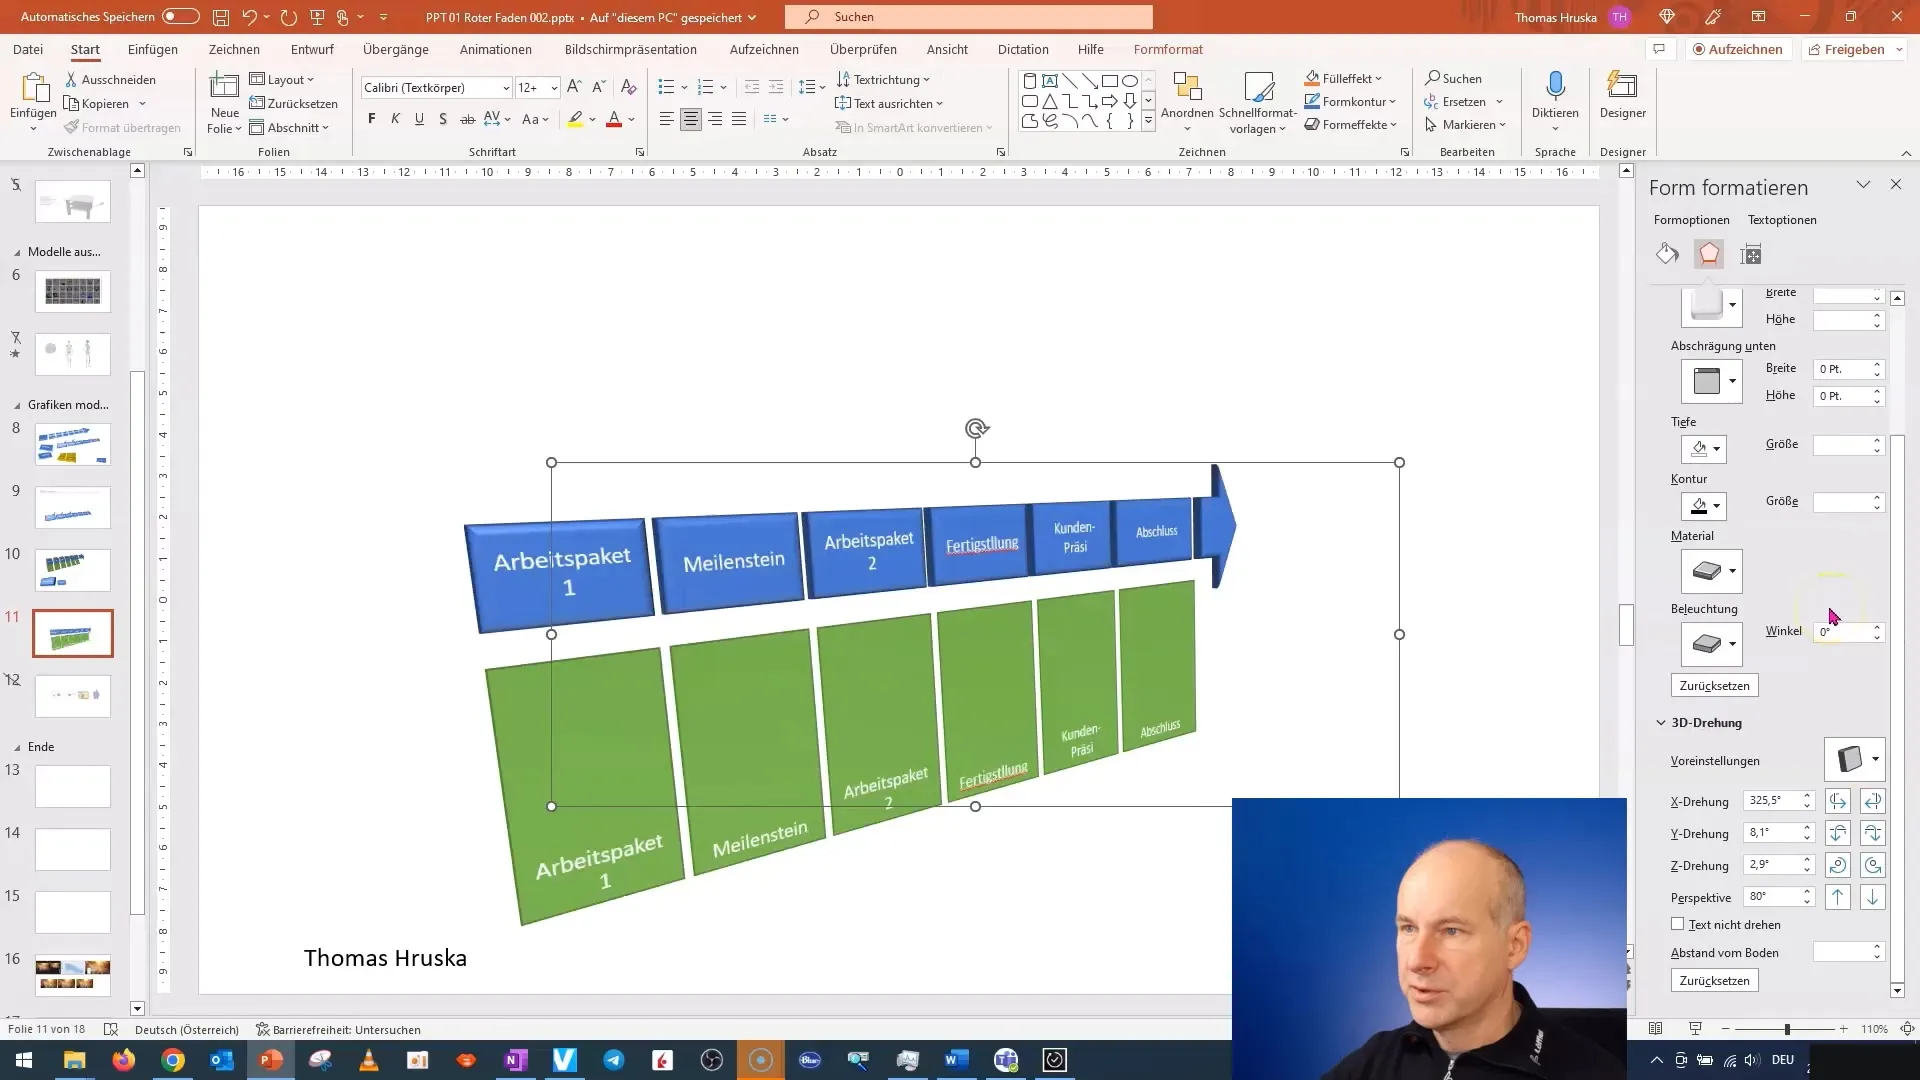
Ensure that all objects are correctly selected before making the changes. Carefully adjust the depth and test different methods to refine the result.
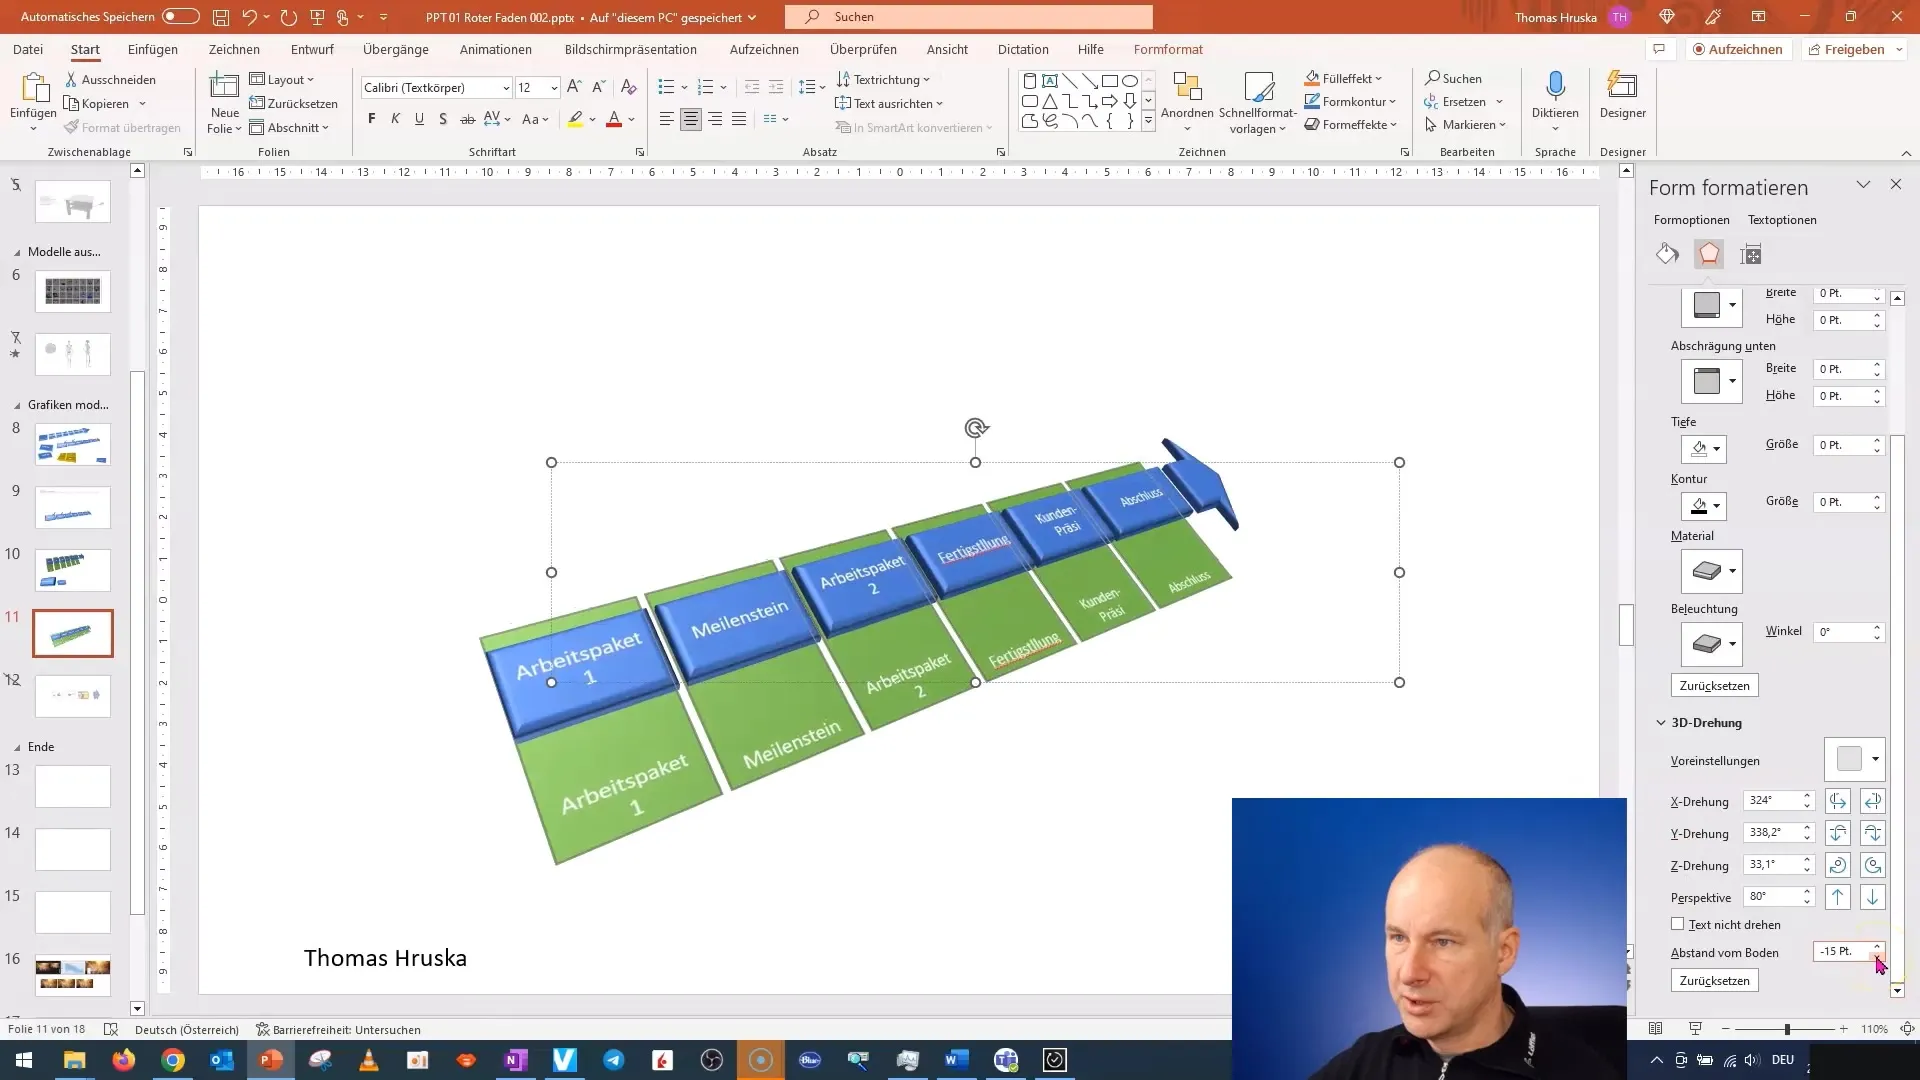
To add the final touch, select the shadow options for the blue elements and place them carefully to achieve a compelling 3D effect.
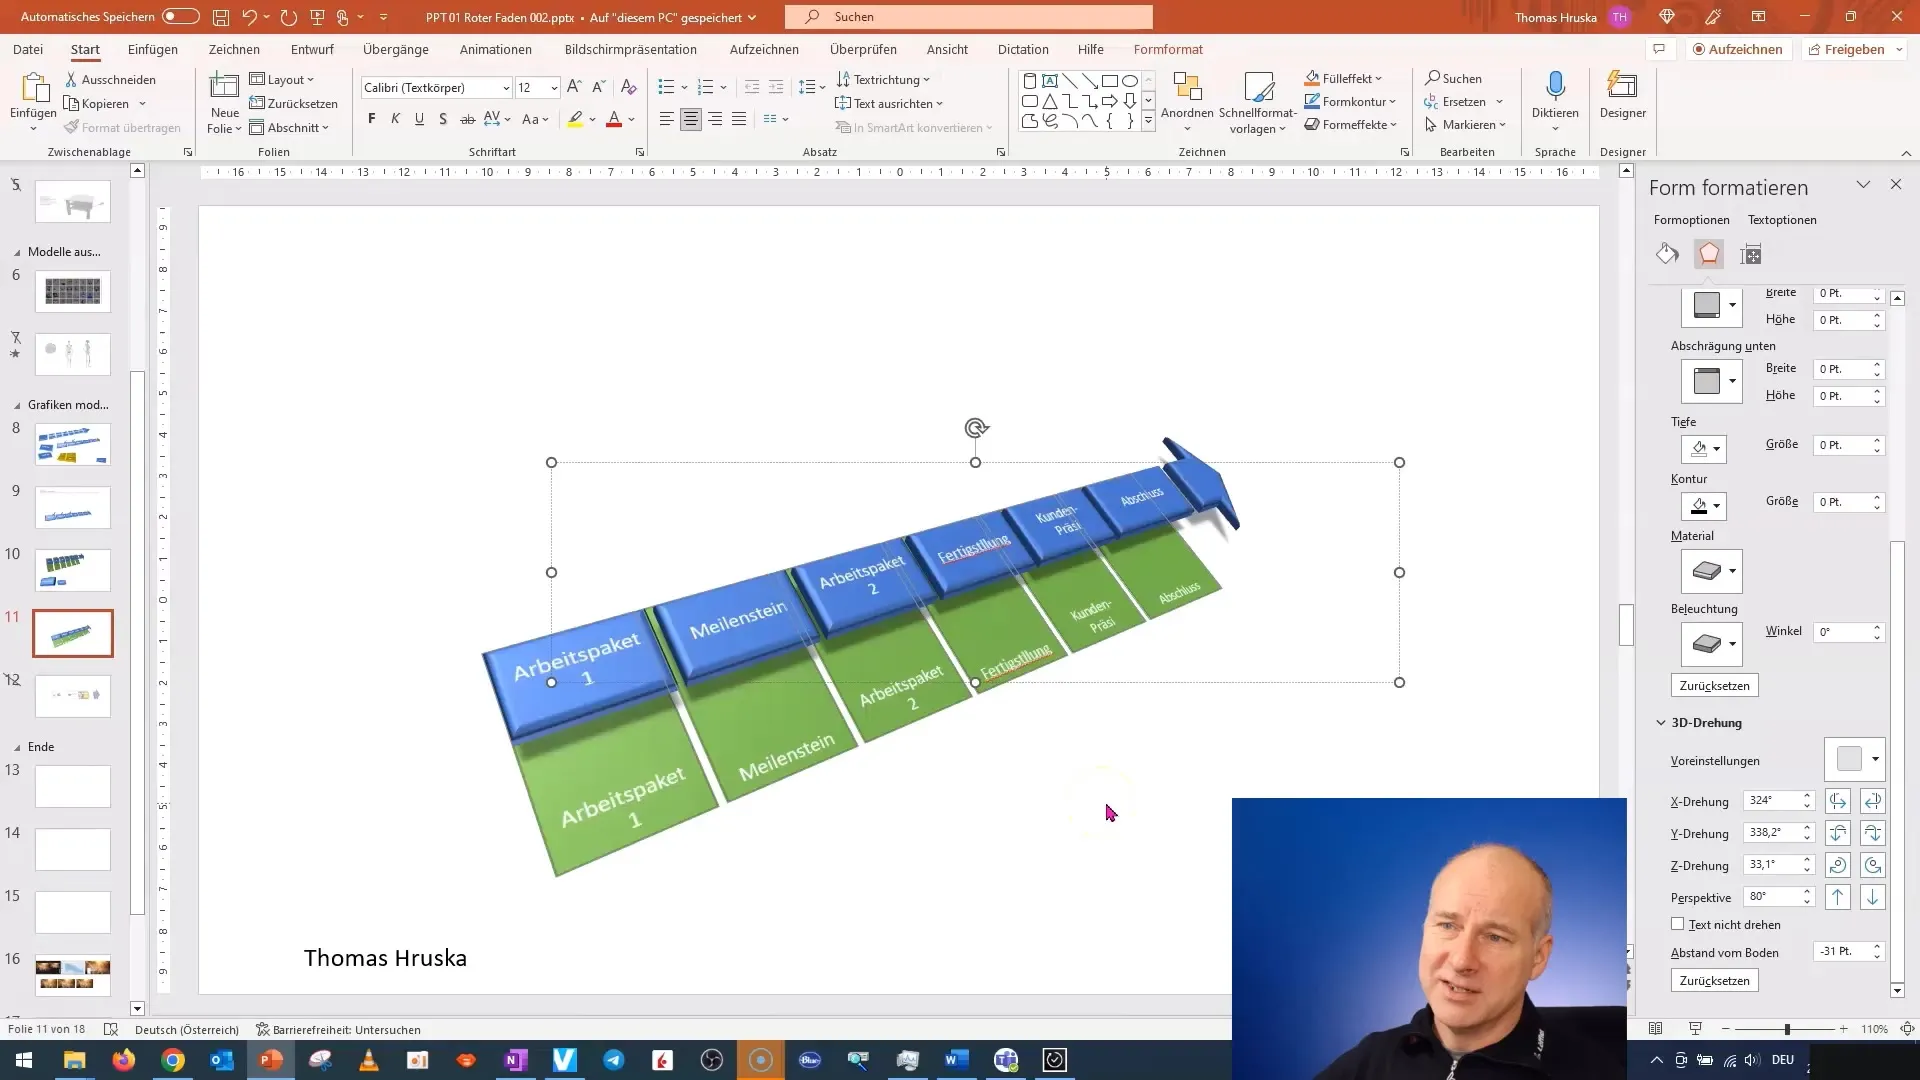
This way, you not only create deeper layers, but also a visually appealing 3D model that catches the eye of your audience.
You can experiment with different shapes and colors to give your presentation more expression. Be creative and explore the variety of possibilities that PowerPoint offers.
Summary
In this tutorial, you have learned how to create 3D models in PowerPoint, nest them, and achieve realistic effects with shadows and perspective. With practice and creativity, you can enhance your presentations and designs and create impressive visual representations.
Frequently Asked Questions
How can I create a 3D model in PowerPoint?You can create 3D models in PowerPoint by using geometric shapes, adjusting them, and layering them.
Can I add shadows to my 3D models?Yes, you can add shadows by selecting the shadow options for the respective objects in the formatting tools.
How can I adjust the layers of my 3D models?You can adjust the layers by selecting objects and moving them with the mouse or arrow keys.
What is the advantage of 3D models in presentations?3D models make presentations more visually appealing and help clarify complex information.
How can I select multiple objects at once?Hold down the "Ctrl" key and click on the objects you want to select to manipulate them simultaneously.


