This tutorial is all about inserting and styling tables in PowerPoint. You will learn how to insert tables, add or remove rows and columns, split and merge cells. Additionally, we will discuss the possibility of drawing tables manually and customizing them to your needs. By the end of this tutorial, you will be able to effectively use tables in your presentations.
Key Takeaways
- Tables can be easily inserted and edited in PowerPoint.
- Rows and columns can be added or deleted flexibly.
- Cells can be split or merged to optimize your layout.
- PowerPoint offers various formatting options for tables to make them visually appealing.
Step-by-Step Guide
Start by opening PowerPoint and selecting the desired slide where you want to insert a table.

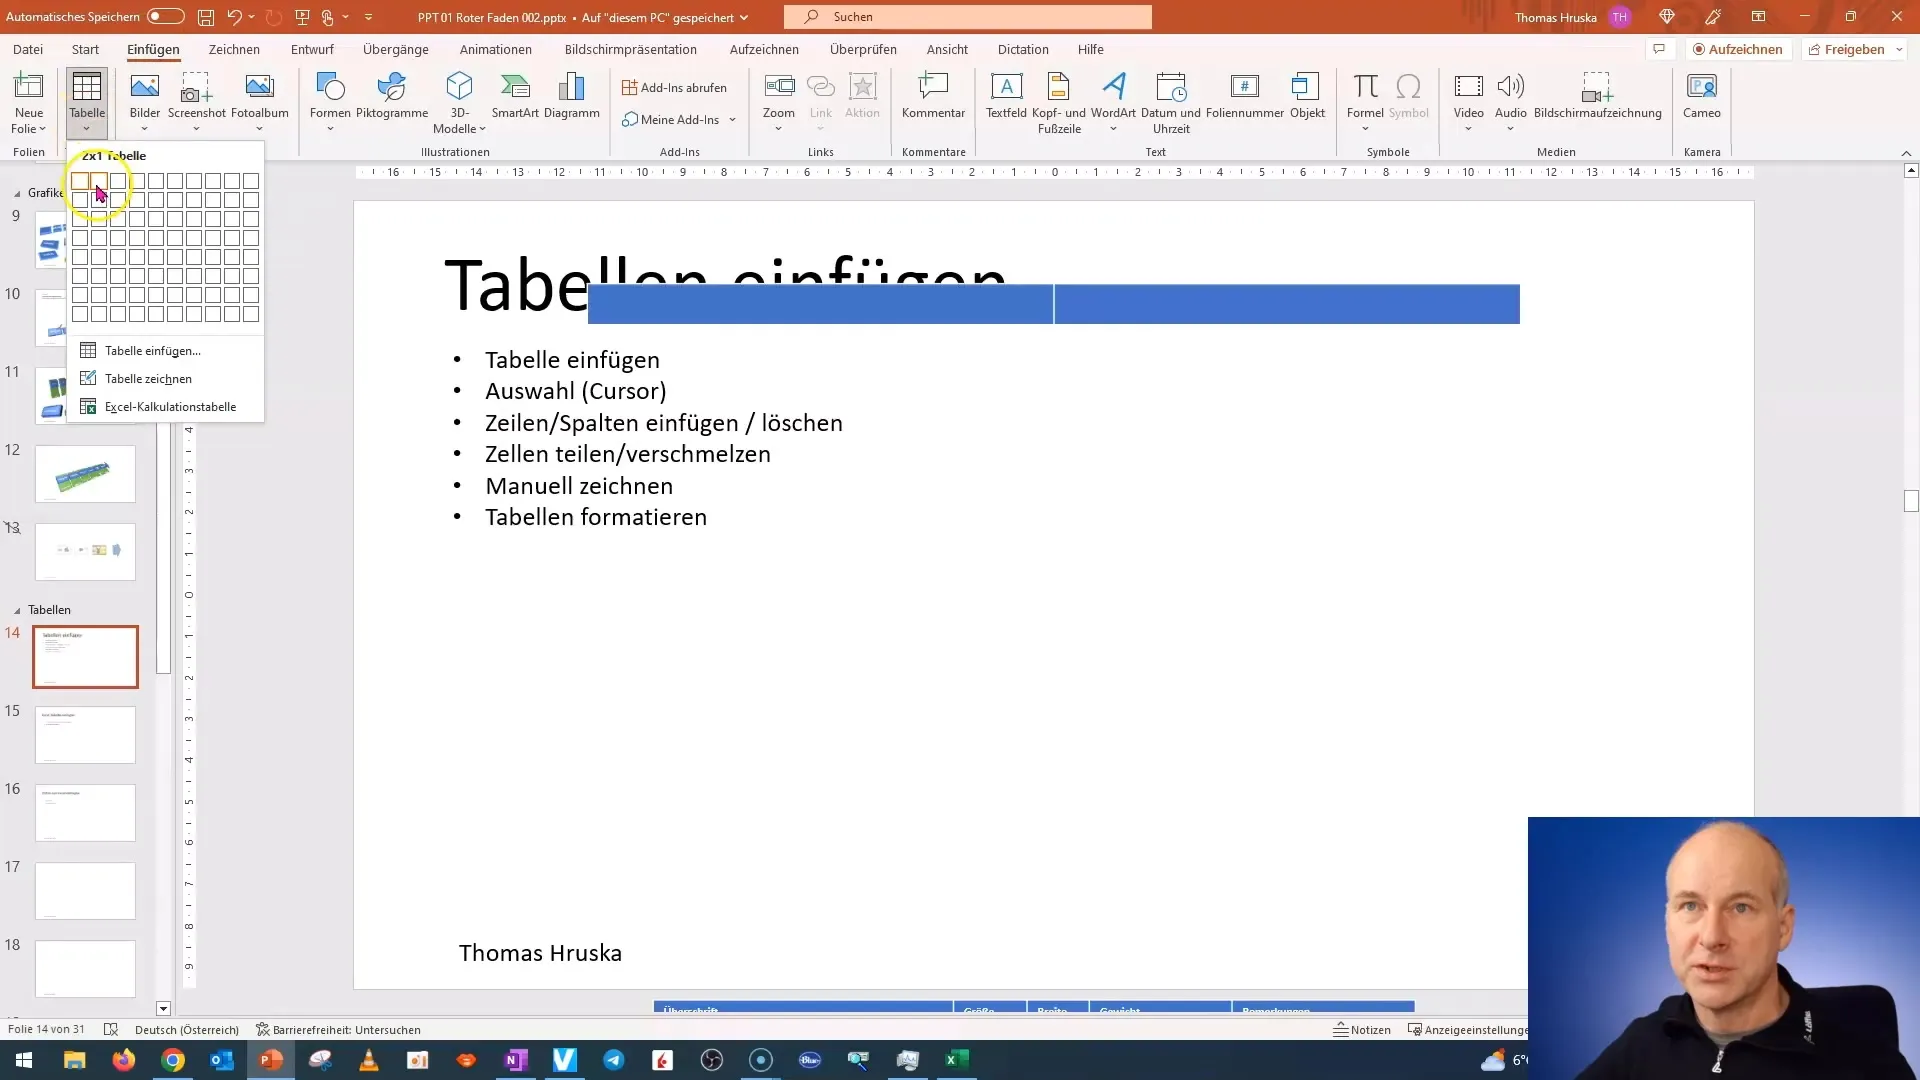
To insert a table, go to the "Insert" tab and click on the "Table" button. Here, you have the option to directly select the number of rows and columns, or create a table numerically.
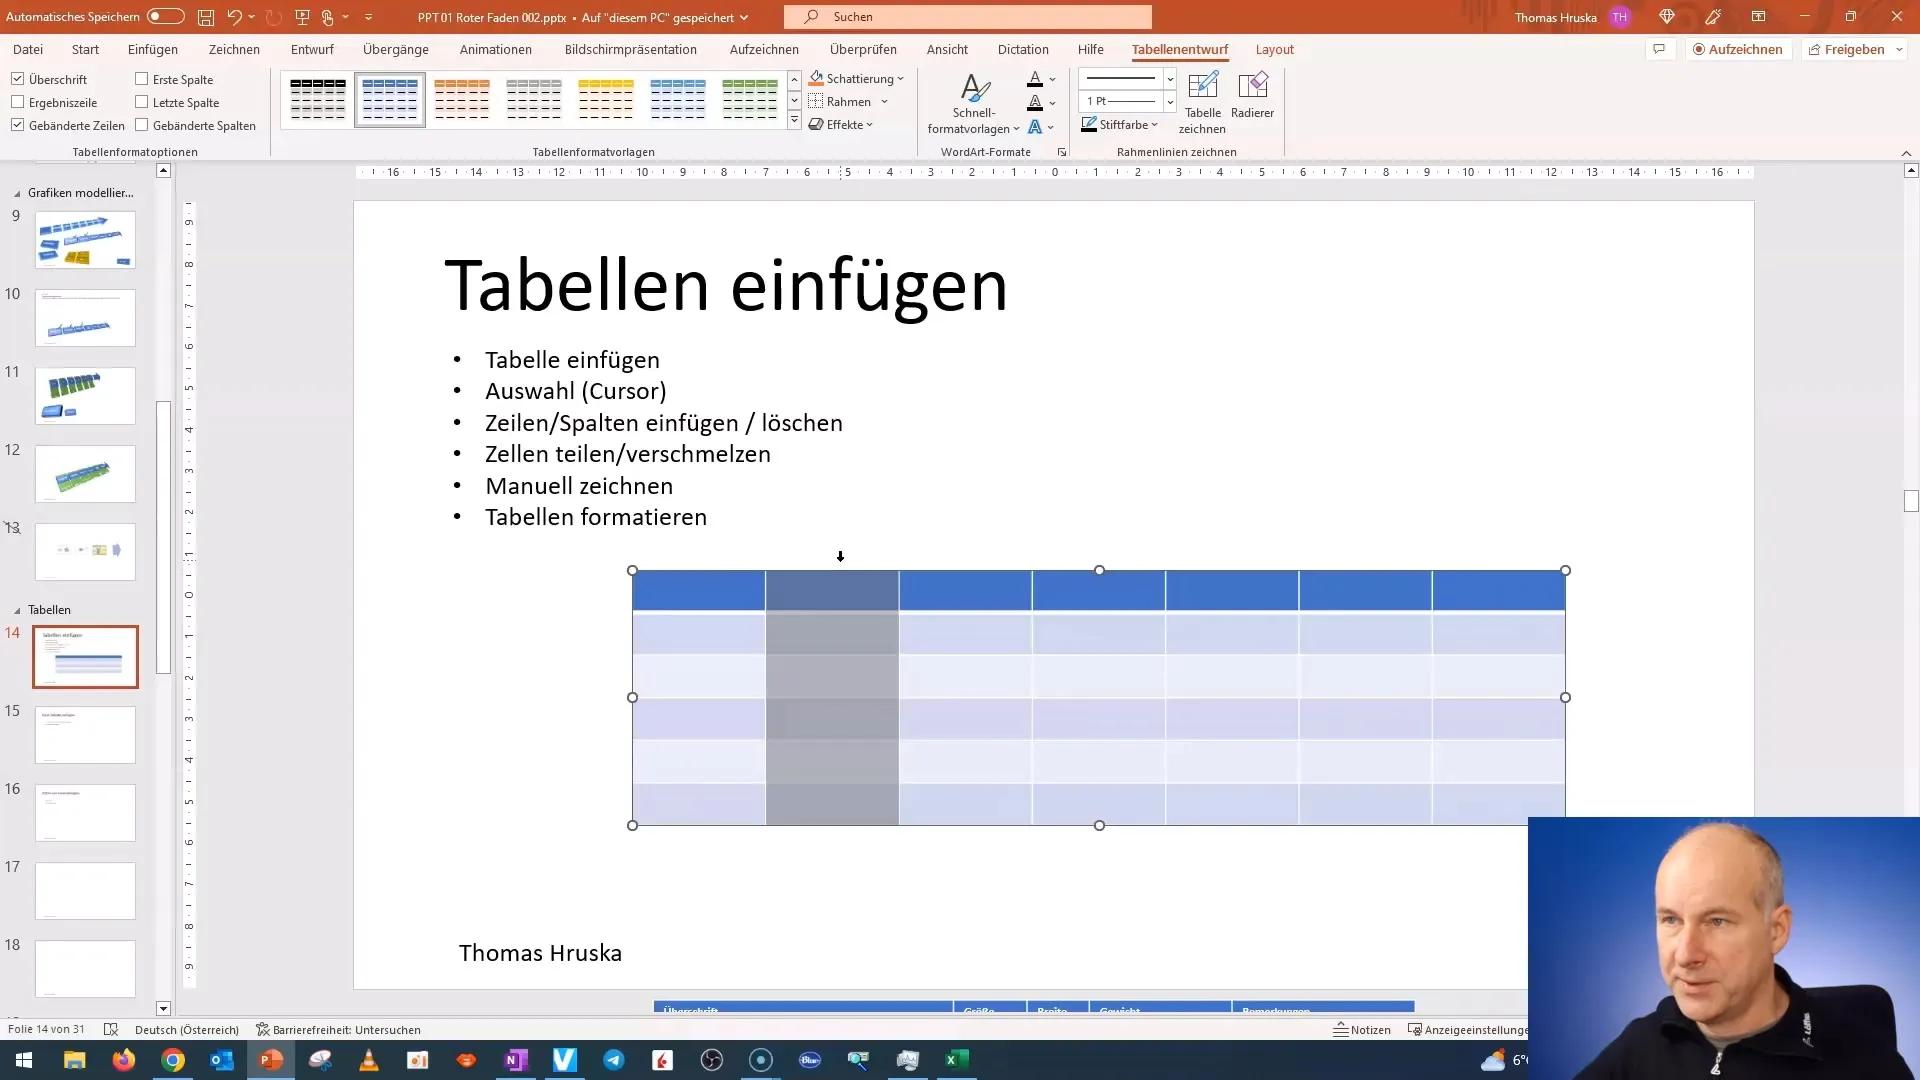
After inserting the table, the cursor appears. You will see a small arrow icon that allows you to move the entire table. By hovering over a column with the arrow icon, you can adjust the column and its width.
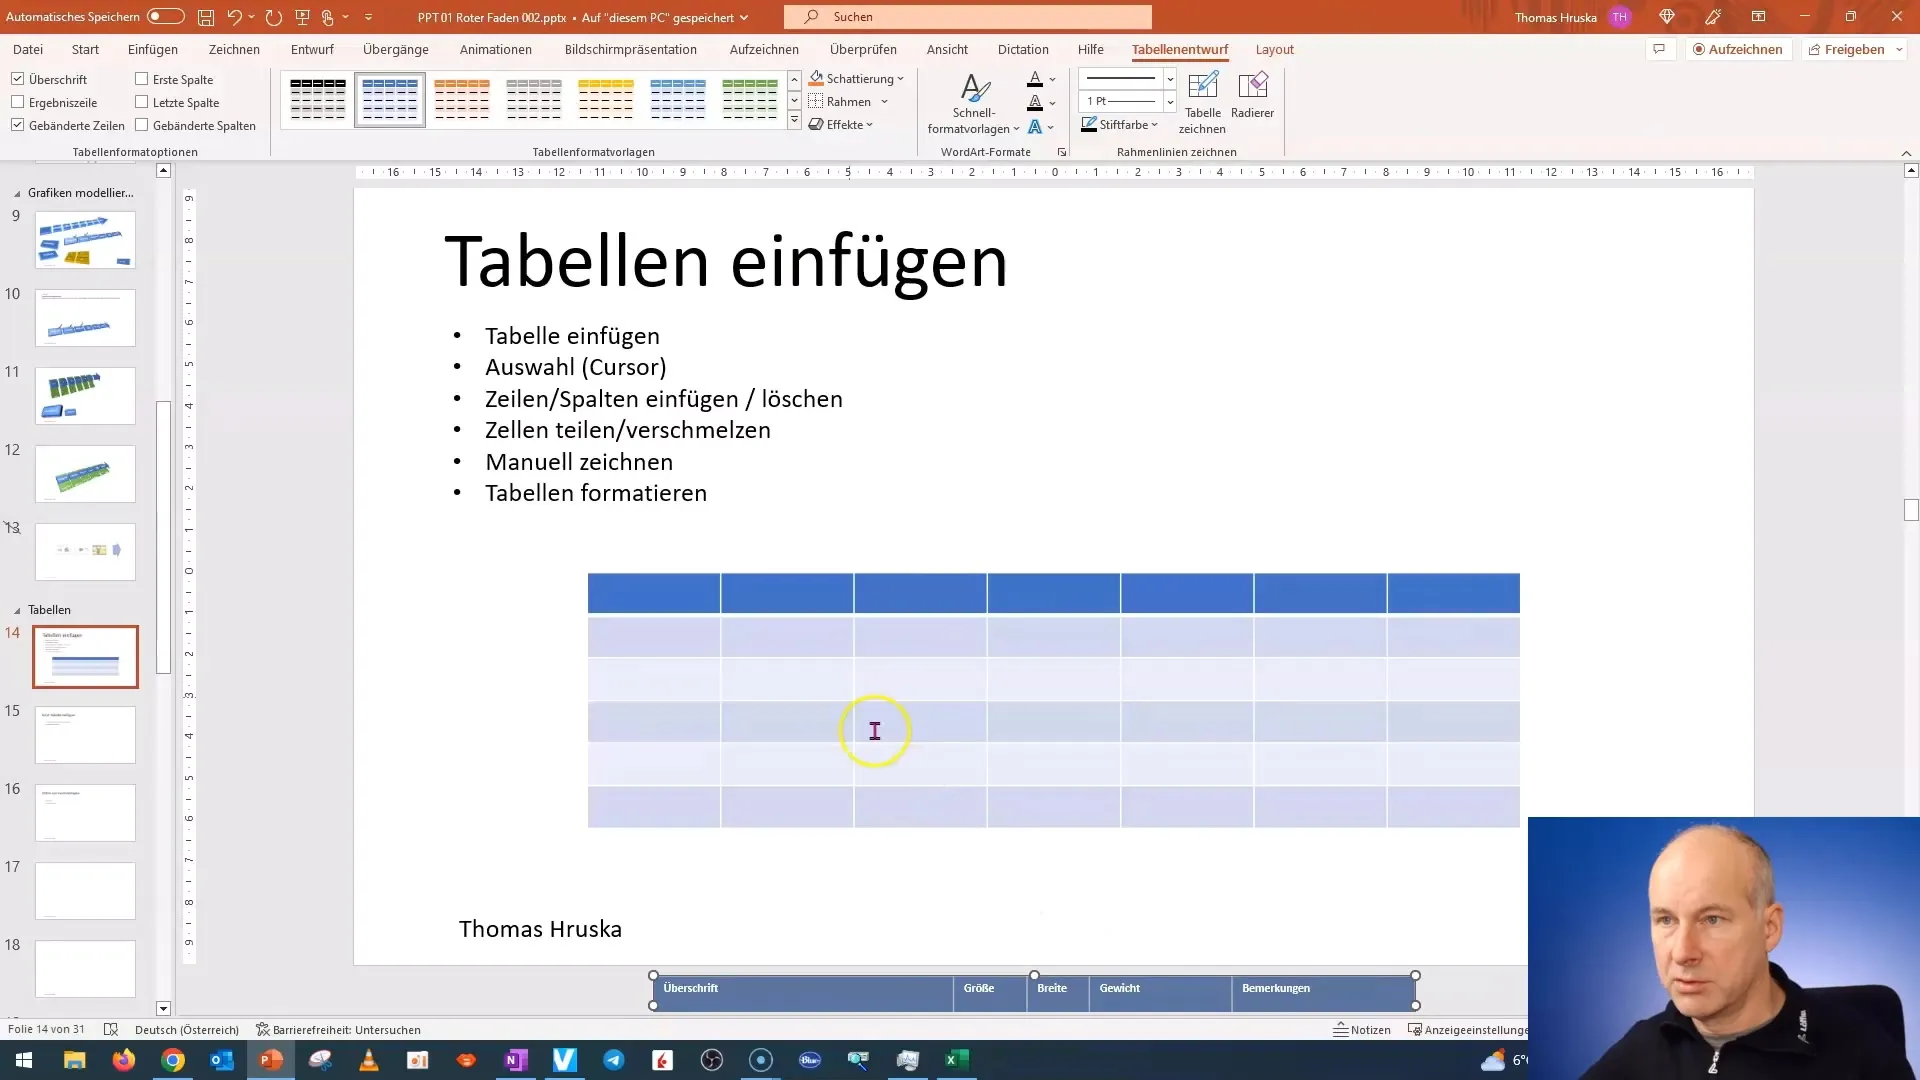
To insert text into the table, simply click on a cell and start typing. You can copy prepared text and then paste it into the respective cell to save time.
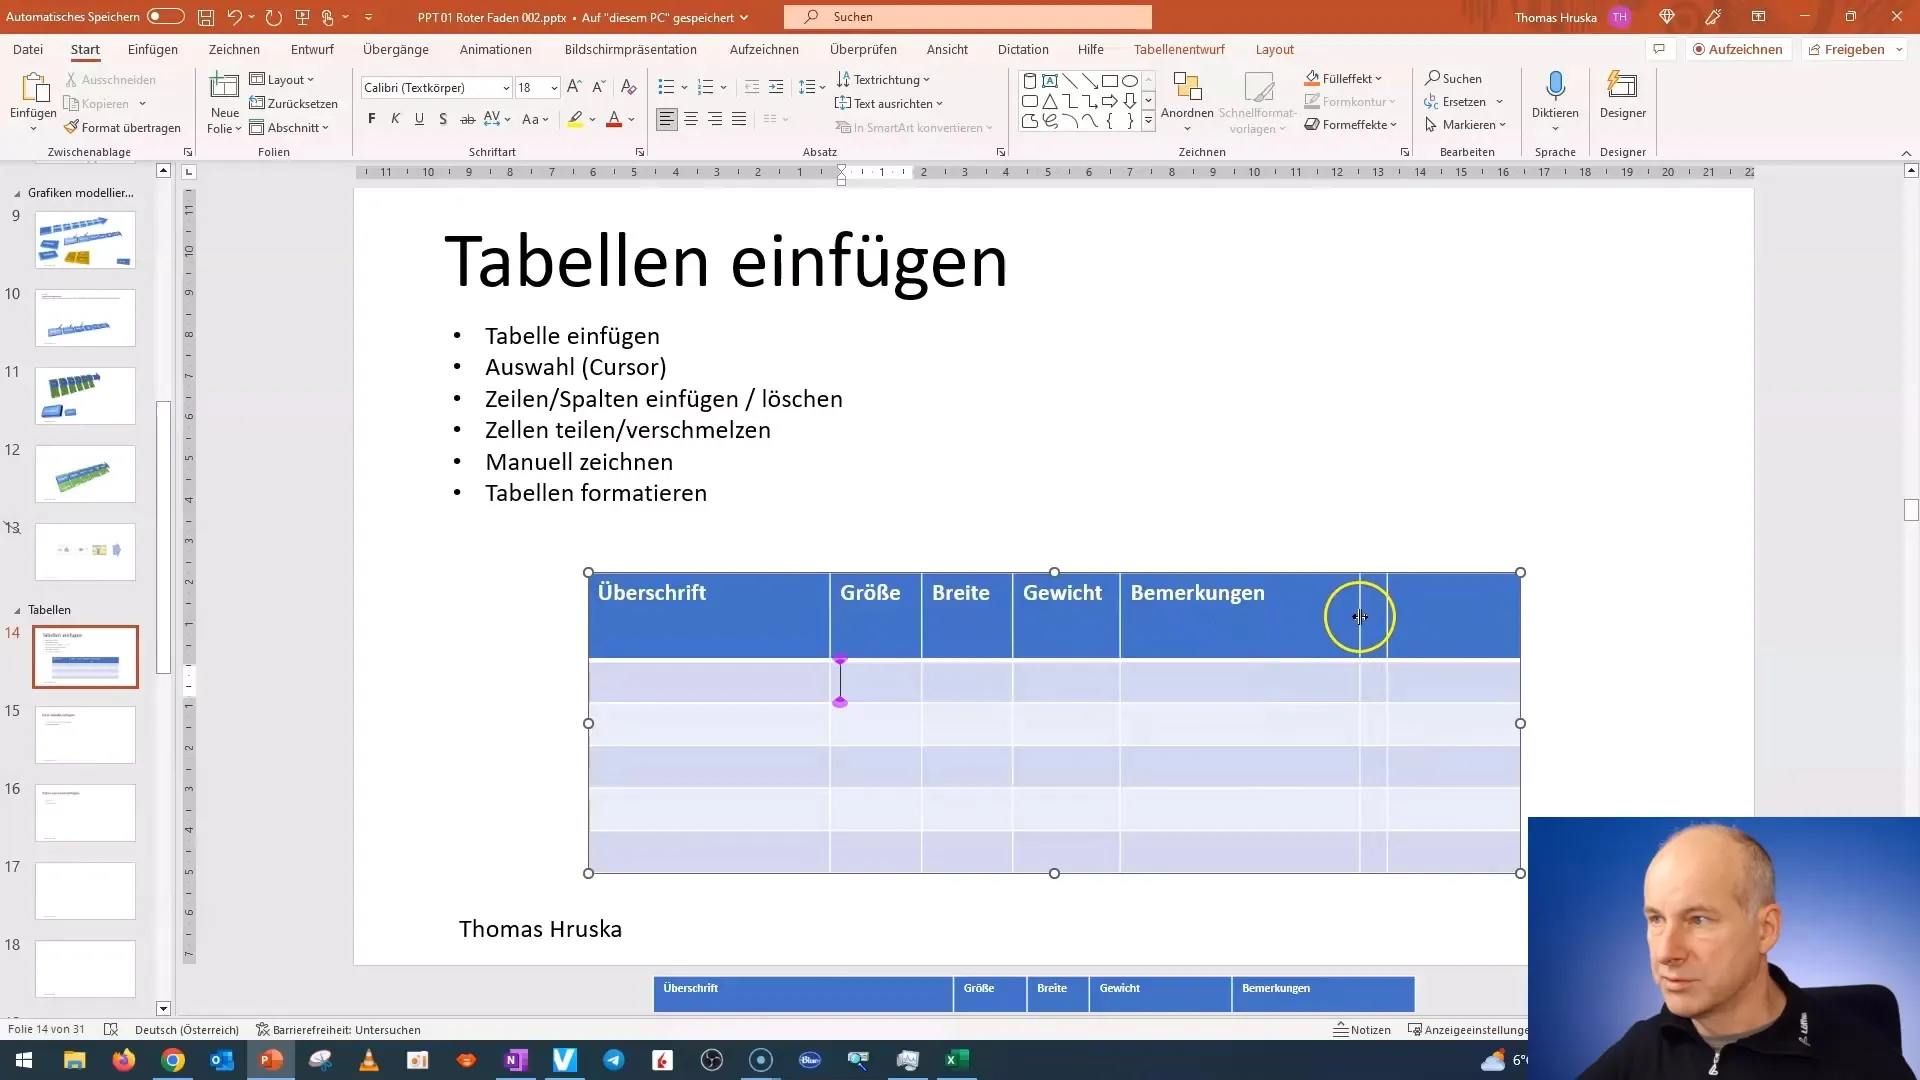
If you want to adjust the size of the cells, you can do so as well. Drag the edges of a cell to make it larger or smaller. Remember that adjusting one cell can affect the size of adjacent cells.
To delete a row or column, select the respective cells and press the "Delete" key on your keyboard or right-click and choose "Delete" from the context menu.
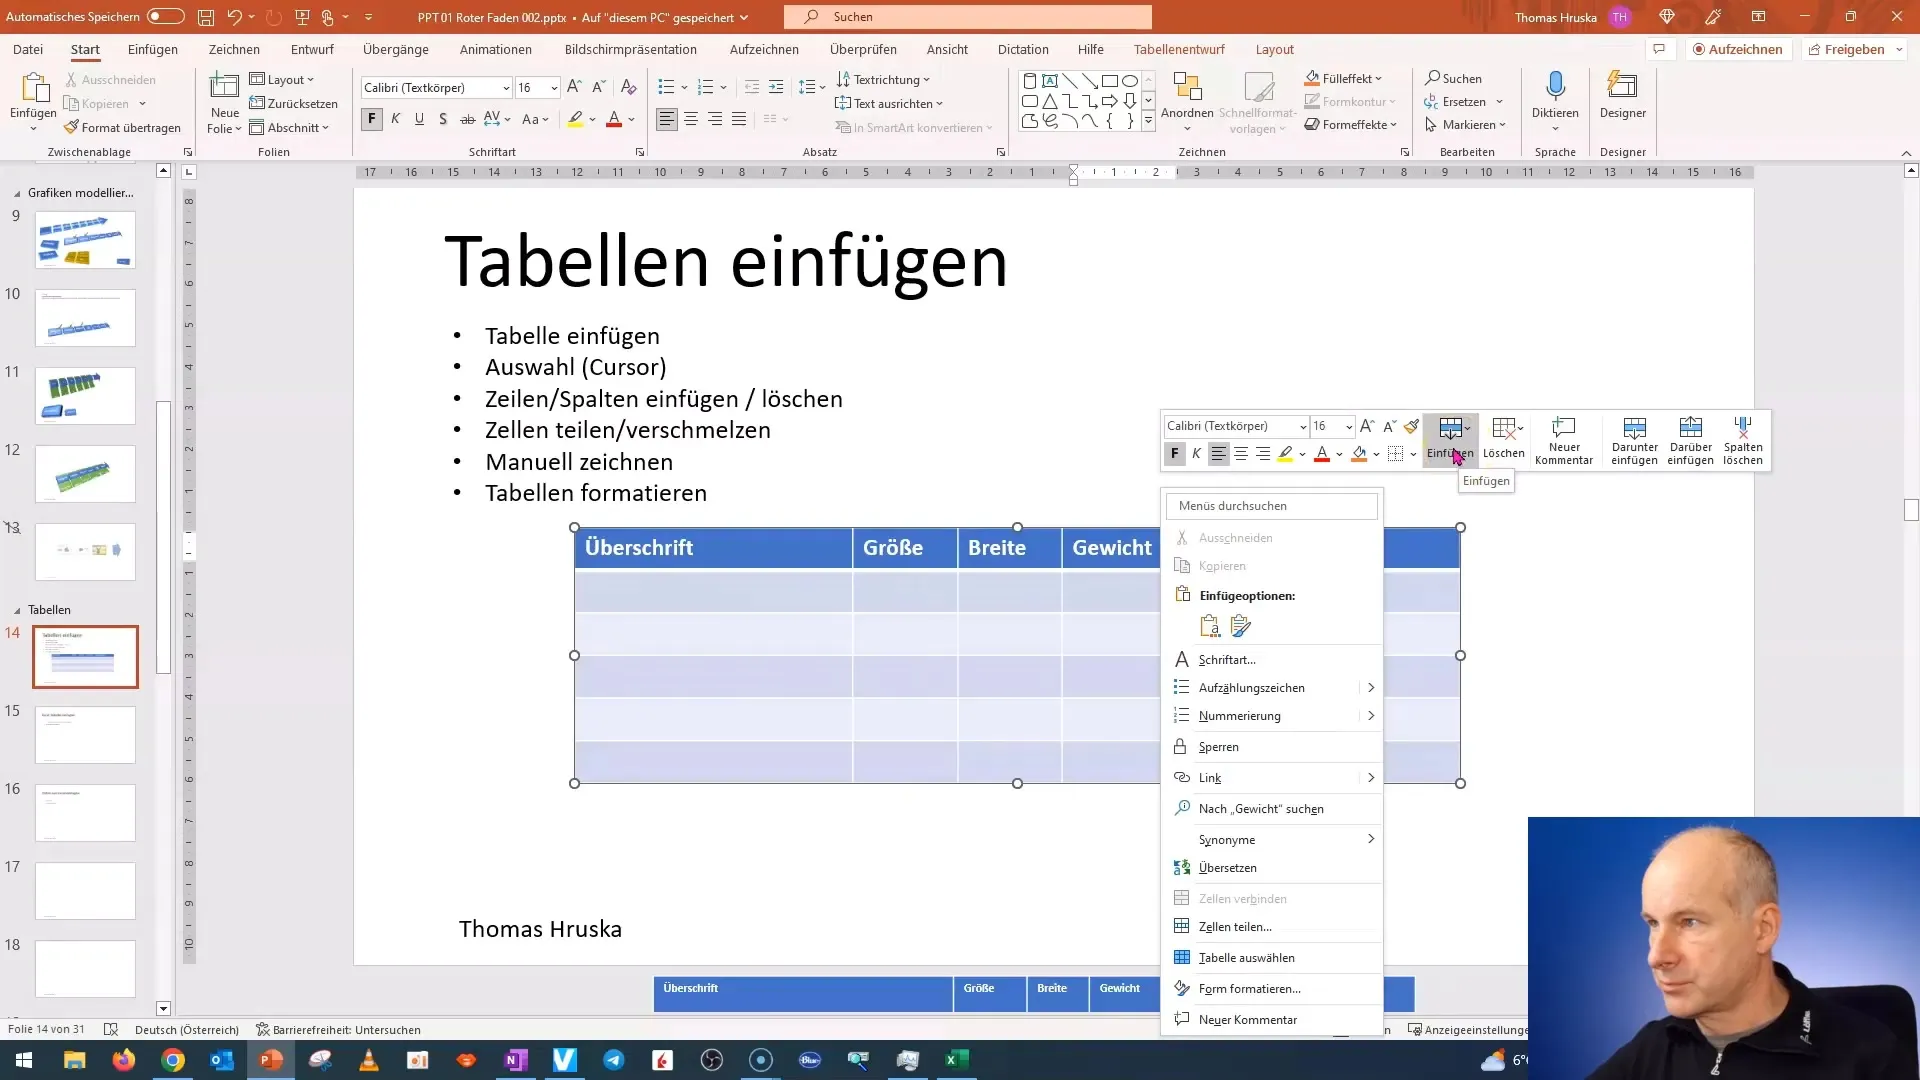
If you need more space to display information, you can right-click on a row or column and select "Insert" to add a row or column.
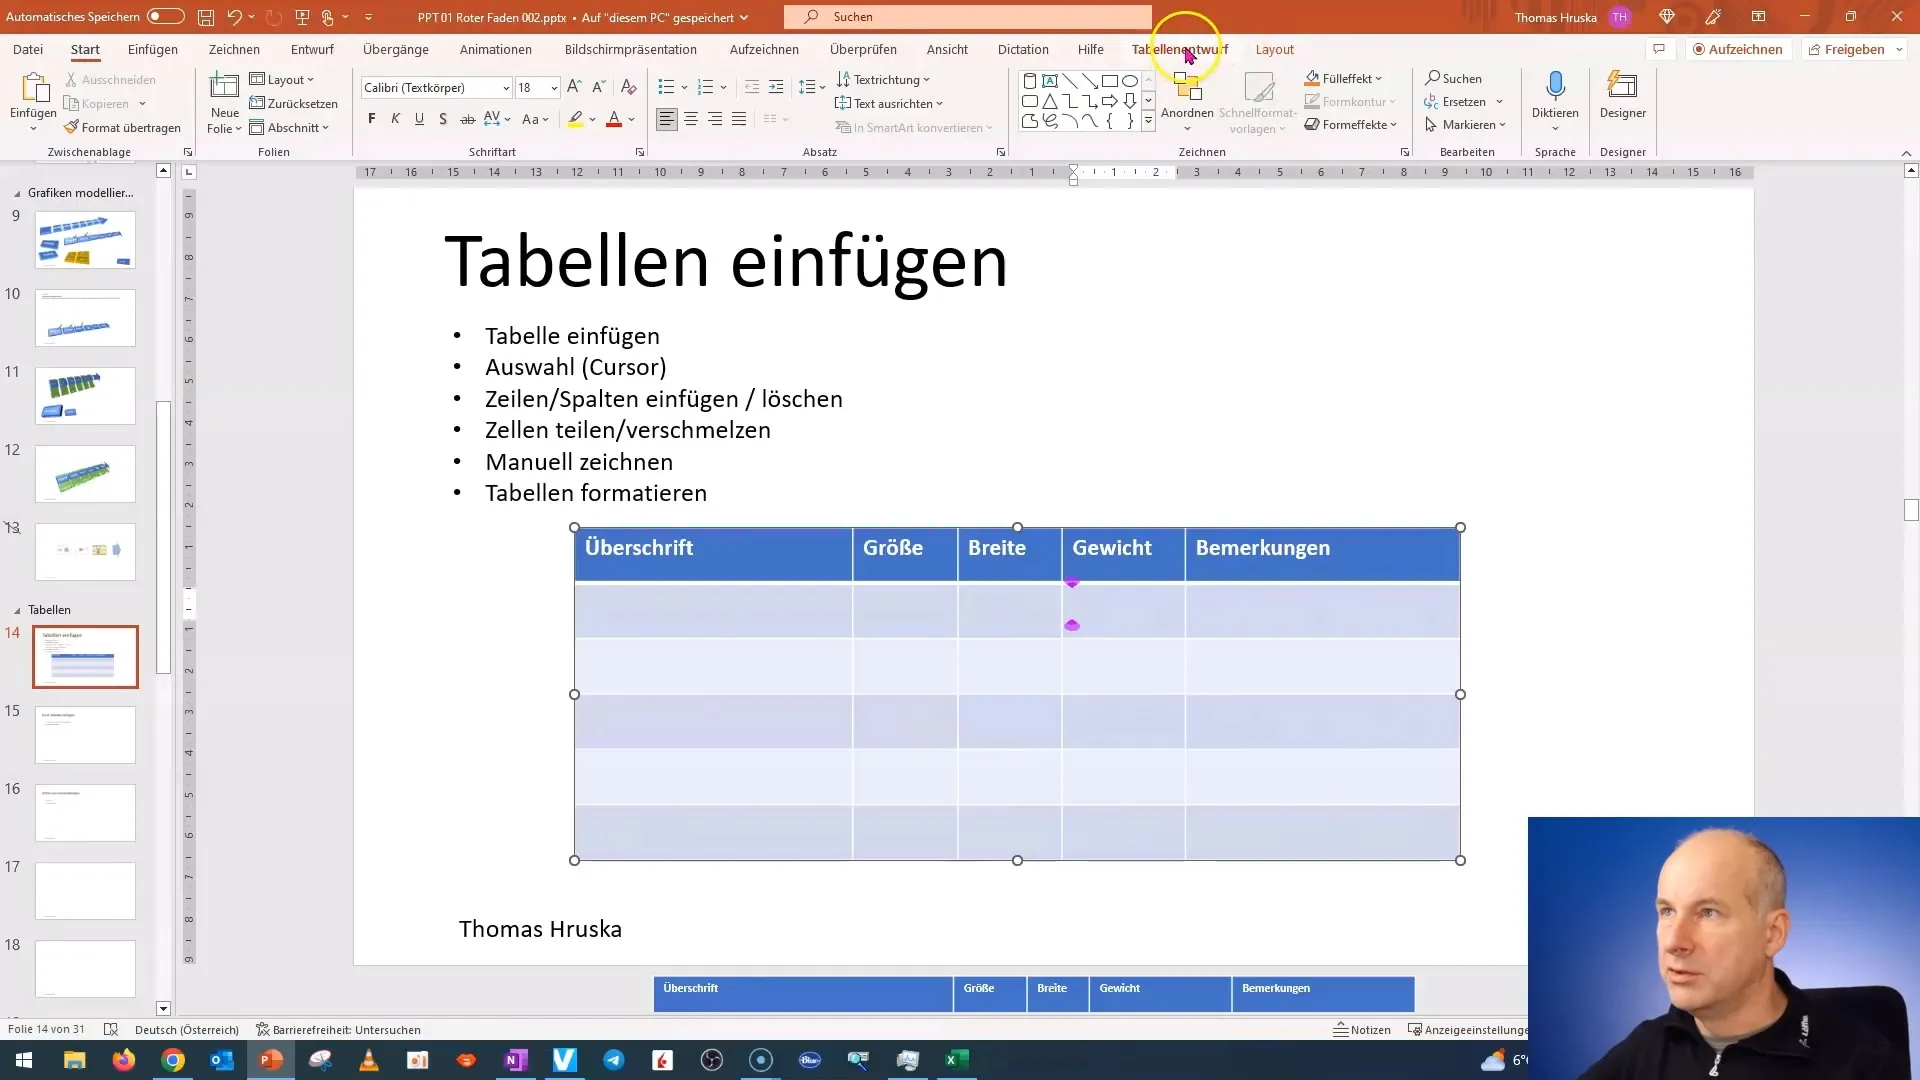
To adjust the size of the entire table, go to the "Table Design" tab. Here you will find more options to delete rows and columns or split cells if you want to divide the space.
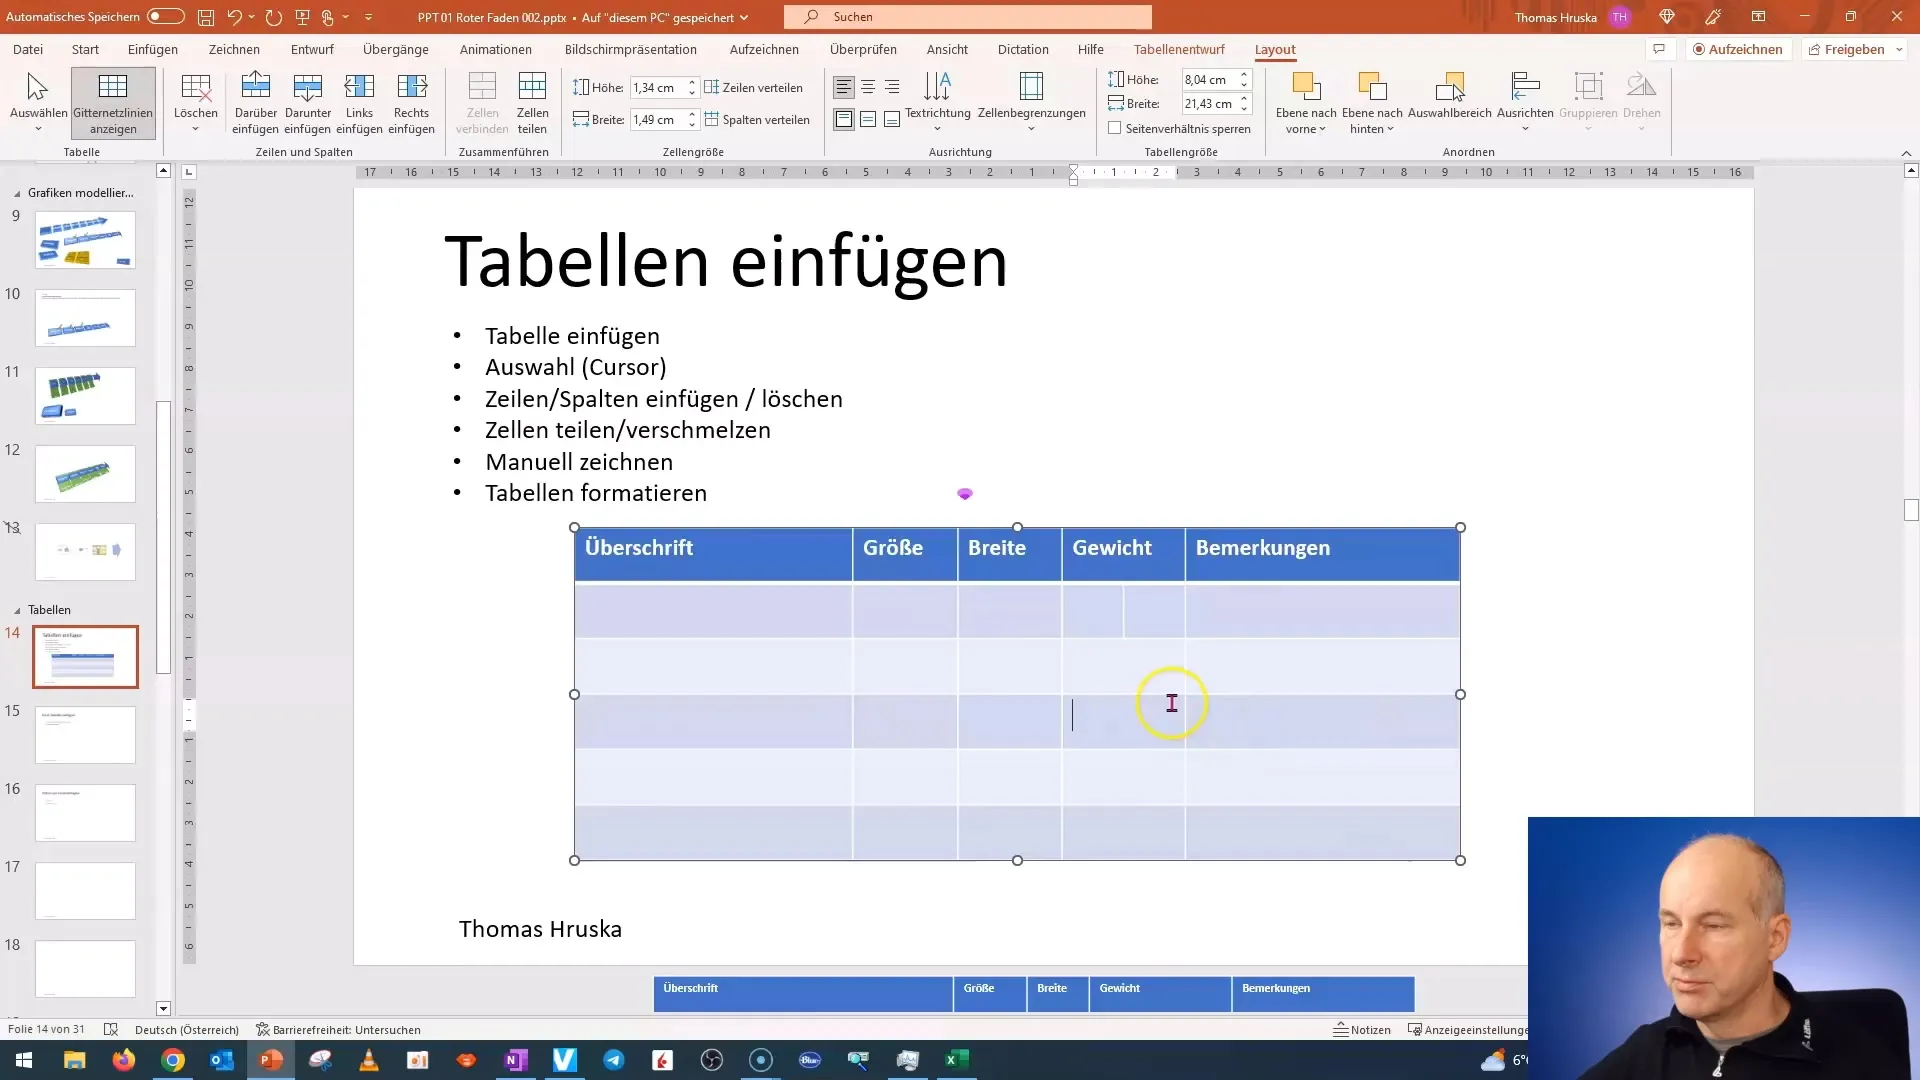
If you want to split a cell, select the cell and then go to "Split Cells". Here you can set the number of desired splits to create a subtable.
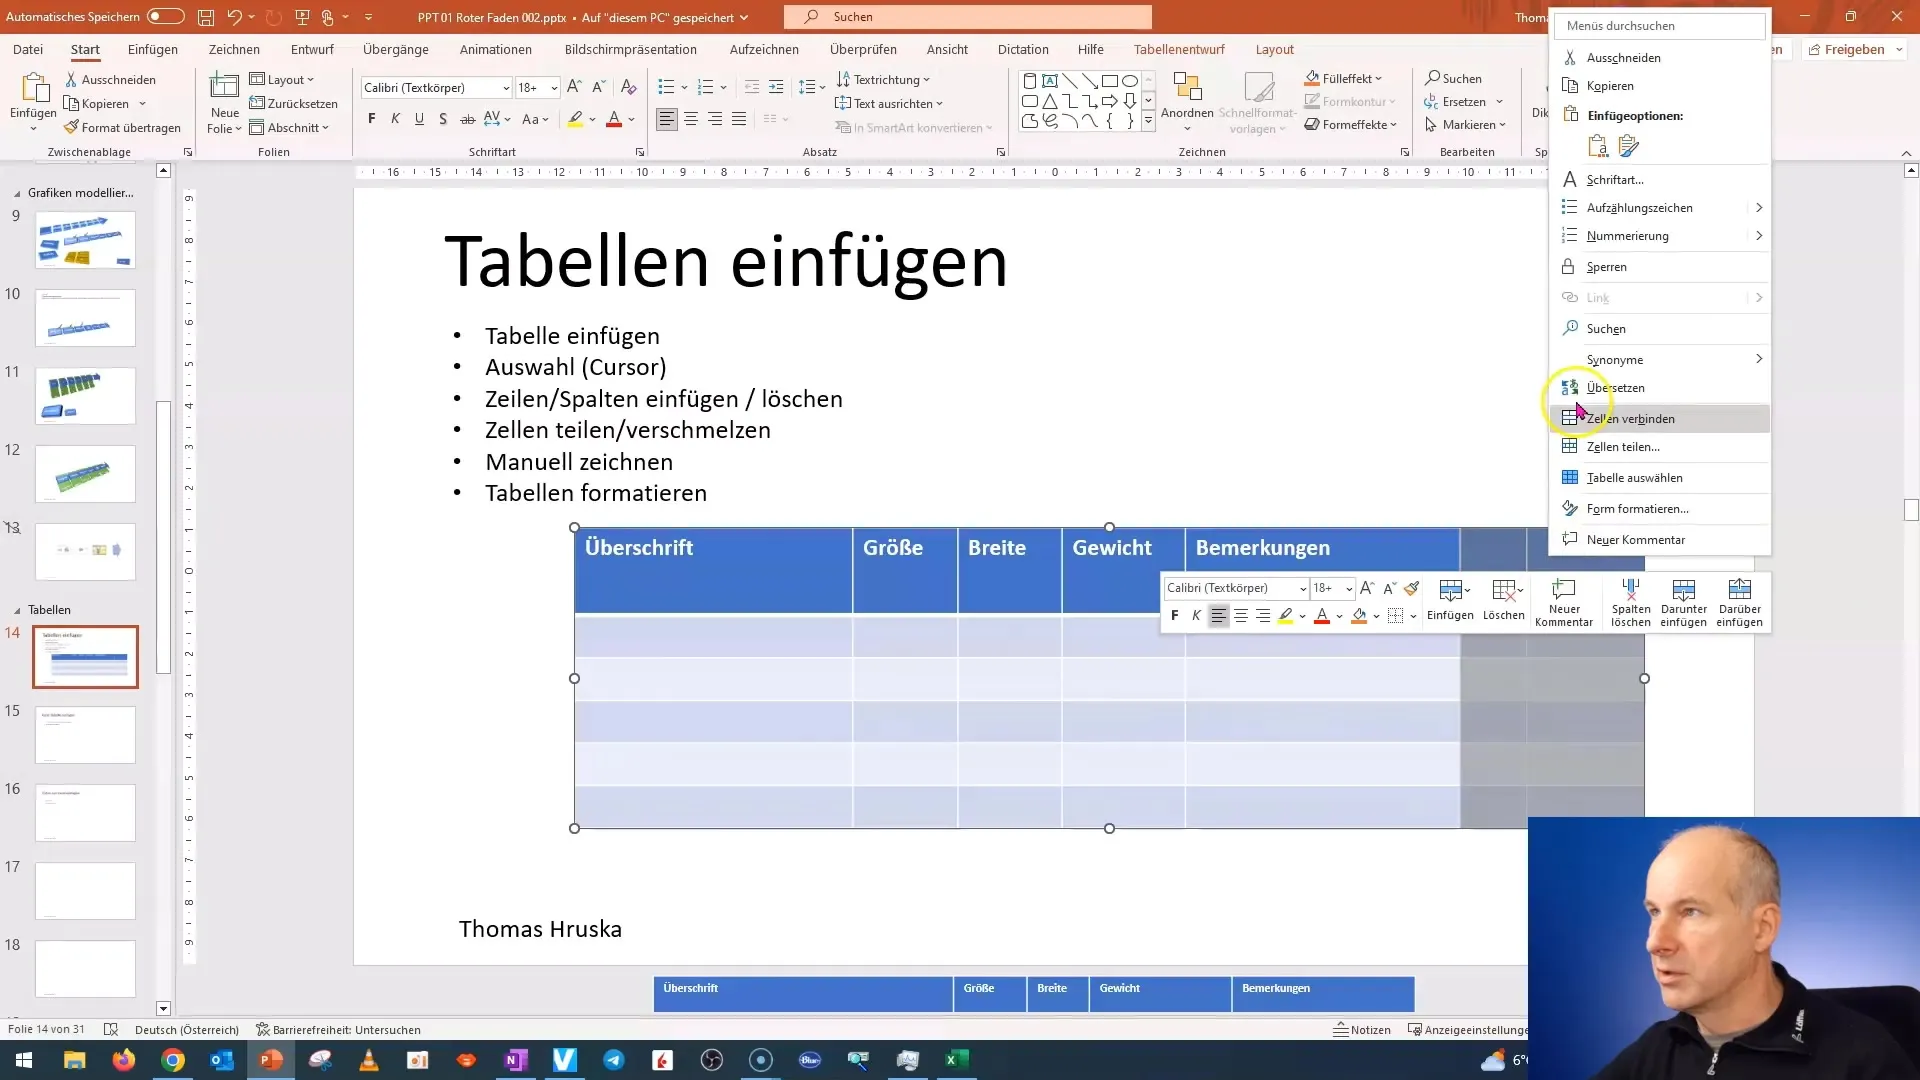
Another feature is merging cells. You can select multiple cells and right-click to choose "Merge Cells".
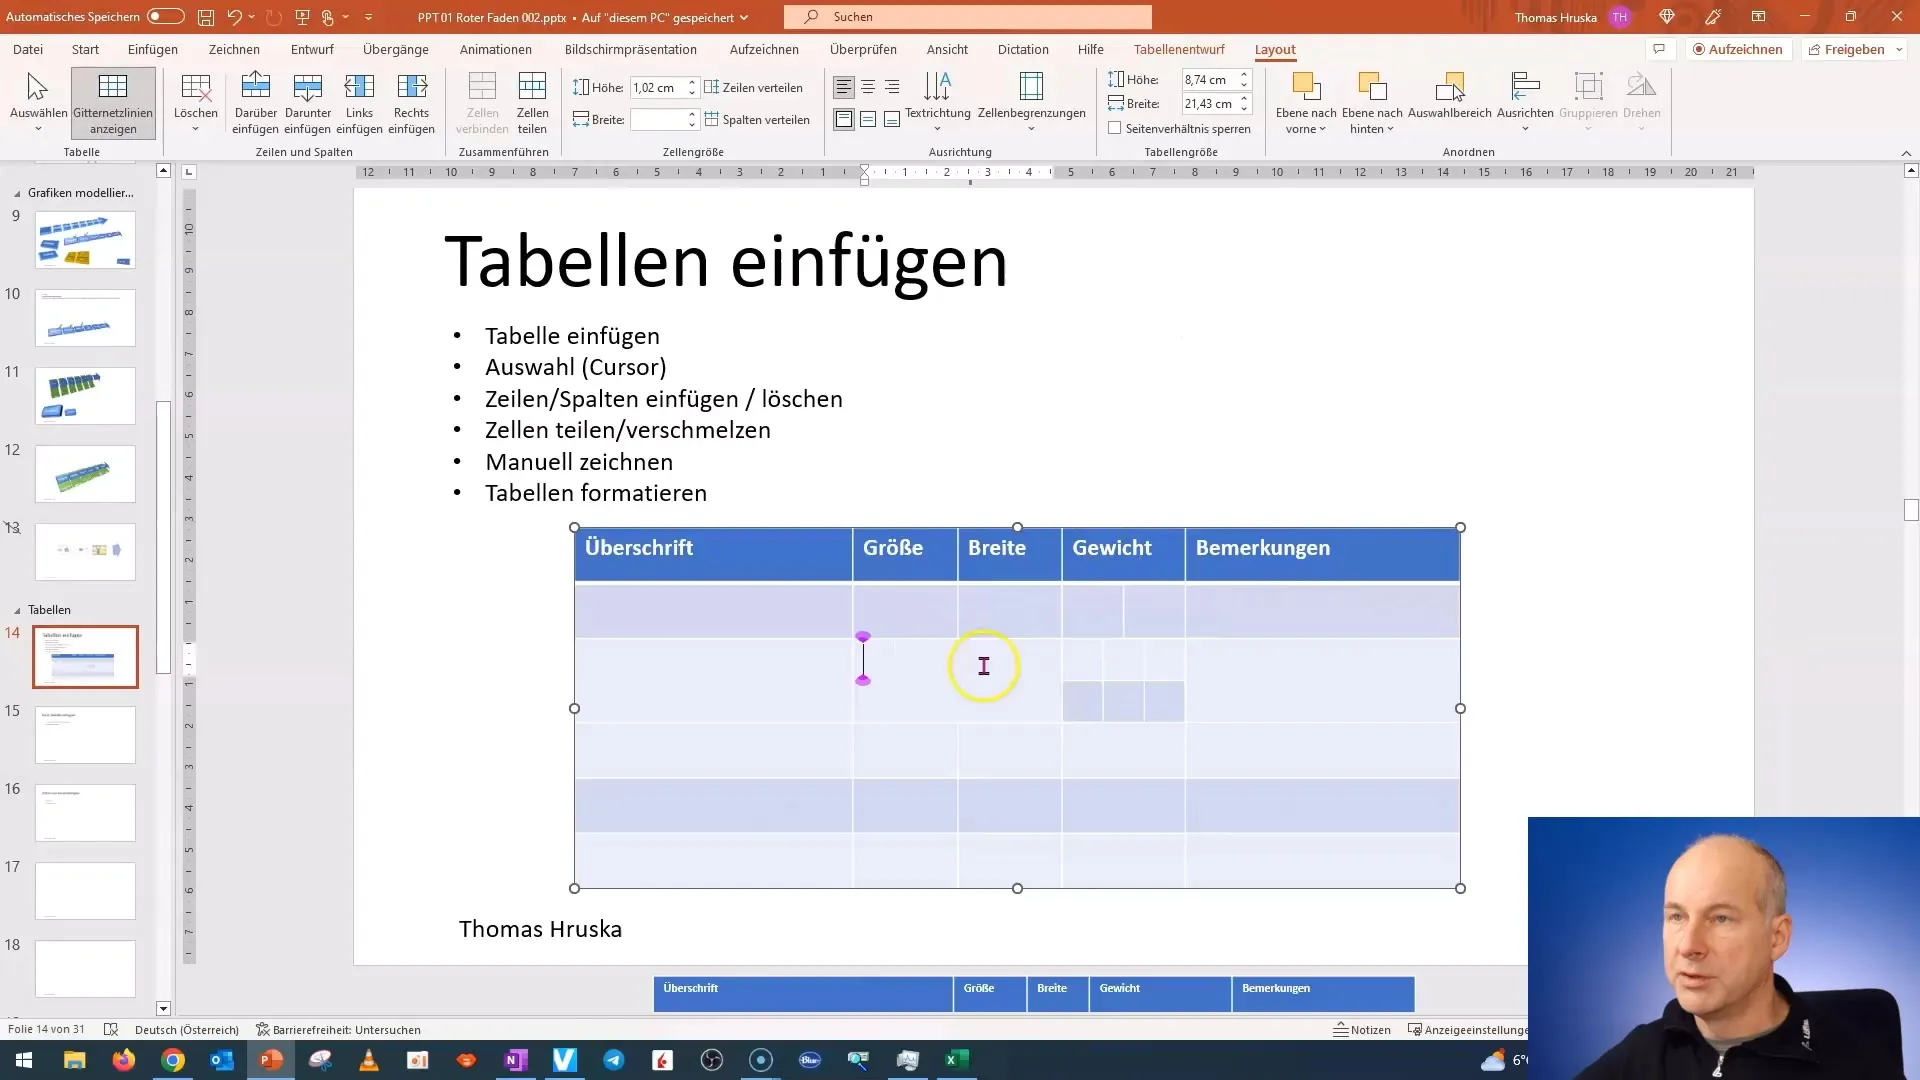
For creative minds, there is also the option to draw tables manually. Go to "Table Design", then click on "Draw Table". Using the pen tool, you can draw both horizontal and vertical lines to create custom tables.
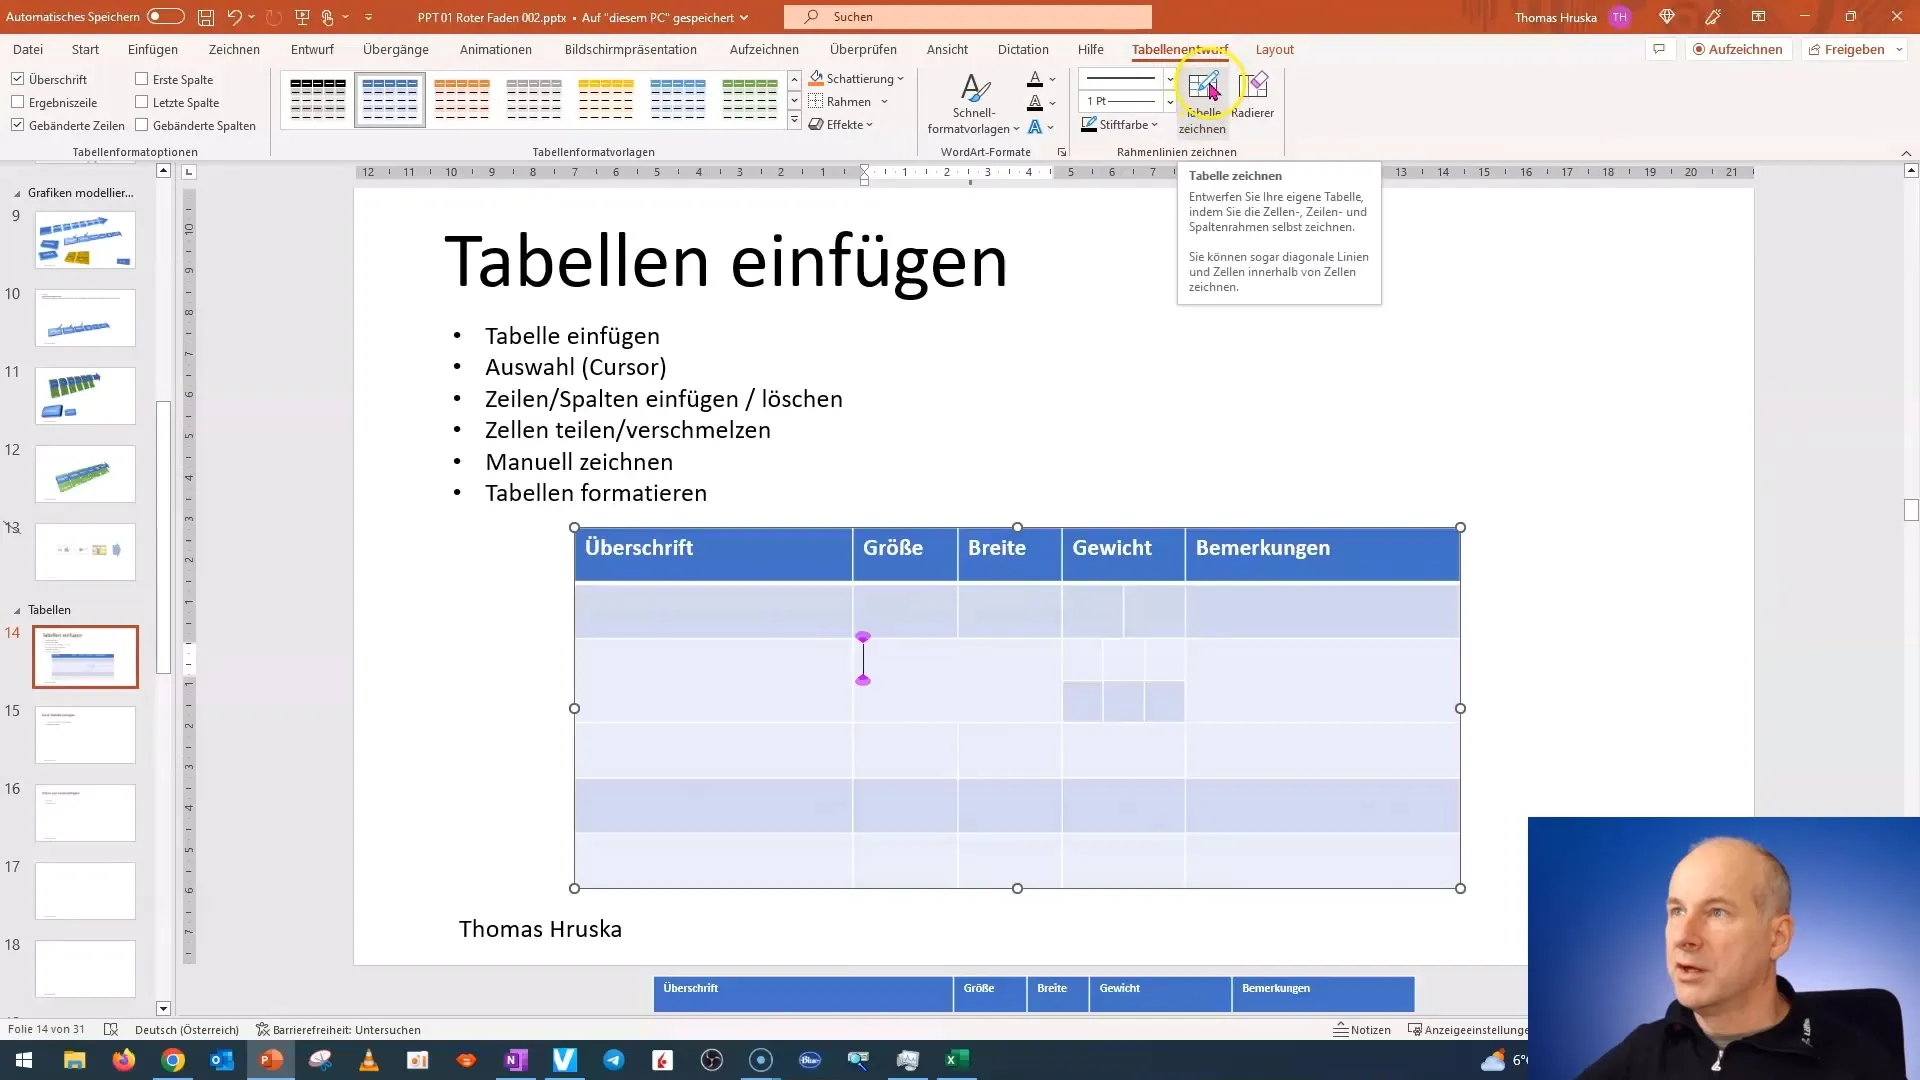
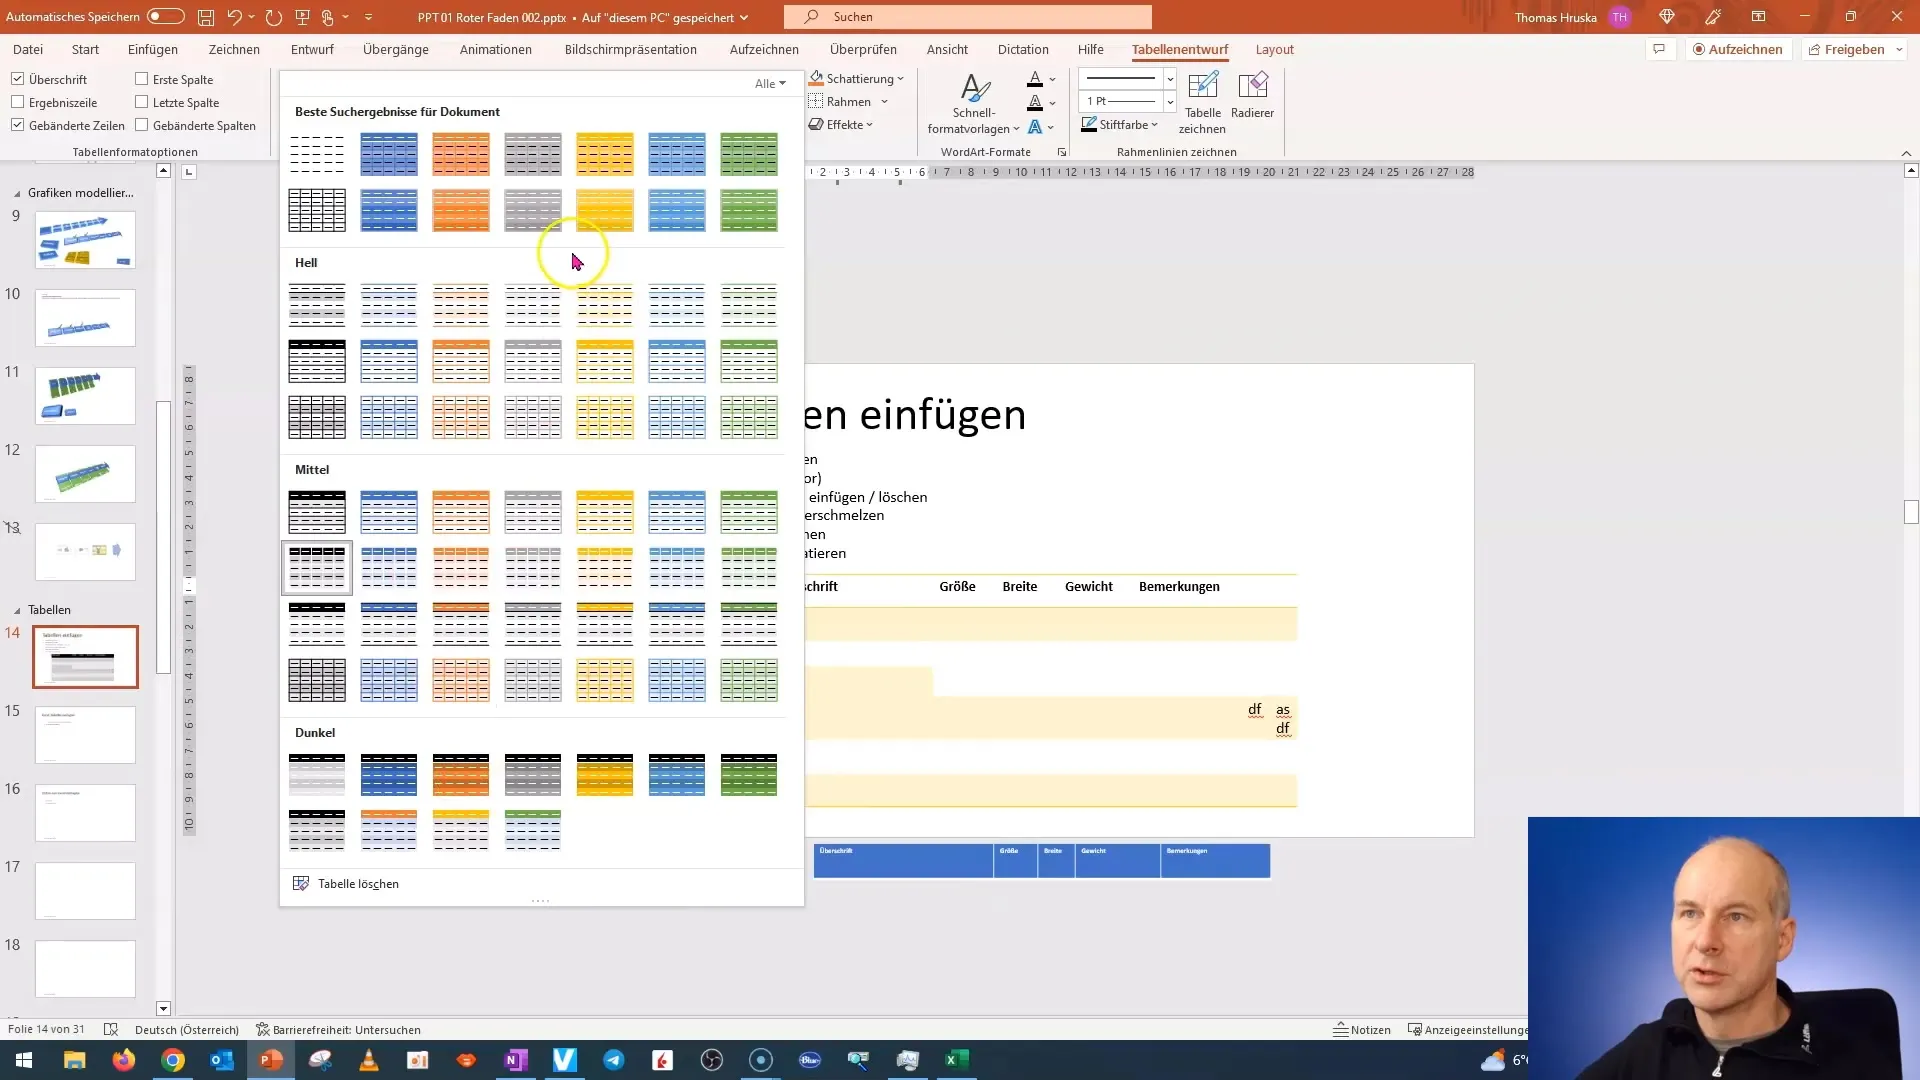
Now let's move on to formatting the table. PowerPoint offers a variety of design templates when you click on the table. Experiment with different styles to enhance the design of your table.

In addition, you can use formattings such as borders and shading to visually enhance your table.
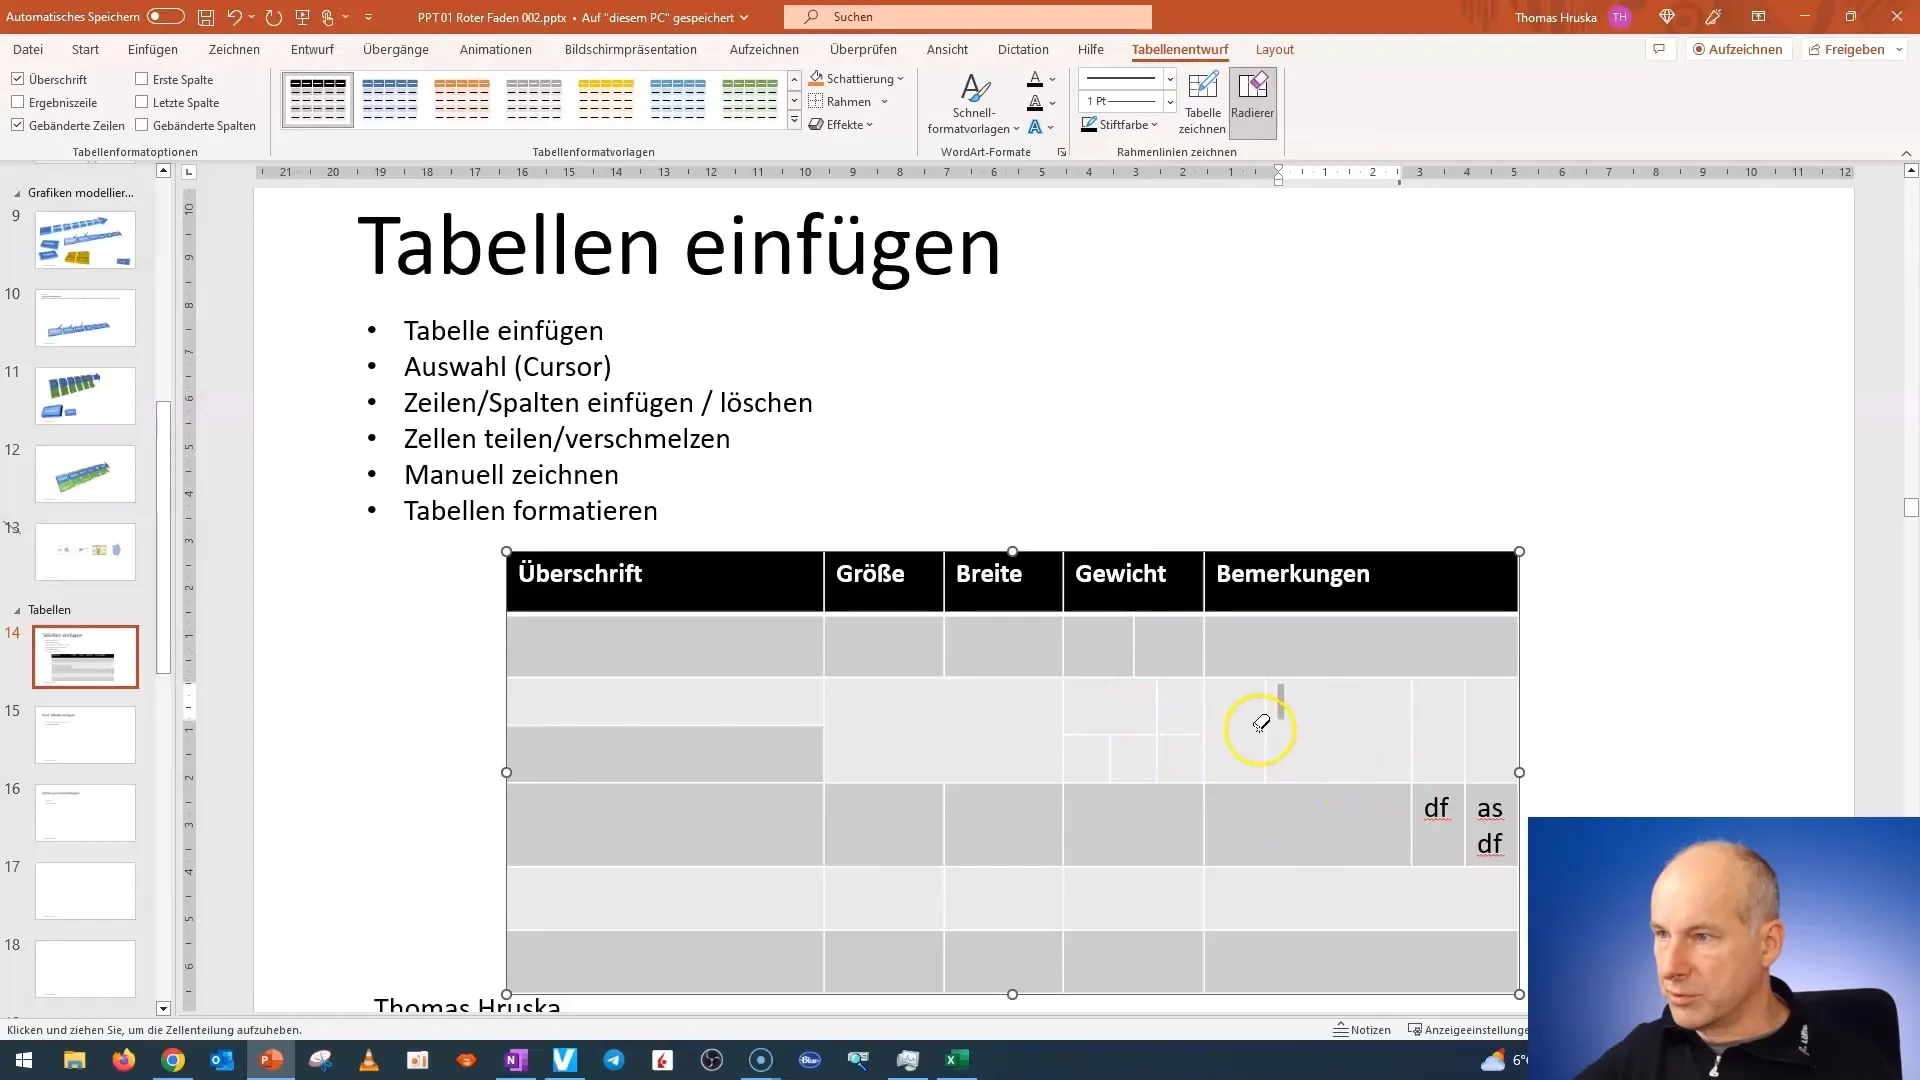
If you want to remove lines that you have drawn, you can use the eraser tool in the "Table Design" tab to delete the desired lines.
With the above steps, you now have a good understanding of tables in PowerPoint and their flexibility. In the next unit, we will take a closer look at how to efficiently import data from Excel to further utilize the functionality of PowerPoint.
Summary
In this tutorial, you have learned how to insert, edit, and format tables in PowerPoint. From basic functions like adding and deleting rows and columns to advanced features like drawing tables and applying formatting, you have received a comprehensive introduction. Be prepared to apply your knowledge in the next unit on importing data from Excel.
Frequently Asked Questions
How do I insert a table in PowerPoint?Go to the "Insert" tab, click on "Table," and choose the number of rows and columns.
Can I adjust the size of the cells?Yes, you can adjust the size of the cells by dragging the edges of the cells.
How do I delete a row or column from my table?Select the row or column, press the "Delete" key, or right-click and choose "Delete."
How can I merge cells in my table?Select the desired cells, right-click, and choose "Merge Cells."
Is there a way to manually draw tables?Yes, go to "Table Design" and choose "Draw Table" to manually create lines.


