In this tutorial, you will learn how to customize PowerPoint header and footer entries such as page numbers and date individually. These elements are crucial for designing your presentation and help in presenting your information clearly and structured. We will walk through the steps for editing these elements in the slide master as well as on individual slides.
Key Takeaways
- Changes made in the slide master apply to all slides.
- Modifications on an individual slide are specific and override master settings.
- It is essential to recognize and understand layouts in the slide master.
Step-by-Step Guide
Start by deciding if you want to make changes in the slide master or on individual slides. Using the slide master allows you to create a consistent design for all slides.
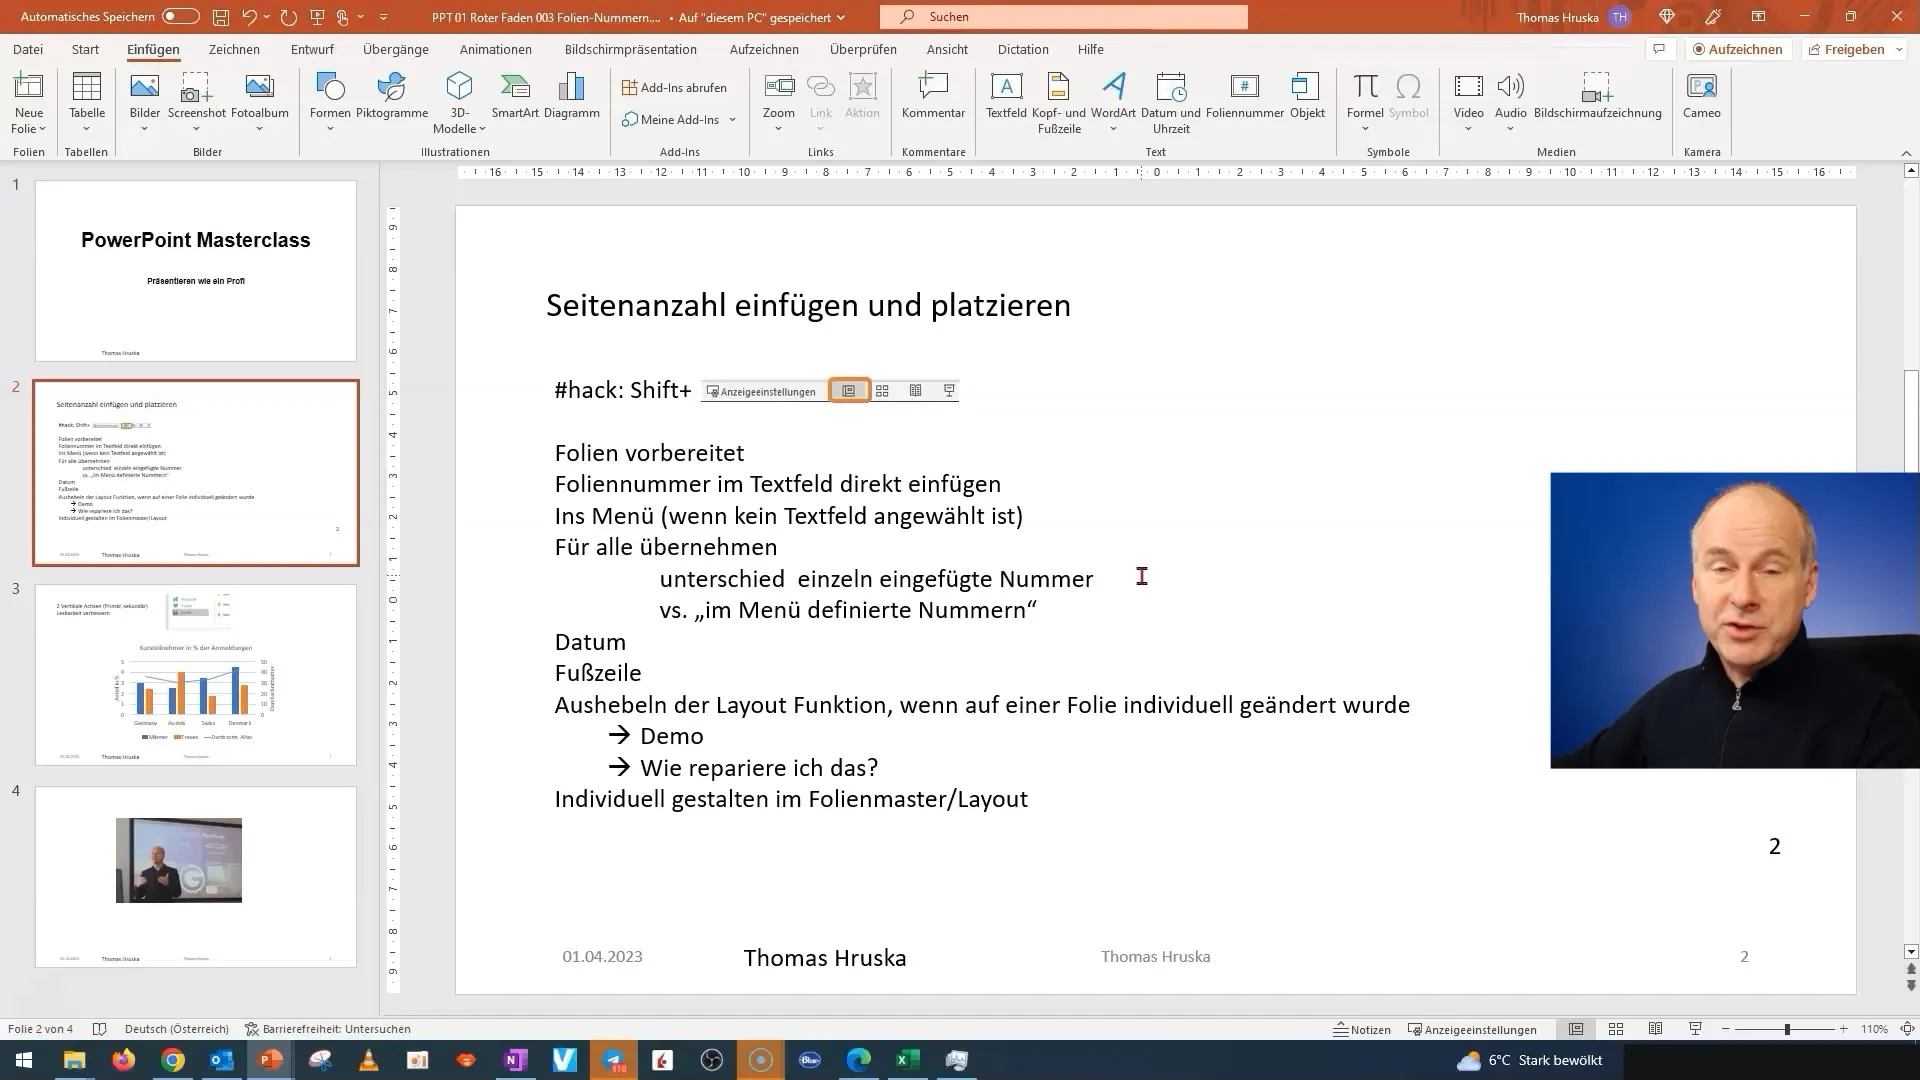
To access the slide master, click on the "View" tab in the menu bar and select "Slide Master." You can also do this quickly with the keyboard shortcut Shift + F1. Here, you will see all the slide layouts you can use in your presentation.
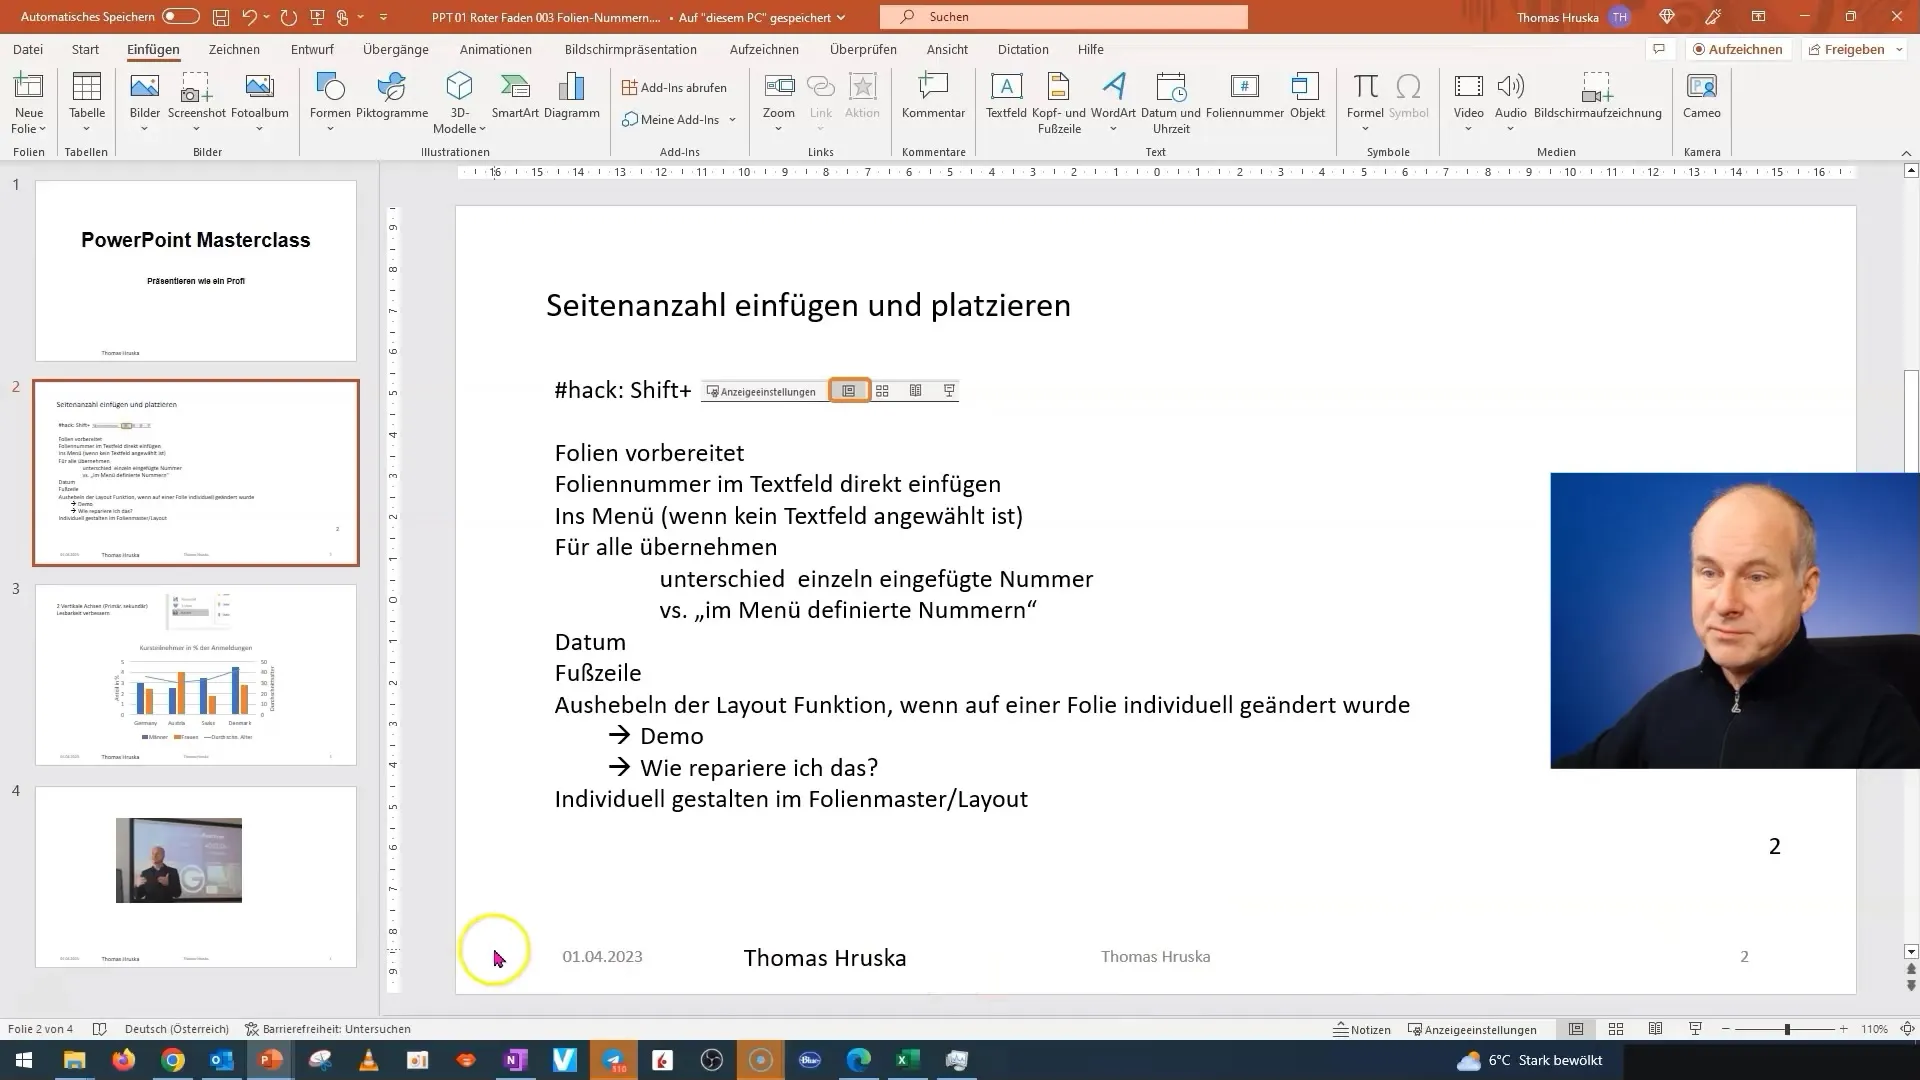
In the slide master, you will find the header and footer areas. If you want to change the page number, simply click on the corresponding area and drag it to the desired position. You will notice that the changes affect all layouts applied to your presentation.
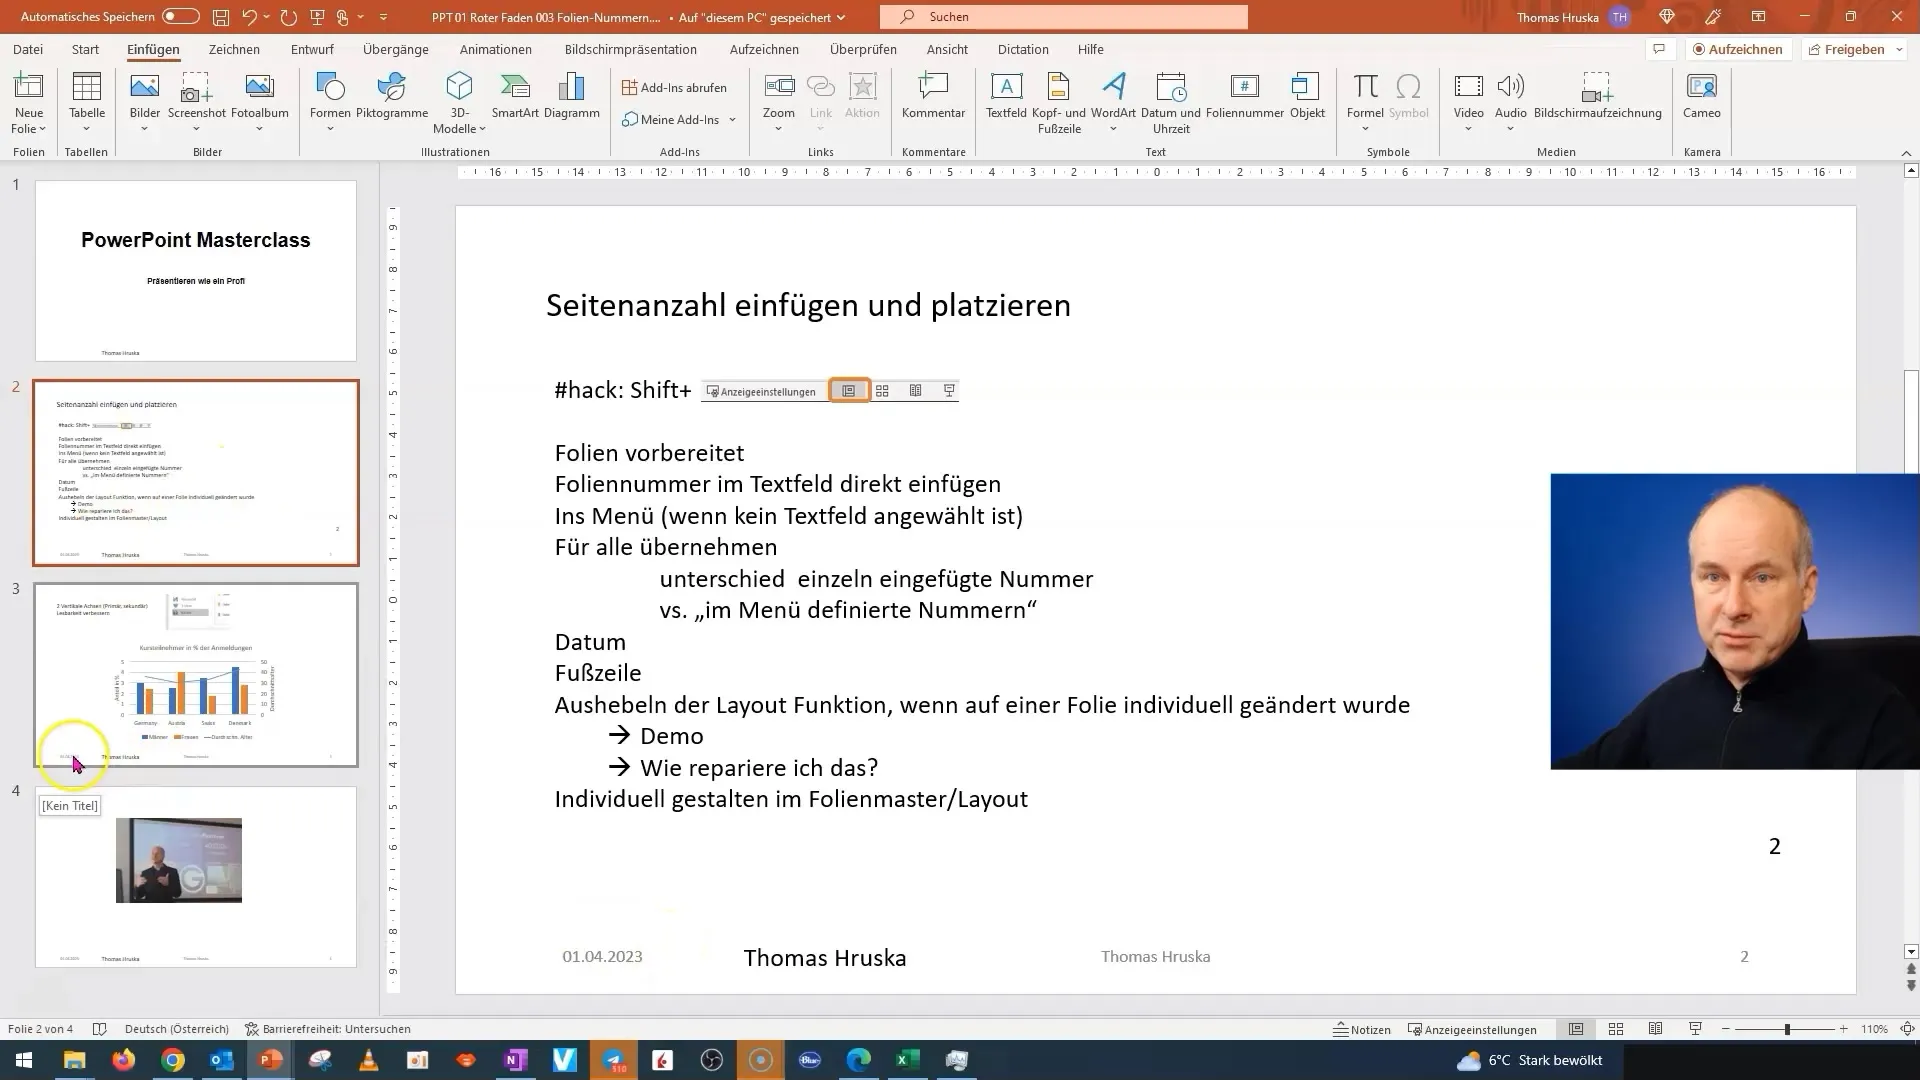
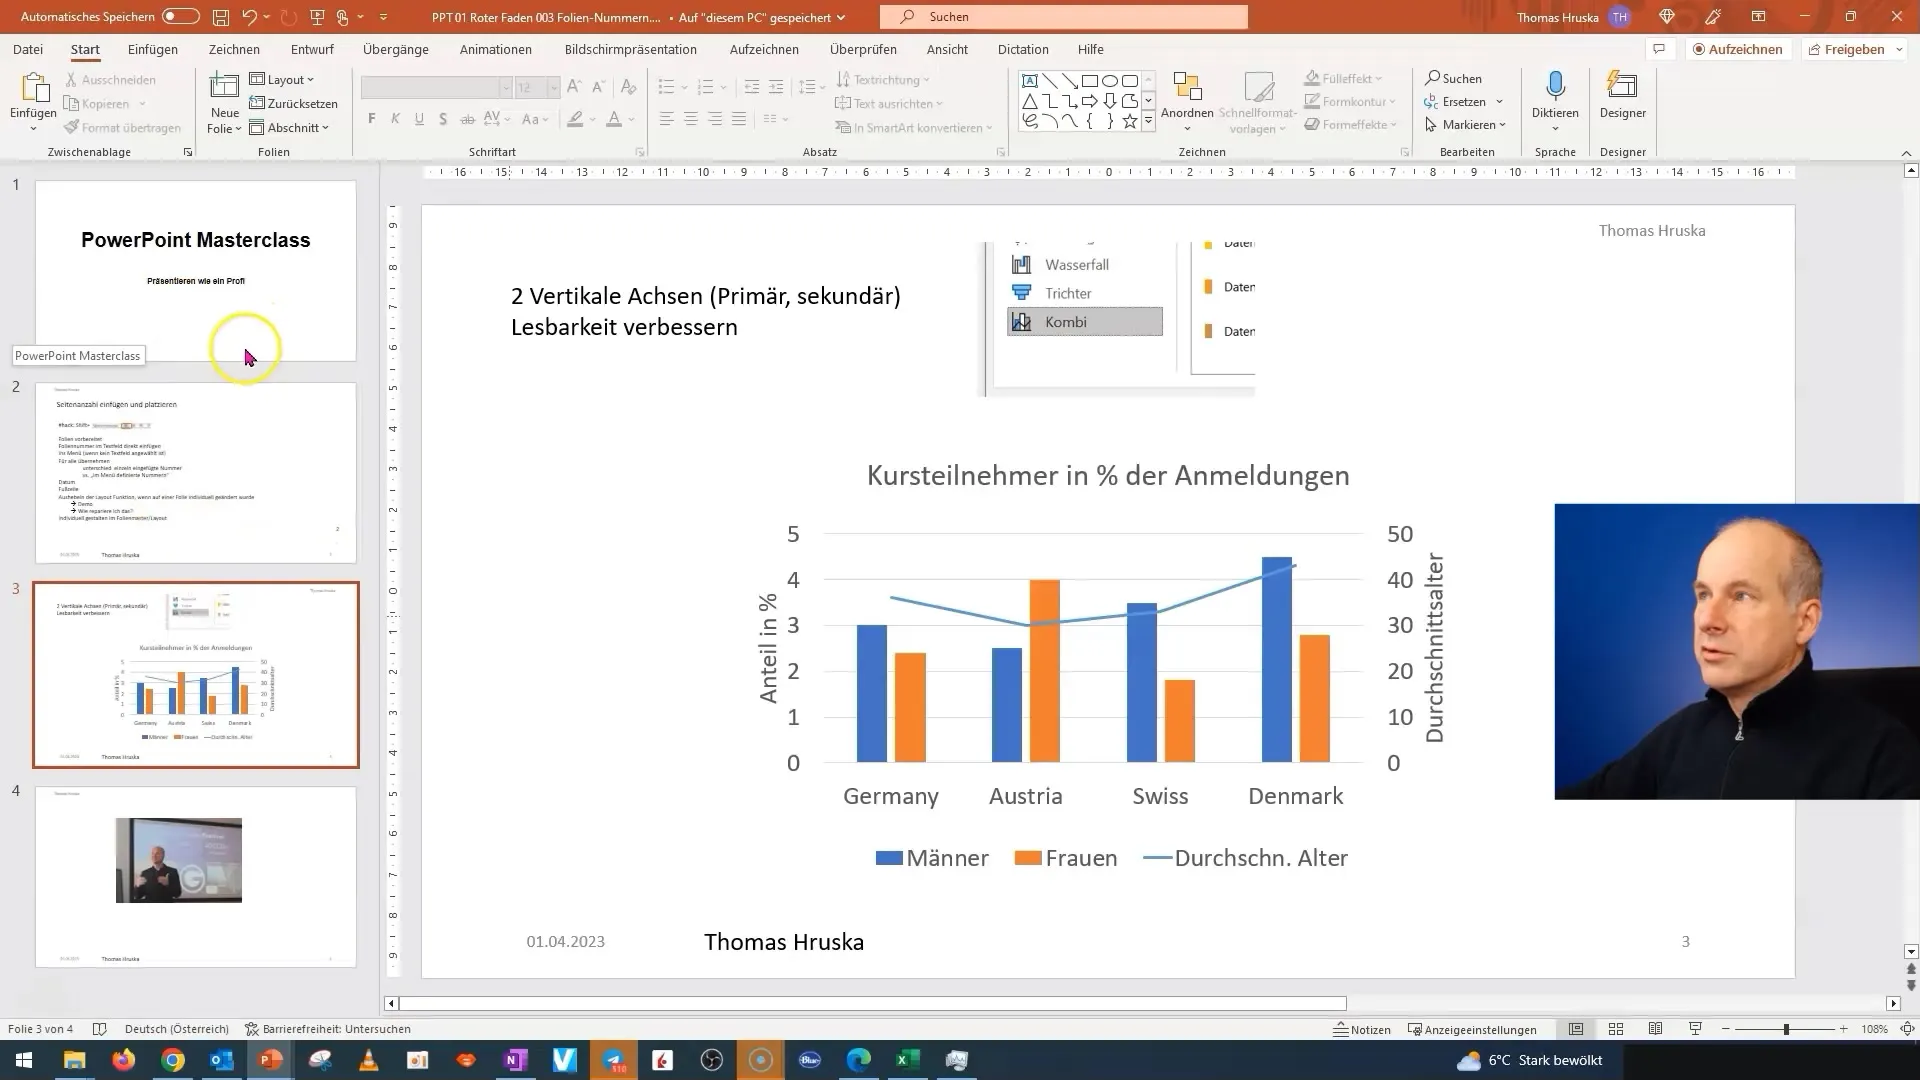
If you want to make adjustments for a specific slide, you can return to the slides and change the layouts there. This means that the adjustment applies only to that specific slide. Choose the layout you want to edit — for example, let's switch to a layout with images.
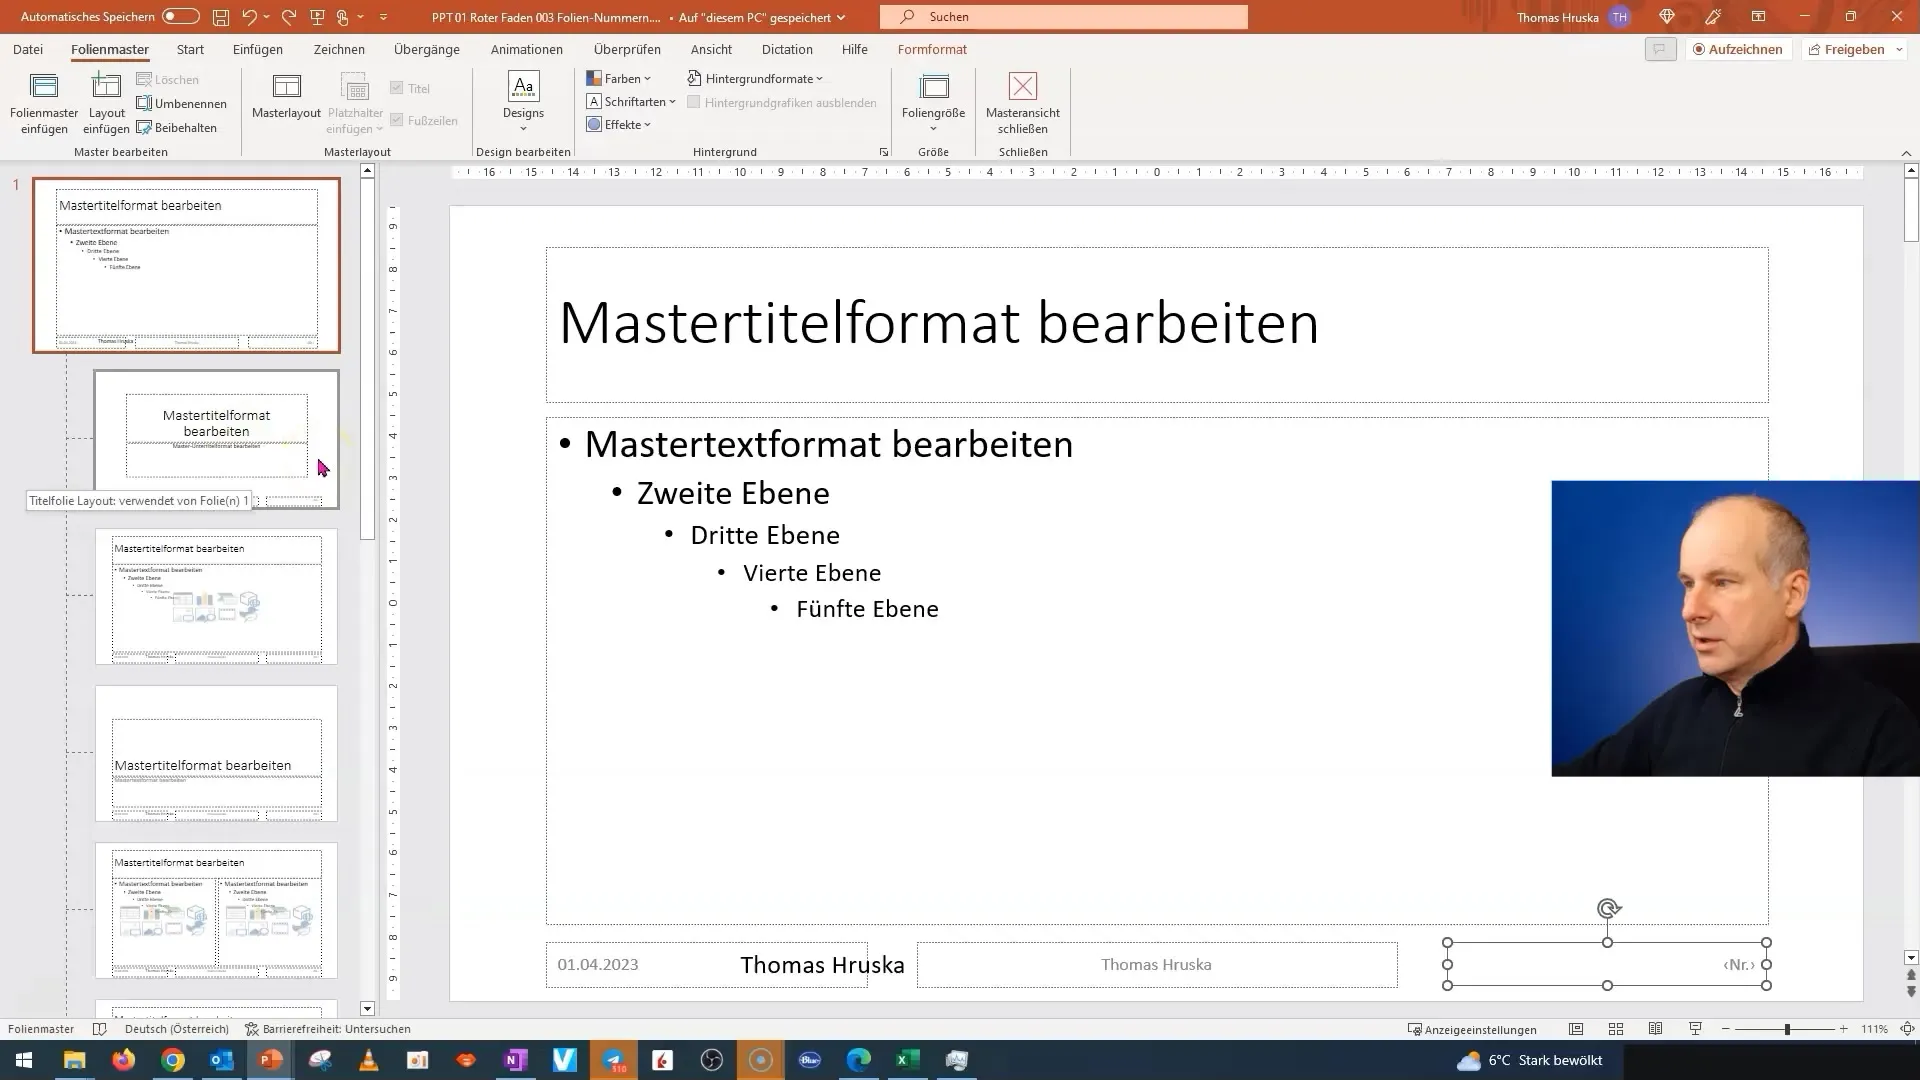
Here you can customize the header or footer individually. If the page number or date is distracting, you can easily move them to the appropriate position or hide them if they are unnecessary for a specific slide. This ensures that only the specific slide is modified, while all other slides remain unchanged.
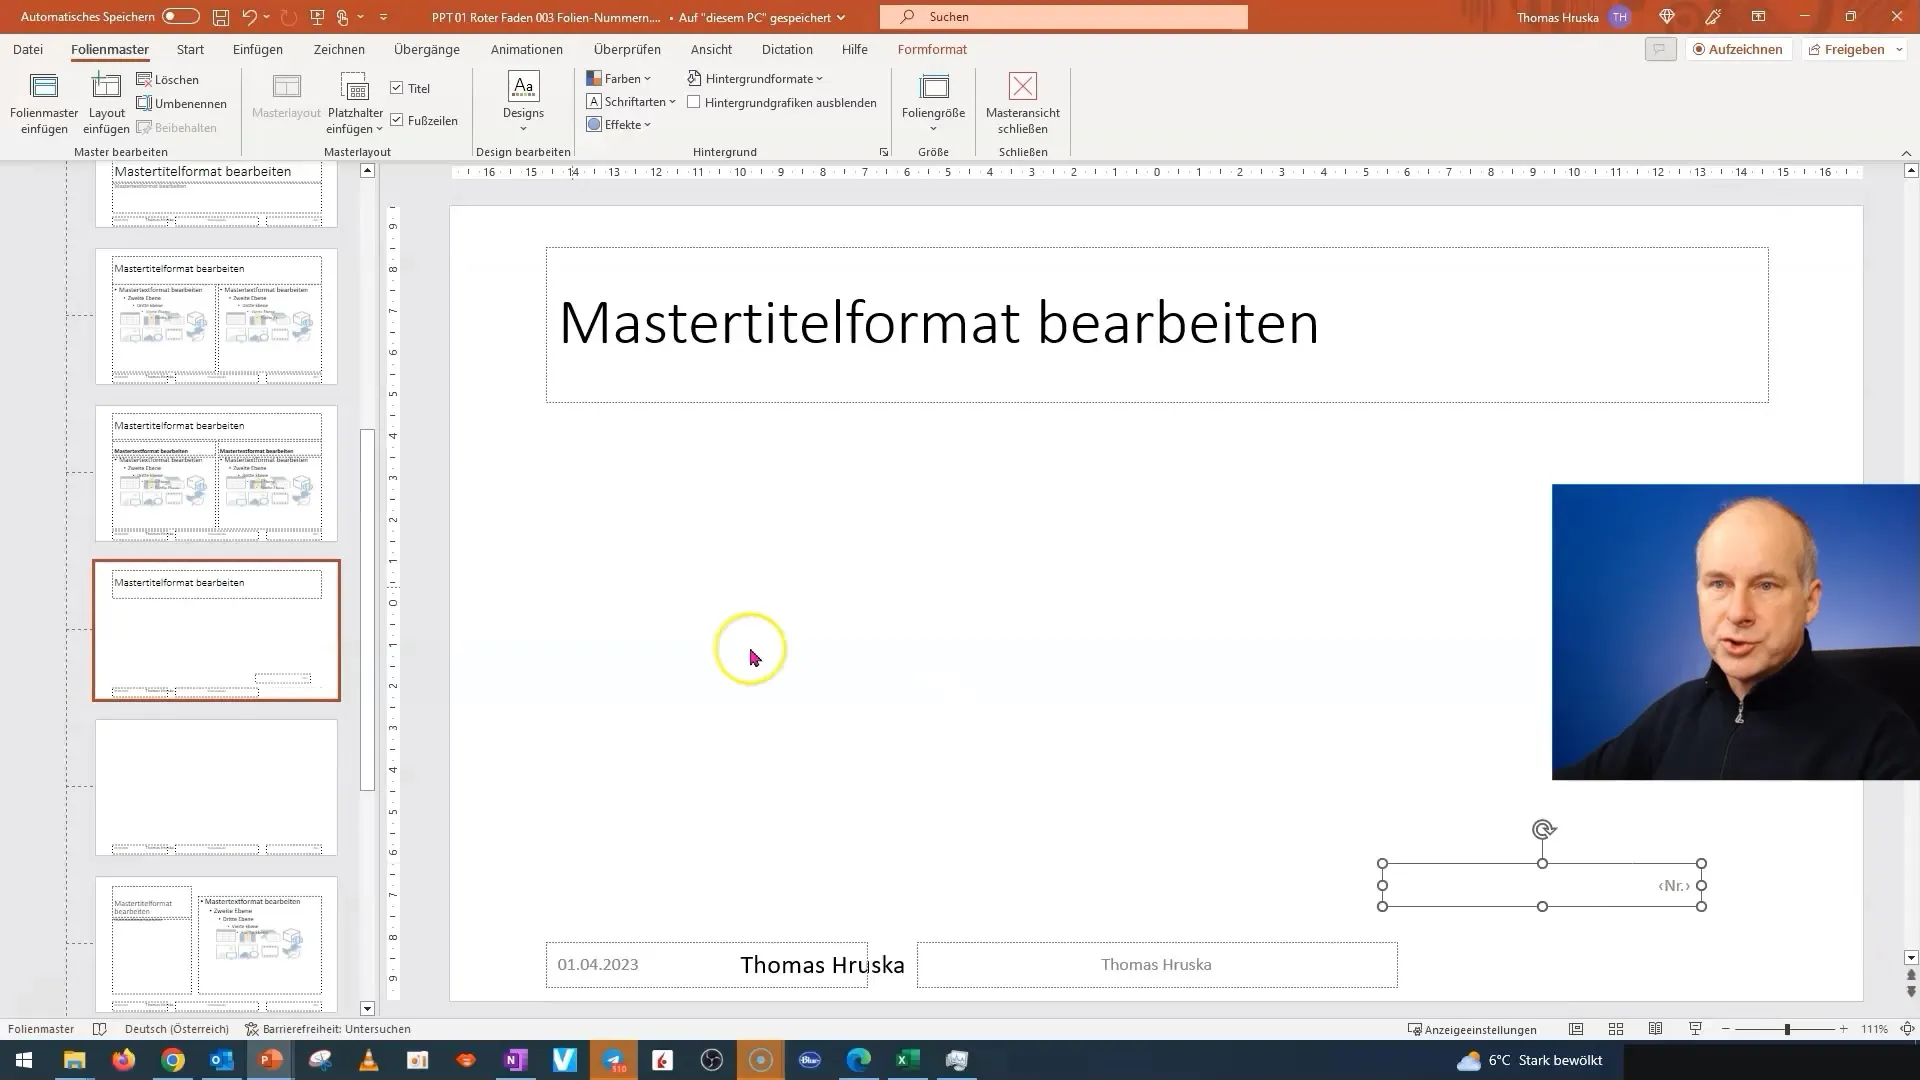
Once you have made the changes, go back to the slide master to verify that everything has been implemented correctly. When working on a slide with the title layout, make sure the settings have been applied correctly.
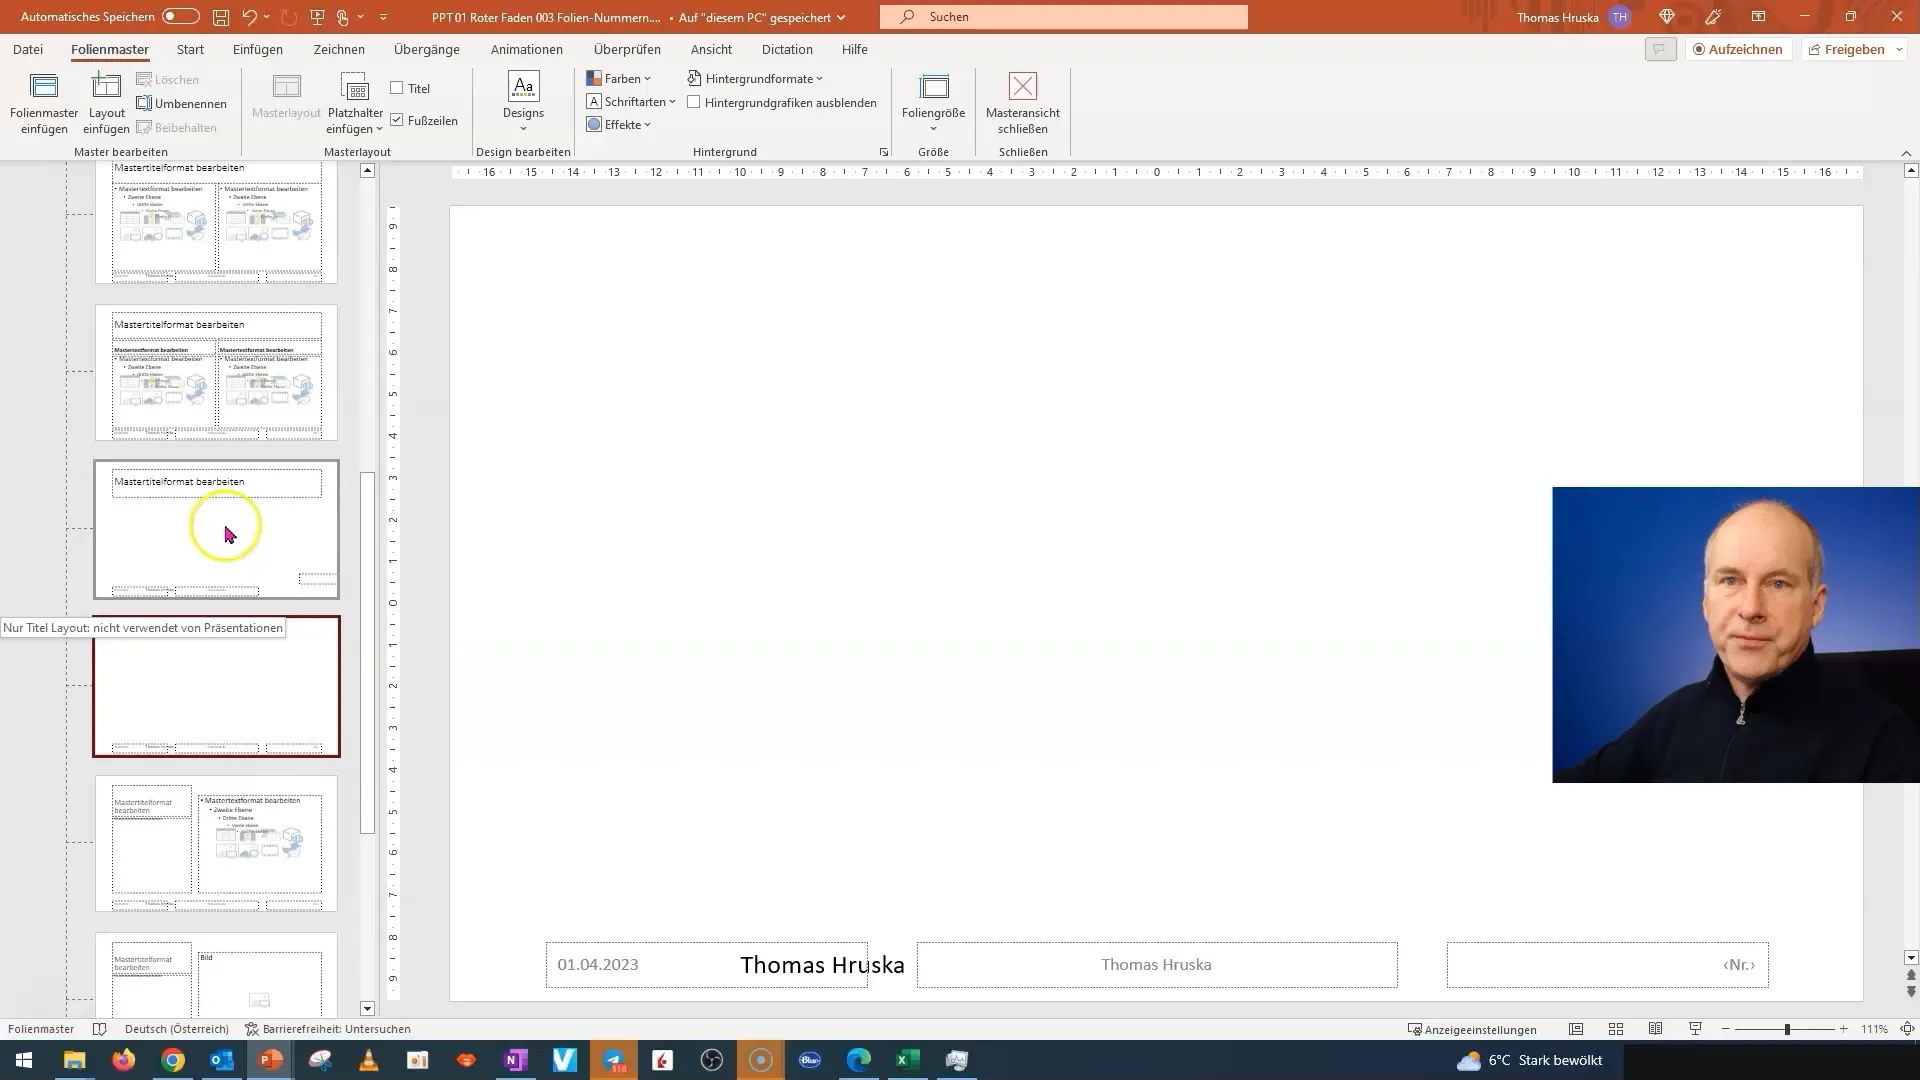
It is important to note that certain changes in the master view need to be reset when making individual adjustments to slides. For example, if you have shifted the header on the master level to the left, it will appear on the left on all slides except the slide where you made a specific change.
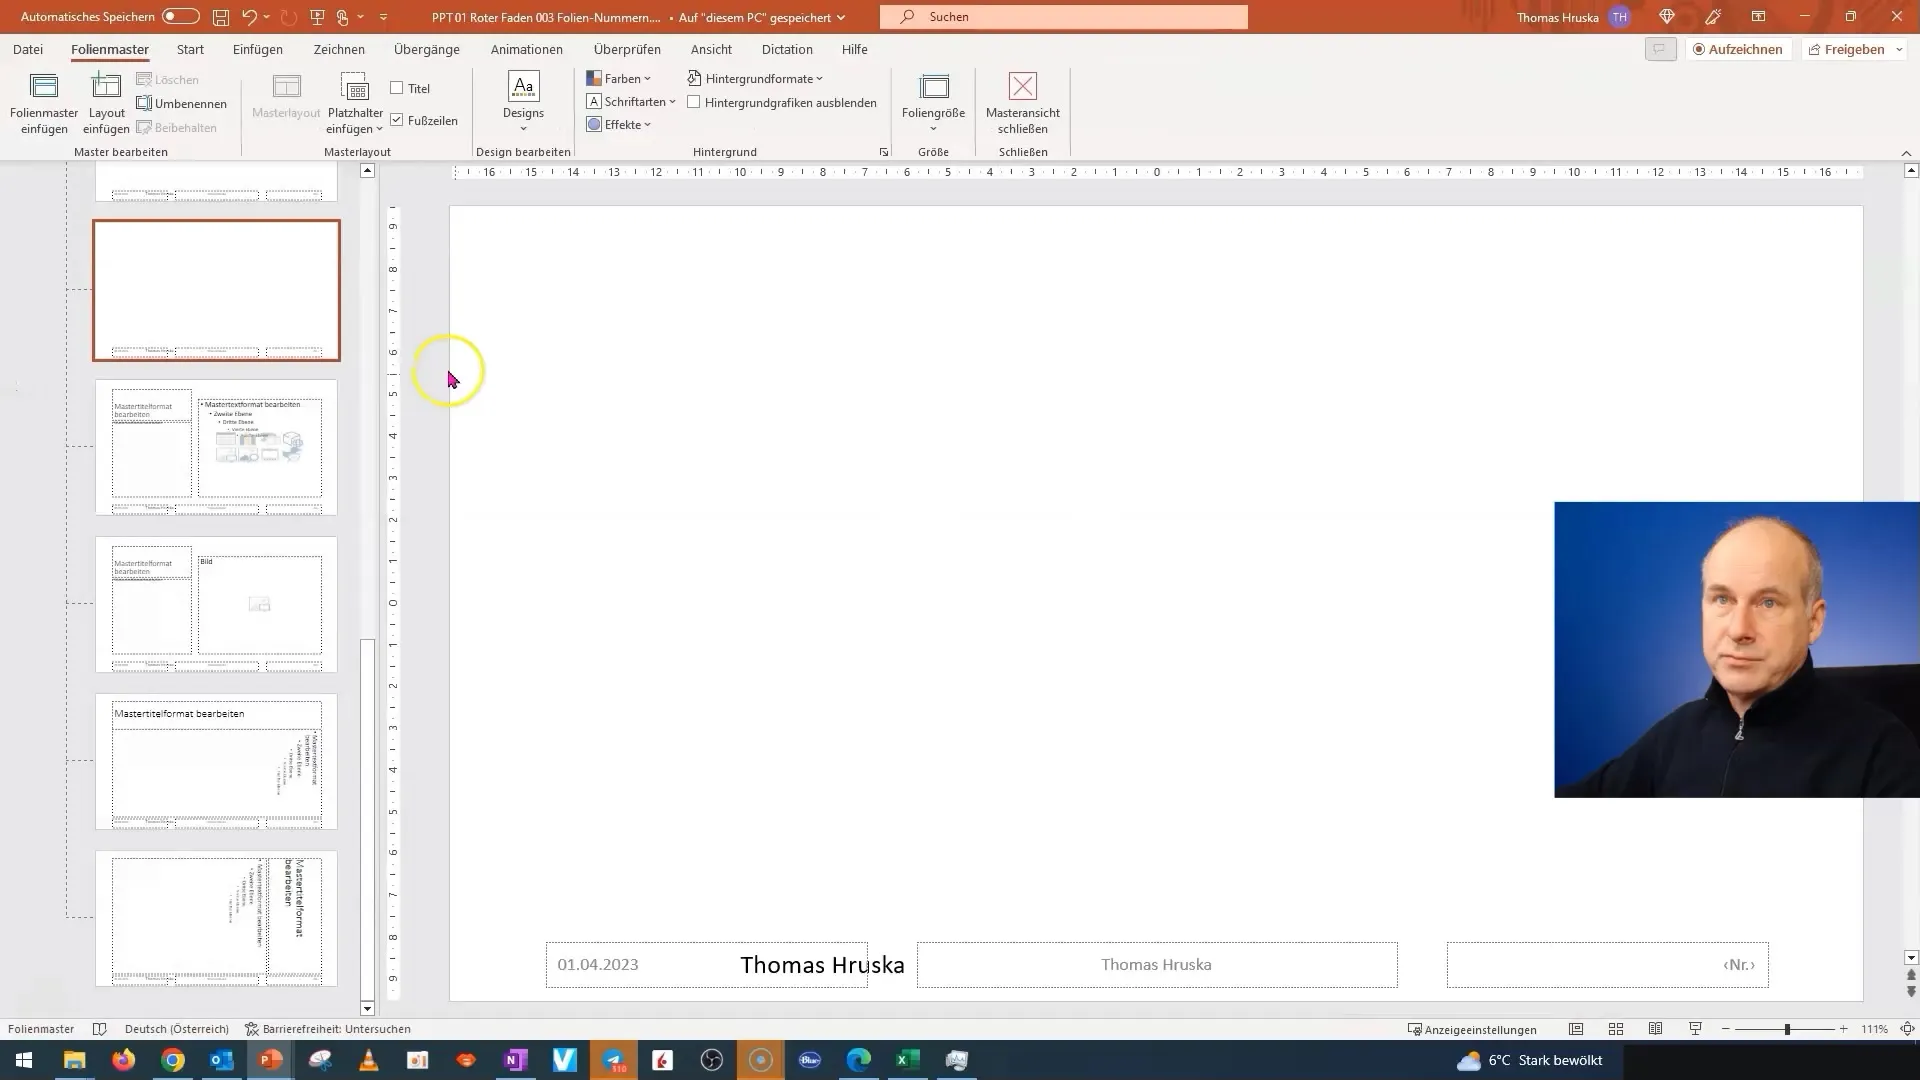
To make an opposite adjustment, go back to the master view and move the elements to the desired position. This way, you can ensure that the individual setting does not affect all slides.
Summary
In this tutorial, you have learned how to edit the headers and footers in PowerPoint both in the slide master and on individual slides. You now know that adjustments at the master level affect all slides, while individual changes apply only to specific slides.


