In this tutorial, you will learn how to professionally utilize custom animation paths in PowerPoint. I will show you how to create creative animations using specific examples such as a presentation on countries and a relocation concept that will make your presentations more lively and impactful. By doing so, you will not only develop appealing slides but also effectively convey information. Let's get started right away!
Key Insights
Using animation paths in PowerPoint allows you to customize movements and transitions. Custom animation paths help visually represent complex processes. With these animations, you can captivate your audience's attention and present information efficiently.
Step-by-Step Guide
Step 1: Start Presentation Mode
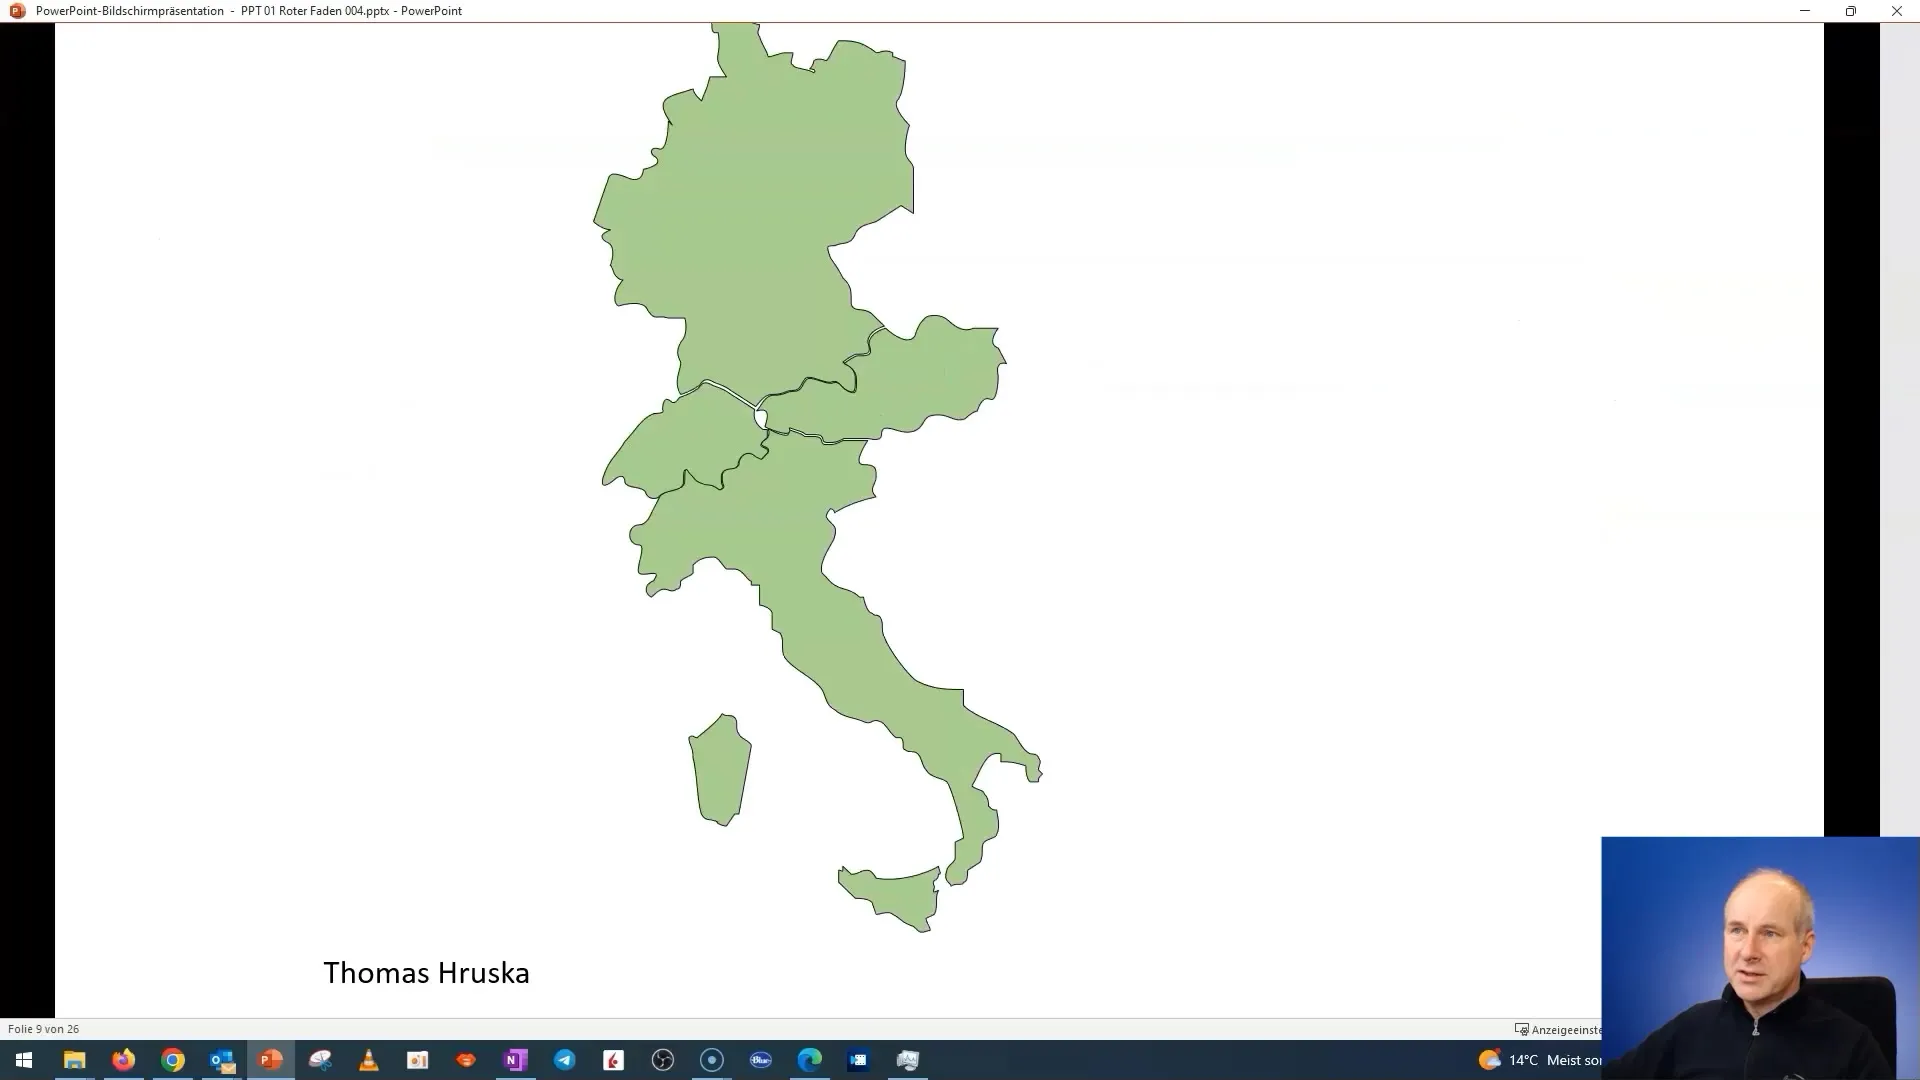
To begin, open your PowerPoint presentation and activate presentation mode. This gives you the opportunity to work visually and see how the animations appear. Once you're in presentation mode, you can start controlling your animations with a click of the mouse.
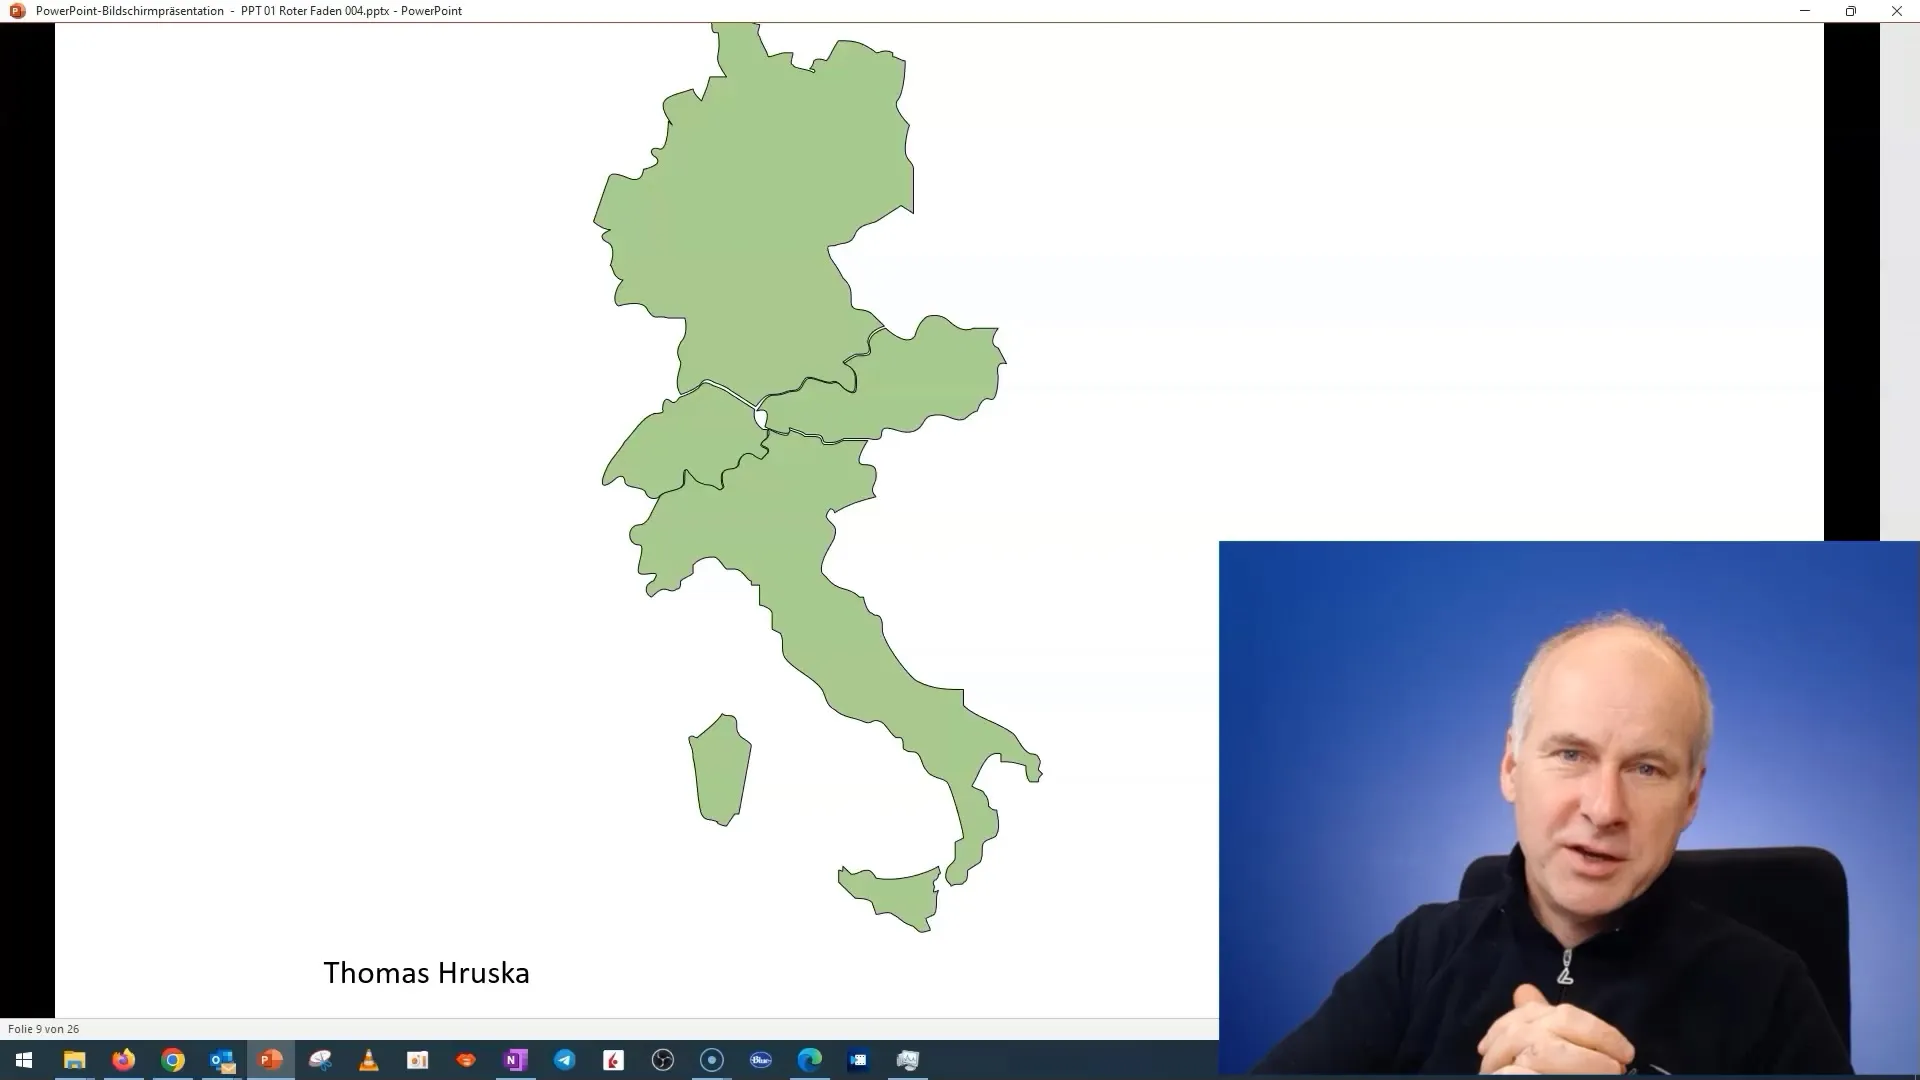
Step 2: Create a Basic Animation
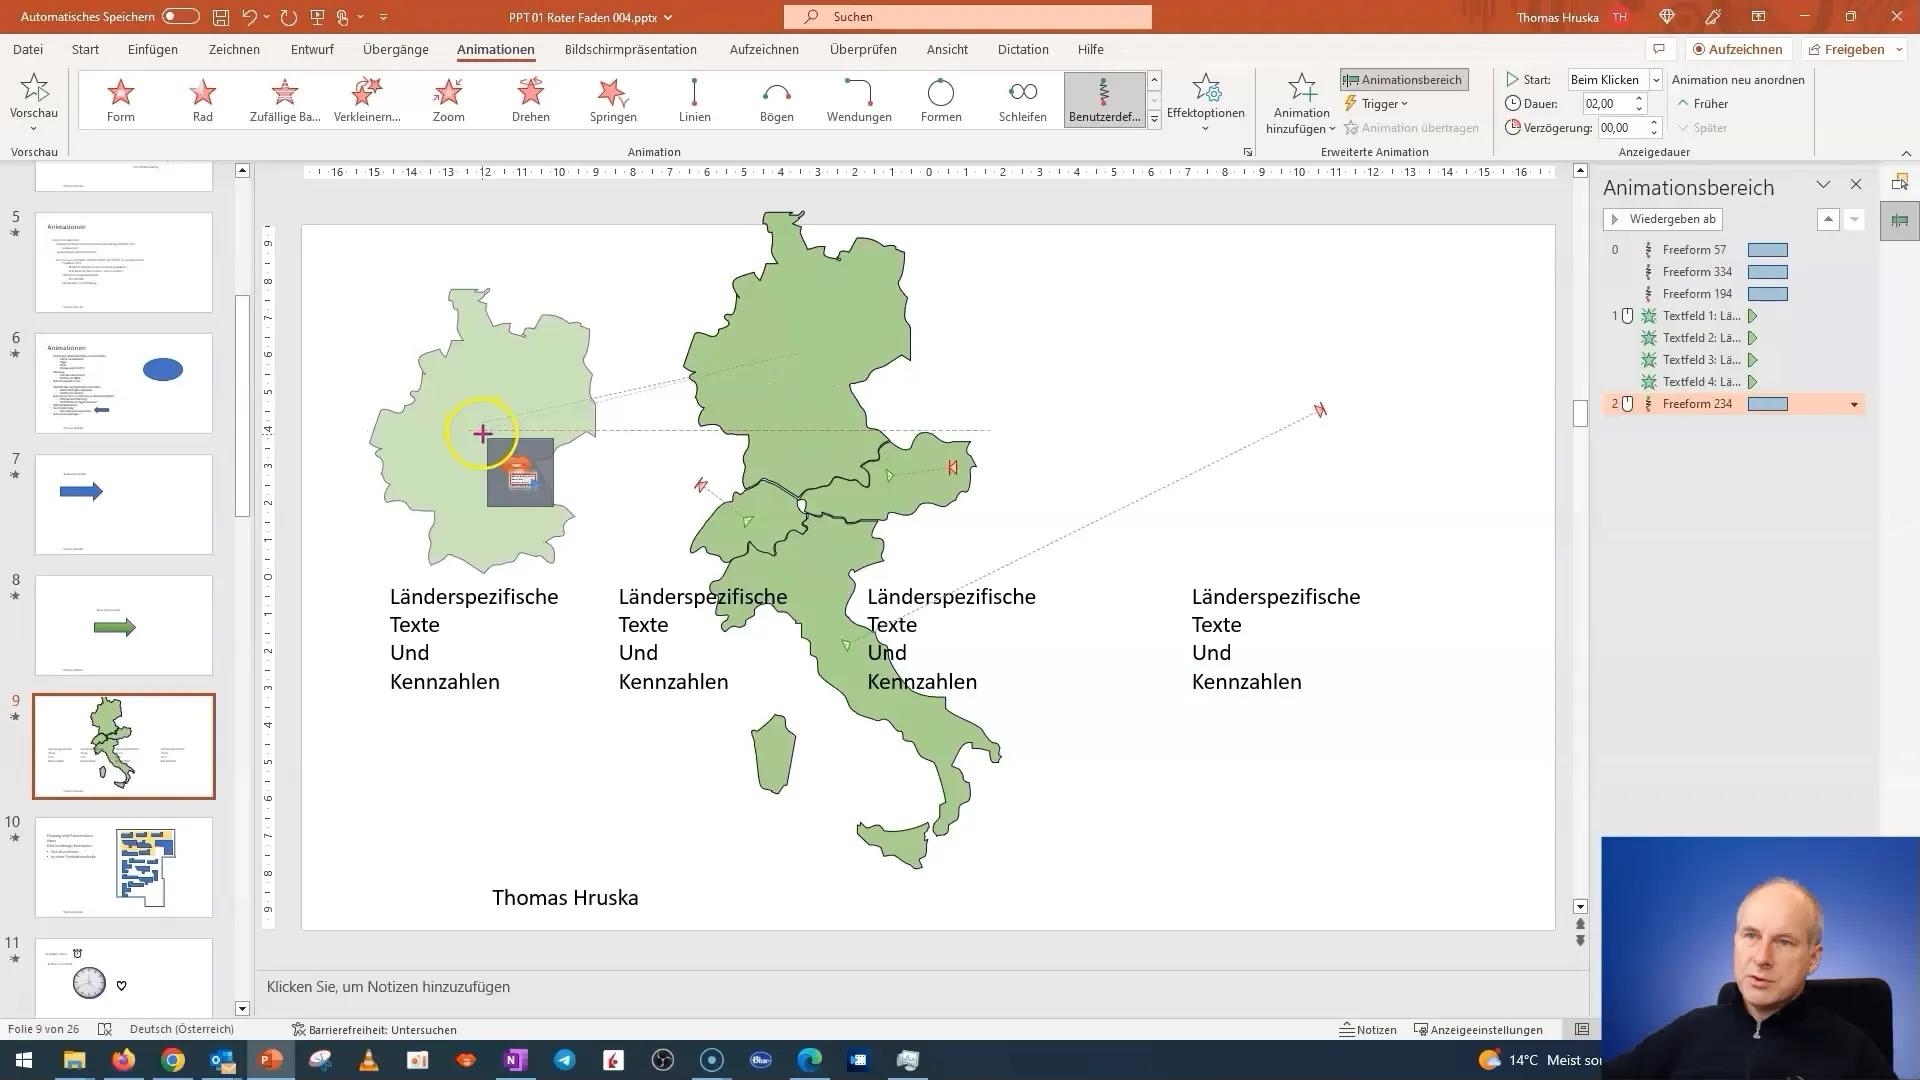
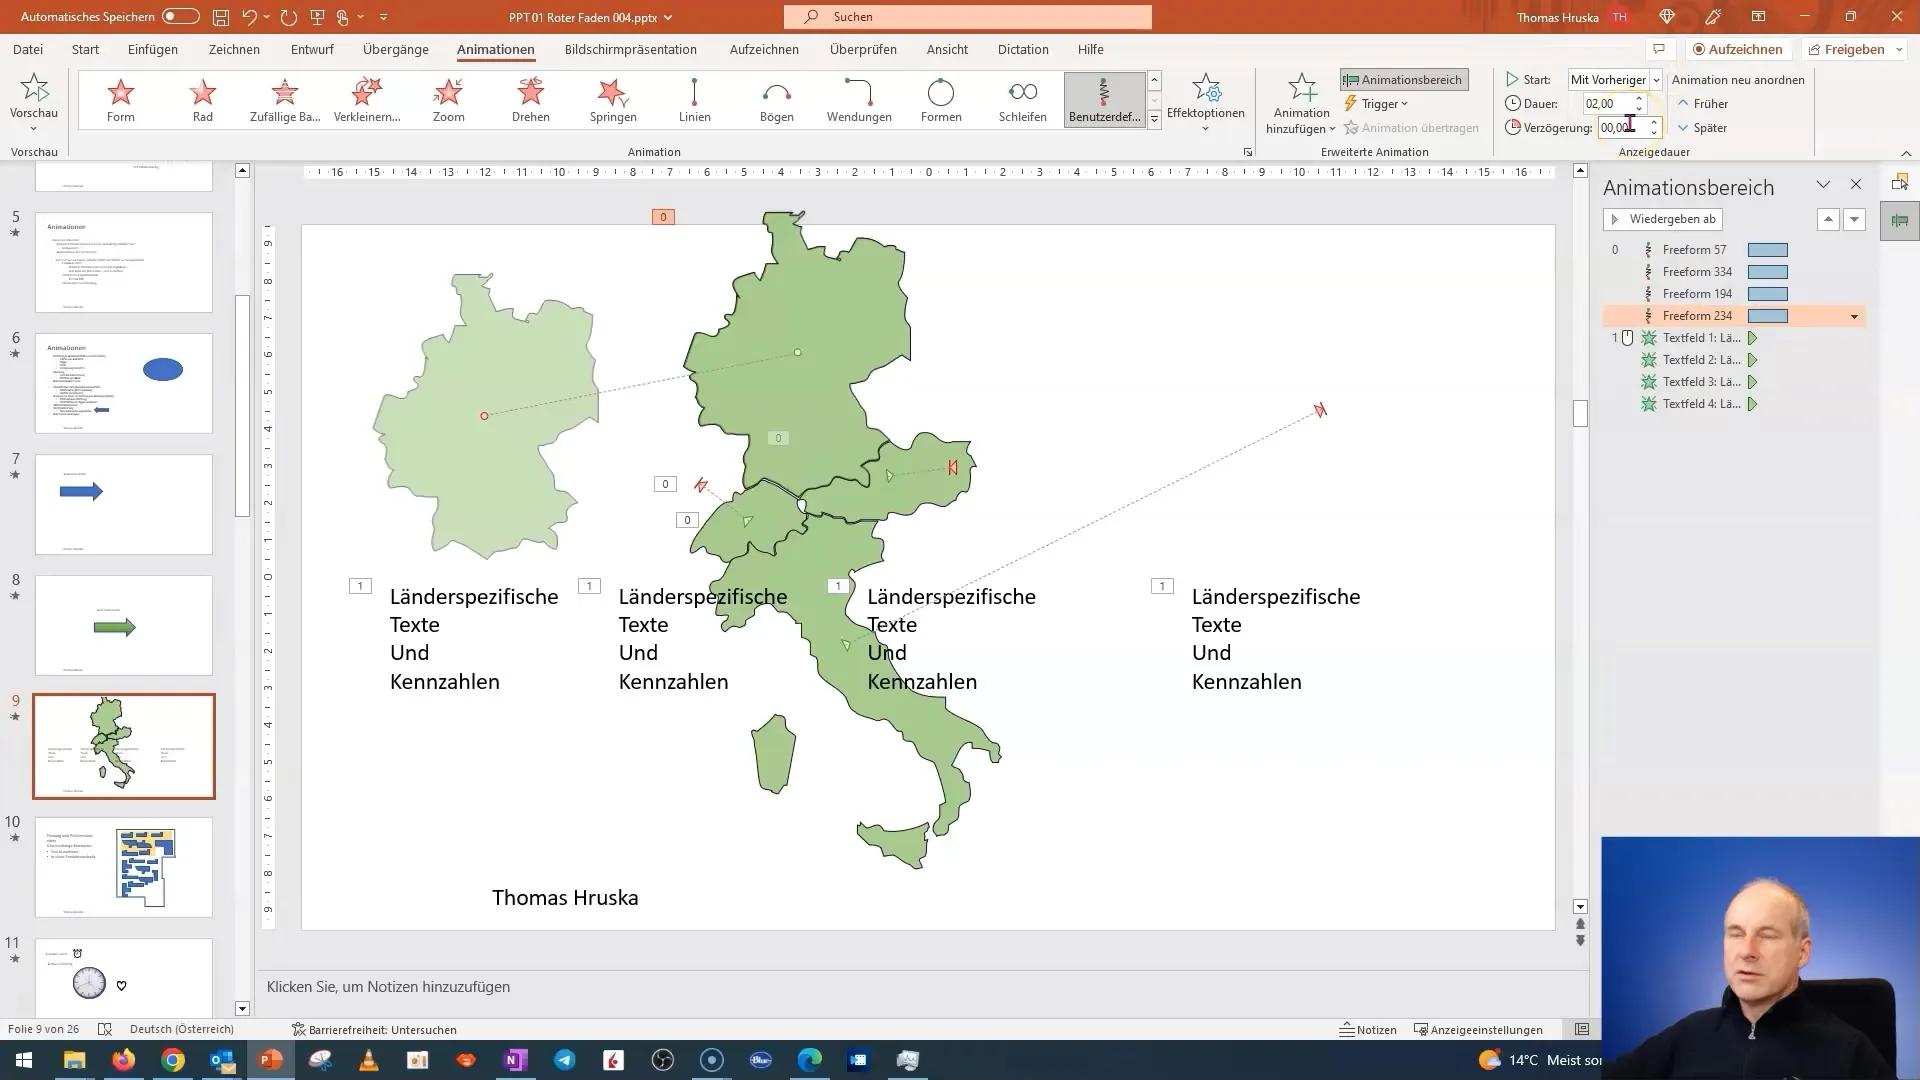
After opening the presentation, first select the object you want to animate, such as a map. Then click on "Custom Animation Paths". You can do this by selecting the object and then going to the "Animations" tab. Here, you can define the animation path to bring the selected object to life.
Step 3: Customize Animation
Once you've created the custom animation path, you can easily move the start and end points. Click on the animated path to select it, and drag it to the desired position. Remember to hold down the ALT key to control the movement precisely.
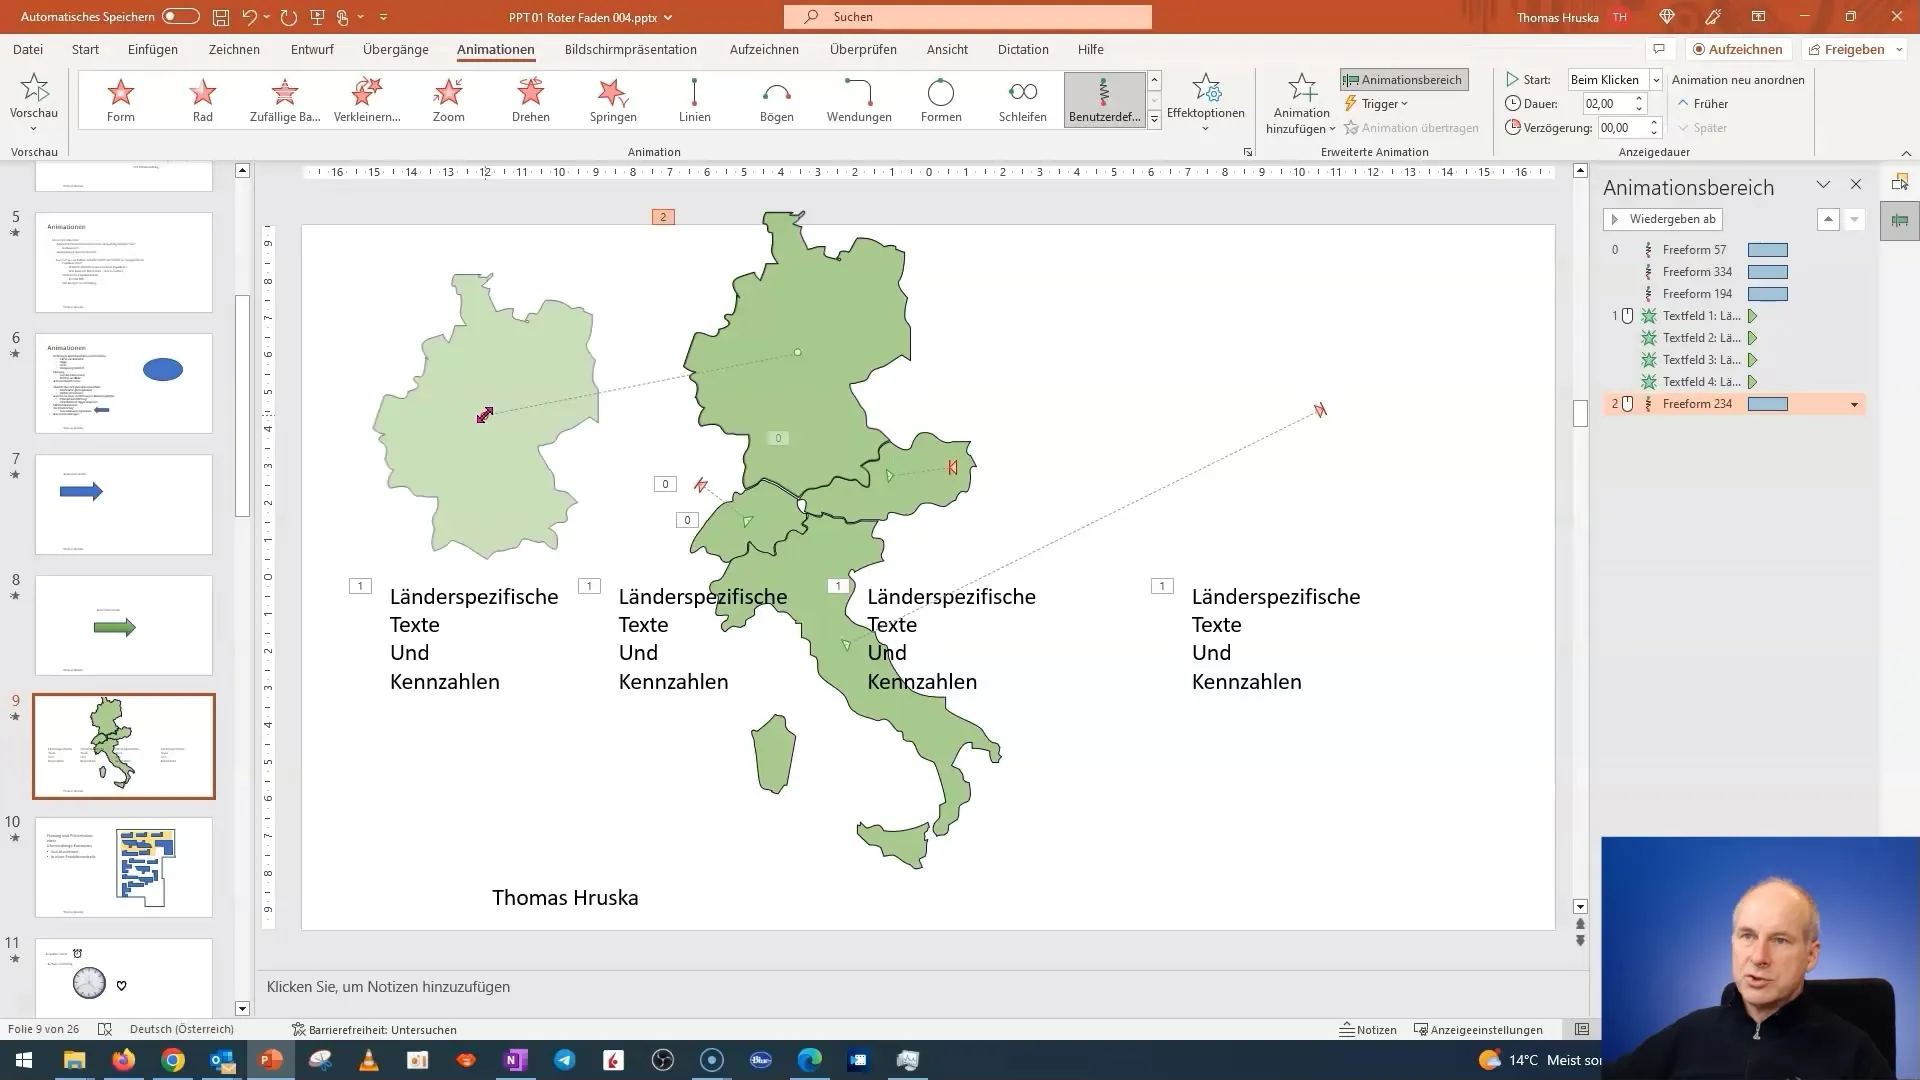
Step 4: Fine-Tune the Animation
Once you are satisfied with the position of the start and end points, the next step is fine-tuning. Right-click on the animation and select "Effect Options" to adjust the animation. Here, you can change the speed of the animation or determine whether the effect should be triggered on click or automatically.
Step 5: Ensure Fade-Out and Order of Appearance
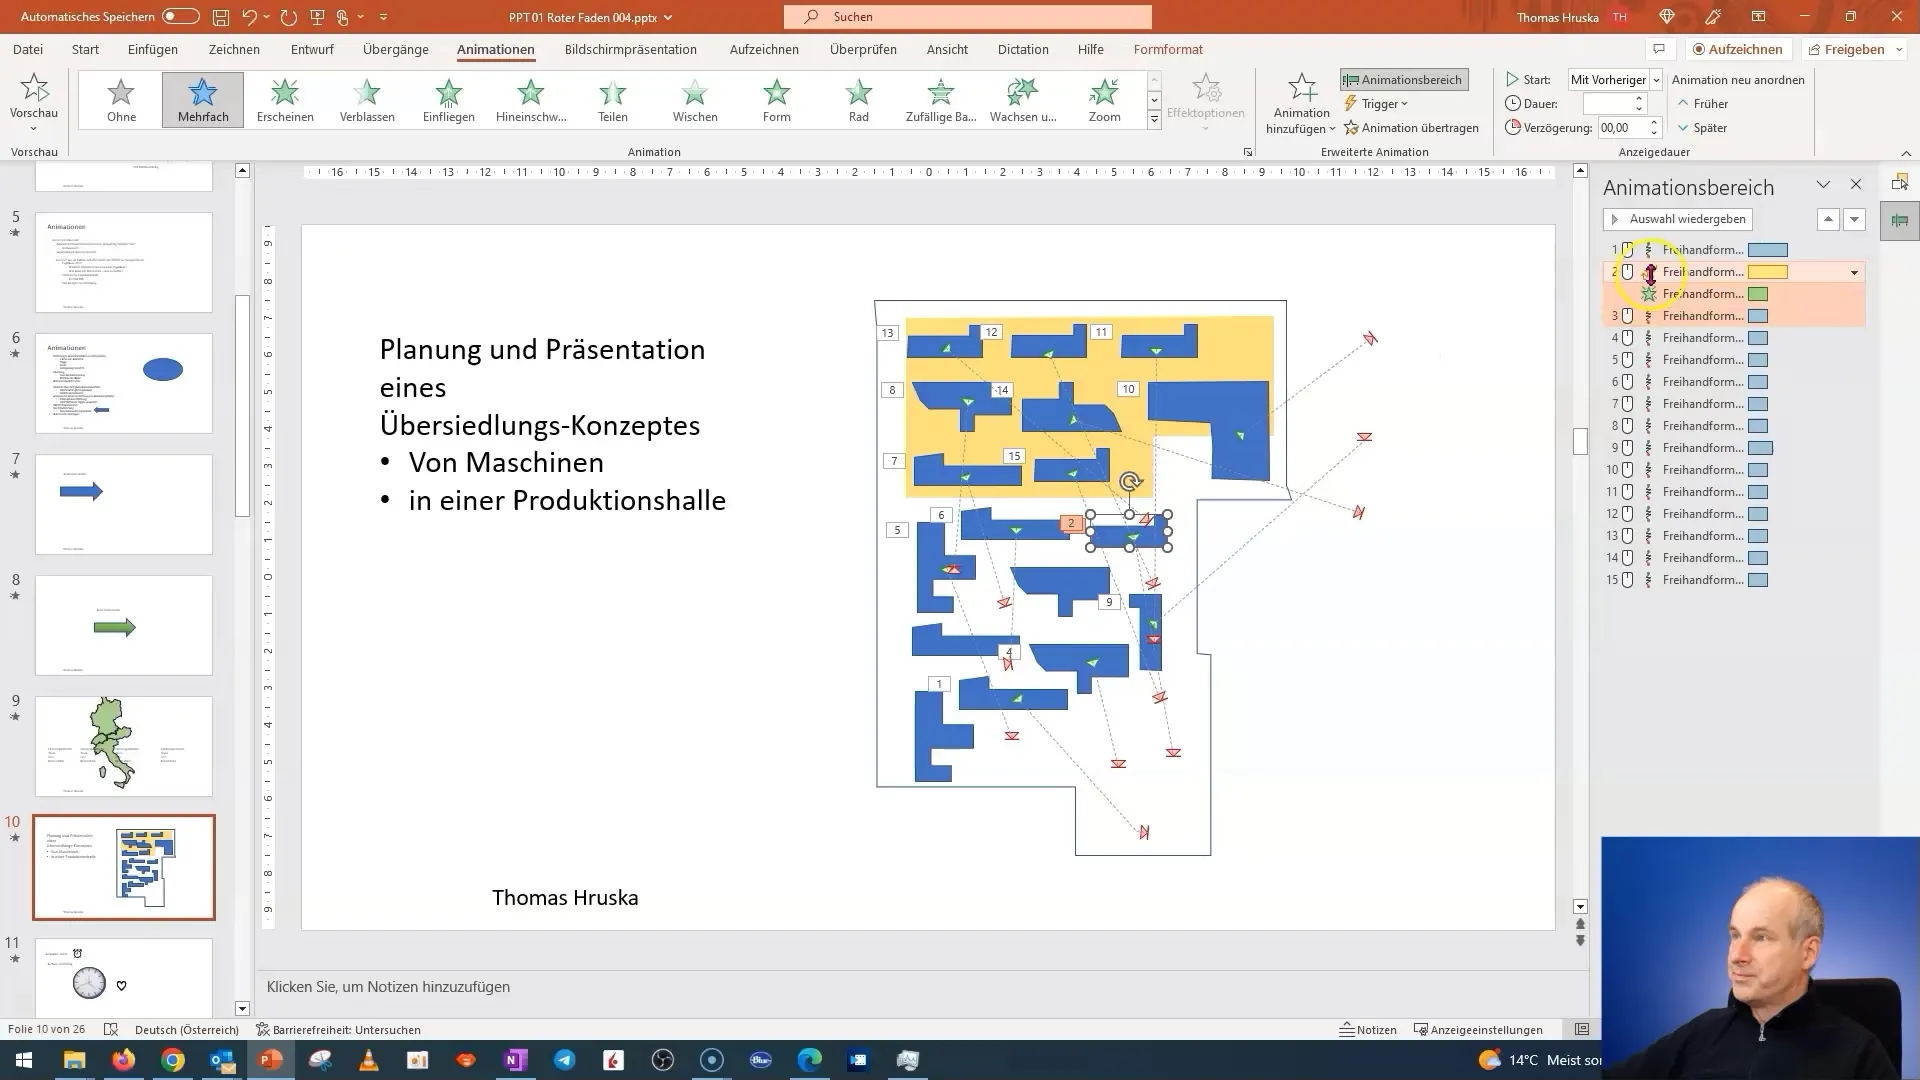
After creating the animation, it may be necessary to hide some objects or change the order of their appearance. Select the object you don't want to show immediately and ensure that each animation plays in the correct order. You can use the animation pane to control the execution of animations.
Step 6: Create More Complex Animations
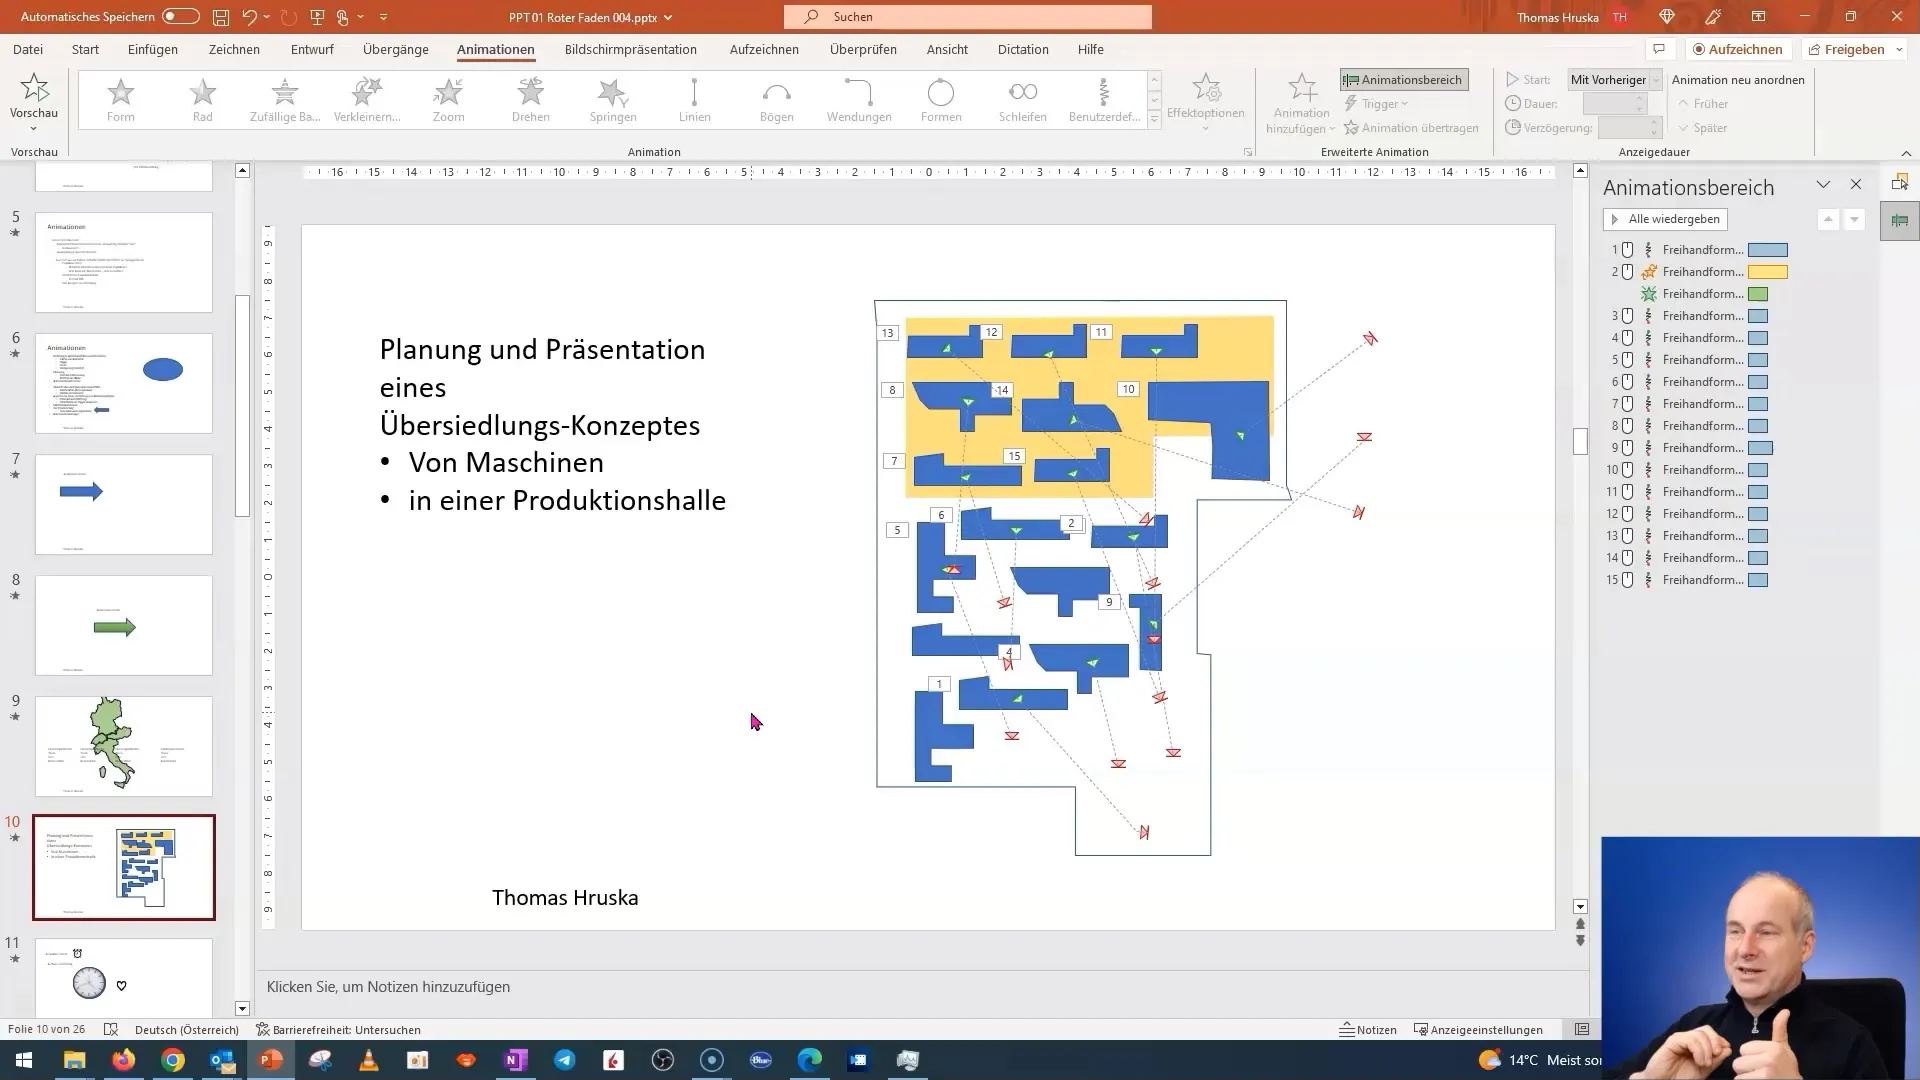
Now that you are familiar with the basics, you can start creating more complex animations. For example, you could integrate multiple machine animations to simulate a relocation process. Use the same steps as before but add multiple animations in a logical sequence to depict the entire process.
Step 7: Add Additional Effects
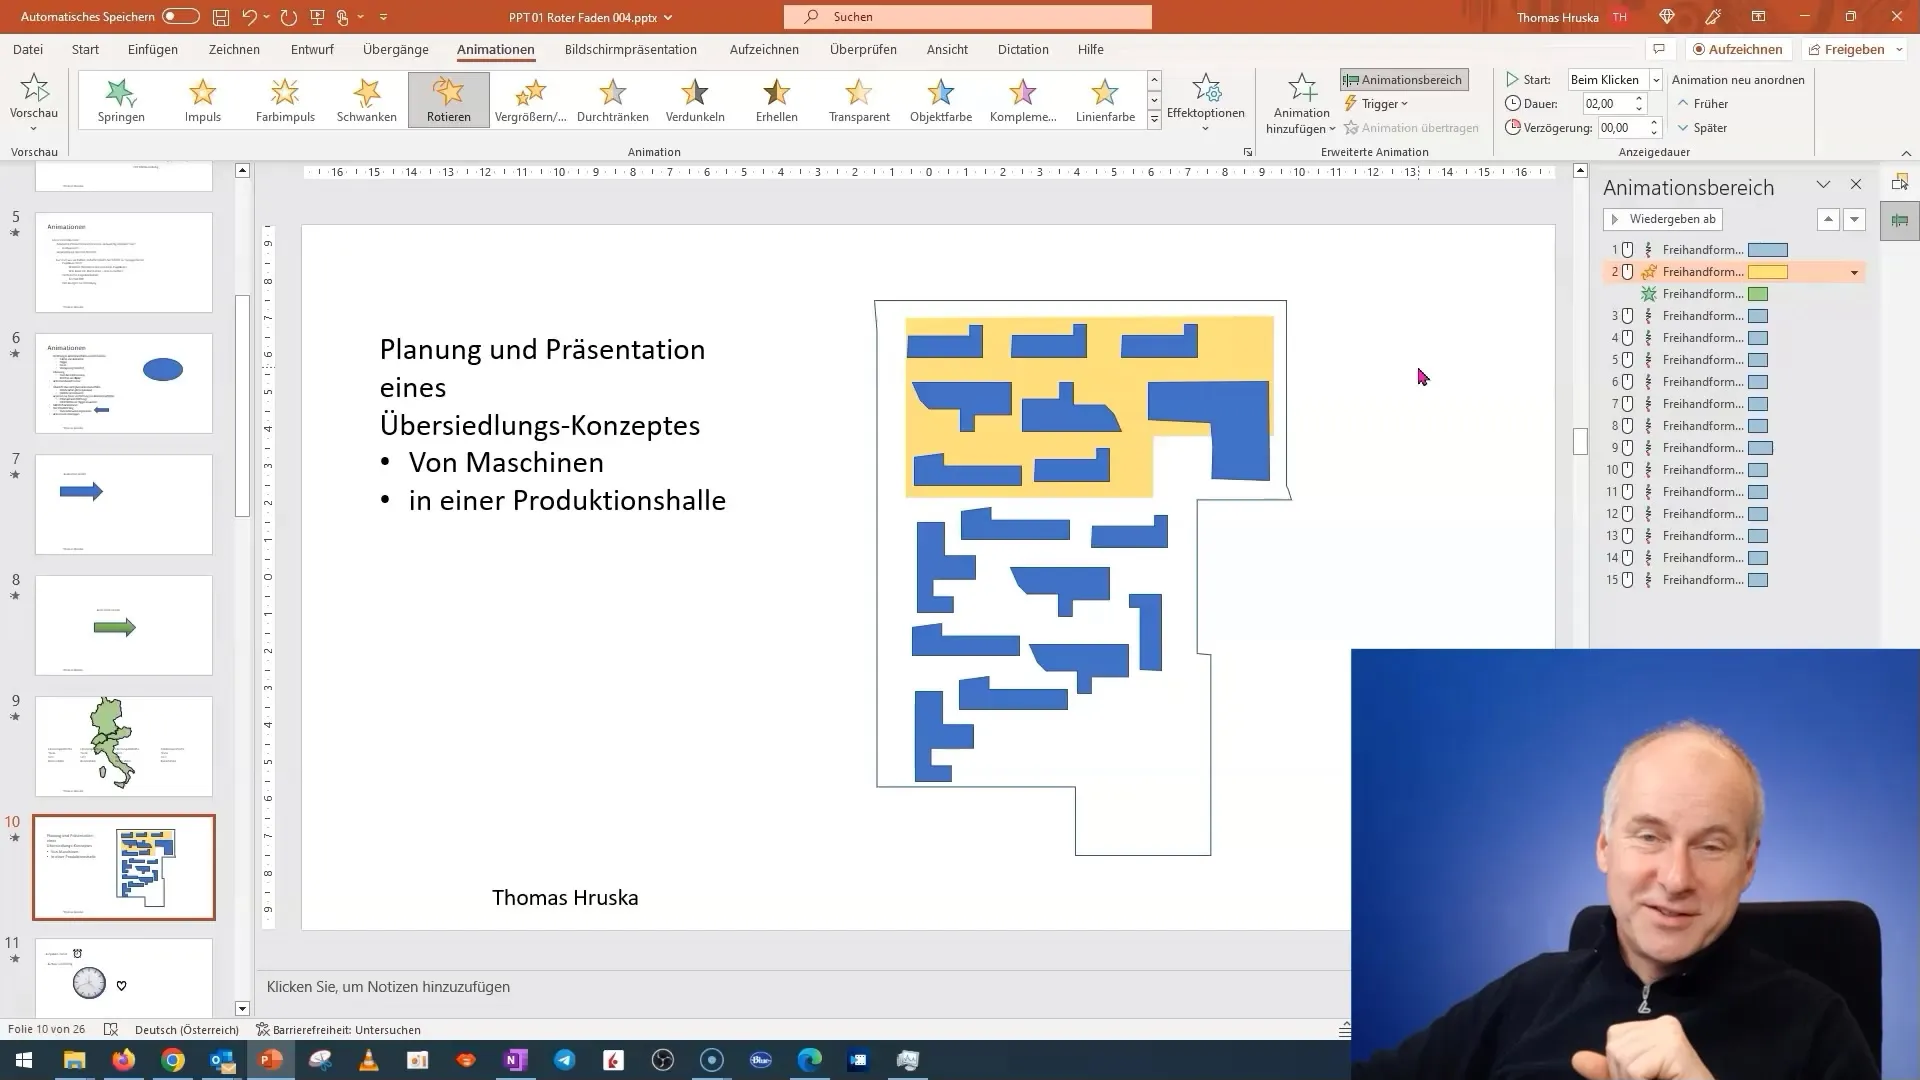
If you want to enhance your animation further, you can add additional effects. Consider if you want to rotate or scale your objects. You can also find this option under "Effect Options". Experiment with different rotation angles or timings to achieve a dynamic effect.
Step 8: Conduct the Presentation
The final phase is testing your animations in the presentation. Start the slideshow and click through the different slides while observing how the animations play out. Ensure that everything works smoothly and the animations appear as desired. Make adjustments if necessary.
Summary – PowerPoint: Professional Application of Animation Paths
In this tutorial, you have learned how to apply animation paths in PowerPoint to create engaging and informative presentations. The steps you have gone through range from creating a simple animation to implementing complex effects to present content more vividly and demonstratively.
Frequently Asked Questions
How can I create a custom animation path?You can create a custom animation path by selecting the object, going to the Animation tab, and choosing "Custom Animation Path".
How do I adjust the speed of an animation?You can adjust the speed of an animation in the "Effect Options" that you can access by right-clicking on the animation.
What can I do if an animation is not playing correctly?Check the order of the animations in the Animation pane and make sure everything is set in the correct timing.
What kind of effects can I add to my animations?You can add various effects such as rotations, size changes, and movements in different directions.
How can I test my animations in PowerPoint?You can test your animations by starting the slideshow and clicking through the presentation to see how the animations are played.


