In this tutorial, you will learn how to create an appealing timer for a one-minute countdown in PowerPoint. Such a timer can be particularly useful for structuring seminars or workshops and providing clear guidance to participants. It is simple, creative, and enhances the professionalism of your presentations. Let's dive right into practice!
Main Findings
- Creating a timer in PowerPoint helps to improve the structure of presentations.
- Using animations enhances visibility and makes the countdown more engaging.
- Utilizing groups and folders in PowerPoint allows for better organization during the creation process.
Step-by-Step Guide to Creating a Timer
First, you need the basic shapes for your timer. We will create a circle that serves as a background for the numbers.
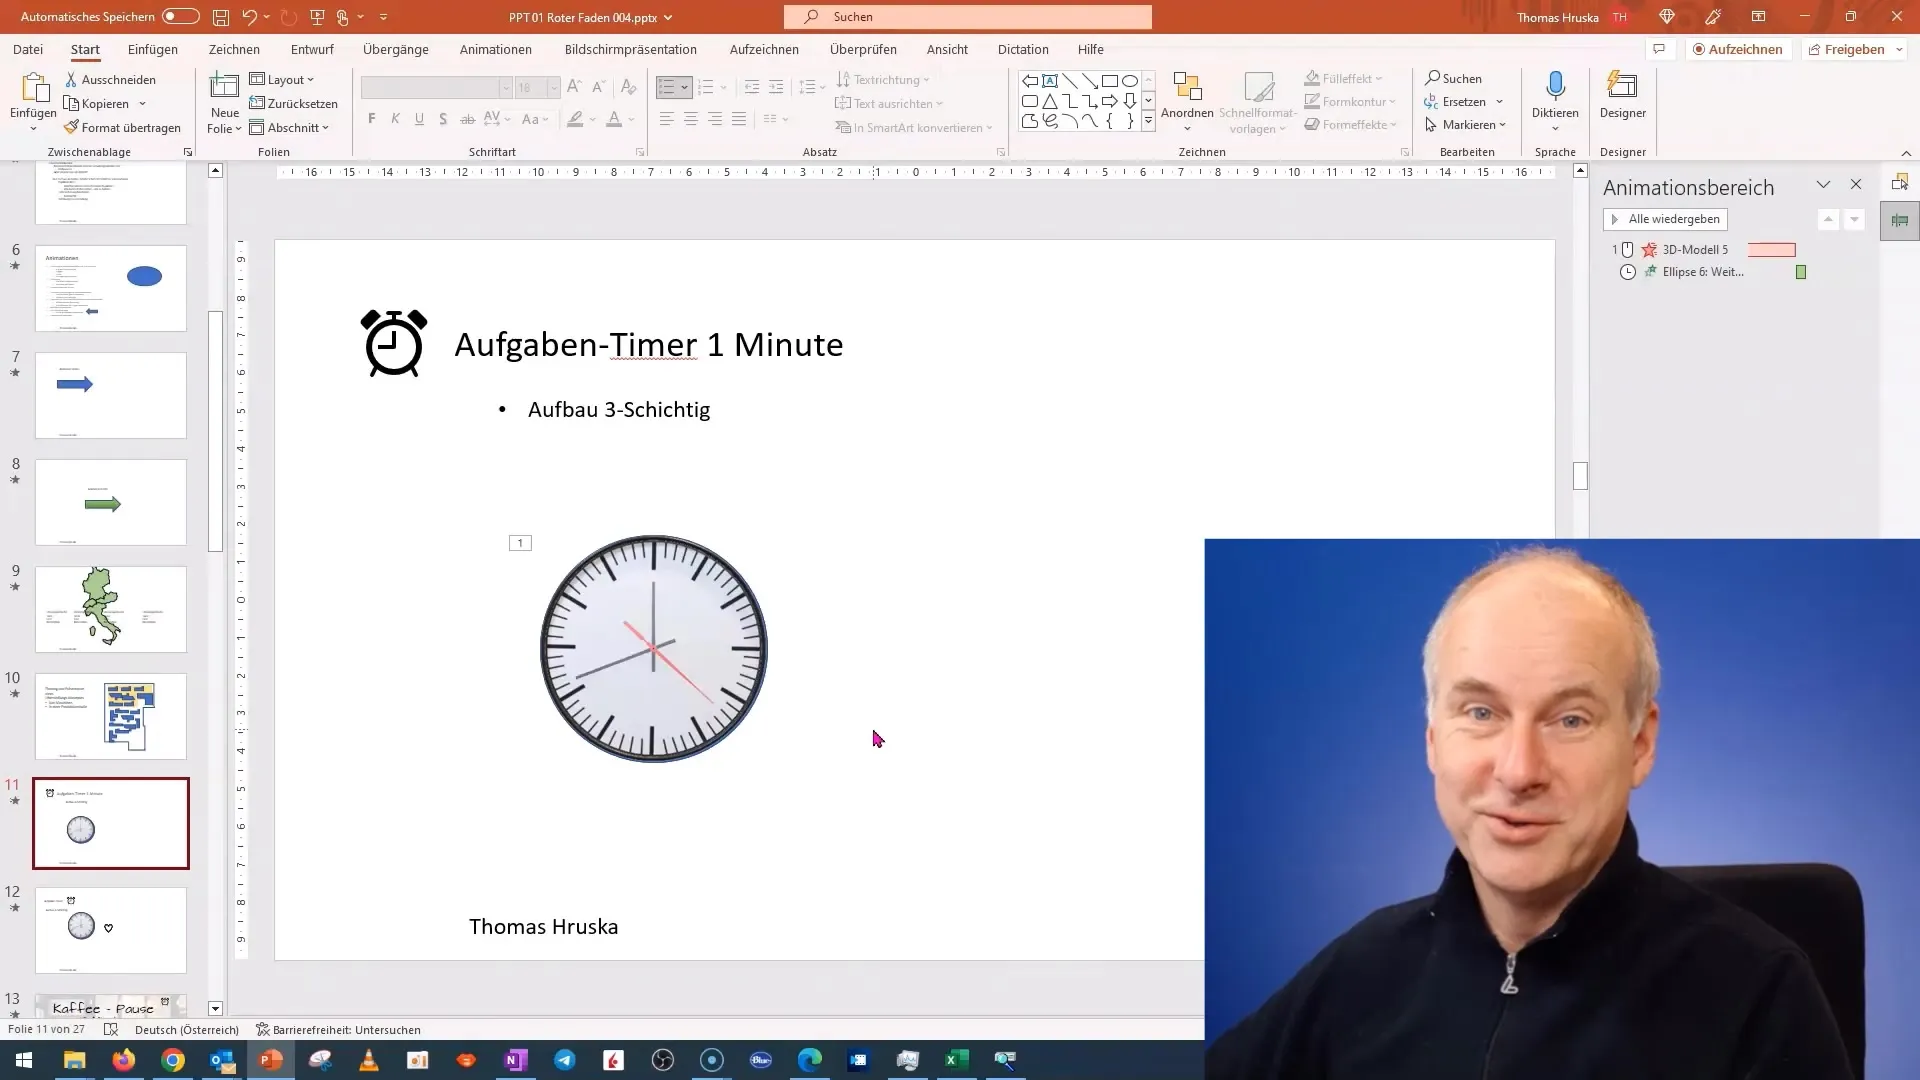
To start, draw a large circular background. Click on the "Insert" tab and select "Shapes." Choose the circle and drag it onto the slide.
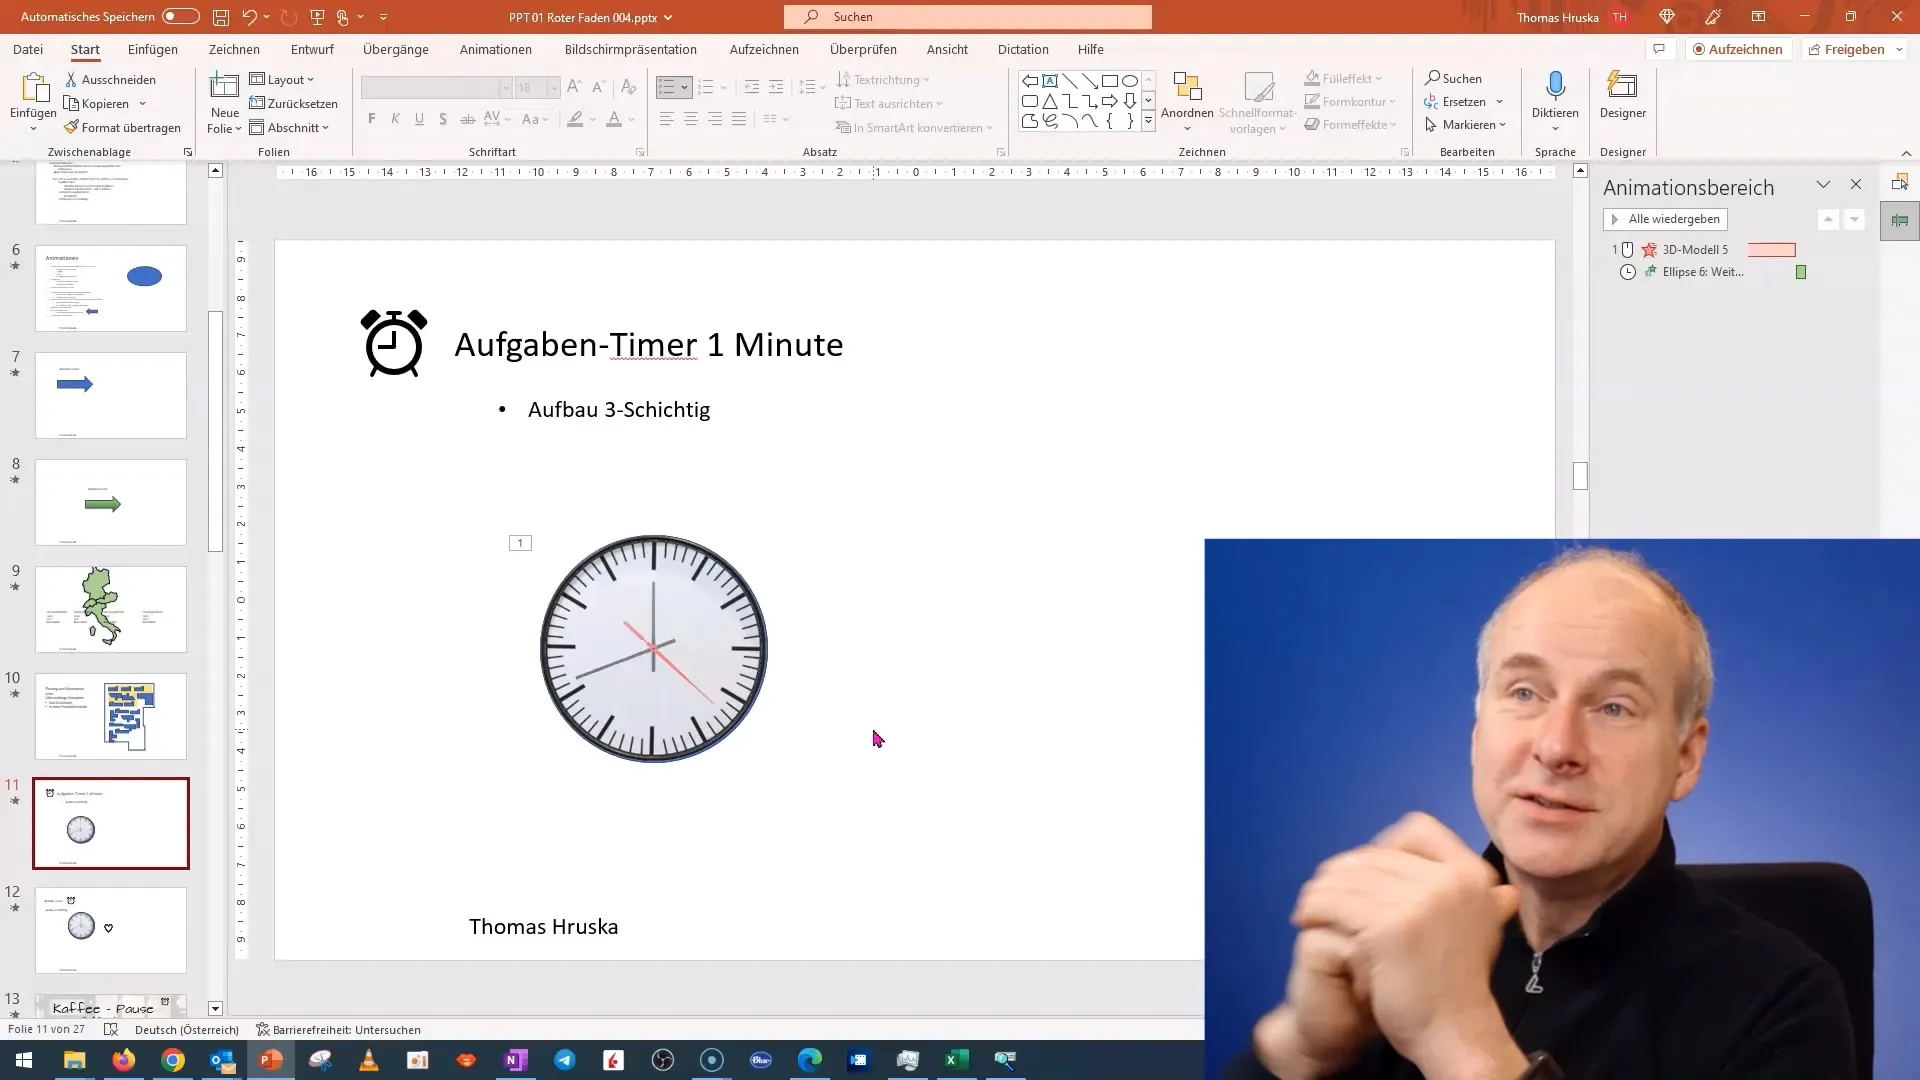
Now we will write the numbers for the seconds inside the circle. Go to "Insert" again, select the text box tool, and click inside the circle to write "60 seconds."
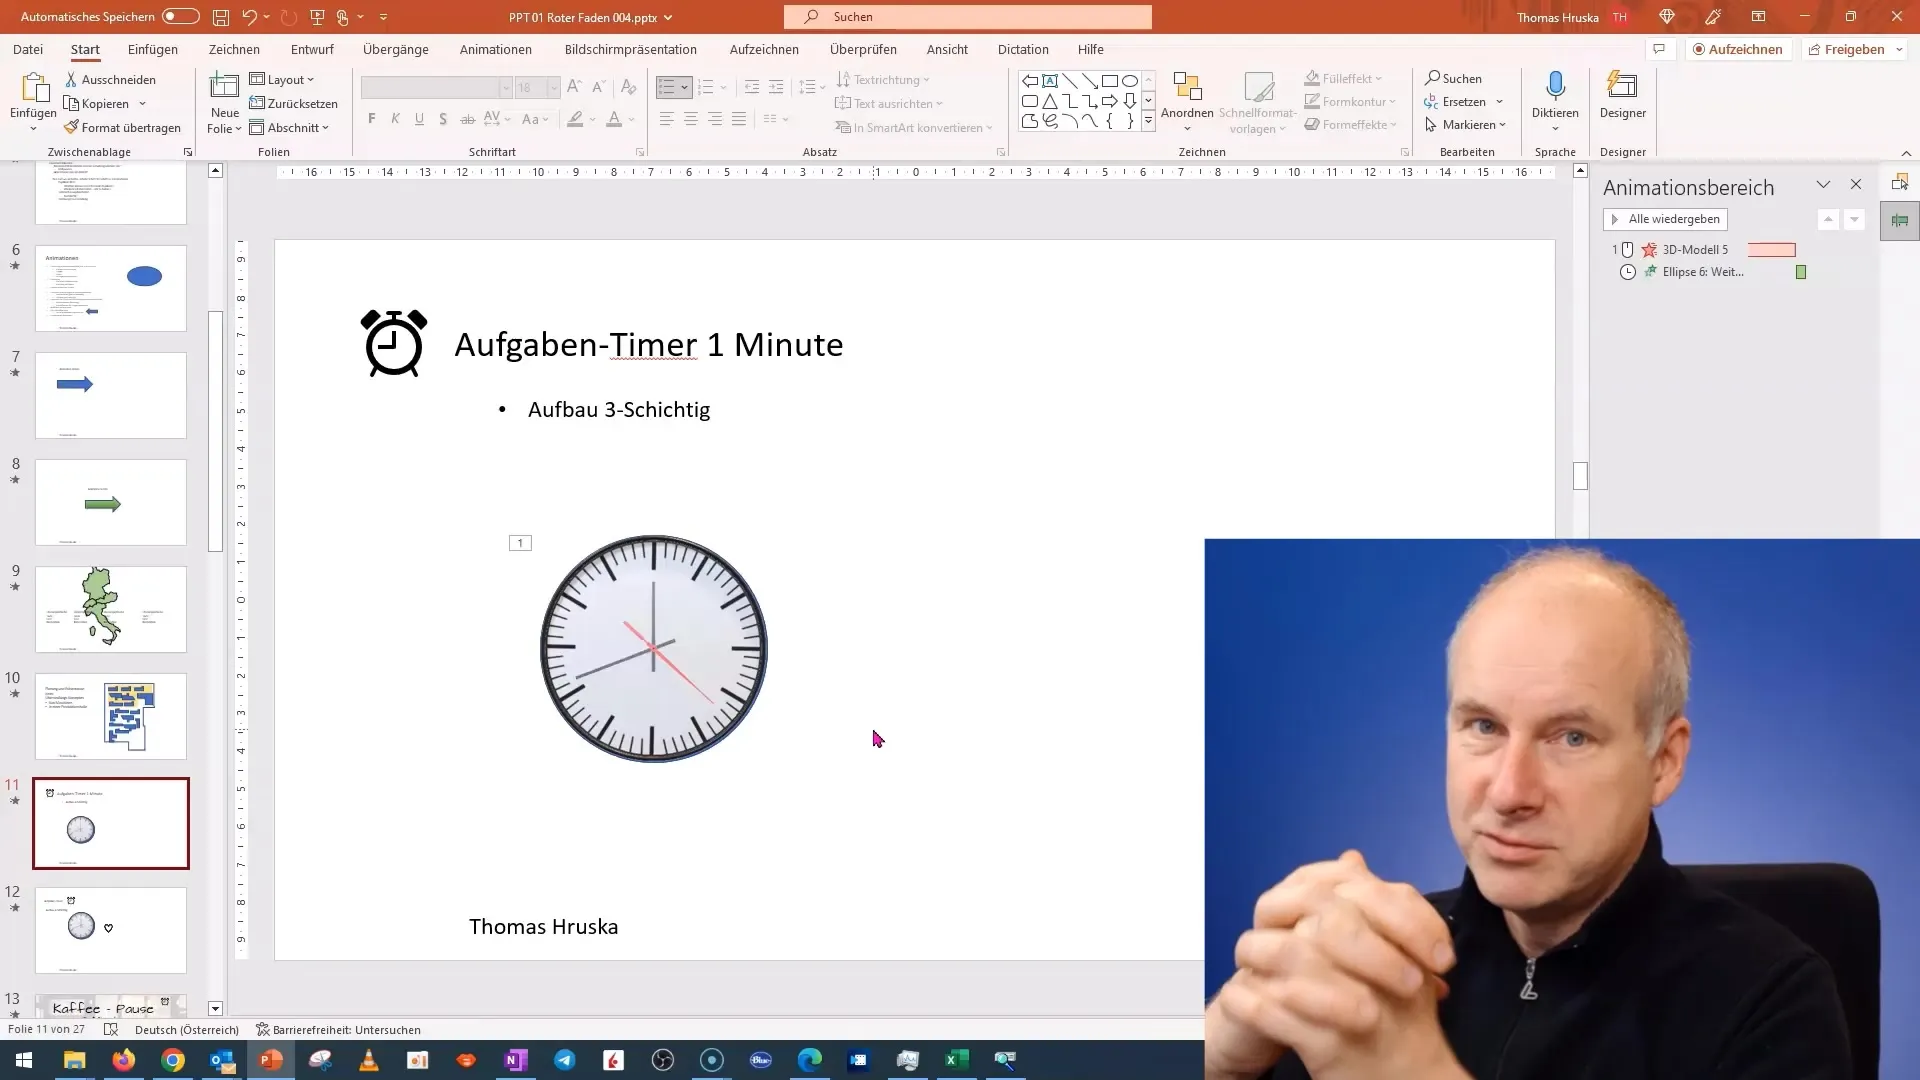
Make the font more attractive. Highlight the text and change the font size. You can also adjust the color to create a good contrast with the background. Copy the text to create the numbers for the remaining seconds.
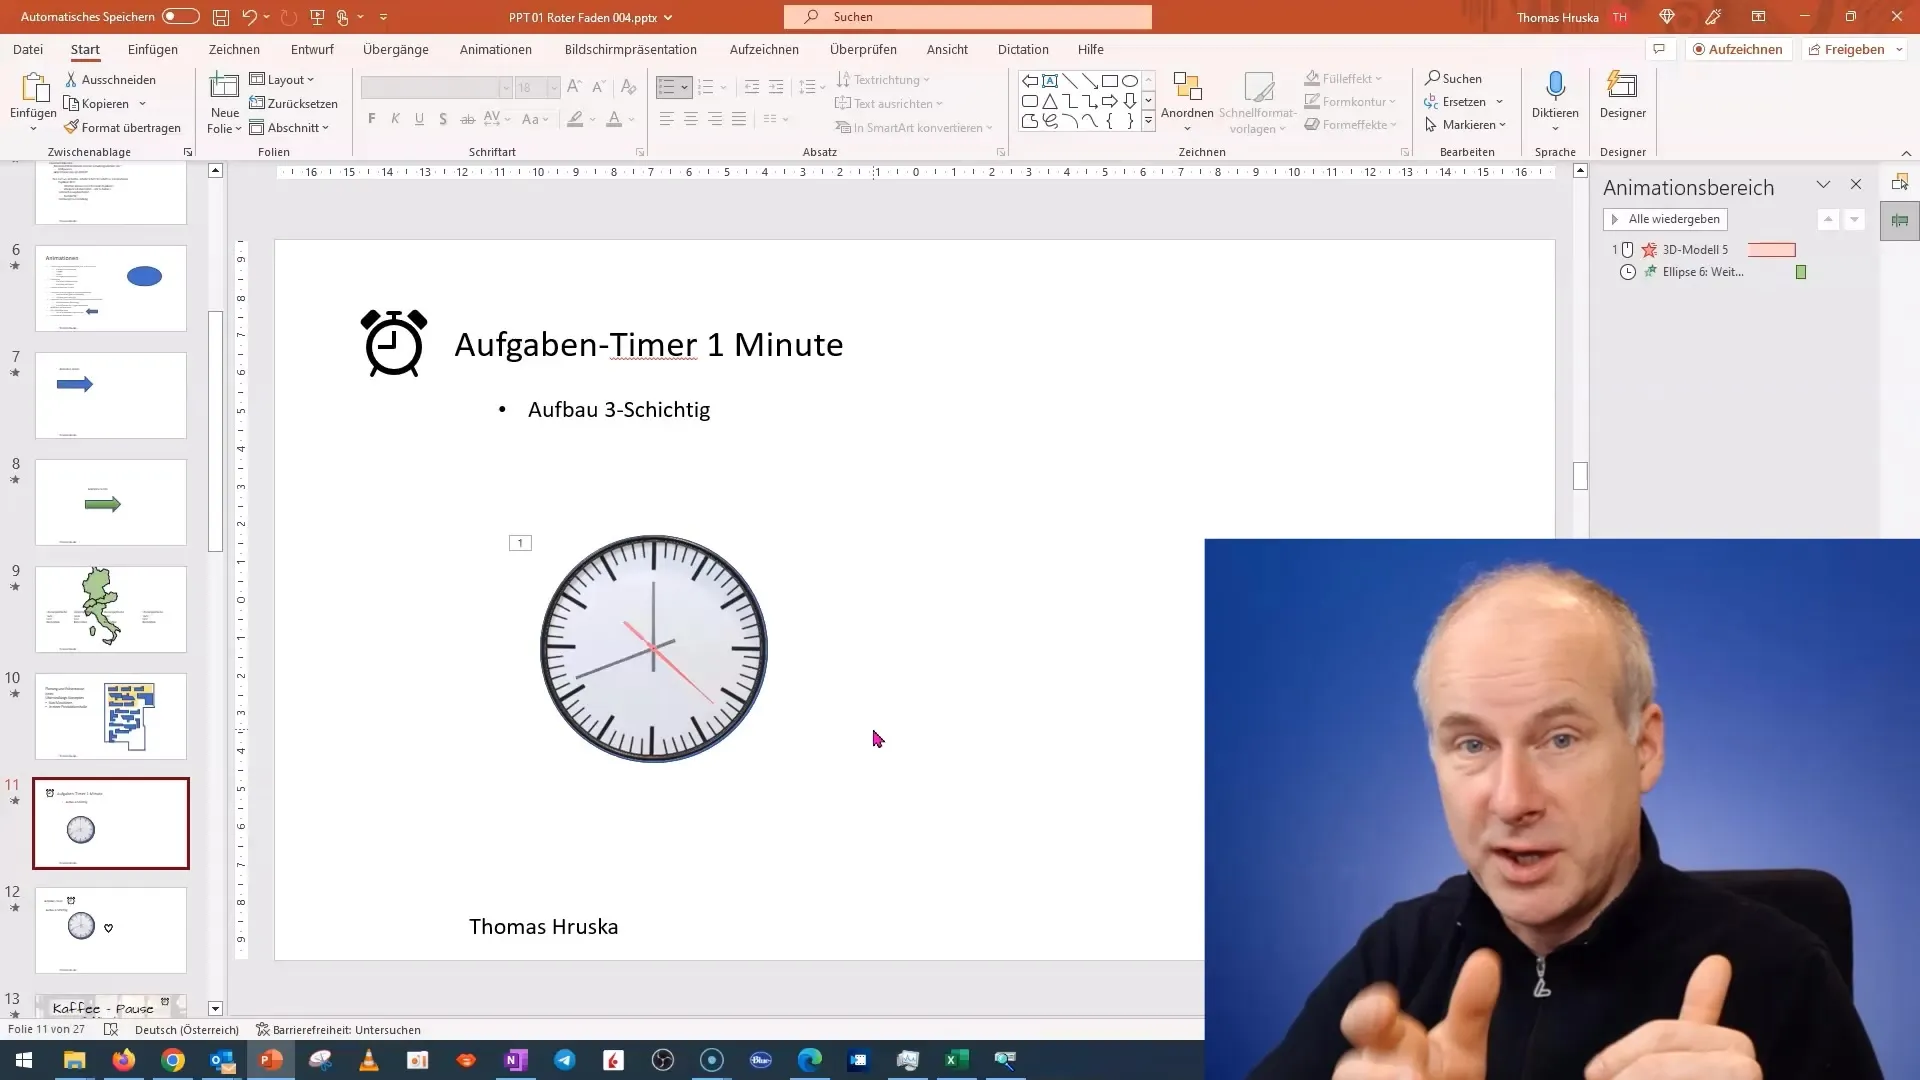
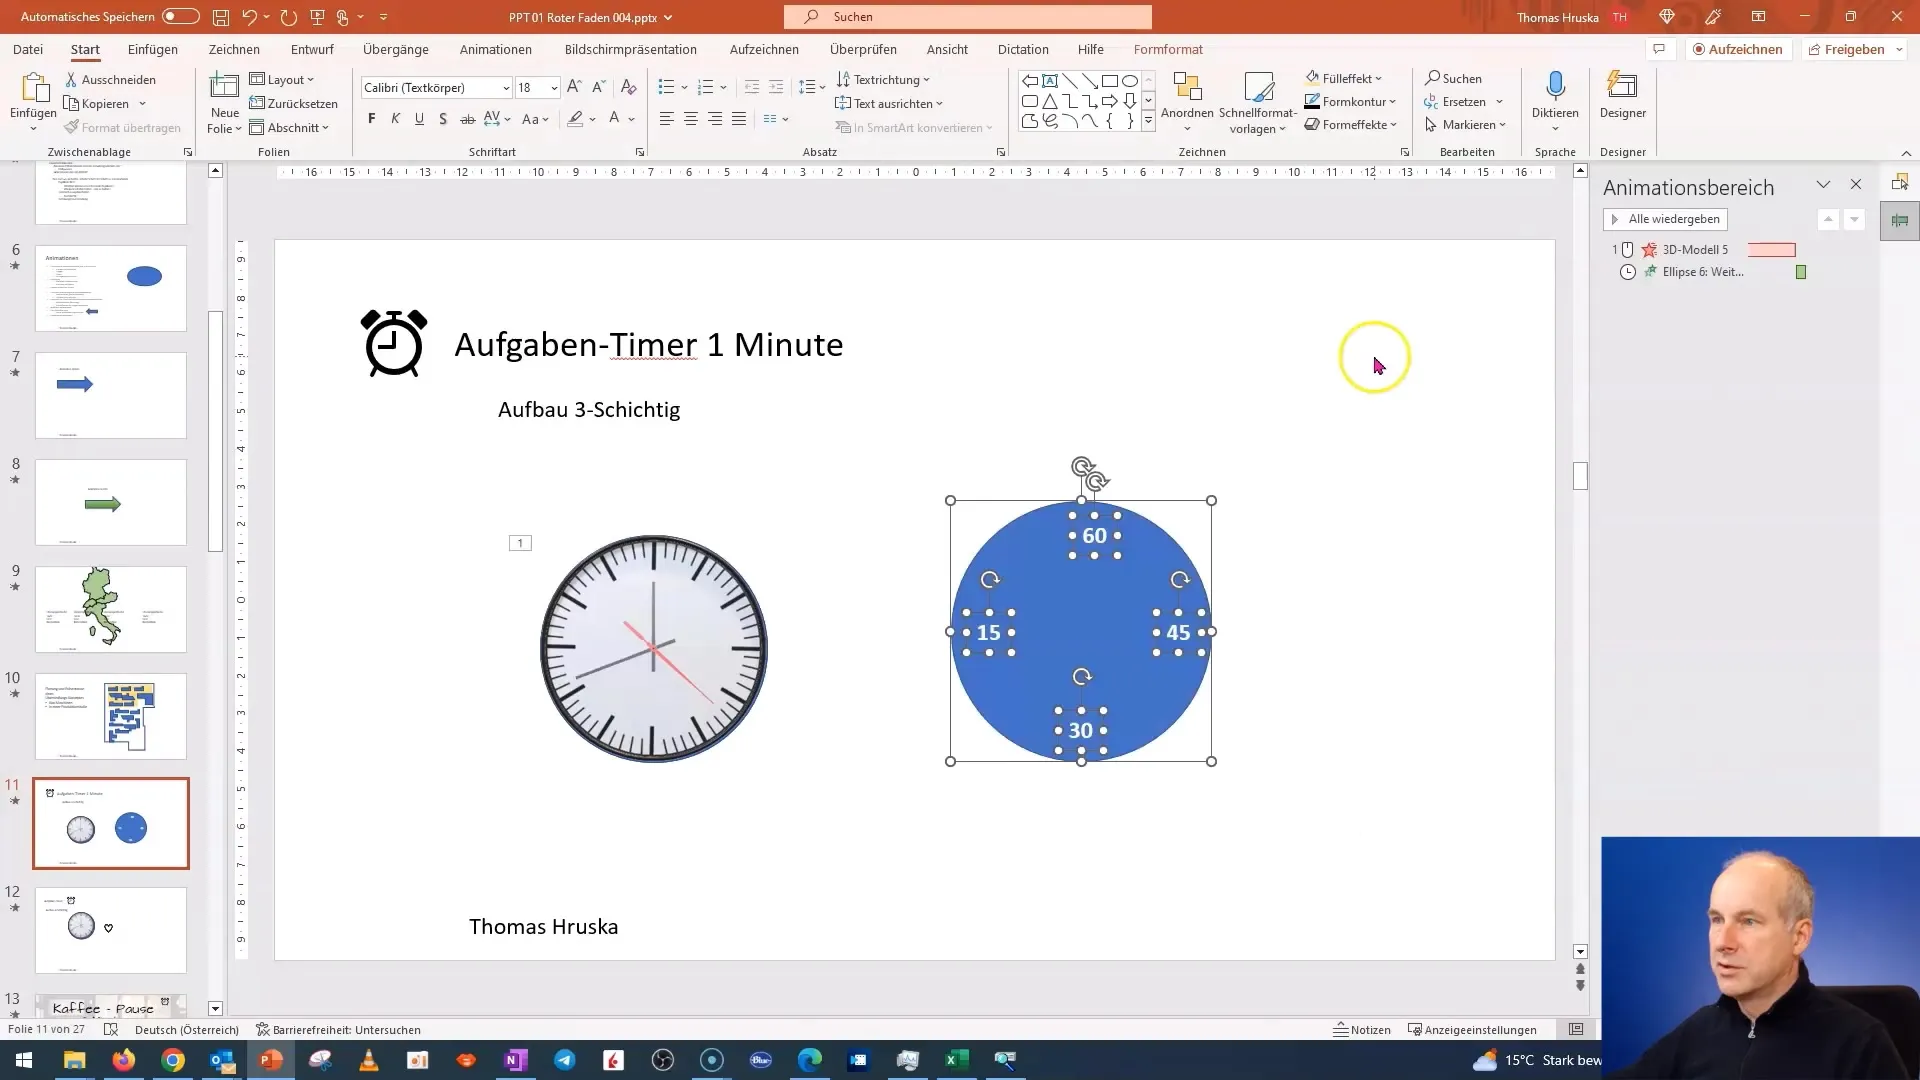
Ensure you adjust the numbers accordingly. For example, for 45 seconds, 30 seconds, and 15 seconds. Make sure to position the text correctly for each time.
To improve clarity, group all the elements for each second. Simply right-click on the elements and choose "Group" from the context menu.
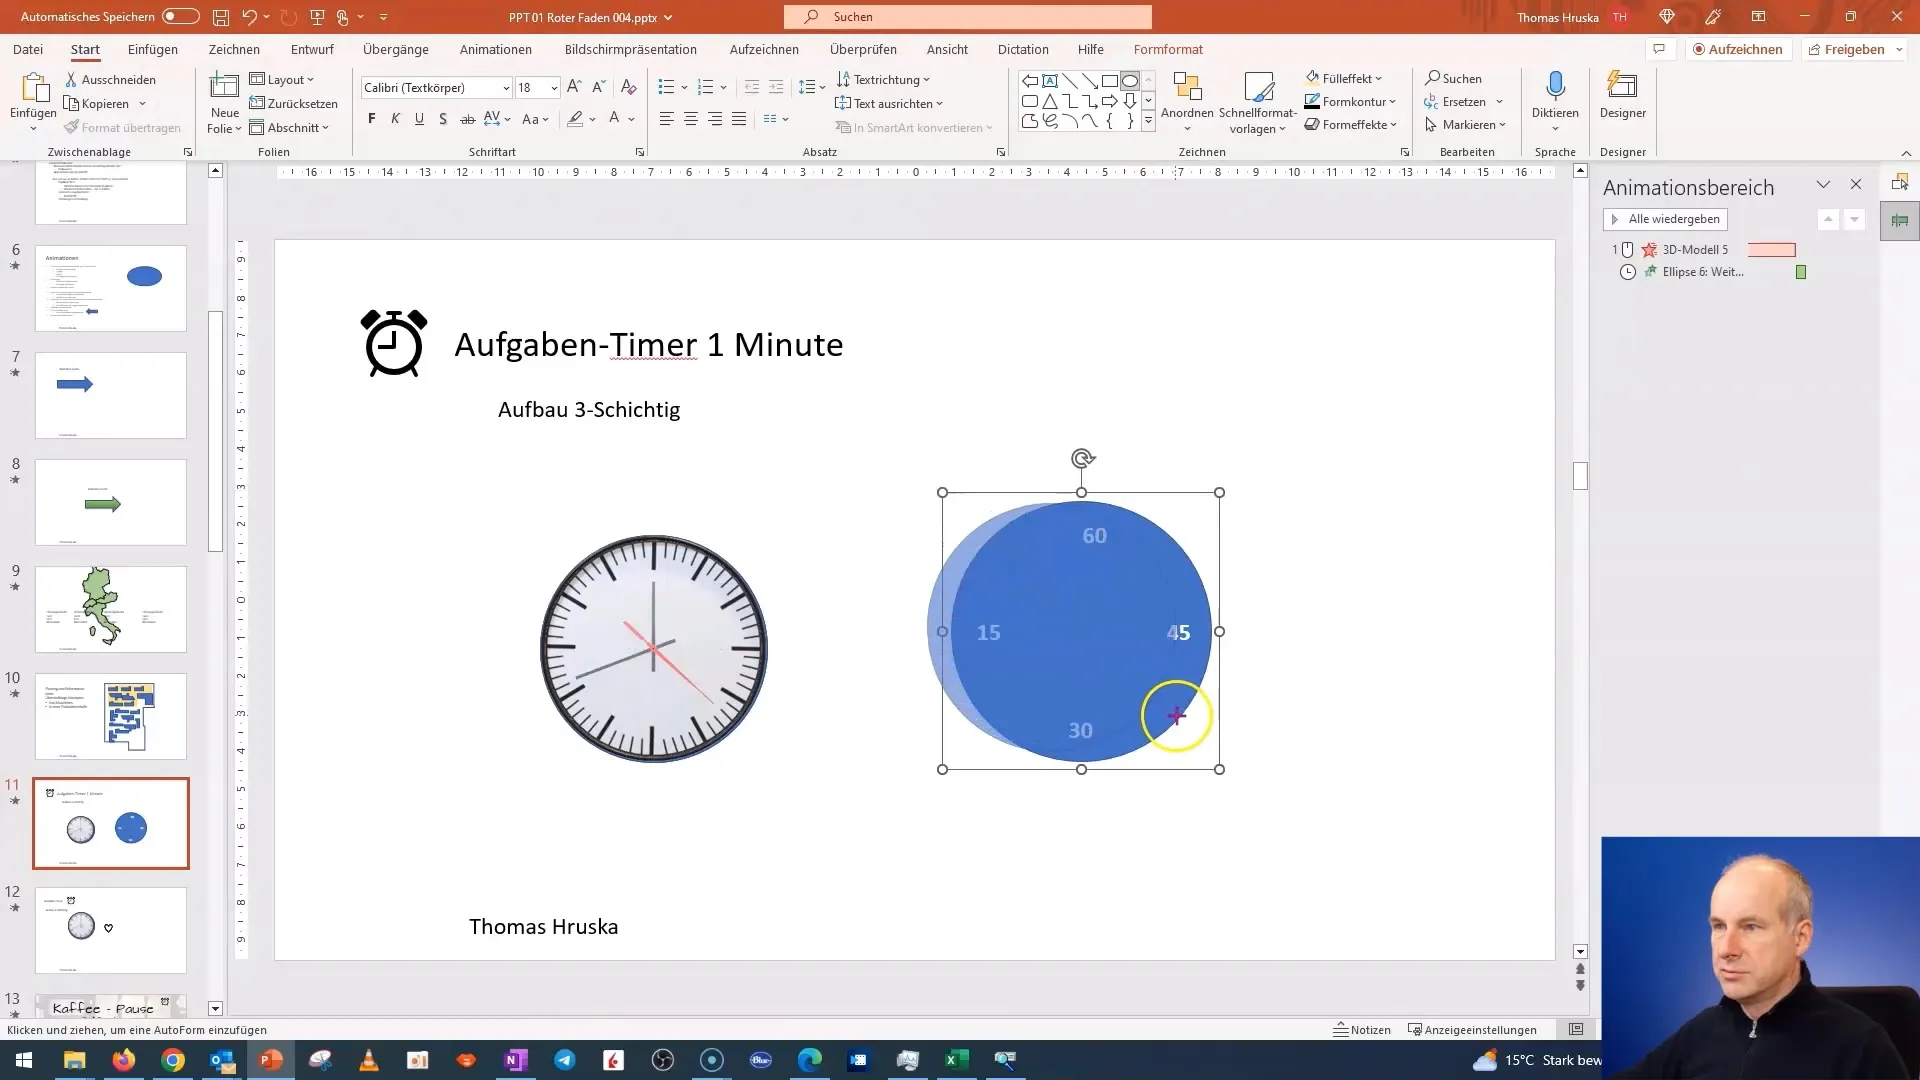
Next, we will create the outer circle. It will be used to visually complete the timer. Copy the previous shape and format it to have the desired look.
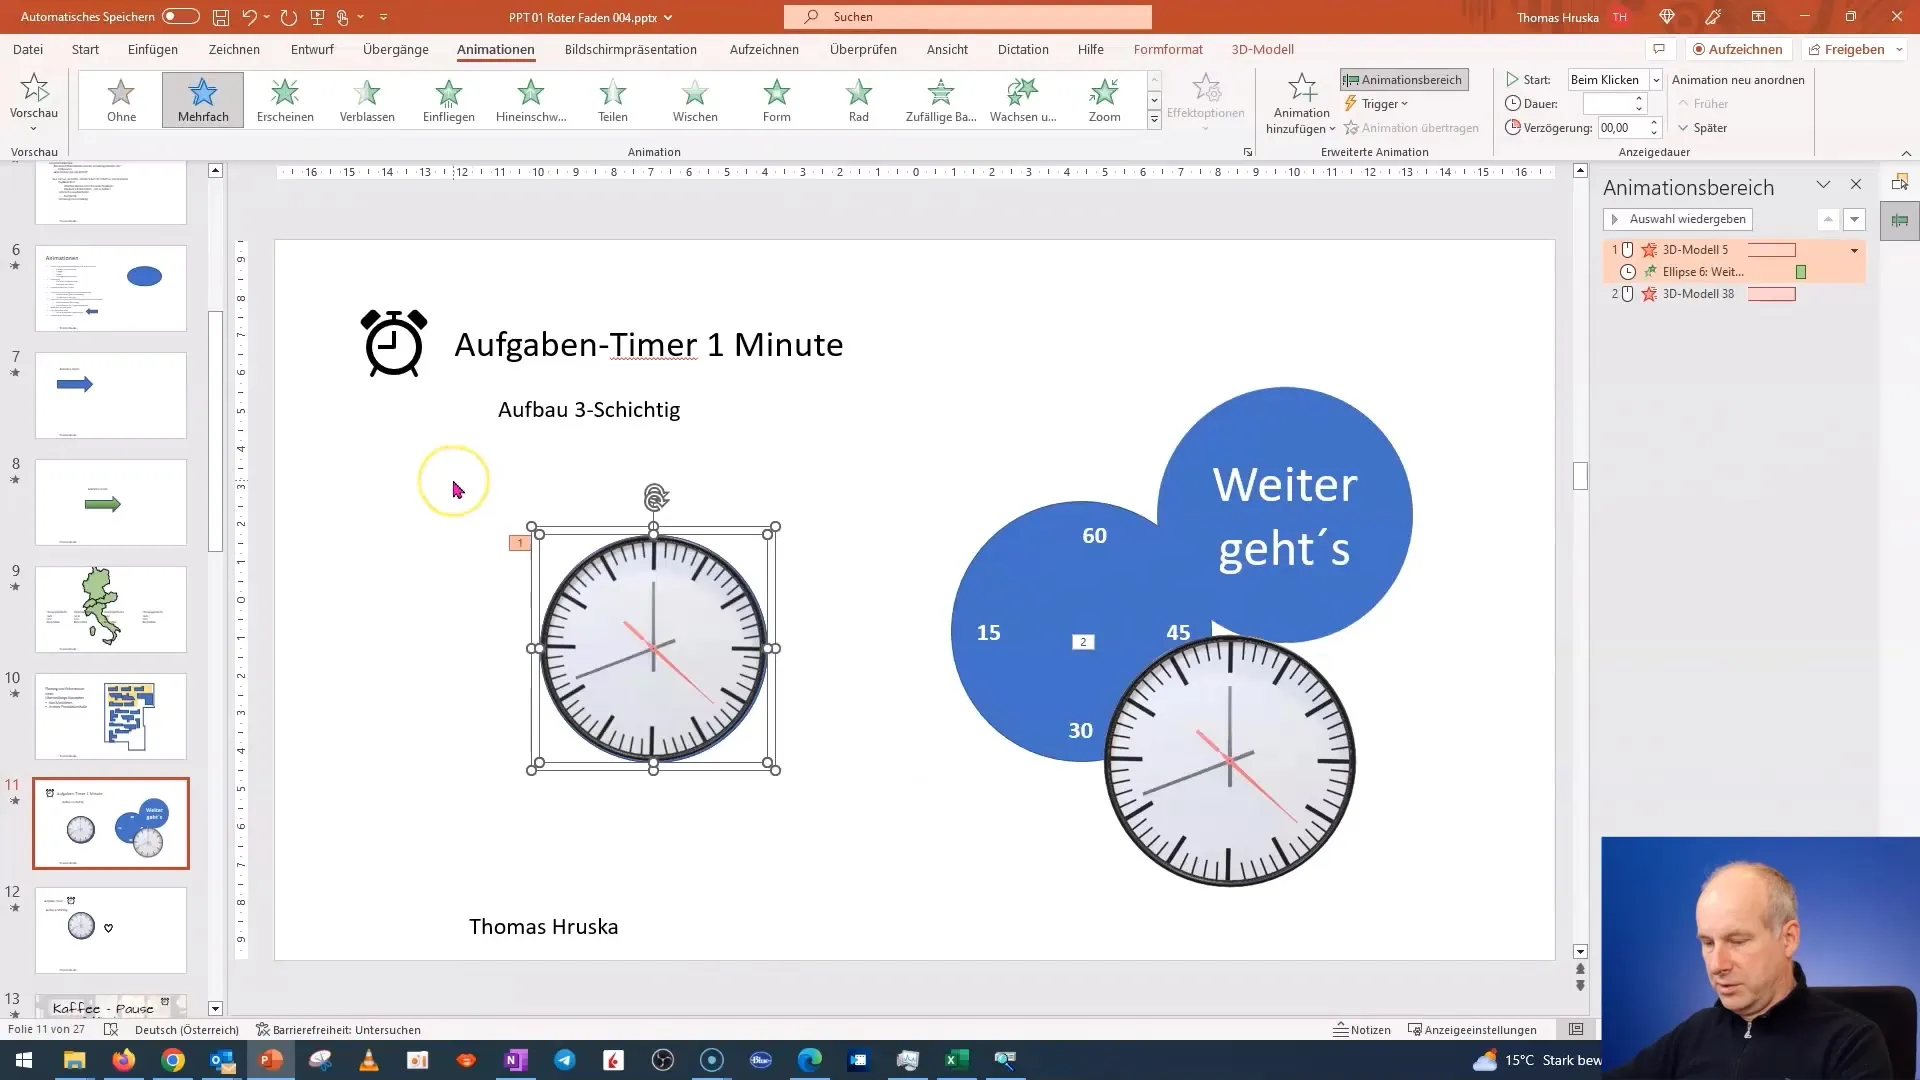
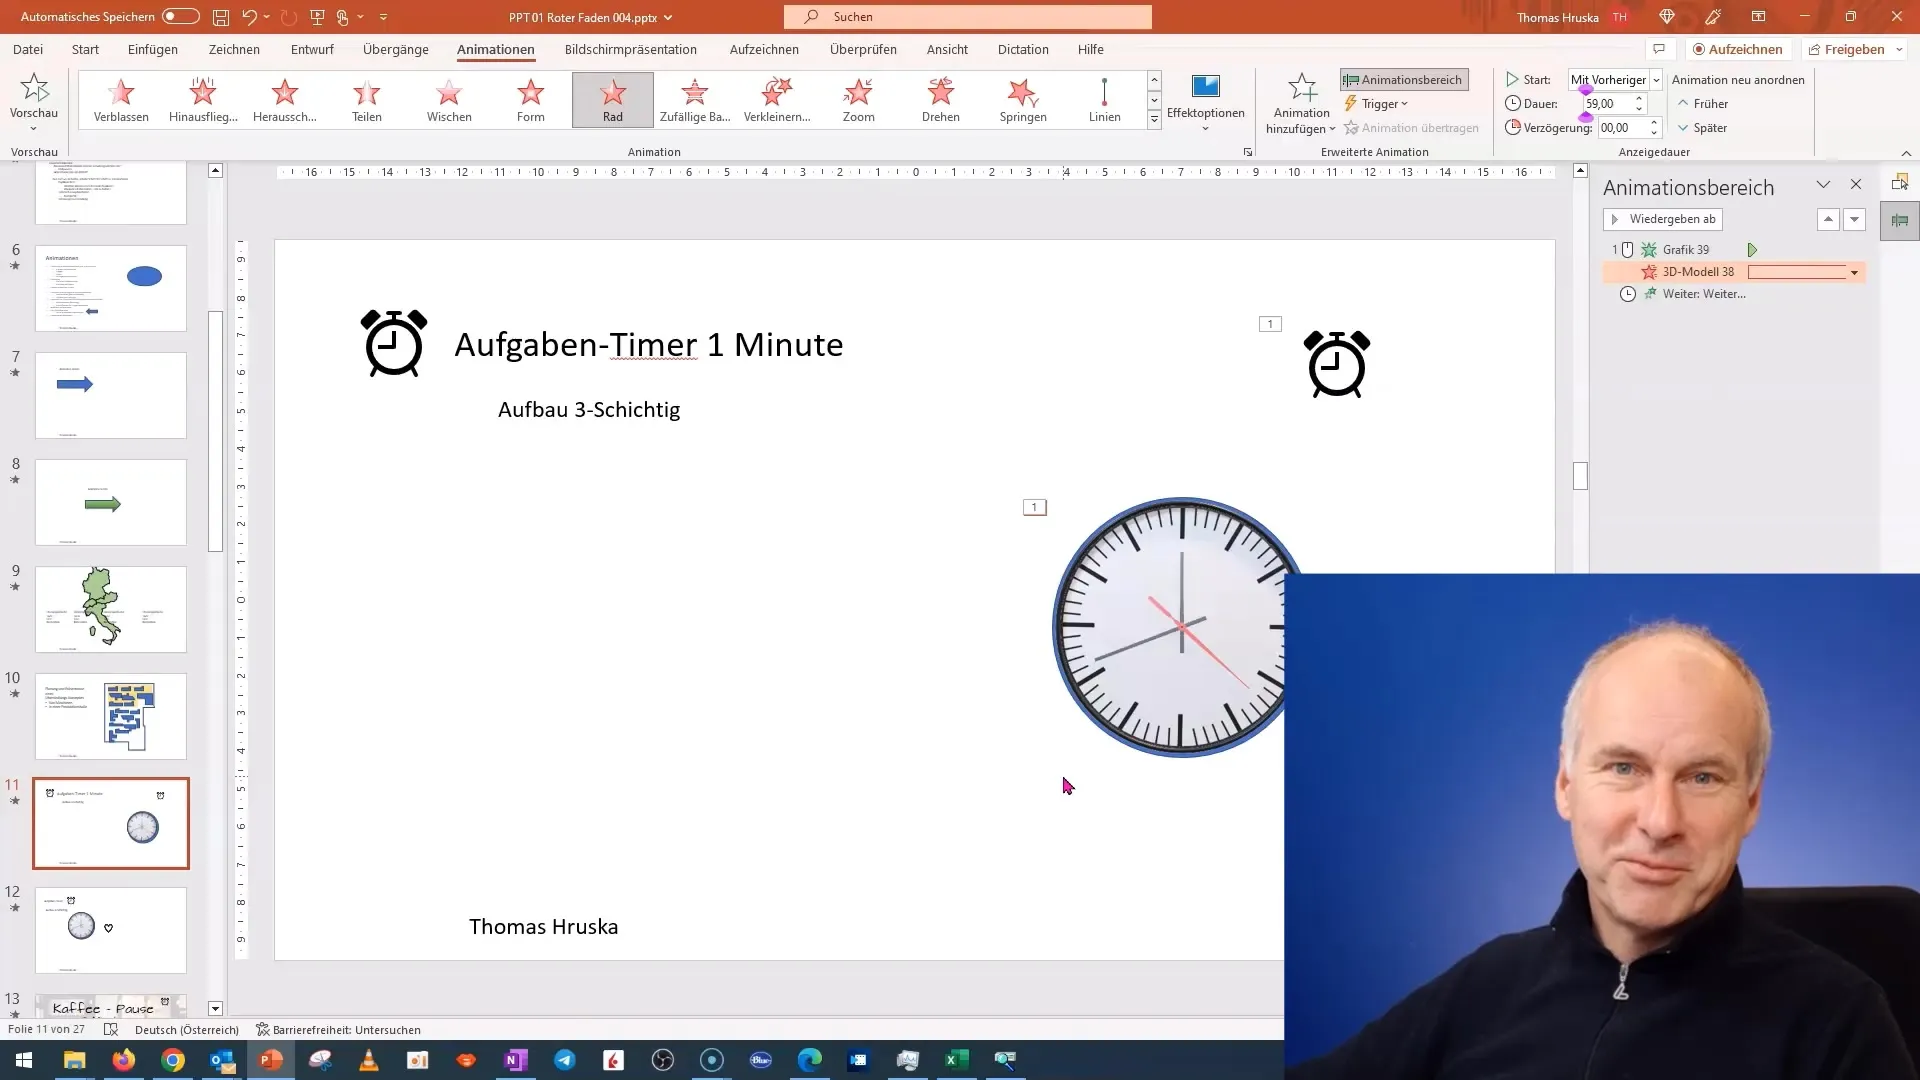
Now it's time to add animations to your timer. Switch to the "Animations" tab. Select the time you want to animate and add the desired animation style. We will use the "Disappear" effect to fade the previous time.
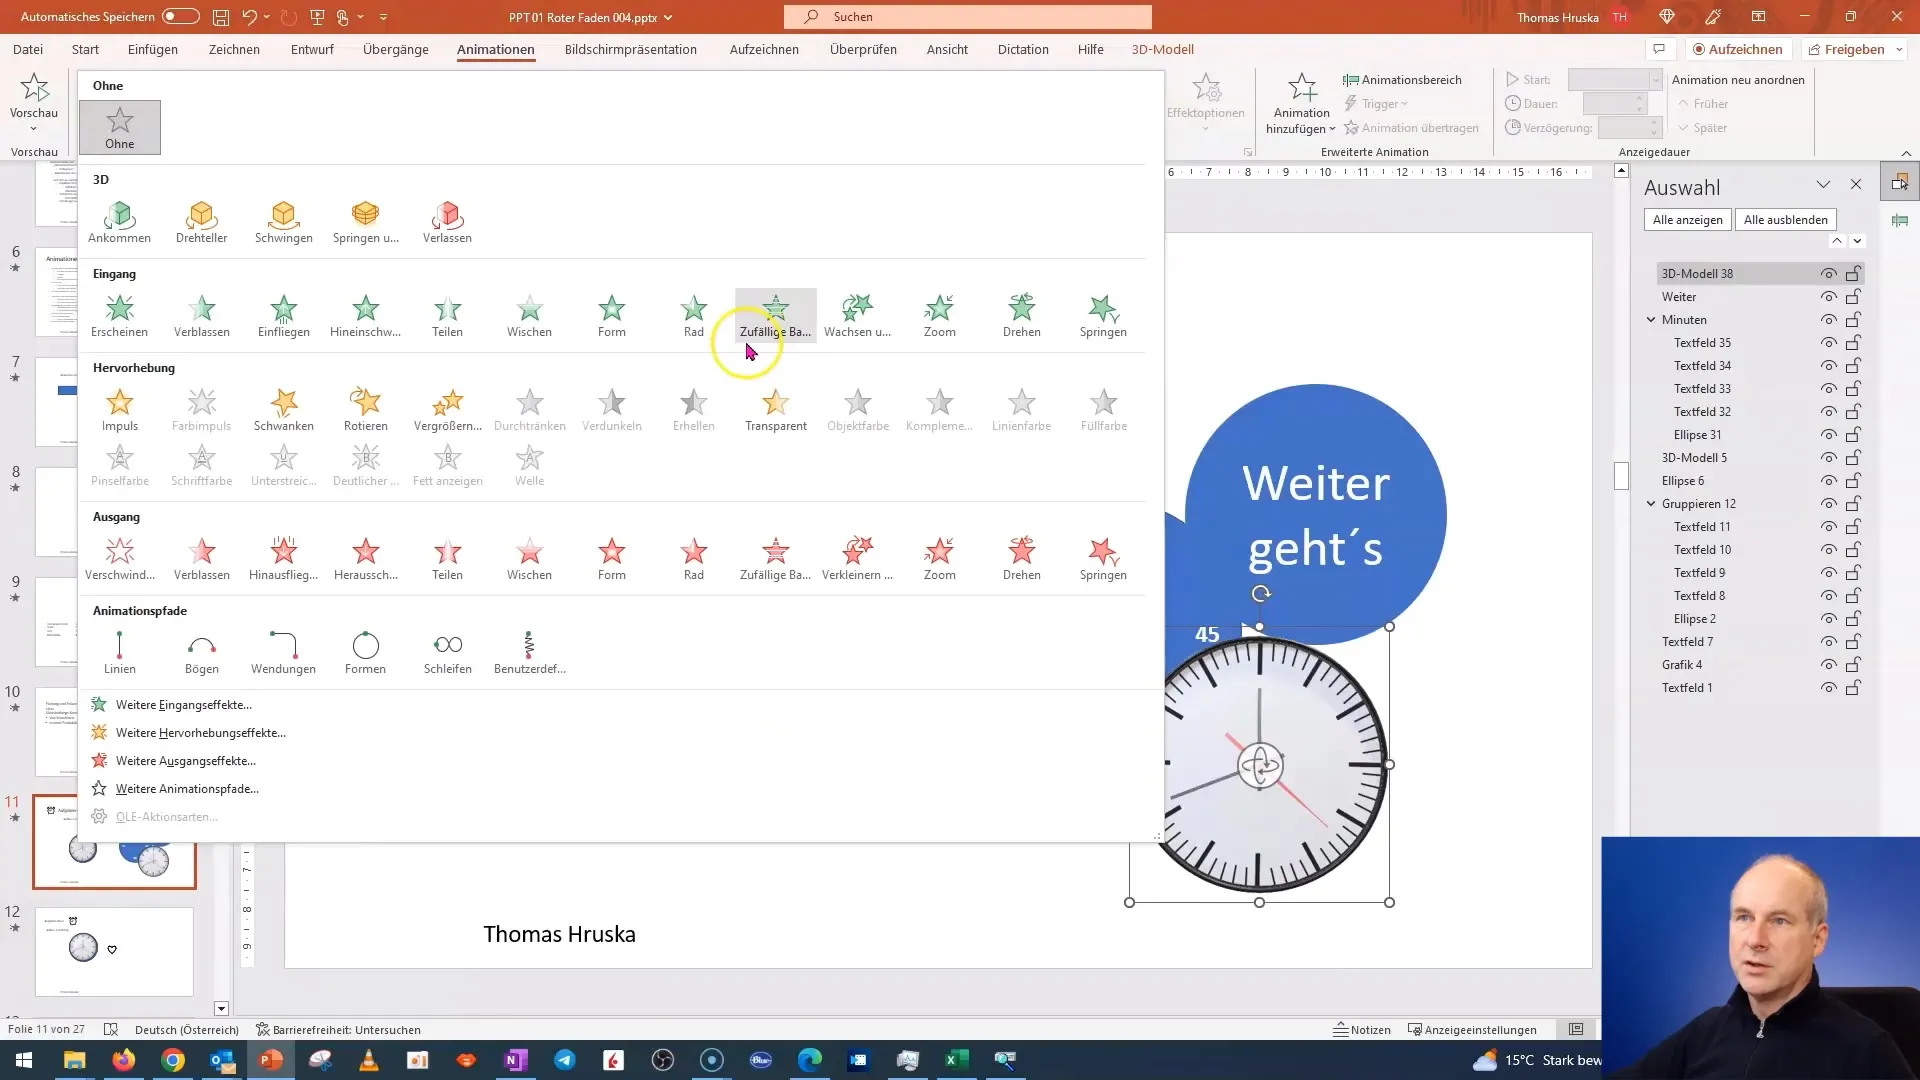
Adjust the duration of the animation process to 5 seconds to increase the visibility of the countdown. The entire countdown of 60 seconds can be set to an effective 59 seconds.
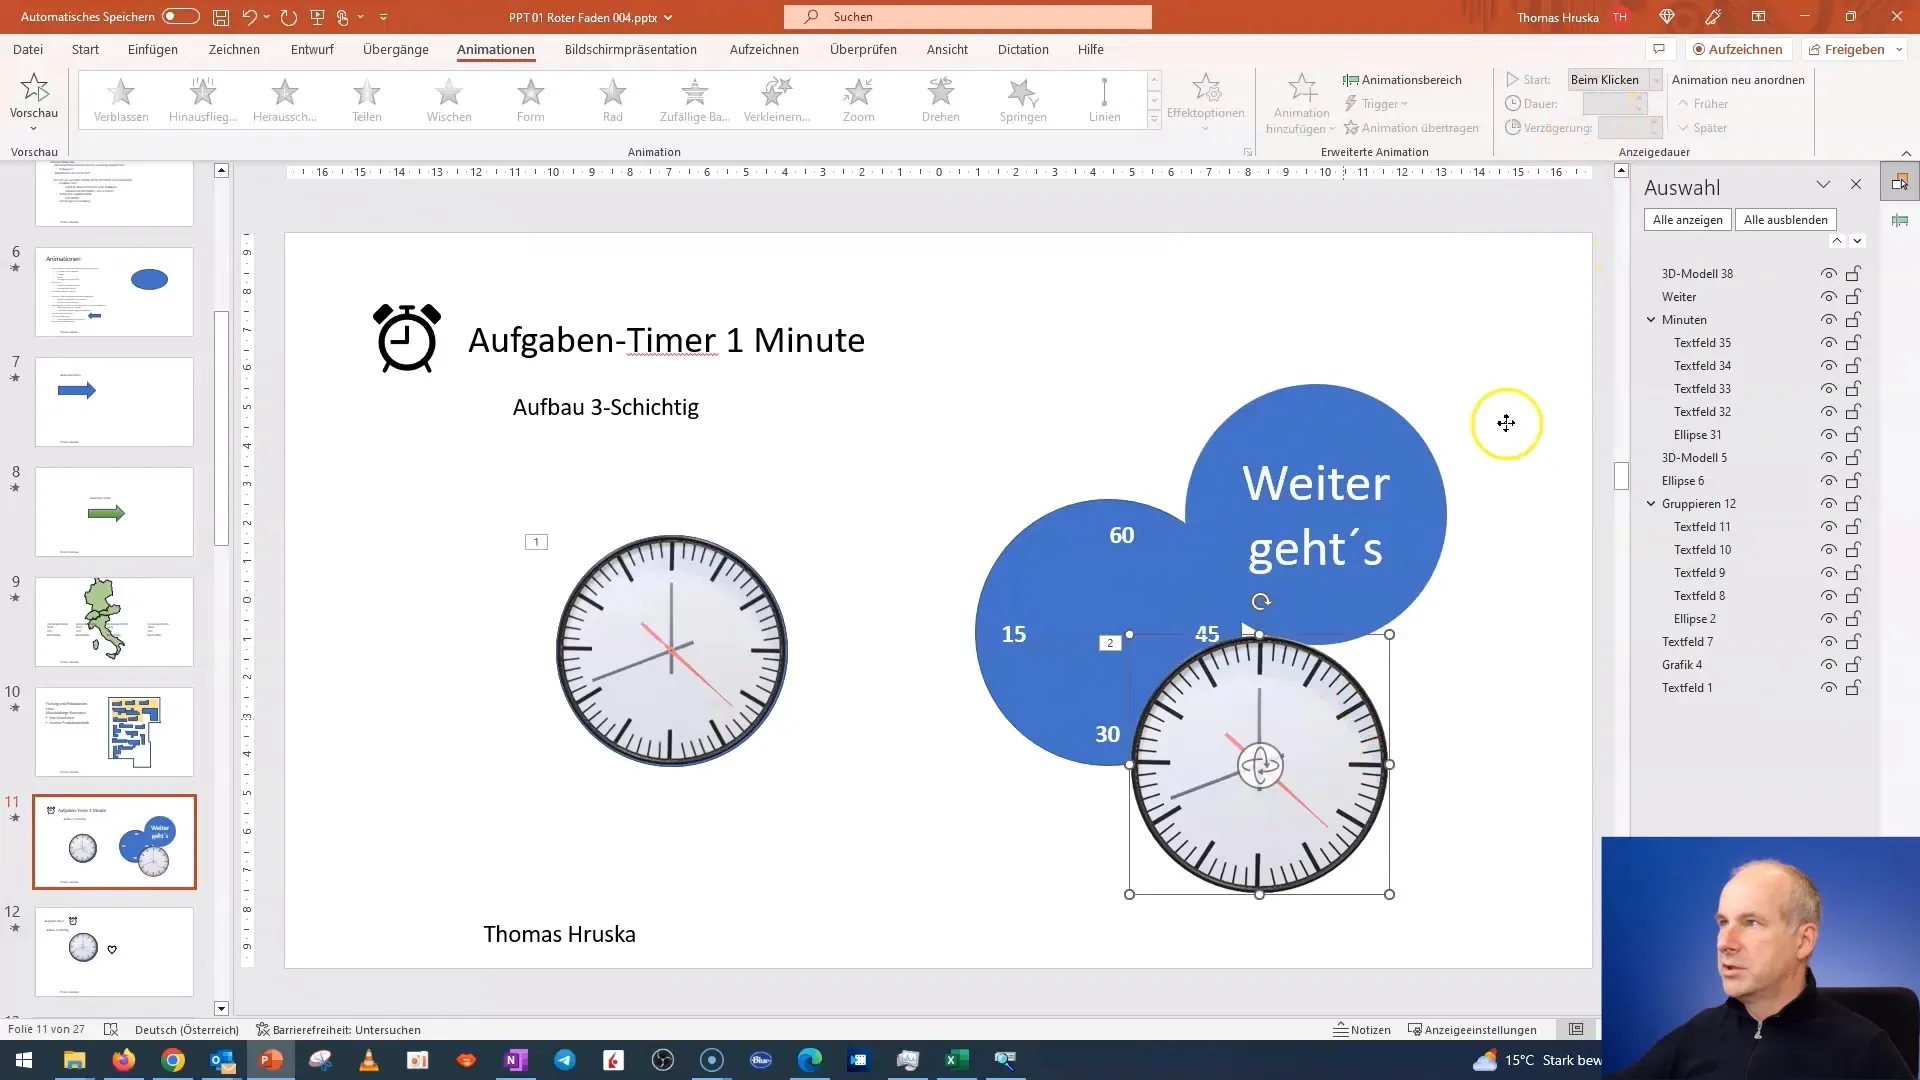
After setting the duration, go to the "Animations Pane" and ensure the animations occur in the correct order. The countdown should run smoothly to avoid confusing the audience.
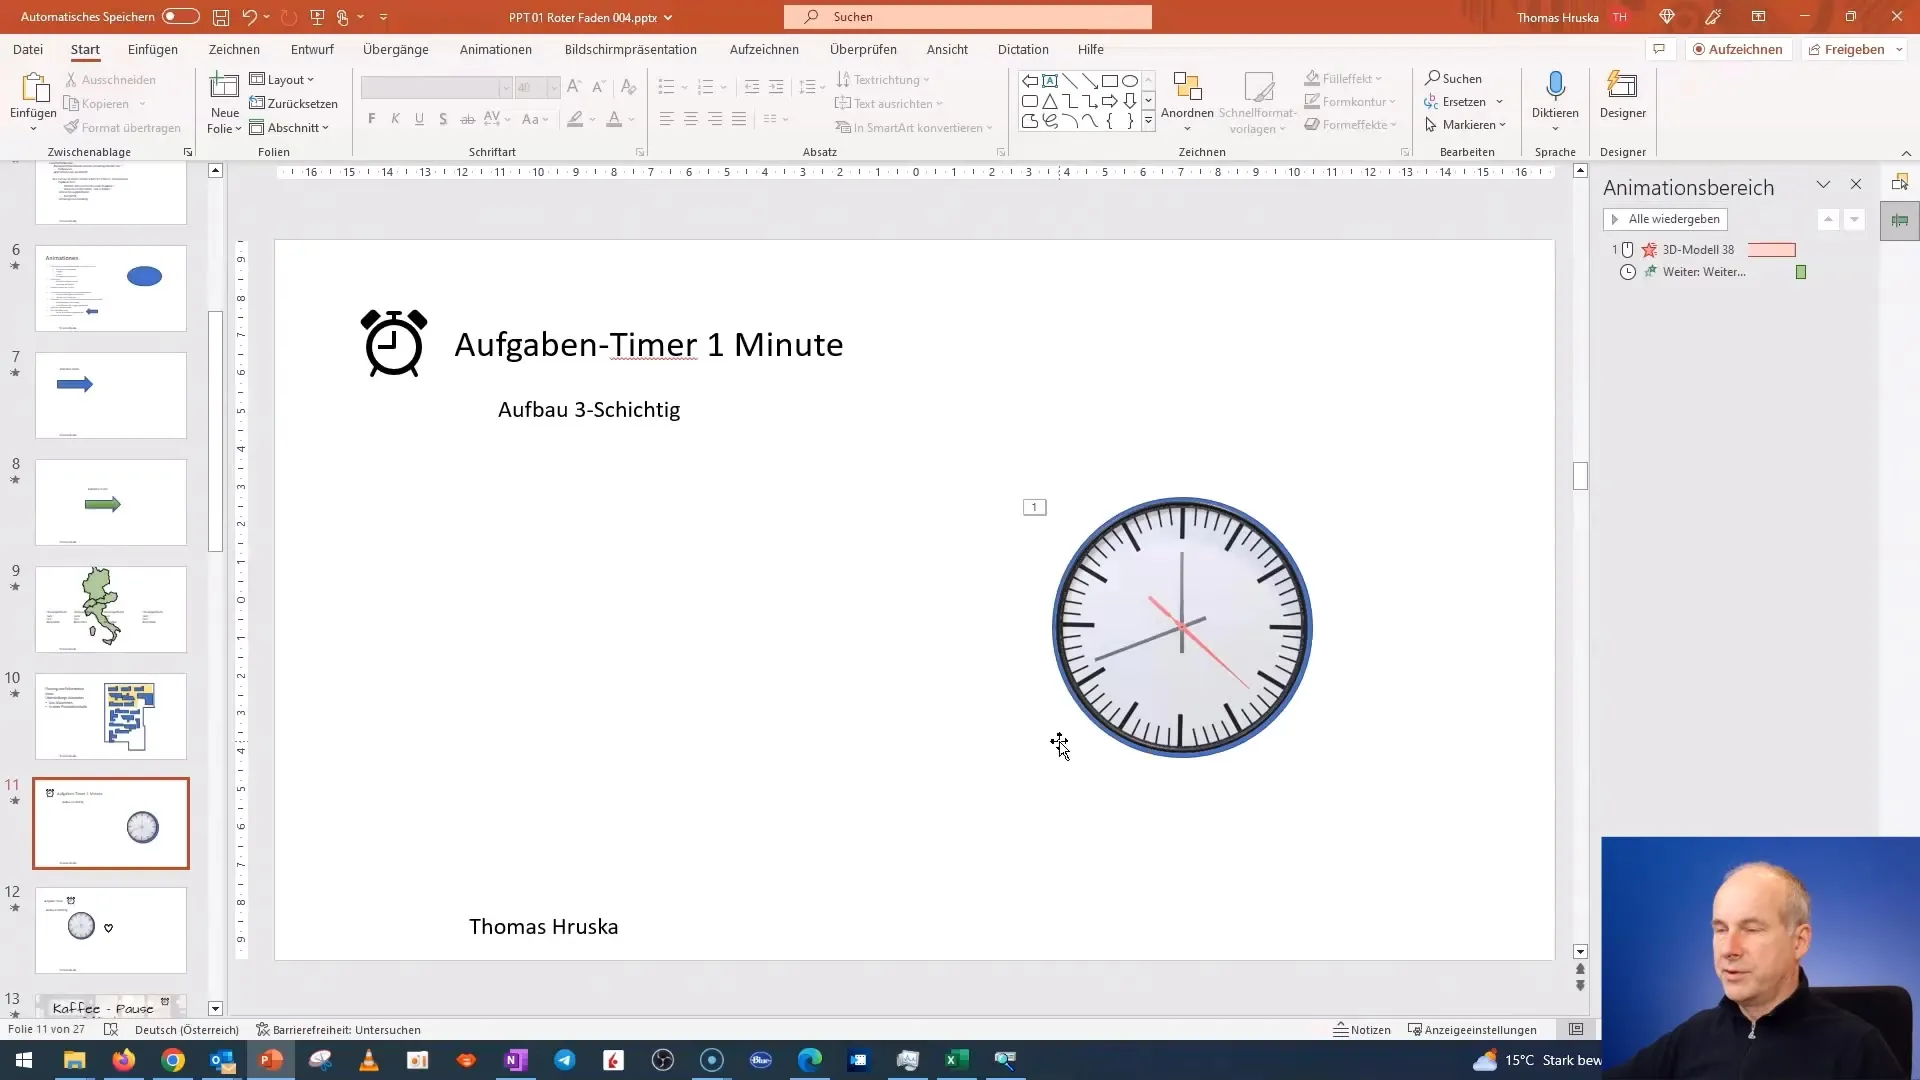
Once everything is set up correctly, test your animation. Click on "Presentation" and check if the countdown works as you envisioned.
An important tip for you: If you need a timer that runs longer than a minute, it is recommended to use visual cues like the background or an additional image to always keep track of how much time has passed.
You are now ready to use your timer. Not only have you learned how to create a one-minute countdown timer, but also how animations can be used in PowerPoint to enhance your presentation and add interesting visual effects.
Summary
In this tutorial, you have learned step-by-step how to create an impressive countdown timer in PowerPoint that helps you make your presentations more professional. You learned how to create shapes, format text, and add animations to create an engaging visual aid.
Frequently Asked Questions
How long does it take to create a timer in PowerPoint?Creating a timer can take between 10 and 30 minutes depending on the complexity.
Can I customize the timer for longer periods?Yes, you can easily customize the timer to display longer periods such as 5 or 10 minutes.
Are special software skills required to create the timer?No, basic knowledge of PowerPoint is sufficient to create this timer.
Is it possible to personalize the timer?Yes, you can change colors, fonts, and animations to your liking.
Is there a way to integrate multiple timers in a presentation?Yes, you can create multiple slides with different timers and combine them in a presentation.


