I have already prepared a retouching layer for this tutorial and created a small photomontage. The whole thing is not very difficult, it is simply photographed in front of gray (1), a new background is inserted by copying one into the other and this is brought back using a mask (2). That's just the background.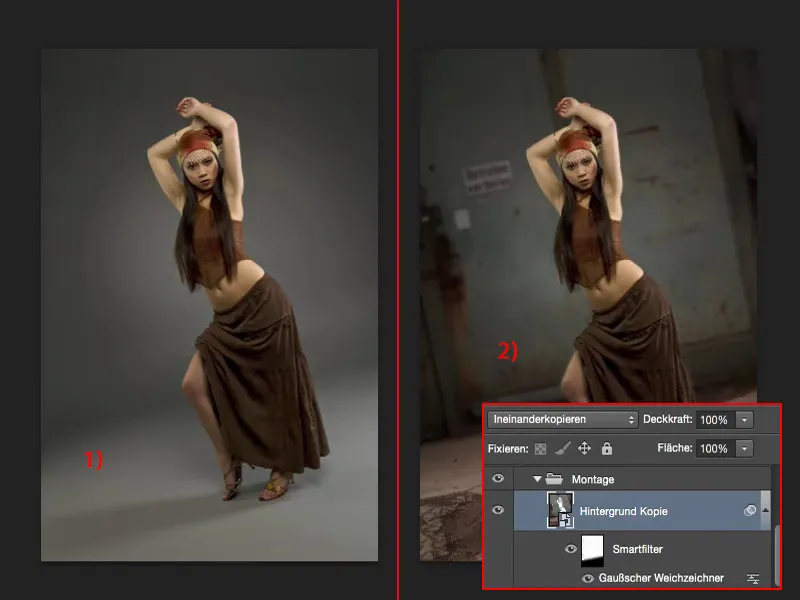
The task: new lighting
Now I want to give the whole thing a colored glow. So I want to turn on the colored spotlights. And I've already prepared this so that I can show you in advance before you can copy it.
This is the blue and the yellow light (1). My model is actually unaffected by this.
Which is a bit contradictory: I have a white glow spot here (2), but a blue light, and here (3) I have no glow spot at all or no glow on my skin, but I have a yellow spot here. That doesn't fit. I'll have to add that later.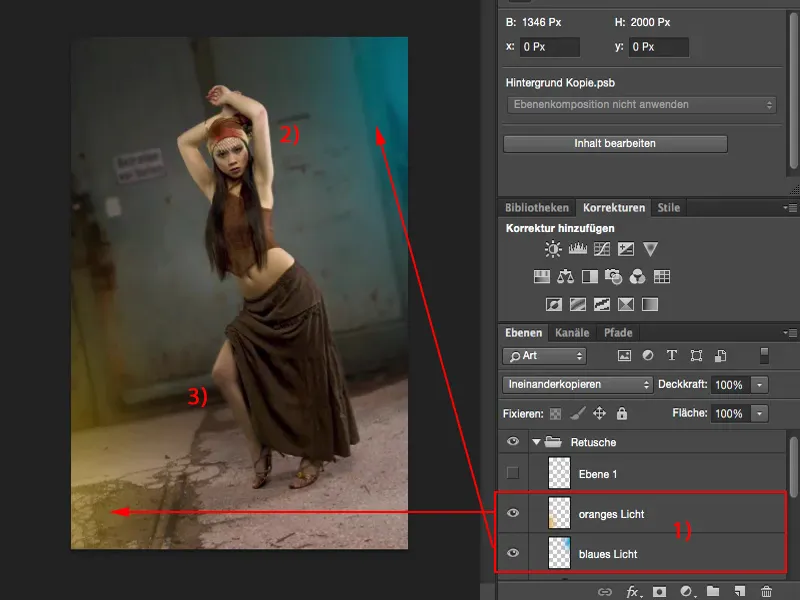
And only when I do that here will these two light sources appear credible. The whole thing works terribly simply, as you'll see in a moment - and that's where we start.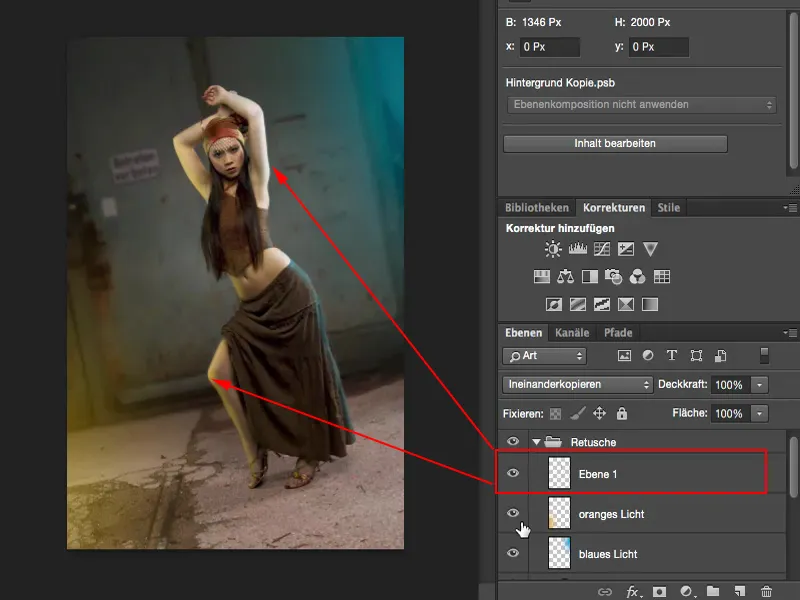
Create a glow
Create an empty layer (1) and grab a color (2) from the front. I'm going to use a nice saturated cyan blue, something like that. It looks good like that.
Then I take the brush, go to 100% opacity and just make a blob in the picture.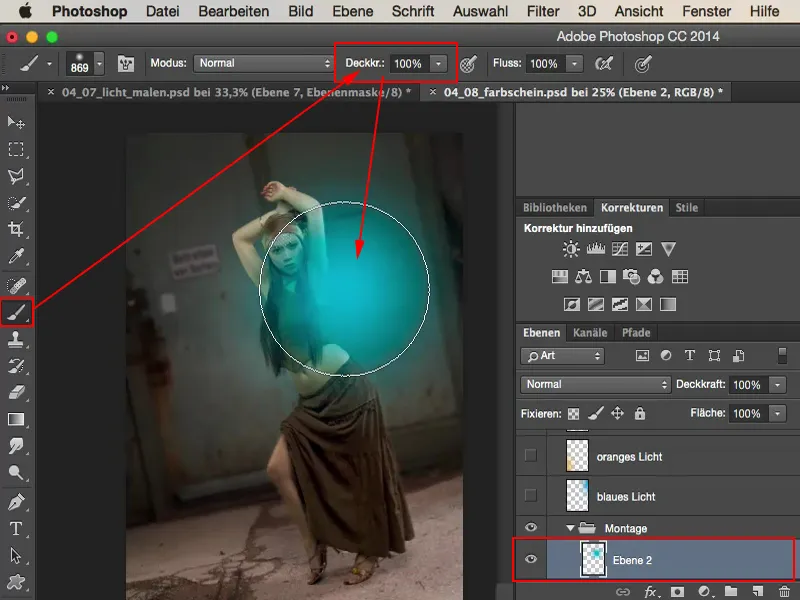
I pull it out of the picture a little - and I think to myself: "Well, it looks like it's been painted over." So I set the layer mode to multiply negative (1), because that makes it a bit more diffuse in the image. Now I just move it out of the picture until I say: "Yes, about there" - it should just shine in here a little (2).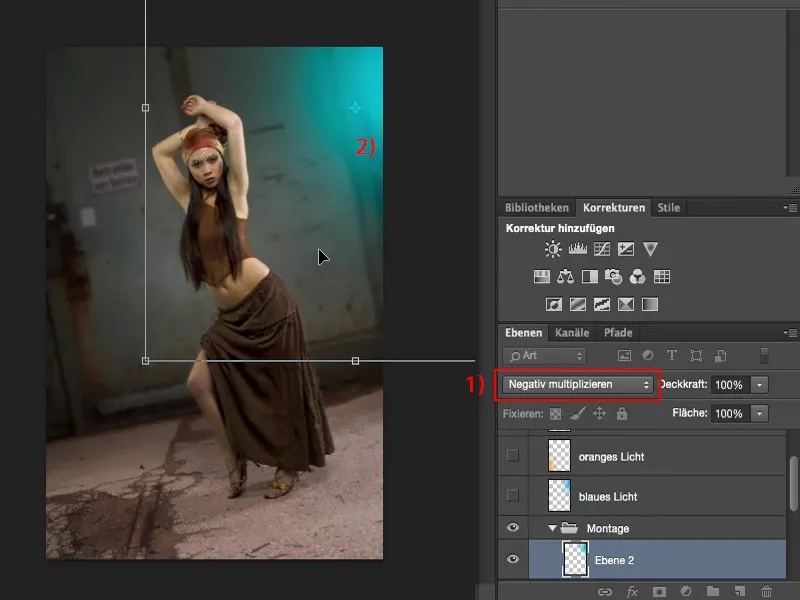
I do the same on another empty layer (1), here I get a light, warm color tone (2). I can actually use the brightness in the same way, it fits. Wonderful.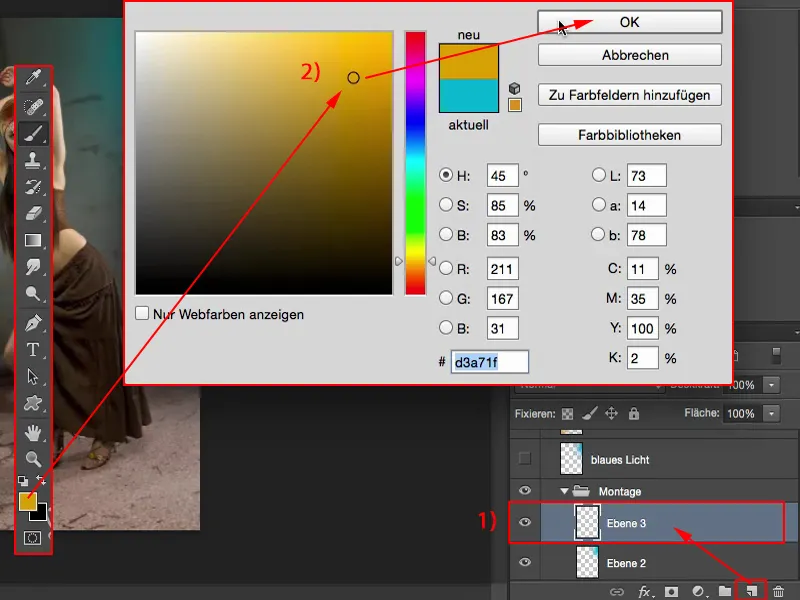
And once again I click in the middle with my brush tip (1), go to Free Transform via Cmd + T or Ctrl + T (2), set the layer mode to Multiply Negative (3), make the glow a little bigger so that it becomes more diffuse, and then position it so that I have this glow at the bottom left. The whole thing is then confirmed with the Enter key.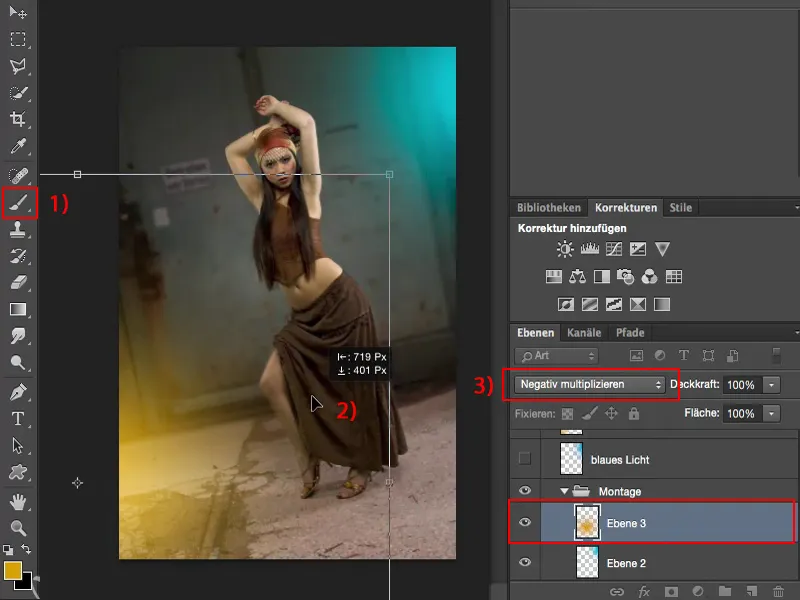
Creating light edges
The only thing I'm missing now are the edges of the light. To do this, I first have to crop my model or find the mask in the layer stack. I have it down here, I just went over it a bit in a rudimentary way. By holding down the Cmd or Ctrl key, I can load the selection with one click.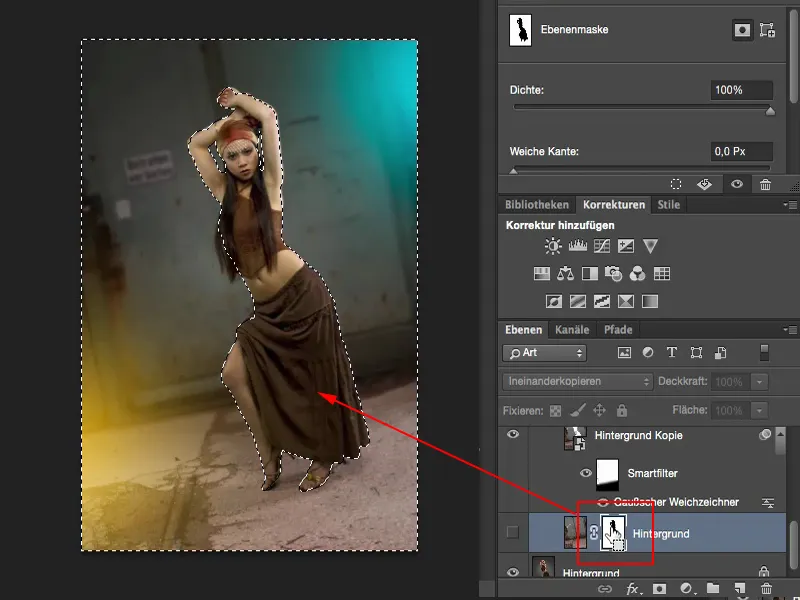
I had inverted this mask, so now I also have to invert or reverse the selection (1). Now I have selected the girl (2). With this selection, I now move to a new empty layer in the layer stack (3).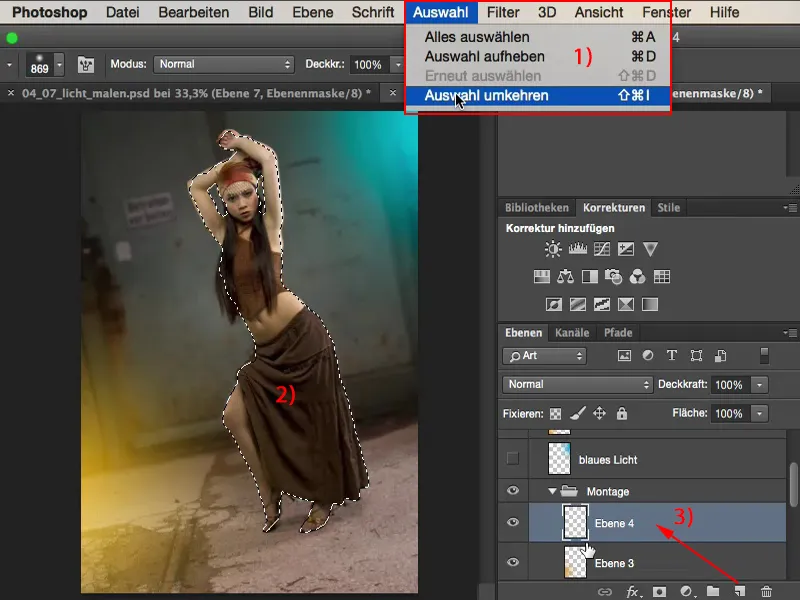
The selection remains active here too. And now I can paint on the edge of the light with a low opacity (10, 15, 20 %, less is more) and a soft brush.
Let me zoom in a little closer. Here comes the glow of light. It makes the whole thing believable, especially here on the leg. Skin reflects a lot. I can brush the whole thing on now. If it's a bit too much, it doesn't matter at all because you can use the opacity controllater on to correct it at any time.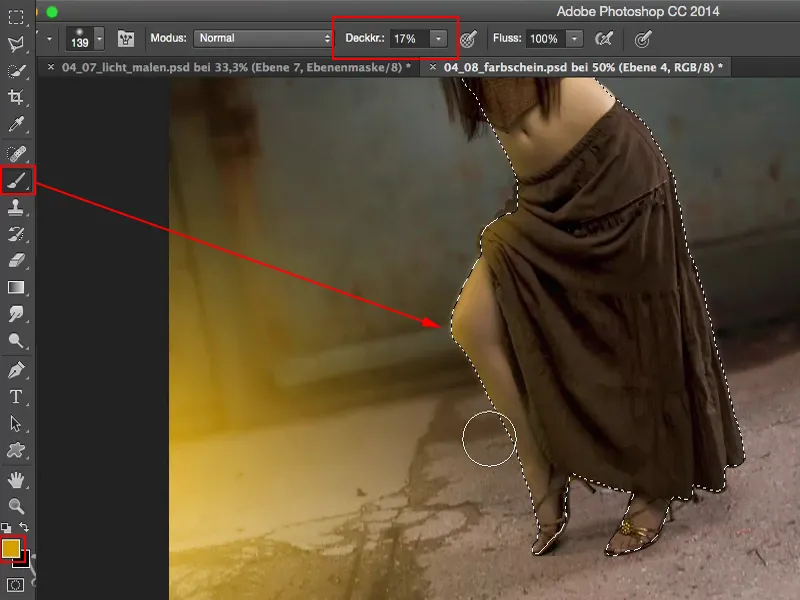
Of course, I'll do the same with the blue shade. I'm going to brush away and draw in this color edge. Like this.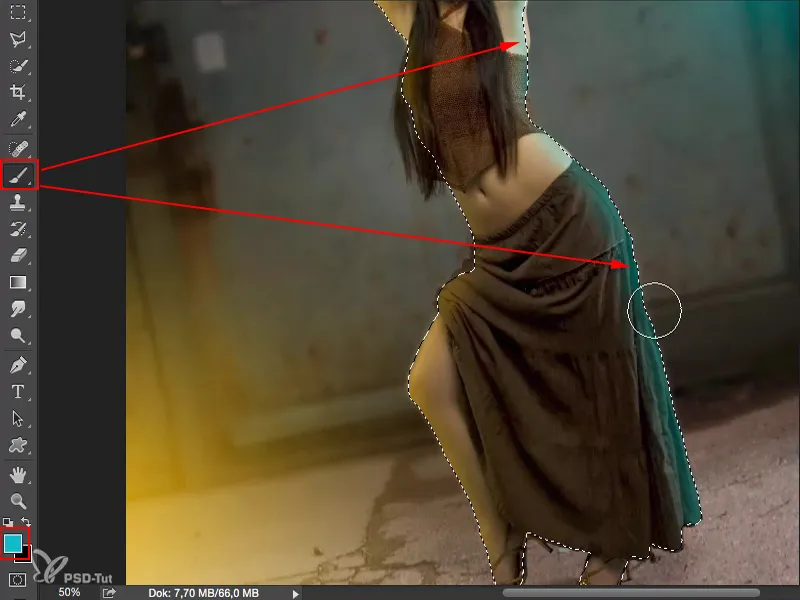
Cmd + D (or Ctrl + D) cancels the selection. I zoom out. The light is definitely there, but it's a bit too much, so I'll just reduce the opacity here. I think it should be around 60 % to 70 % (1).
And I can also reduce the intensity of these two spotlights (2) a little afterwards, so they are no longer quite so harsh, but they are still in the picture.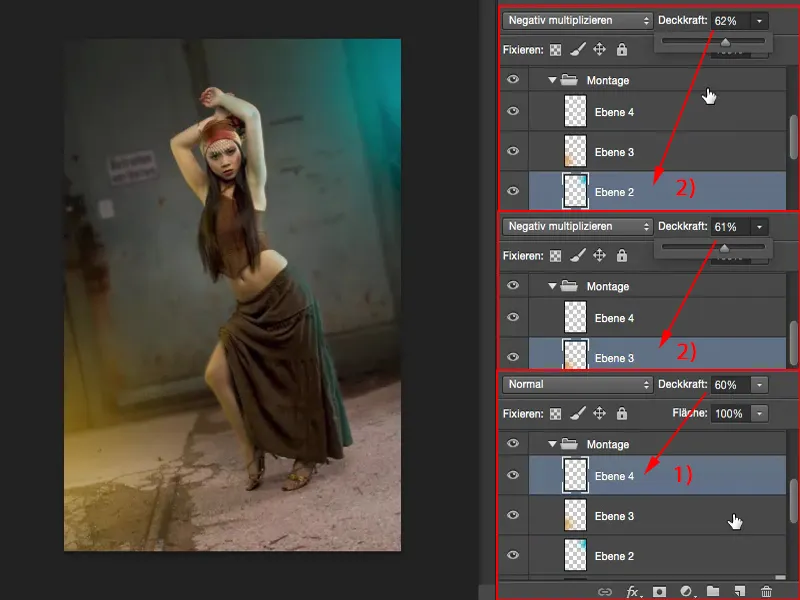
Result
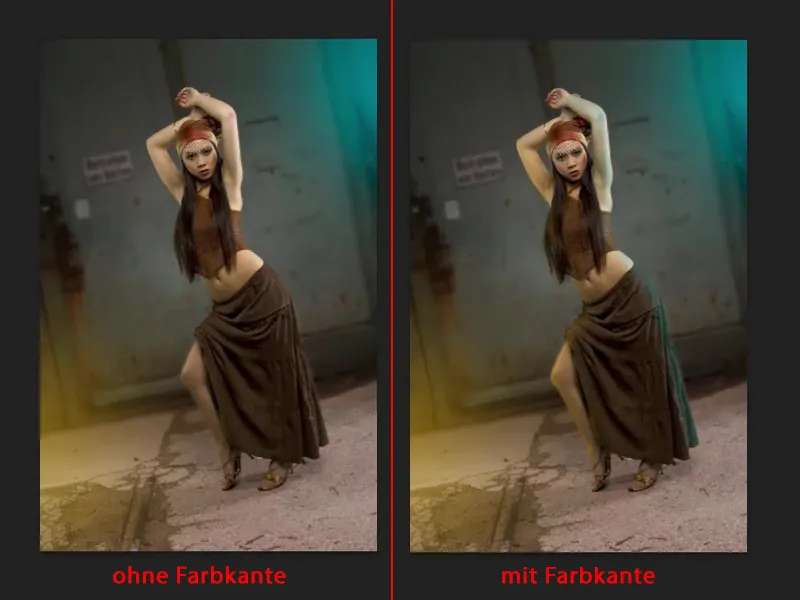
And if I blend this in with my original background layer, it also makes sense in the studio, even in front of gray. A yellow light source here, a blue one there. The eye can easily be fooled by these kinds of effects.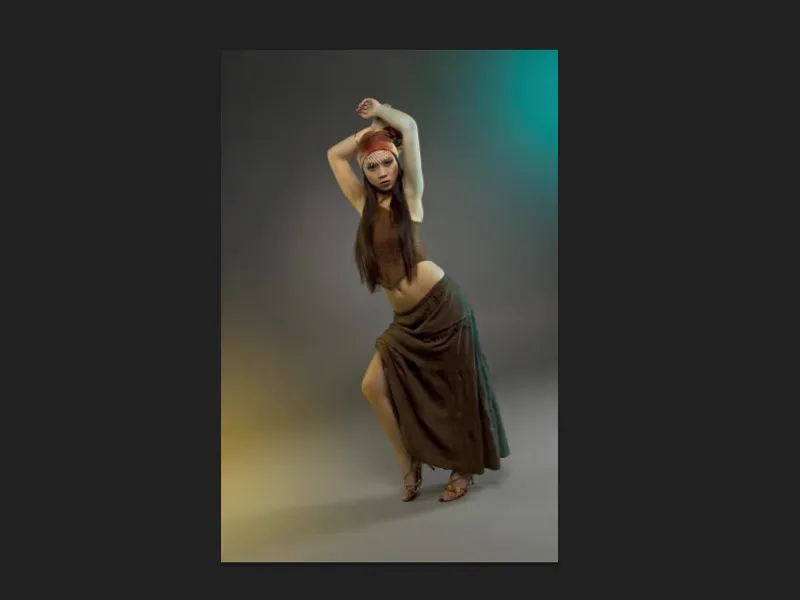
If you remove the edges (left image), on the other hand, it's immediately obvious: you've created a splash of color on the left and right, which is funny.
But this way, with the color edge (right picture), it makes sense, because these colors must also be reflected in the person's color appearance.