In this tutorial, you will learn the basics of Morphing in PowerPoint. Morphing allows you to create engaging transitions between slides and take your presentations to a whole new level. Whether you need a simple animation or want to design complex transitions, with Morphing you can captivate your audience's attention. In the following sections, I will show you how to start step by step with Morphing in PowerPoint.
Key Takeaways
Morphing allows PowerPoint to intuitively recognize movements and transitions between slides. You can customize the effects by duplicating objects on slides and shifting them accordingly. By naming objects, you can help PowerPoint recognize them and achieve the desired morphing effect.
Step-by-Step Guide
First, open PowerPoint and create a new presentation. To understand the basics of Morphing, start with a simple display.
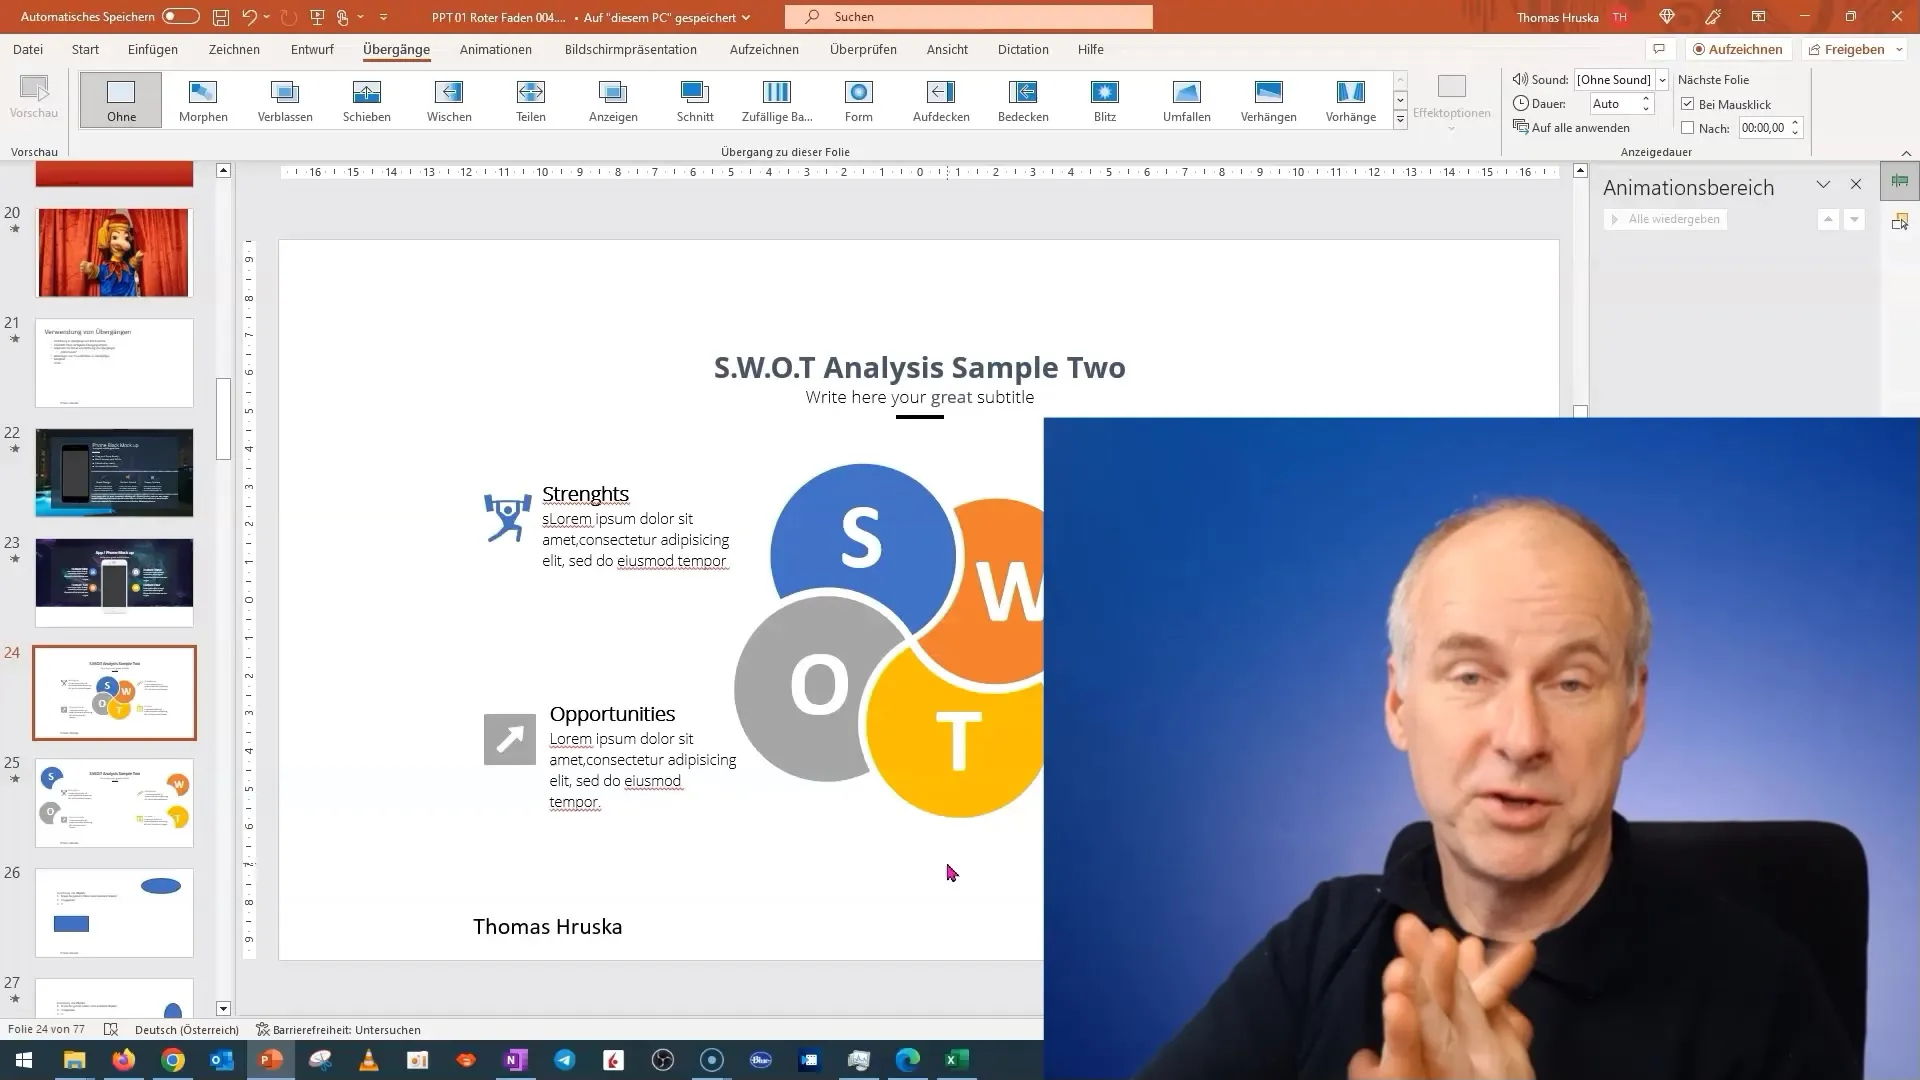
Enter presentation mode to display your slides. I have prepared an example for you that demonstrates the behavior of slides during morphing. You should be able to see how the elements on your slide stretch apart.

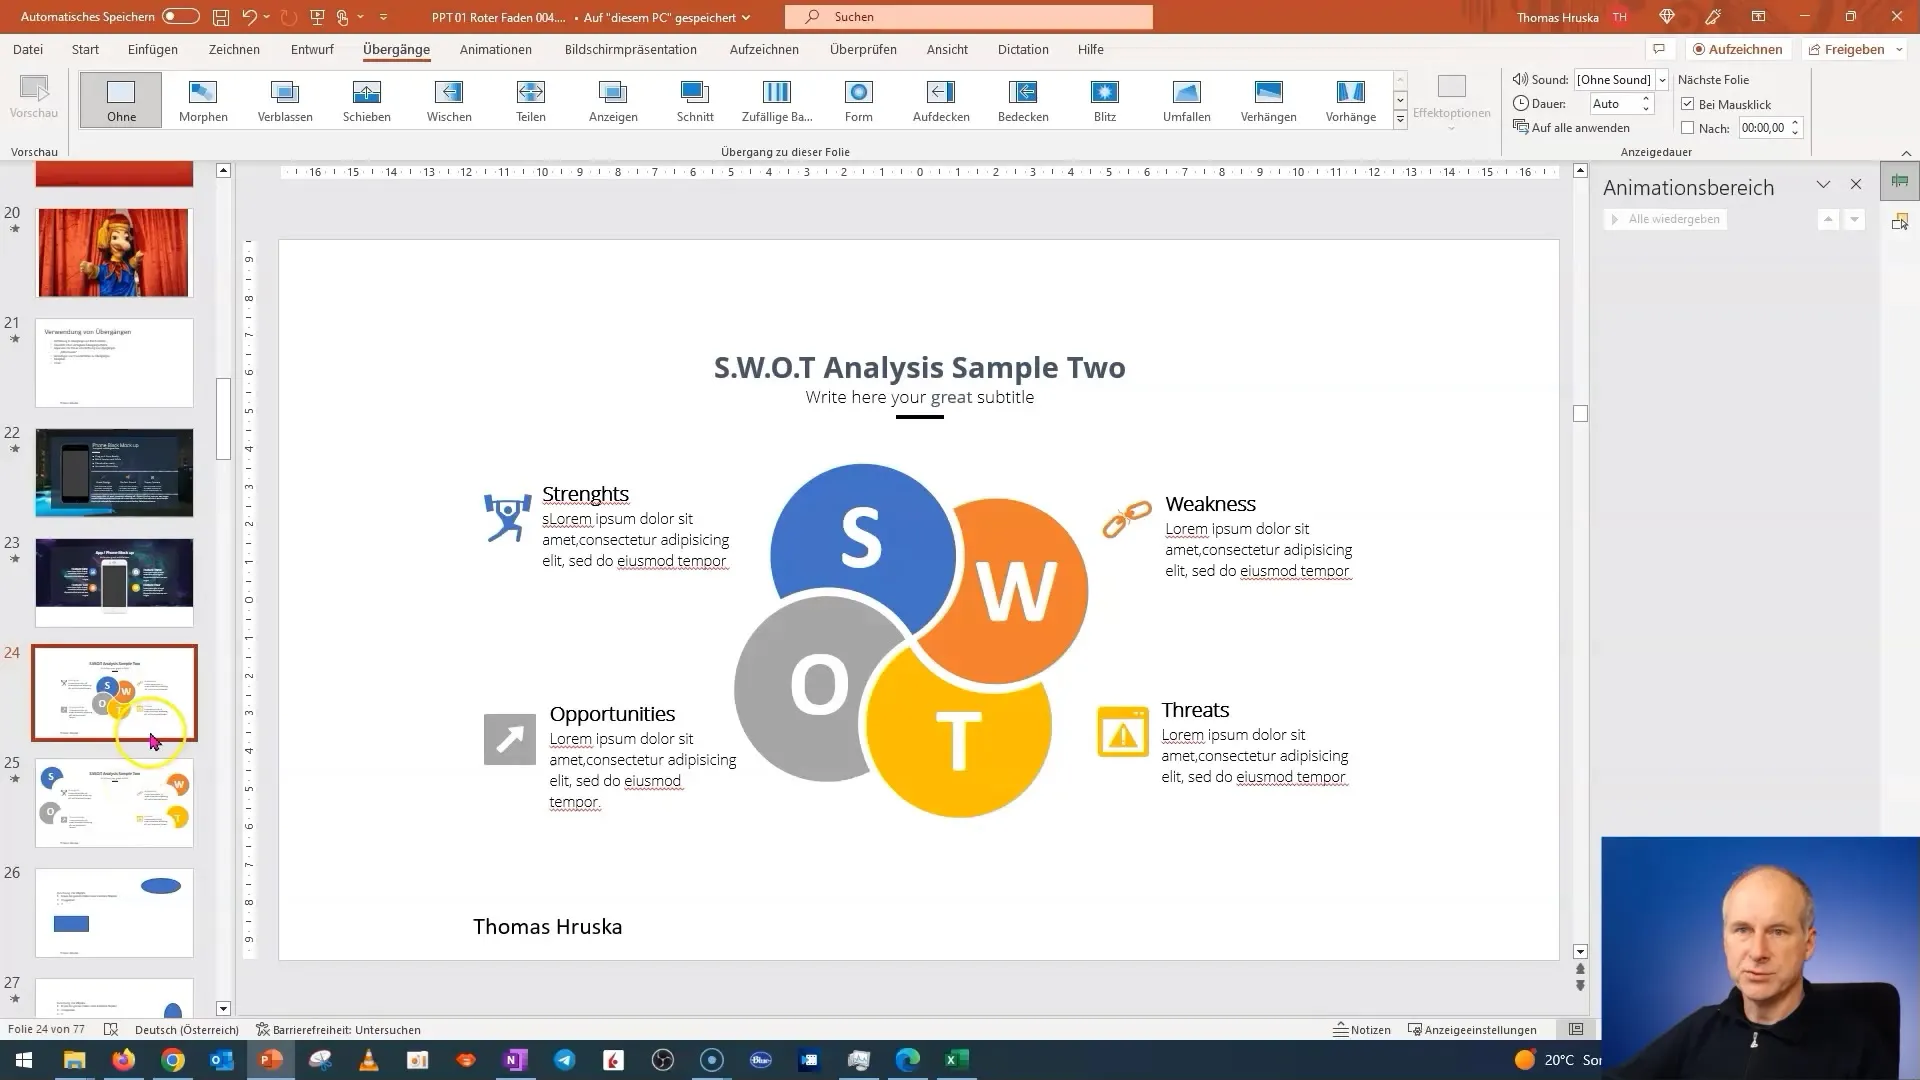
To use the Morphing feature, you first need to create a source slide. In this example, we will work with a table that you will duplicate. It is important to have two identical slides before starting with Morphing.

Duplicate your slide by right-clicking on it and selecting "Duplicate." You will see a preview of the two identical slides.
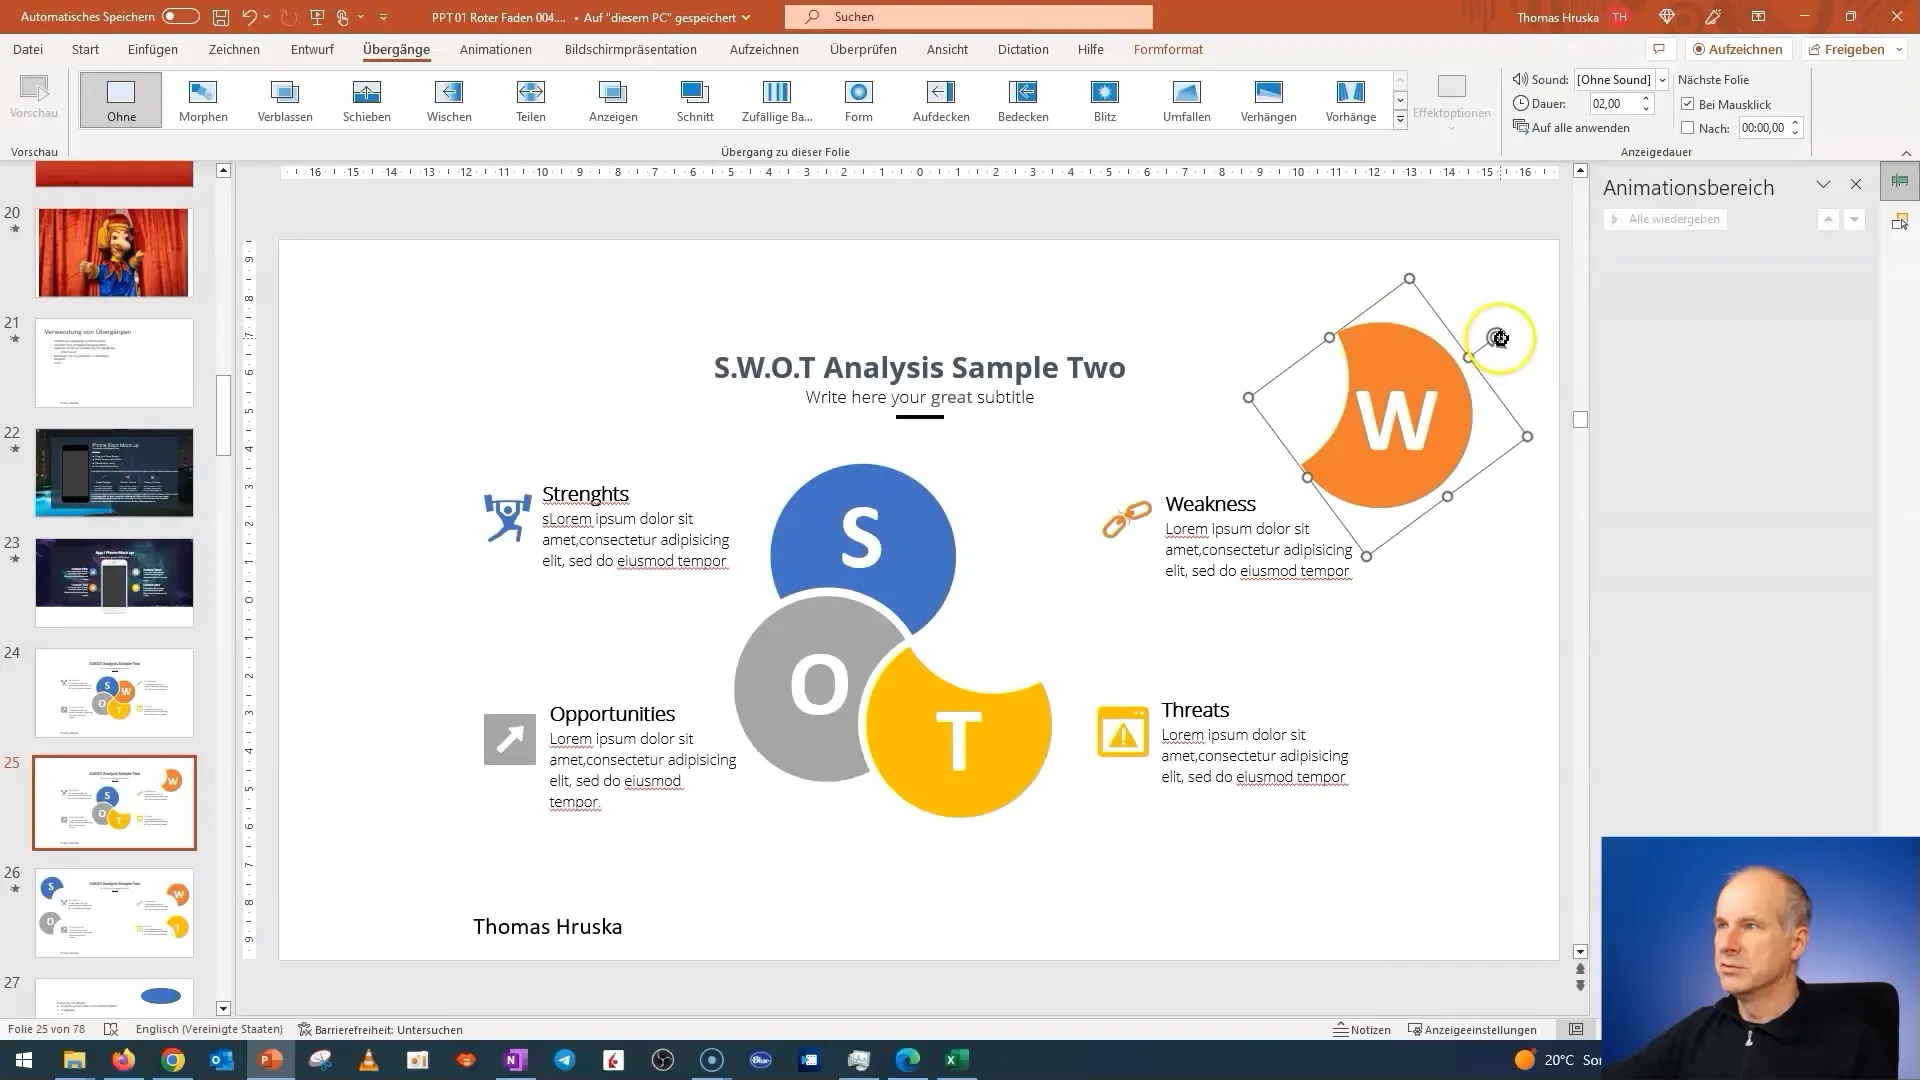
Now you can adjust objects on the duplicated slide. Move the objects to achieve the desired animation. Here, I will add an image of a moon to illustrate the effect.
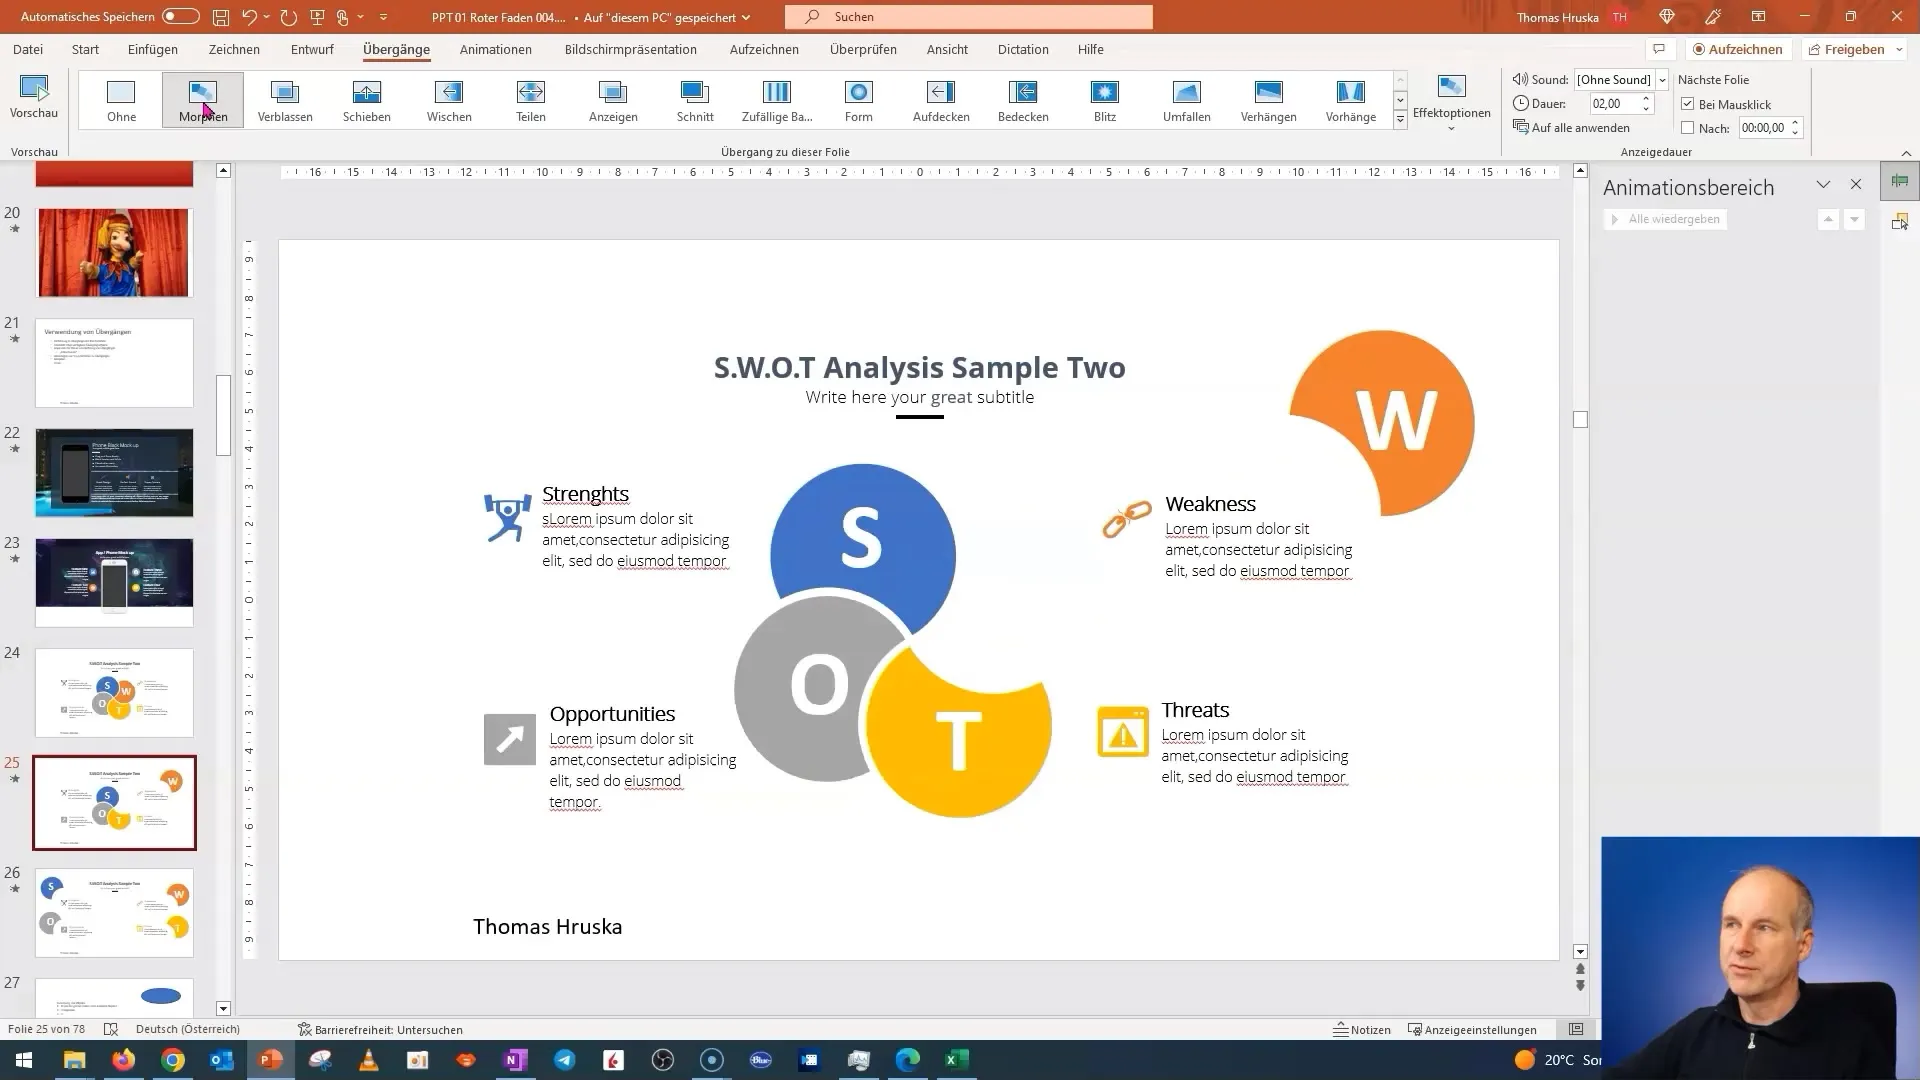
After making the changes, go to the "Transitions" tab and select the "Morph" option. Immediately, you will see in the preview area how the changes are animated.
An important point is that you can help PowerPoint understand the desired effects. By copying the slide and repositioning the objects, it becomes easier for the software to recognize the morphing animation.
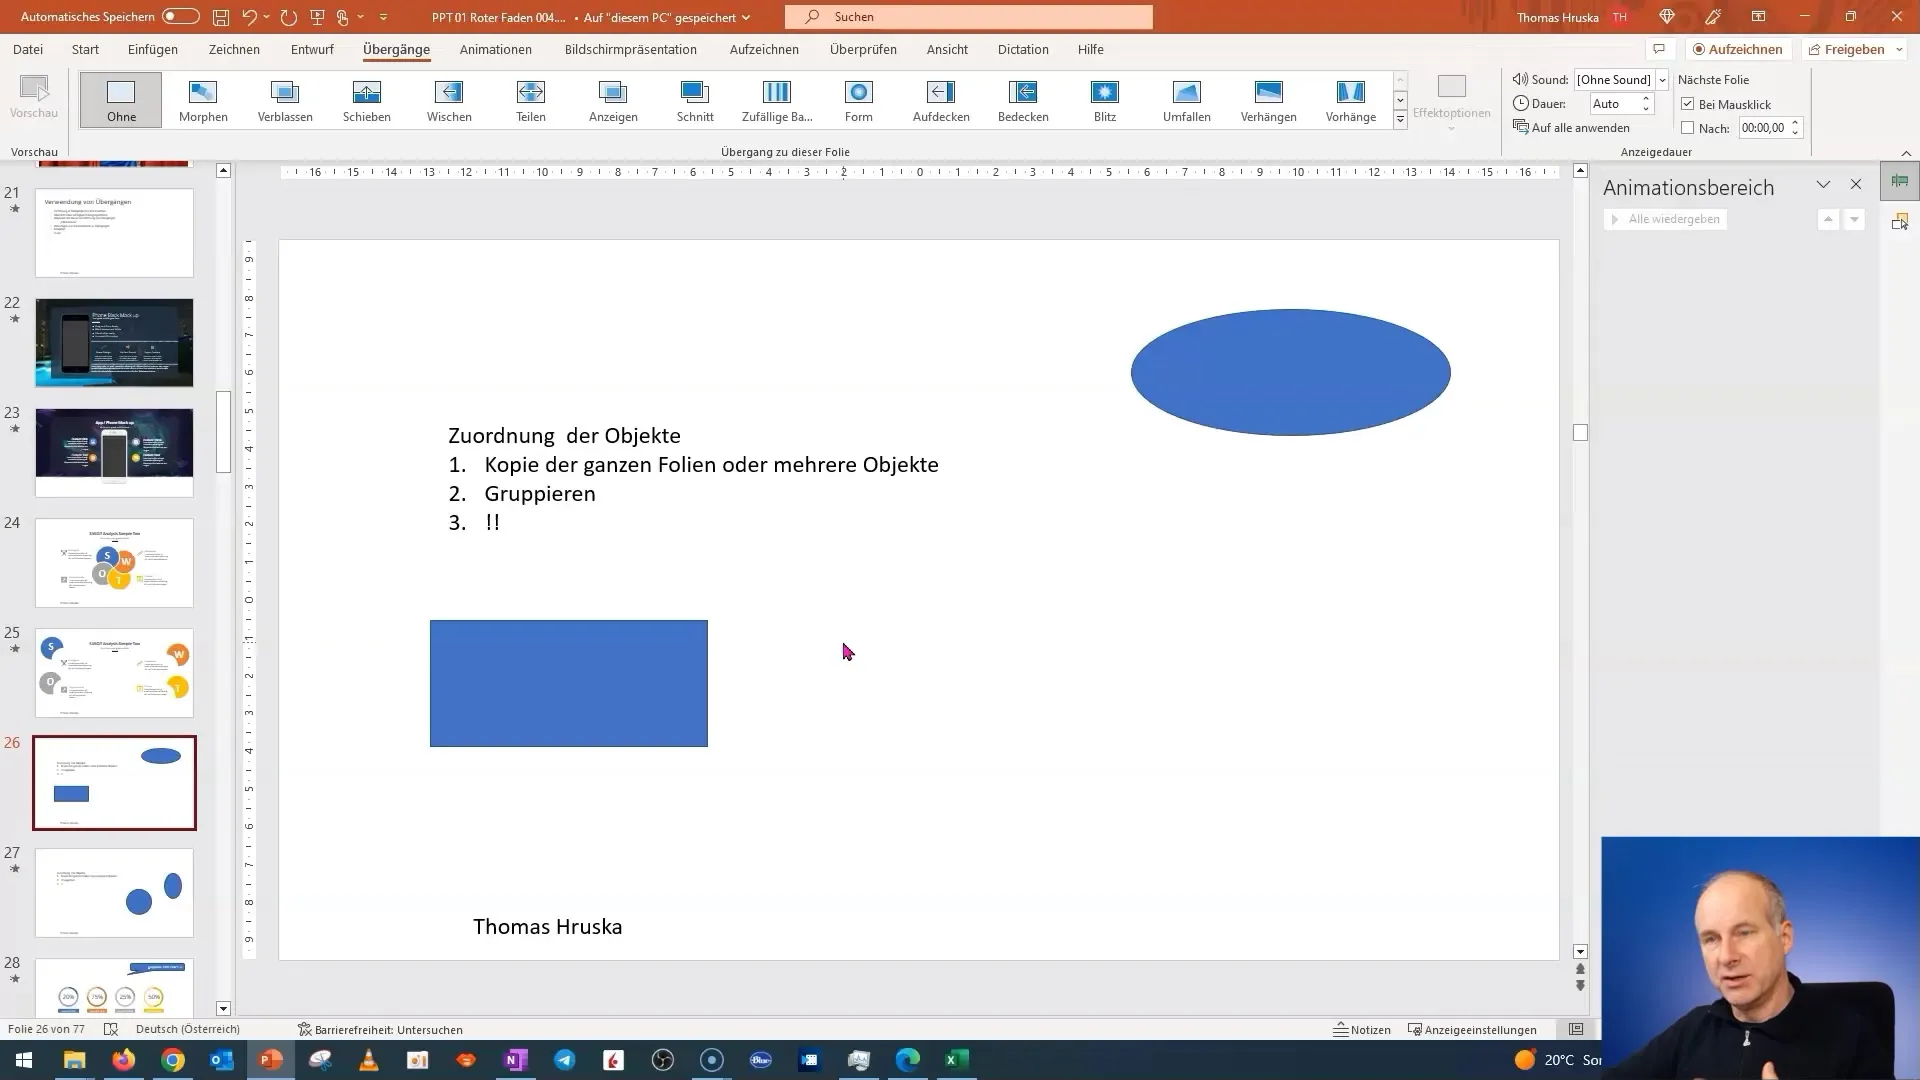
To further refine this, take an object like a rectangle on your first slide and add a circle on the second slide. This will help you better understand the behavior of Morphing.
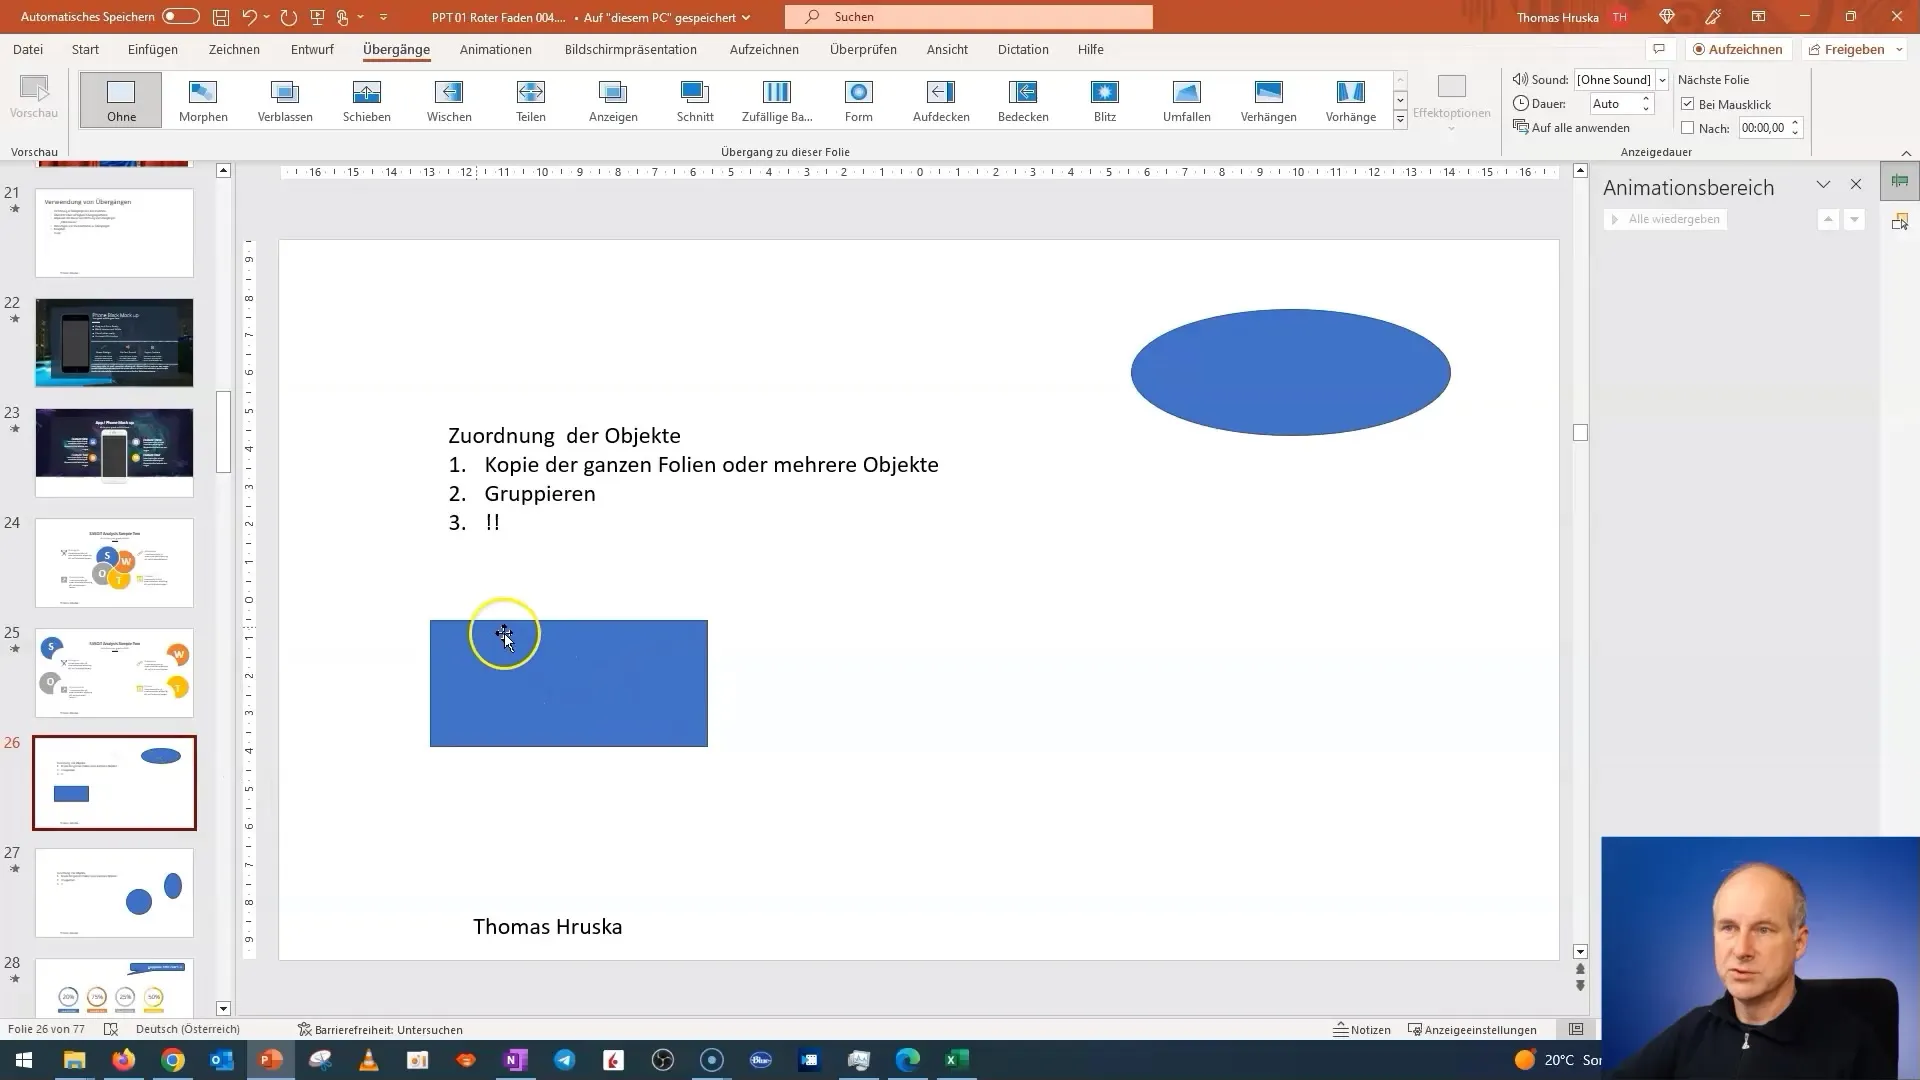
Once you have set up both slides, click again on the "Transitions" tab and select the Morph option.
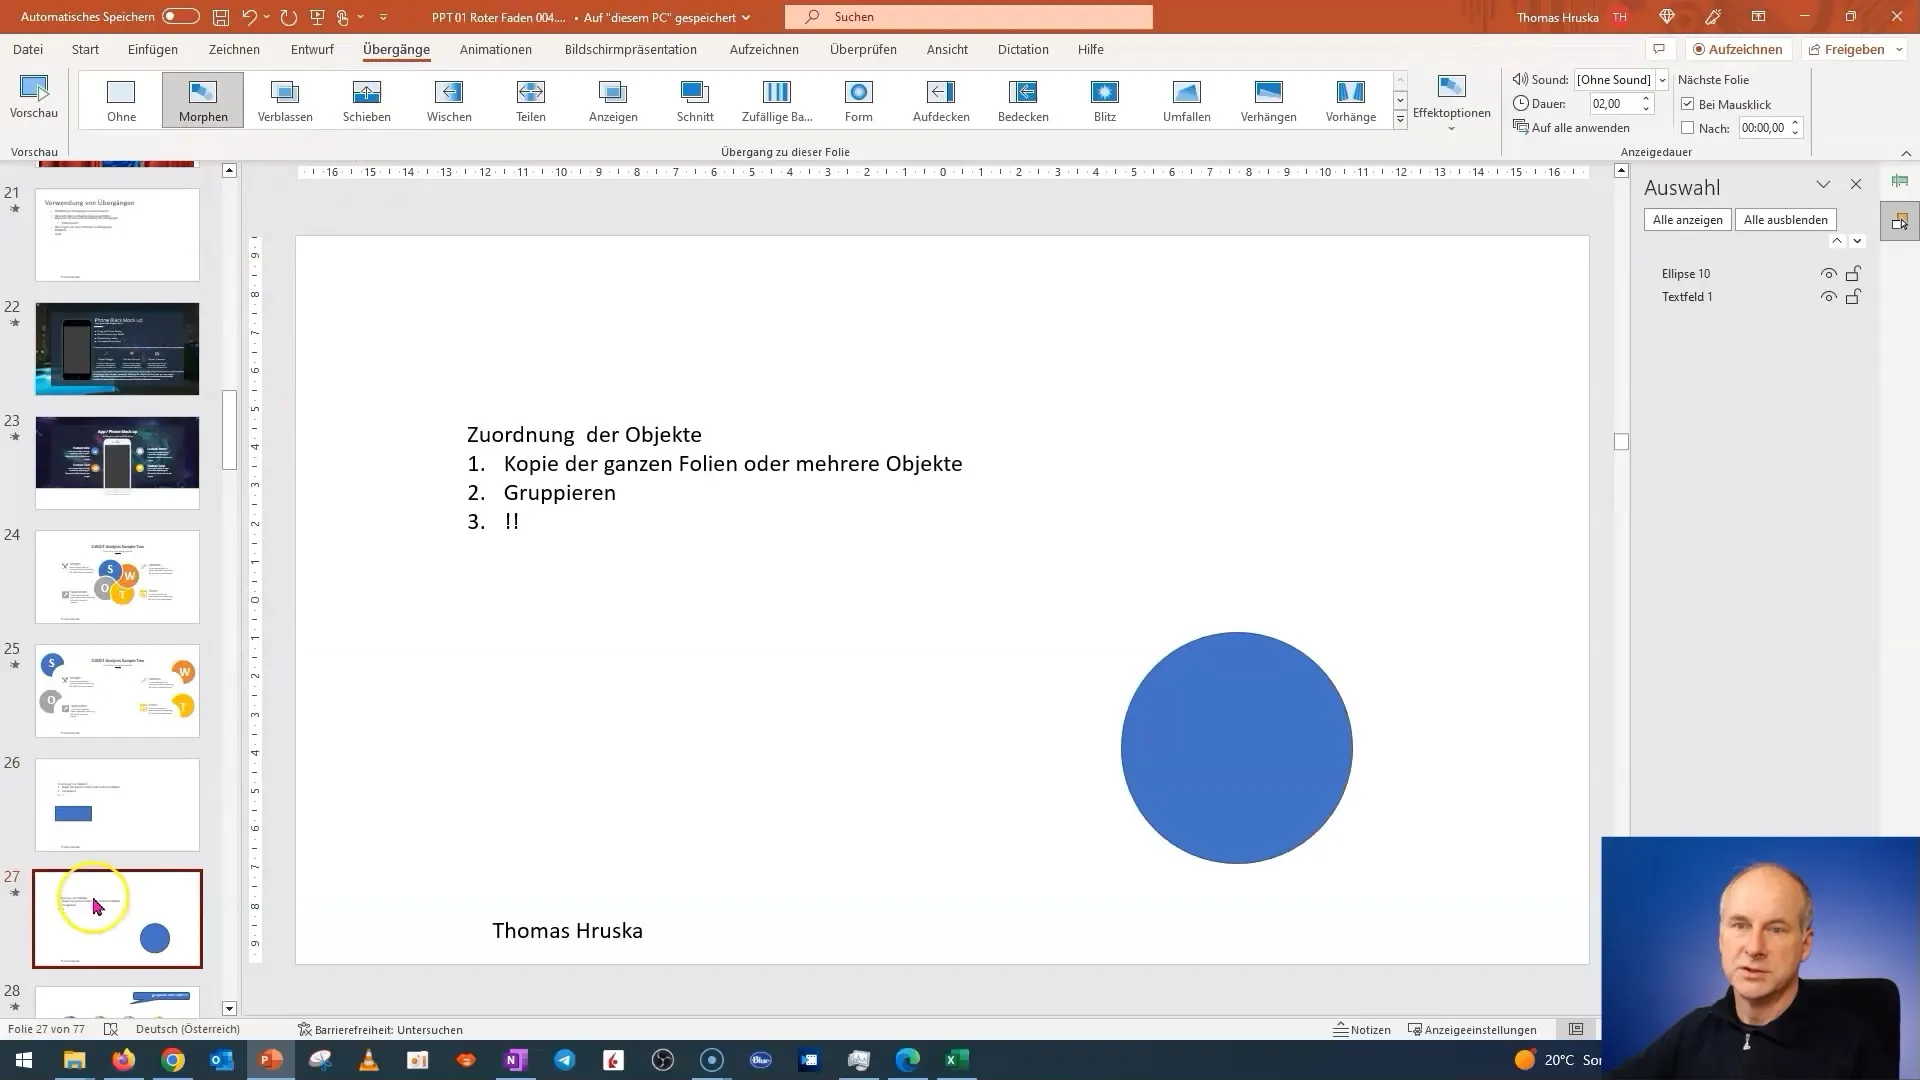
If PowerPoint has trouble recognizing the objects, a trick can help. Name the objects the same on both slides so that PowerPoint understands they are the same object. For this, use simple labels like "Object1" and "Object1" on the second slide.
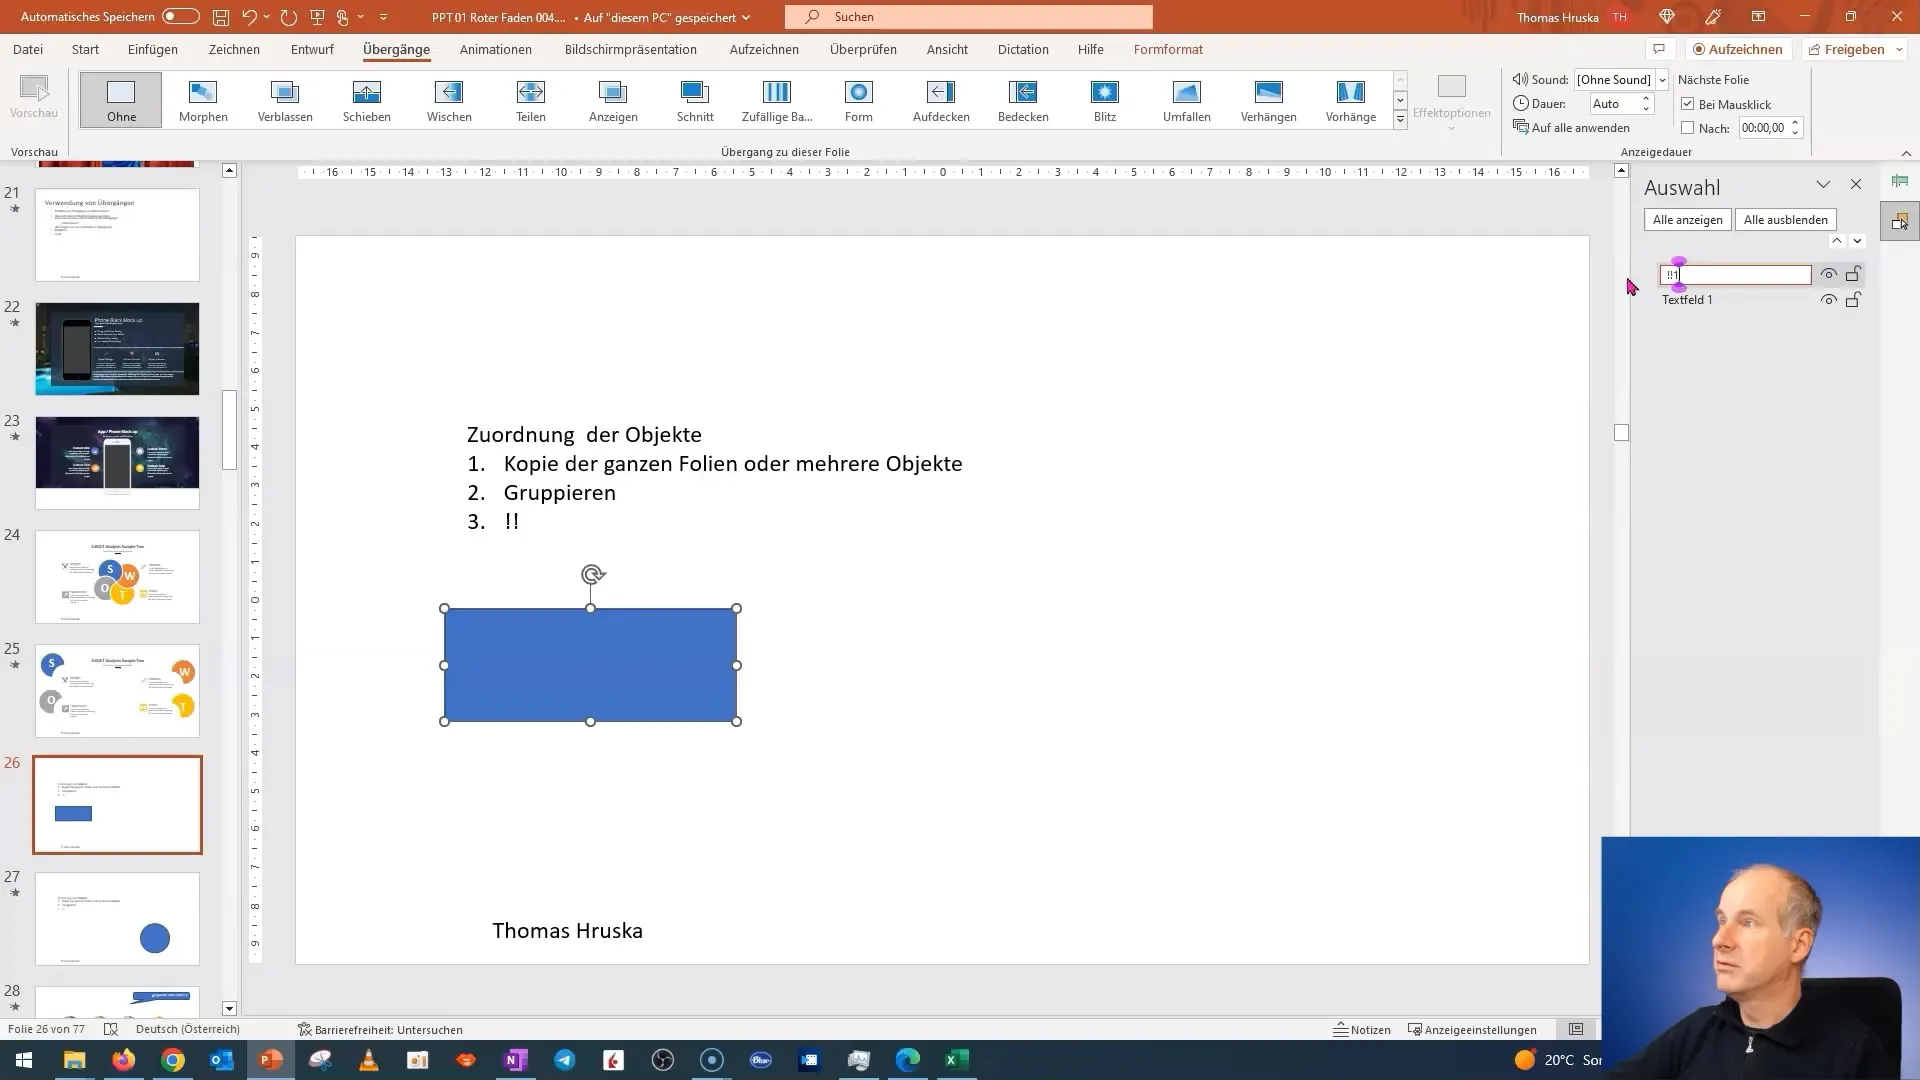
Make sure you are always on the slide from which you want to morph. The correct procedure is crucial to achieve the desired effects.
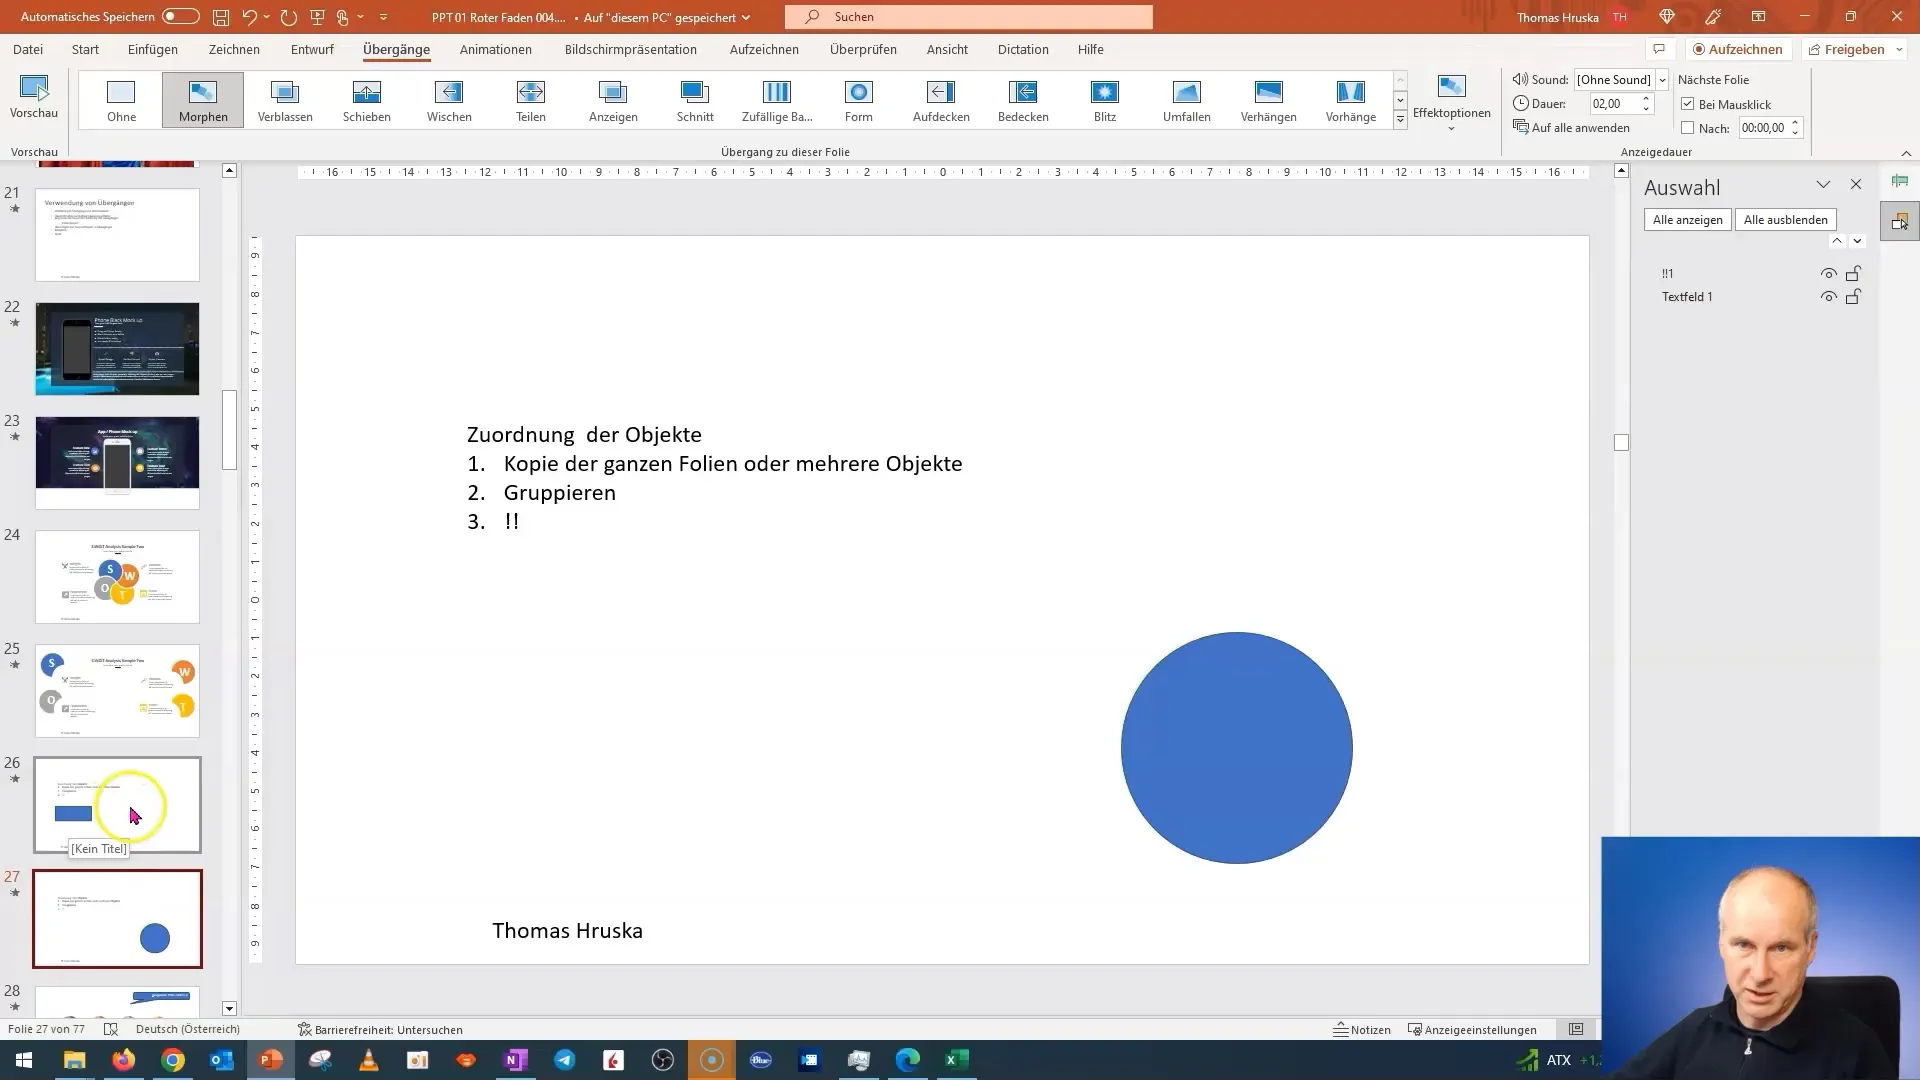
Invert the steps if the changes do not appear as desired. Often, it is necessary to simply adjust the objects a bit so that the transitions become clearer.

Those were the basic steps for morphing in PowerPoint. There are numerous ways in which you can expand and customize this technique to make your presentations even more impressive.

Summary
In this tutorial, you have learned the basics of morphing in PowerPoint. You now know how to duplicate slides, adjust objects, and apply morphing effects. Experiment with different objects and effects to make your presentations more diverse.
Frequently Asked Questions
How can I duplicate a slide?Right-click on the slide and choose "Duplicate" from the menu.
Why does PowerPoint not always recognize the objects?It may be that the objects are named or positioned differently. Name them identically on both slides.
Can I use morphing for every object?Yes, you can basically apply morphing to almost all objects in PowerPoint. Pay attention to the position and name of the objects.
What are the advantages of morphing in presentations?Morphing creates smooth transitions and visually enhances your audience's attention.


