In this tutorial, you will learn how to efficiently apply the Morph tool in PowerPoint to create impressive transitions between slides. Morph can help you make your presentations more dynamic by animating elements between slides. In this guide, I will walk you through the steps necessary to effectively use Morph and provide you with some useful tips to make your work easier.
Main Insights
Grouping objects simplifies the application of Morph. Using shortcuts like Ctrl+Shift+G for grouping and Ctrl+D for duplicating can save you time and apply the technique more efficiently.
Step-by-Step Guide
To use Morph in PowerPoint correctly, follow these steps:
First, make sure you are familiar with the basics of Morph. If you are new to this area, I recommend watching some videos on the basics of Morph to have a solid starting point to effectively use the features.
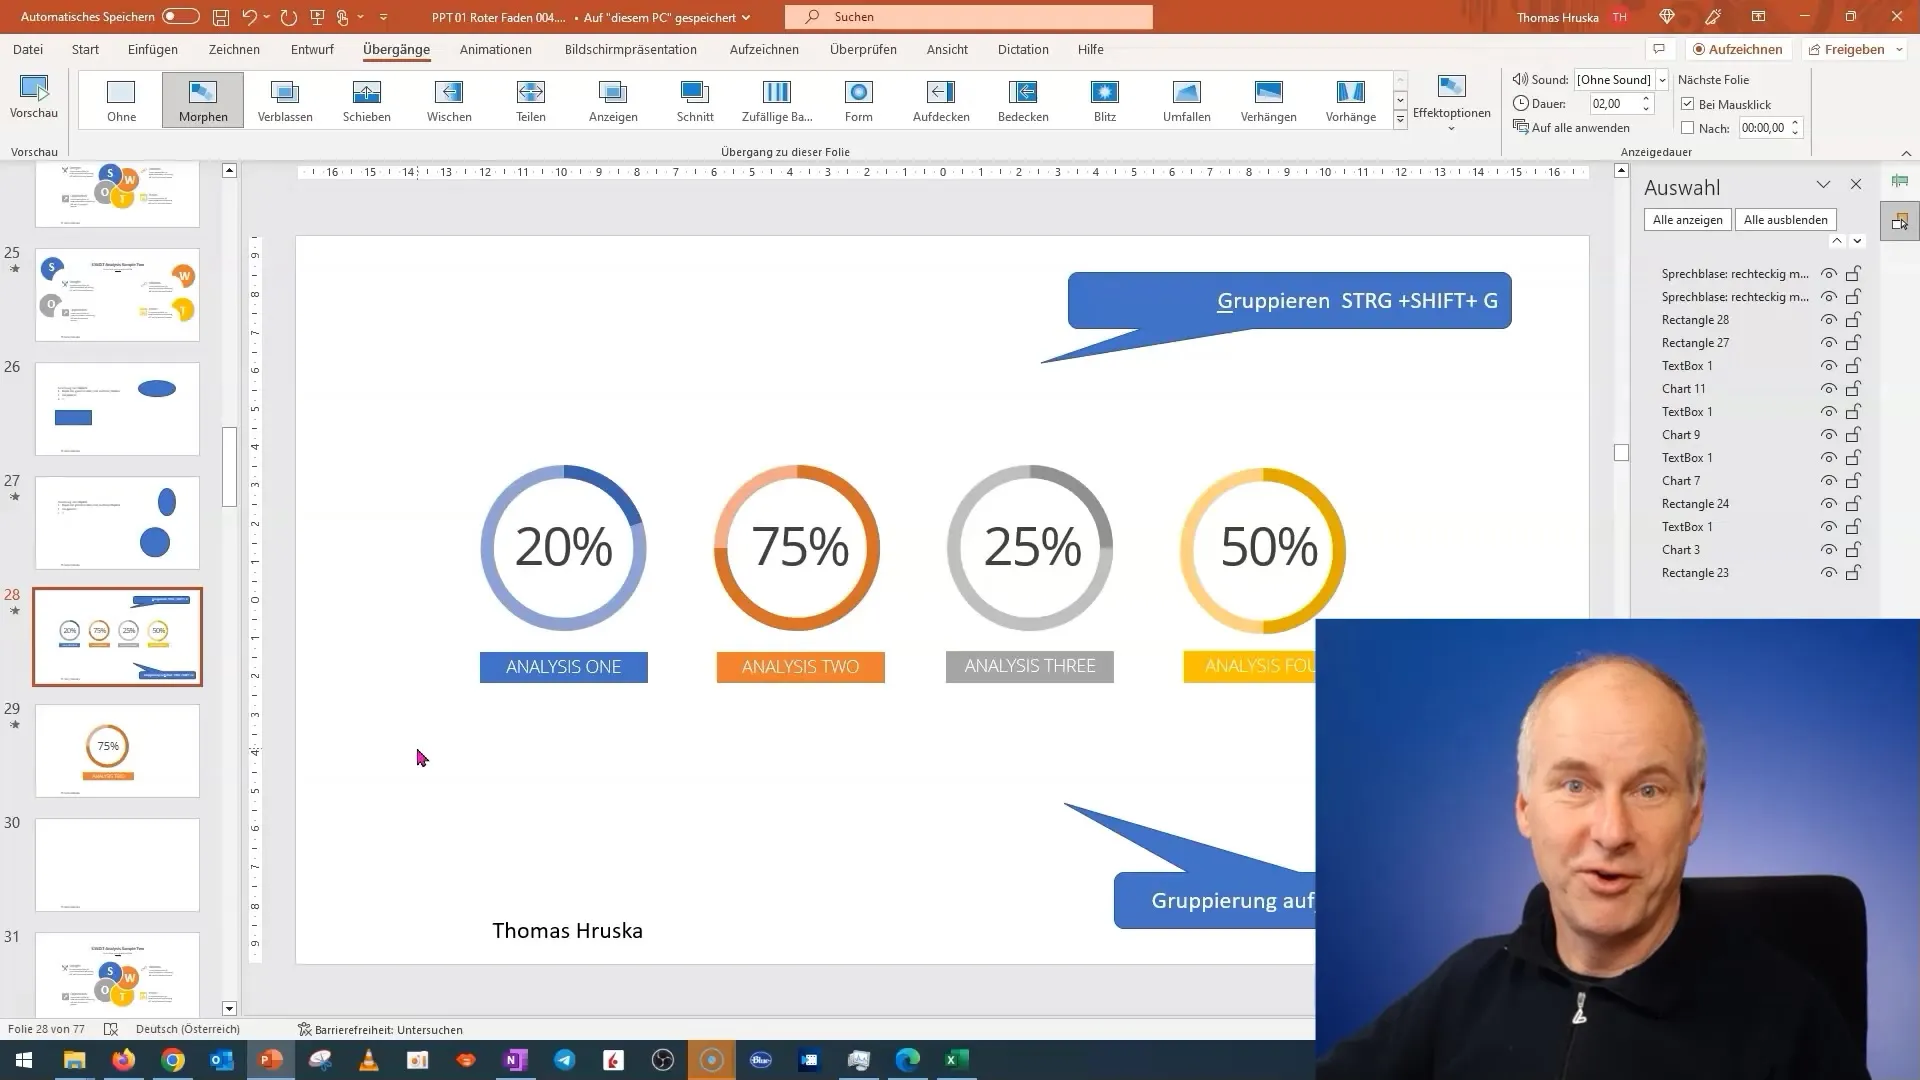
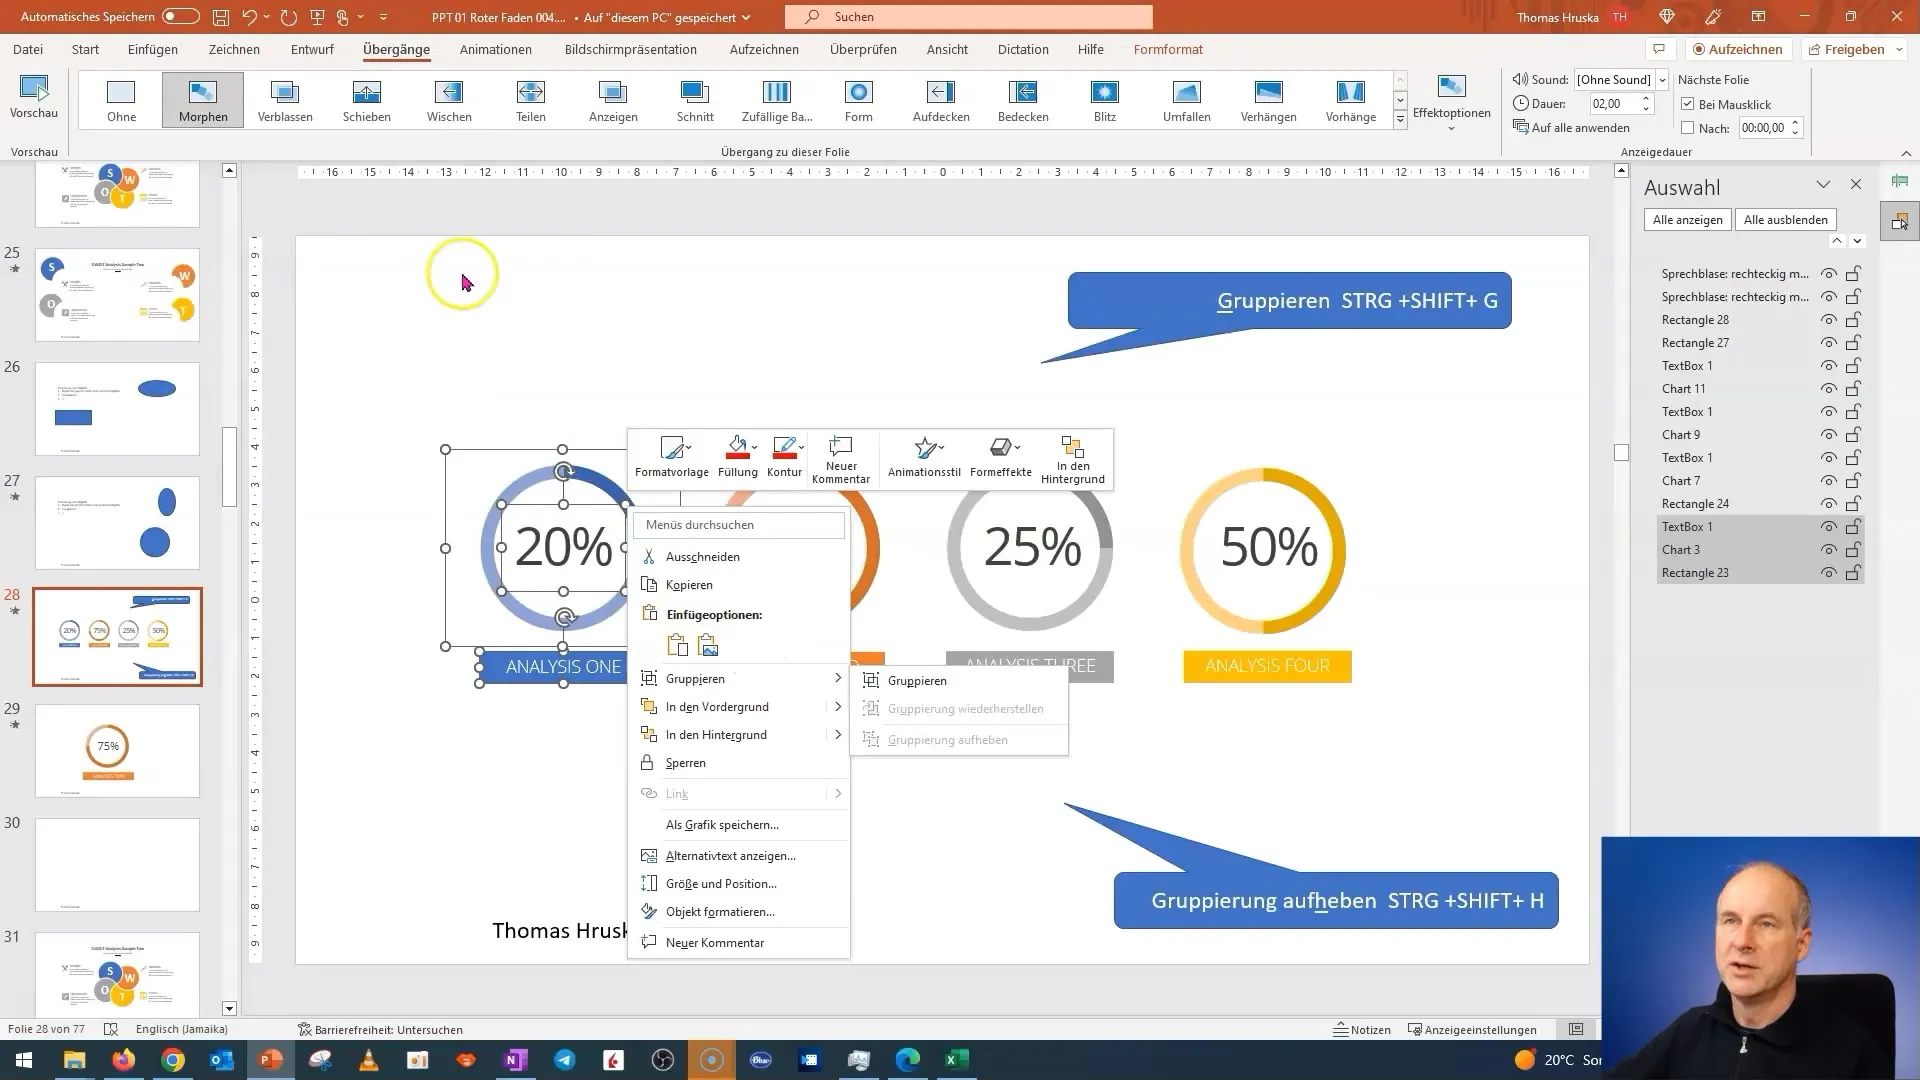
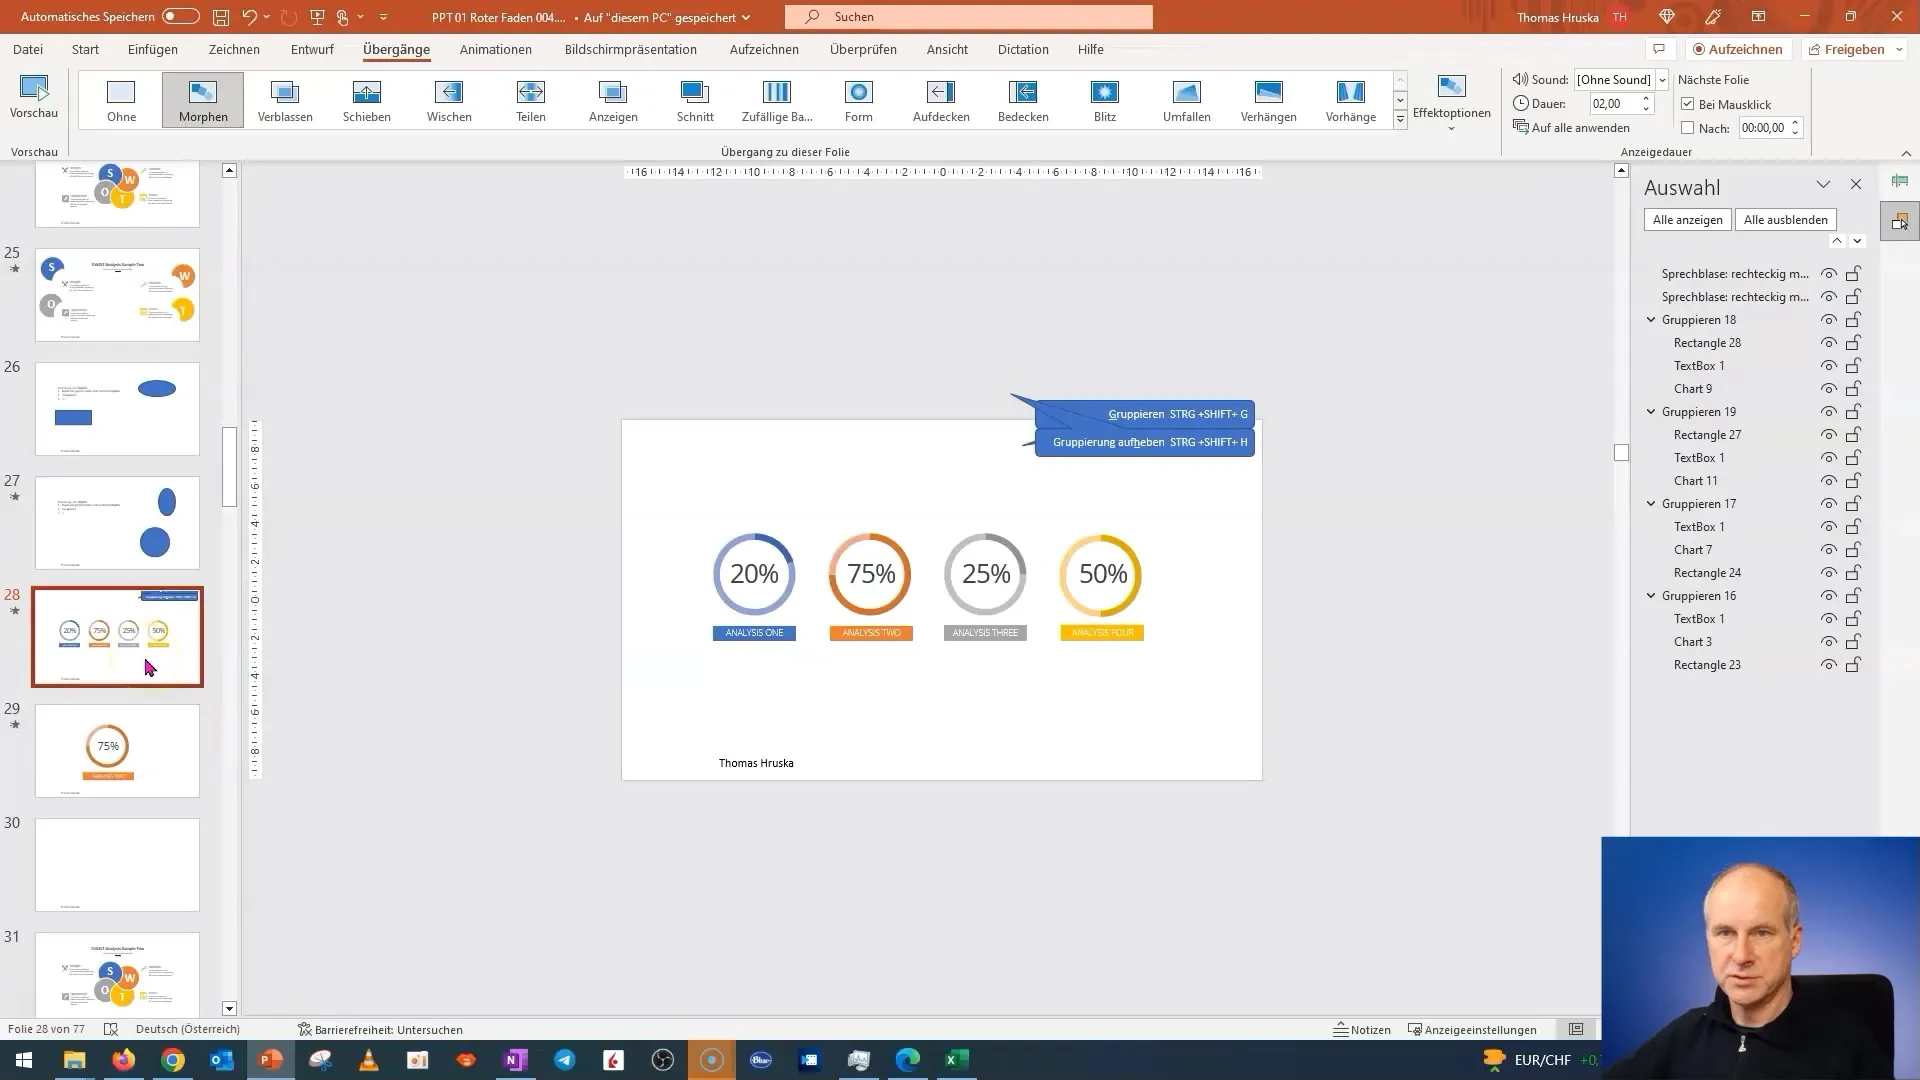
Start by preparing your slides. It's advisable to group the objects you want to morph. The more elements you have in a group, the easier it is to animate them simultaneously. You can group the elements by pressing the Ctrl and Shift keys together with the G key. This not only saves you tedious mouse clicks but also makes the whole process more efficient.
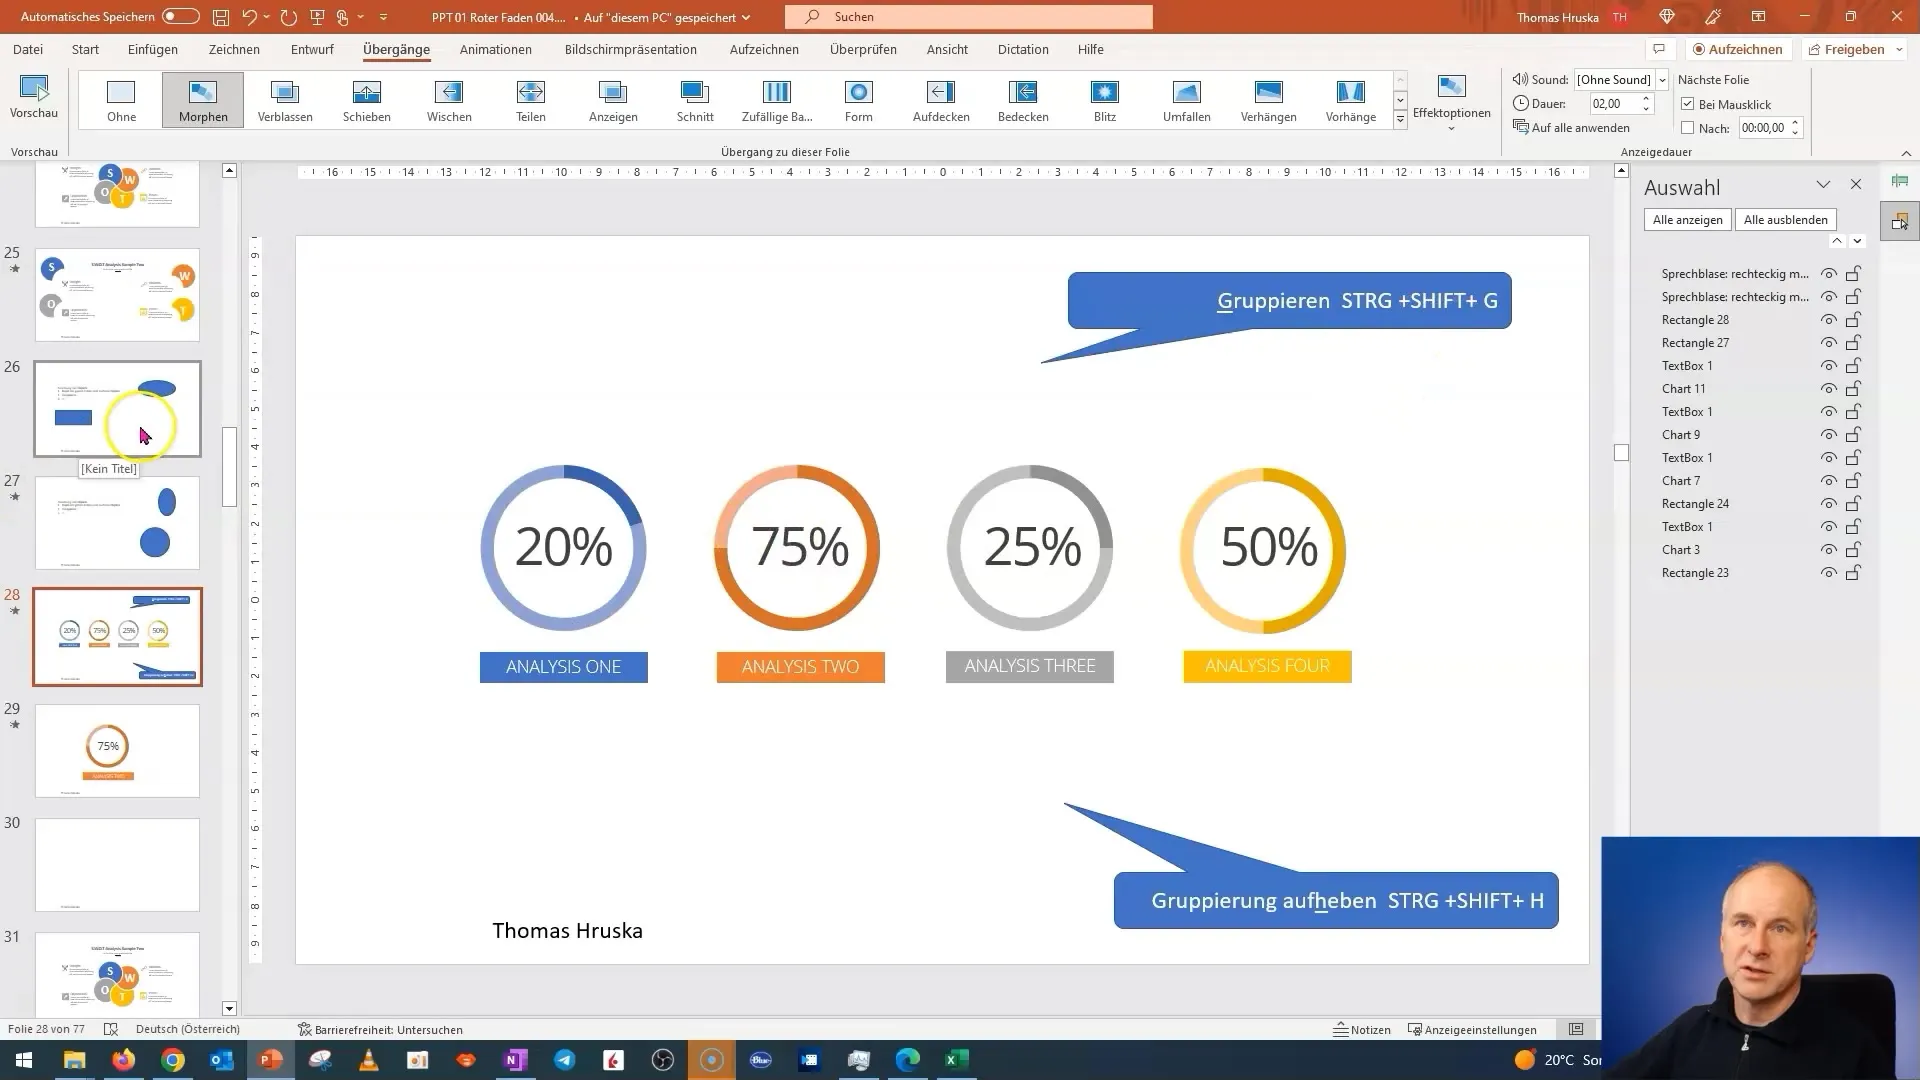
If you have an element you want to morph, I recommend making it visible on a slide first and then duplicating it on the slide to ensure a smooth transition. You can use the Ctrl+D shortcut to quickly duplicate the object.
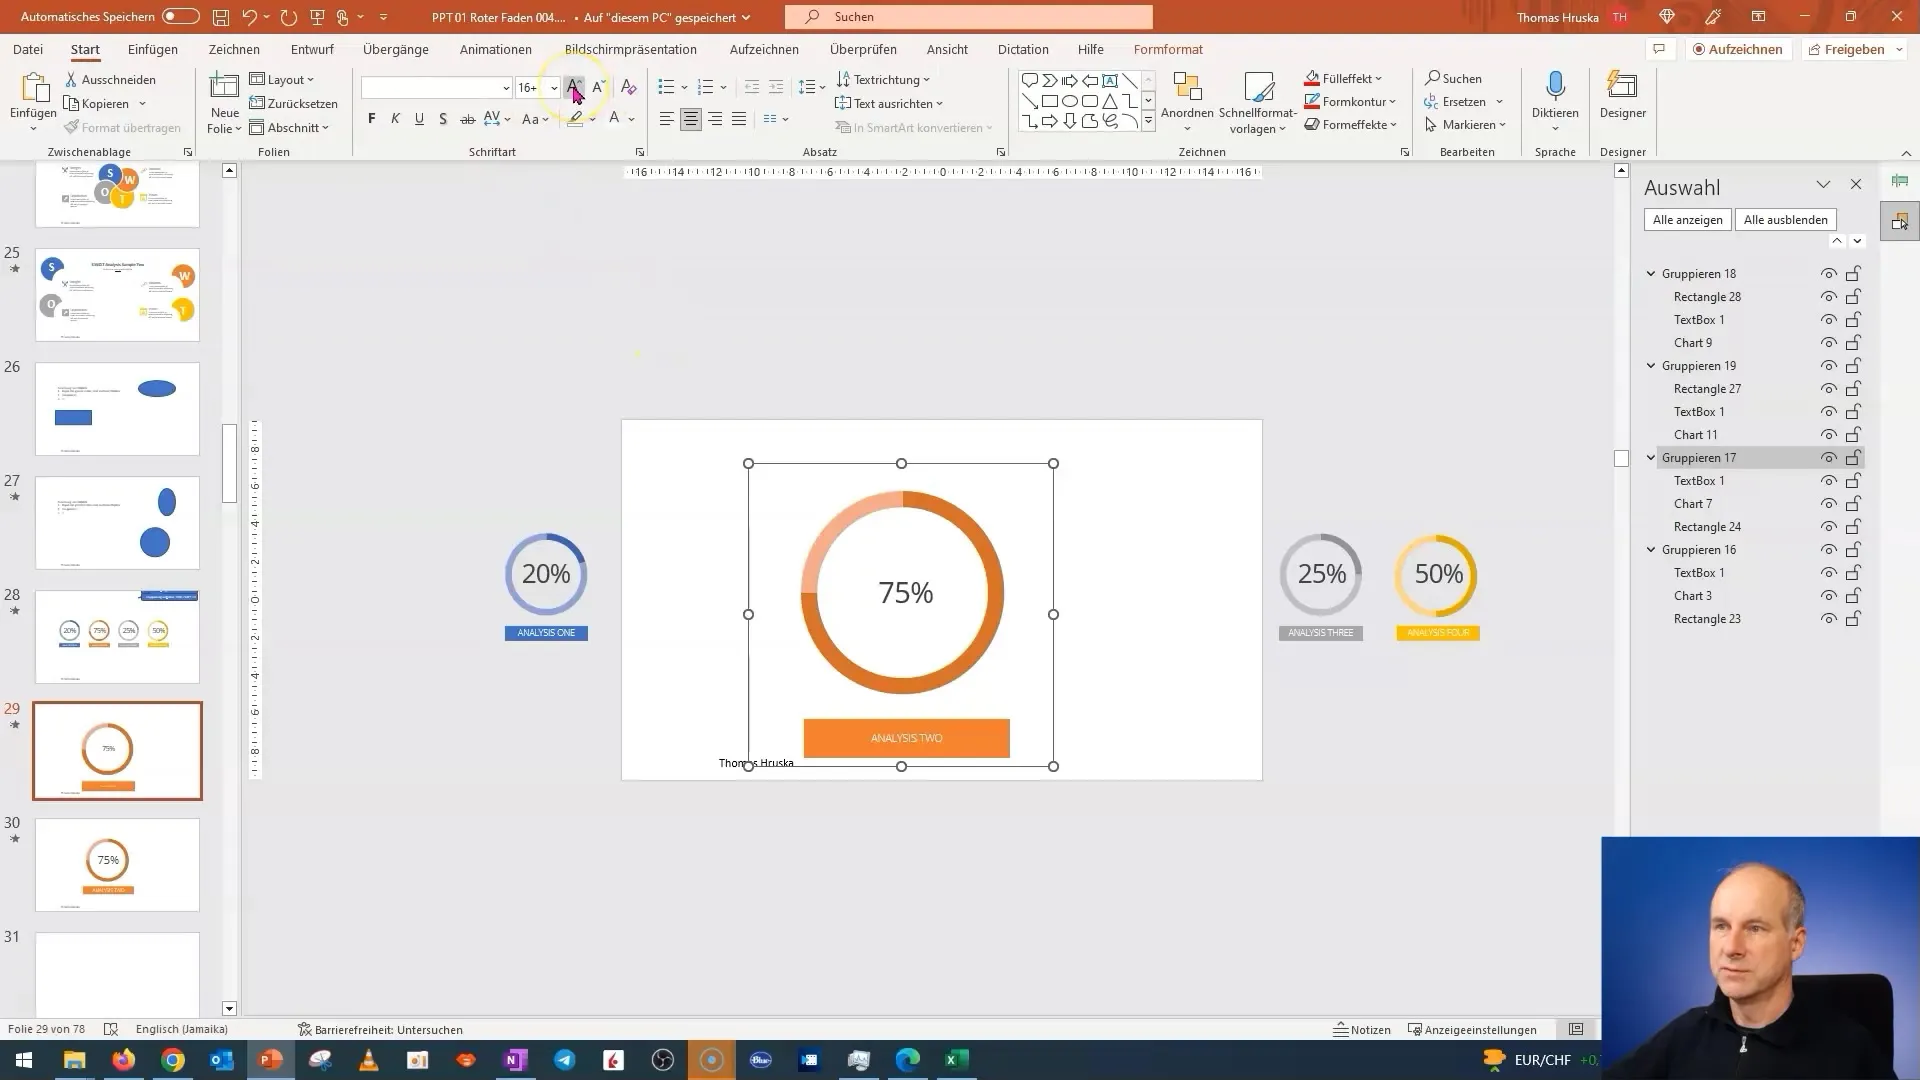
Now design the second slide. Here you can move the duplicated element outward and make it larger. Make sure to hold the Shift key to maintain the proportions of the object when enlarging. This ensures that your design remains harmonious.
Once you have set the size, you can also adjust the font size to ensure it stays in proportion with the large shapes. Click on the text box and increase the font size until it matches the chosen design.
Now you can add the transition animation. Go to transitions and select the Morph option. This prompts PowerPoint to create a smooth animation between the first and second slides.
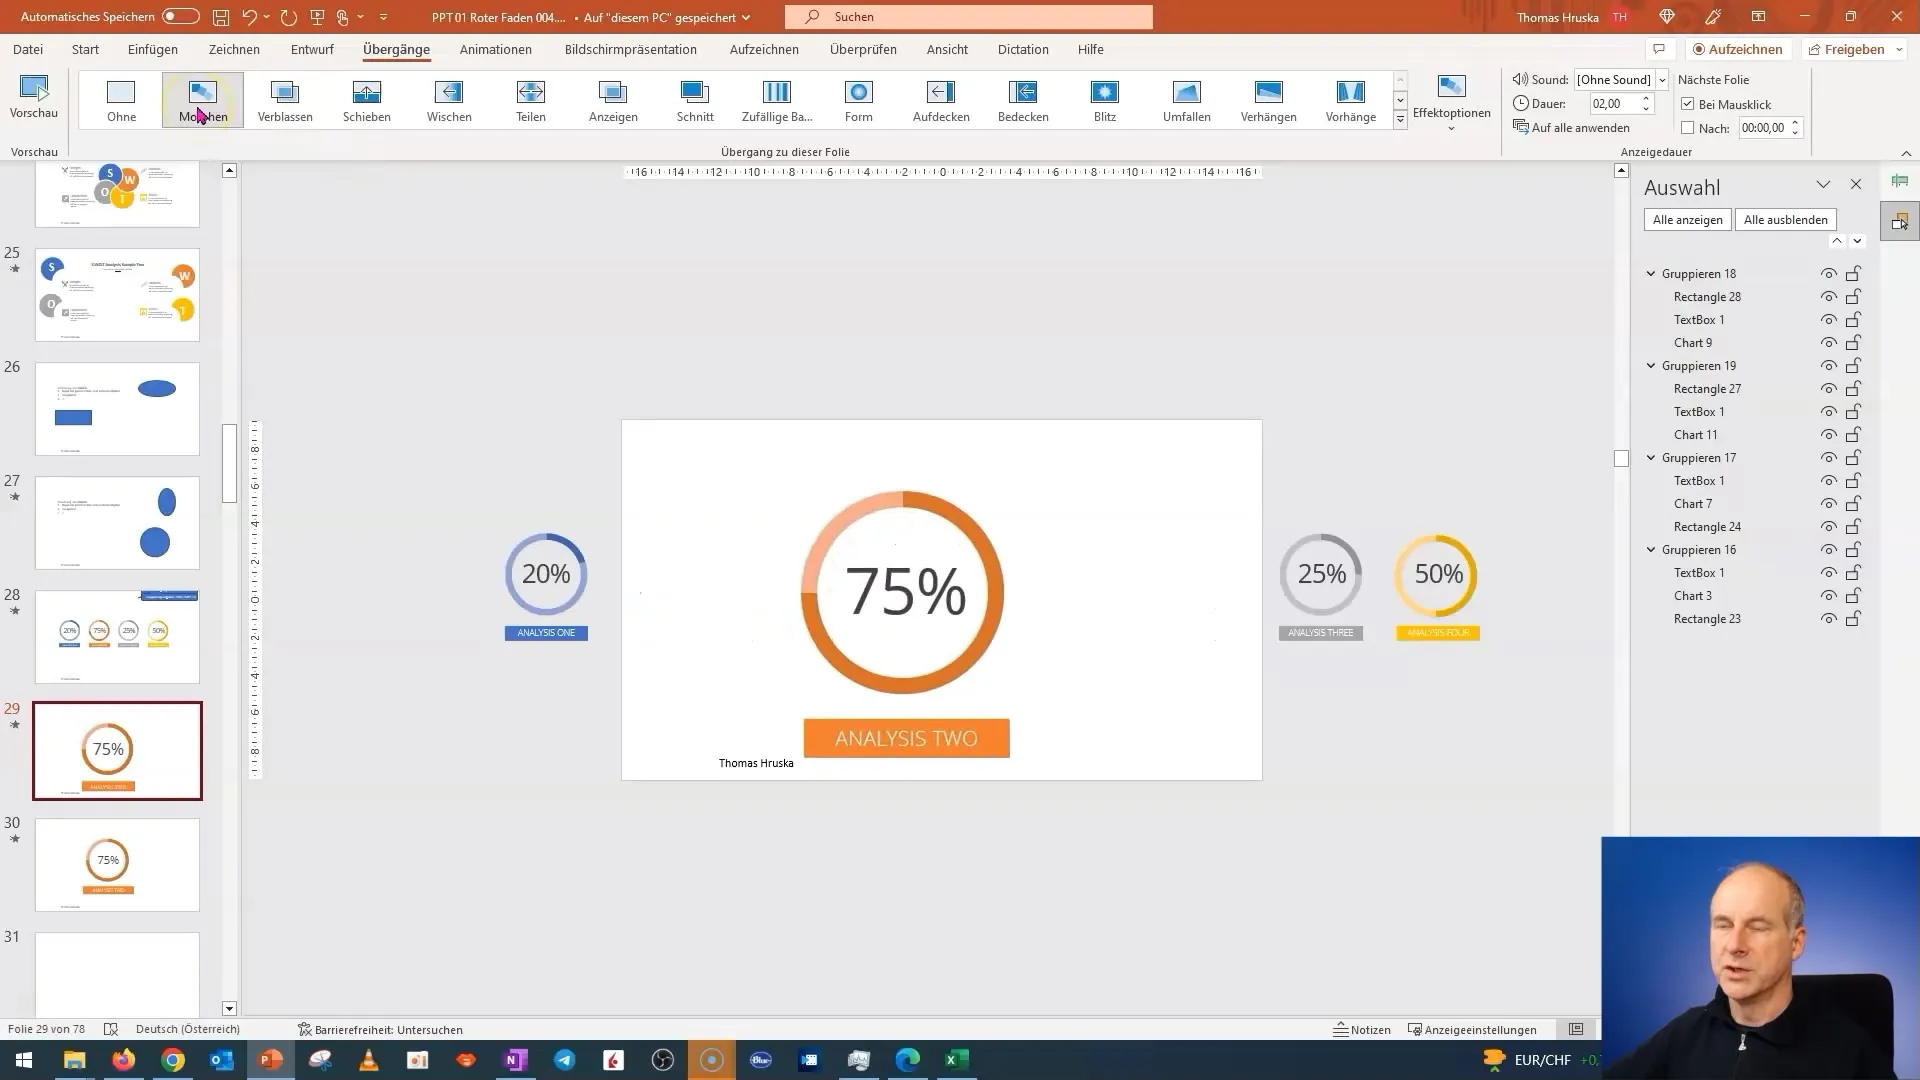
Review the transition to ensure everything looks as you envisioned. The Morph should appear smooth and harmonious. This method can help make your presentation more impressive and captivate the audience.
Summary
In this guide, you have learned how to apply Morph in PowerPoint to achieve impressive presentation effects. Remember to use object grouping and the right keyboard shortcuts to save time. With some practice, you will quickly become an expert in Morph.
Frequently Asked Questions
How can I group objects in PowerPoint?You can group objects by selecting them and using the Ctrl+Shift+G keyboard shortcut.
What is the difference between Morph and other transitions in PowerPoint?Morph provides a smooth transition between objects, while other transitions often show abrupt changes.
How can I adjust font size during Morph?You can adjust the font size after selecting the element and changing the size to match the design.
Are there any considerations when using Morph?Yes, make sure the objects you want to morph are in the same reference point on both slides.
Can I use Morph for images too?Yes, Morph can be used not only for shapes but also for images.


