In this tutorial, I will teach you how to morph images and create a fascinating magnifying glass effect with PowerPoint. This technique is particularly helpful for presentations where you want to highlight specific aspects. You will be able to present important details to your audience in a focused manner – whether it's for a real estate presentation or a new product. I will show you, step by step, how to achieve this effect.
Main Insights
- The magnifying glass effect is created by overlaying a blurry image with a sharp image.
- You can work with intelligent nomenclature to control the effect.
- Careful slide design supports visual clarity.
Step-by-Step Guide
First, open a new PowerPoint presentation. You should have the necessary images ready before you start working.
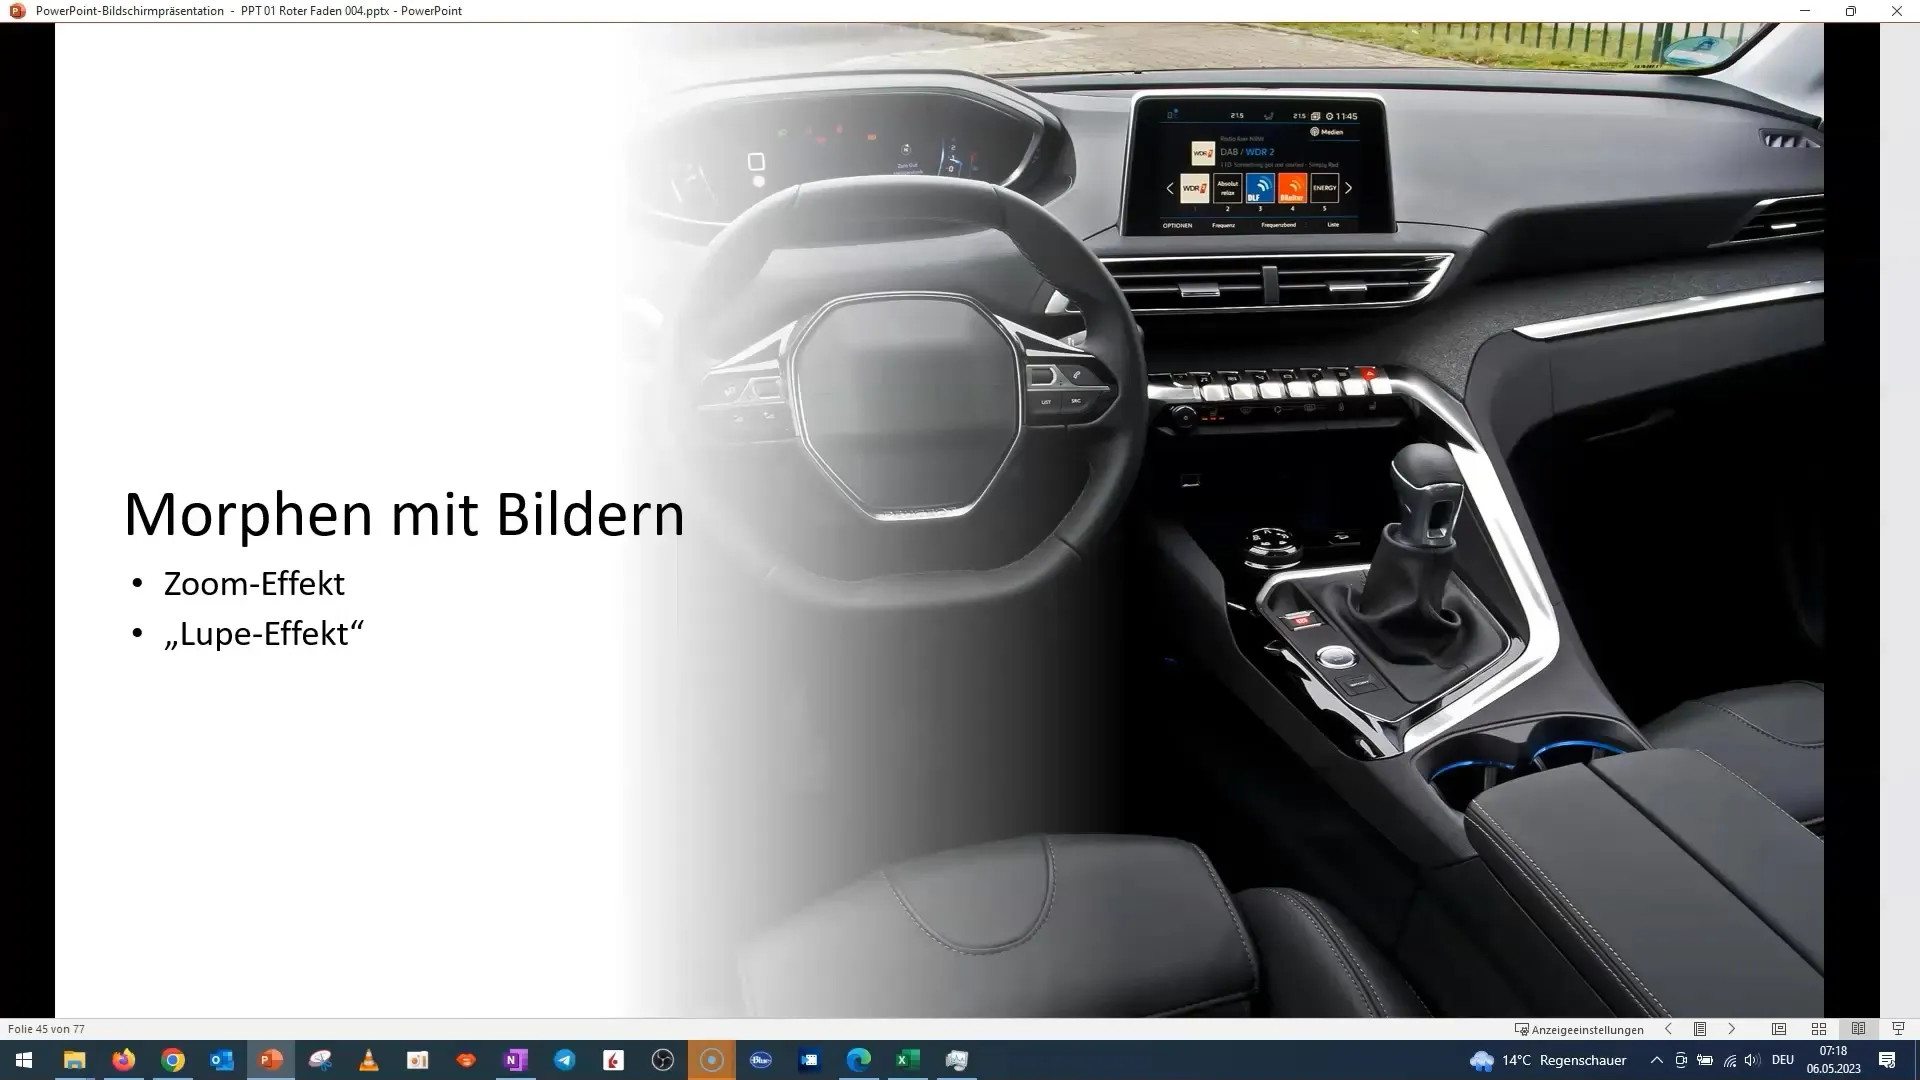
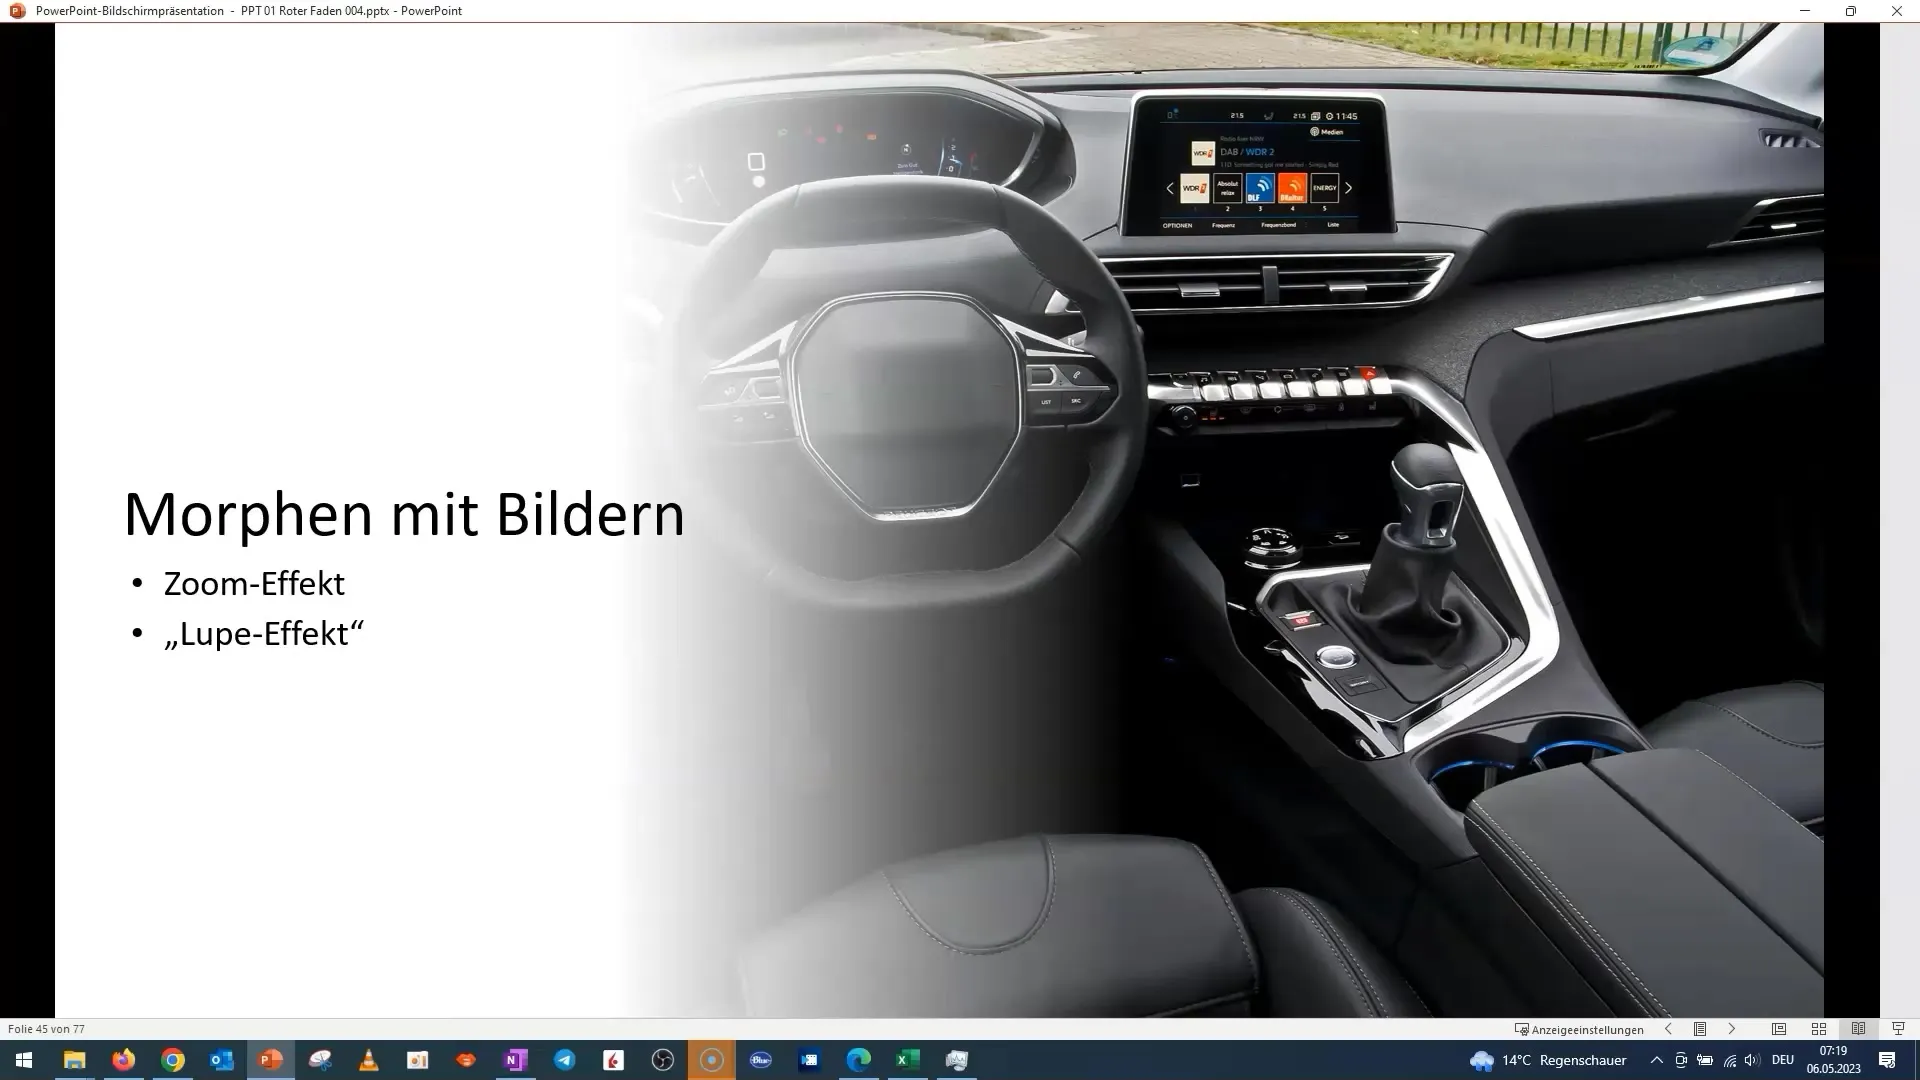
Prepare slide layout: Start with a blank slide. You can select an image with an interesting detail, such as a cockpit photo. This should be the main element of your presentation.
Create background and foreground: Insert the same image twice. The first image remains blurry in the background, while the second image stays sharp and shows the area you want to highlight.
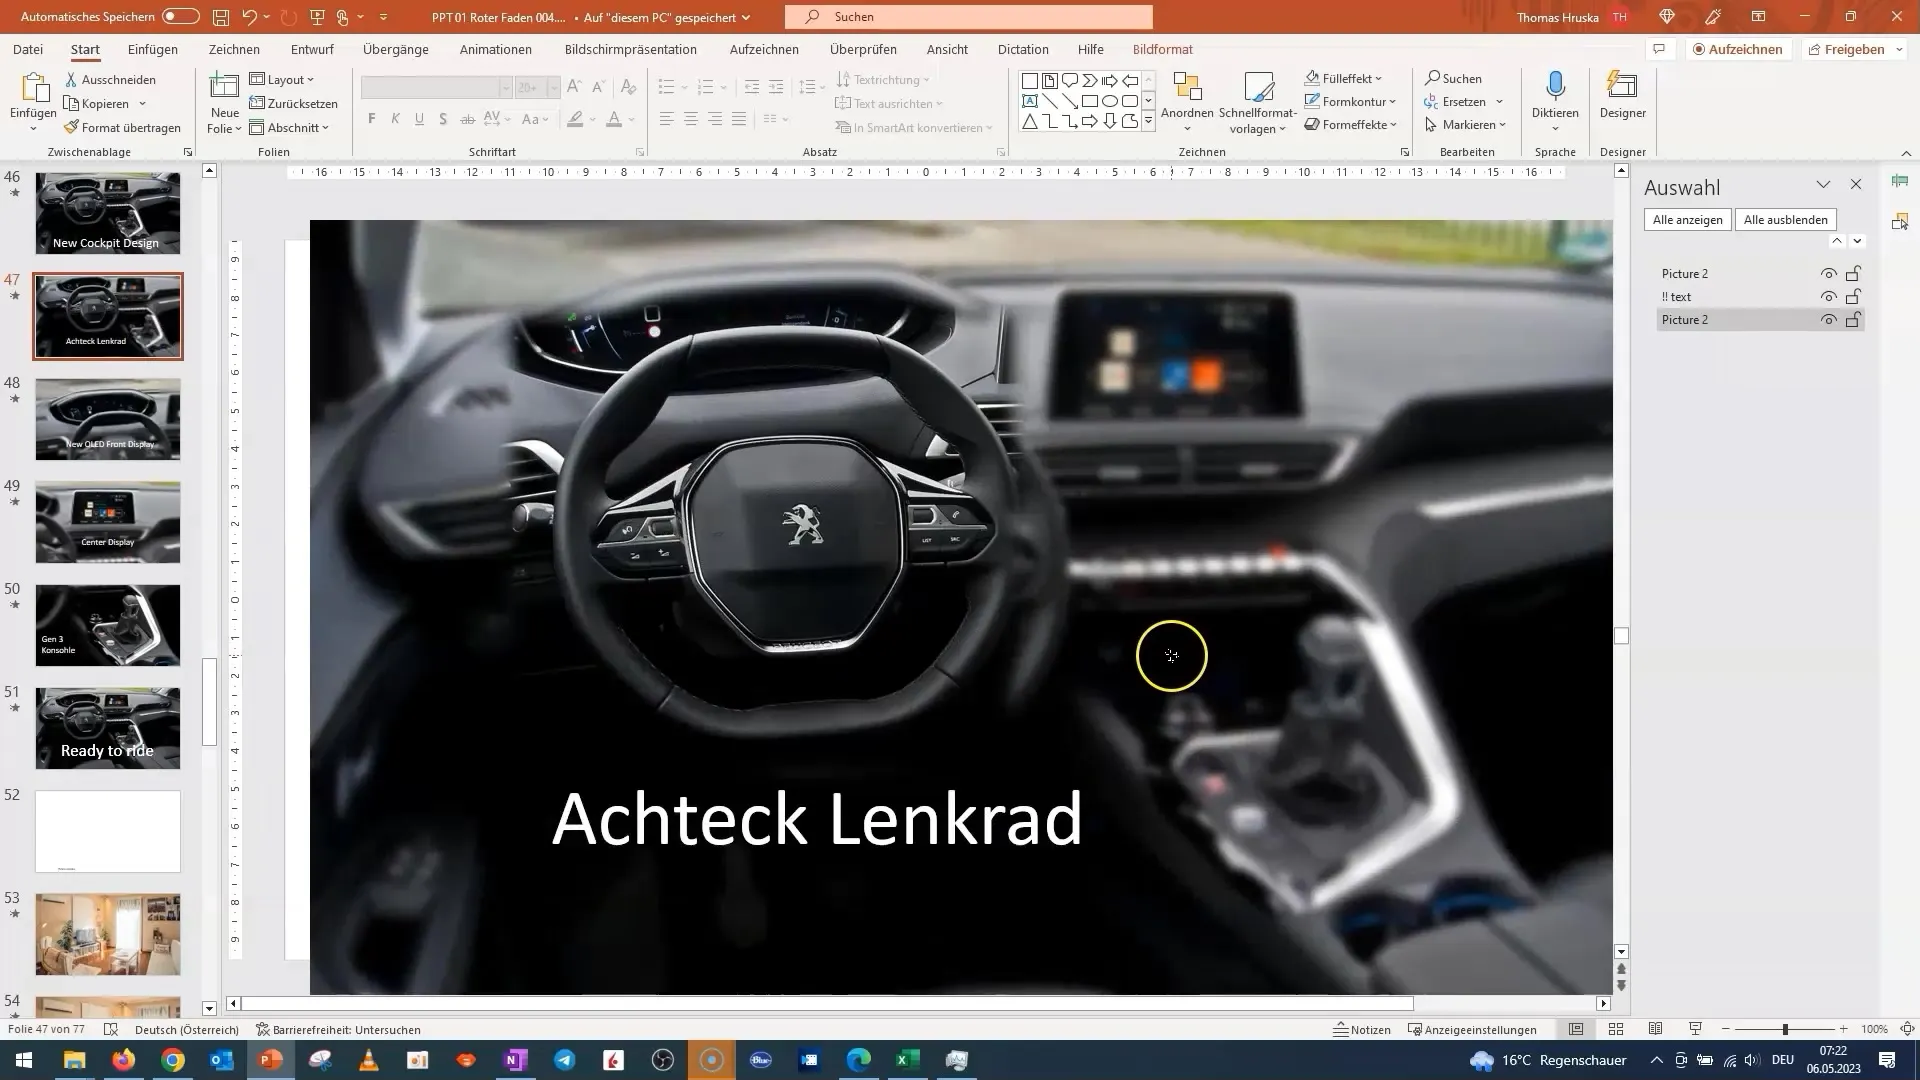
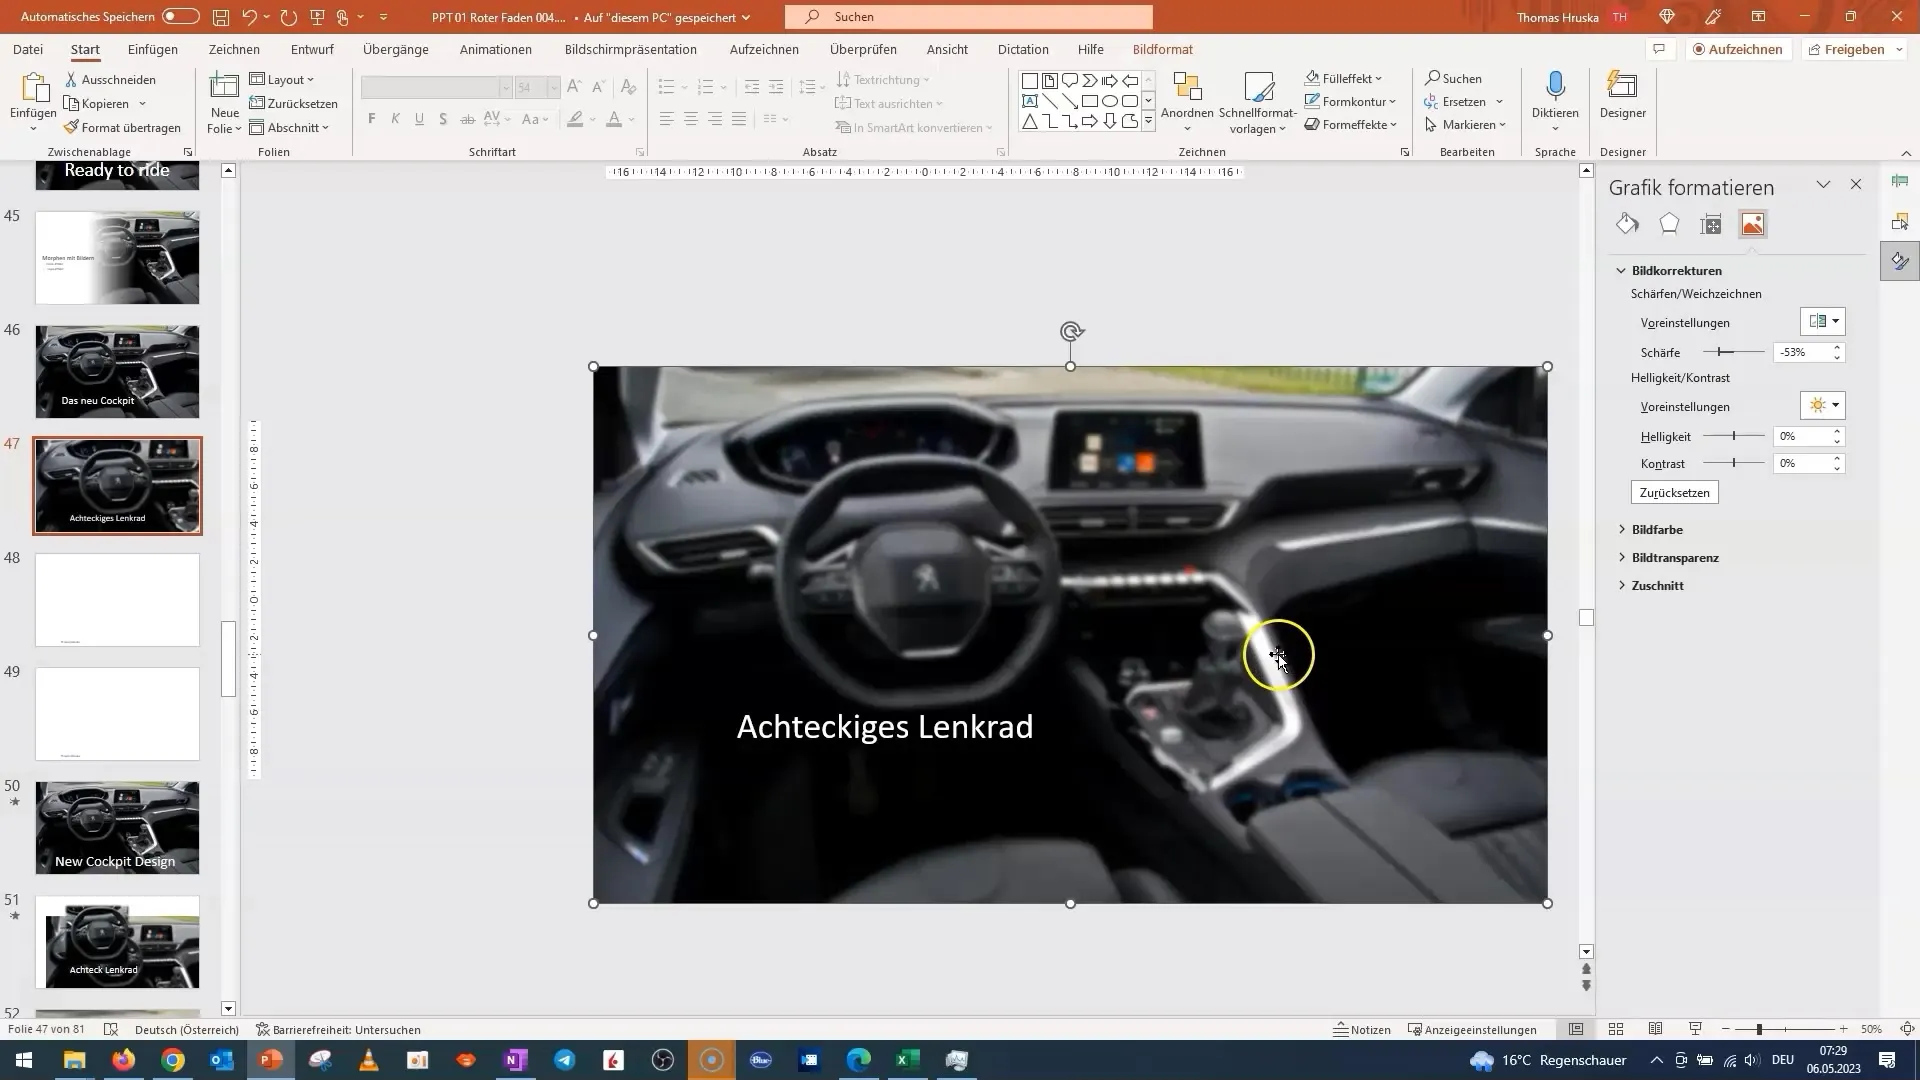
Adjust the blur: Click on the background image, go to the image effects, and select the blur option. Make sure the blur is strong enough to enhance the magnifying effect, but not so strong that nothing is recognizable anymore.
Add text: Add a text box containing the main information. You can design it to be easily readable and eye-catching. Make sure the text is written in a color that stands out from the background.
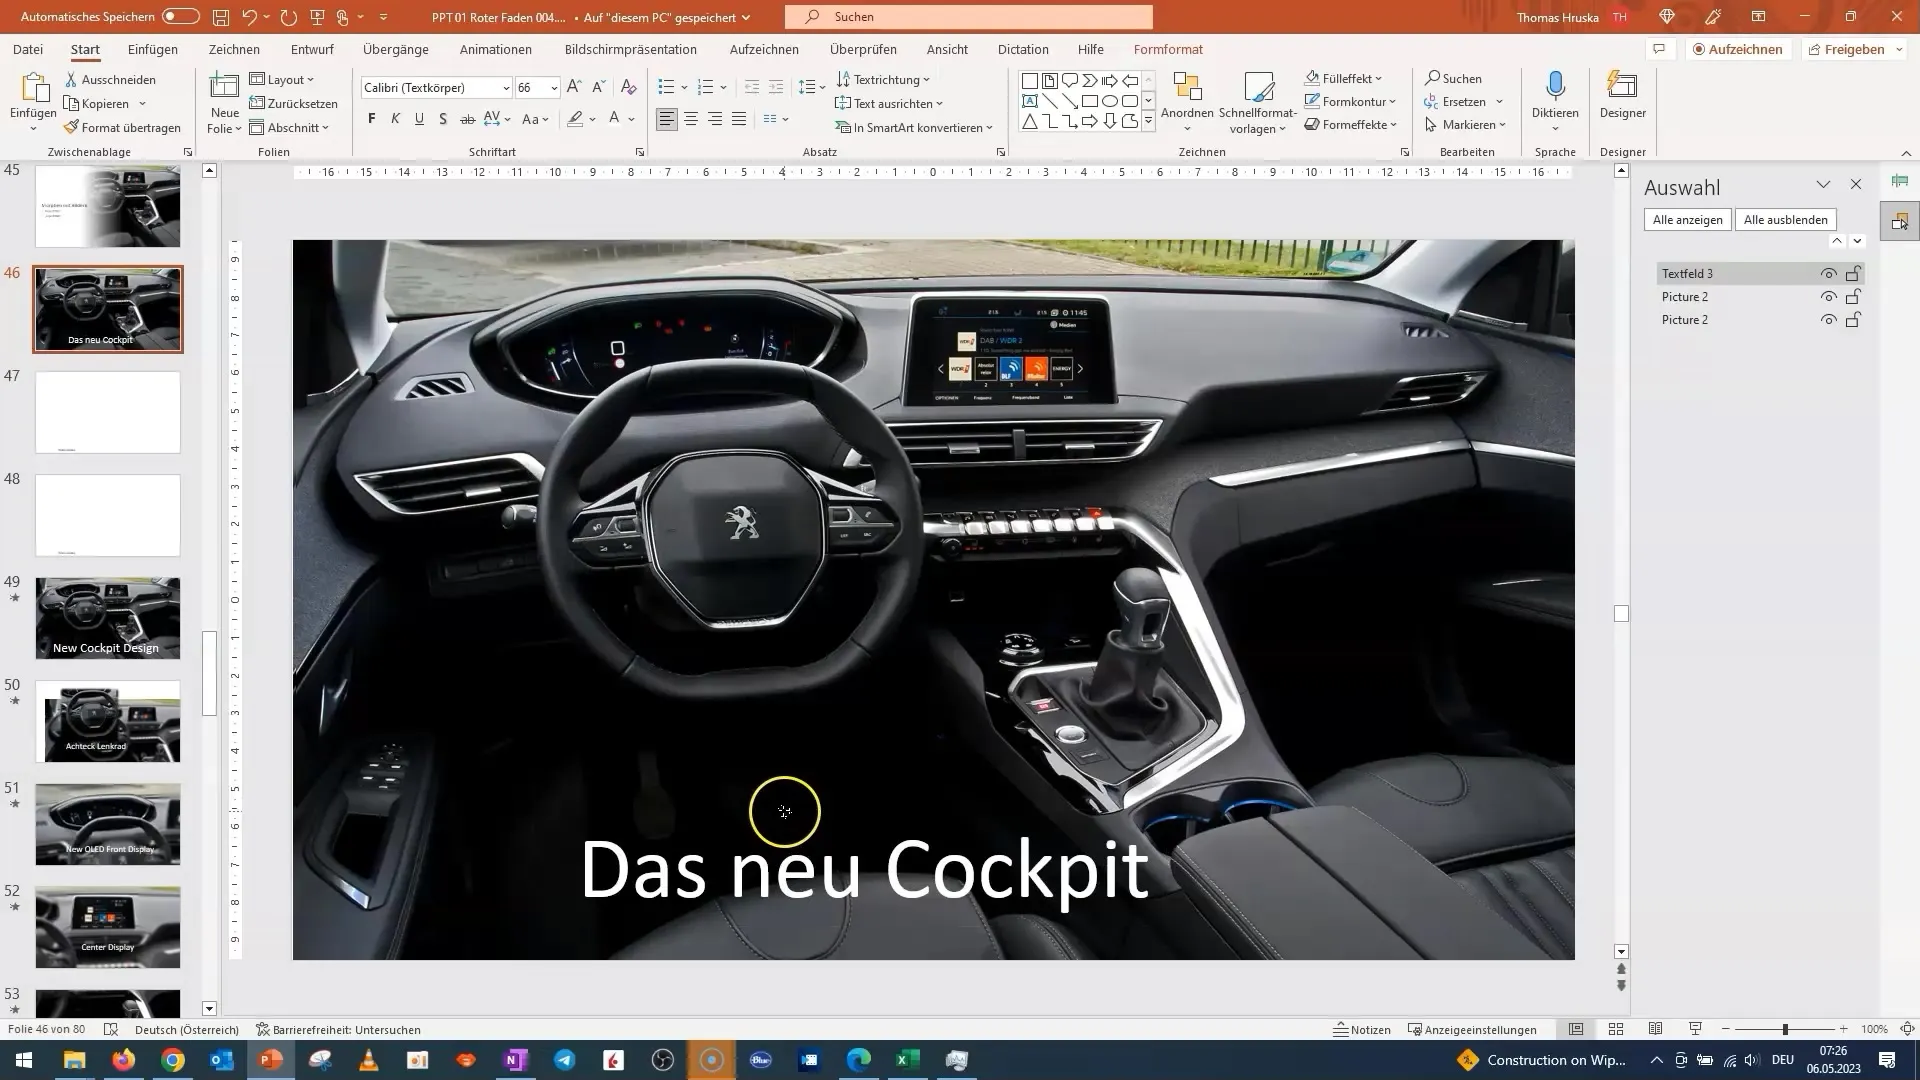
Duplicate slides: Duplicate the slide to save time. On the new slide, you can adjust the layout and move the image. This will shift the focus to a new detail, like the steering wheel.
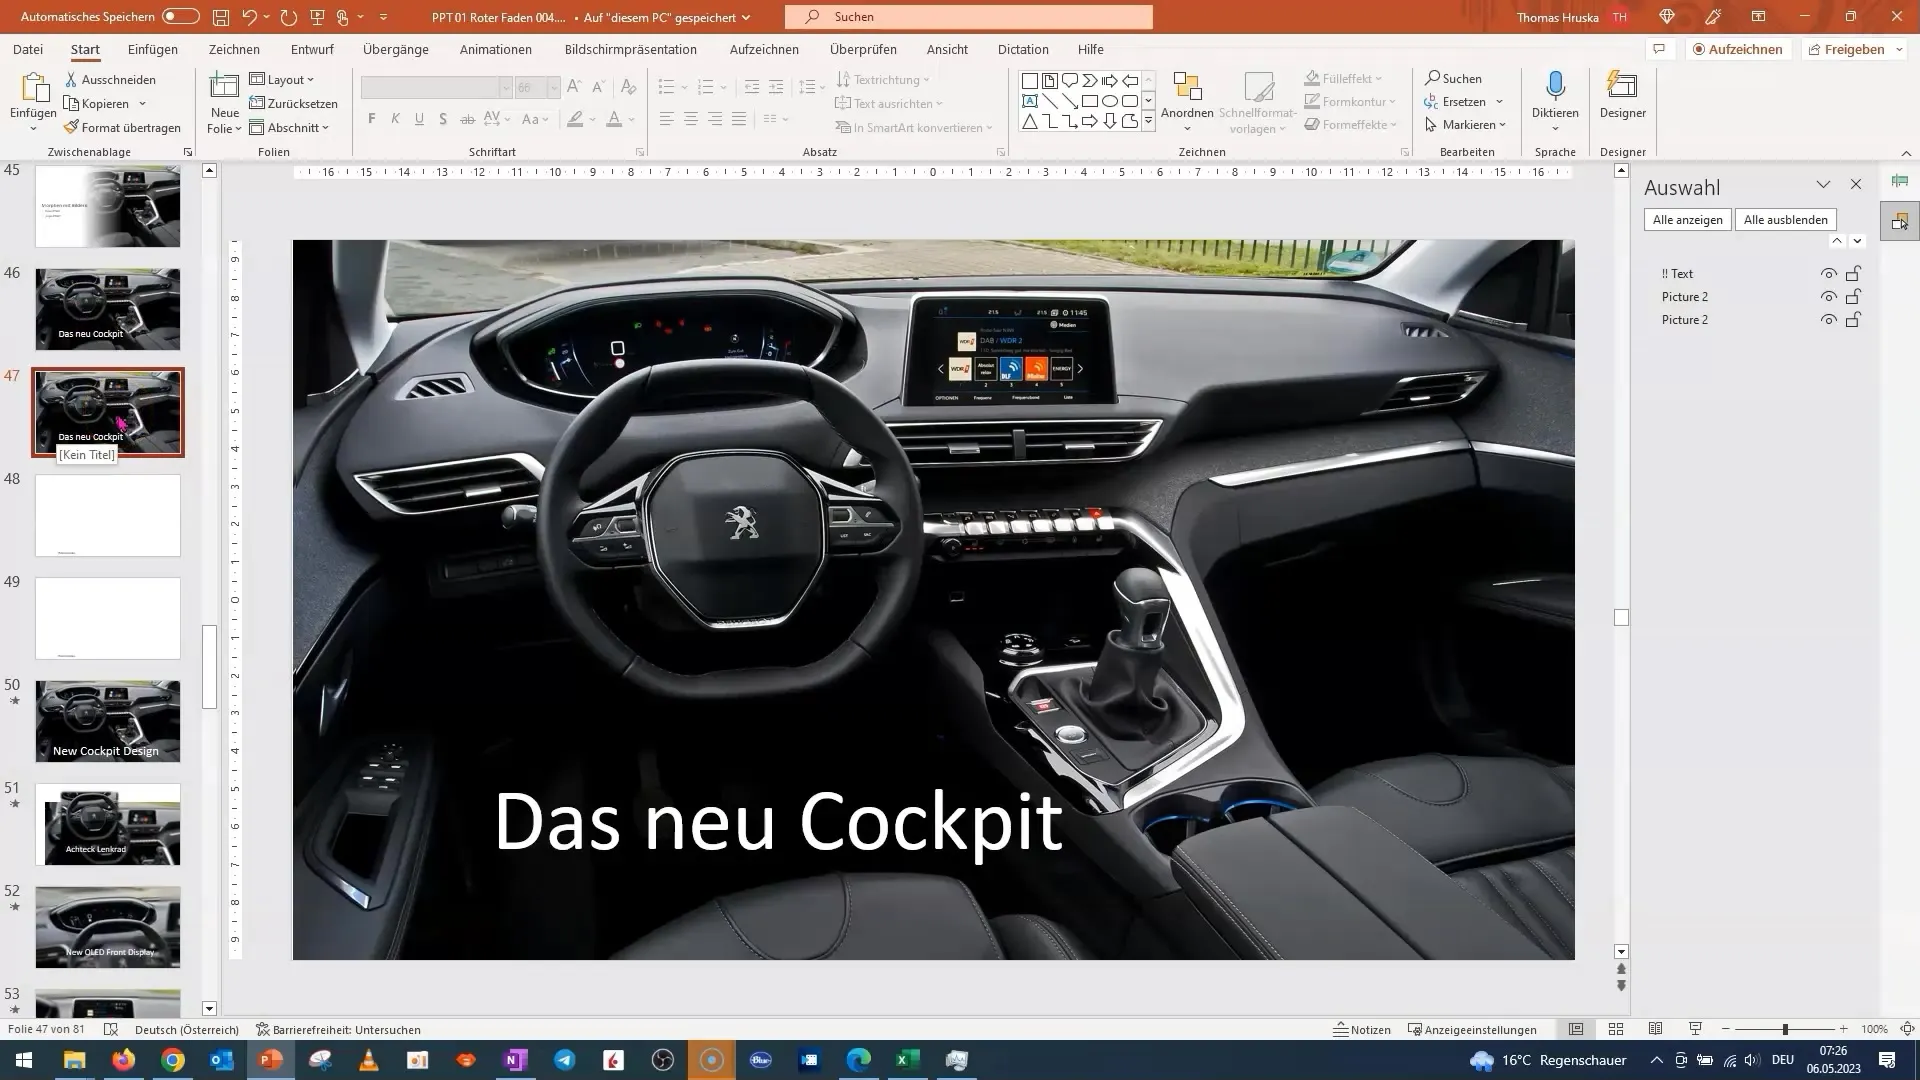
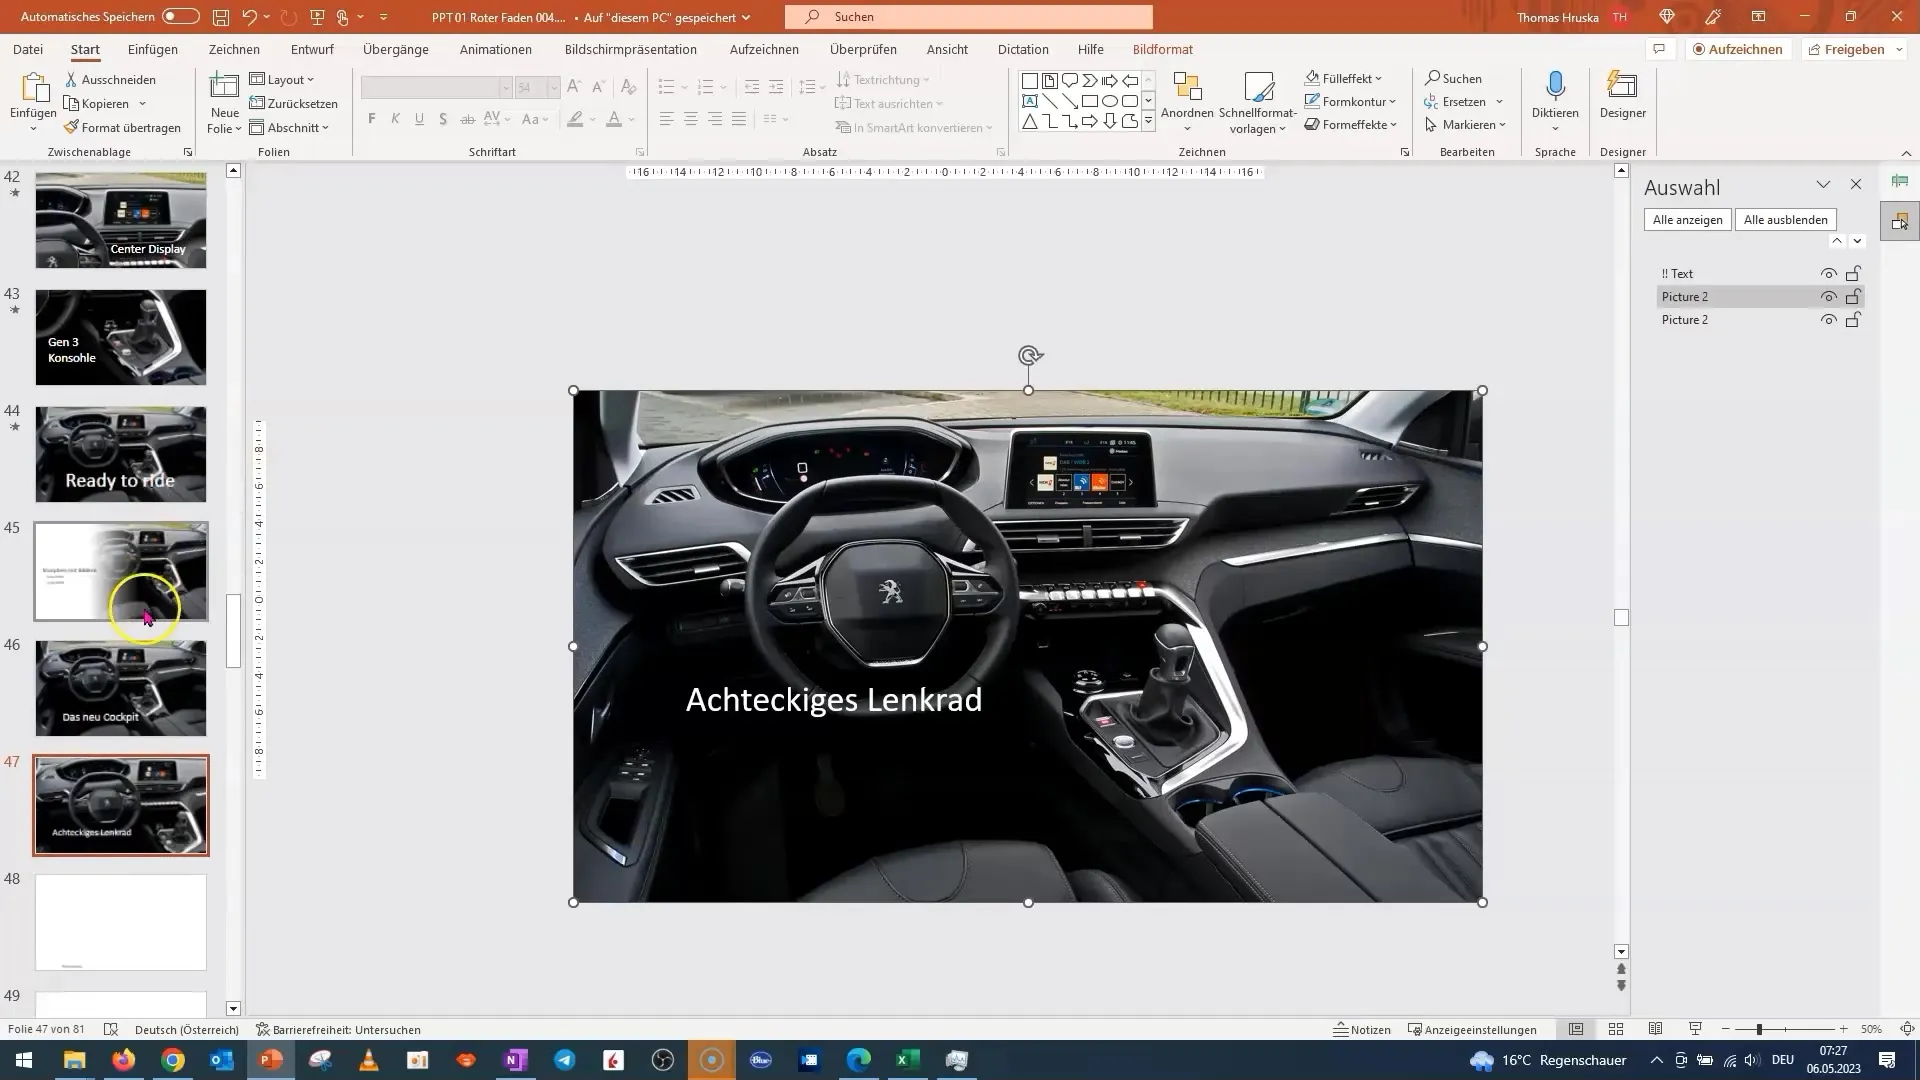
Use the zoom function: Position the image you want to zoom in on and resize it. This provides the perfect magnified view of the desired part of the image. You can adjust the view to ensure everything is well aligned.
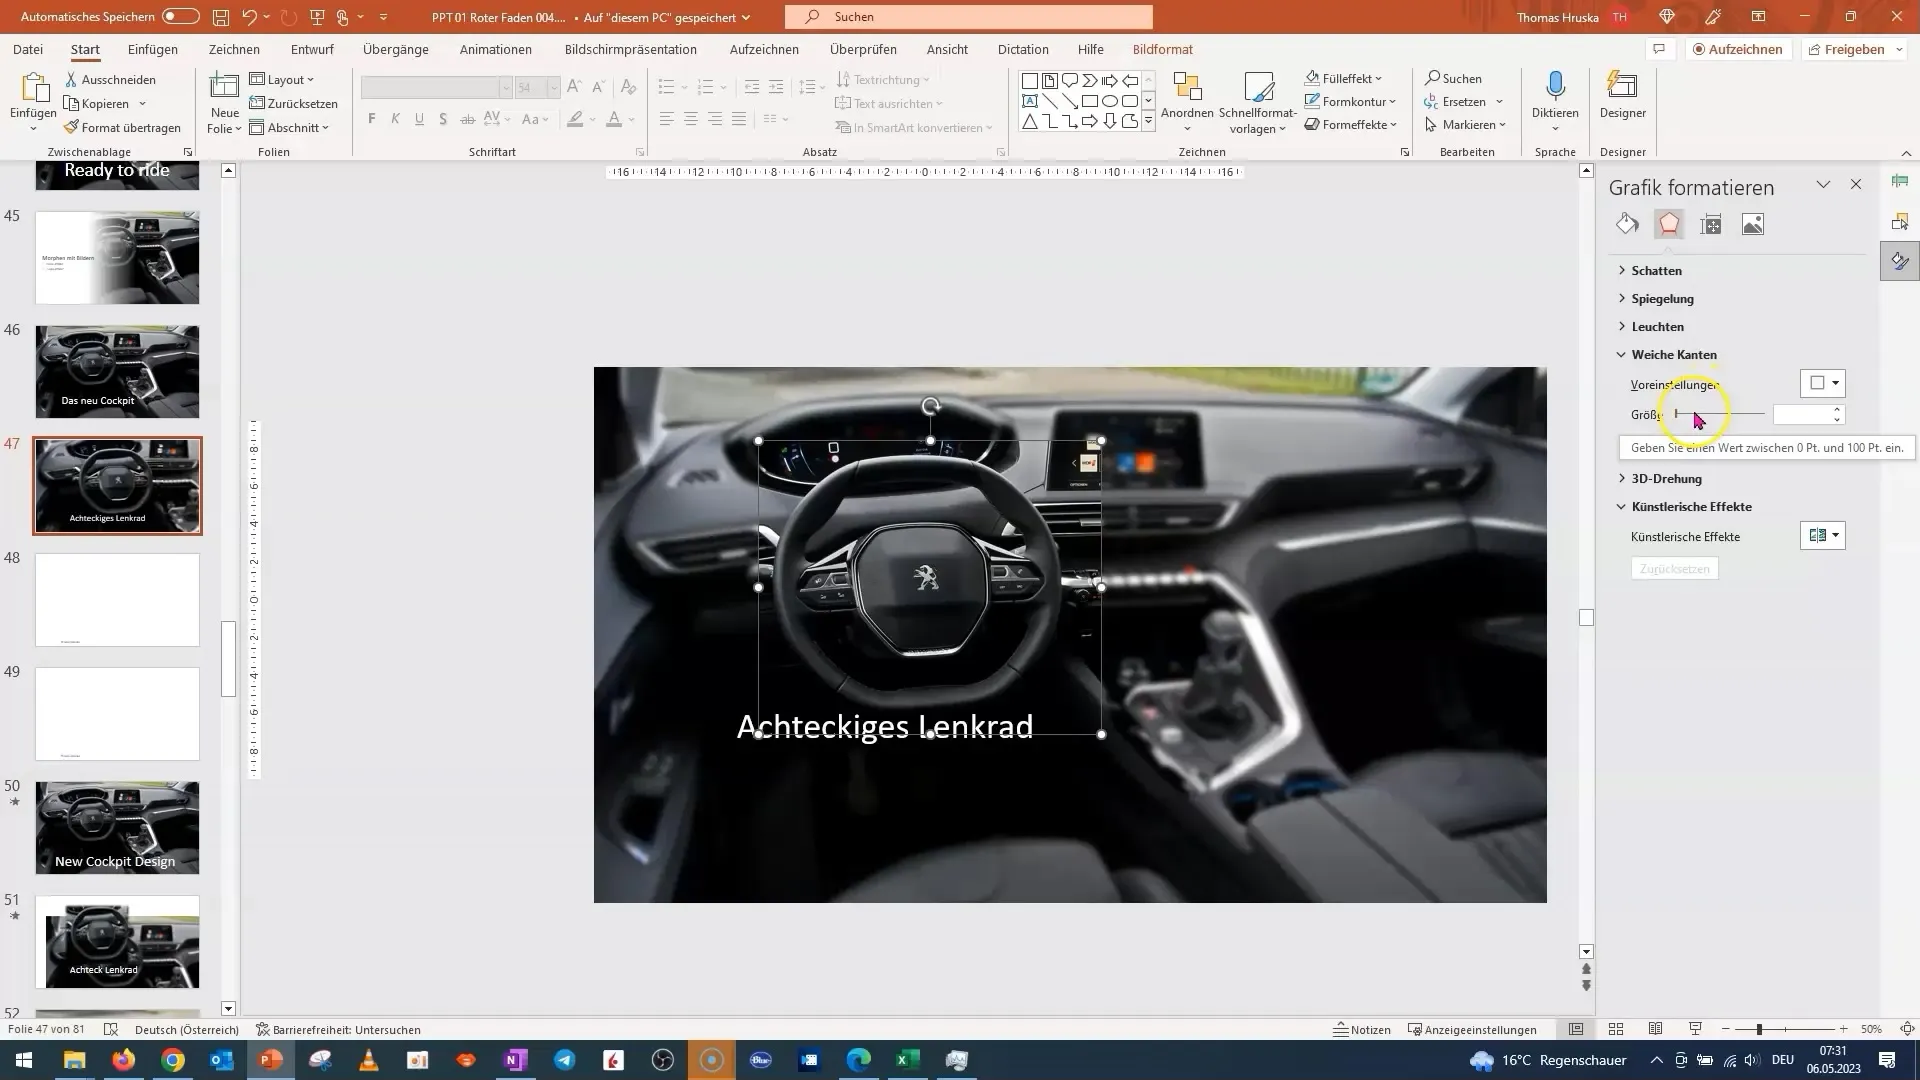
Optimize edge sharpness: To ensure smooth transitions between sharp and blurred images, you can soften the edges. Use the appropriate image effects in PowerPoint for this purpose.
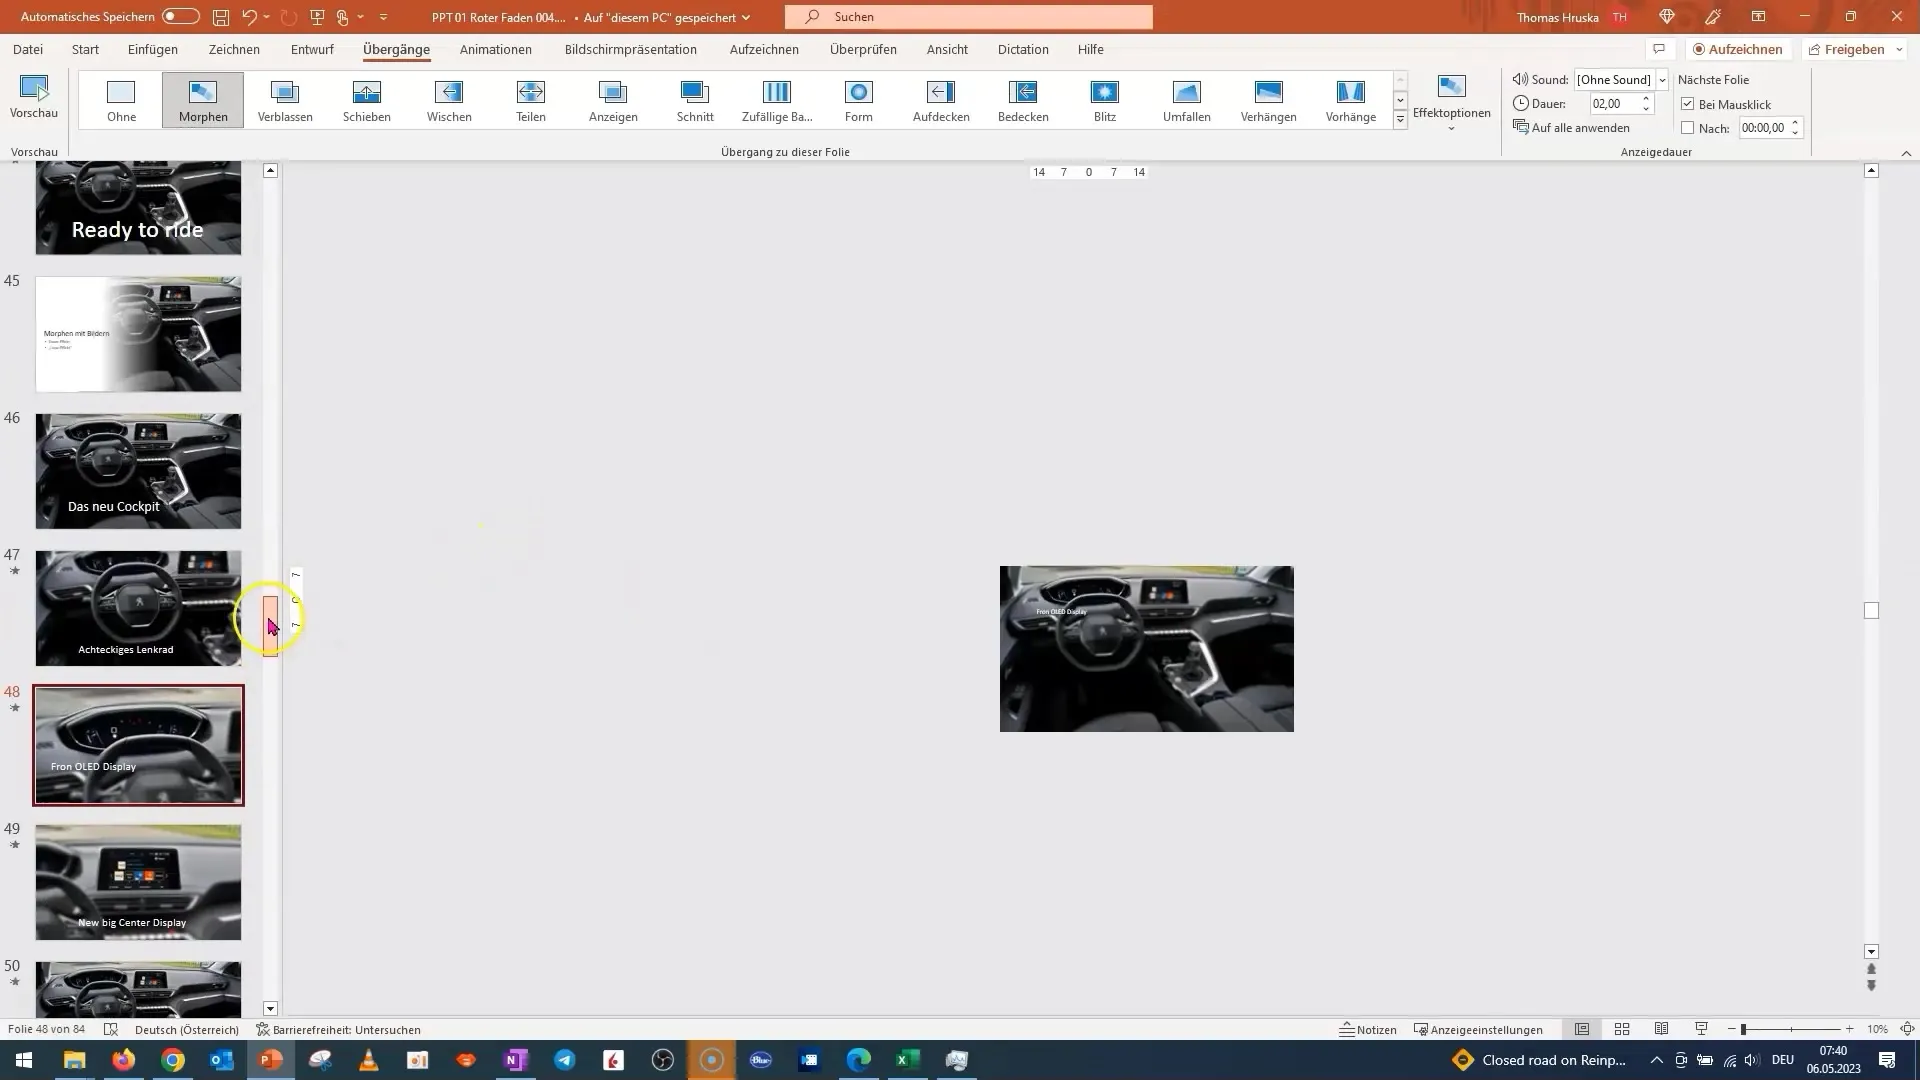
Set effects: Select all slides and go to the morph option. This will help you create a smooth transition between the blurry and sharp image views.
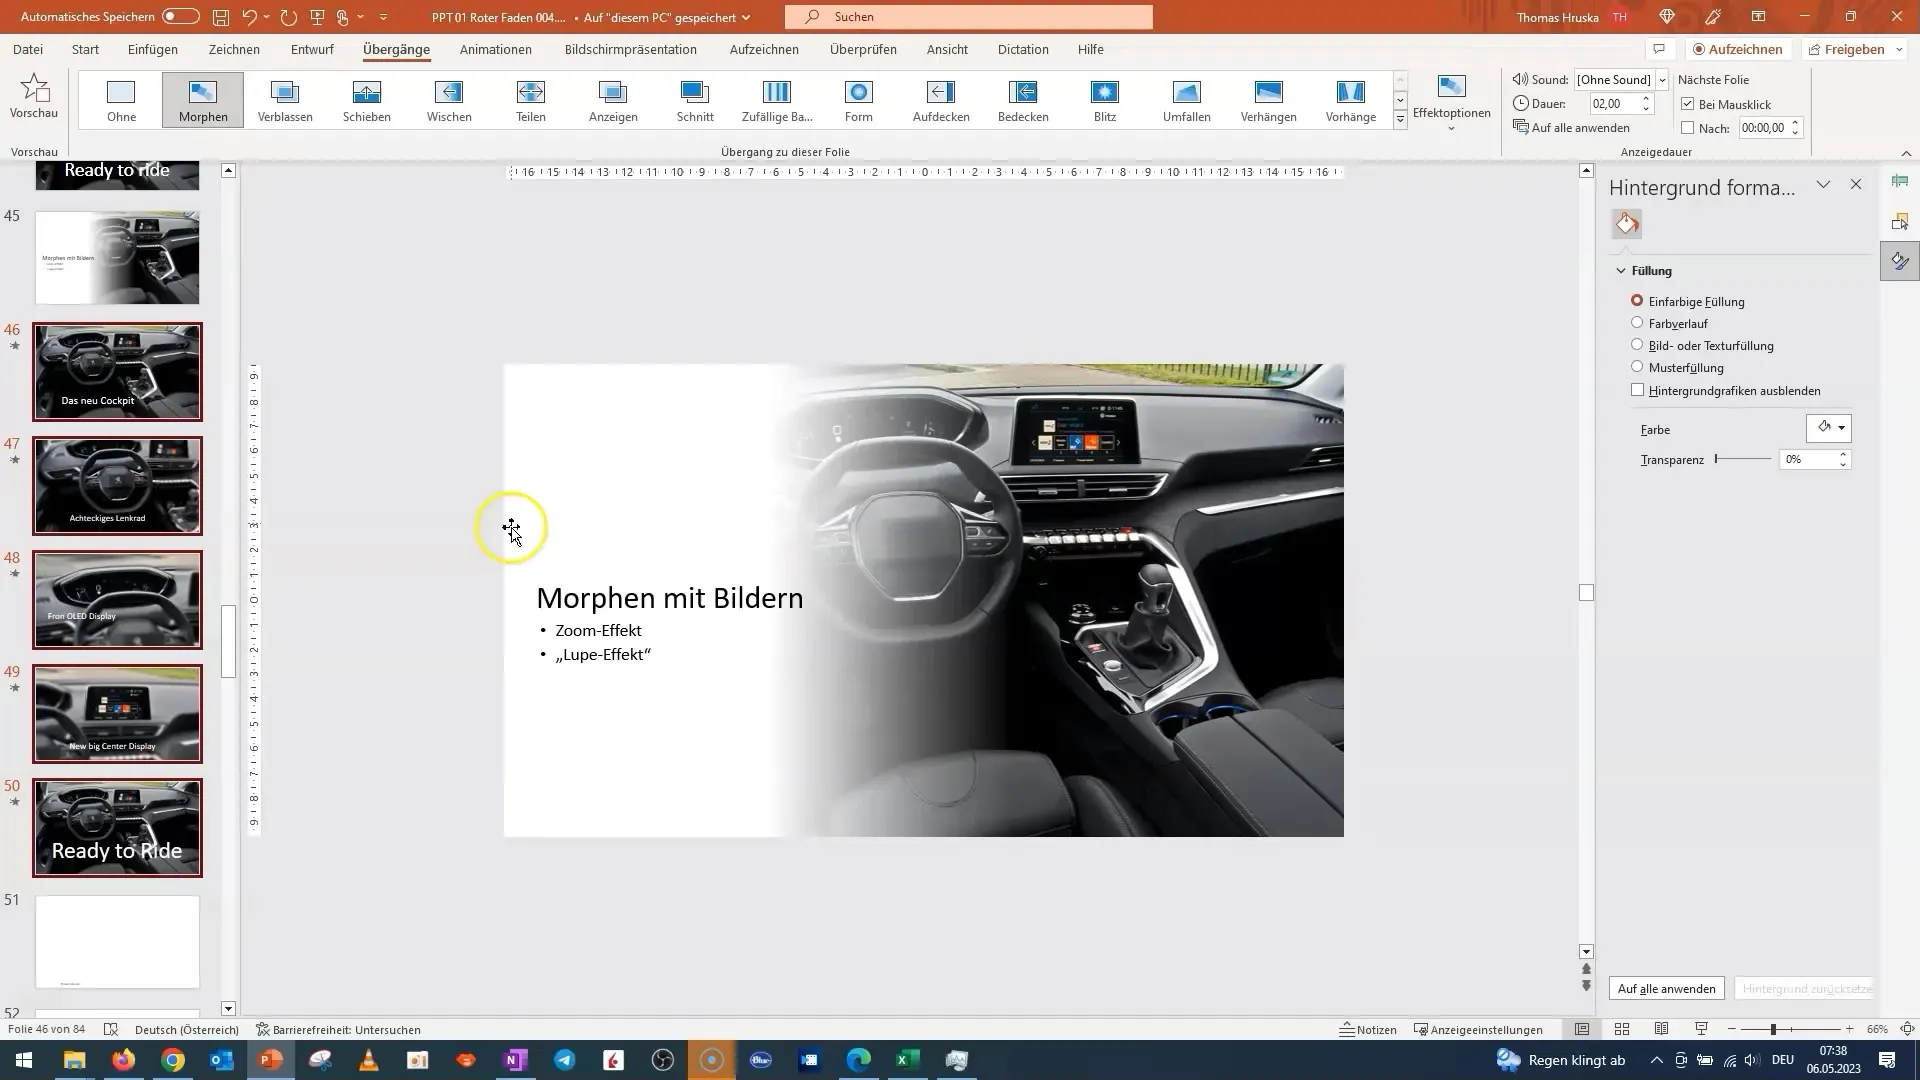
Test the presentation: Now comes the most important part - test your presentation. Make sure the morph effects are working and you are showcasing all the desired details of your presentation effectively. You can make changes as needed to achieve the best possible impact.
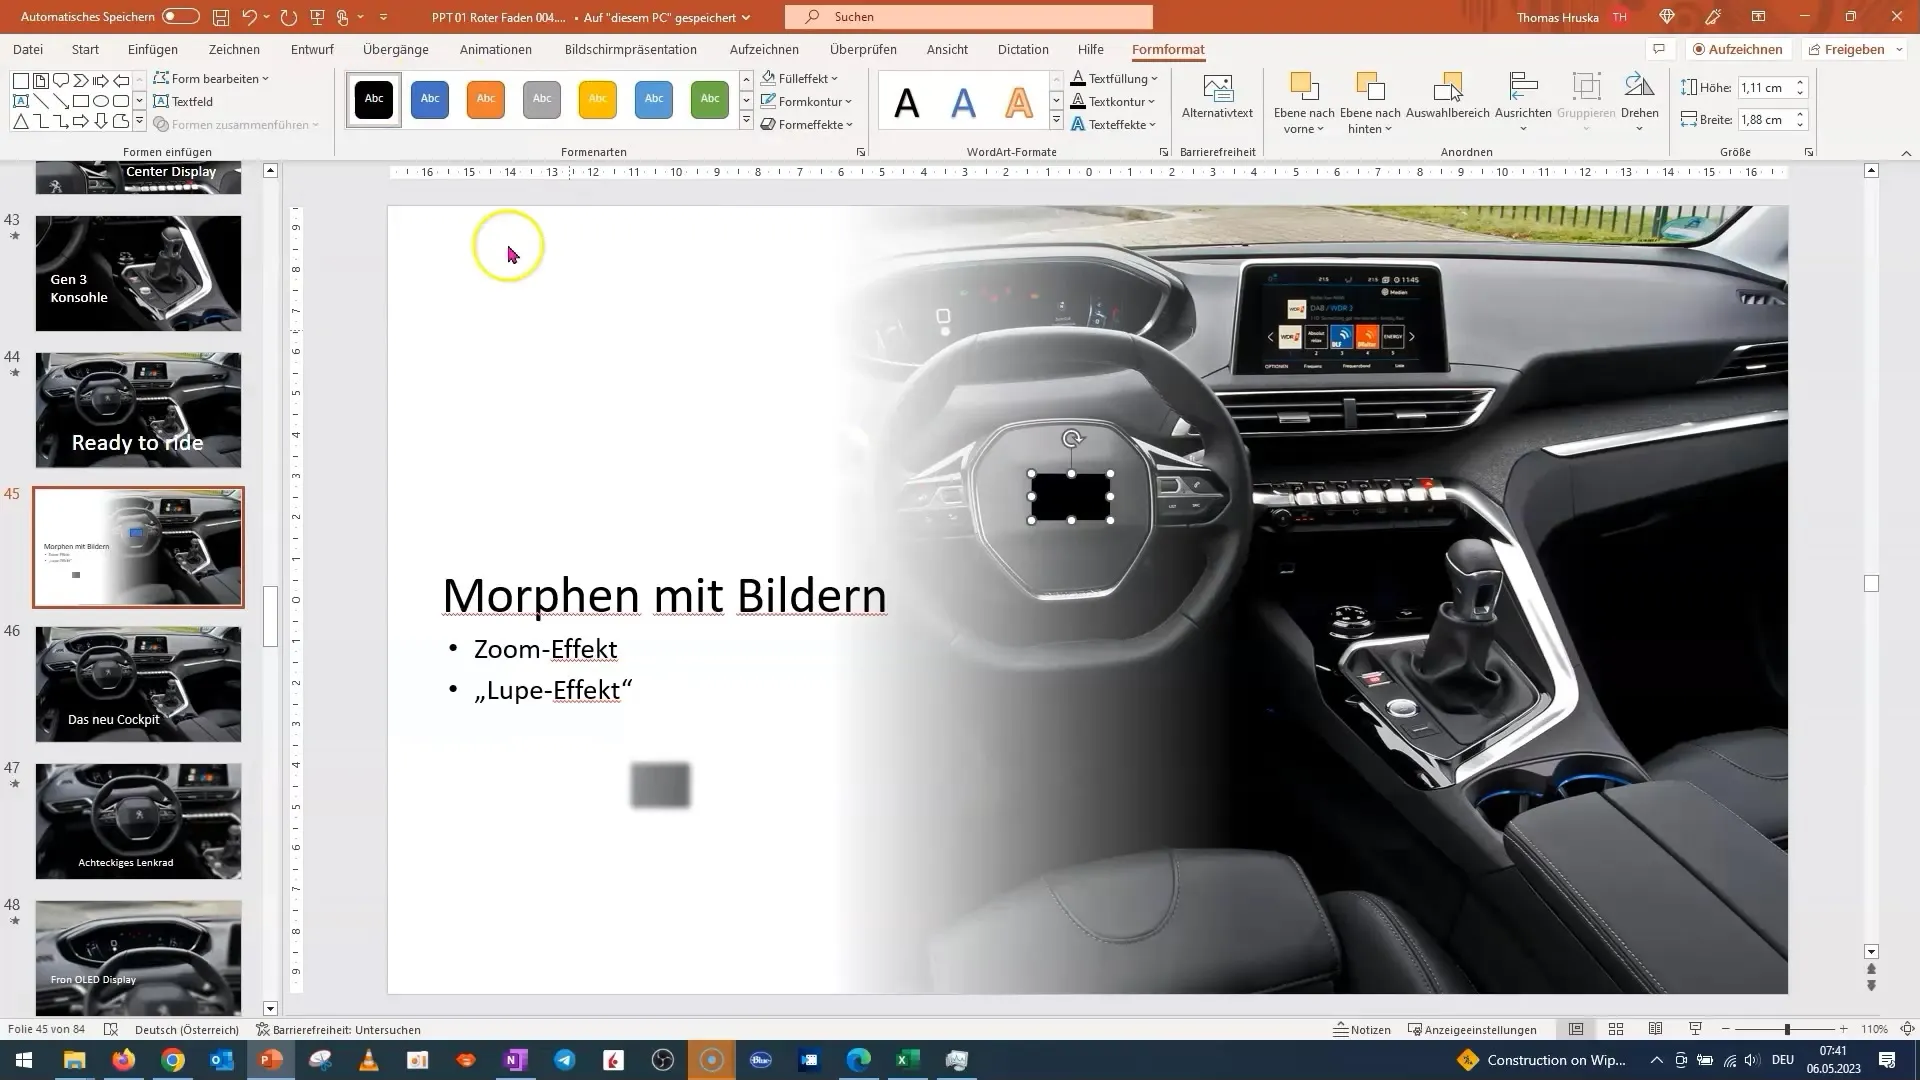
Trick with the Snapping Tool: If you want to hide something in your presentation – for example, a logo or a brand – you can use the Windows Snapping Tool to cut out an image and overlay it on the area you want to conceal. Make sure the edges are rounded to ensure effective visibility.
Summary
In this tutorial, you have learned how to morph images and create an impressive magnifying glass effect in PowerPoint. Through a step-by-step demonstration, we have covered the basics, and now you are able to apply this effect in your own presentations.
Frequently Asked Questions
How do I create the magnifying glass effect in PowerPoint?You need to insert an image once blurred and once sharp, and layer the images on top of each other.
Can I also use the effect with videos?Yes, the morph effect can also be used for videos, but it requires a different approach to animation.
How can I ensure that my text is visible?Choose a font color that contrasts well with the background, and pay attention to the font size.


