In this tutorial, I will show you how to easily use the Zoom function in PowerPoint with drag-and-drop. This technique allows you to quickly and efficiently insert specific slides or sections into your presentation. Whether you want to create an overview or present detailed information, this uncomplicated method will greatly facilitate working with PowerPoint. Let's get started right away.
Key Insights With the Zoom function in PowerPoint, you can easily add slides and sections using drag-and-drop. This method saves time and facilitates the creation of engaging presentations.
Step-by-Step Guide
Step 1: Organize your slides
Start by opening your slides in PowerPoint. Make sure you select the slide from which you want to create an overview. In this unit, I will use a specific slide as an example.
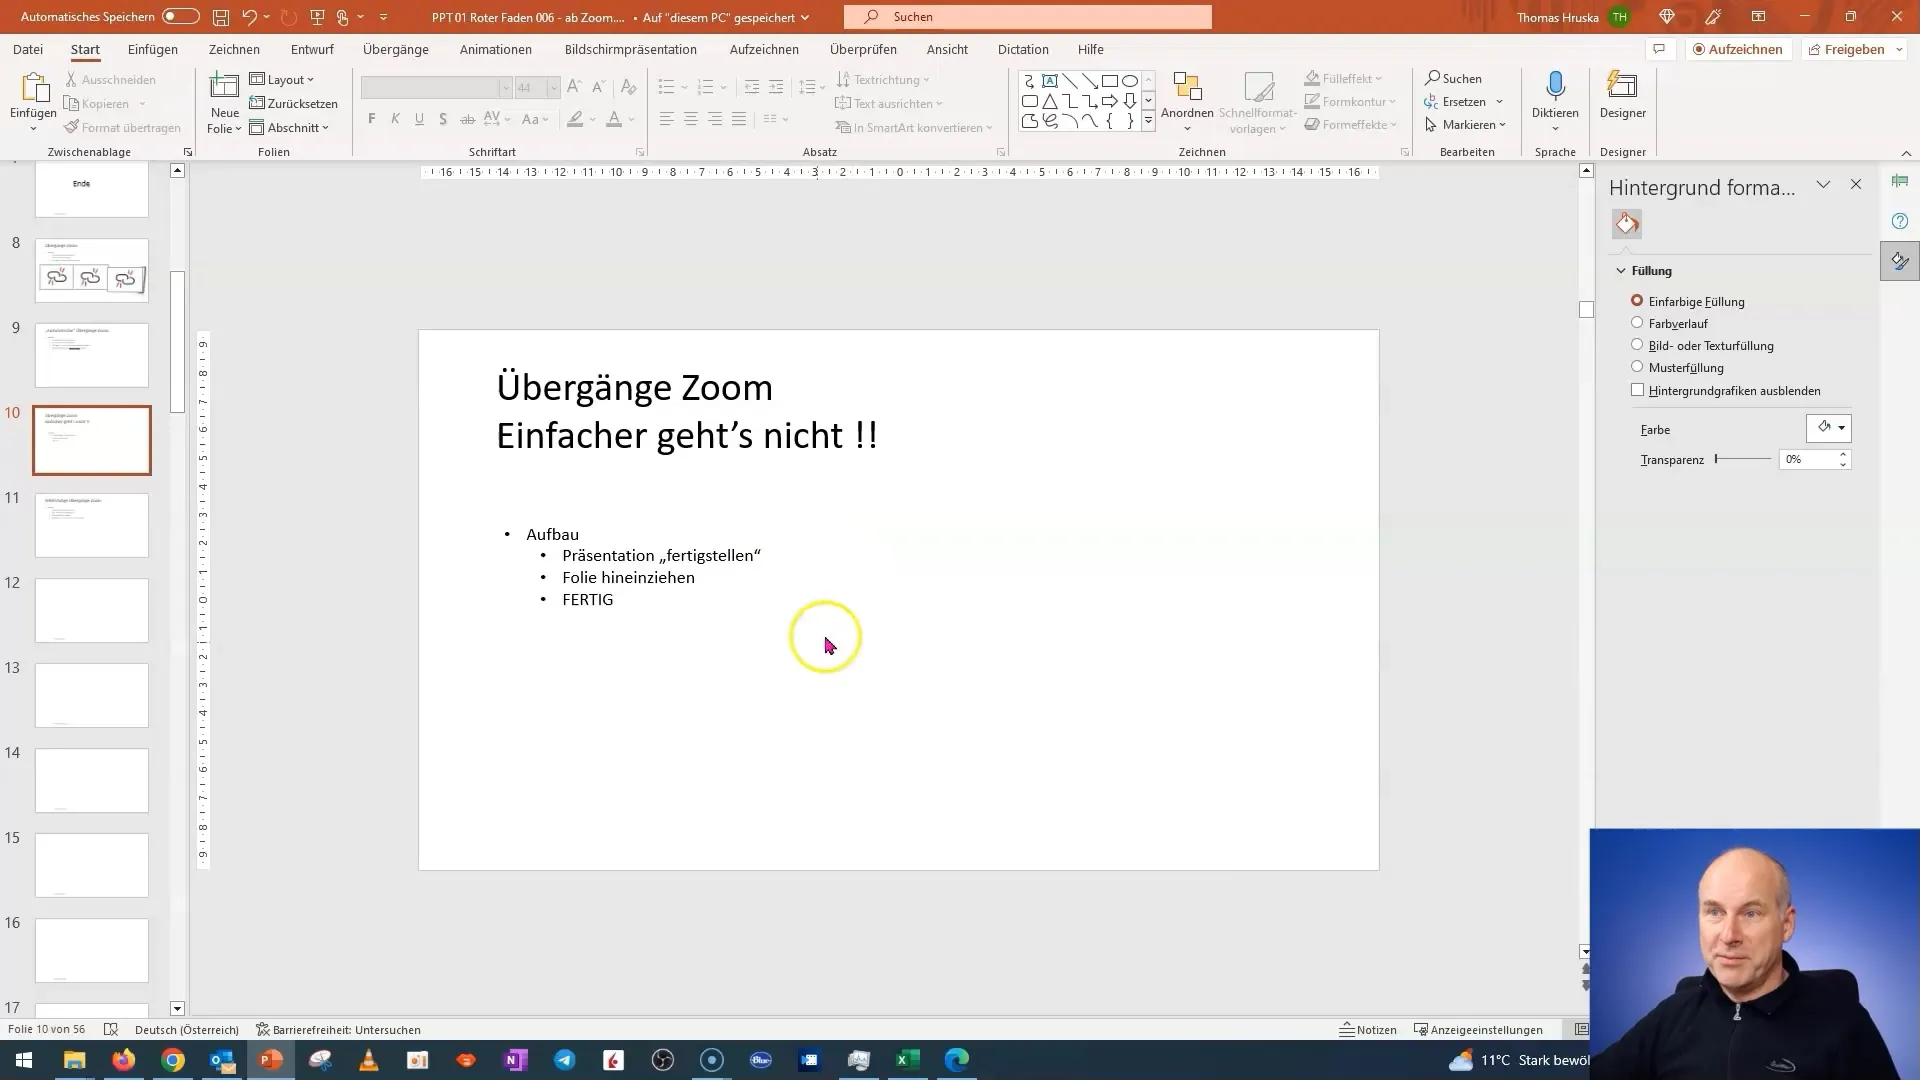
Step 2: Select the slide
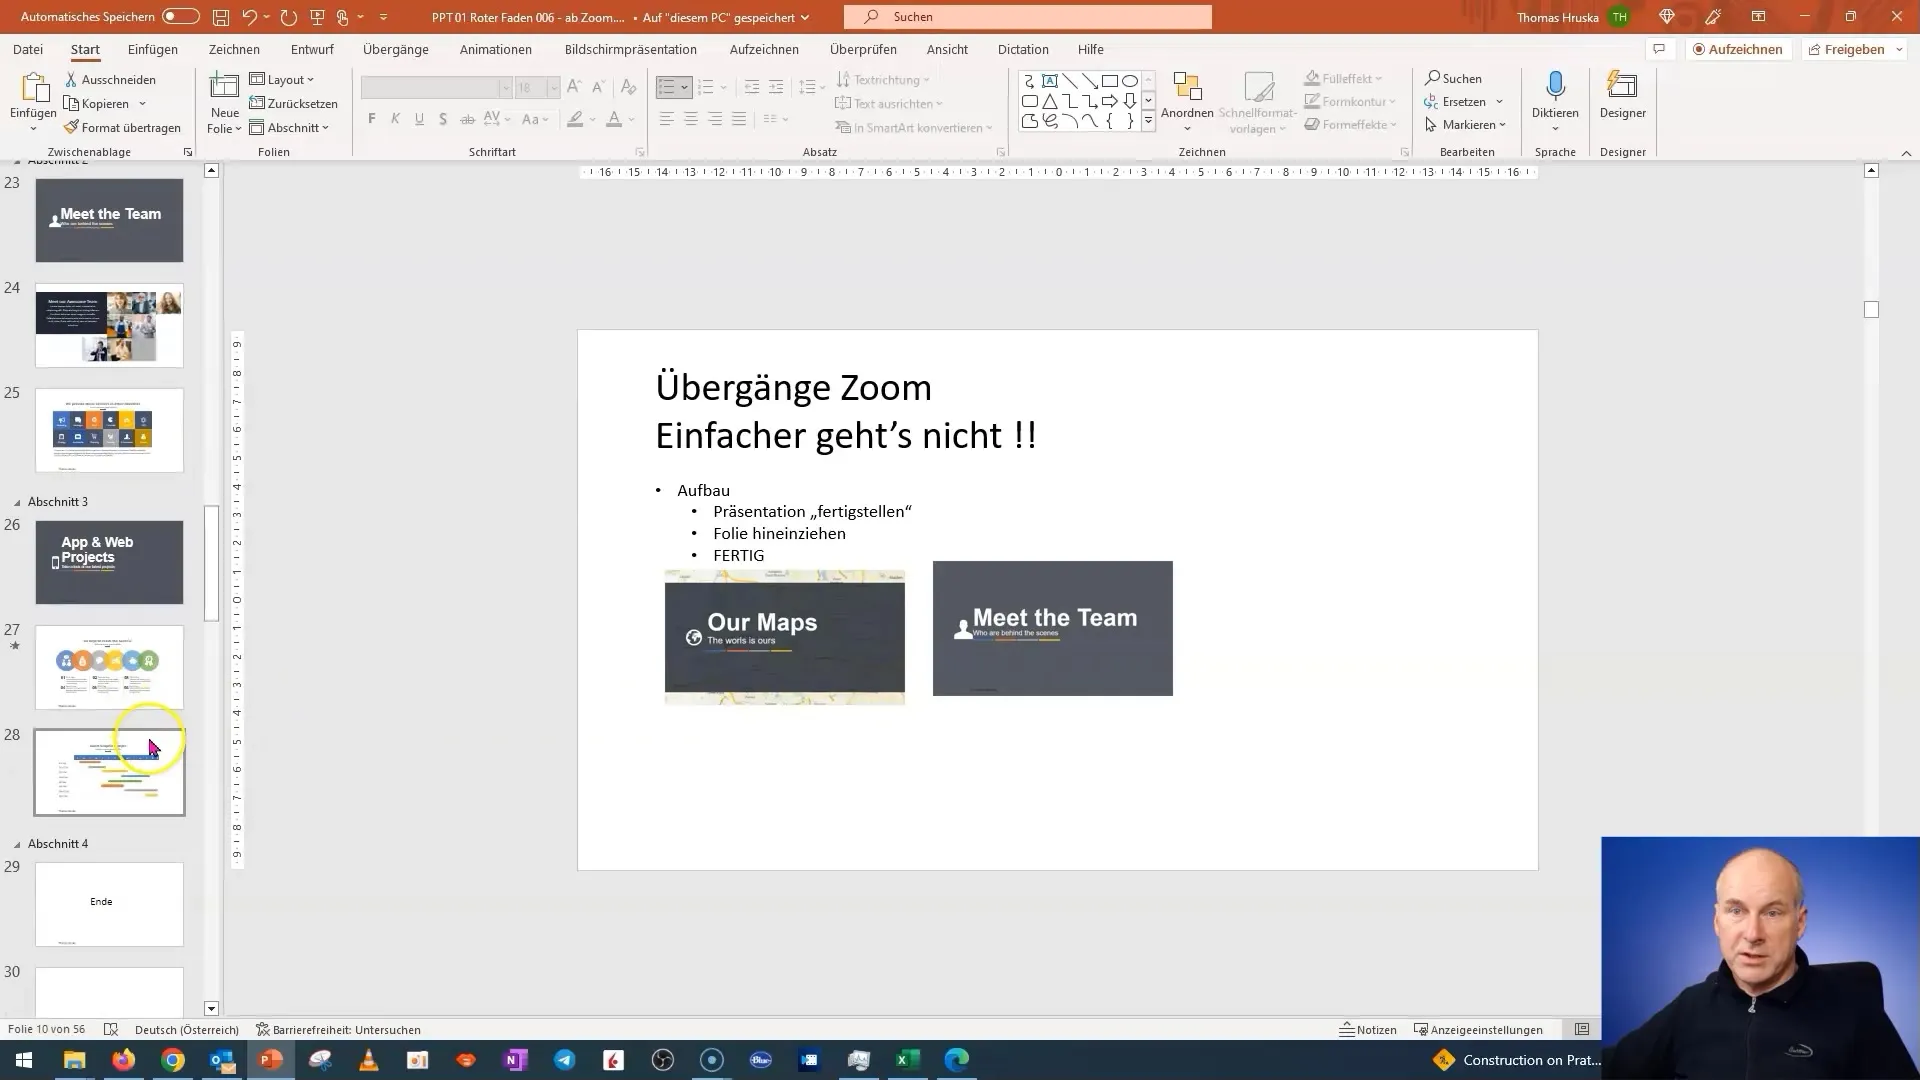
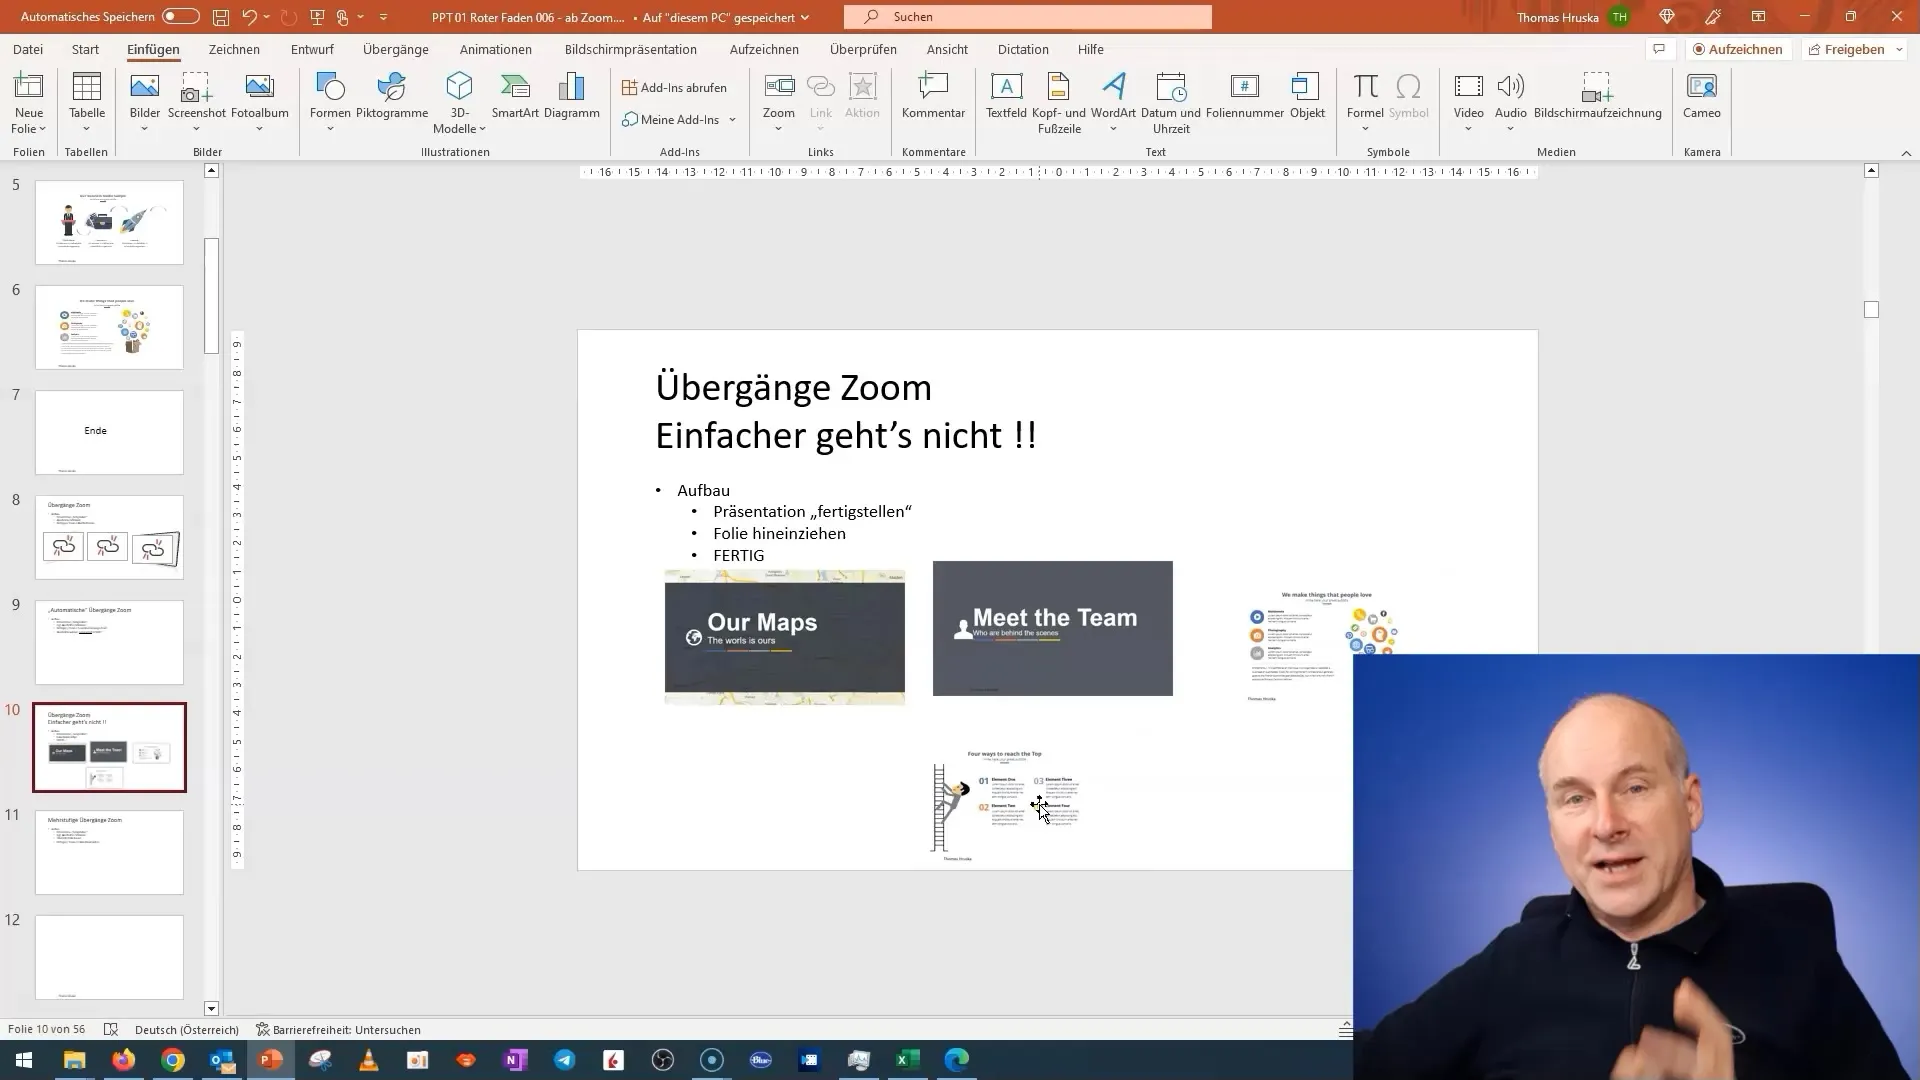
Select the desired slide and slightly move it upwards to make more room for the drag-and-drop function. It is important that you clearly see the slide before proceeding to the next step.
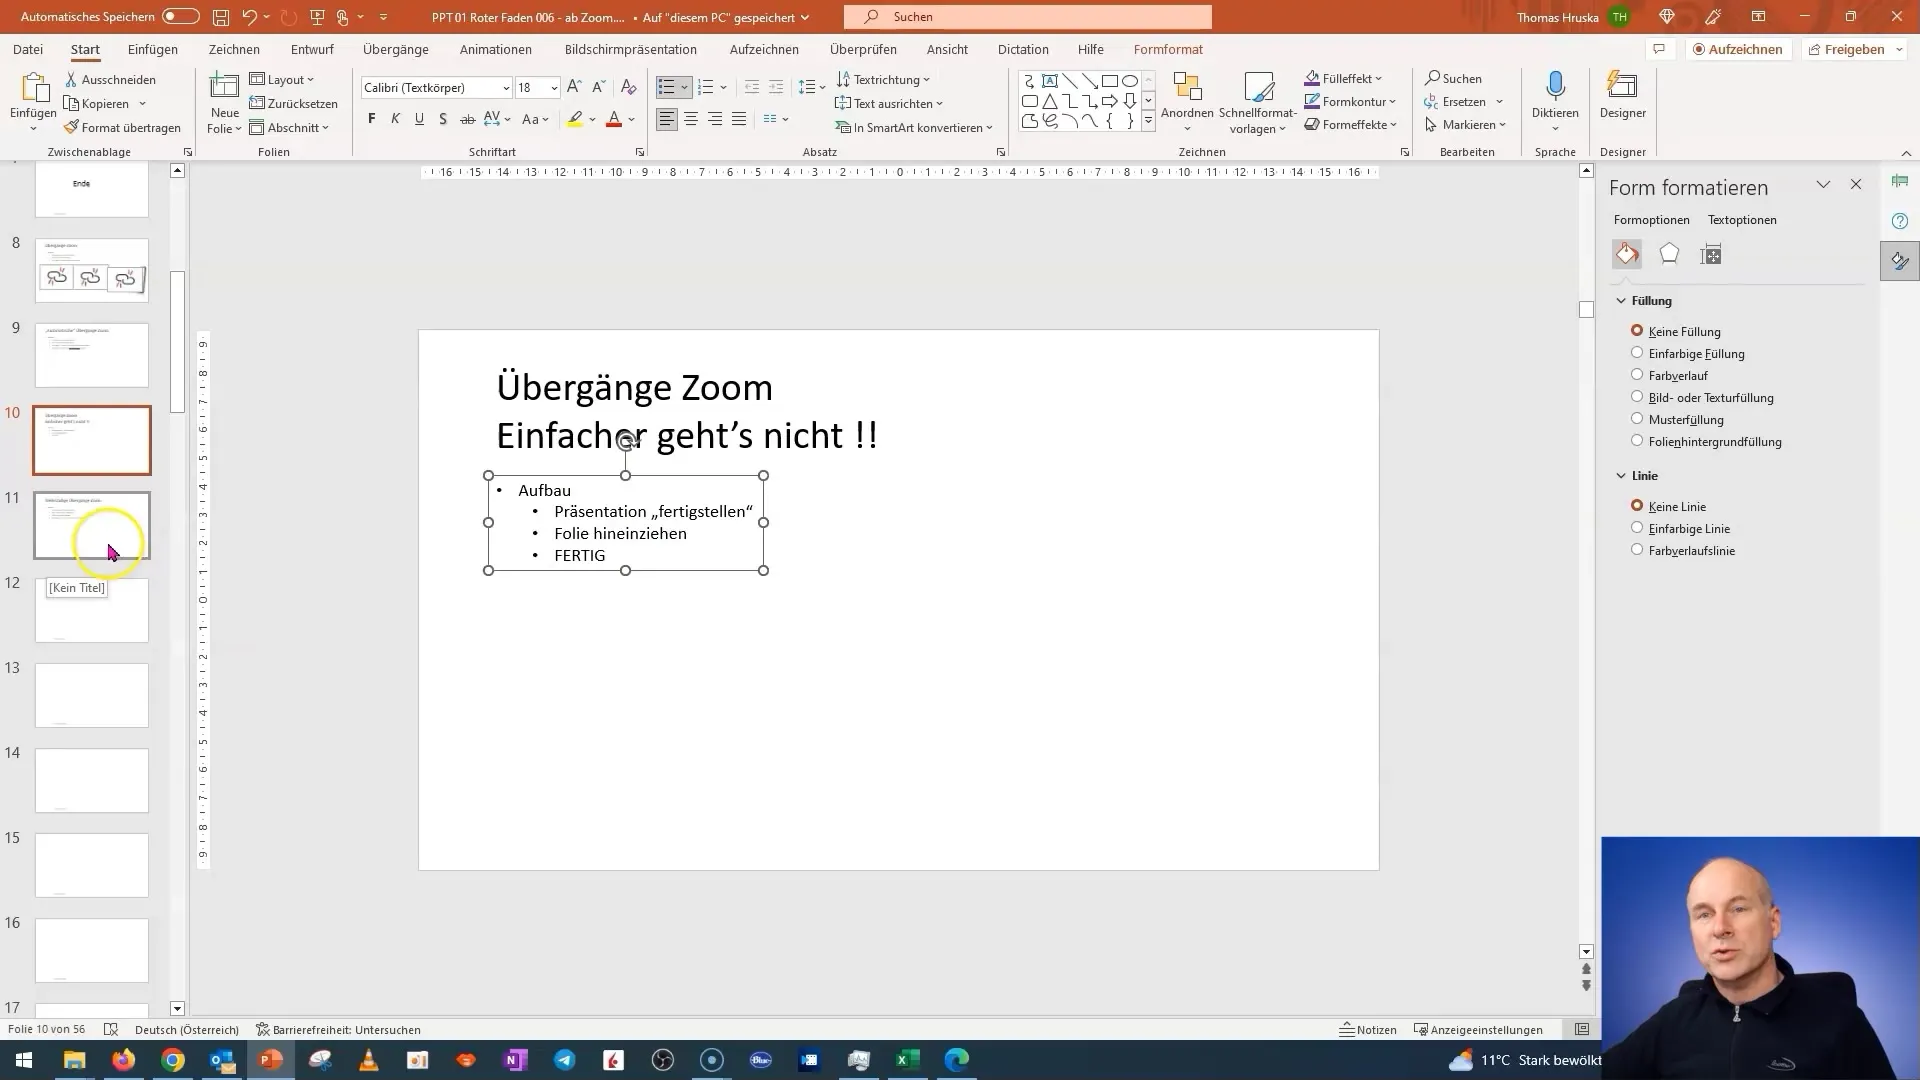
Step 3: Add the Zoom function
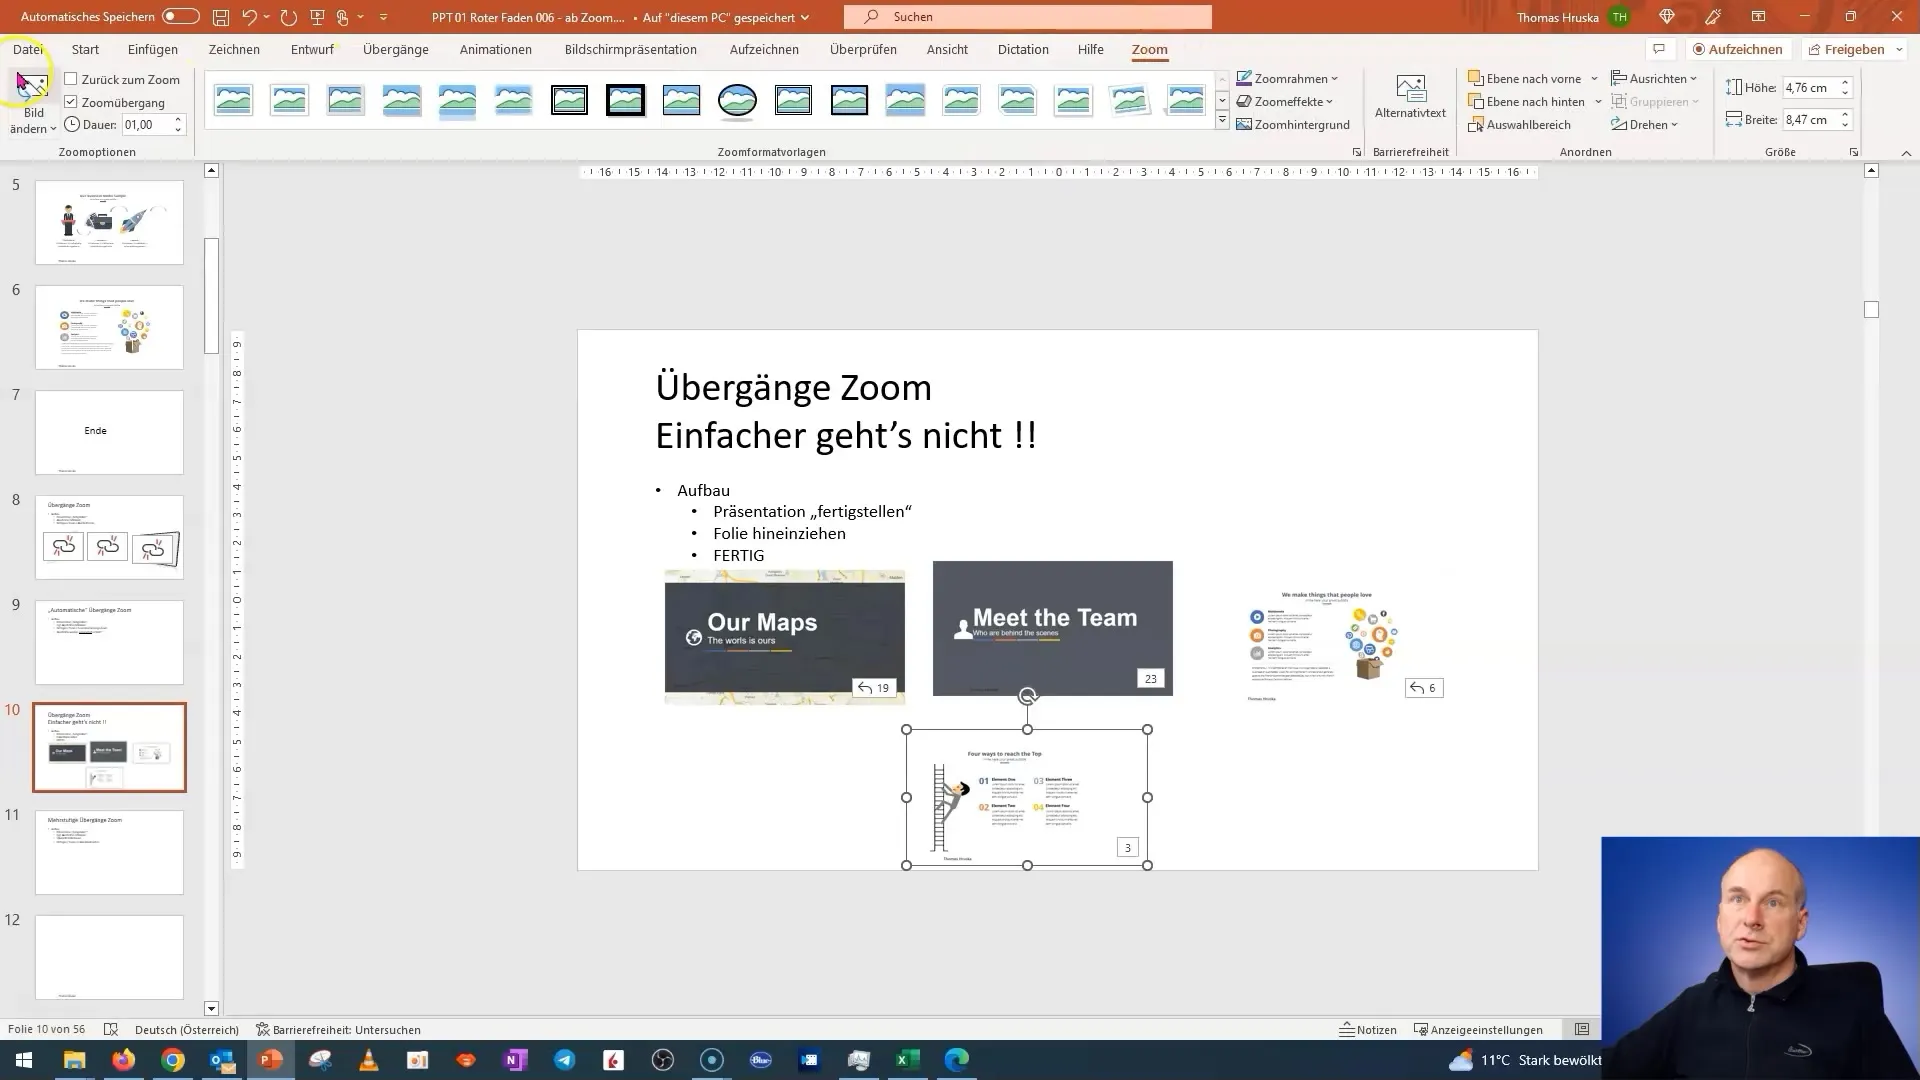
Now comes the exciting part: you can activate the Zoom function by simply grabbing the slide with the left mouse button and dragging it into the overview slide. Make sure to insert all the desired information into the overview.
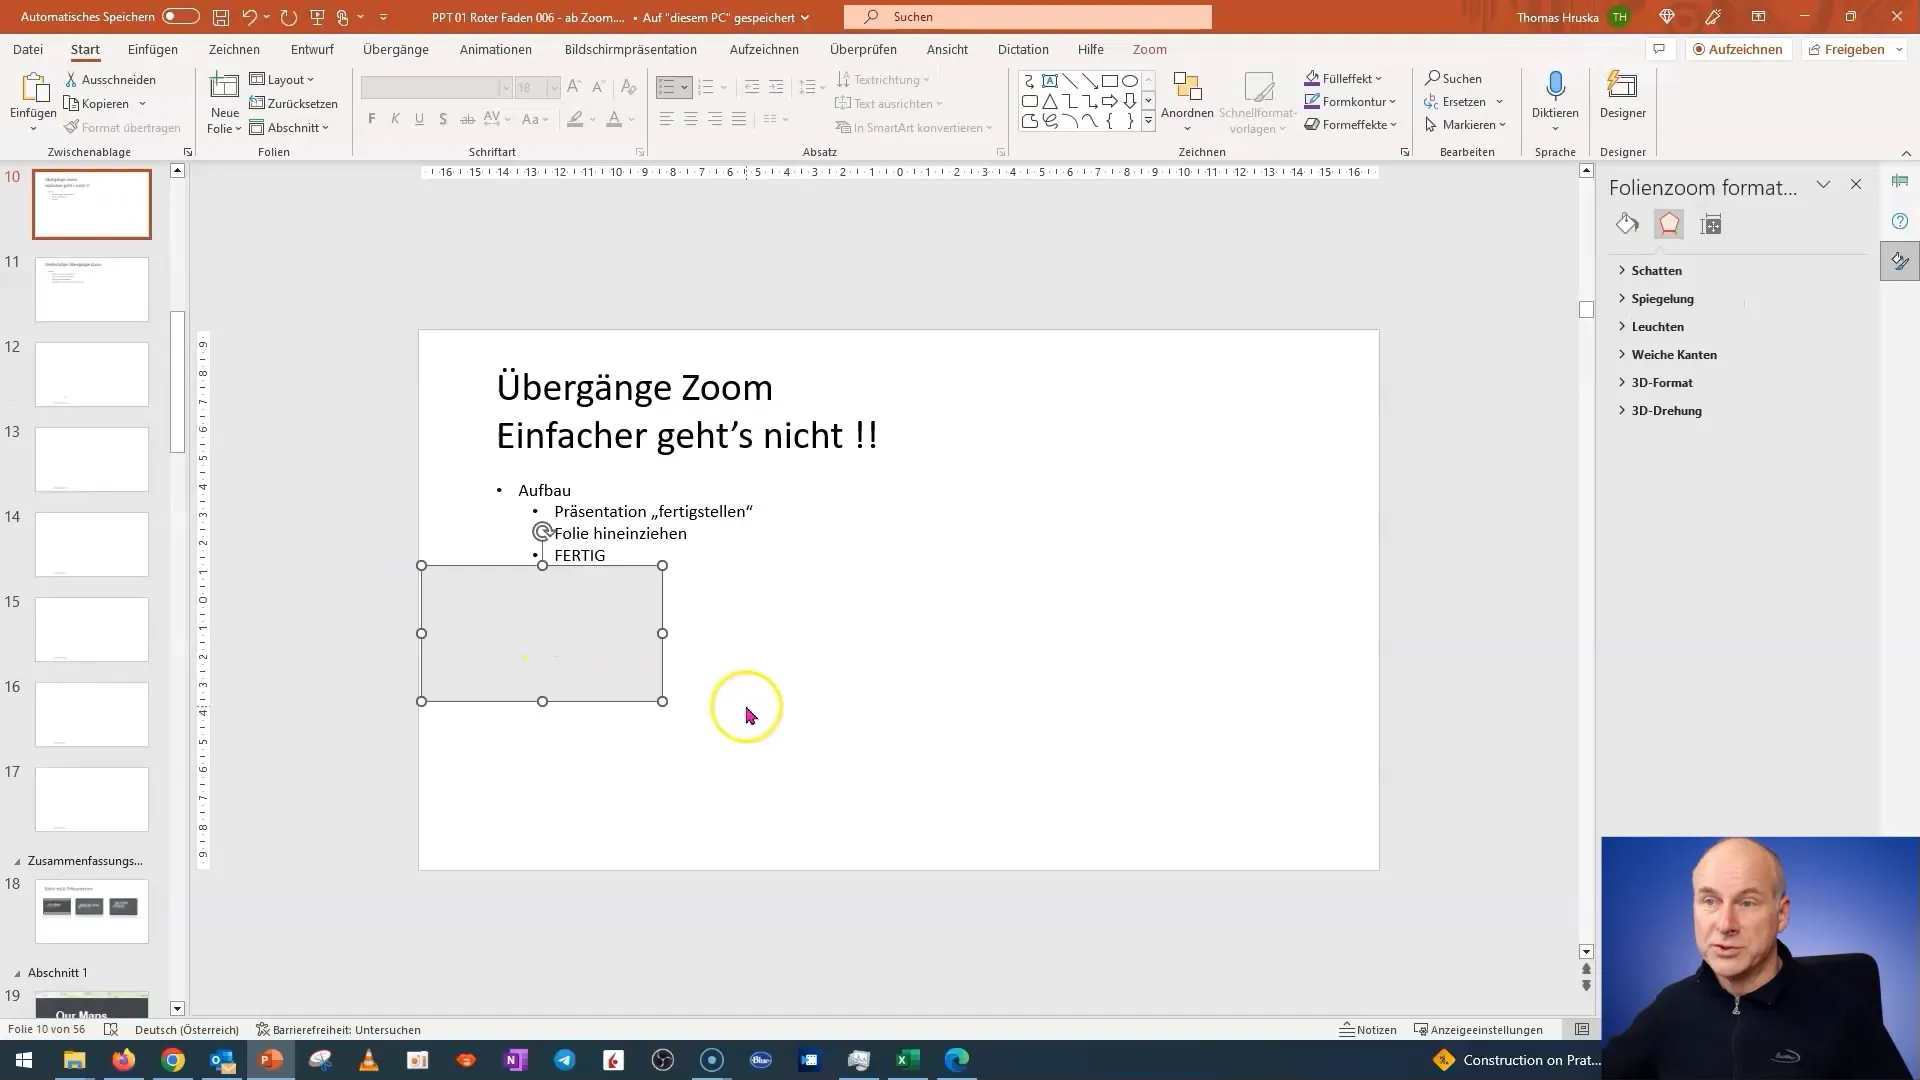
Step 4: Activate presentation mode
To check the new Zoom function, switch to presentation mode. This way, you can see if the slide has been successfully integrated into your overview and contains all the necessary content.

Step 5: Adjust settings
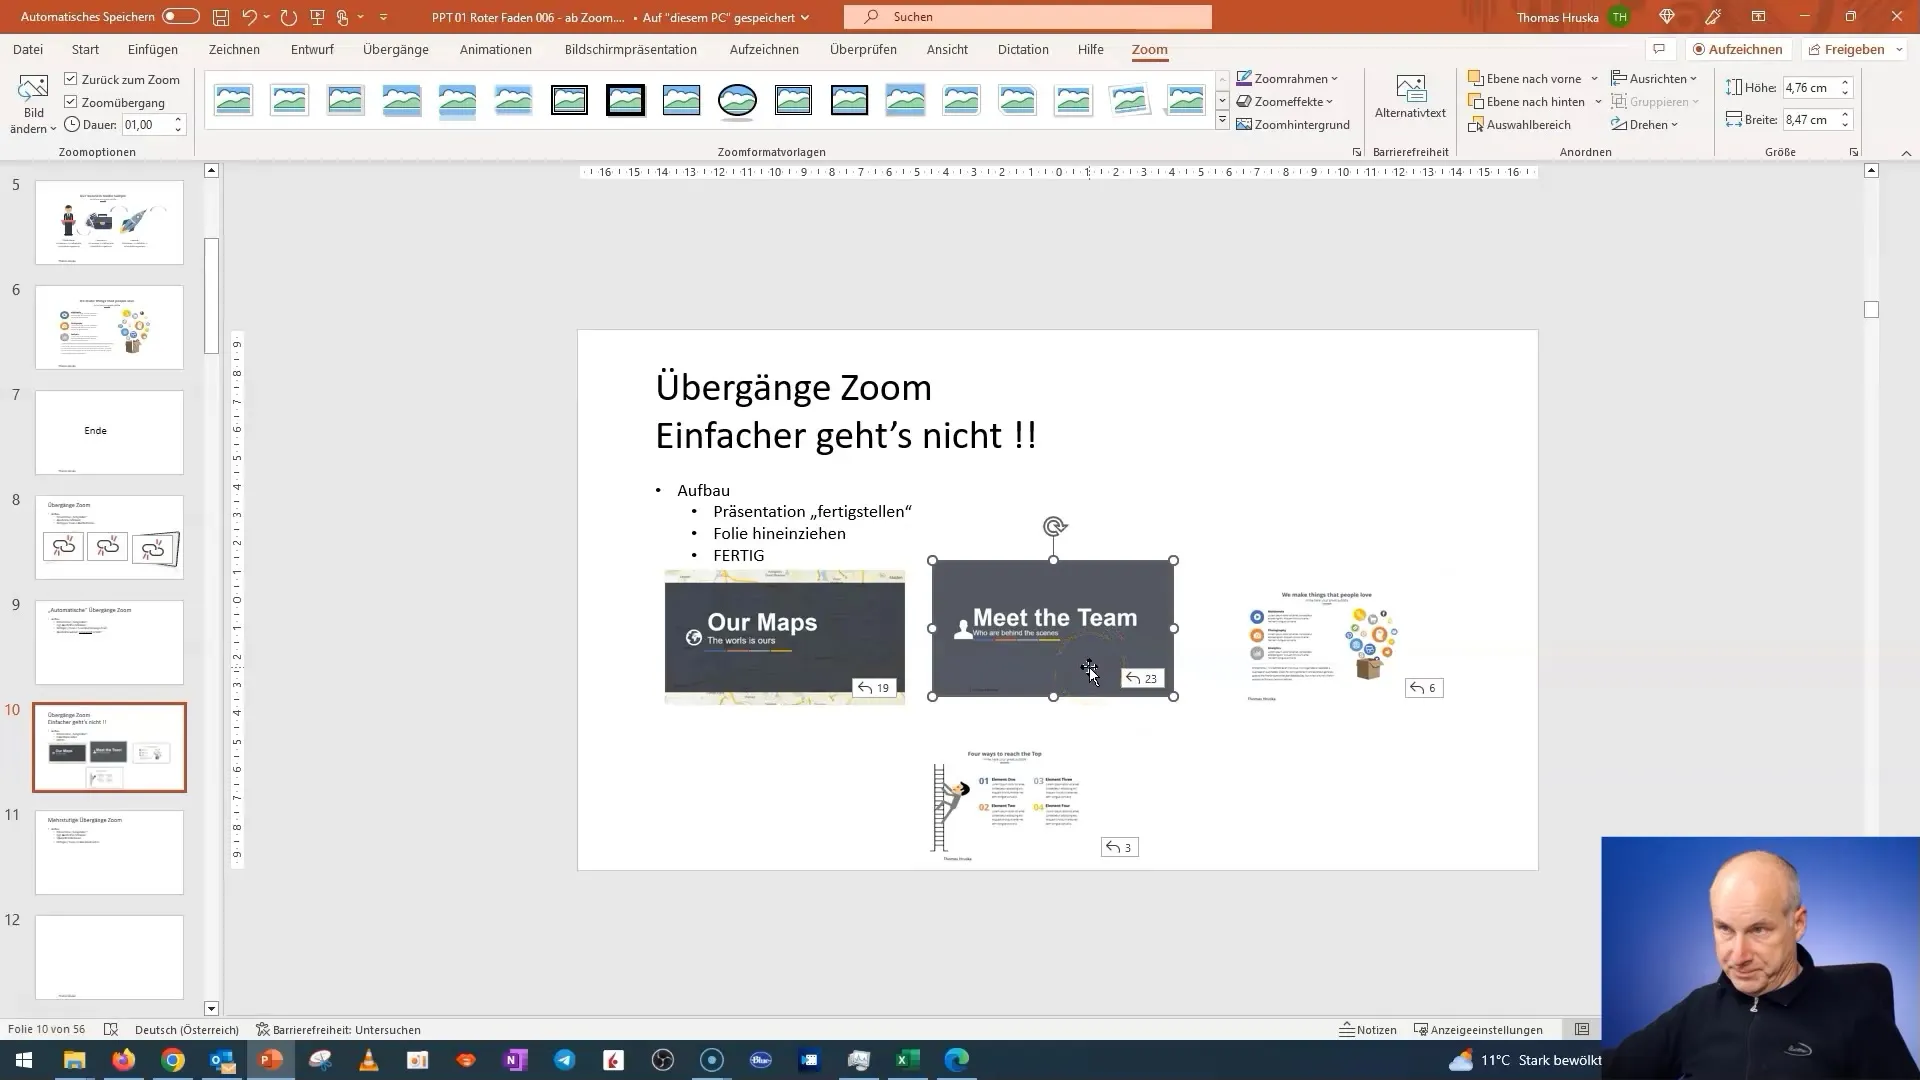
If the Zoom is not working as expected, it could be due to incorrect settings. Make sure the "Return to Zoom" function is activated so you can navigate between sections smoothly.
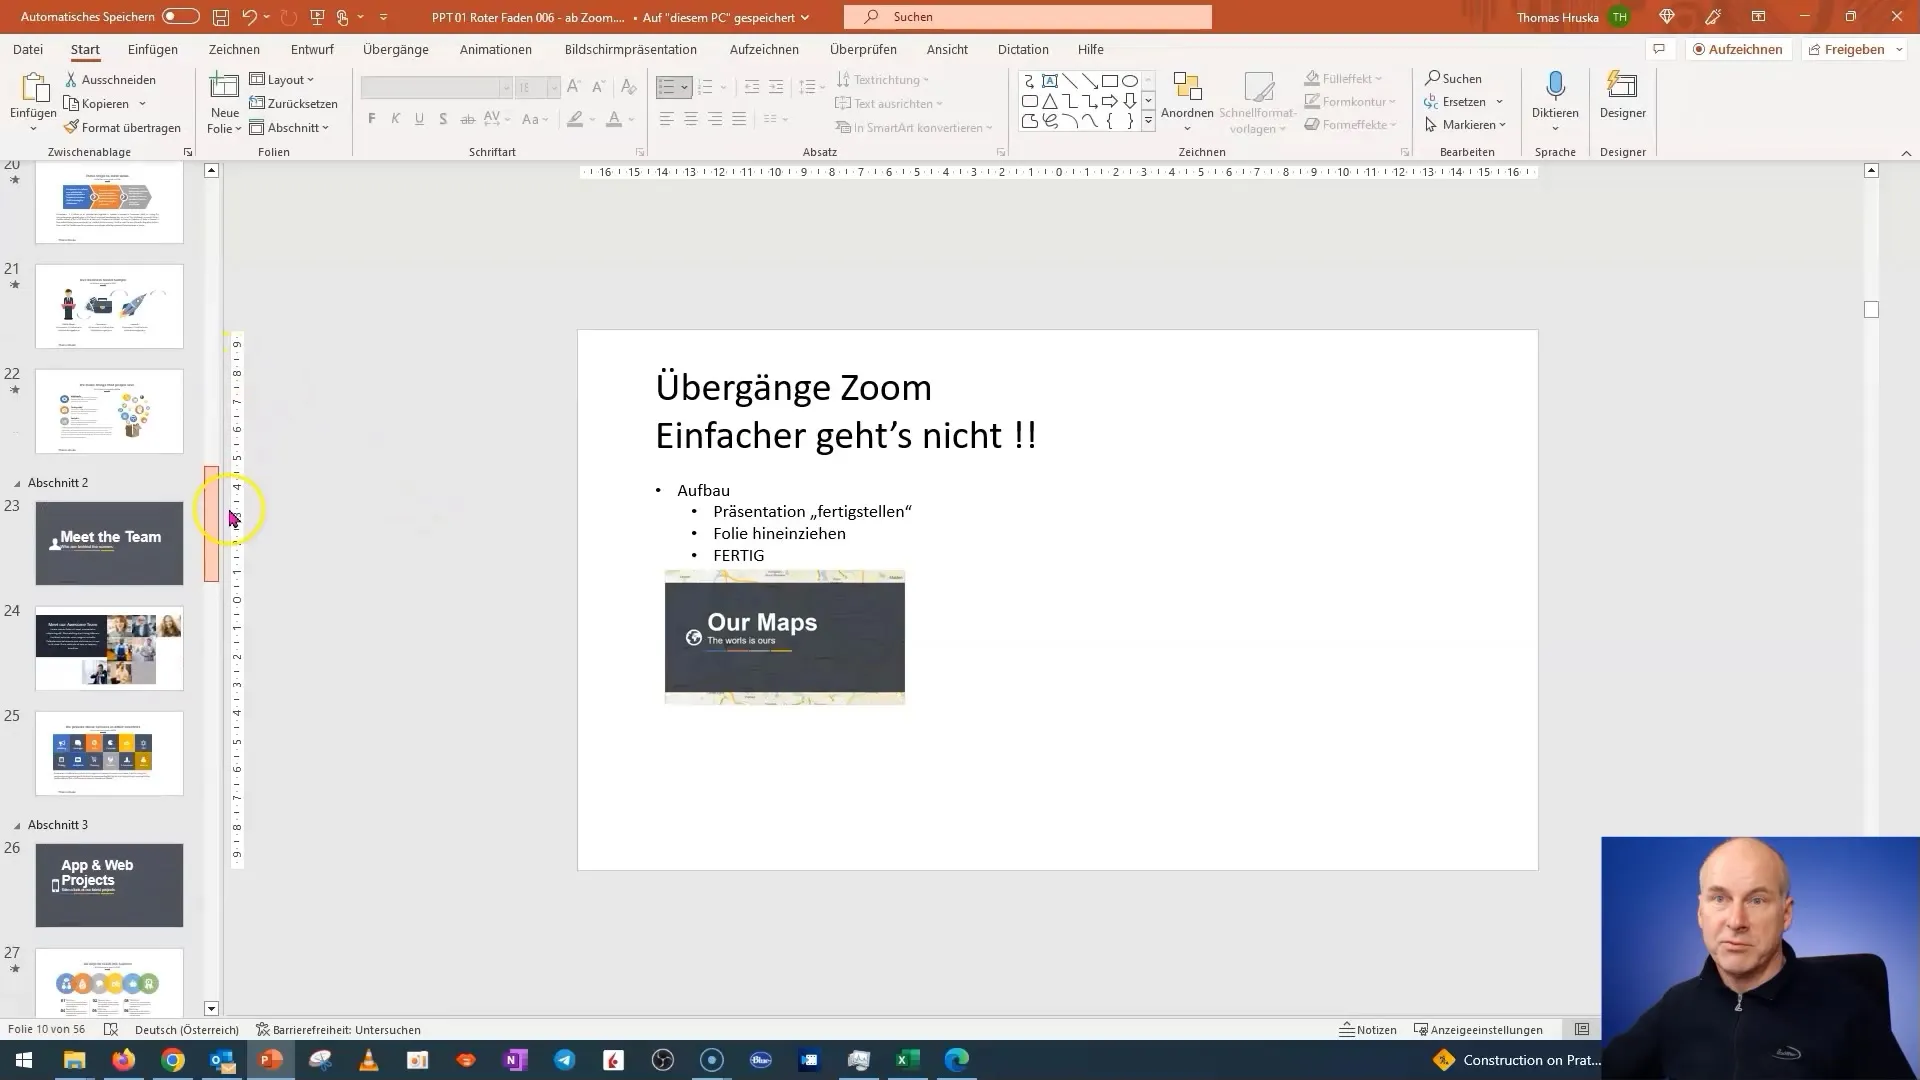
Step 6: Add additional slides
You can add more slides by selecting the desired slides again and repeating the same steps. This gives you the flexibility to integrate additional content into your presentation.
Step 7: Improve visibility
To create a clear overview, you can also visually customize the included slides. Before testing the presentation, check if all the desired slides are correctly integrated into the Zoom overview.
Step 8: Make further adjustments
To get the most out of your presentation, make sure to keep the "Return to Zoom" function active even with new slides. This ensures smooth navigation between the slides.
Step 9: Test the presentation
Test your Zoom section to ensure everything runs smoothly. Make sure you can switch between slides seamlessly.
Step 10: Create nested Zoms
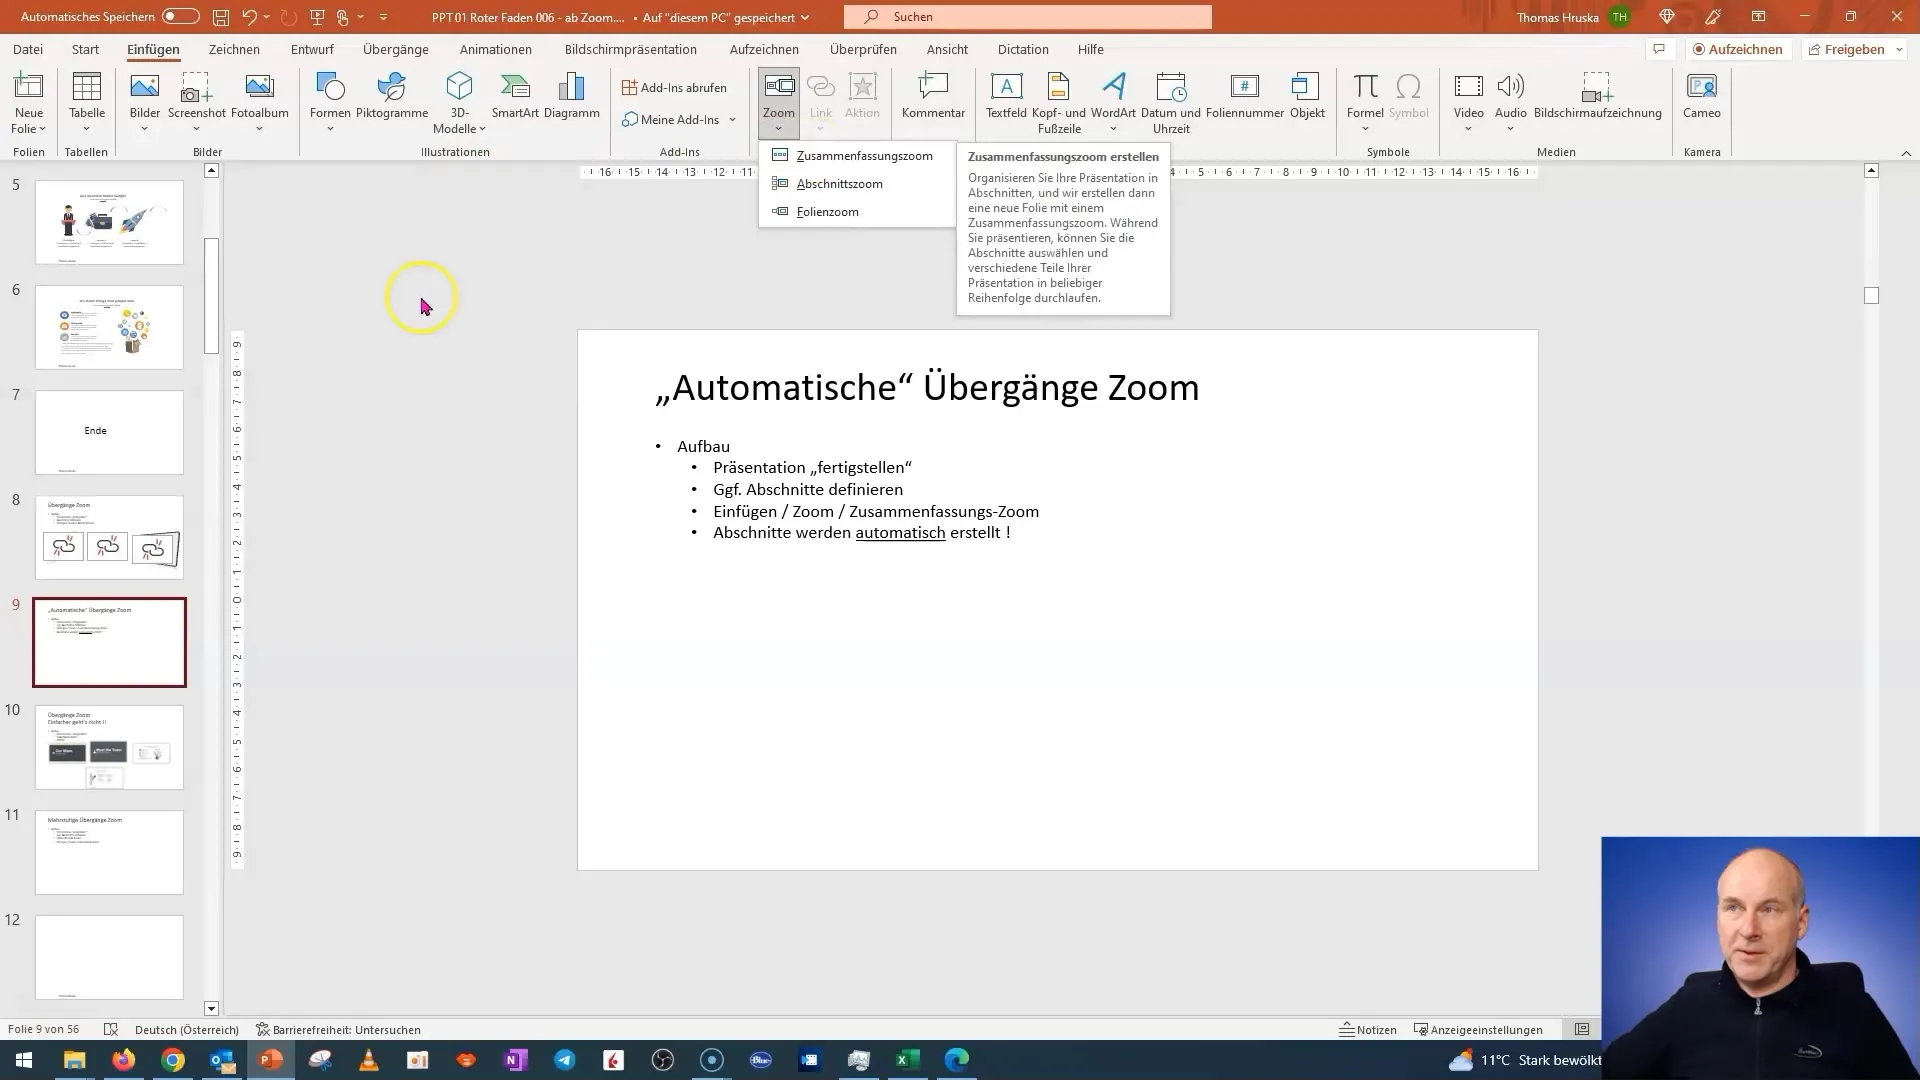
If you feel confident in mastering the technique, you can create more complex Zoms by inserting new overviews within your existing slides. This is a great way to present your data and content in even more detail.
Summary
In this tutorial, you have learned how easy it is to use the zoom feature in PowerPoint to enhance your presentations. You have learned how to insert slides into the zoom format by drag-and-drop, adjust the presentation accordingly, and finally make optimal use of your slides to create an impressive presentation.
Frequently Asked Questions
How does the drag-and-drop function work in PowerPoint?You select the slide, drag it with the left mouse button, and place it in your overview.
Can I zoom multiple slides at once?Yes, you can insert multiple slides at once by selecting them one by one and dragging them into your overview.
What should I do if the zoom function is not working?Check the settings, especially the "Return to Zoom" option, to ensure that the navigation is set up correctly.


