In this tutorial, you will learn how to create an interactive tile dashboard in PowerPoint. We will focus on creating tiles from scratch and customizing existing designs. We will cover various scenarios: firstly, when the required images are available, and secondly, when the images are not available. Additionally, I will show you how to create transparent buttons and add a transparent image. At the end, you will have the opportunity to personalize your dashboard according to your preferences.
Key Takeaways
- You can create tiles in PowerPoint from scratch.
- Existing designs can be customized even if images are missing.
- Transparent buttons can be created to enhance your presentation.
- There are simple workarounds if you have no graphic design knowledge.
Step-by-Step Guide
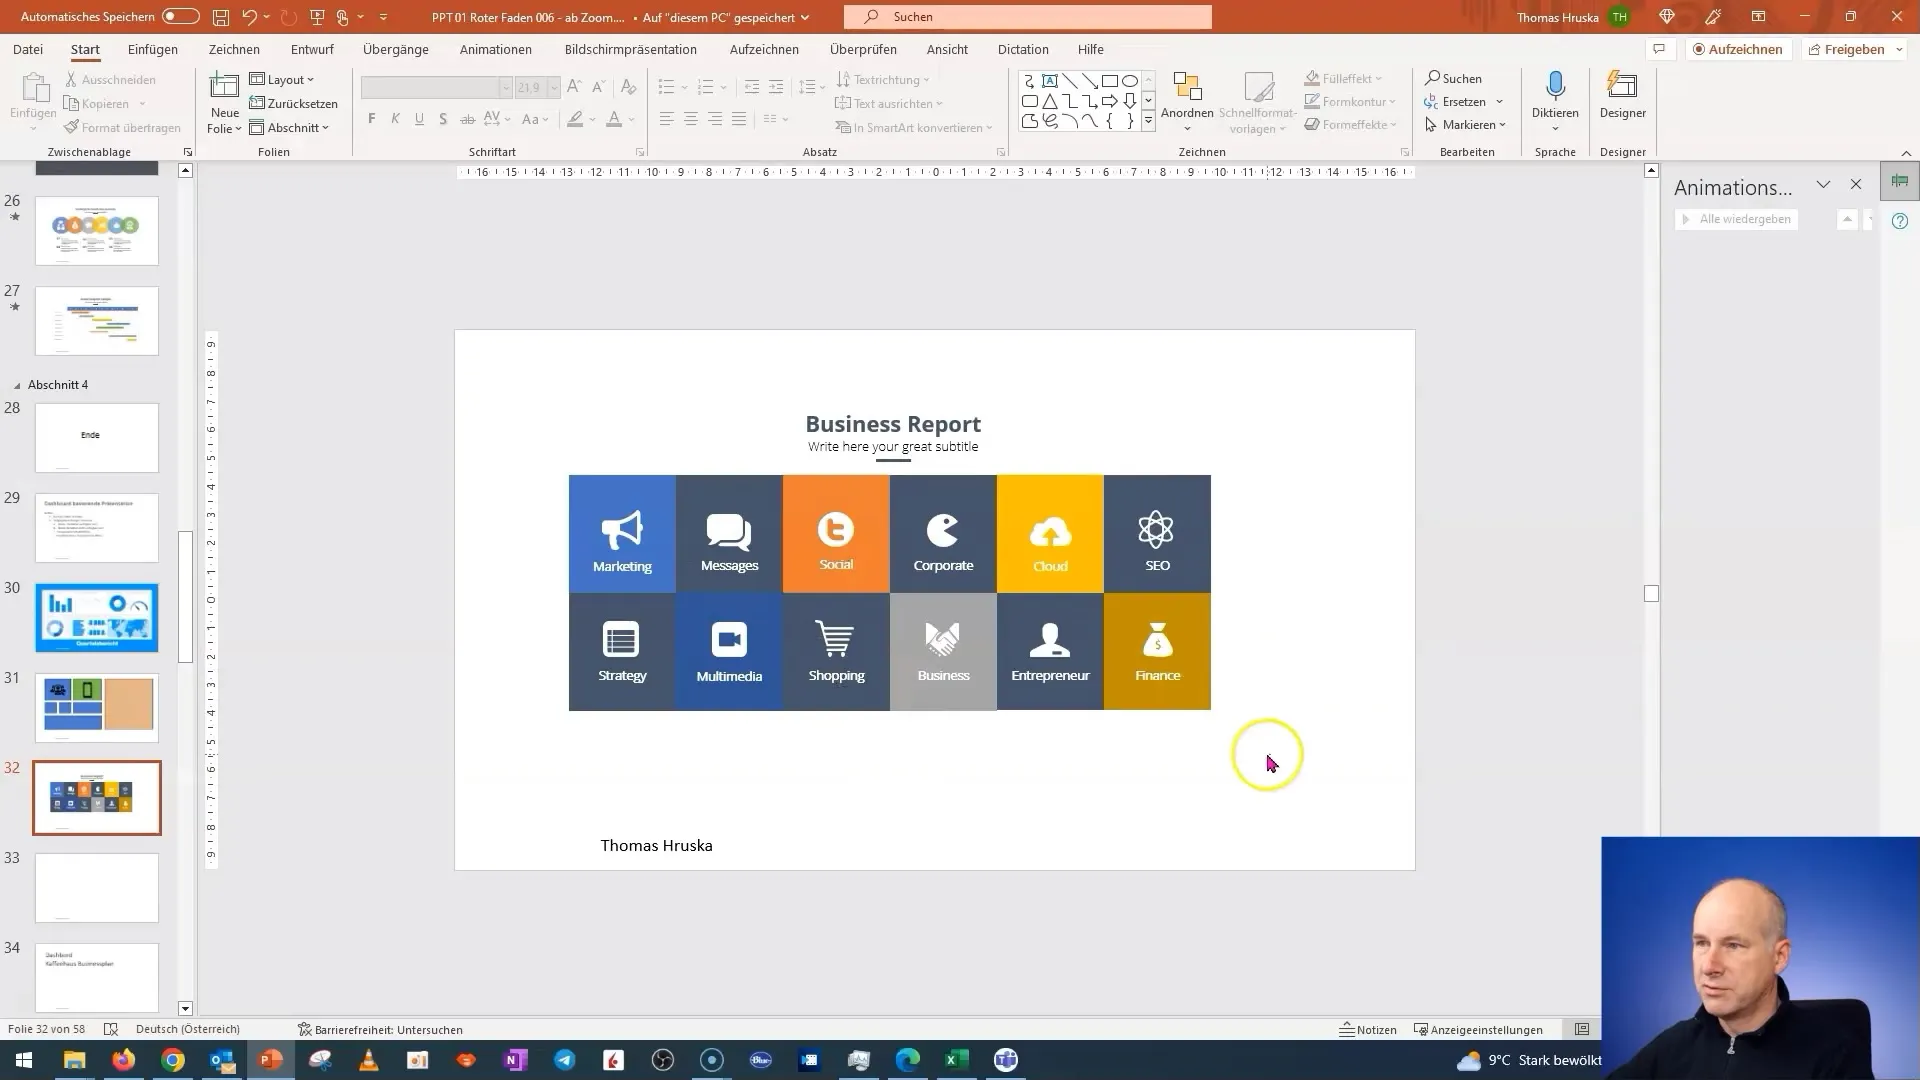
First, let's delve into your dashboard design. Suppose you already have a predefined layout and want to use it for your business report. You can remove the original background image to make room for your tiles.
Next, customize the dashboard in the desired style. You can work with texts or shapes to personalize your dashboard. To make it look more professional, it's essential to keep the layout clear and organized.
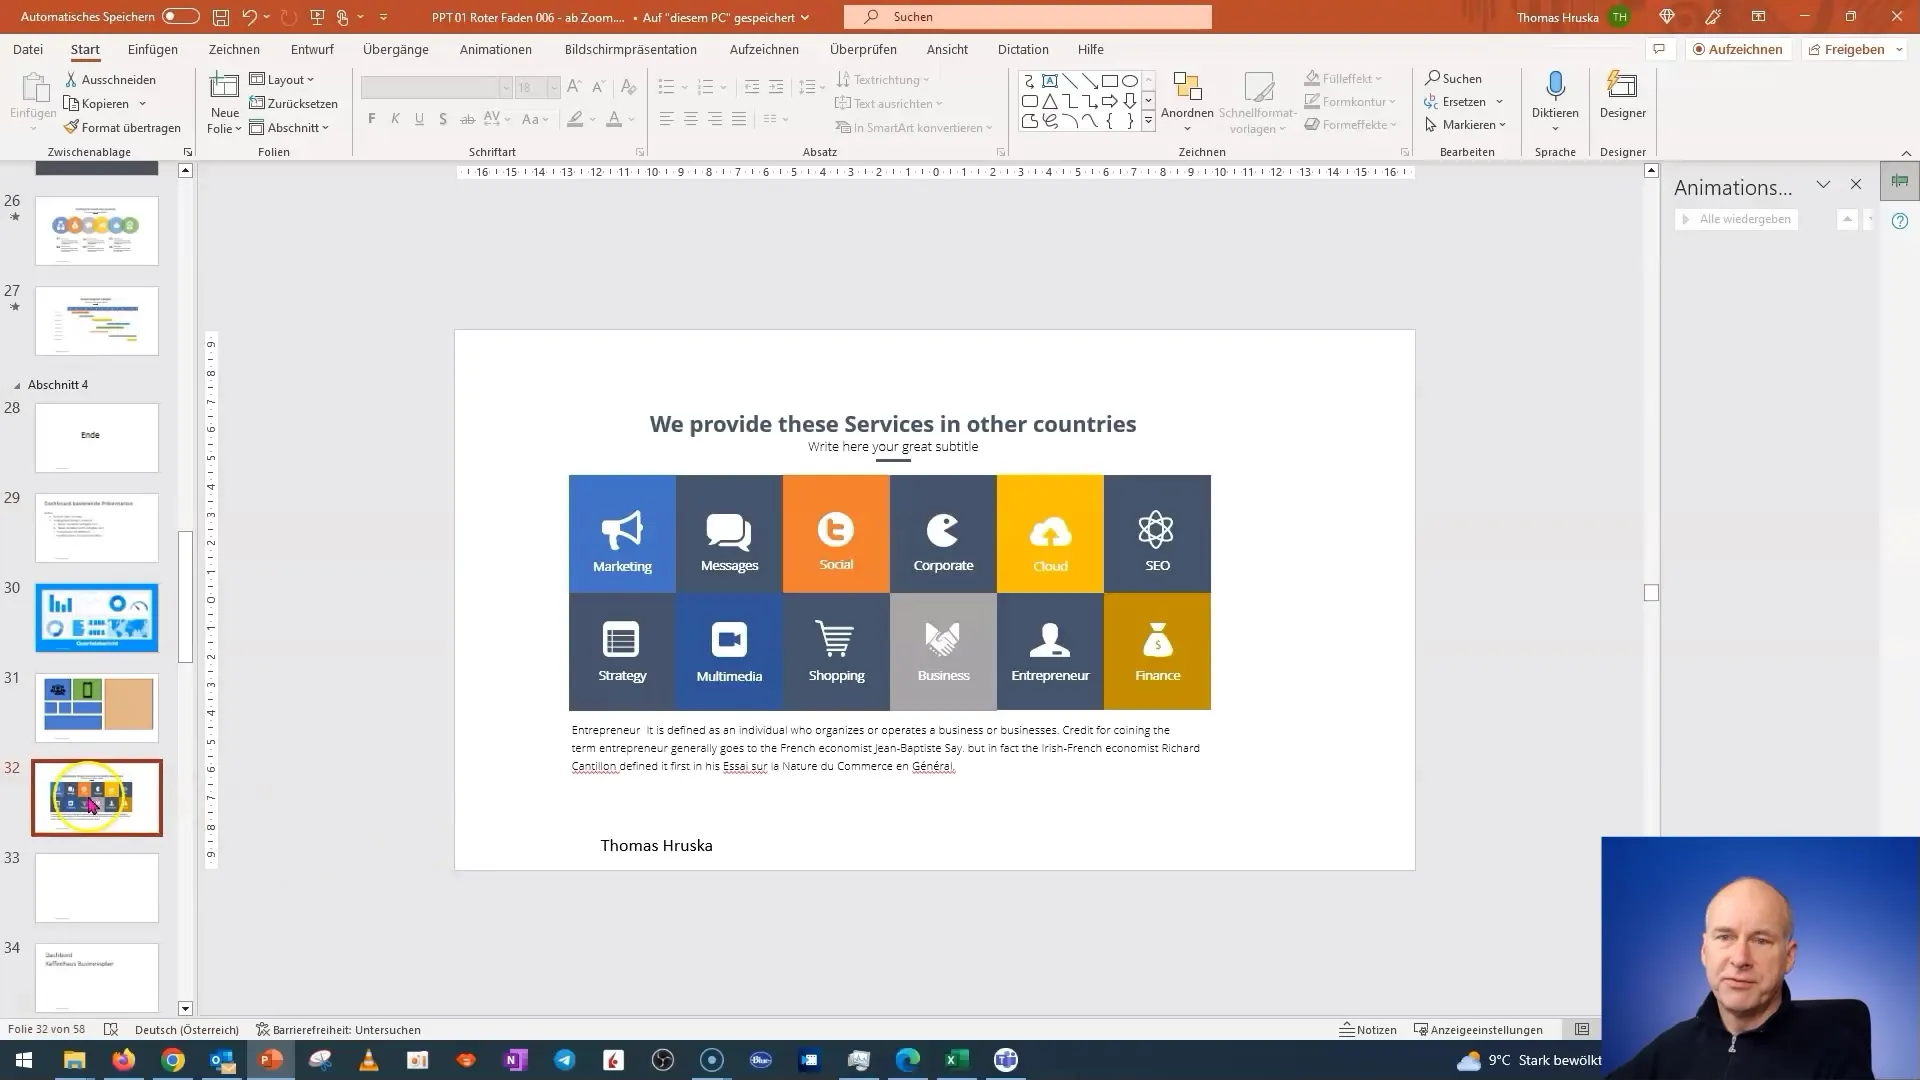
Now, move to the next slide where you want to create a specific tile element. If you have the images available, you can easily insert them into the tiles. Select the slide you want to work on and drag the relevant images into place.
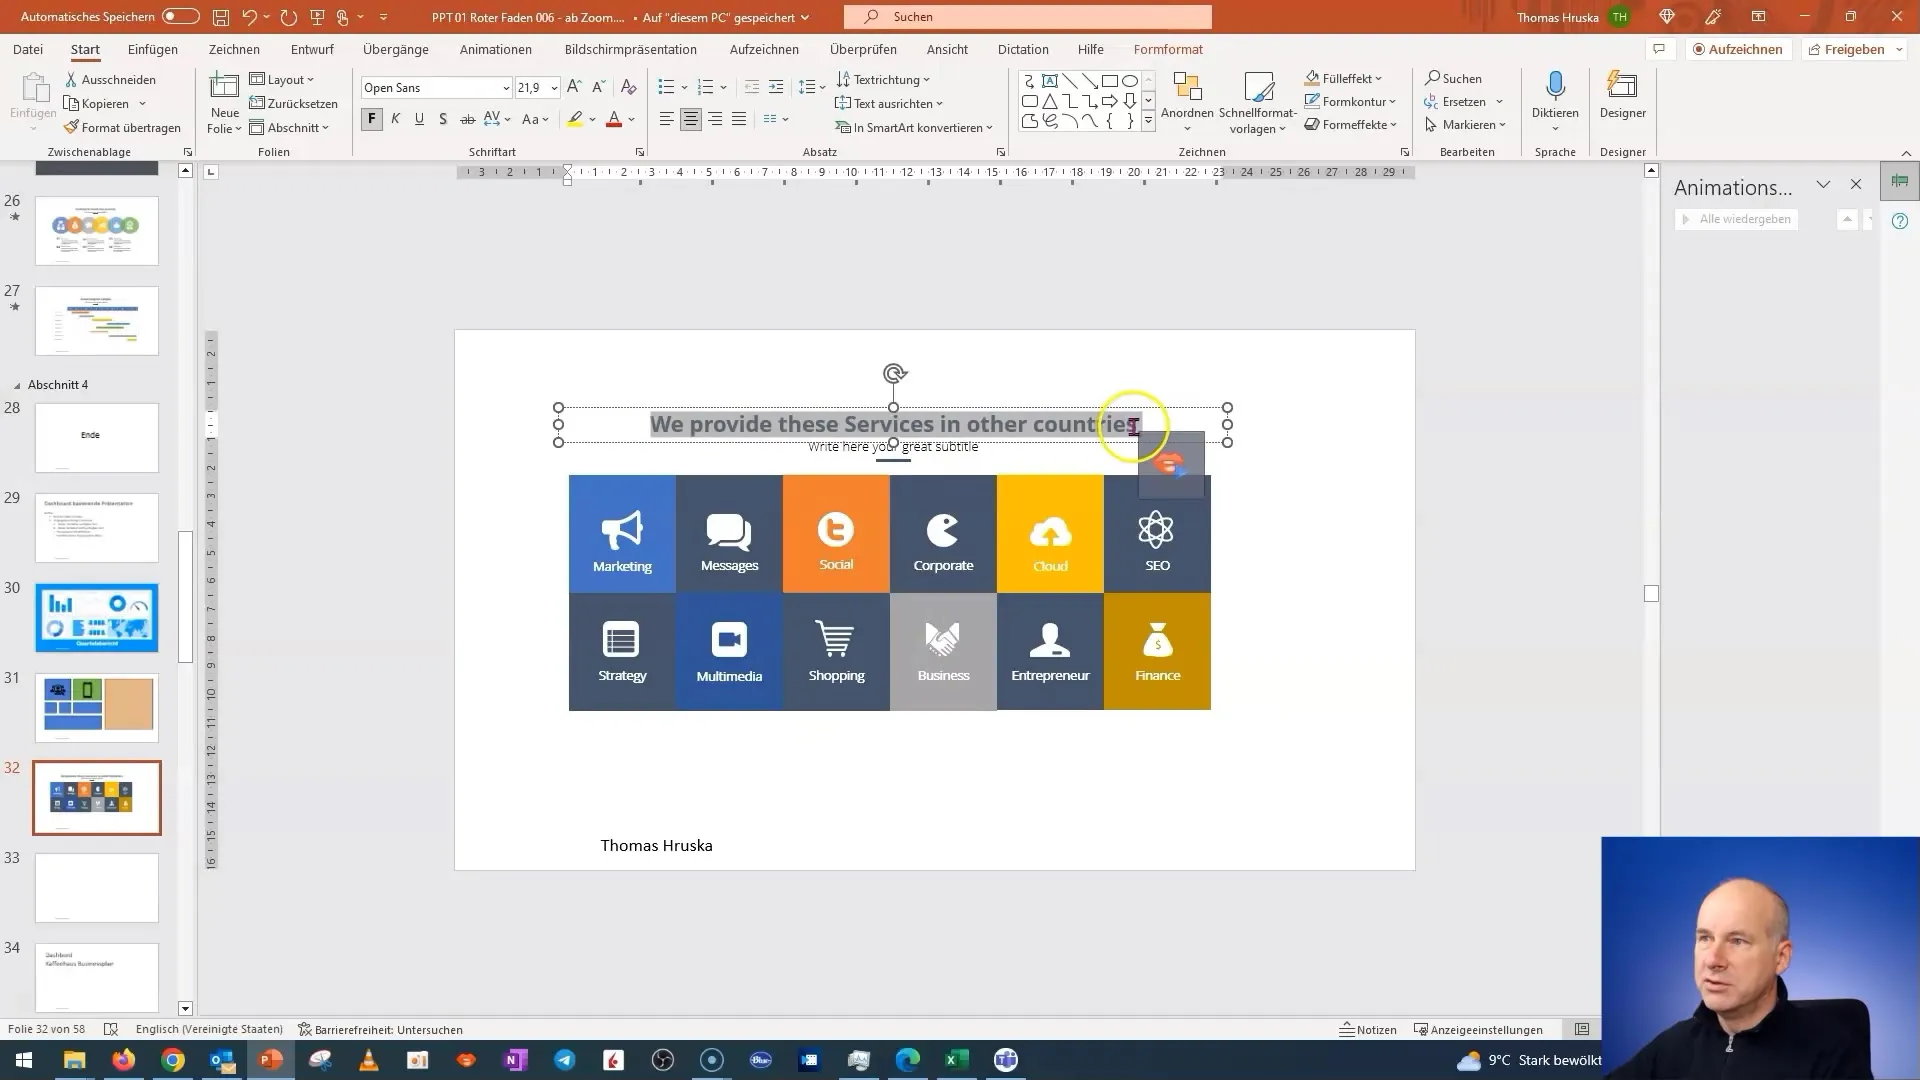
If you don't have the images or they are not ready to use, there is another strategy. You can choose an icon or shape and give it a transparent background. This provides you with the flexibility to modify the design later, even if you can't change the image at the moment.
To create a transparent image, use a transparent PNG file. This allows you to adjust the image as needed. Rename the file accordingly so you can easily find it later.
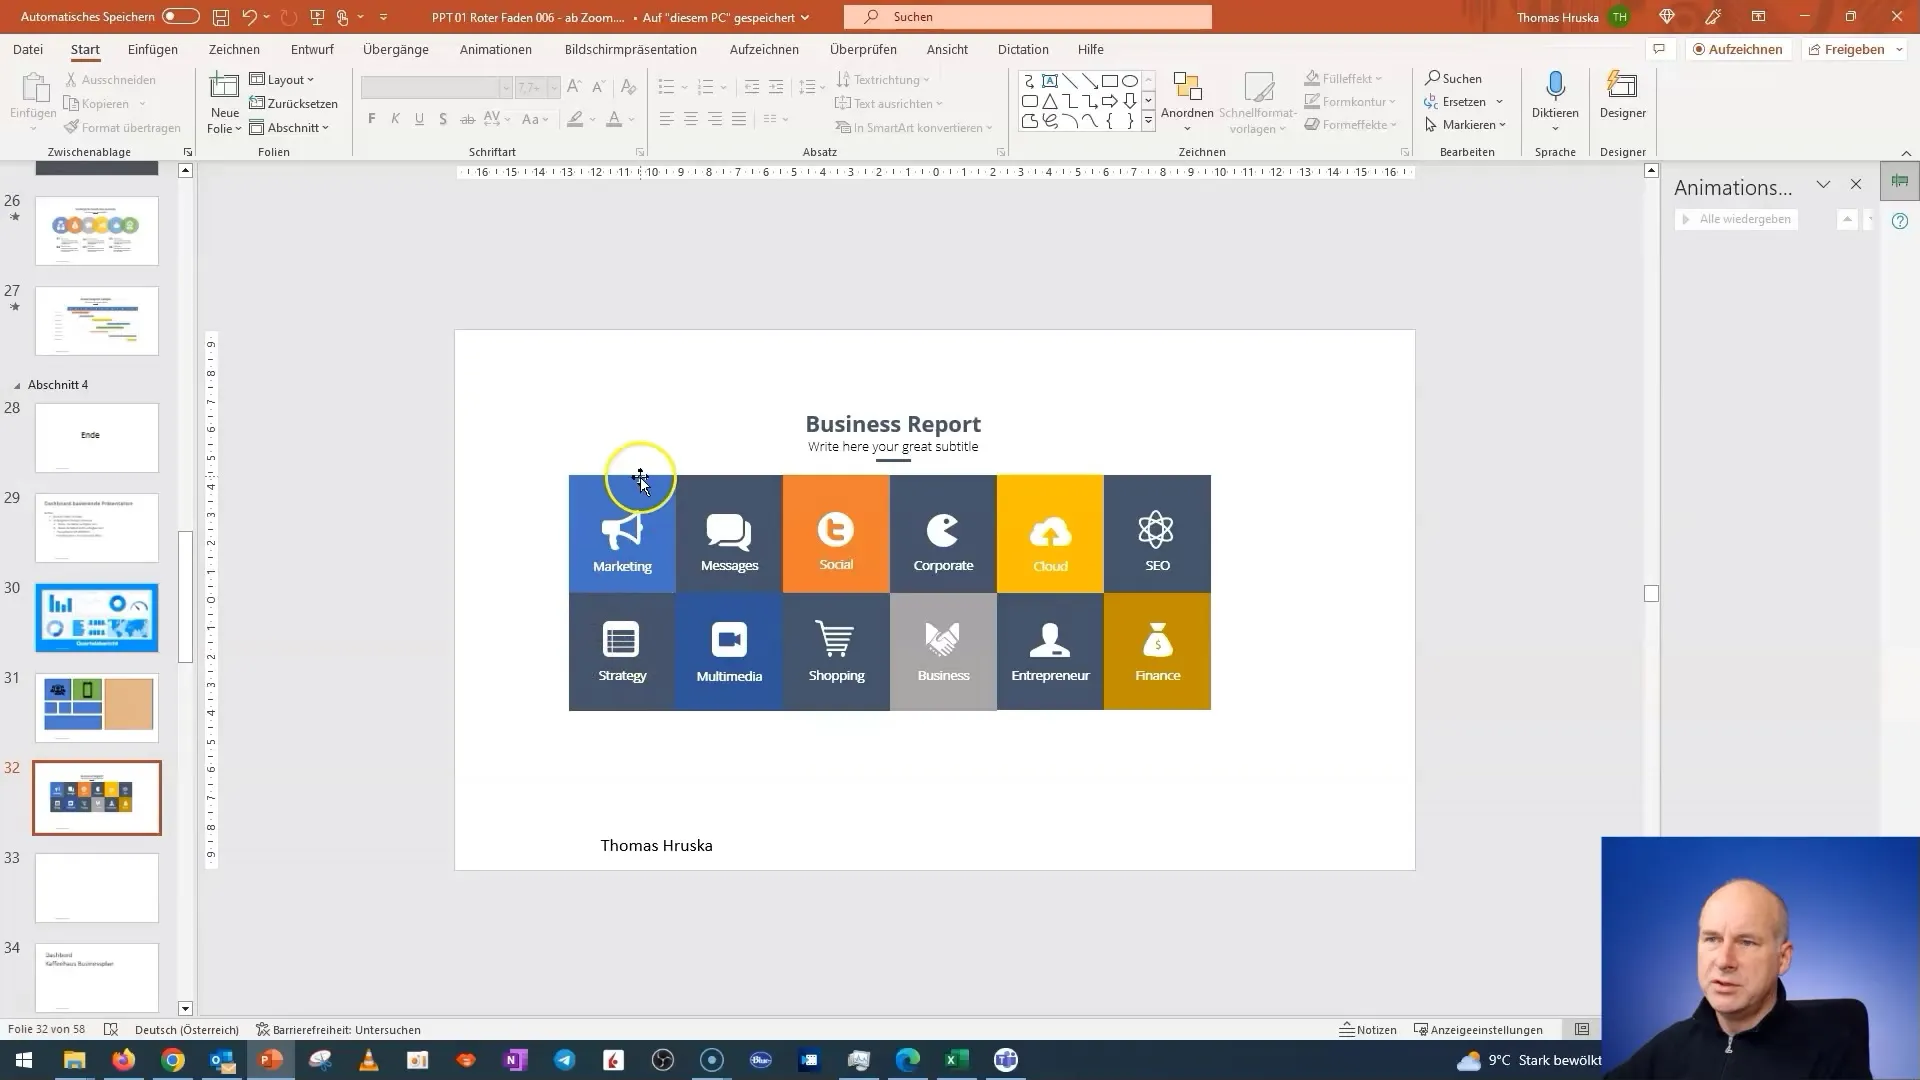
After saving the file, you can insert the image into your presentation. Right-click on the element you want to replace, select "Change Picture," and upload the desired image.
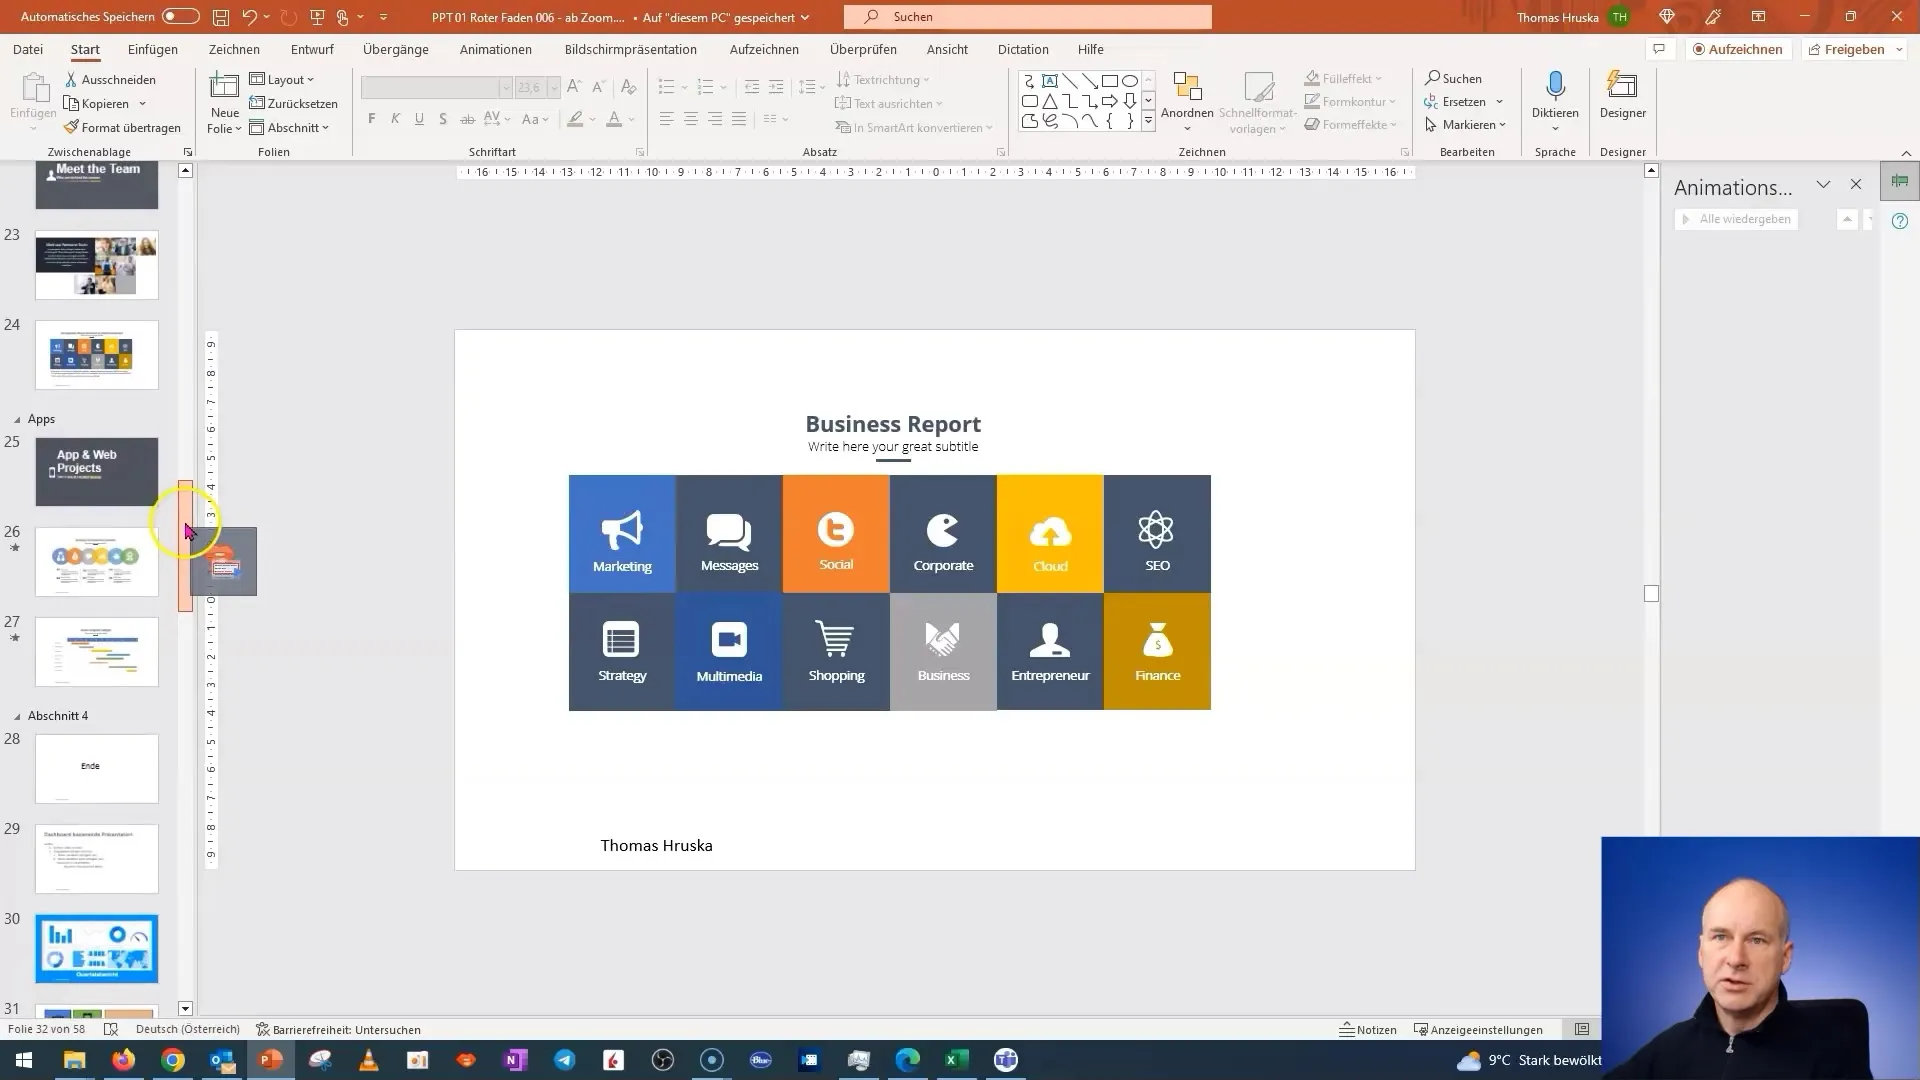
Ensure that the size of the new image matches the original design. This helps to maintain a visually harmonious layout as much as possible.
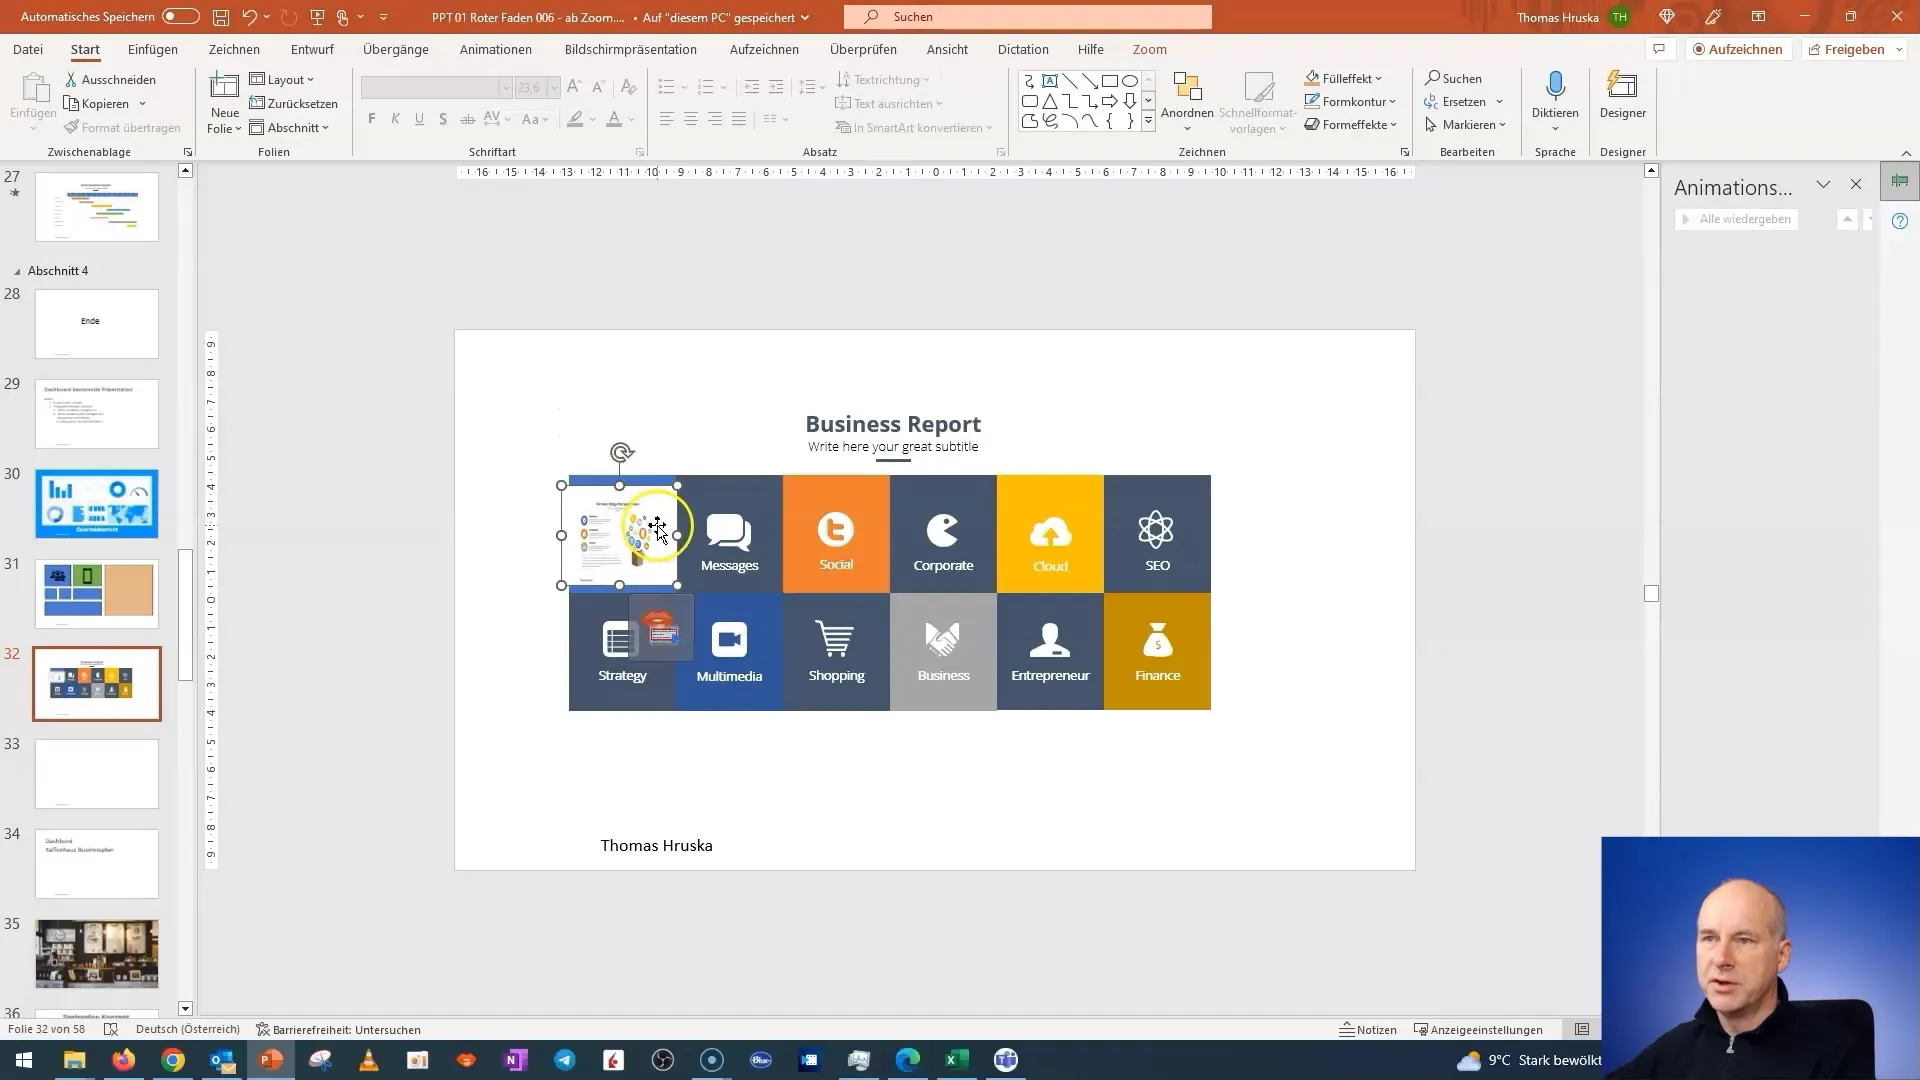
To further customize the presentation, you will now adjust the desired tiles and their contents optimally. Also, check if you have removed any unnecessary elements to ensure a clear structure.
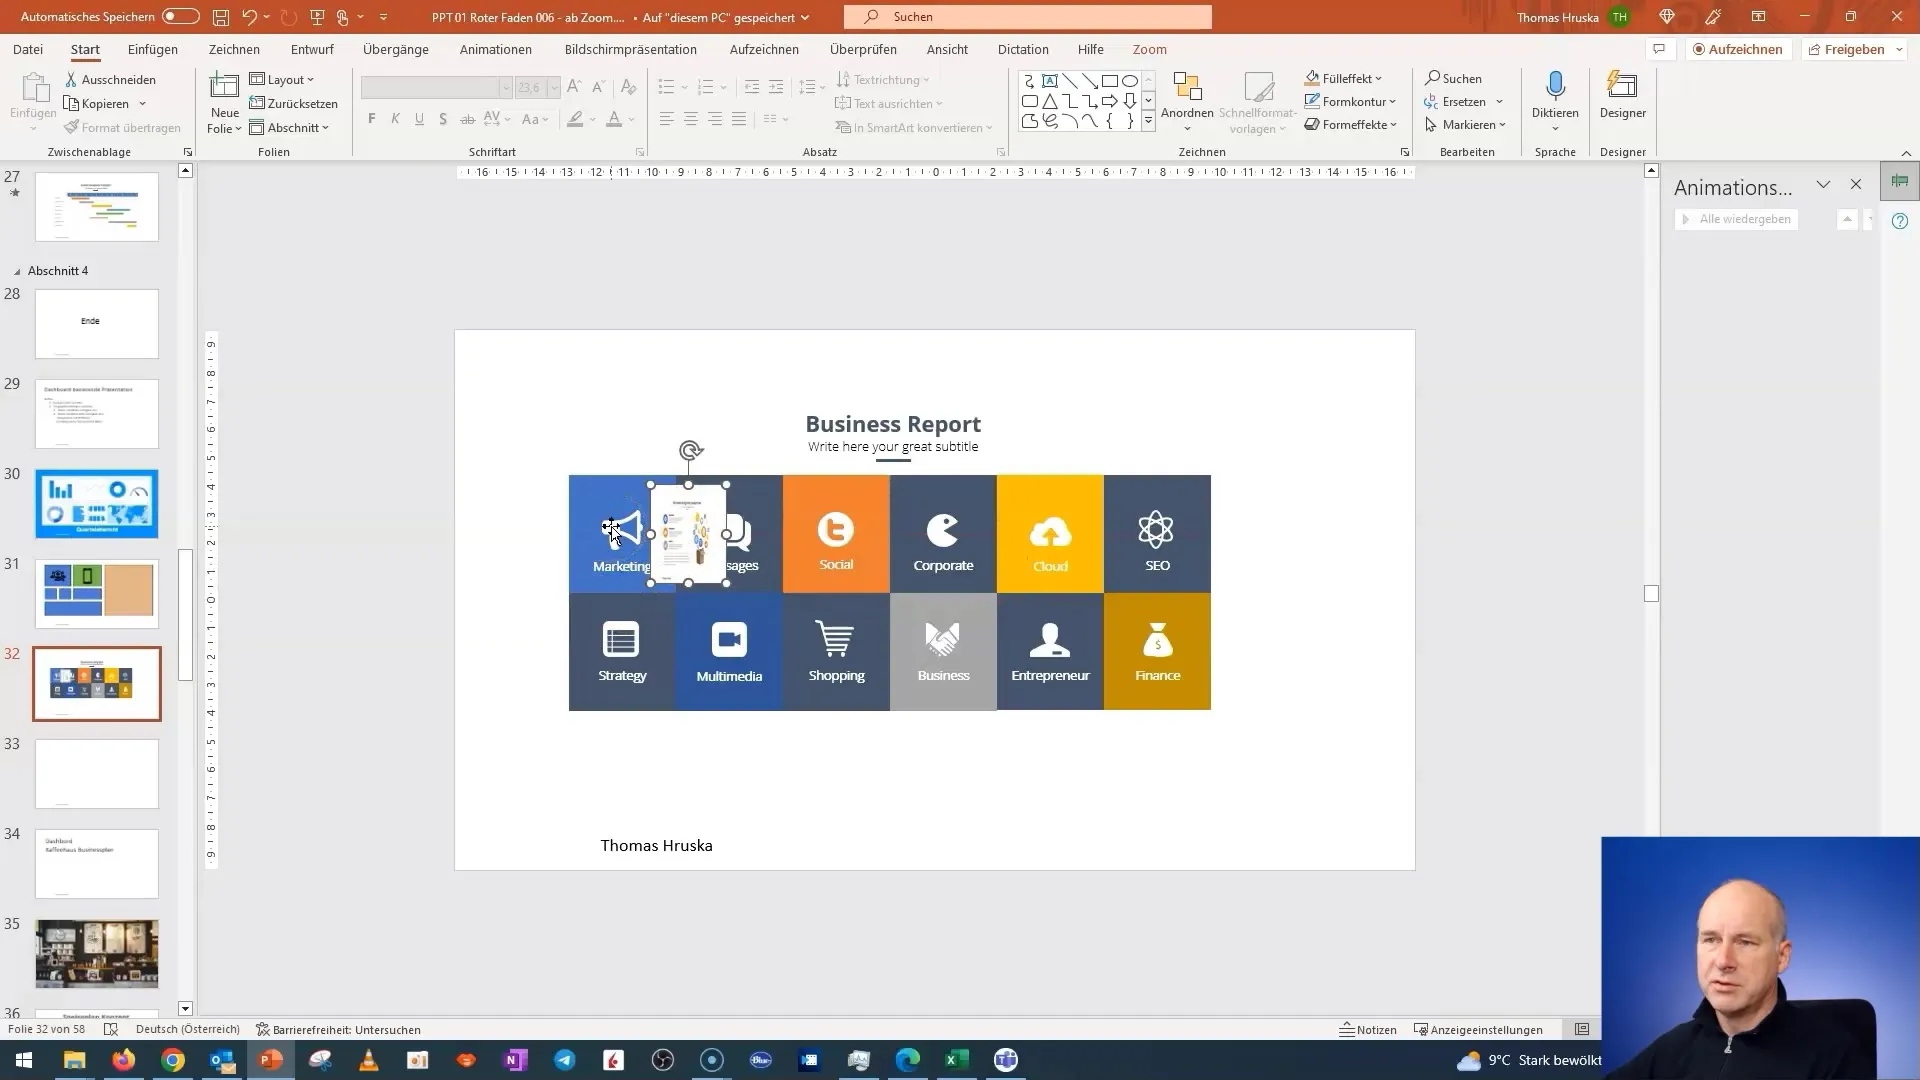
When you move to the next slide, make sure the icons or tiles are correctly positioned and everything aligns with the desired overview. If needed, you can adjust the outlines of the shapes or images.
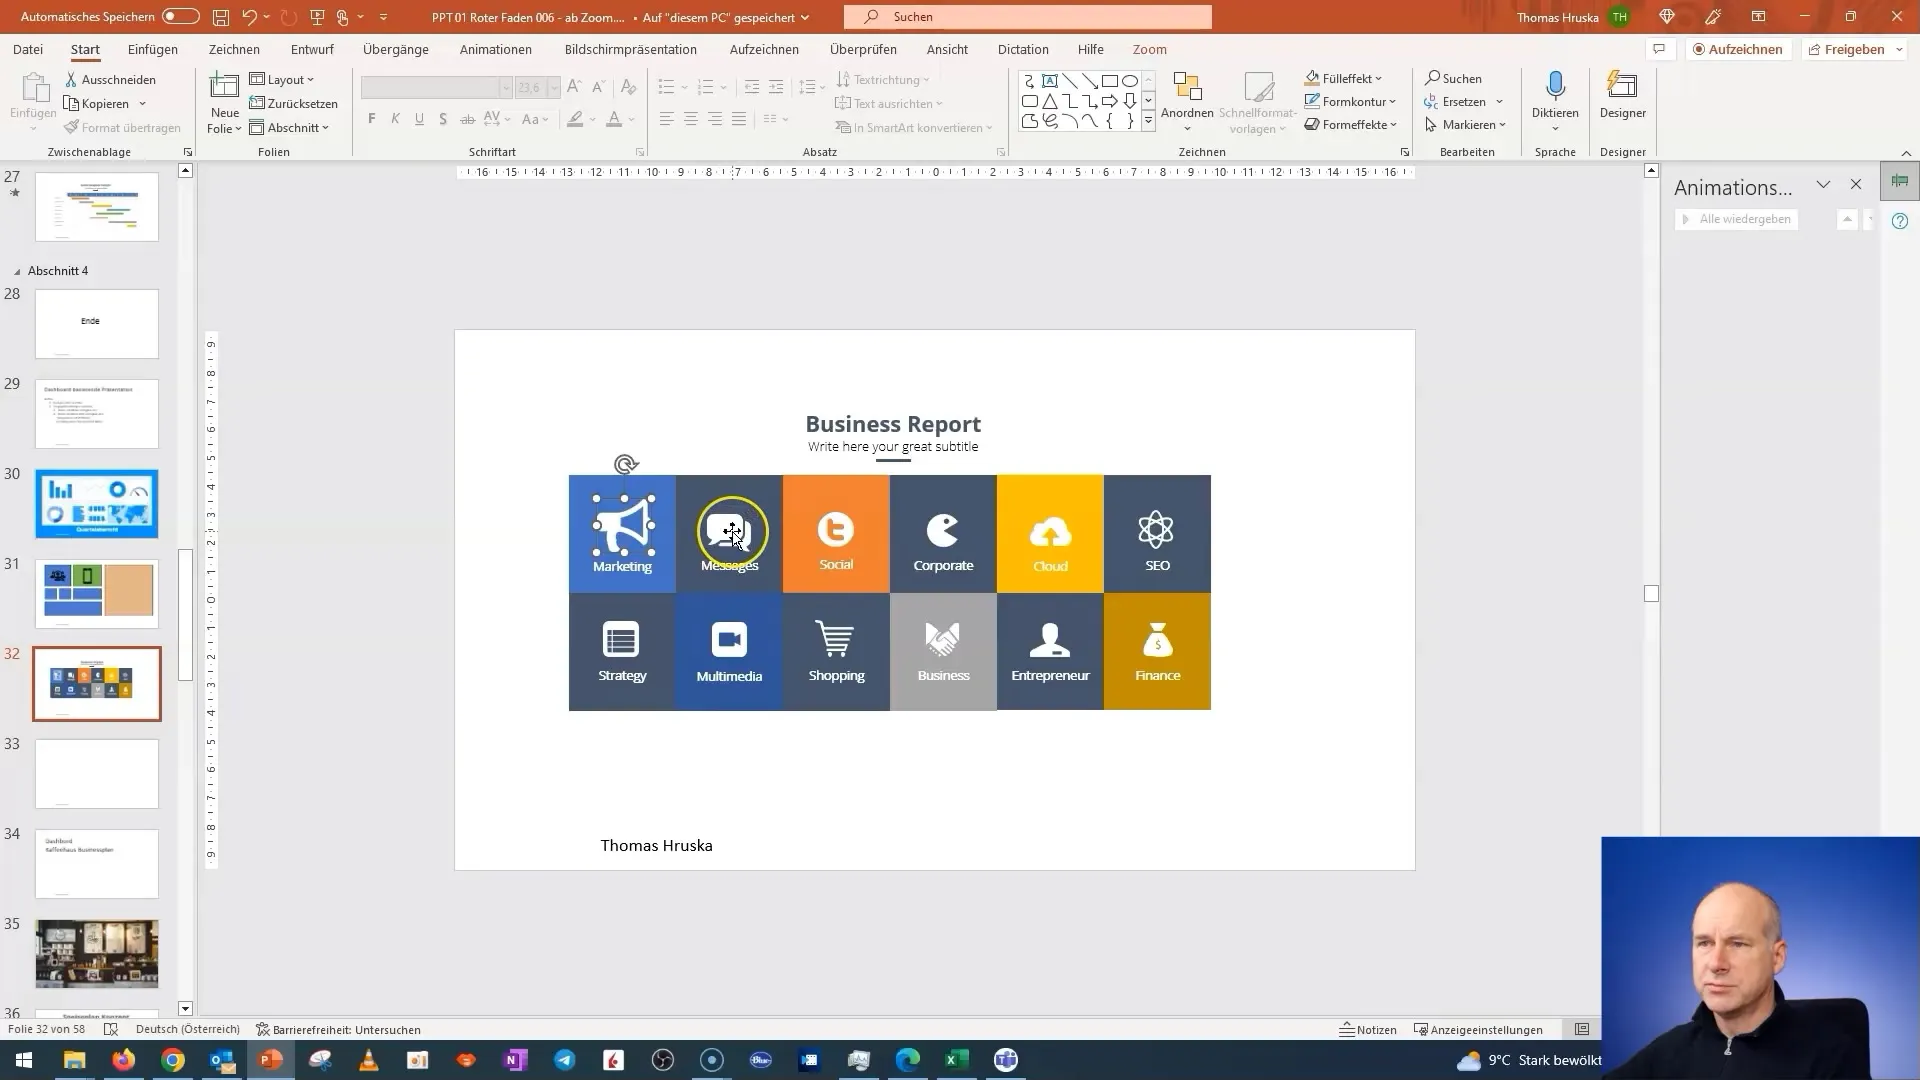
Now, you have the option to make the tiles interactive. This can be achieved by adding hyperlinks to the tiles that lead directly to specific slides. This will make your dashboard more interactive and user-friendly.
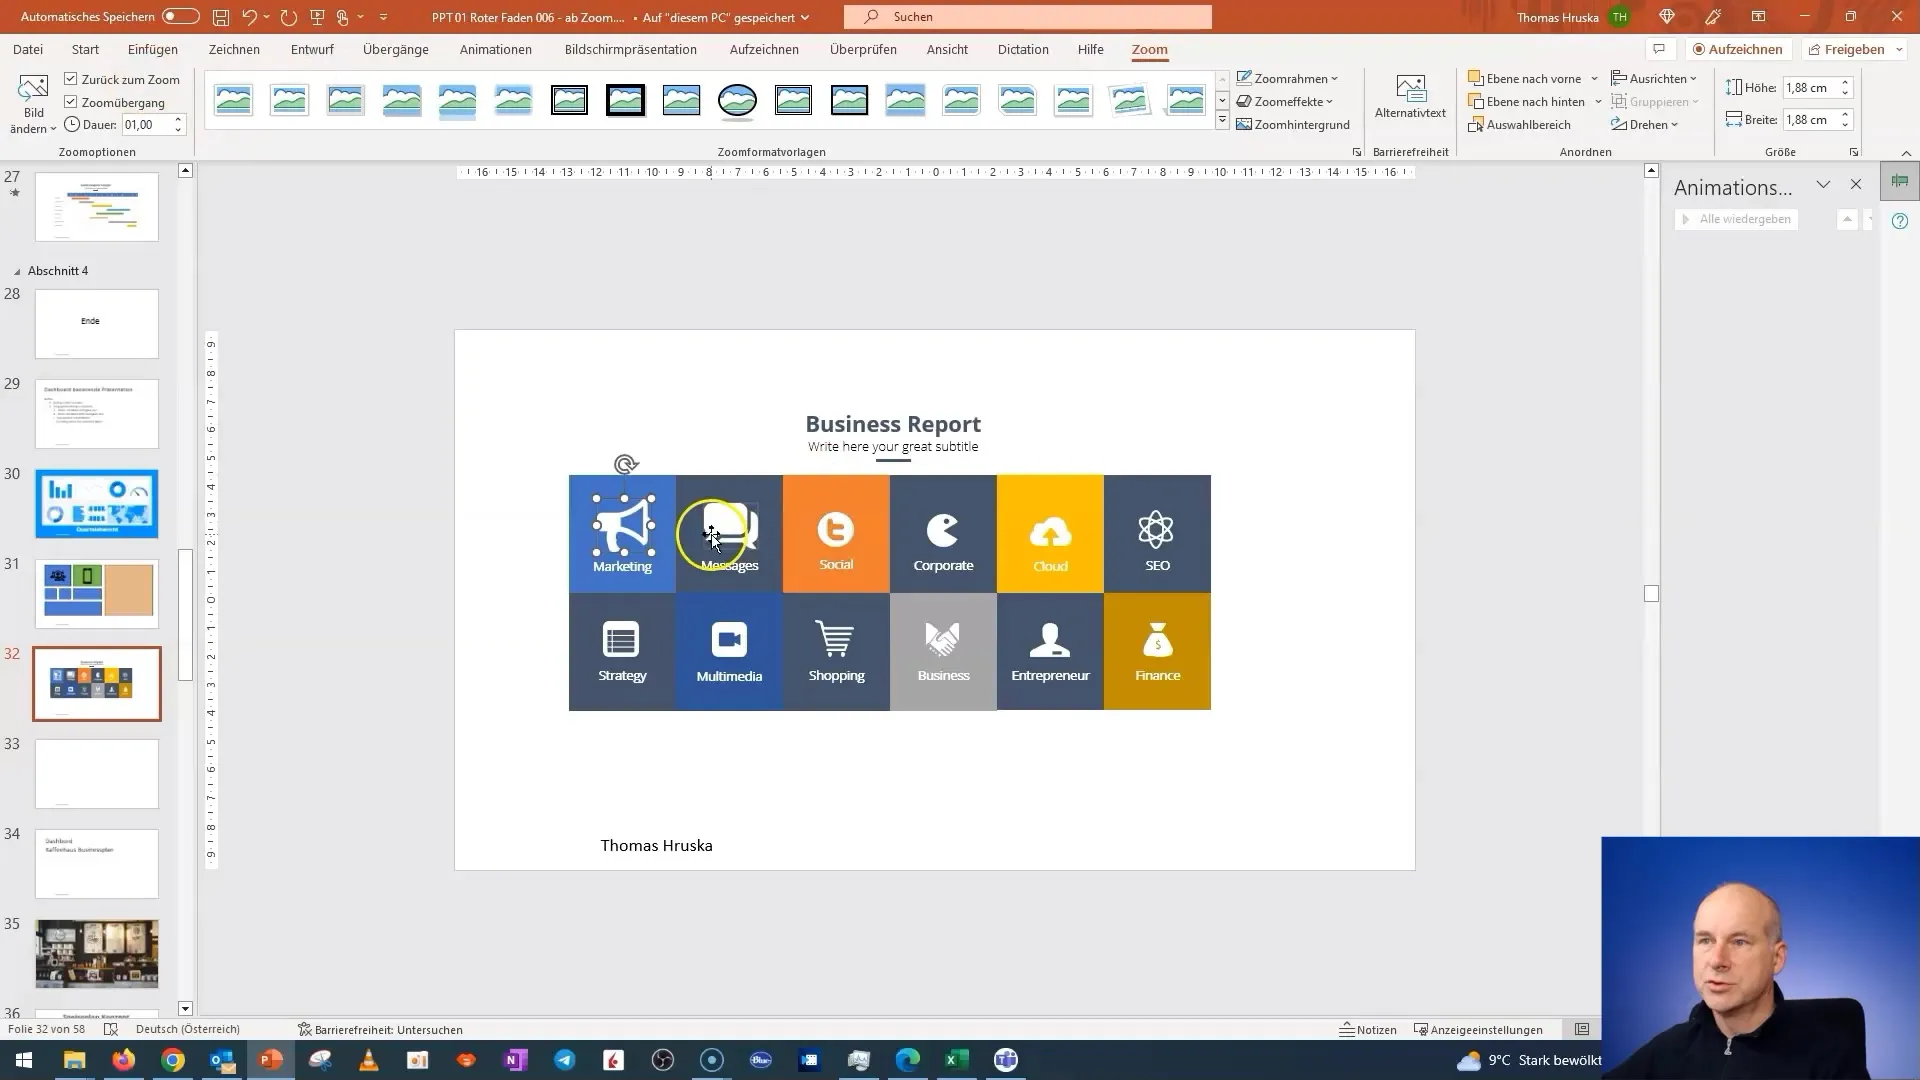
For an optimal presentation, you should also check that the zoom and the arrangement of the tiles are correct. It is important that the design remains consistent and functional while inserting the content.
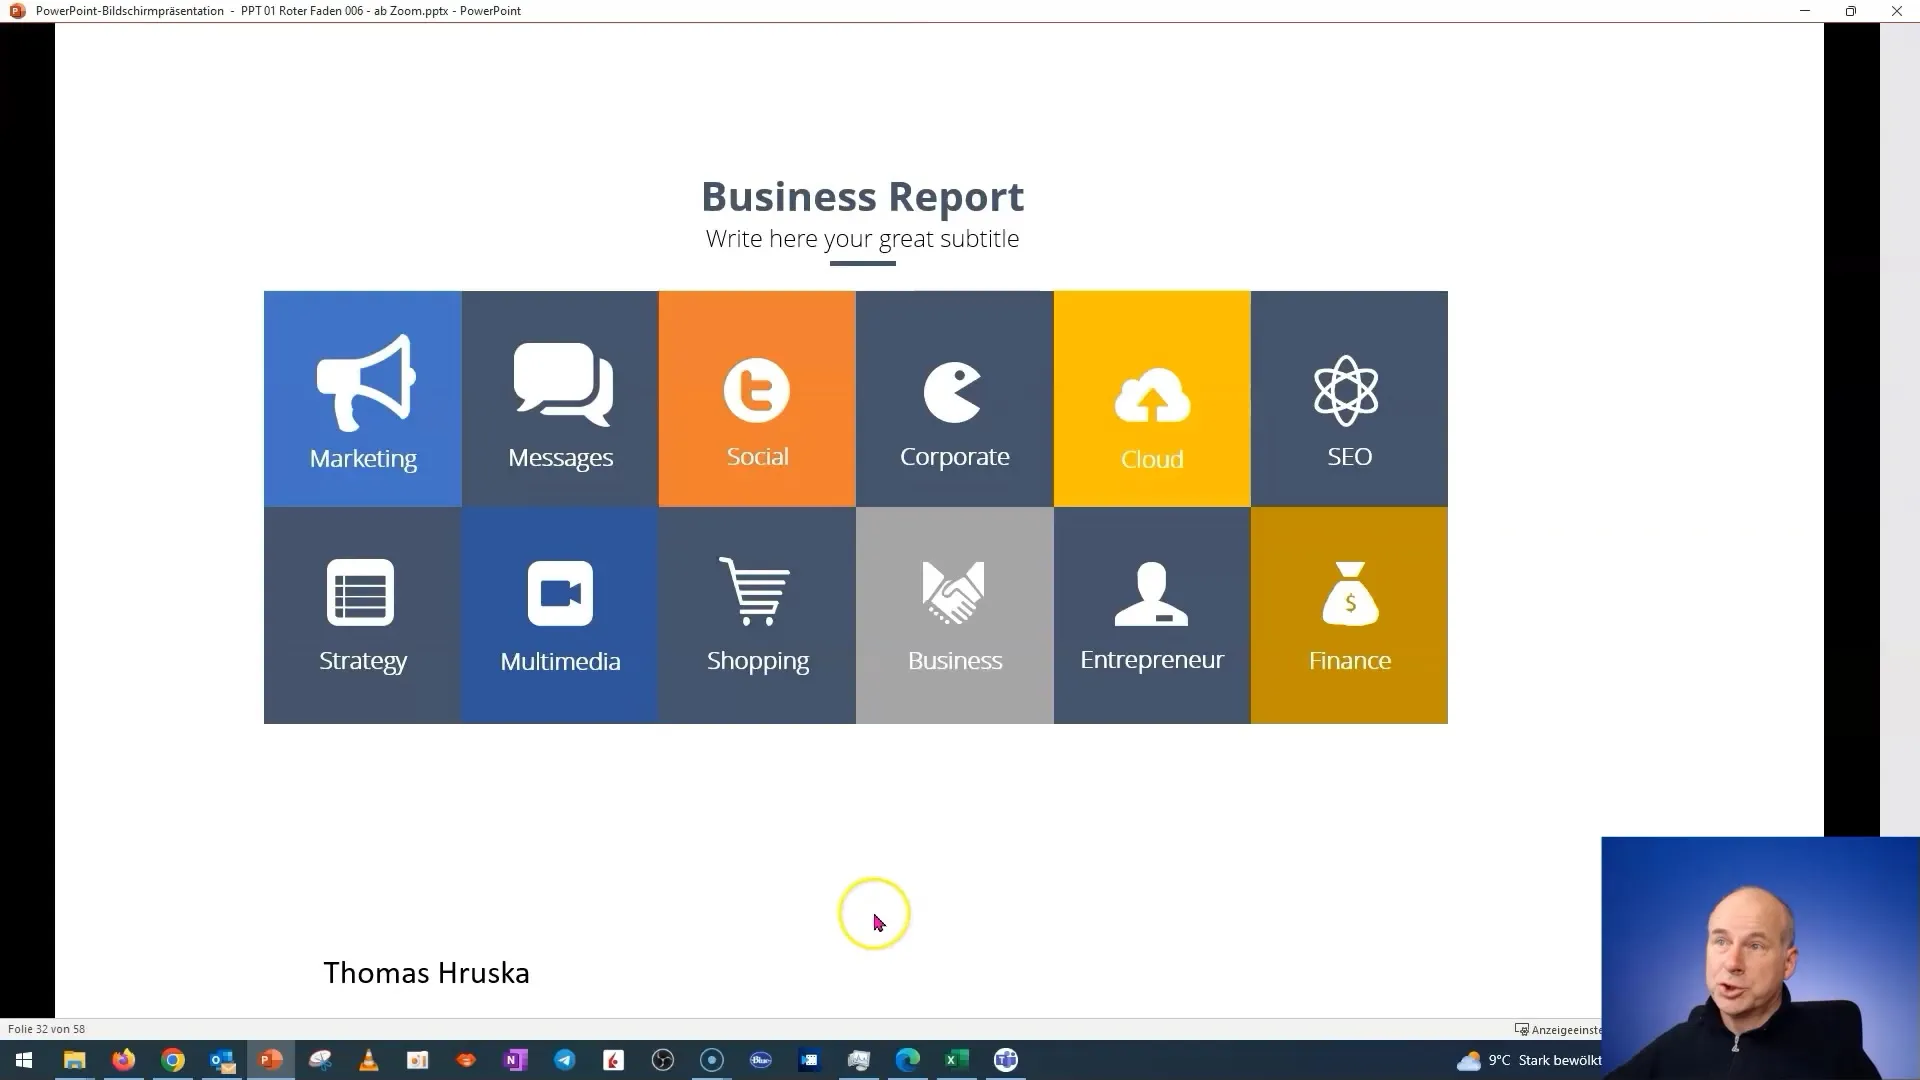
To save your dashboard as a cohesive whole, check all the settings and paths you have created. Make sure all links work and that the tiles are interconnected as desired.
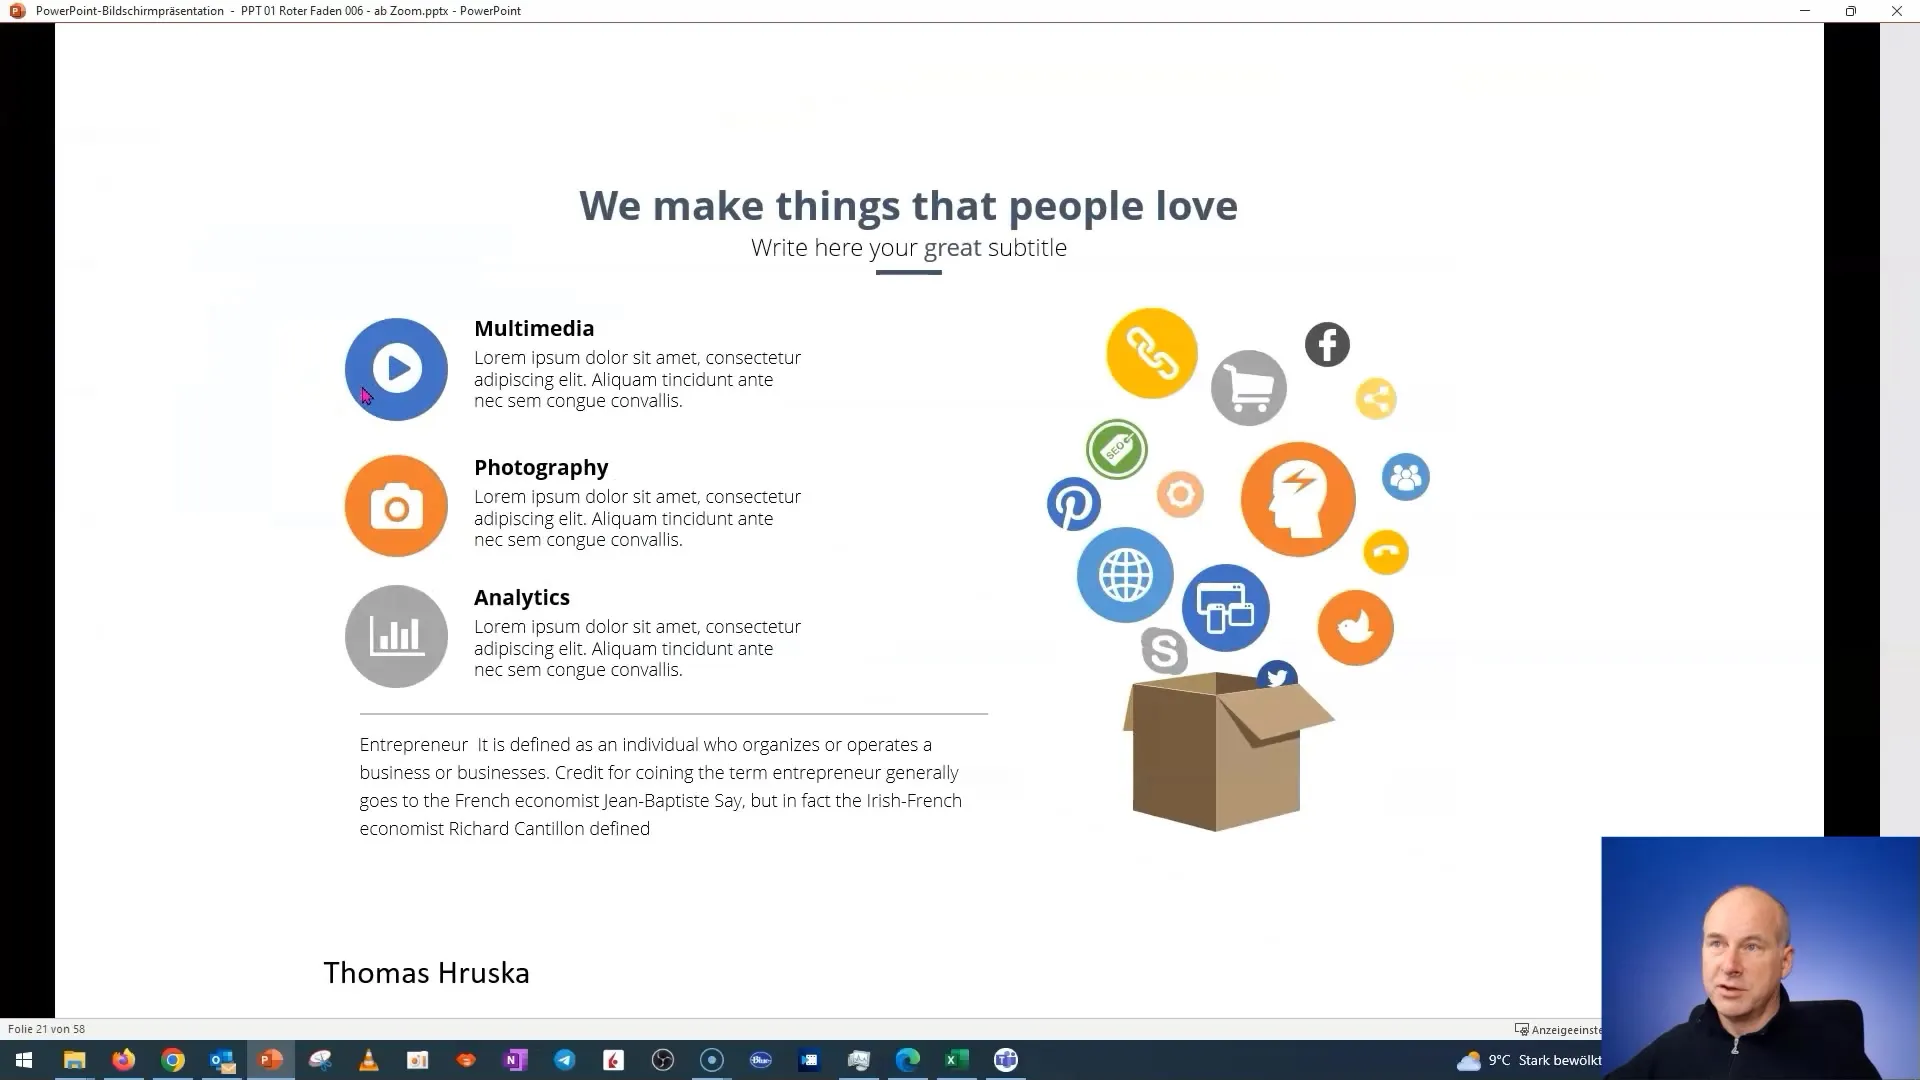
With these steps, you have now created a functional and visually appealing interactive tile dashboard in PowerPoint. When you click on a tile, you will be directed straight to the desired slide, creating a dynamic presentation.
Summary - Creating an Interactive Tile Dashboard in PowerPoint: Step-by-Step Guide
In this guide, you have learned how to create a tile dashboard in PowerPoint by either using your own images or transparent icons for assistance. You have seen how to add, edit, and make tiles interactive, ensuring that your presentation is both informative and visually appealing.
Frequently Asked Questions
How do I create tiles in PowerPoint?You can create tiles by inserting shapes or images into the desired layout and adjusting them.
What to do if the images are not available?Use transparent icons or shape a PNG file with a transparent background.
How do I add hyperlinks to tiles?Select the object or shape, right-click on it, choose "Add link," and select the target URL or slide.
Are special graphics or icons required?They are helpful, but you can also work with simple shapes and colors to achieve appealing results.
Can I customize my dashboard later?Yes, you can make changes at any time by renewing images or adjusting the layout.


