Welcome to your PowerPoint tutorial! In this third part of the course, you will learn how to create an interactive tile dashboard. We will focus on creating tiles, customizing predefined designs, and using various techniques such as transparent buttons and images. Even if the images used are not available, there are ways to create an appealing dashboard. Let's get started!
Main Insights
- Using transparent images allows the creation of appealing interactive tiles.
- Simple techniques for adjusting and designing slides make the dashboard more attractive.
- The dashboard can be created quickly when the necessary steps are known.
Step-by-Step Guide
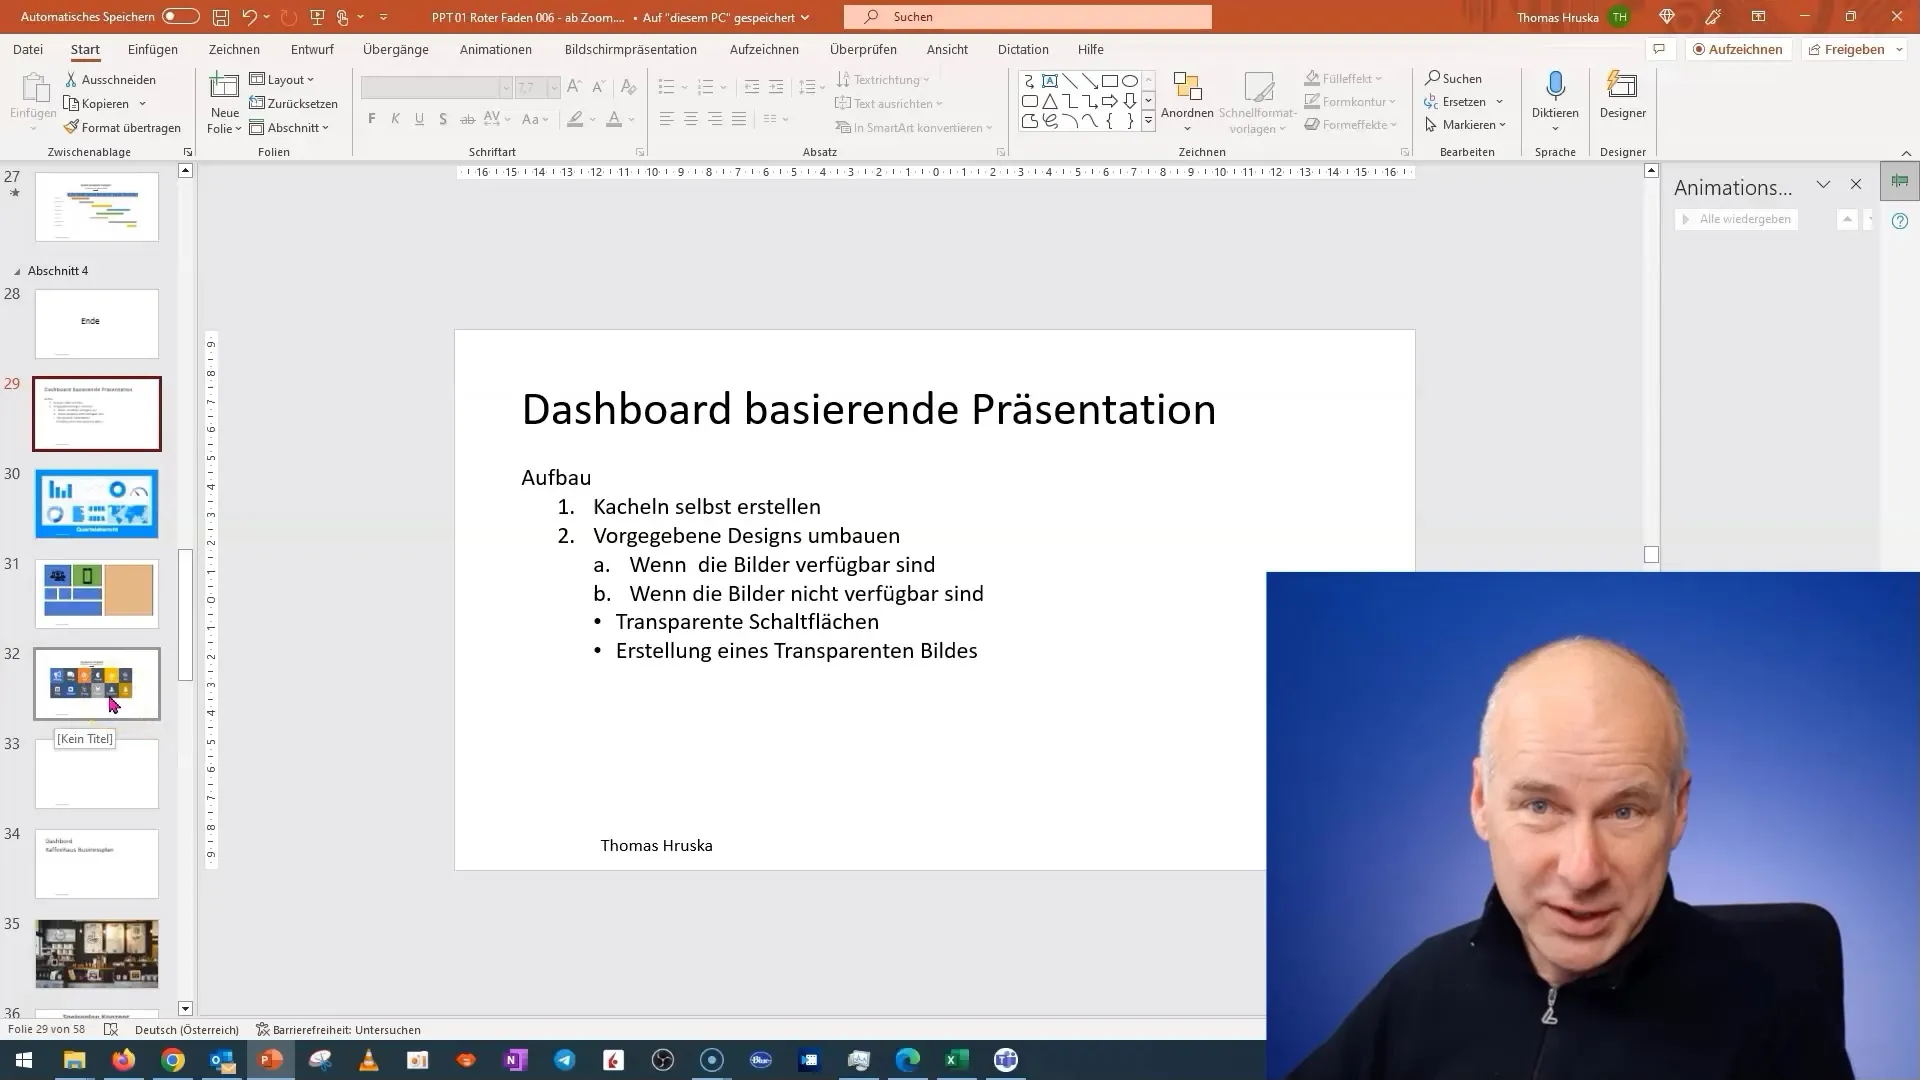
Start by creating a dashboard in PowerPoint. First, make sure you have the slides available that you want to use for your tiles.
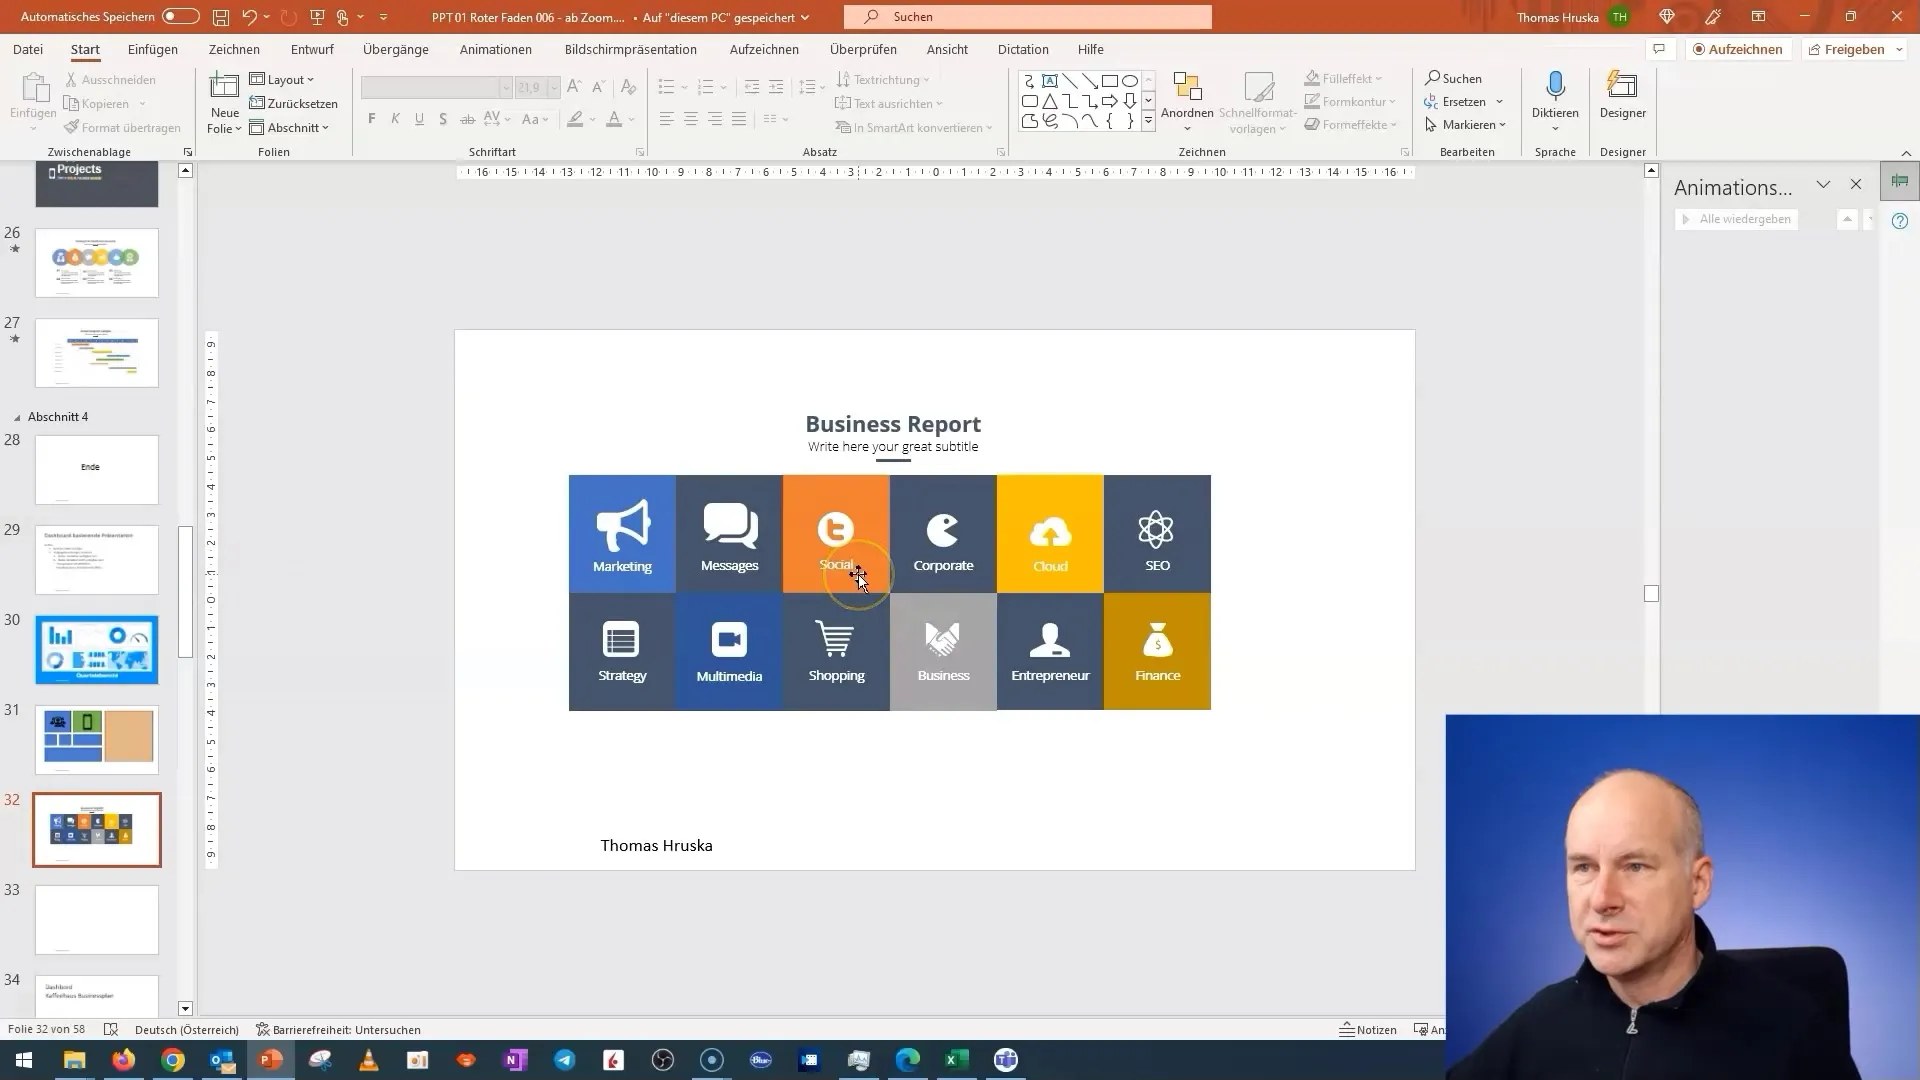
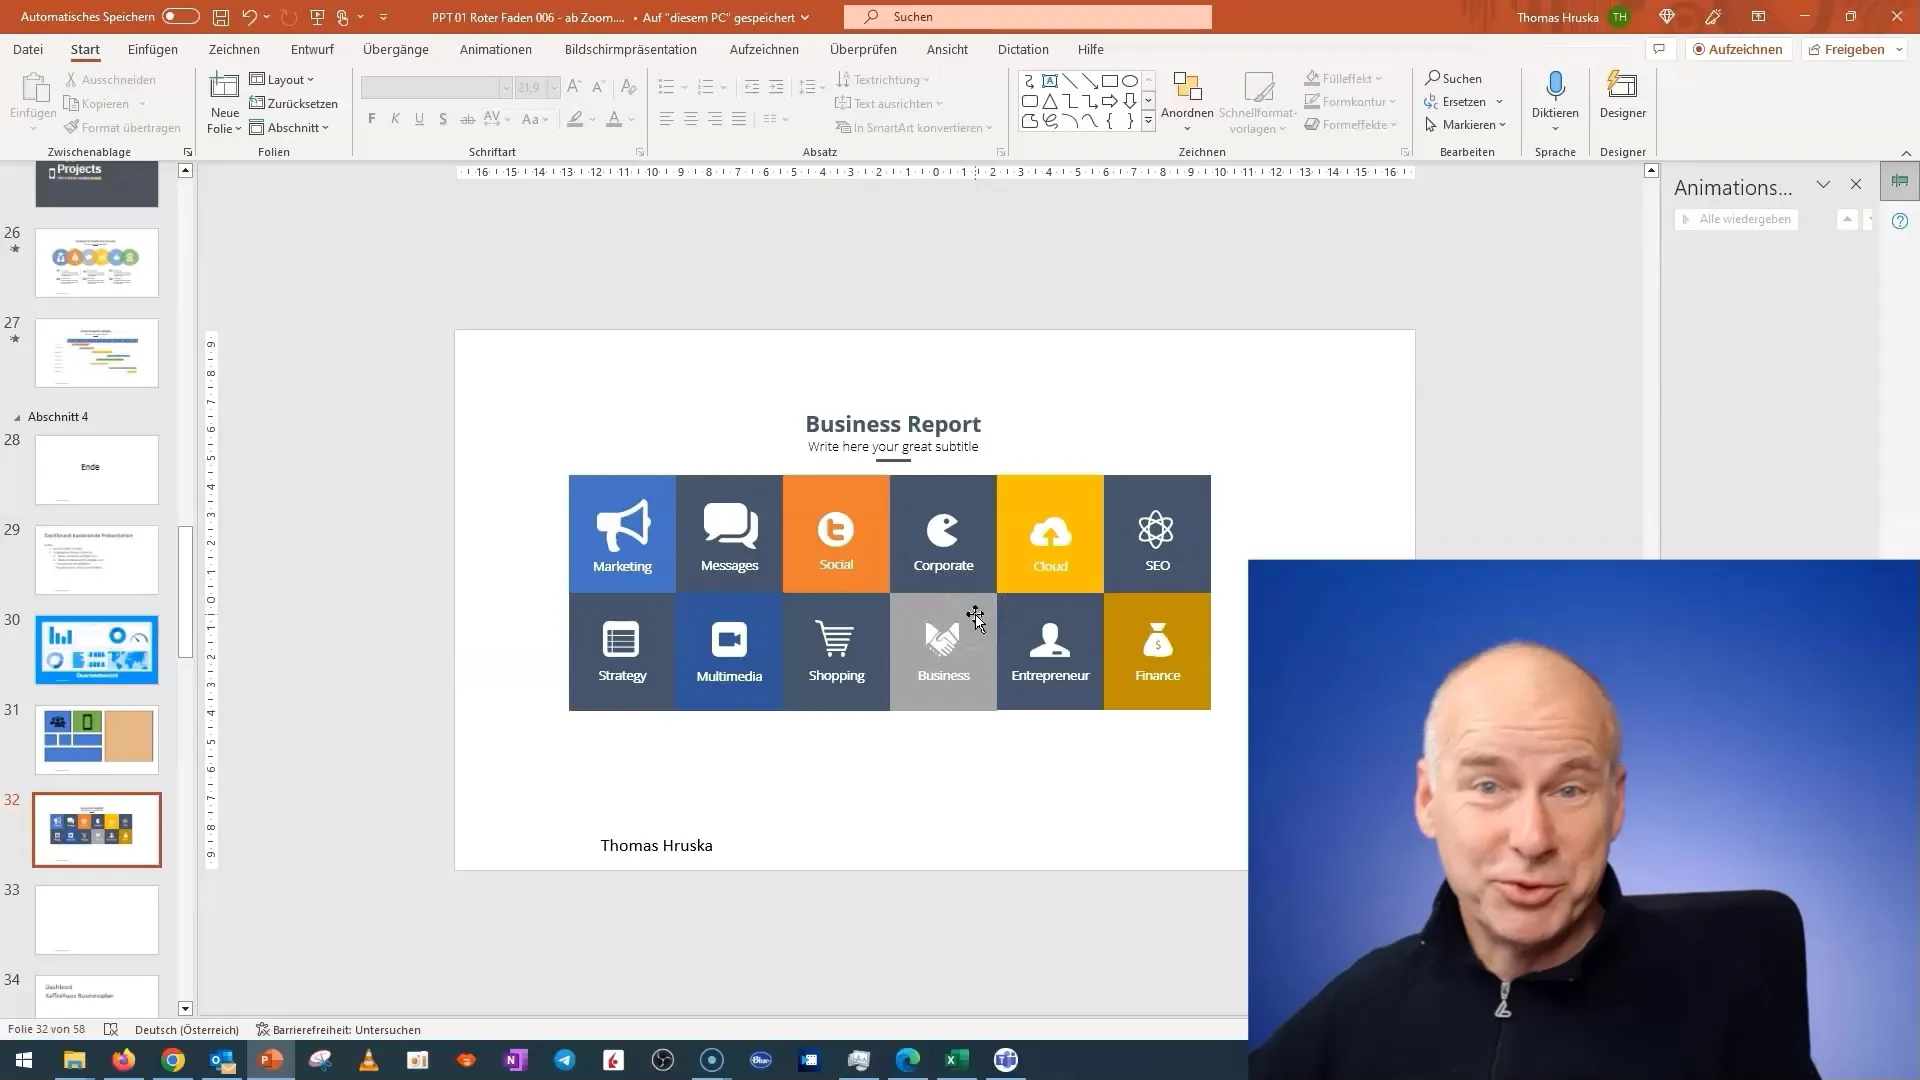
Next, select a slide that is relevant for the dashboard, such as one related to social media. Choose the necessary elements.
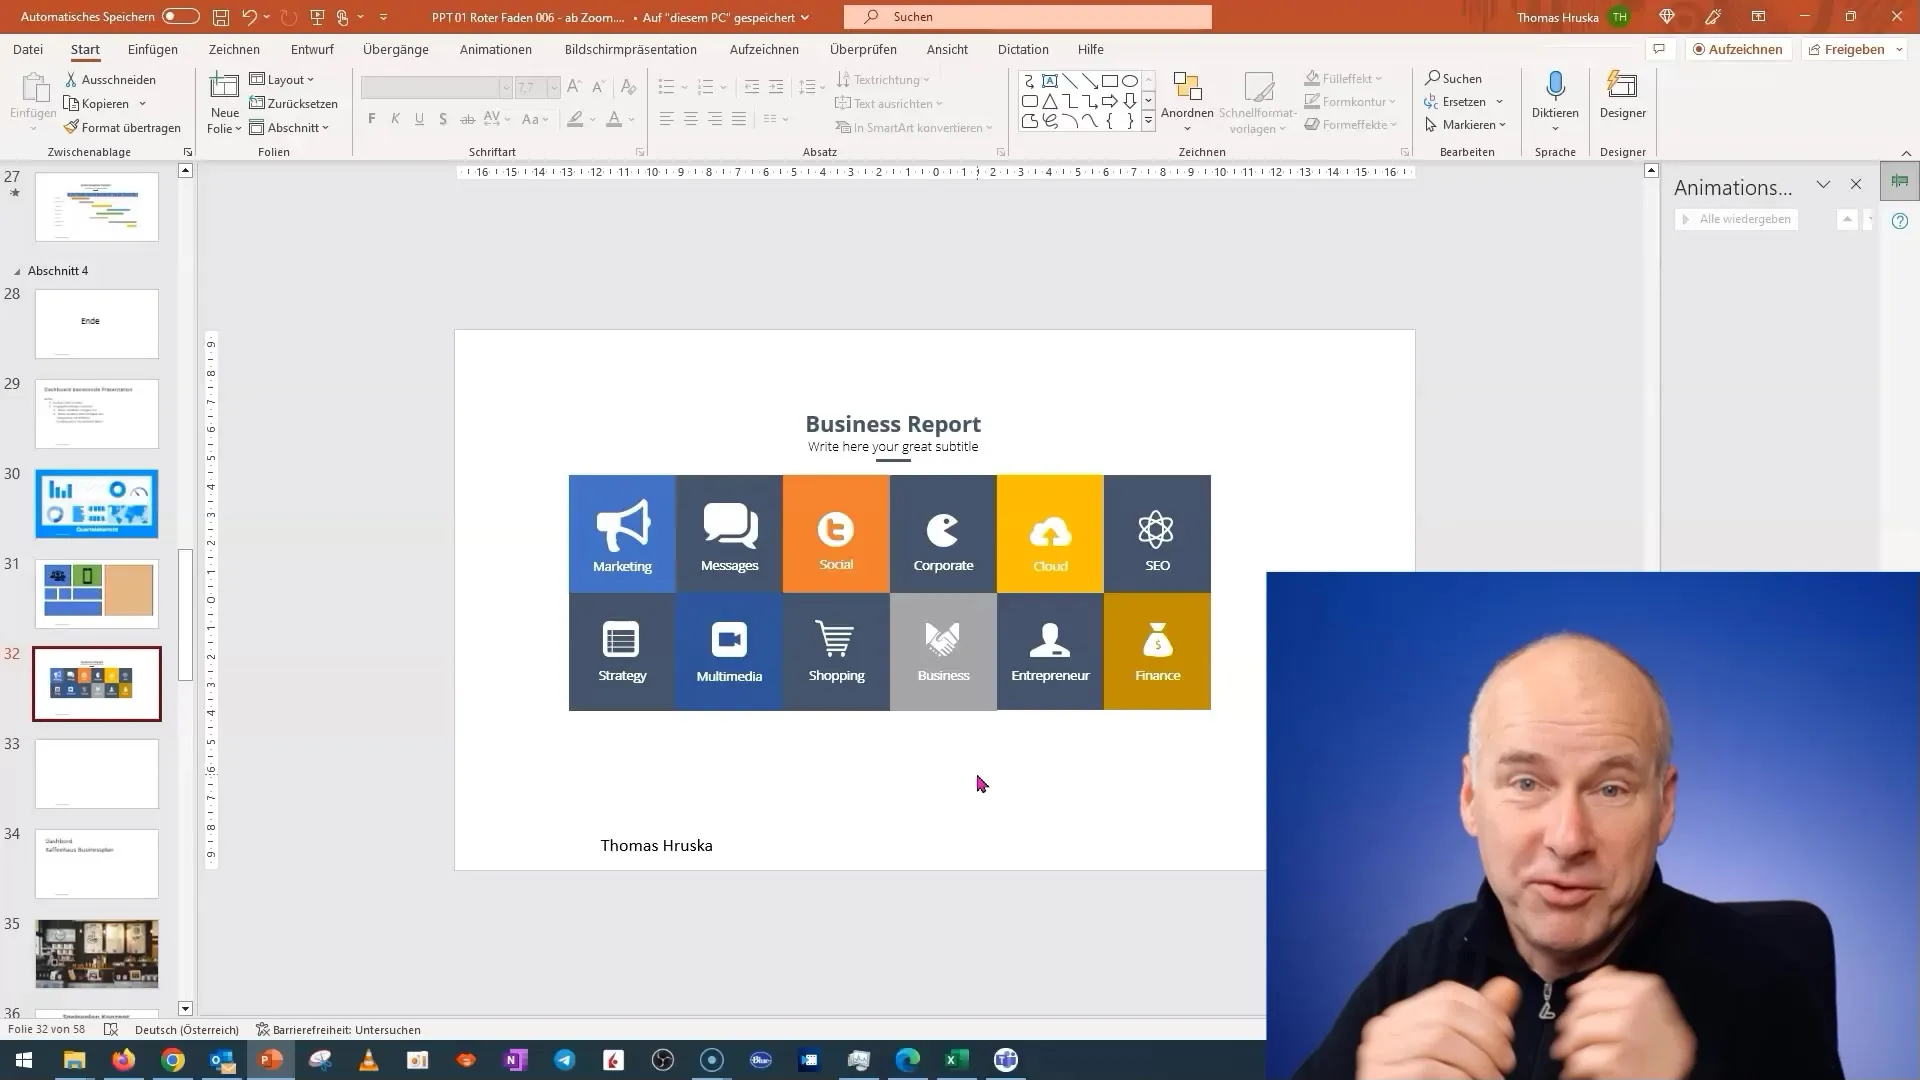
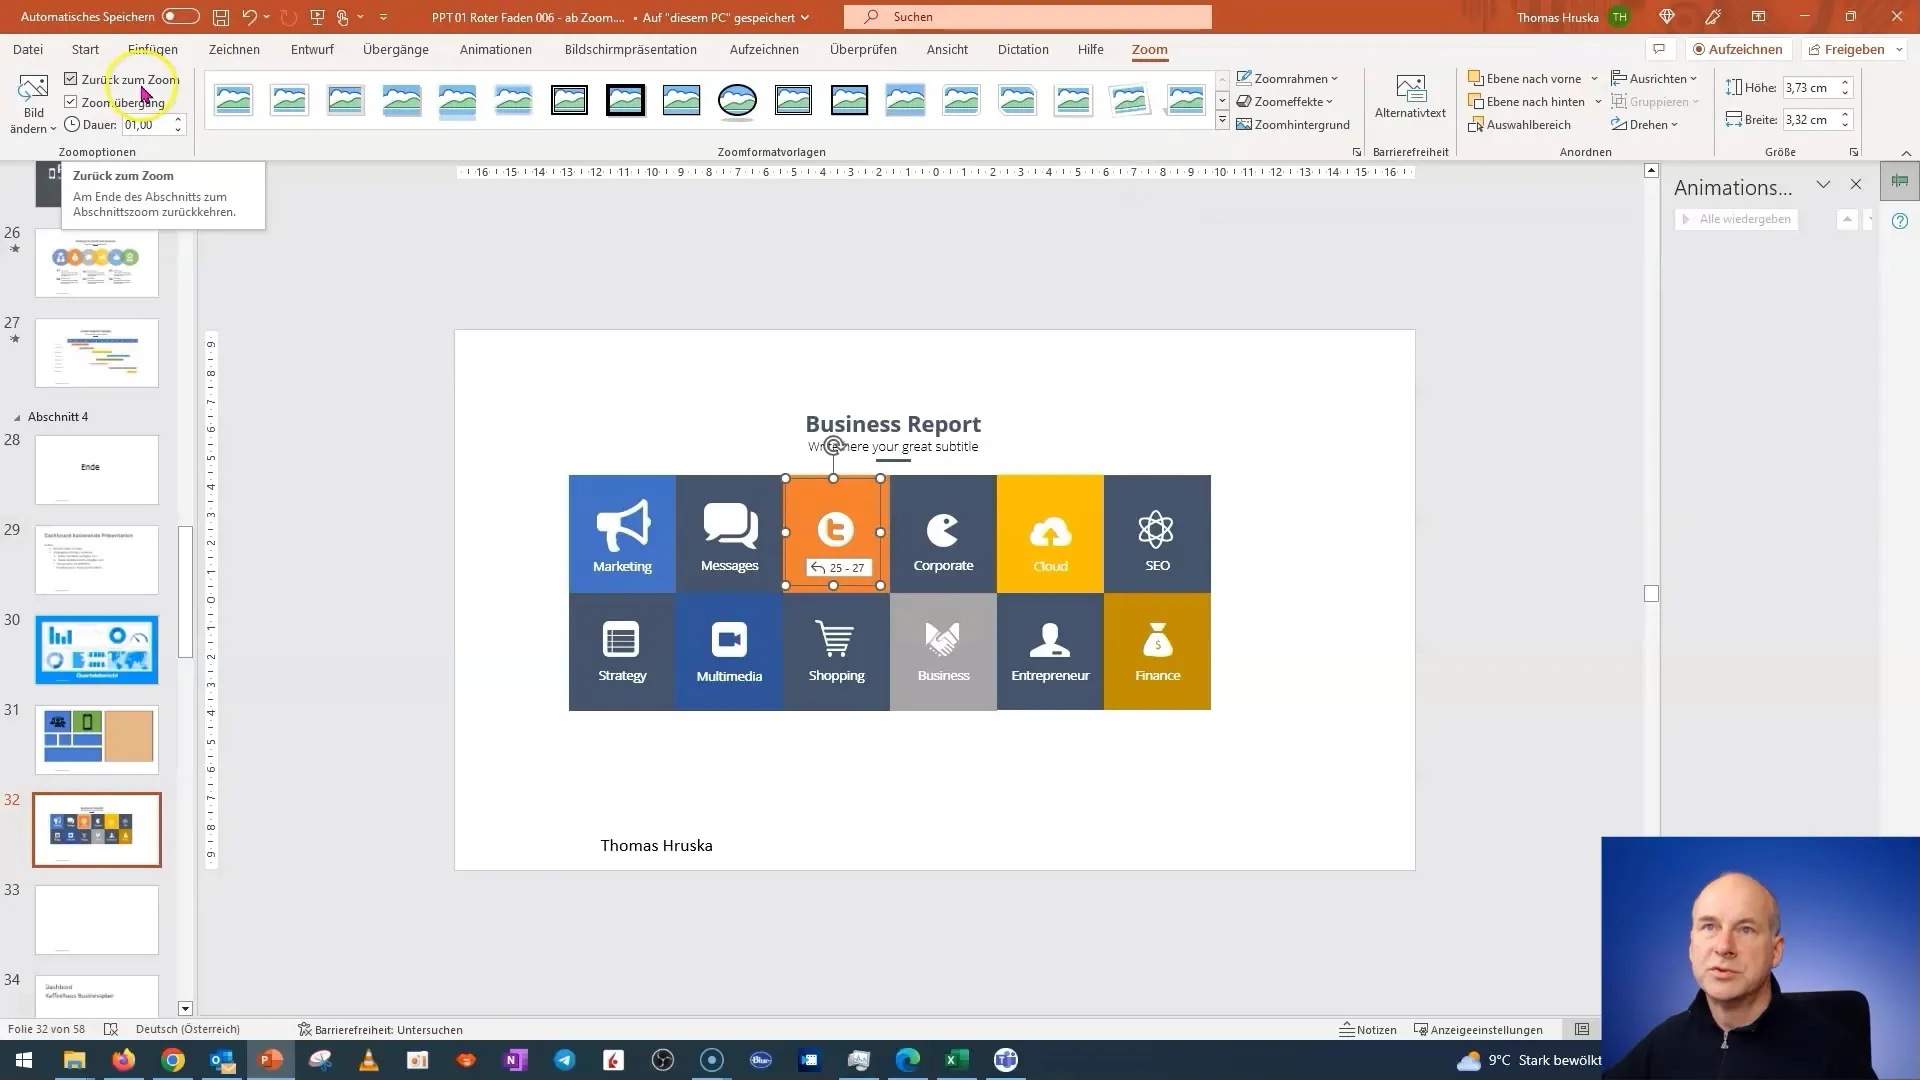
Now here's the trick: Insert a transparent image over the tile-like elements. This allows you to overlay the tile without editing the original slide.
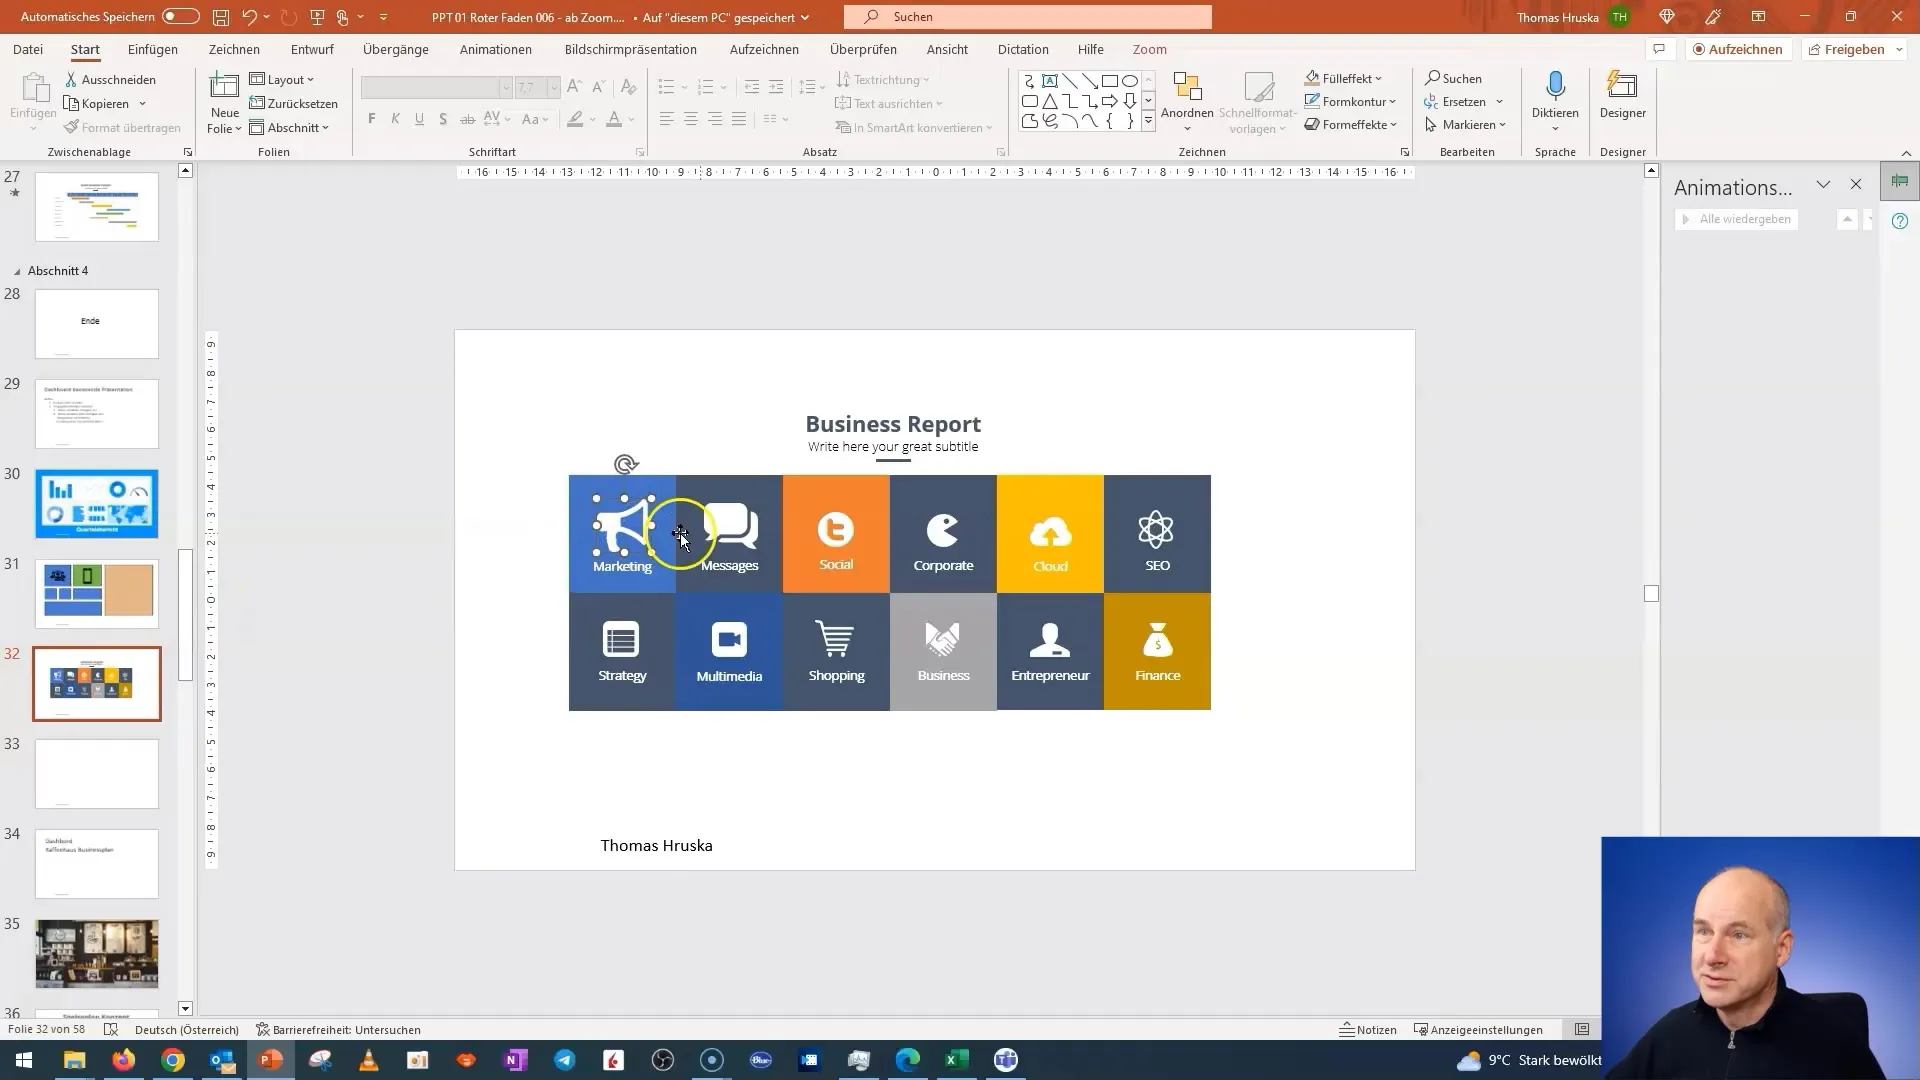
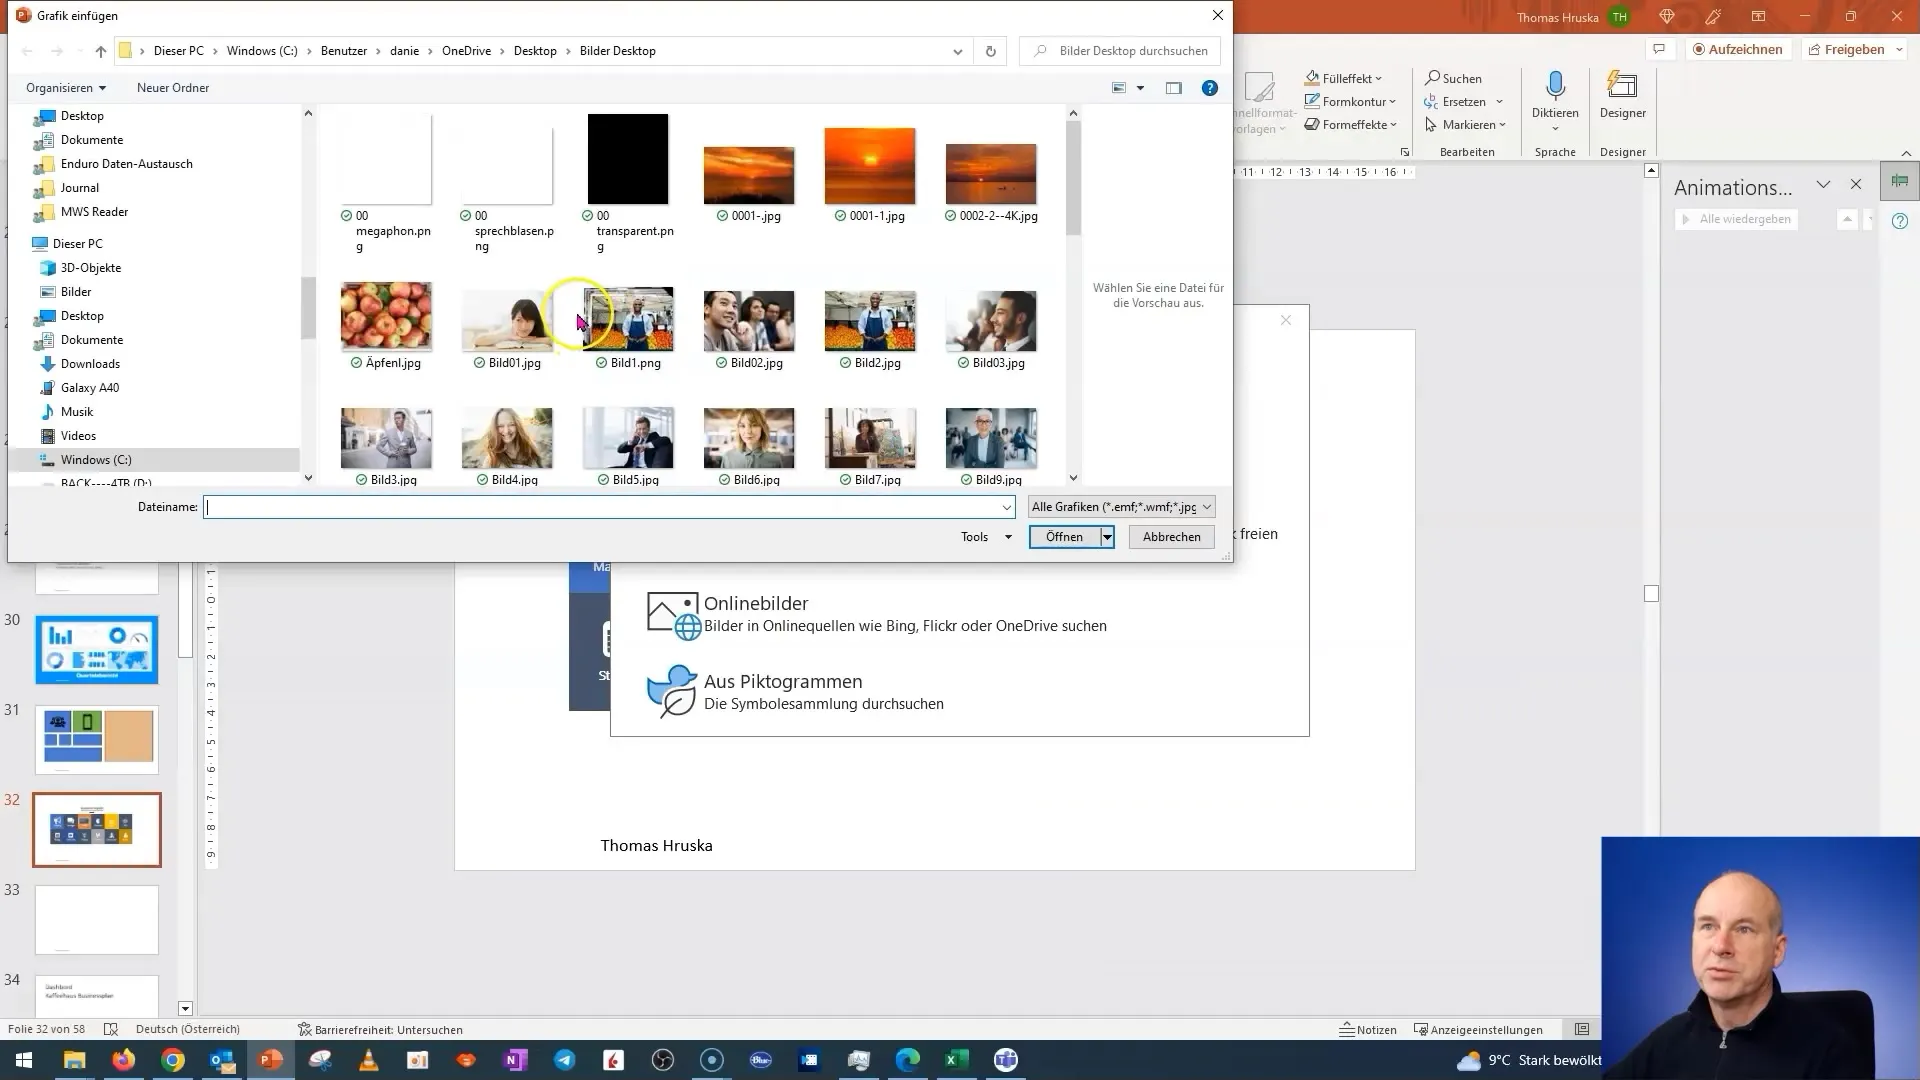
To create a transparent image, take any image and crop it so that only the necessary transparent area remains. Make sure to adjust the image accordingly to achieve a good effect.
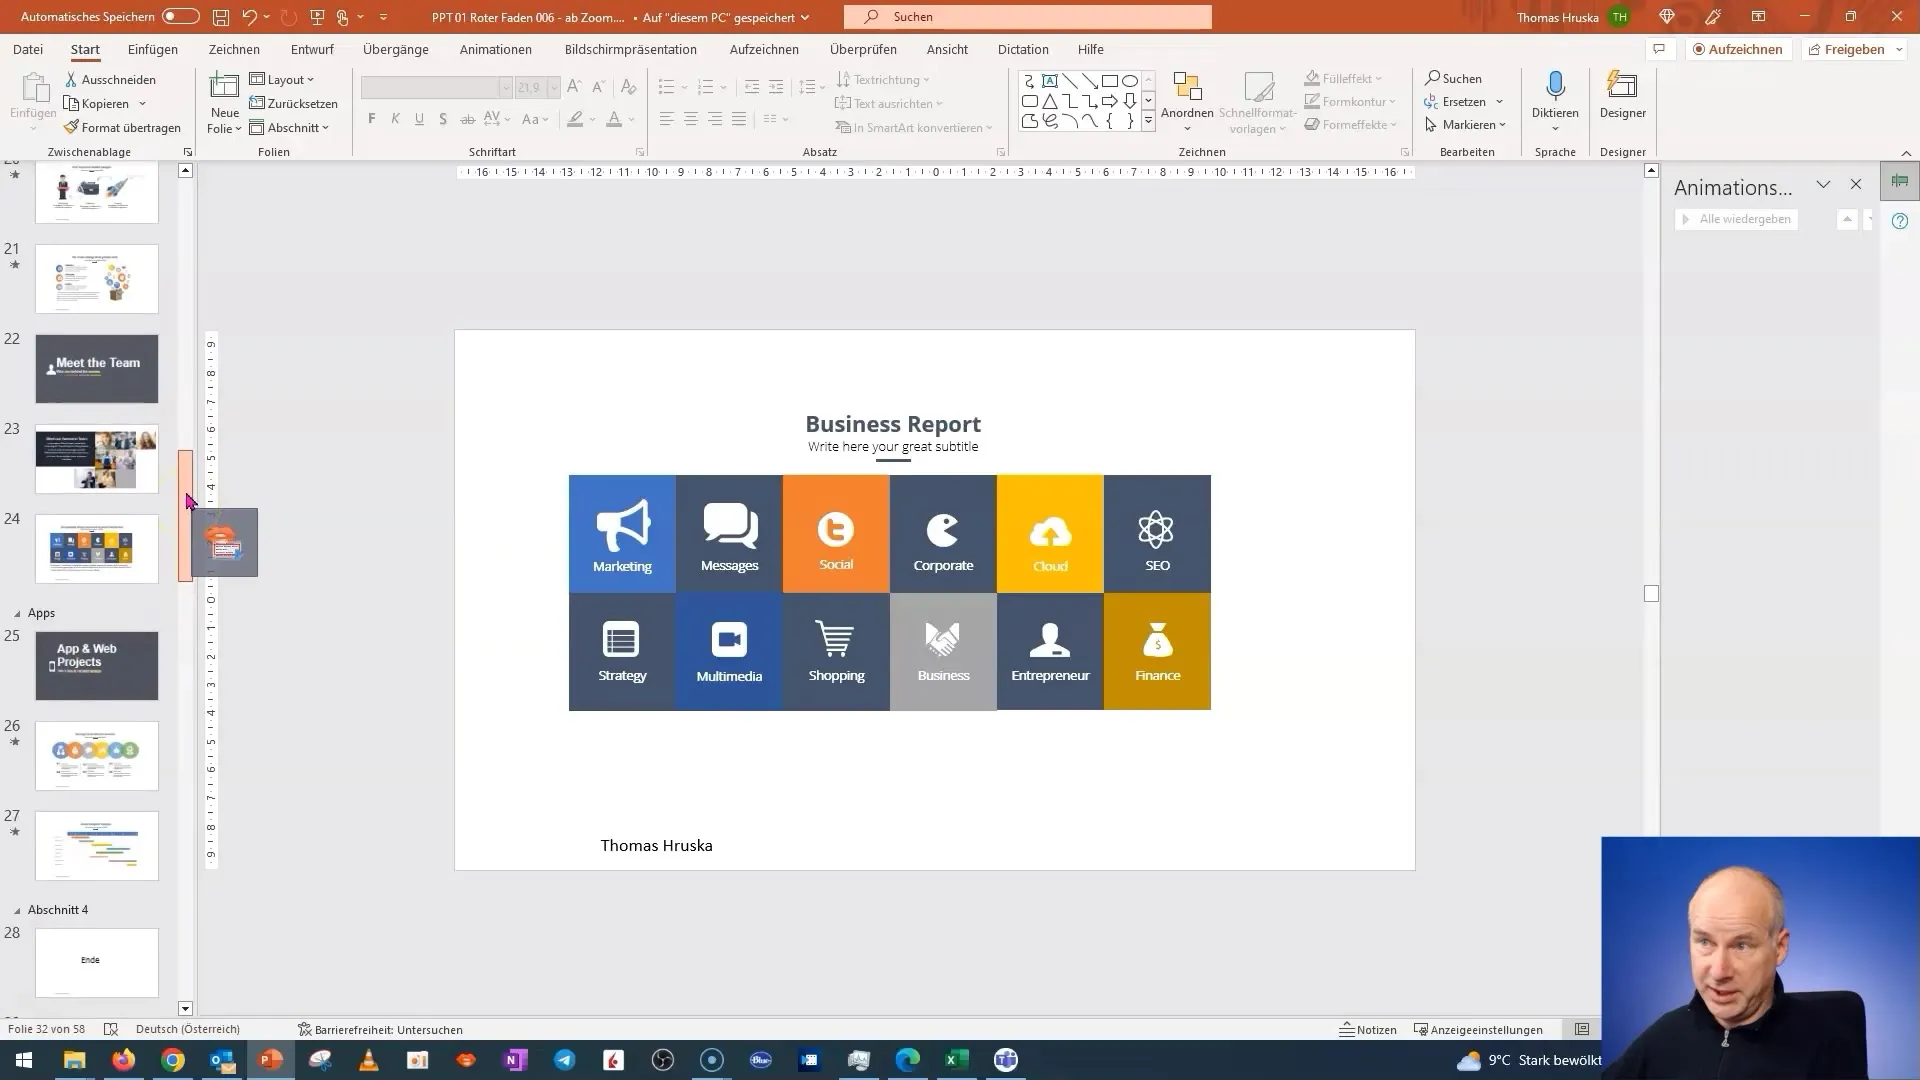
Once you have enough transparency, you can start cropping. Ensure that the image is clearly visible but does not obscure the background content.
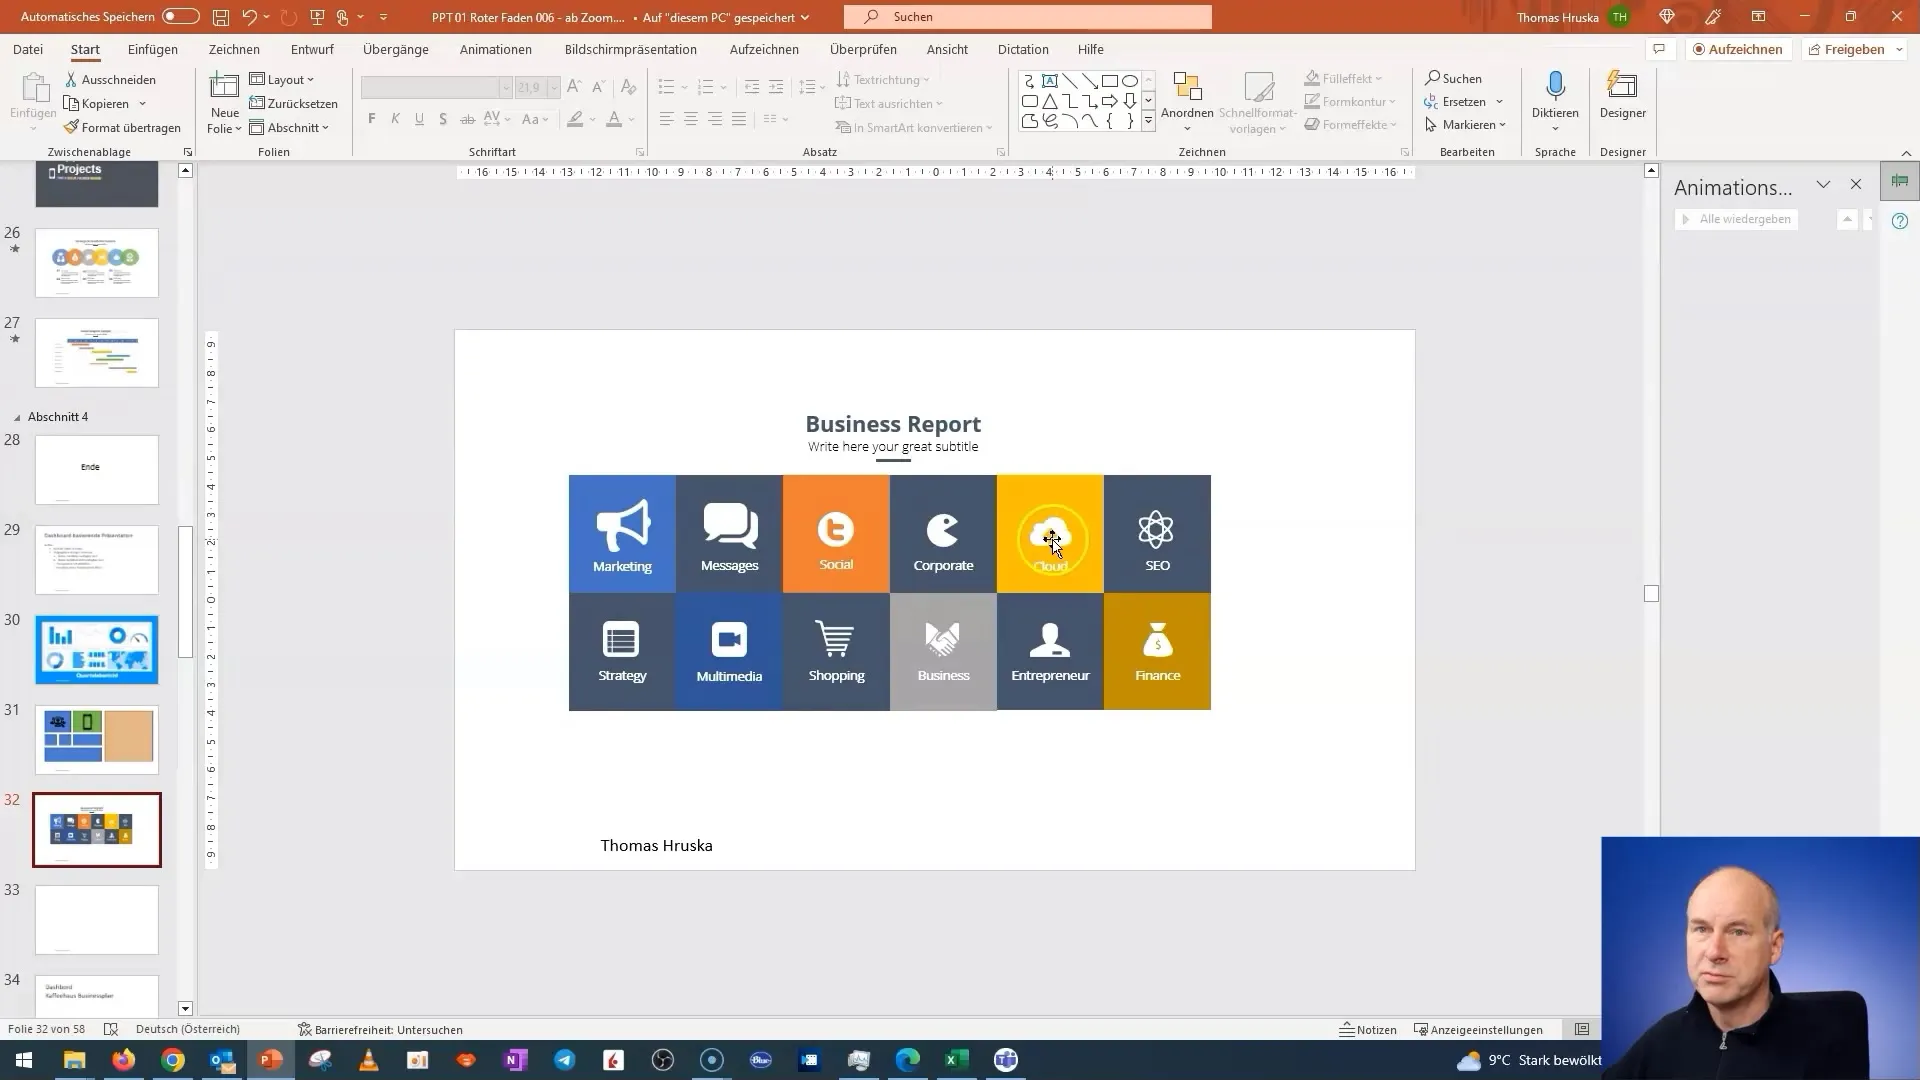
After finishing the cropping, save the transparent image and change the original image to the new transparent image. With this technique, you can easily create new buttons and tiles.
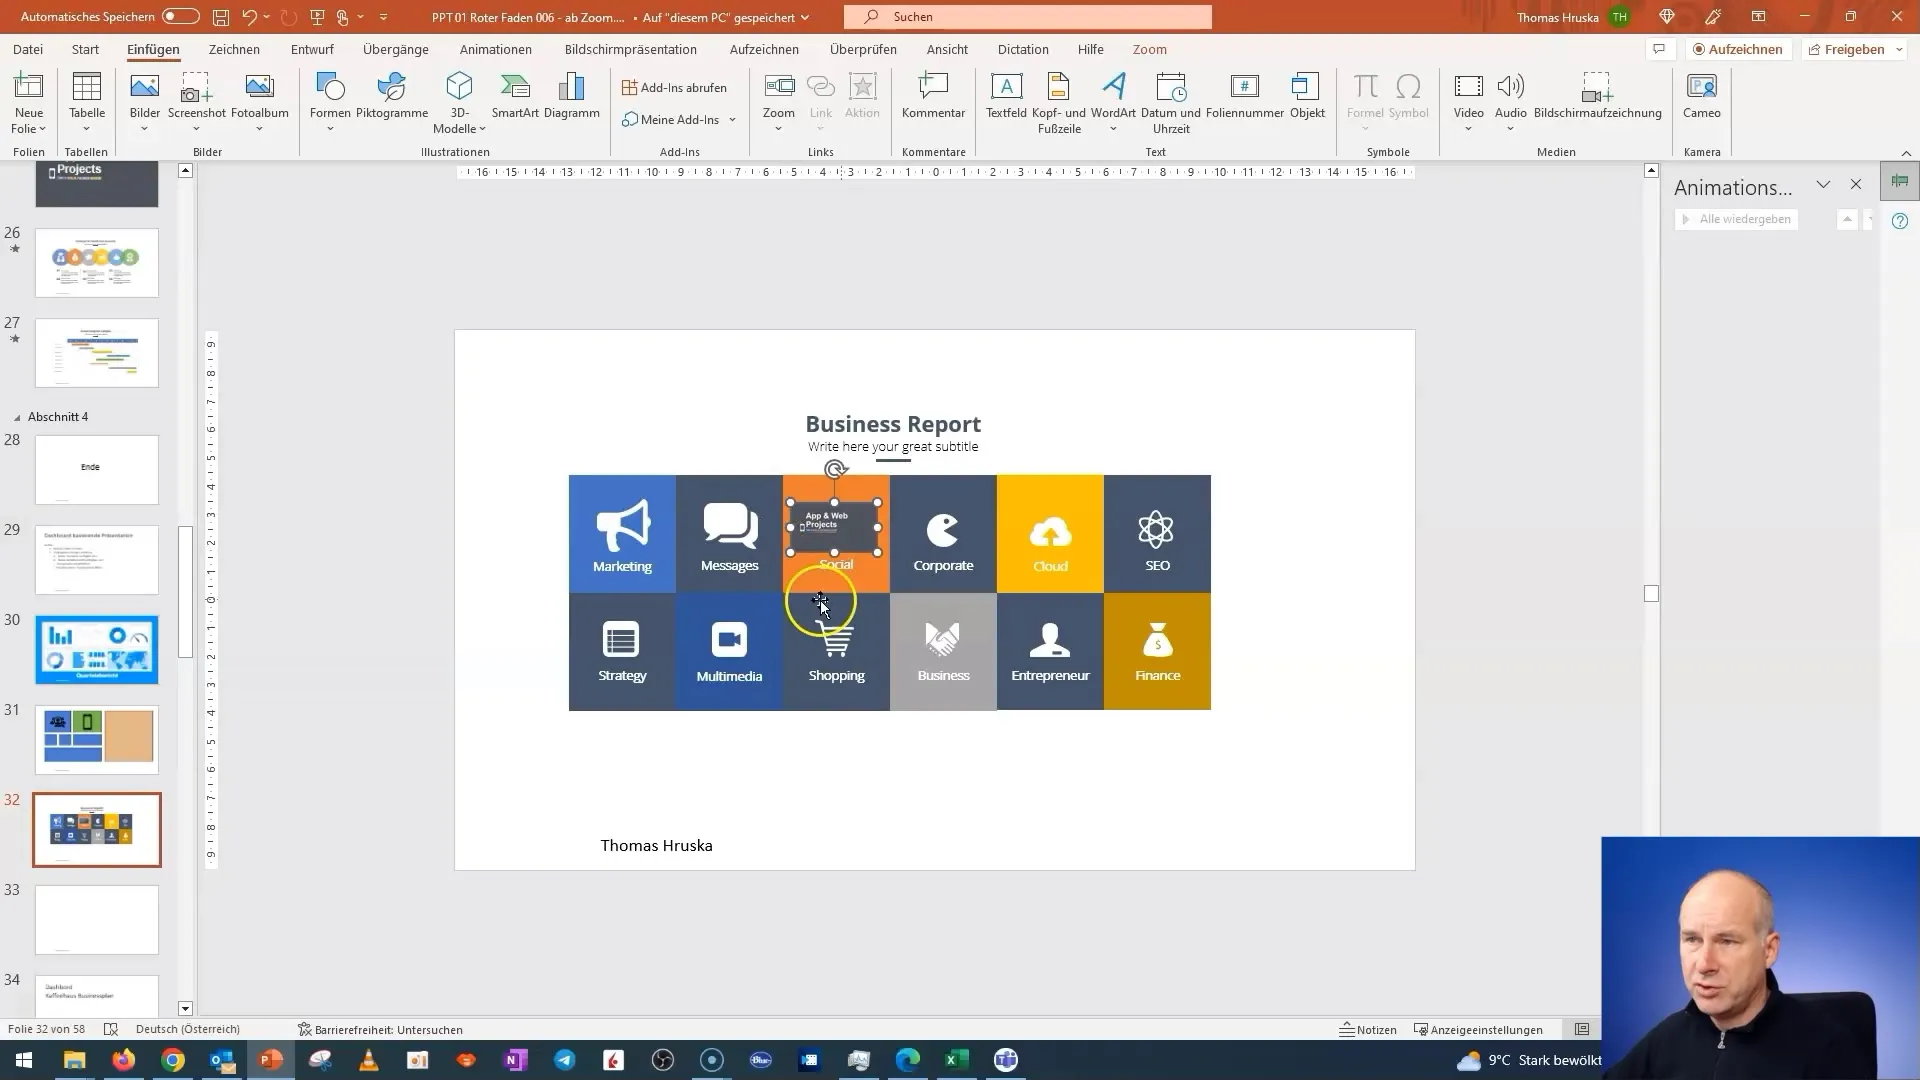
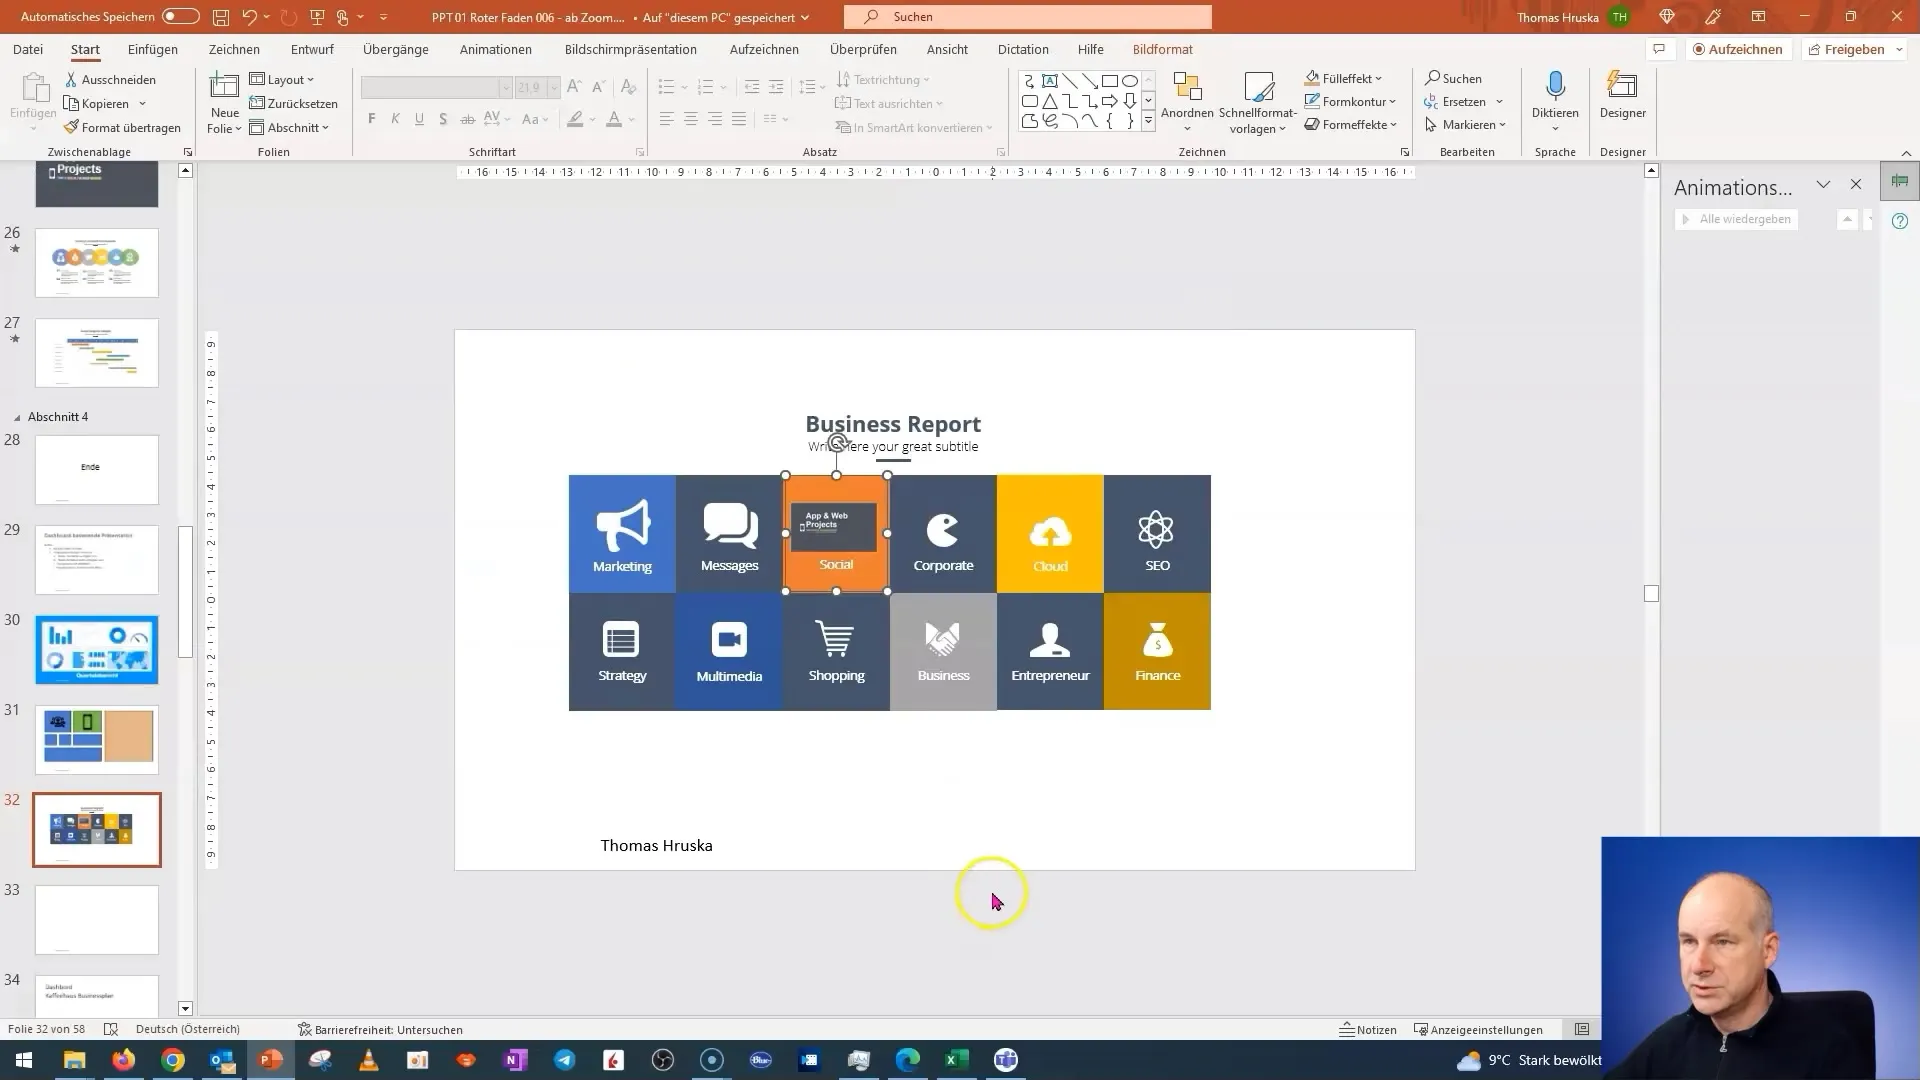
Once you have inserted the transparent image, make sure to adjust the border. You want to ensure that no outline is displayed, so the tiles are harmoniously integrated into your layout.
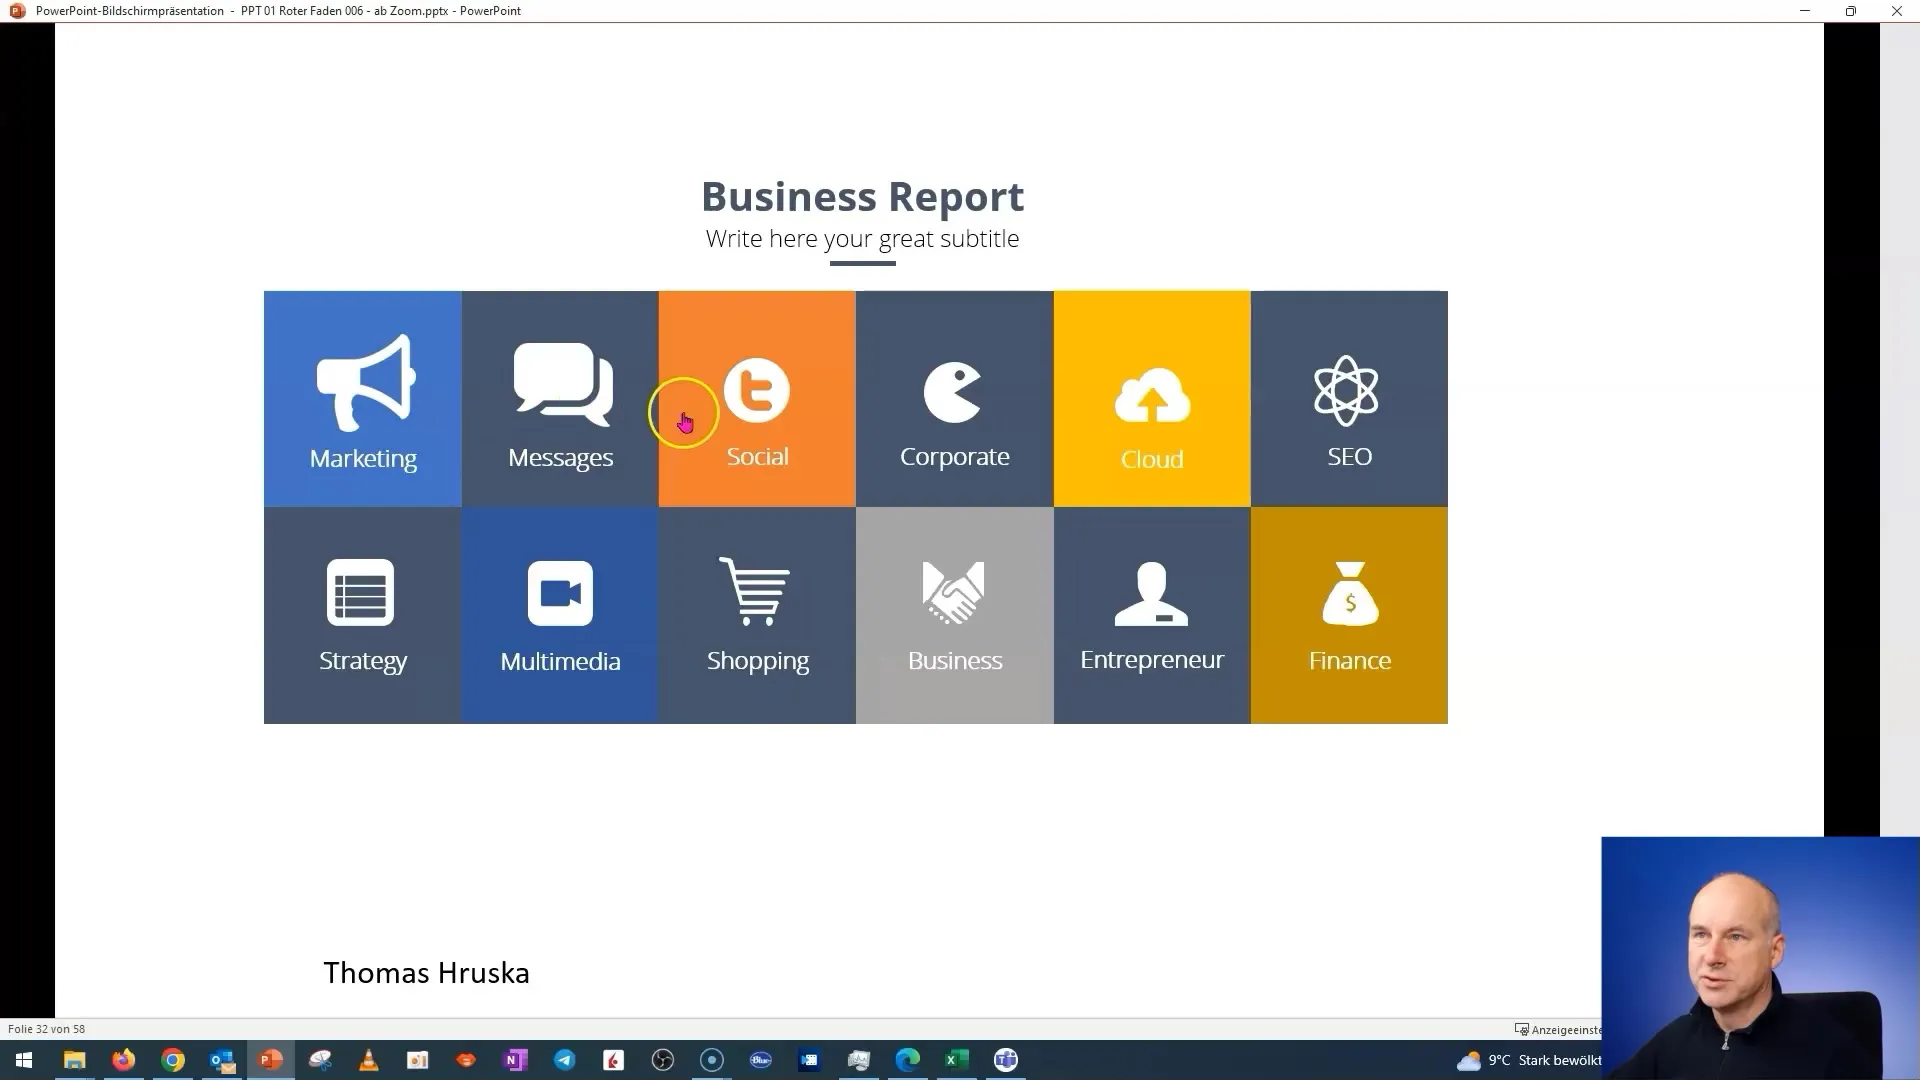
Now it's time to test the interactive buttons. Click on the tiles and make sure they lead to the correct slides. Also, verify the navigation between slides to ensure everything works correctly.
You can change the buttons as many times as you want to ensure the dashboard works correctly. Creating an effective dashboard can take only a few minutes with the right technique.
If you encounter difficulties during the process, following the process steps and making adjustments as needed will help refine your end product.
In less than 10 minutes, you can create an impressive dashboard that will impress your audience. Make sure to present all explanations and adjustments as clearly as possible.
Keep in mind that there is always room for improvement. Experiment and discover new ways to make your dashboard even more appealing.
In the next video, we will explore more specific applications and examples to expand your design possibilities.
Summary
In this guide, you have learned how to create tiles for an interactive dashboard in PowerPoint. By using transparent images and adjusting slides, you can achieve an impressive result that can be quickly and efficiently implemented. Use the techniques you have learned to elevate your presentations to the next level!
Frequently Asked Questions
How do I create a transparent image in PowerPoint?Cut the image in a way that only the desired transparent area remains.
Can I make any image transparent?Not every image can be made transparent, it depends on the content you want to use.
Does it take long to create a dashboard?With the right steps, you can create a dashboard in less than 10 minutes.


