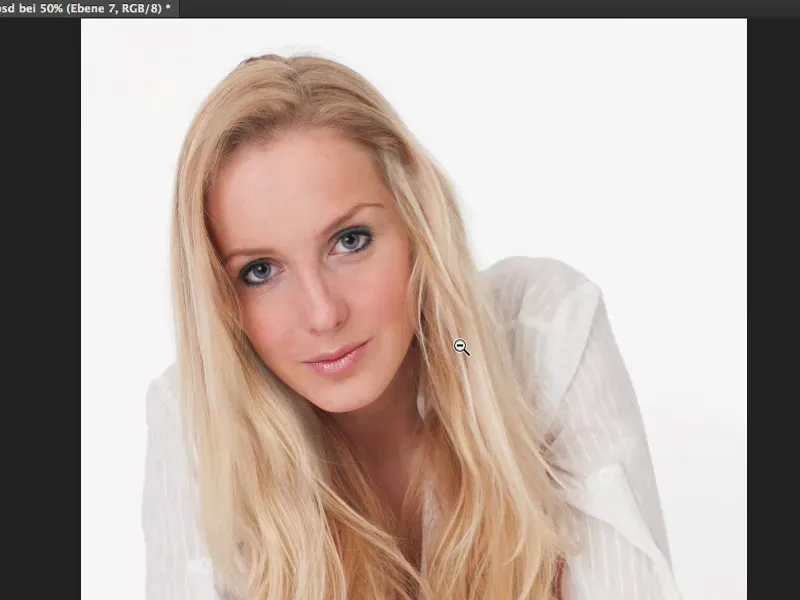
This tutorial is all about the hair of this beautiful model. I'll show you what I've done here: I first filled in the gaps, I added an artificial hair texture at the top because the whole thing was a bit too unruly in that area. And I didn't feel like adjusting all these individual hairs. I lightened the hairline. And I'll show you the methods you need to know to do this.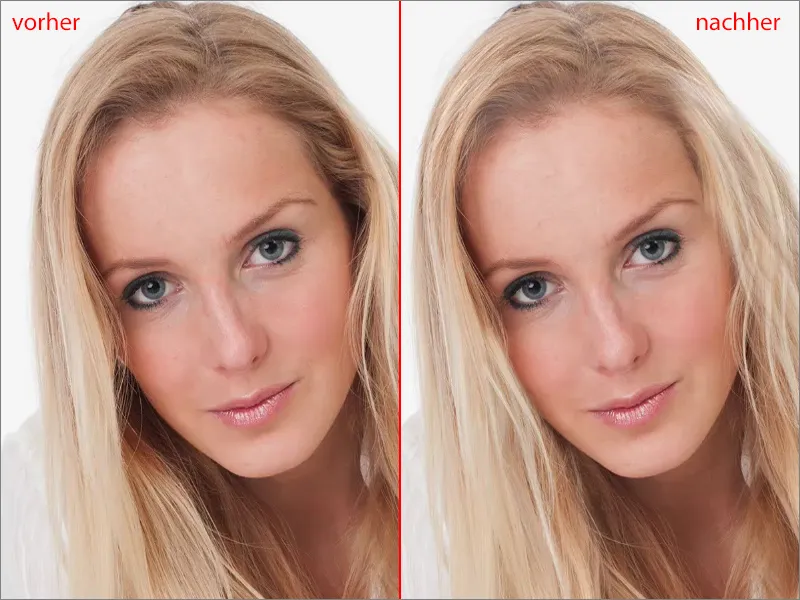
Work in additional strands
First of all, go to the background layer (1) and take the lasso (2). I would have liked to have repaired this area (3) with a strand of hair. And now I just have to look: Where in the picture do I have a strand that would fit there? And I have a lot of stringy hair down here. Then I just cut it out the way I think I can make something out of it. I duplicate the whole thing onto a new empty layer (4) using Ctrl + J, just as if you were changing areas of the face, the nose, the lips and so on.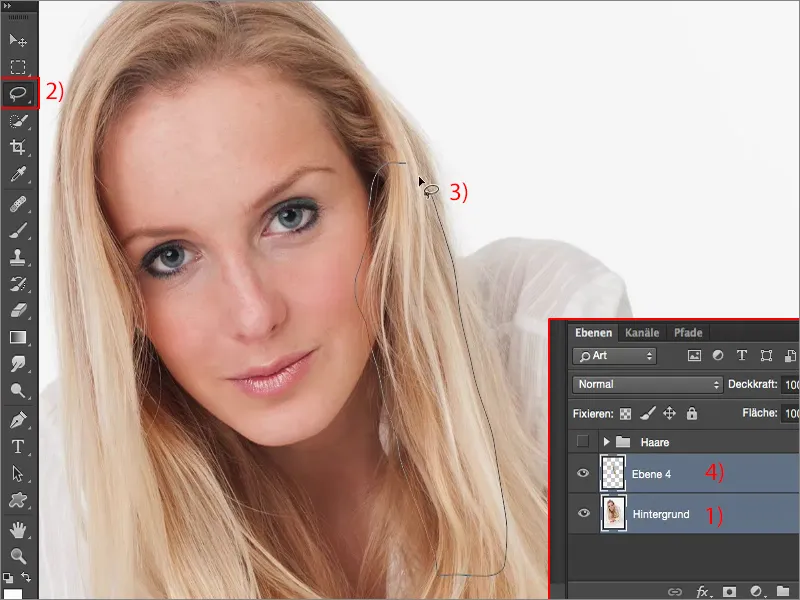
And then I use Ctrl + T to move the whole thing up here to the new position. I'll align it so that the flow direction of the hair fits like this.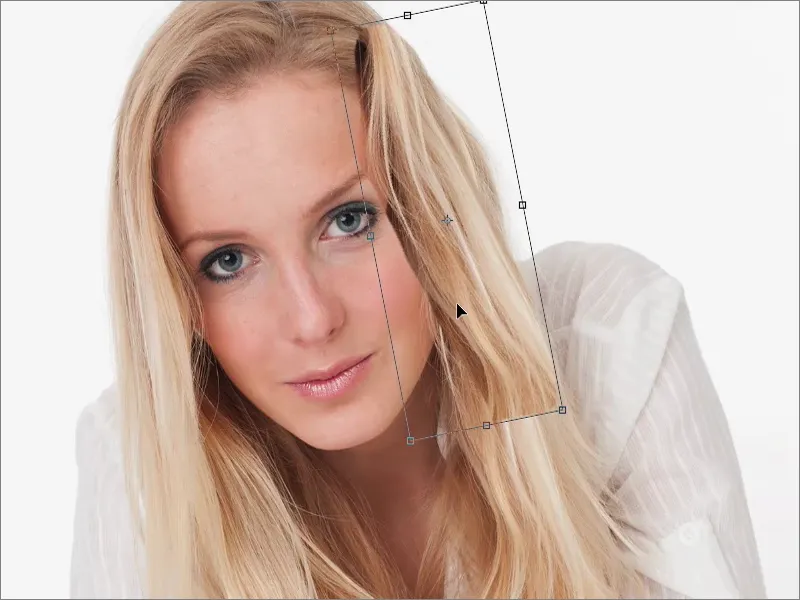
And now I need a soft mask here again (1). I'll zoom in a little closer to the 100 percent view (2), black brush (3), reduced opacity (4).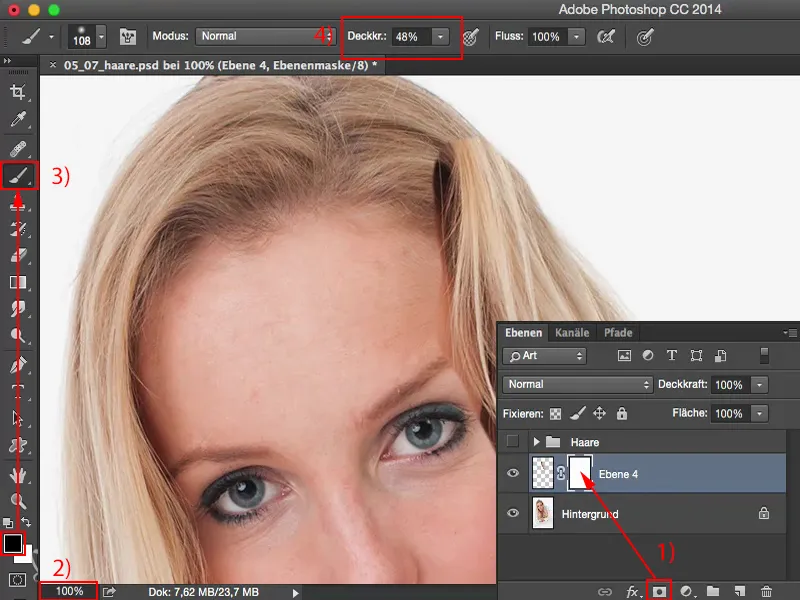
Then I'll take another look: Where does the whole thing start? That's roughly where I have to start blending (1), i.e. I'll generously go over the top here. And then I start to let the whole thing run into the face here. And you can see that the hair blends really, really smoothly (2). Now I just have to add a little at the bottom and the side. It all blends together beautifully. This was the first area that needed to be concealed.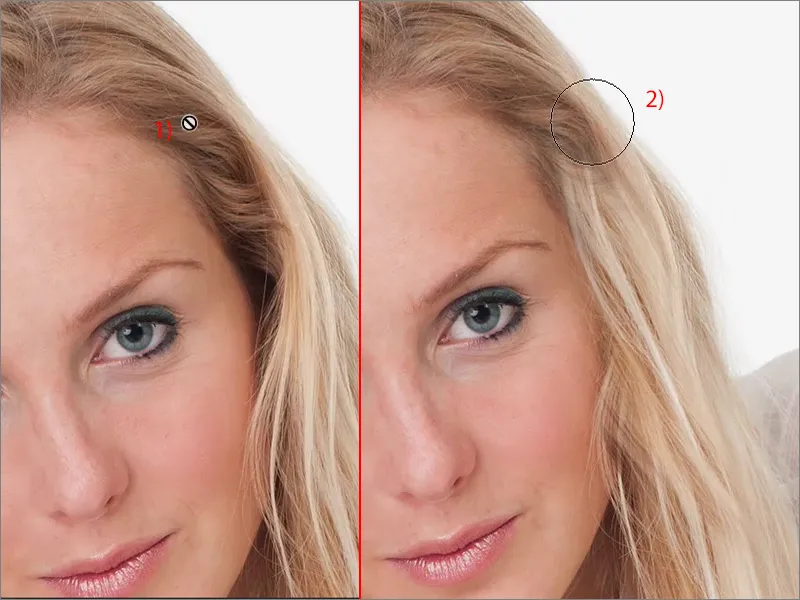
I can also move it up a little over the mask here (1), for example, if I want to let this go. I then just have to touch up the mask (2) a little afterwards. And so you can easily give the lady a new hairdo. So here's another strand running down.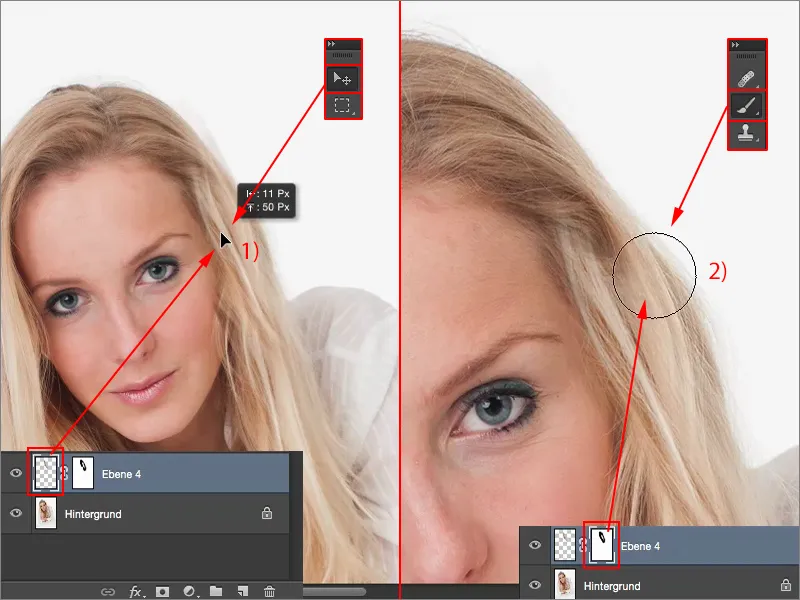
I can do the same thing again here in this area, for example. This area down here might be a good place to start. I'll cut it out again over a large area, ...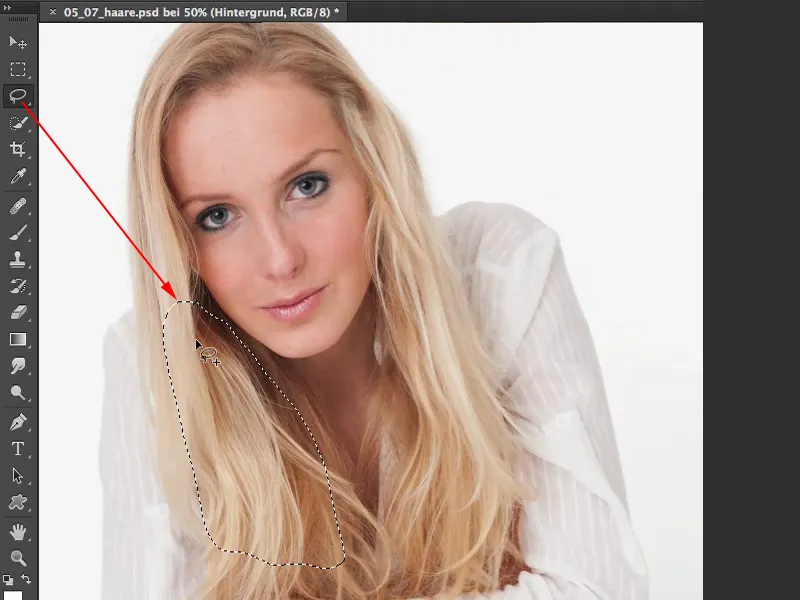
... Ctrl + J (1), then I transform (2) it, let it dock here a little - it also flatters the face.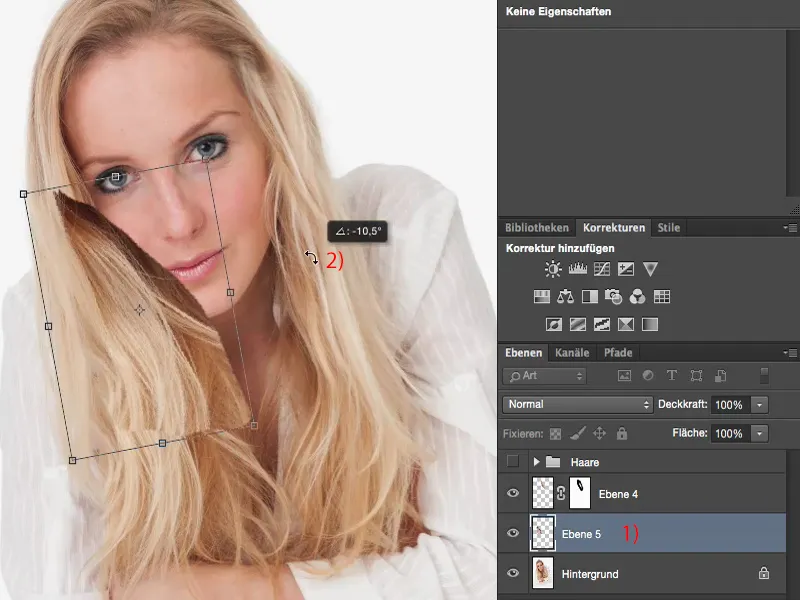
I create a mask (1) and start correcting the whole thing again, blending it softly (2). First at the edges and then I take a look: What else do I need to do in the middle? The black at the top has to be removed, of course. And I have to be a bit careful around the edges. And I can leave it like that.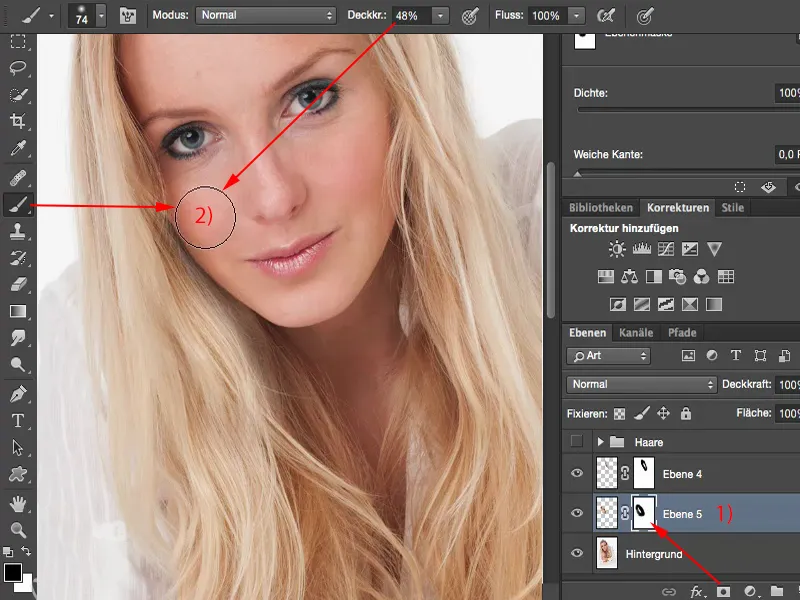
If you tone down the opacity (1) a little, you can also create very soft transitions here, even in the shadows (2), as is actually intended under the chin area. And here we add a small, dark edge (3), as this creates the natural look we need. And now you've completed this strand.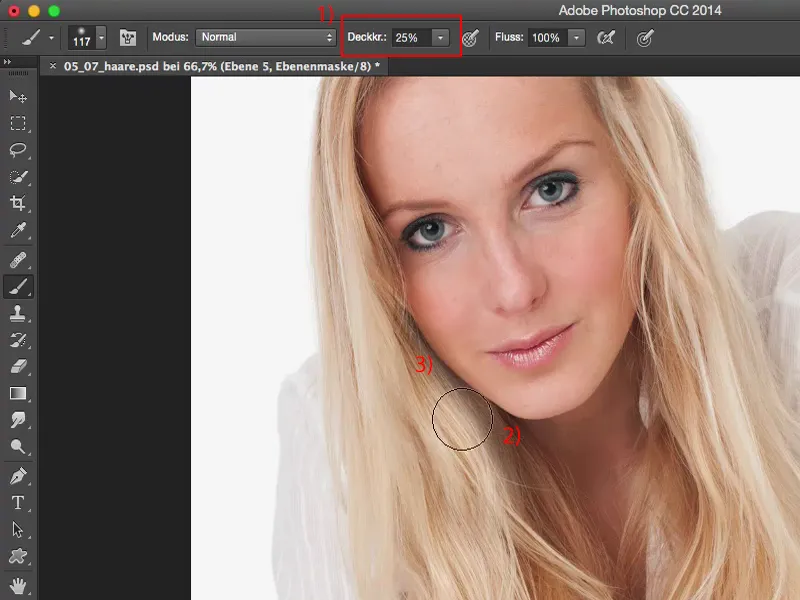
Lighten the hairline
As you can see, a lot can be achieved with large areas. Next, create a new empty layer (1) because you want to lighten the dark parts at the hairline (2) a little.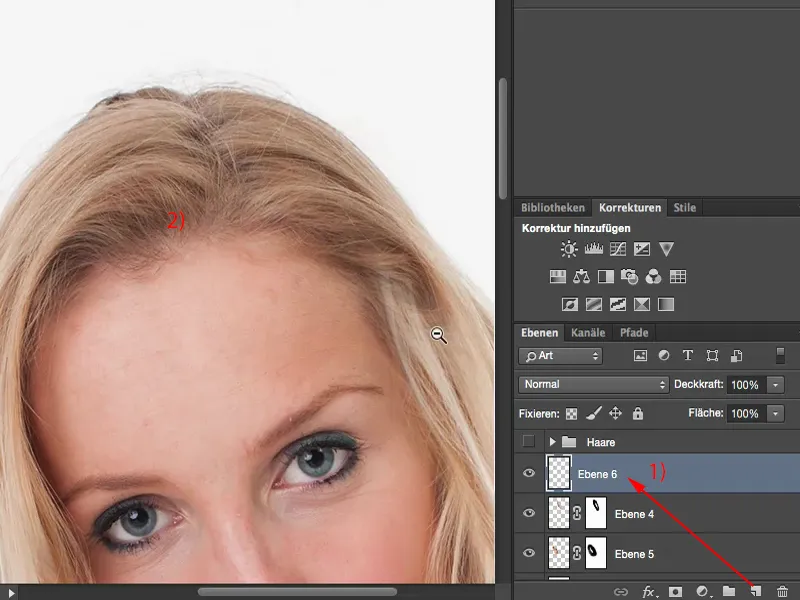
To do this, simply pick up the light hair color with the pipette, ...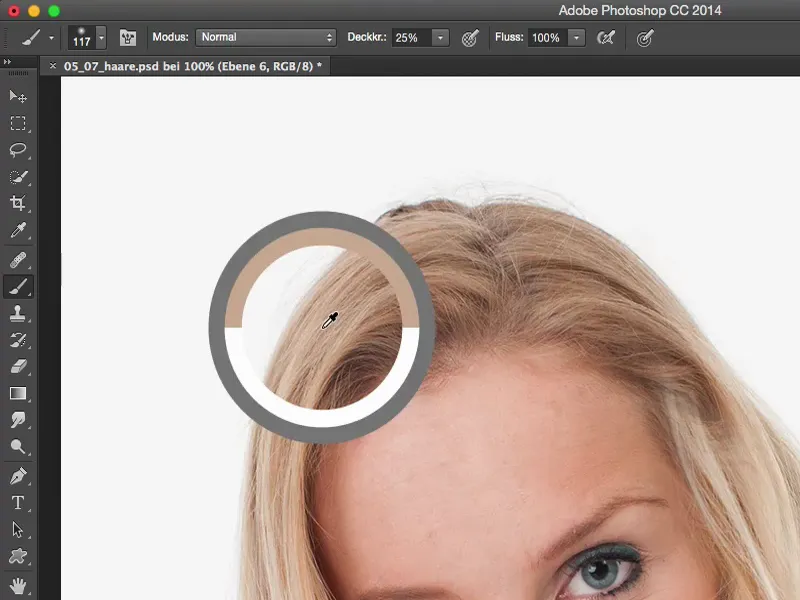
... set the layer mode to Luminance (1), reduce the opacity of the brush (3) to 10, 15 % (2), no more at the beginning, soft brush tip, and you can now lighten and adjust the hairline in the hair color. This way, you can even out dark strands a little. And now you have lightened the hairline here at the top.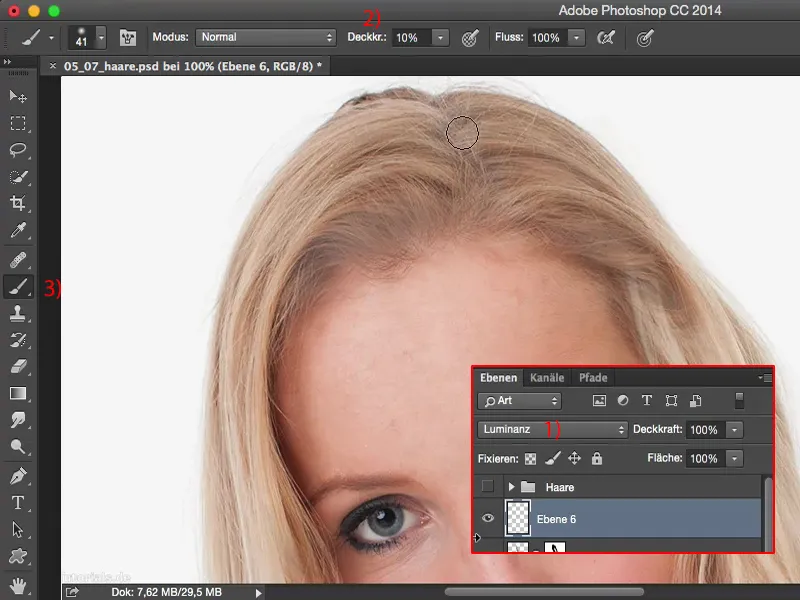
You can also soften this layer so that it doesn't look quite so blotchy. That's why we're going to use the Gaussian blur here (Filter>Blur filter>Gaussianblur...) and ...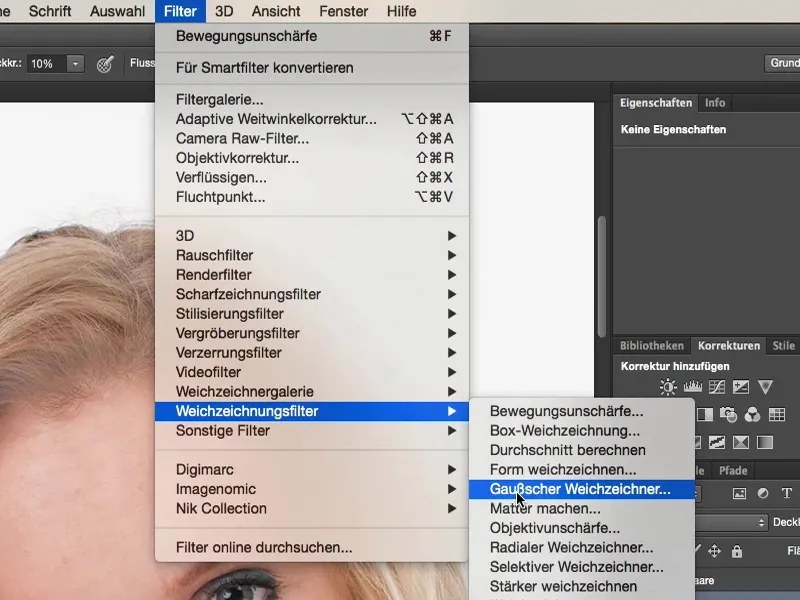
... select a relatively small radius of approx. 9 pixels. And now the whole thing blends very, very nicely here.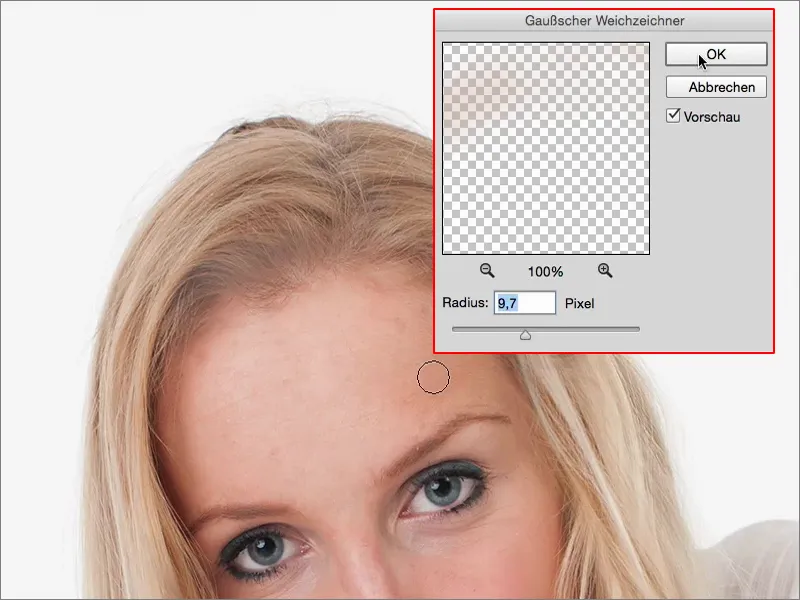
Adding artificial hair structures: Method 1
If you want to add artificial hair textures, there are two options: One is via a little filter game you can do. And the other: You simply pick up the hair color here with the pipette, go to an opacity of 100% with your brush.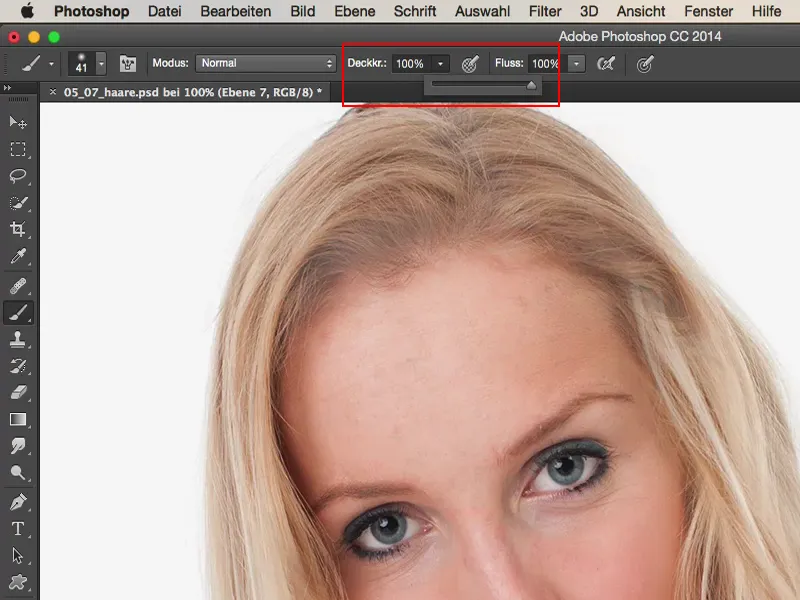
I might create a filled area here (Edit>Fill Area...) so that you can see the hair better, and briefly place a black layer over it. Then you'll be able to see better what I'm actually doing here.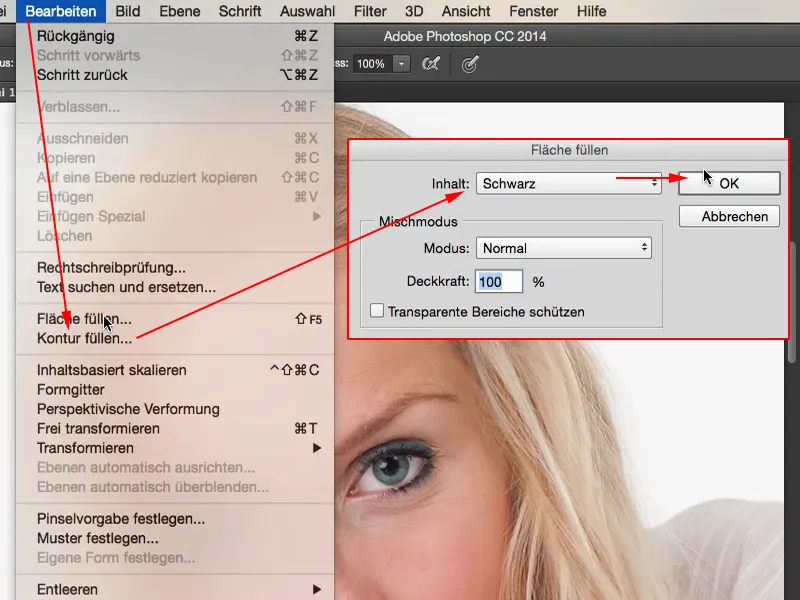
I go to 1 pixel with the brush tip, maximum 2, and then you draw in the hair here. You do this again and again and again until you have an area like this.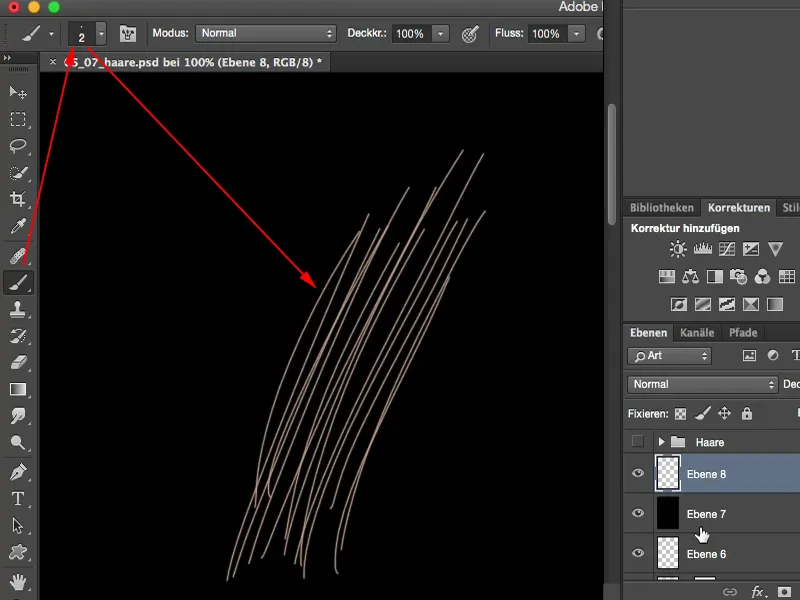
Because you now have these hairs on this layer, you can now double them, you can transform them, and I'll just do that a few times now. I'll make a copy of the layer and then move it a little bit. I'll make another copy of the layer and move it a little bit. And then I make another copy of the layer and move it a little again.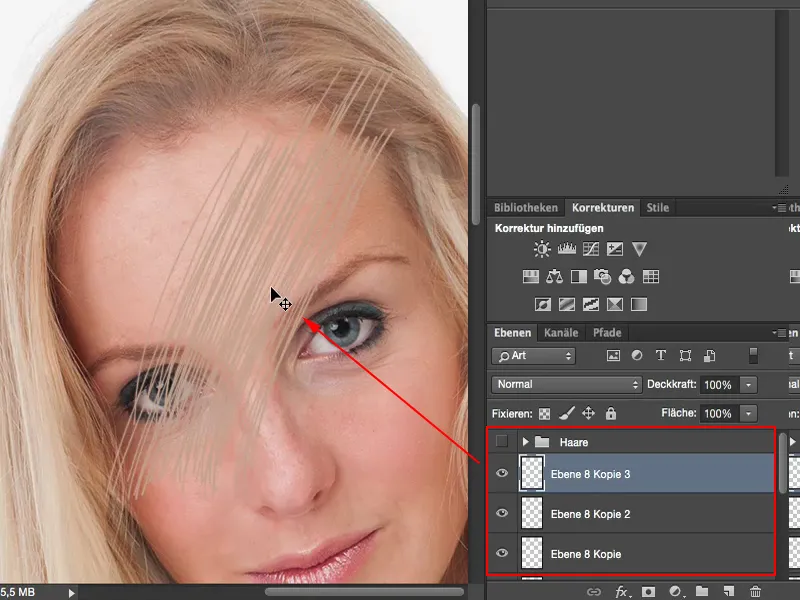
Now I can unite all these layers. And I have created lots and lots of hair in a short space of time. I can now transform them, I can make them bigger, I can make them smaller. And then I simply bend them into the shape I want, for example at this point.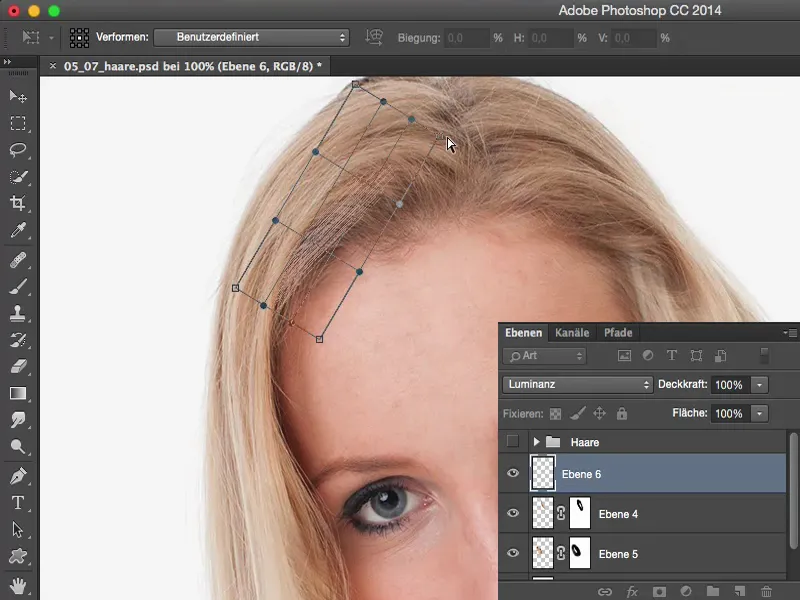
I go to the distort function up here and create a bend in my hair that I don't have yet. Something like this.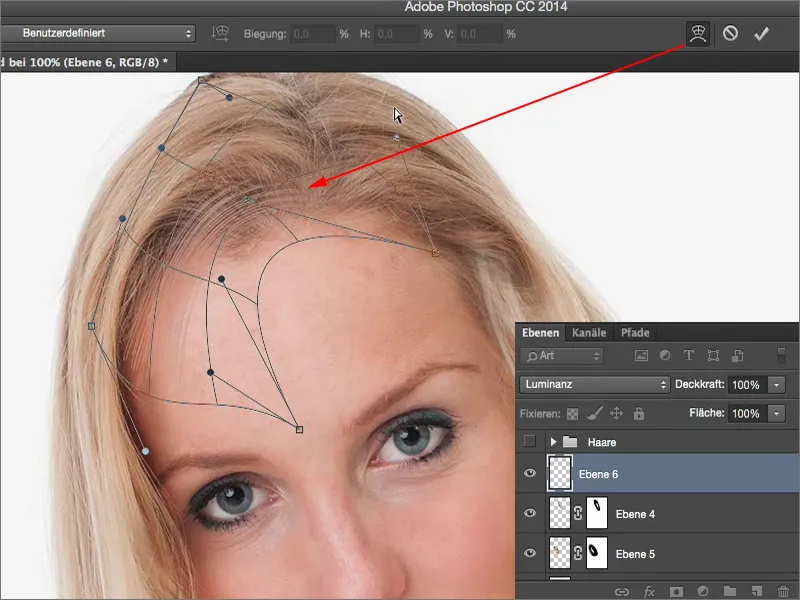
And now I can blend these new hairs, so I can add them here. I can control them at any time using Ctrl + T. It's a lot of work and takes a lot more time to make it look realistic, but in theory you can just fill in these gaps with new strands that you've drawn in the hair color.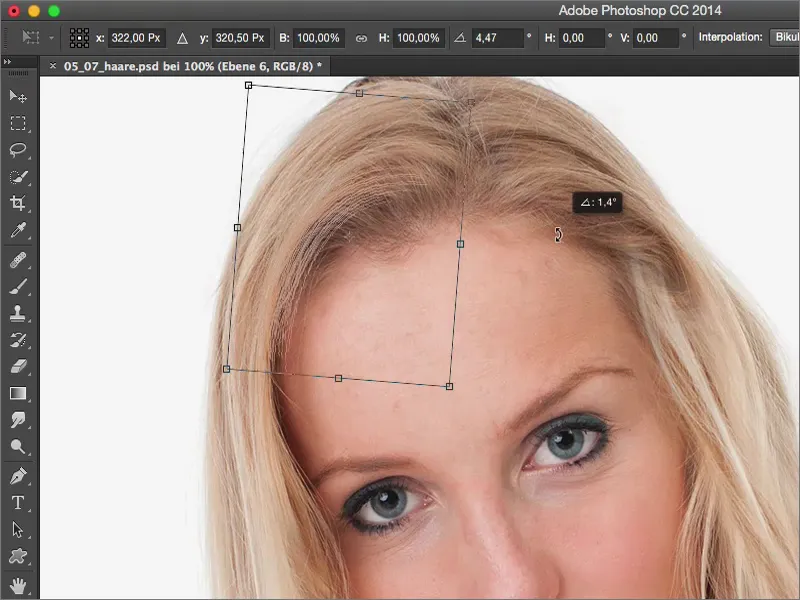
I would have to soften it a bit more, by a pixel or two I think, then it will look more realistic (Filter>Smooth Filter>Gaussian Blur). Let's maybe go to 0.5 pixels, no, that's still too much. Let's go for 0.2, so I can gradually add my own little hairs here.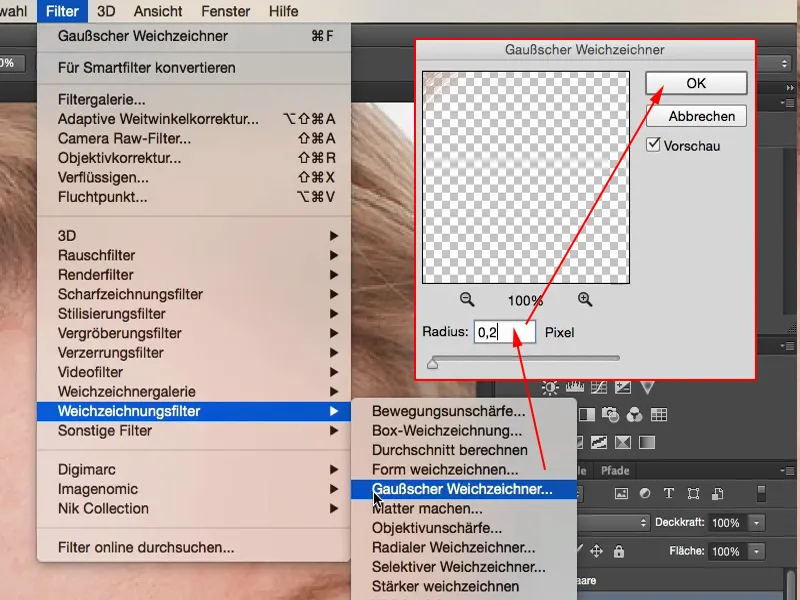
I know that's a lot of work. I've made some kind of cheese (1) at the top here on this layer, probably painted it out here before, now it's been erased again (2).
... And this is how you can put it together.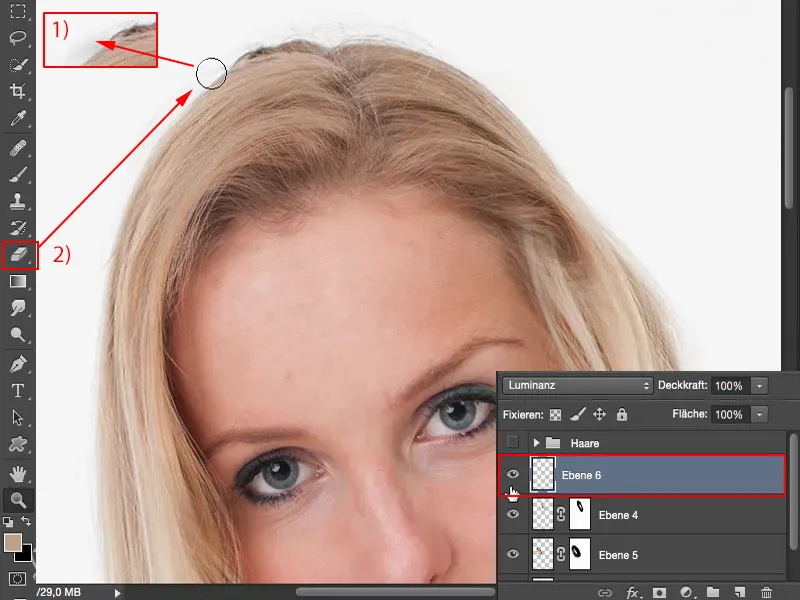
Work in artificial hair textures: Method 2
If you need larger areas of hair, you can also fill an area, fill a selection. I'm going to use something like this size (1). Then go to Edit>Fill area... (2) and select Color... (3).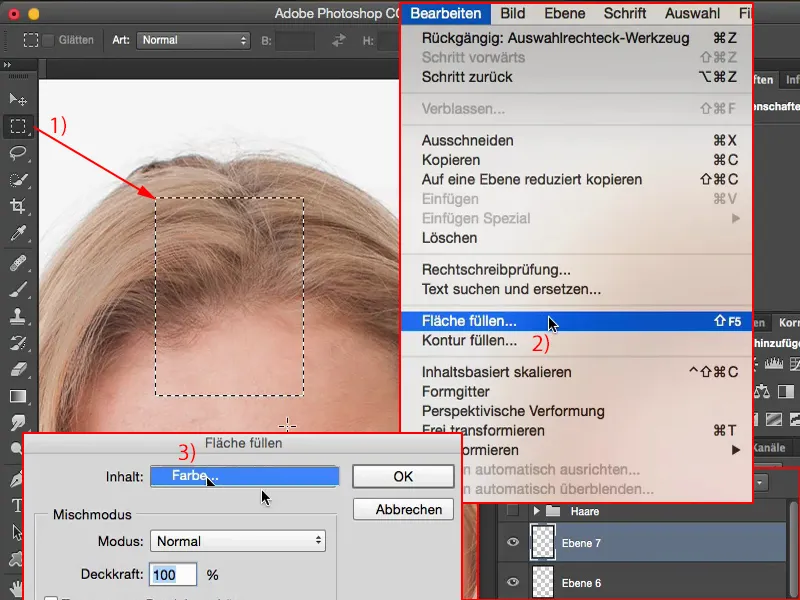
As color: With the pipette of course directly on the hair color, something nice, bright, something like this.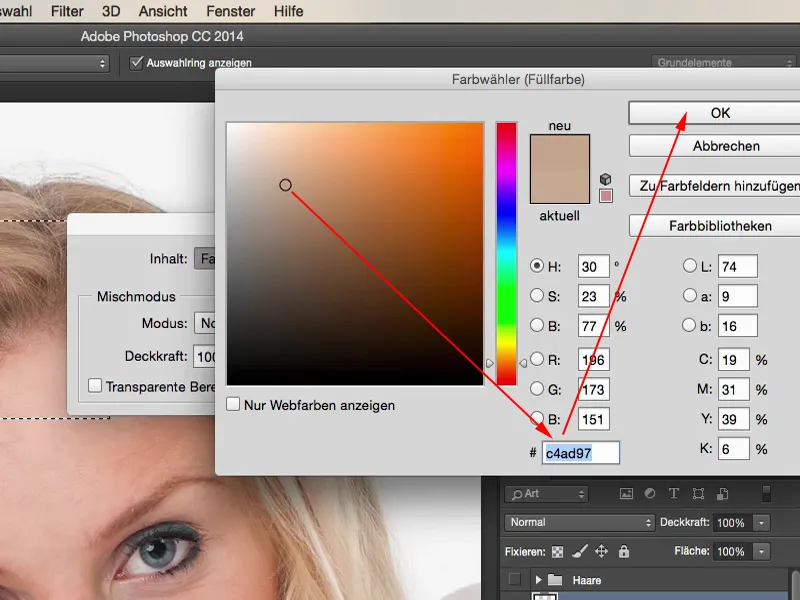
Now the whole thing here is filled with this color (1) and what we need is hair structure. And the easiest way to achieve structure is to add noise here (Filter>Noise filter>Add noise ... (2)).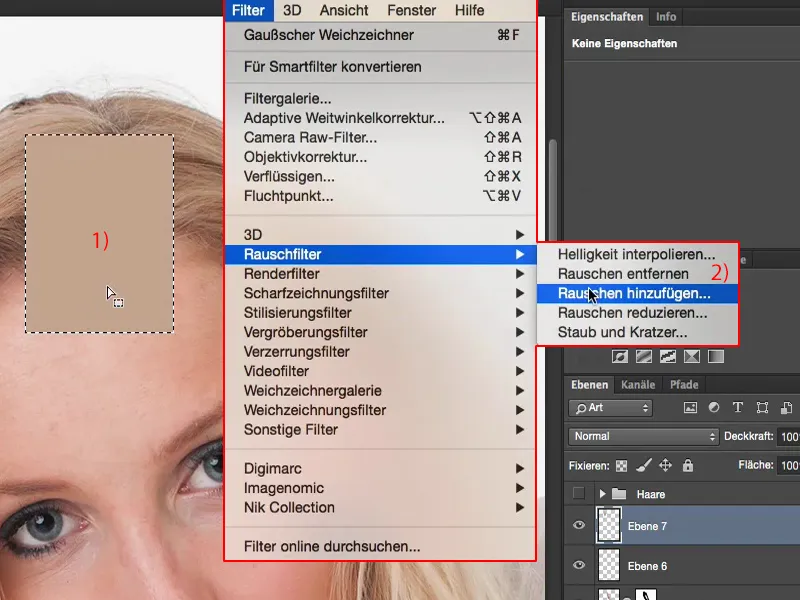
You have to adjust the strength of the pixels a little here. Gaussian normal distribution (1) is important so that you don't create a repeating pattern, and monochromatic (2), because otherwise it will get colorful here very quickly. And colorful hair ... Well, it wouldn't fit so well on this person in any case. You confirm this with OK.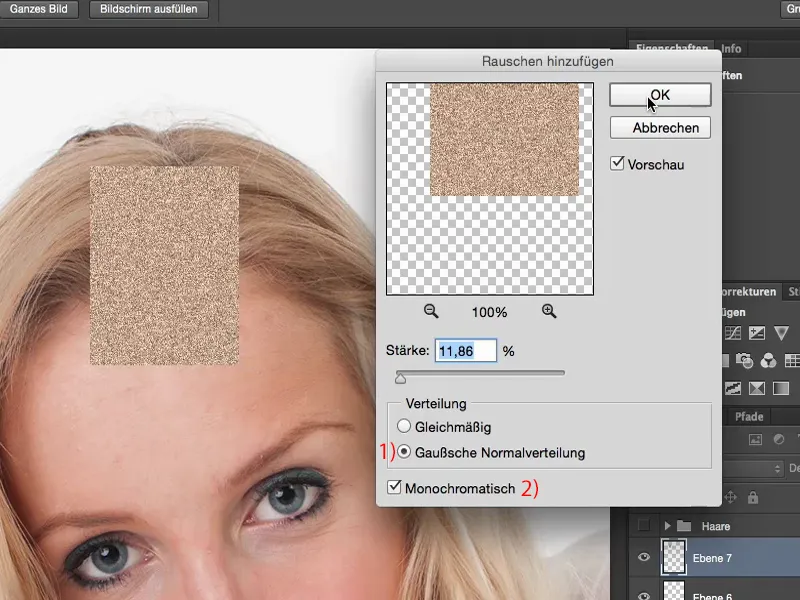
You can also convert the whole thing into a smart object if you want to work non-destructively. And then go here with motion blur (Filter>Smooth filter>Motion blur...)...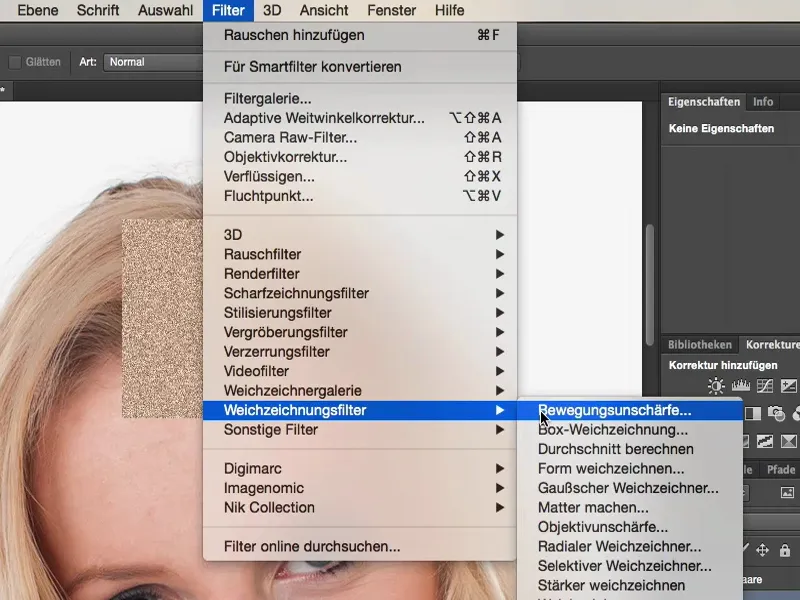
... at an angle of 90 degrees (1). Set the distance (2) so that you now have light and dark lines - perfectly combed hair, 100 percent perfectly combed hair that would look exactly like this.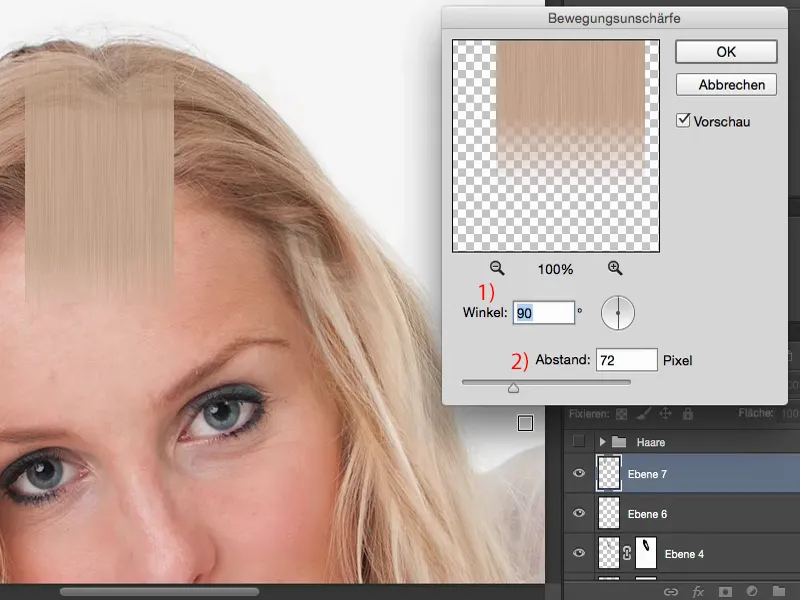
You can now put the whole thing into calculation mode. Copying one into the other is always very, very hard. Soft light is a bit better, but you get a color shift.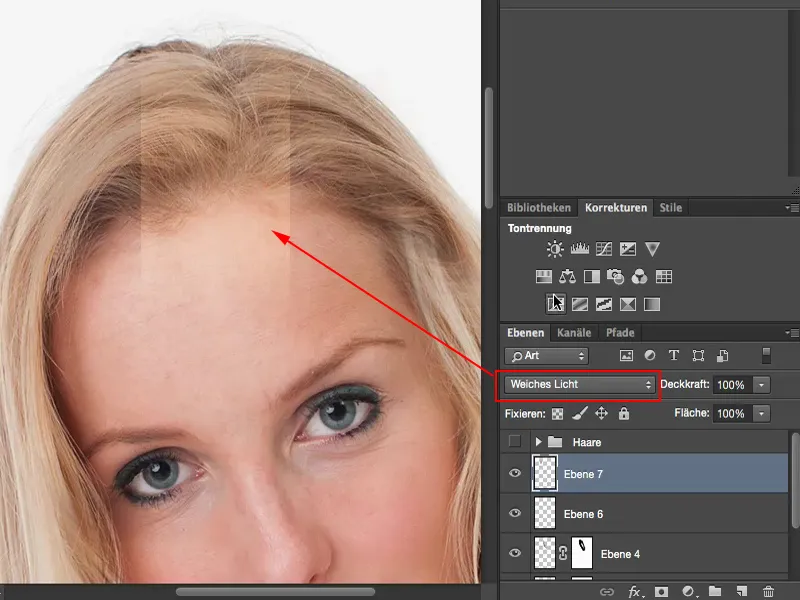
So let's do two things first: firstly, the whole thing is too bright, which means I have to darken the tonal values (1), of course with a clipping mask (2). So I'm going to make the whole thing a little darker here. Something like this (3).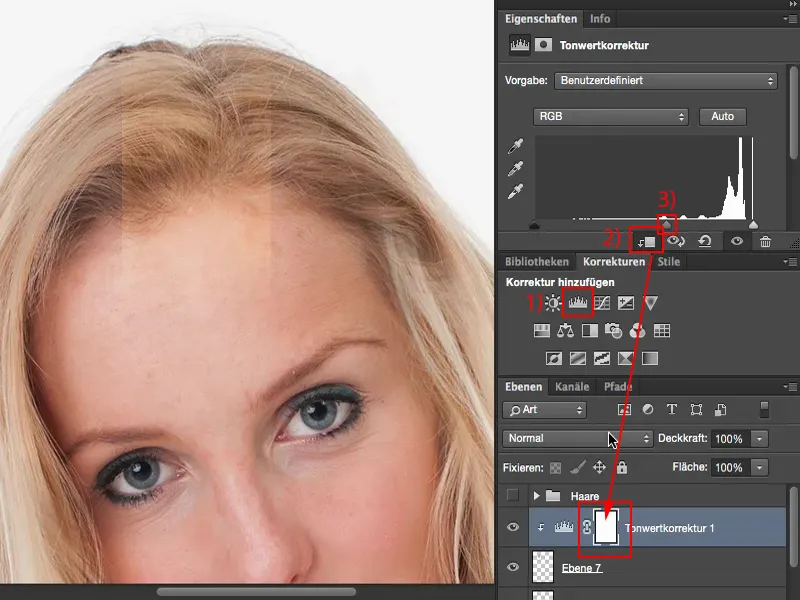
Then I'll create a second adjustment layer, namely a black andwhite layer (1), also with a clipping mask (2), on this artificial hairpiece. And here I'll simply reduce the opacity (3) a little. As you can see, the whole thing is far too saturated. And now I'm looking for the point at which I have approximately the saturation of my original hair. And that's around 50, 60 %. That fits. Now I can work with this layer.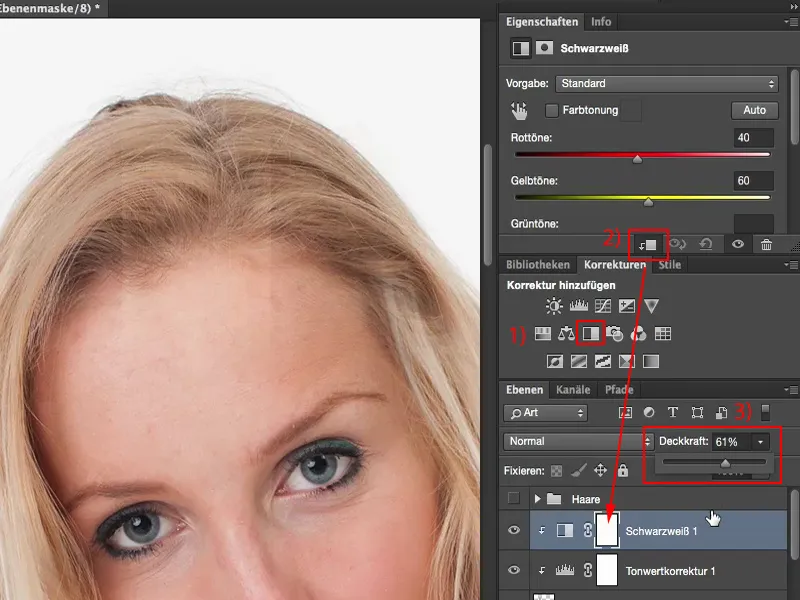
Use Ctrl + T to bring it to the position where you want to have more drawing, for example here at the top, then activate this distort function (1) and simply give in to this bend. Now let's pull it all down a little so that it makes a nice curve. Now we actually have quite a good curve, confirm the whole thing with OK.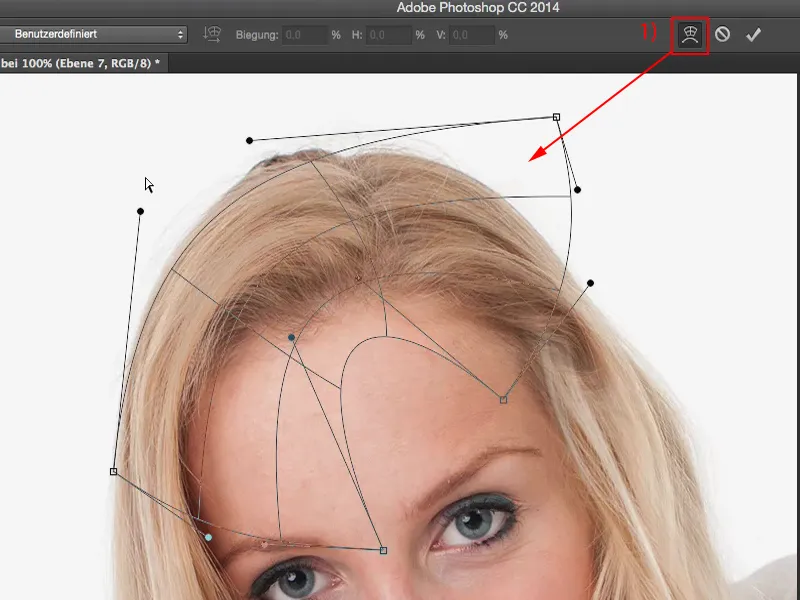
Now I can practically lay this structure over my hair. It doesn't make much difference, but on the whole ... or rather, if you duplicate it and then add a layer mask (1), you've really created a nice, smooth hair structure here, which is of course no longer comprehensible. People won't notice this at all, because only you will notice it, because you've basically made a mess of the whole thing.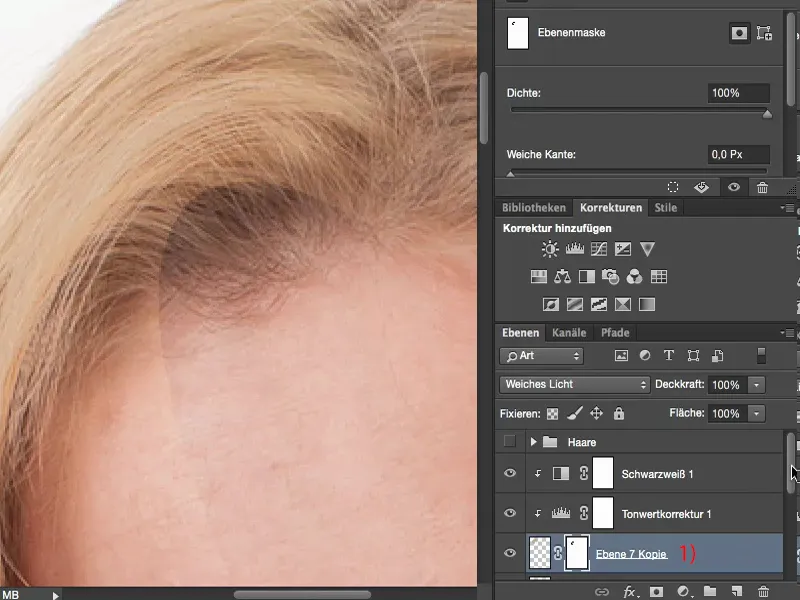
If you look at it: the area that is untreated here and the area that has been treated - there are worlds apart. It has much, much more volume, much, much more structure.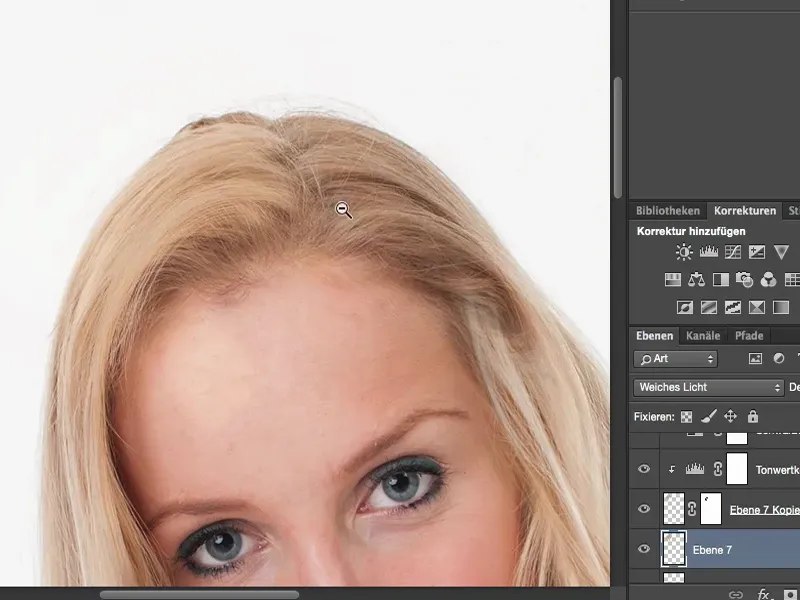
Summary
And if I look at the picture as a whole, you'll notice that you don't notice these little hairs at all, because you're looking at the person's face, at the beautiful, long hair, at the white. You let yourself be a little Blendered by the beauty and also by the white background, so the picture simply comes to life. And nobody would think of looking at the hair and saying: "I don't know, you've somehow tweaked the structure." No, no one would do that, only a photo editor looking at the picture at 200 to 300 percent would do that - they would say: "Okay, you've done something to the hair. I don't know what, but it's not natural." A normal viewer would never notice that the hair here is all fake.