Microsoft Copilot Studios offers an innovative way to create and integrate custom Chatbots. Whether you are running a company or just want to experiment, Copilot Studios allows you to develop powerful applications that work with natural language processing technologies. In this guide, you will learn how to create your own Chatbots with Microsoft Copilot Studios to use them within your company or for personal projects.
Key Takeaways
- You can create custom Chatbots with Microsoft Copilot Studios and integrate them into Microsoft 365.
- Using Microsoft Copilot Studios incurs costs, so it's advisable to first try out the free test options.
- The platform allows you to use websites and PDFs as data sources for your Chatbots.
- You can share created Bots in various applications like Microsoft Teams or on websites.
Step-by-Step Guide
Step 1: Access to Microsoft Copilot Studios
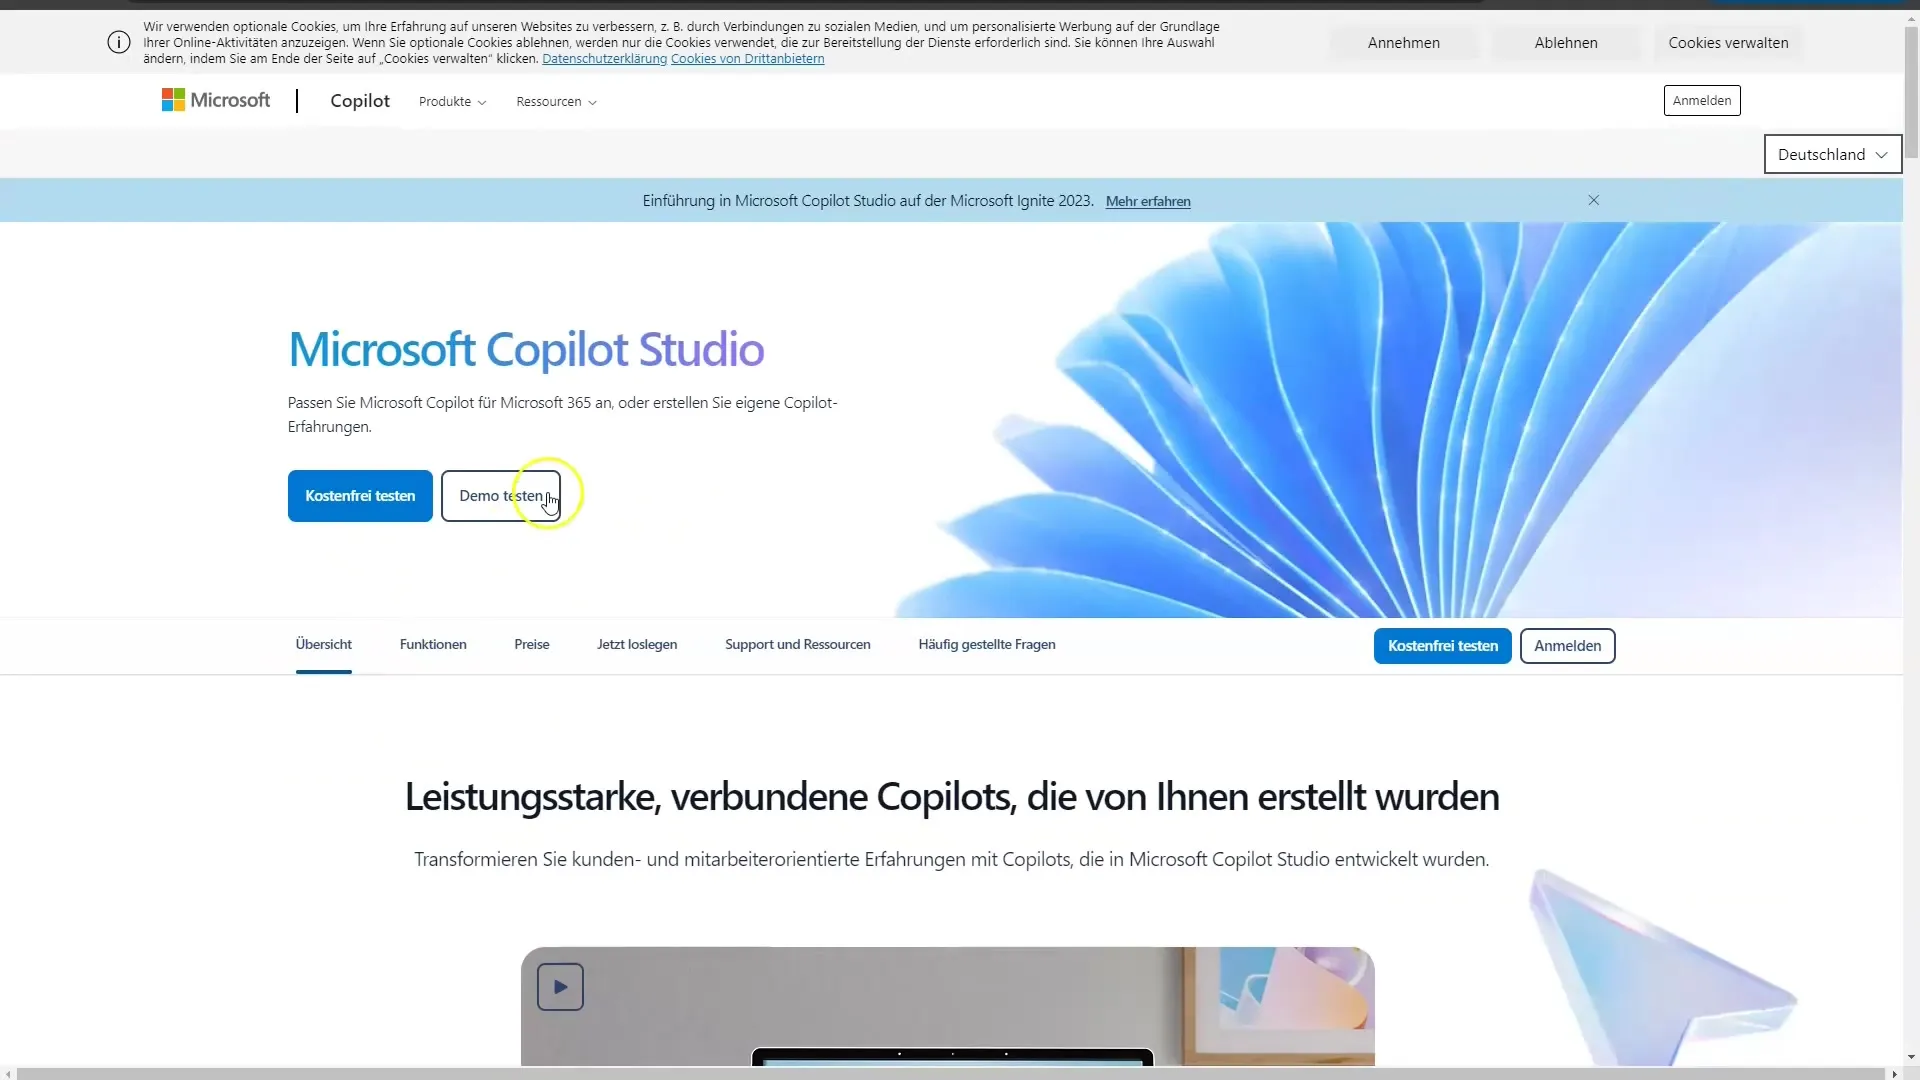
Before you can start creating your Chatbot, you need access to Microsoft Copilot Studios. It is important to find out which subscriptions are available and whether there are free trial versions. If you just want to try the tool, click on "Try for Free" or "Demo Test."
Step 2: Registration and First Steps
To access the features of Copilot Studios, you need to sign up with a business email address. An account will then be created for you, allowing you to develop and test Chatbots. Further steps like entering a URL can begin here.
Step 3: Creating a New Chatbot
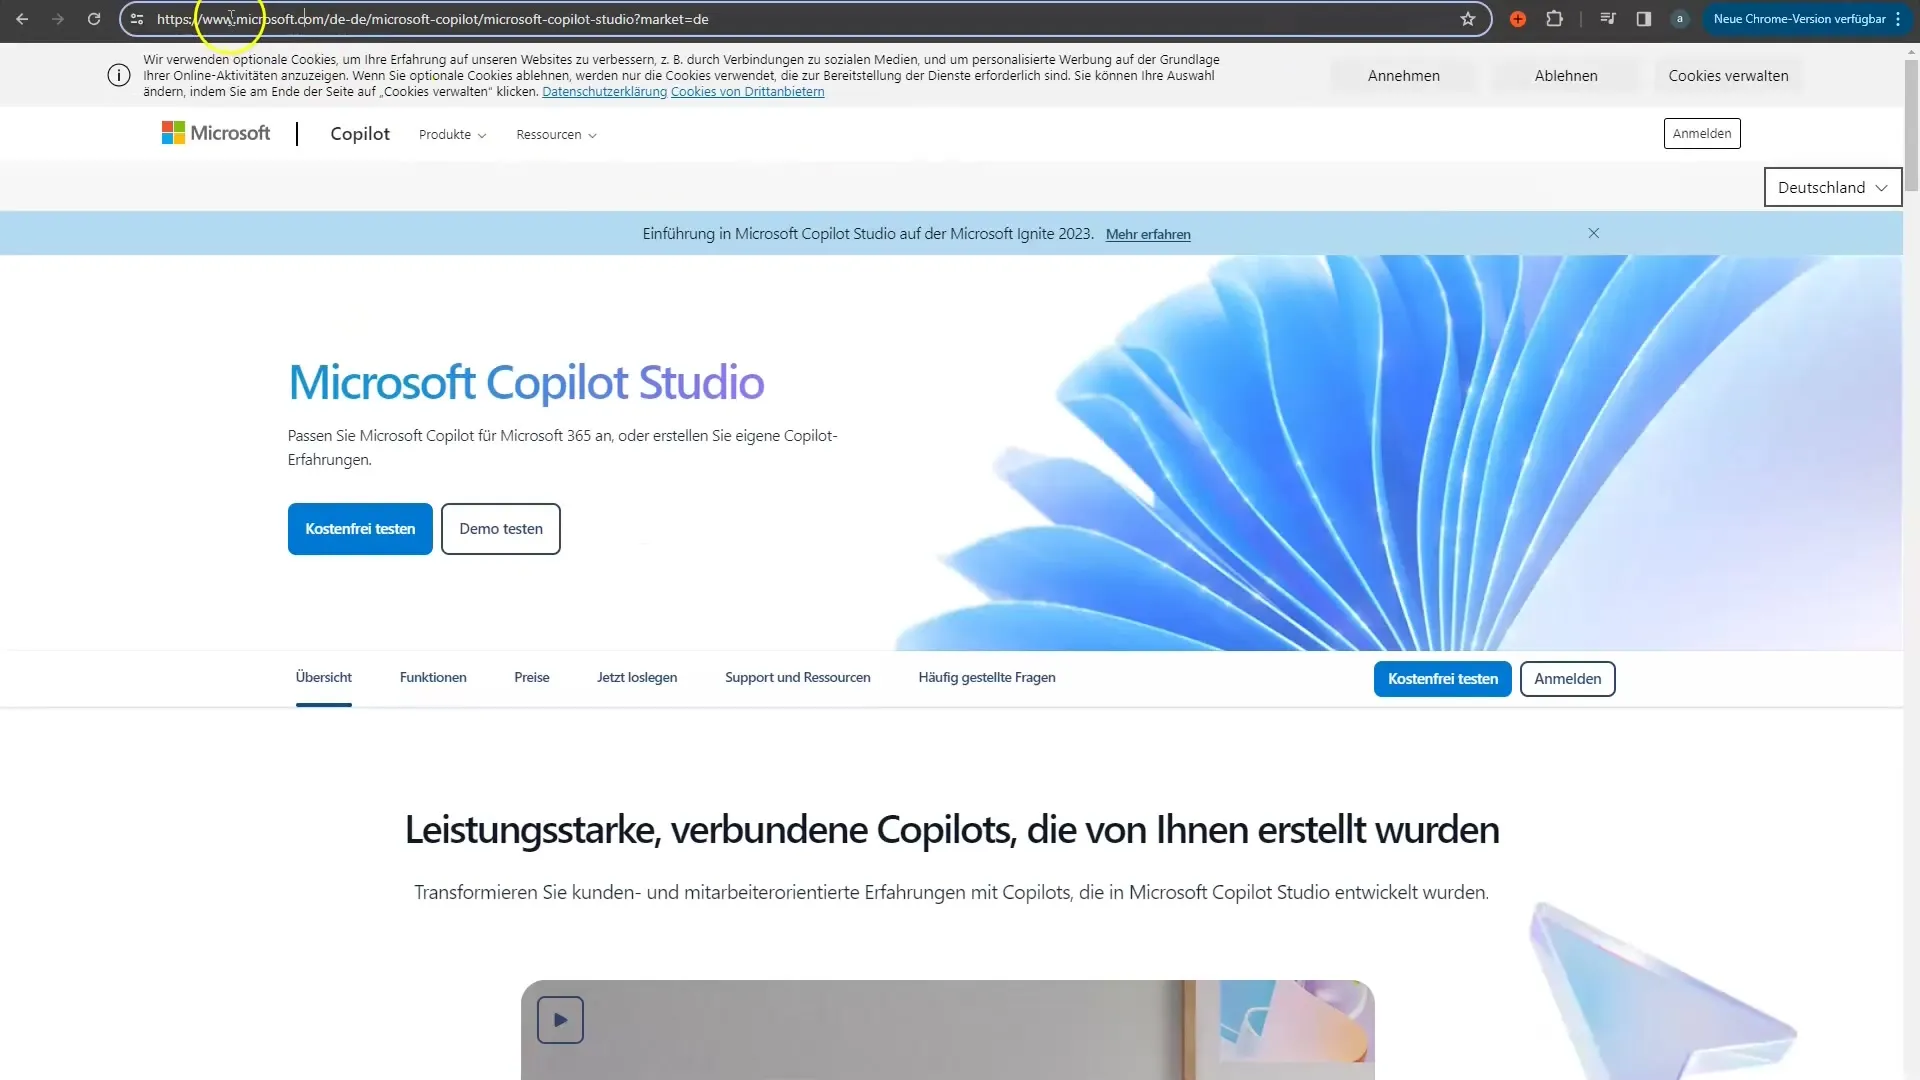
After signing up, you can create a new Chatbot. To do this, click on the button to create a new Copilot. You will be prompted to enter a URL of a website to be used as a reference for your Chatbot. You can copy a website and paste it into the appropriate field.
Step 4: Training the Chatbot
Once you have pasted the URL, it is necessary to train the Chatbot with data from this source. Paste the address without "www" or "http" and start training. It is important to ensure that you insert the data correctly, as the quality of your Bot's responses depends on it.
Step 5: Testing the Chatbot
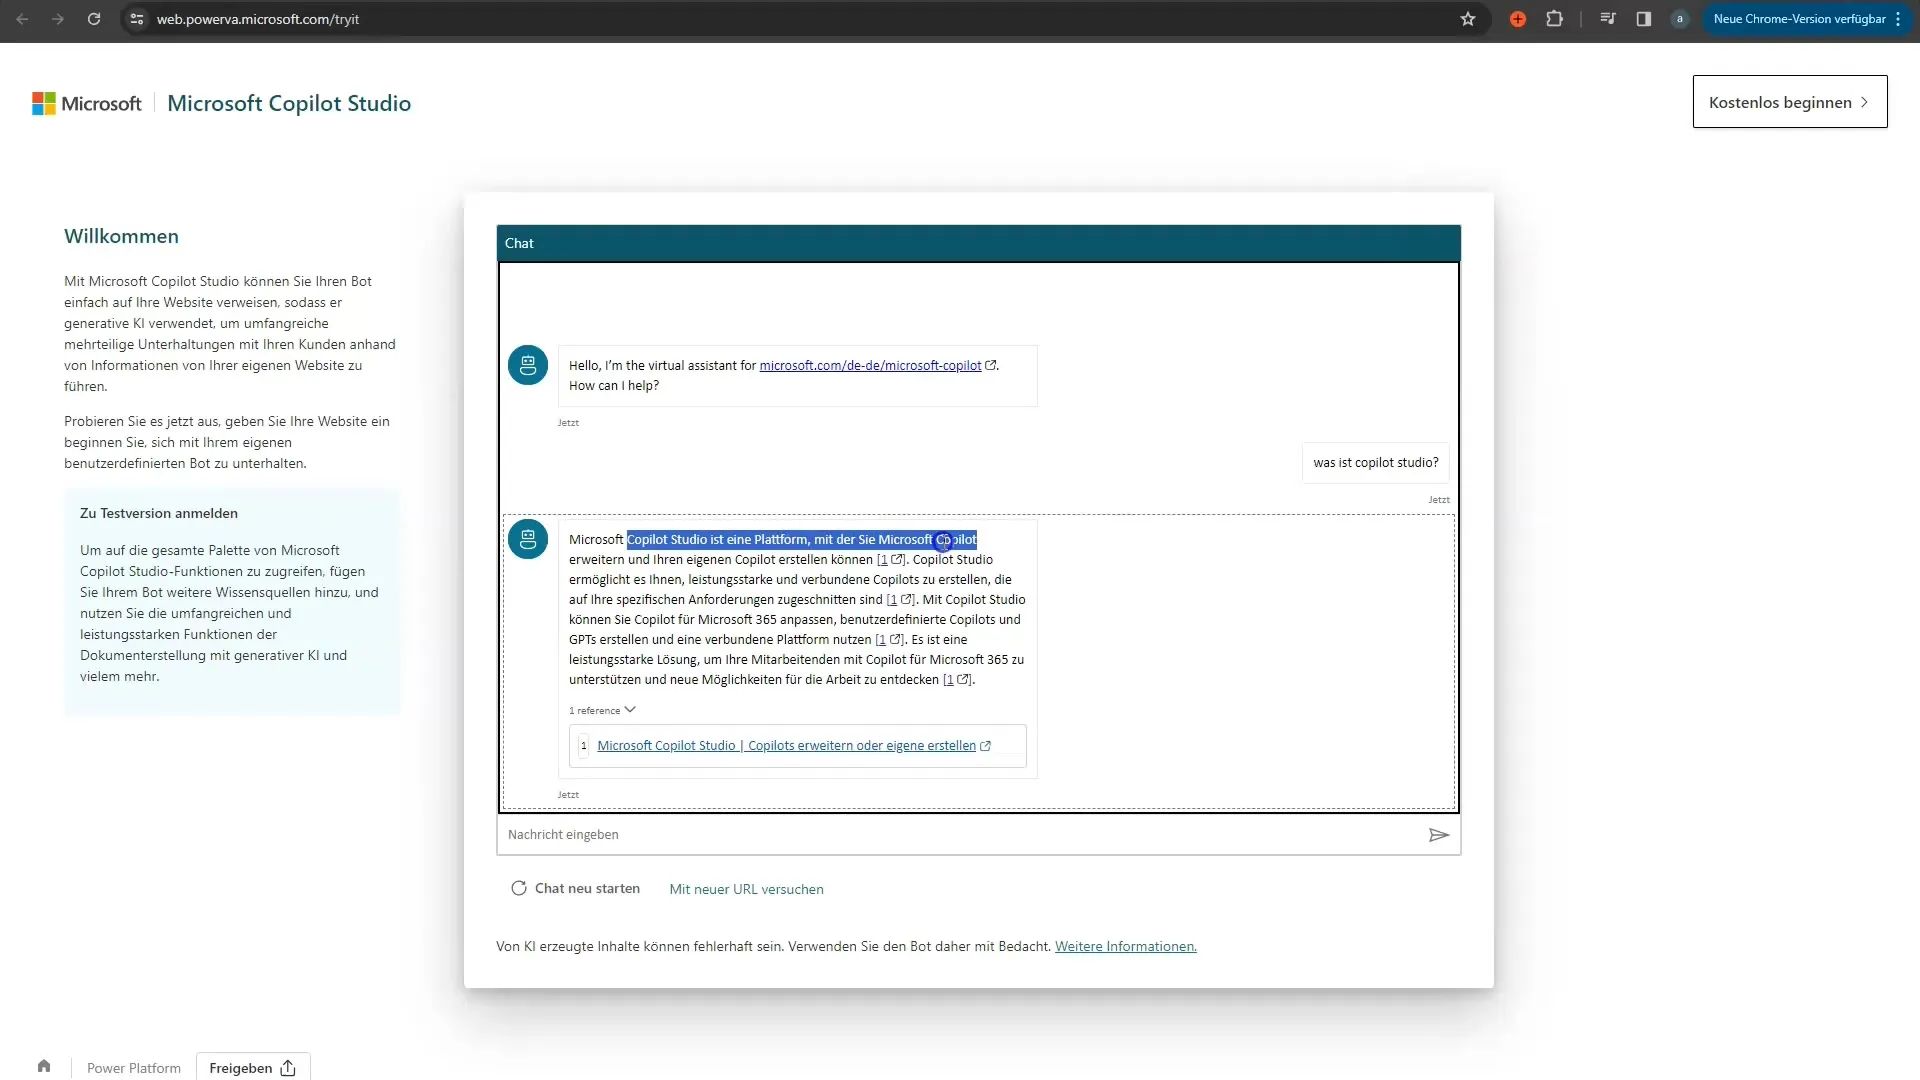
After pasting the URL, you can start interacting with your Chatbot. Take the time to ask different questions and see how well the Bot responds to your requirements. For example, you can ask, "What is Copilot Studio?" and analyze the responses.
Step 6: Adding Additional Sources
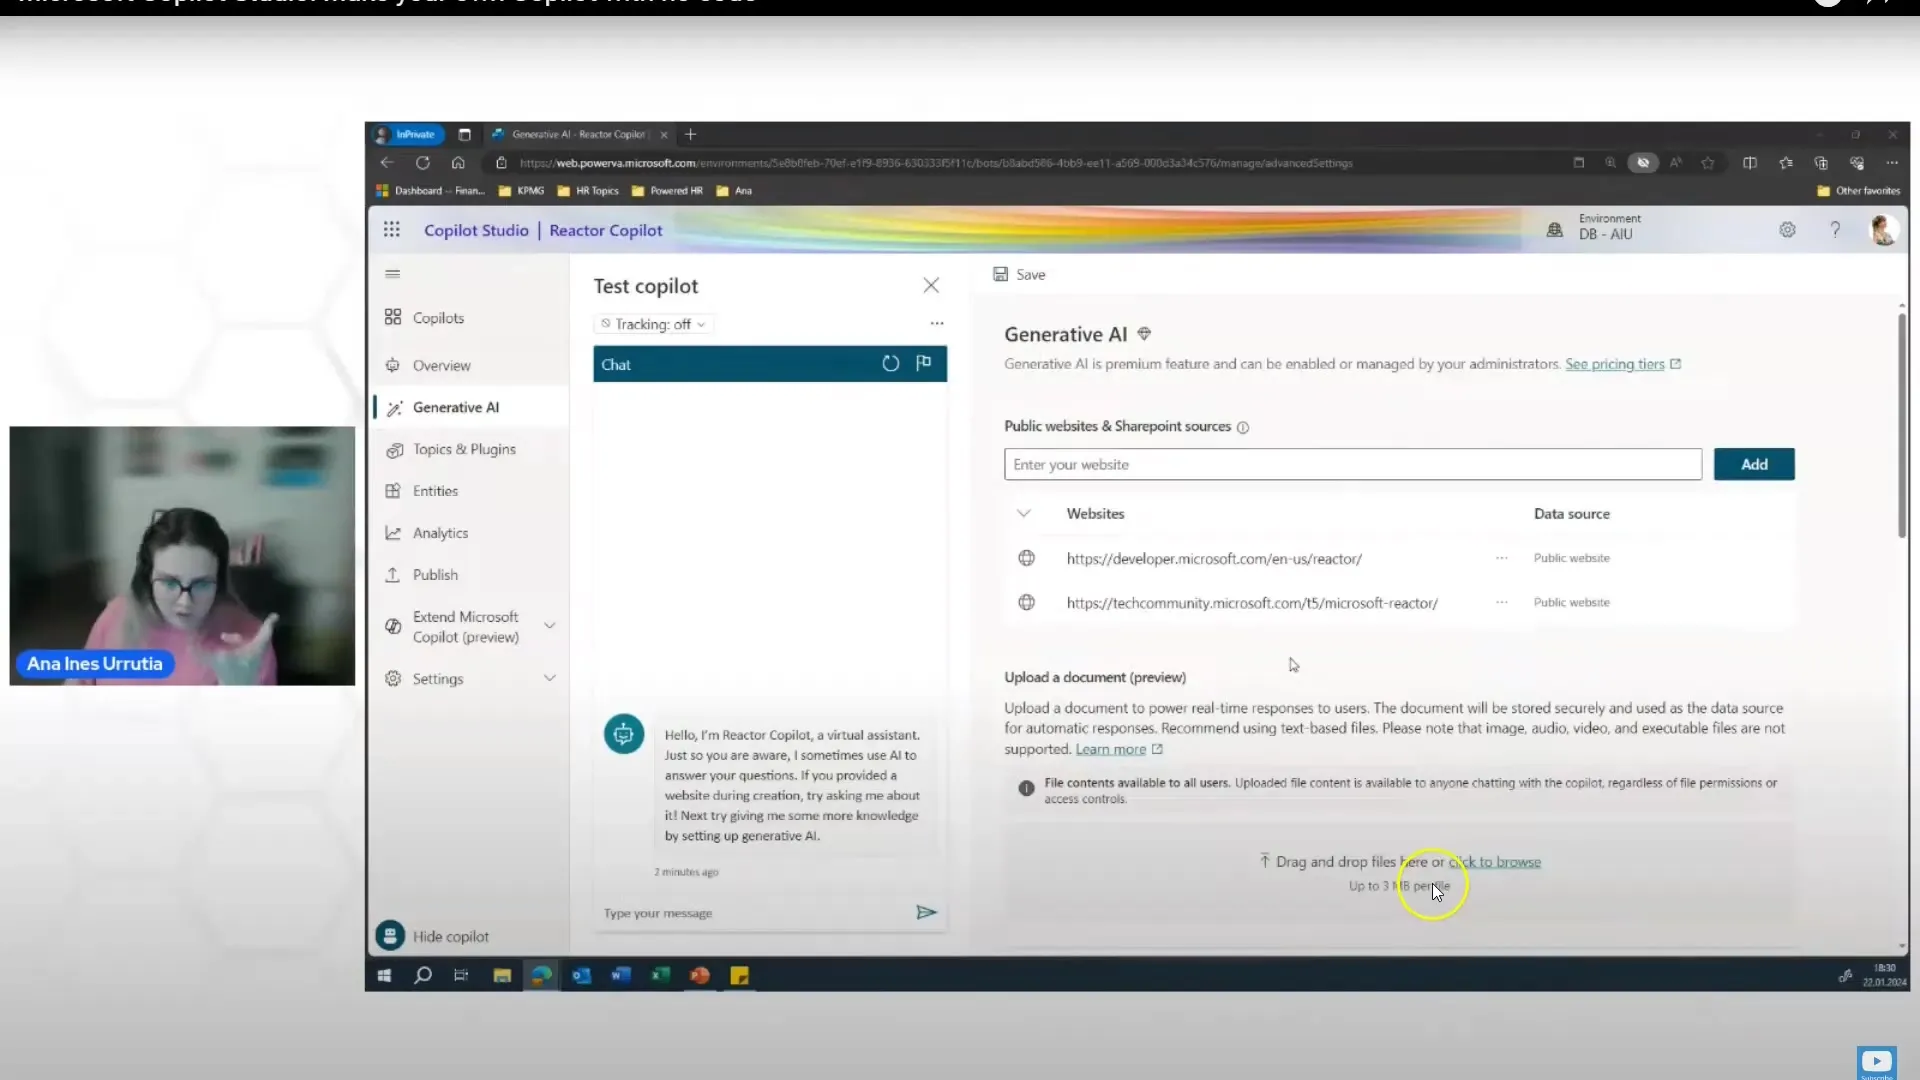
You can add up to four websites and even PDF documents to make your Chatbot more versatile. This is done through drag-and-drop functionality. Simply upload the files you want to provide as a source to your Bot.
Step 7: Handling Sources and Copyrights Correctly
Make sure that all sources used are free of copyright issues. Microsoft ensures that the data you add remains secure and does not violate copyright. It is advisable to check this before publication.
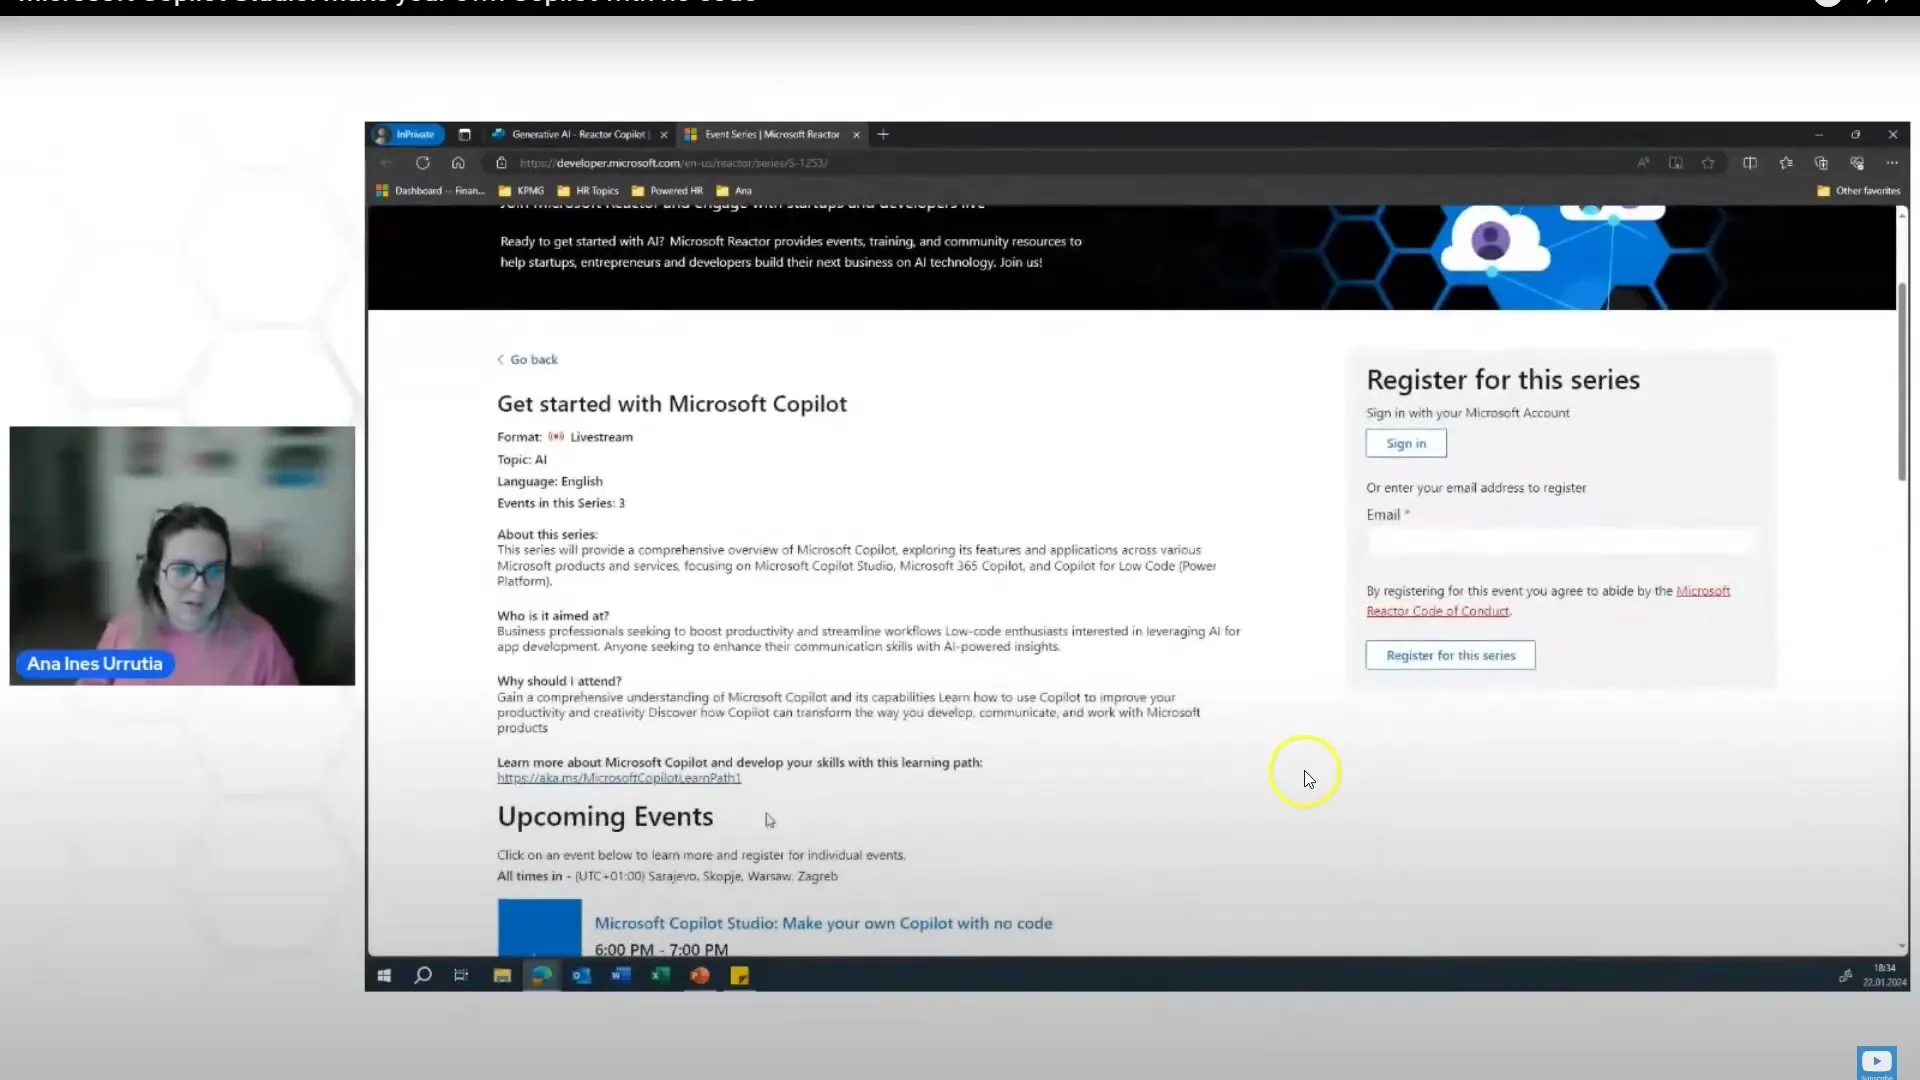
Step 8: Publishing and Sharing Your Chatbot
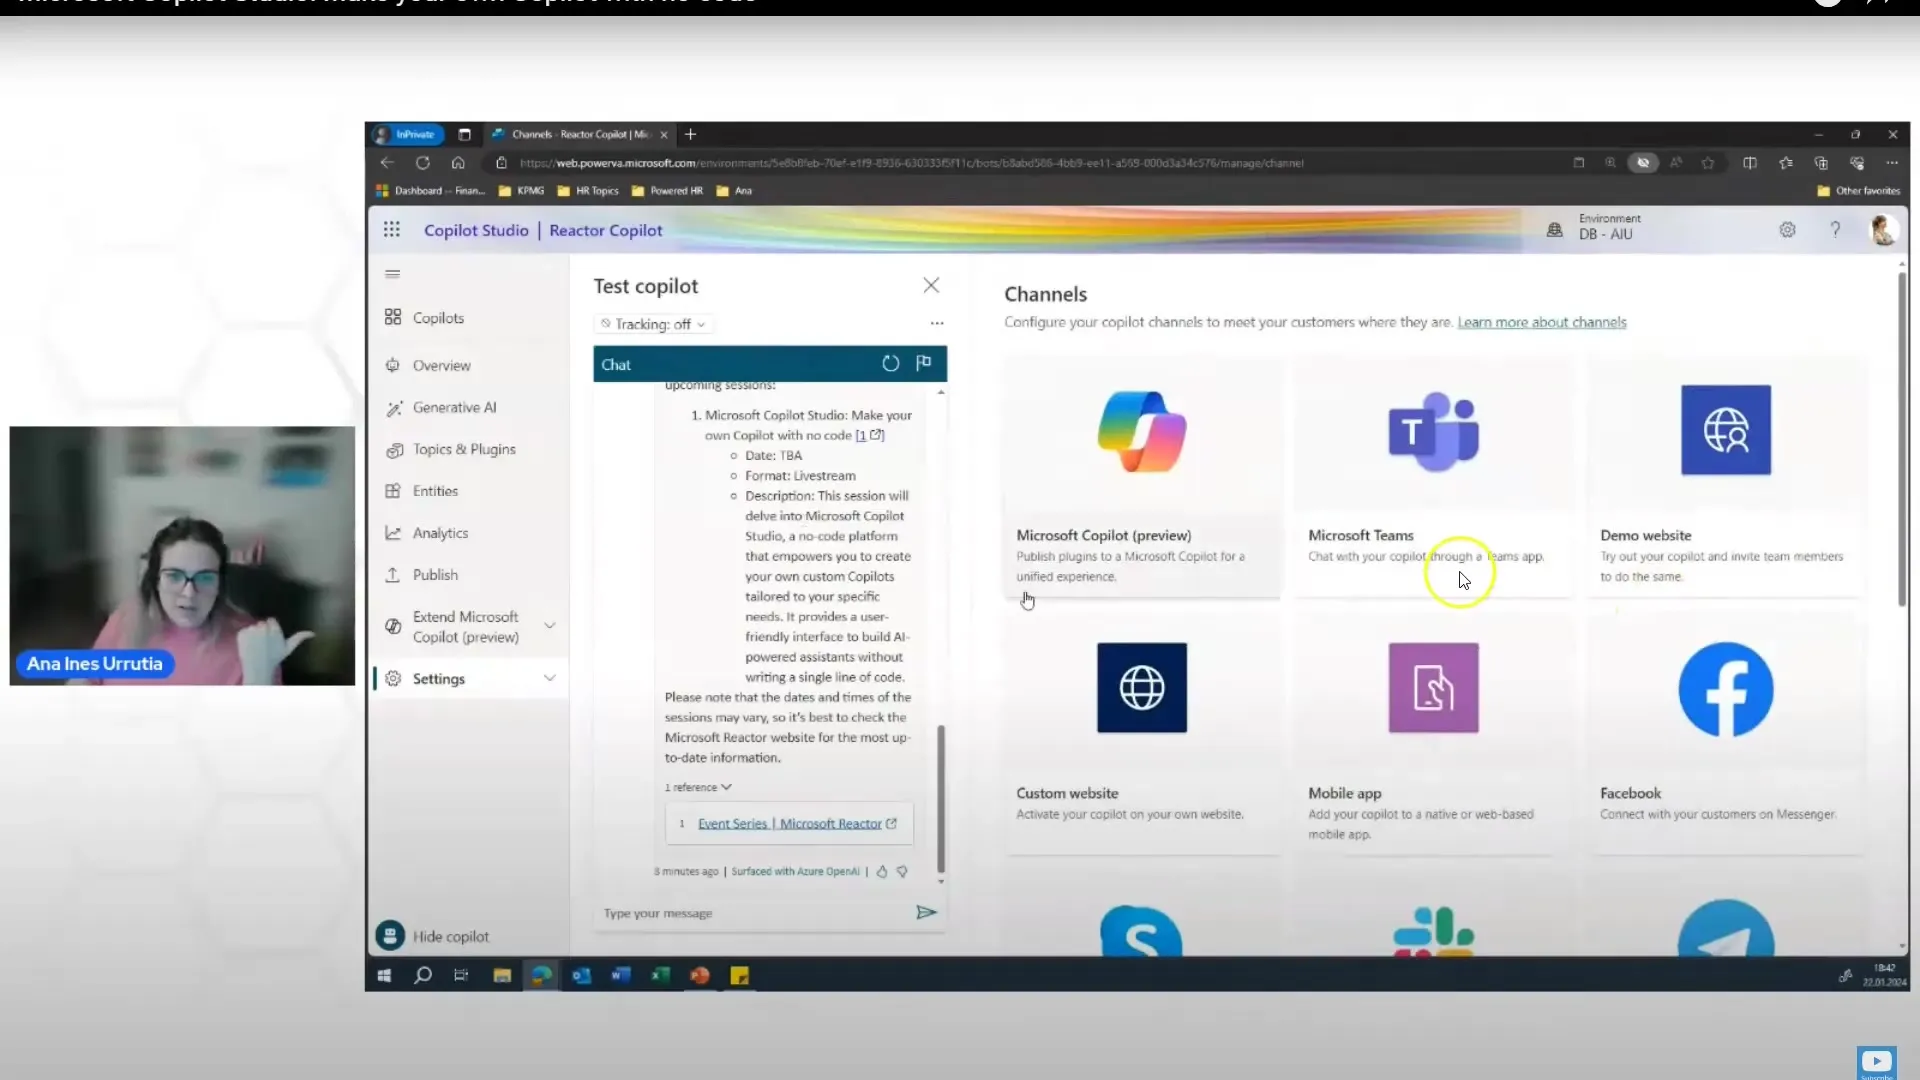
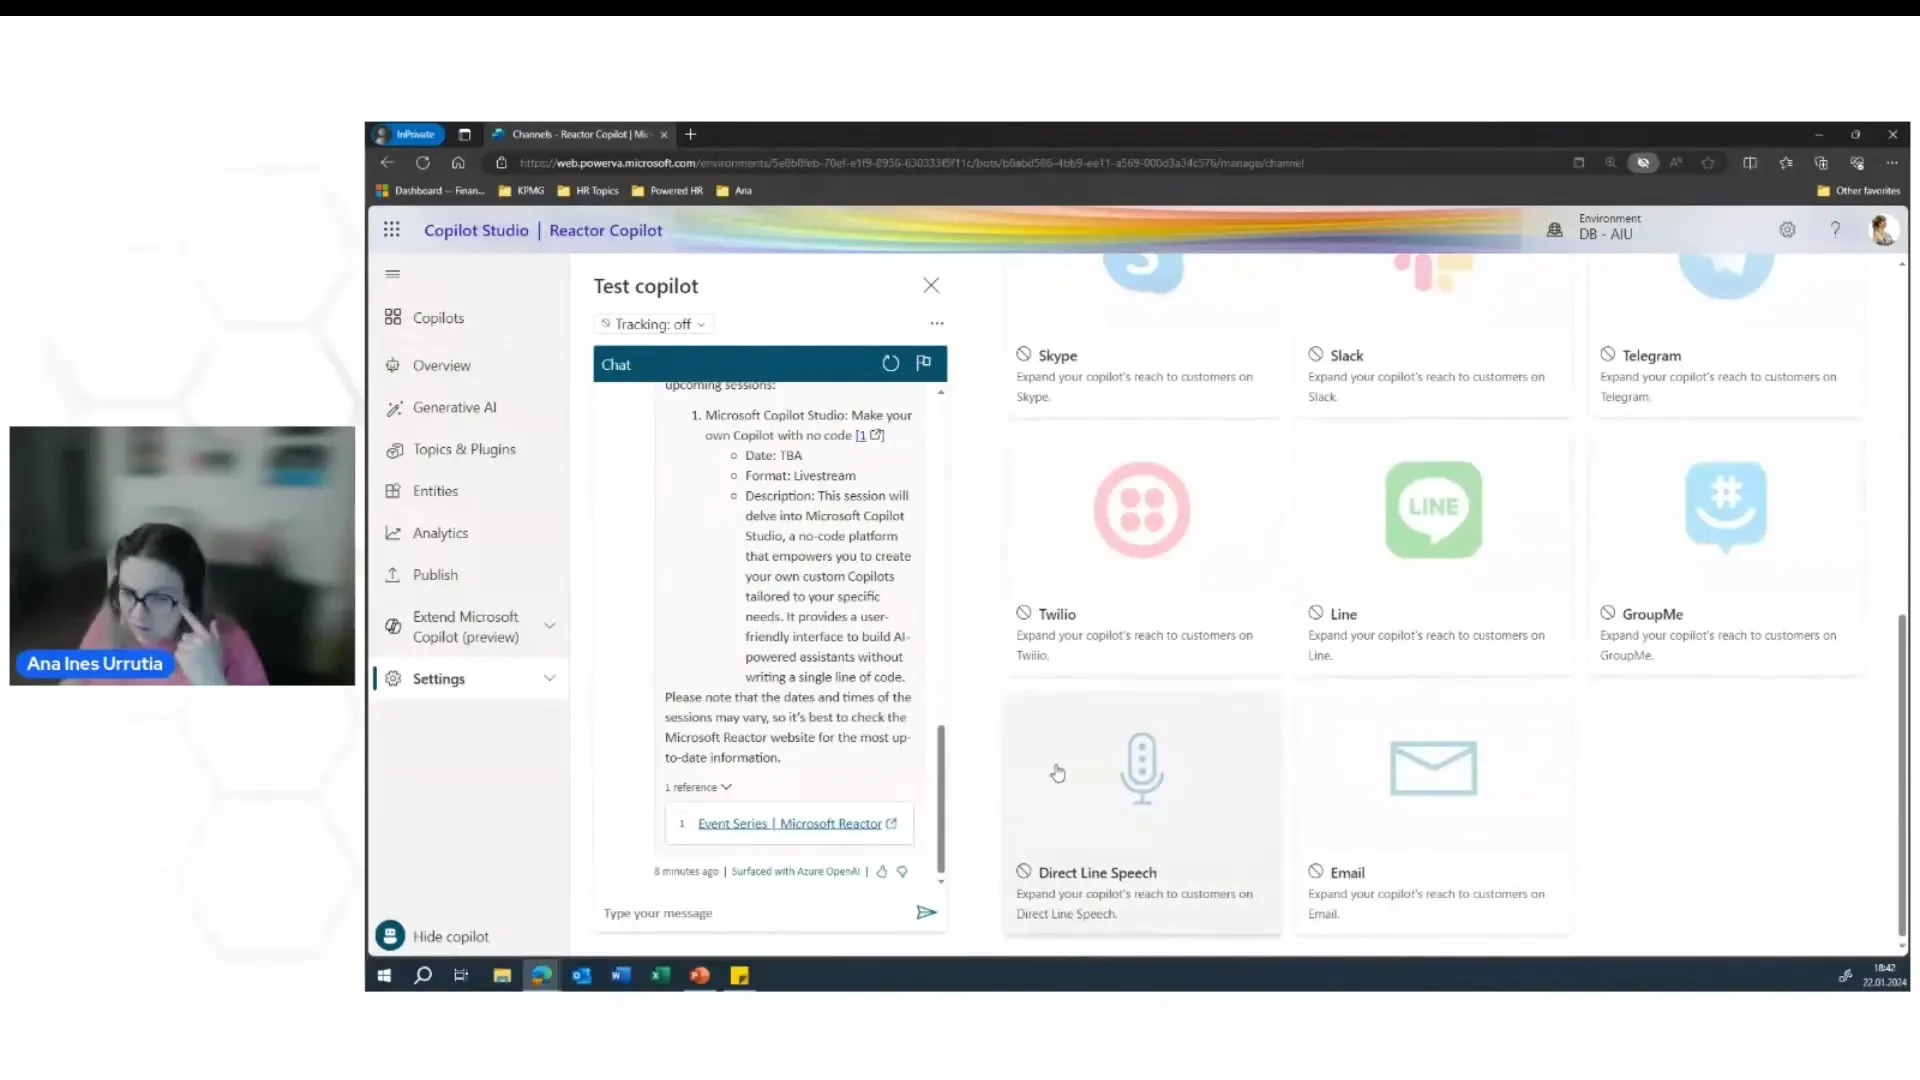
Once you have successfully created your Chatbot, you can share it within your company. If you have a Microsoft 365 Business account, you can integrate the Chatbot in Teams or on a website. Publication is a simple process that allows all users to access the Bot.
Step 9: Feedback and Adjustments
After publishing, it is crucial to gather feedback. Users can provide you with new requests or suggestions for improvement. This way, you can further train your bot and enhance its functionality.
Summary
In this guide, you have learned how to create your own chatbots using Microsoft Copilot Studios. From signing up to training the bots and publishing in your company, you can utilize the diverse functions of the platform. It is advisable to experiment with the free trial version first before choosing a paid plan.
Frequently Asked Questions
How do I sign up for Microsoft Copilot Studios?You can sign up with your business email address to create an account.
Can I test Microsoft Copilot Studios for free?Yes, there is a free trial version available for you to use.
How many websites can I add to my chatbot?You can attach up to four websites to your chatbot.
What formats can my chatbot process?Aside from websites, the bot can also process PDF documents.
Where can I publish my chatbot?You can publish your chatbot in Microsoft Teams or on a website.
