In this tutorial, I'll show you how to create impressive lip synchronizations with the Wav2Lip tool in Google Colab. Wav2Lip allows you to adapt the lip movements of a person in a video to a new audio file. Whether you want to modify your own video or experiment with Deepfake technology — the possibilities are almost limitless. Let's get started and have fun together!
Key Takeaways
- Wav2Lip is a powerful tool that allows you to adapt lip movements in videos to new audio content.
- You can easily import videos from YouTube, add your own audio recording, and perform the production steps in Google Colab.
- You only need a few simple steps to achieve professional results.
Step-by-Step Guide
Step 1: Open Google Colab and Wav2Lip
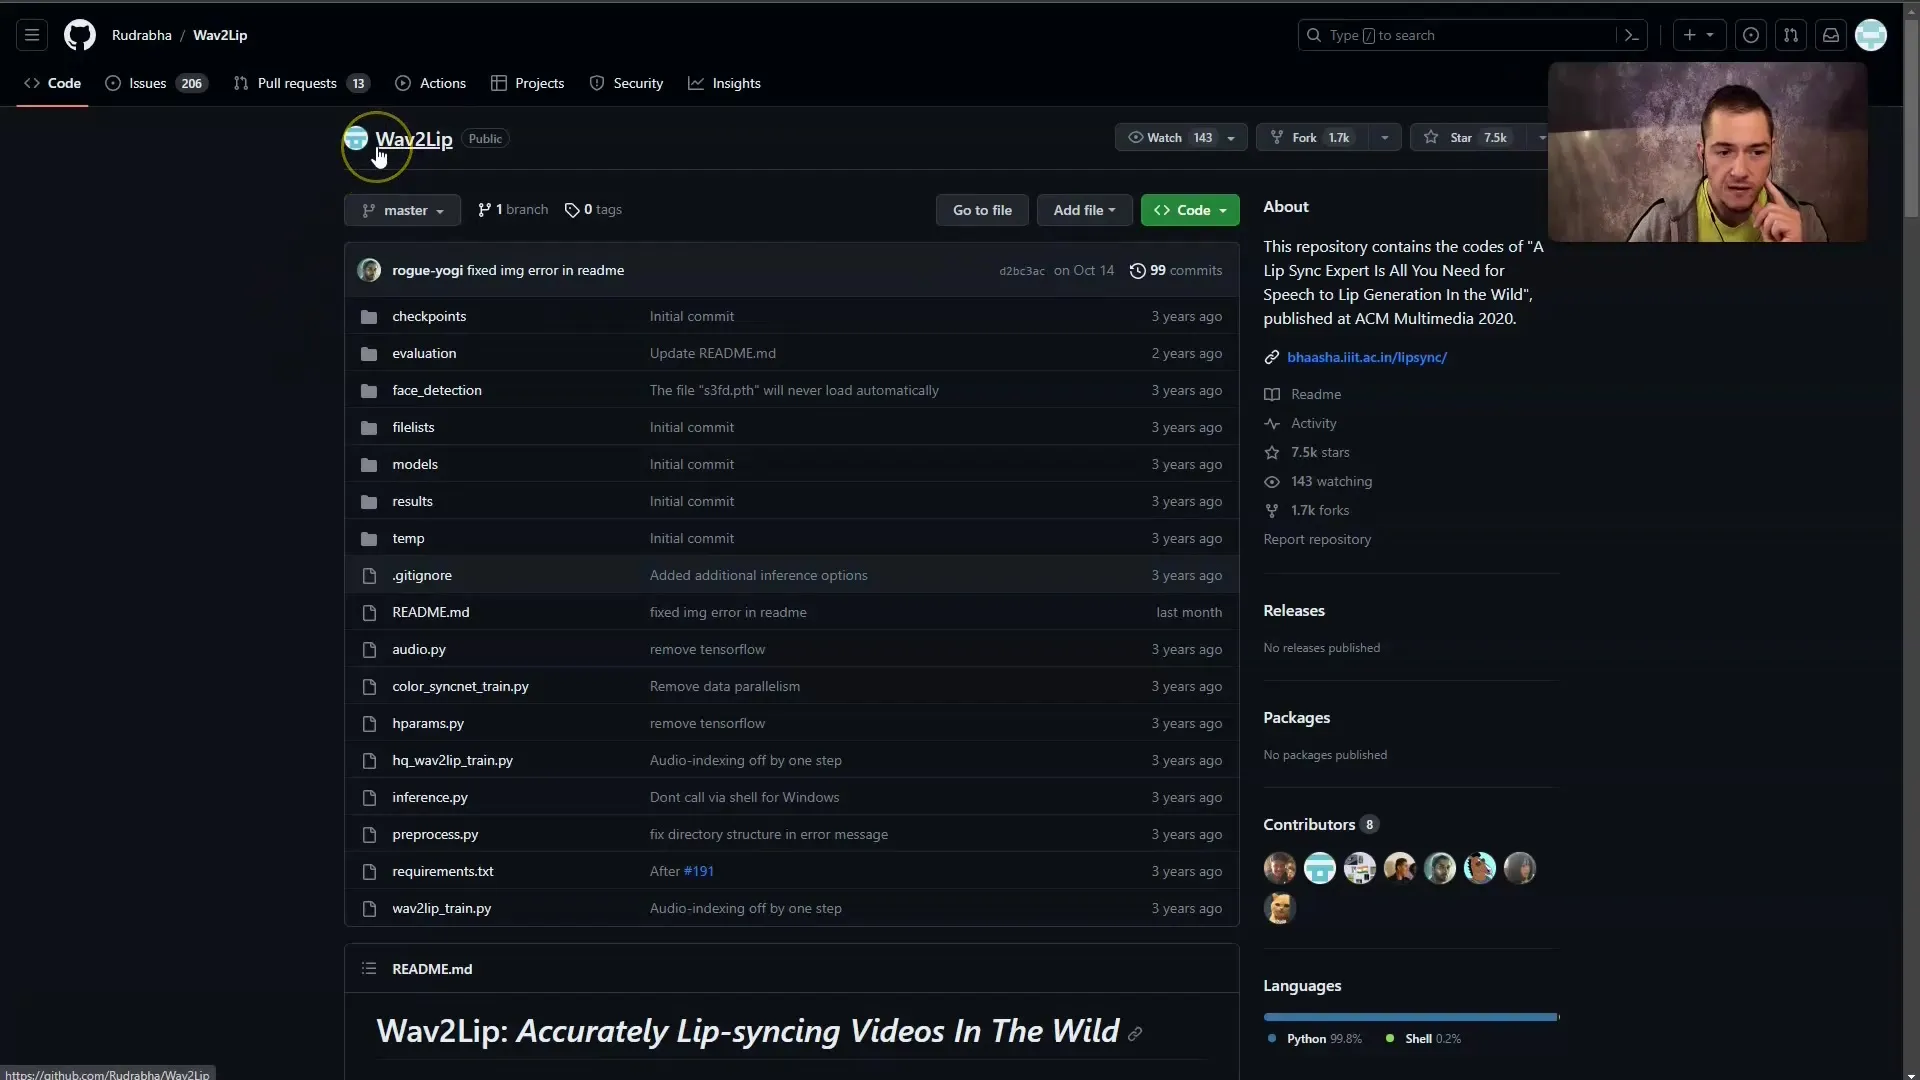
First, you need to find the Wav2Lip notebook on GitHub. This notebook can be found on GitHub under the name "Wav2Lip." You can visit the repository page to get the corresponding link to the Colab notebook.
Step 2: Start the Notebook
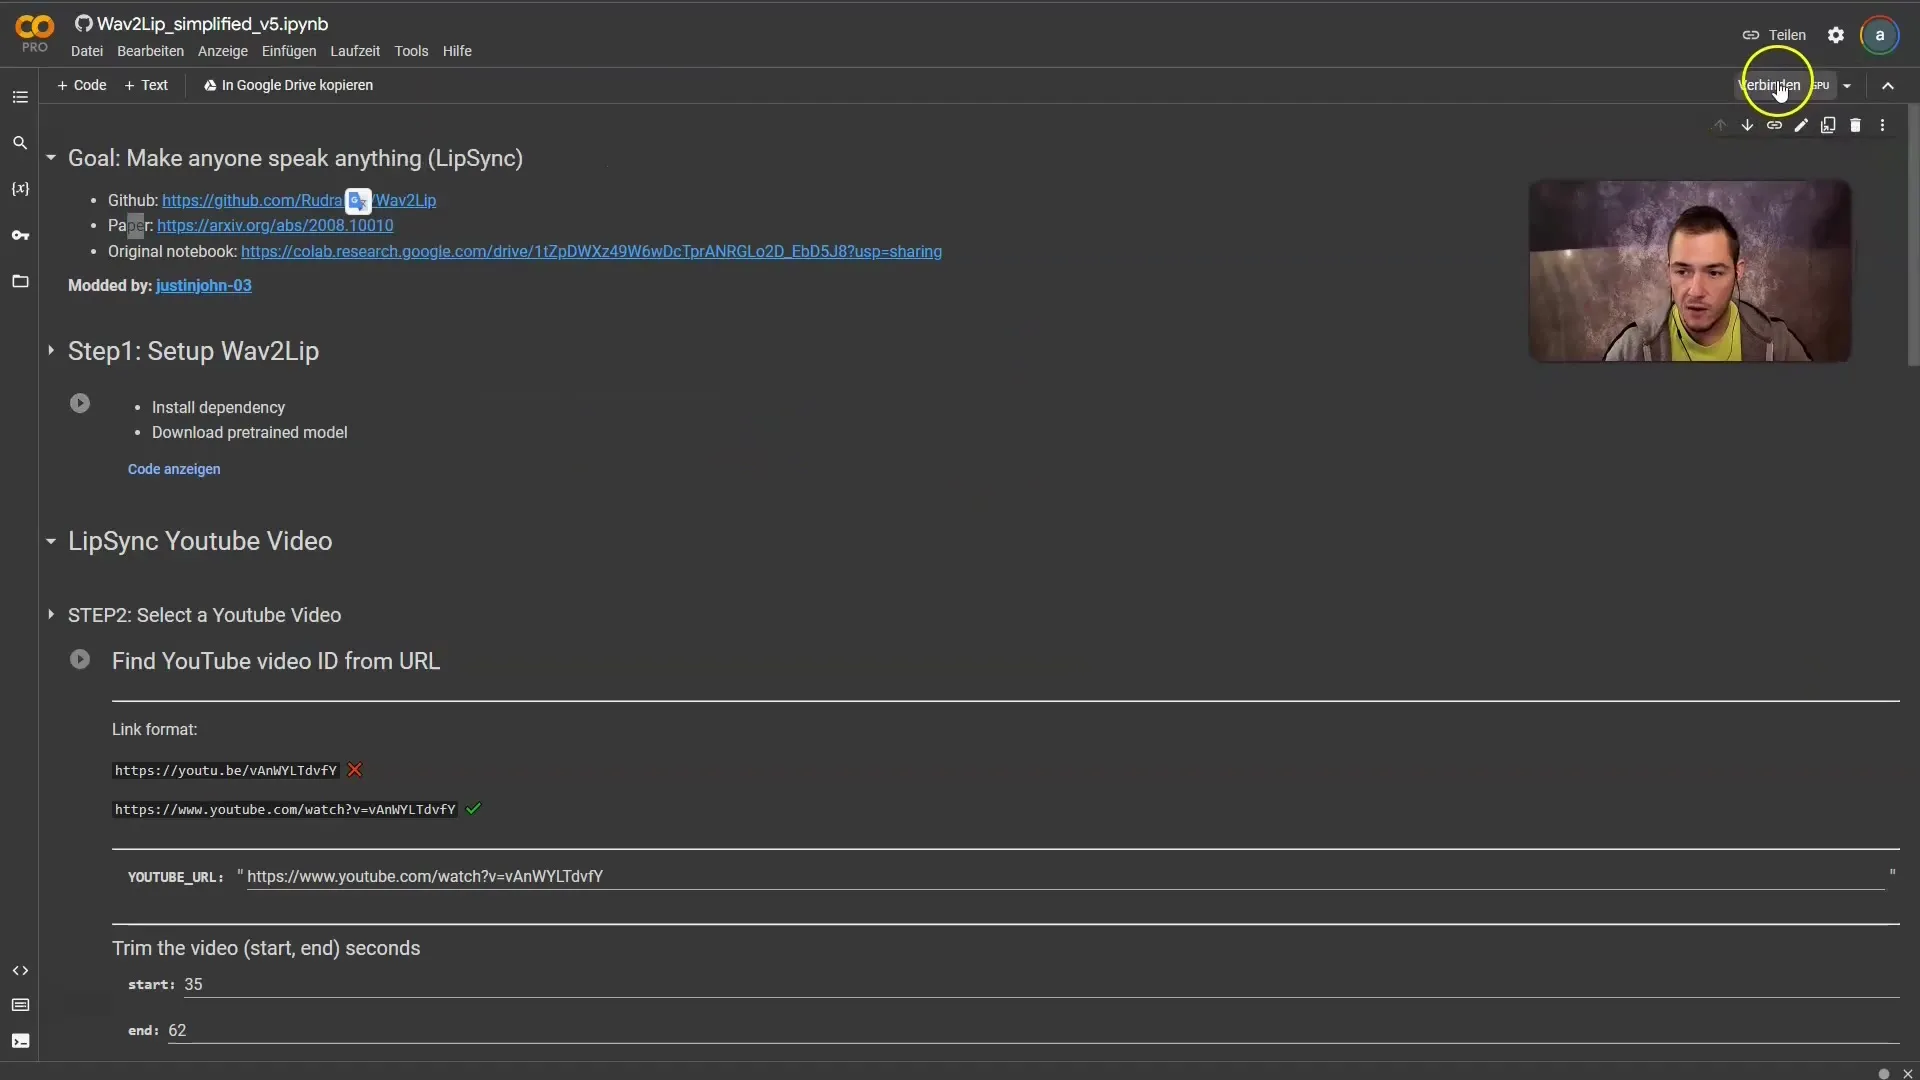
After opening the notebook, make sure you have selected the correct runtime environment. Ensure that you have enabled the GPU runtime. Usually, the GPU runtime is automatically selected, but you can adjust it if necessary.
Step 3: Install Important Libraries
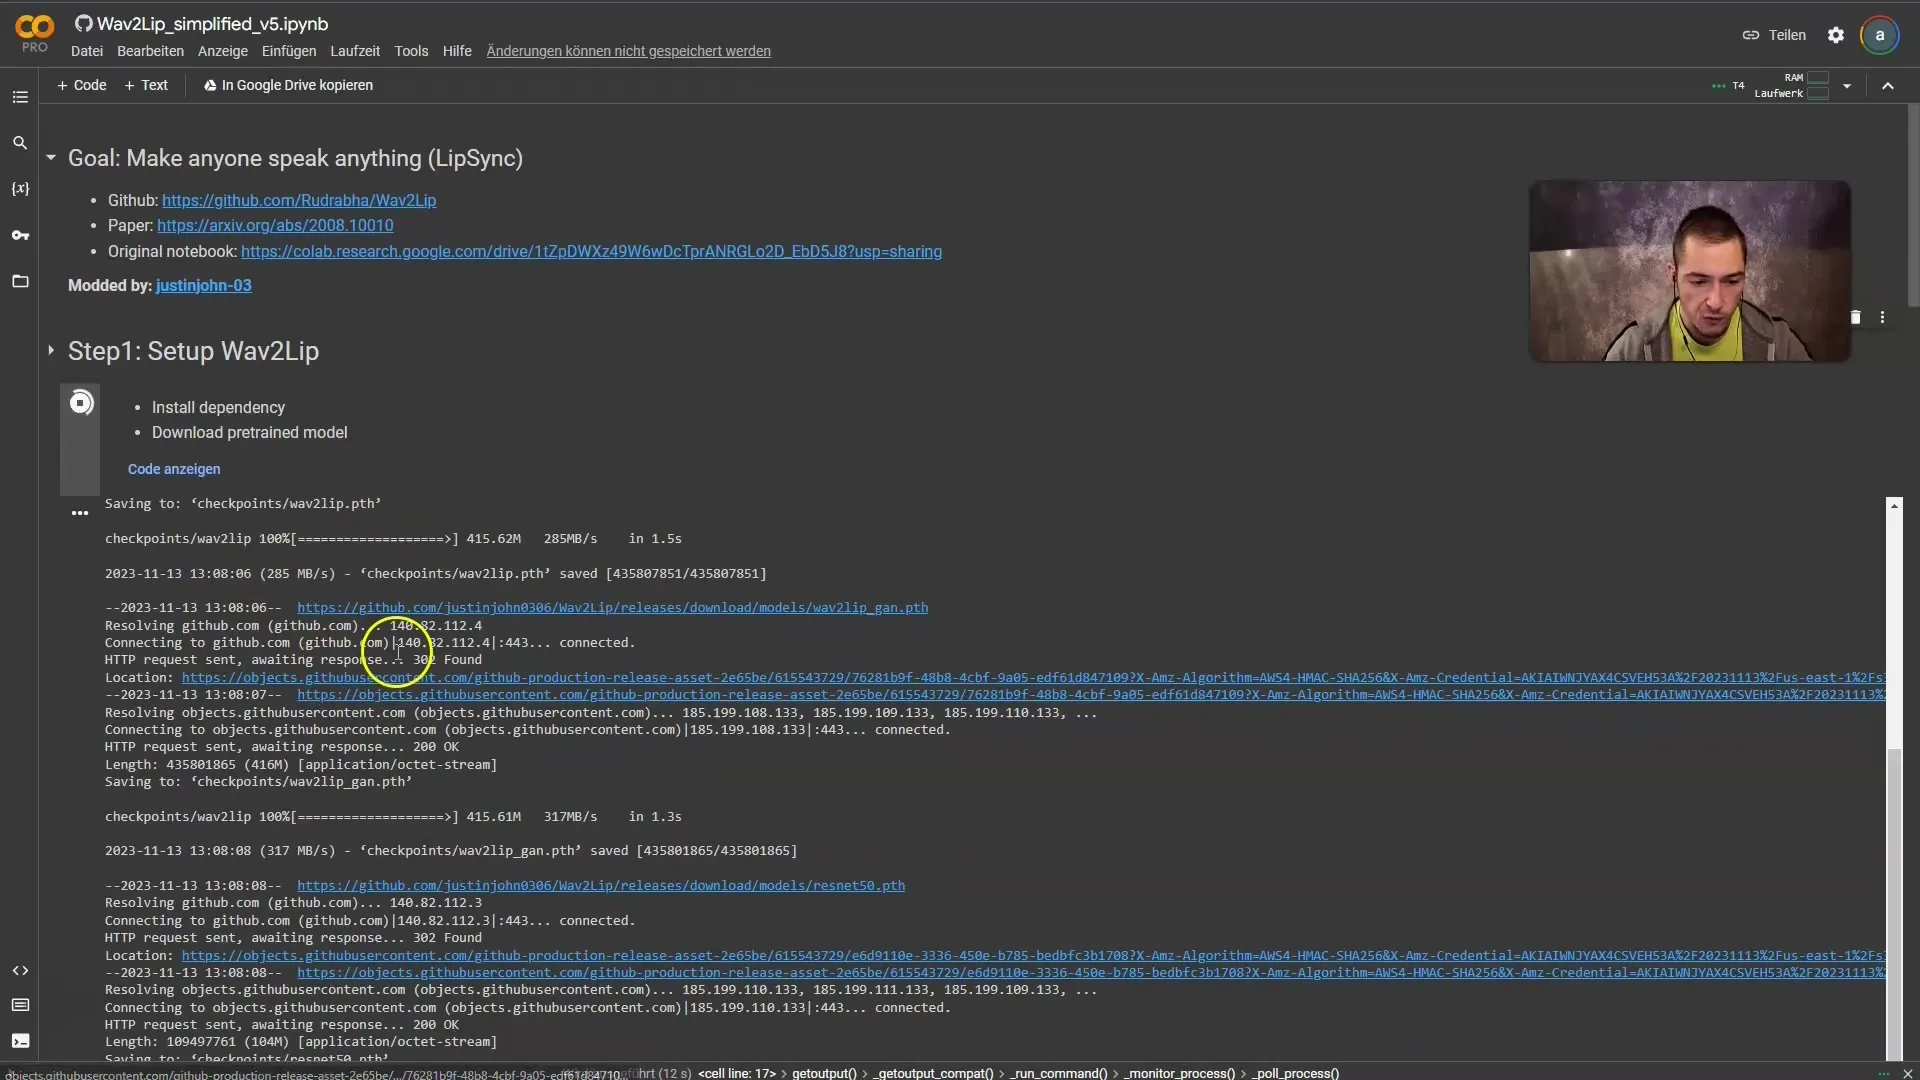
In the notebook, there is a section where the necessary libraries and dependencies are installed. Click on the play button in this cell to start the installation process. This will only take a few minutes.
Step 4: Choose a YouTube Video
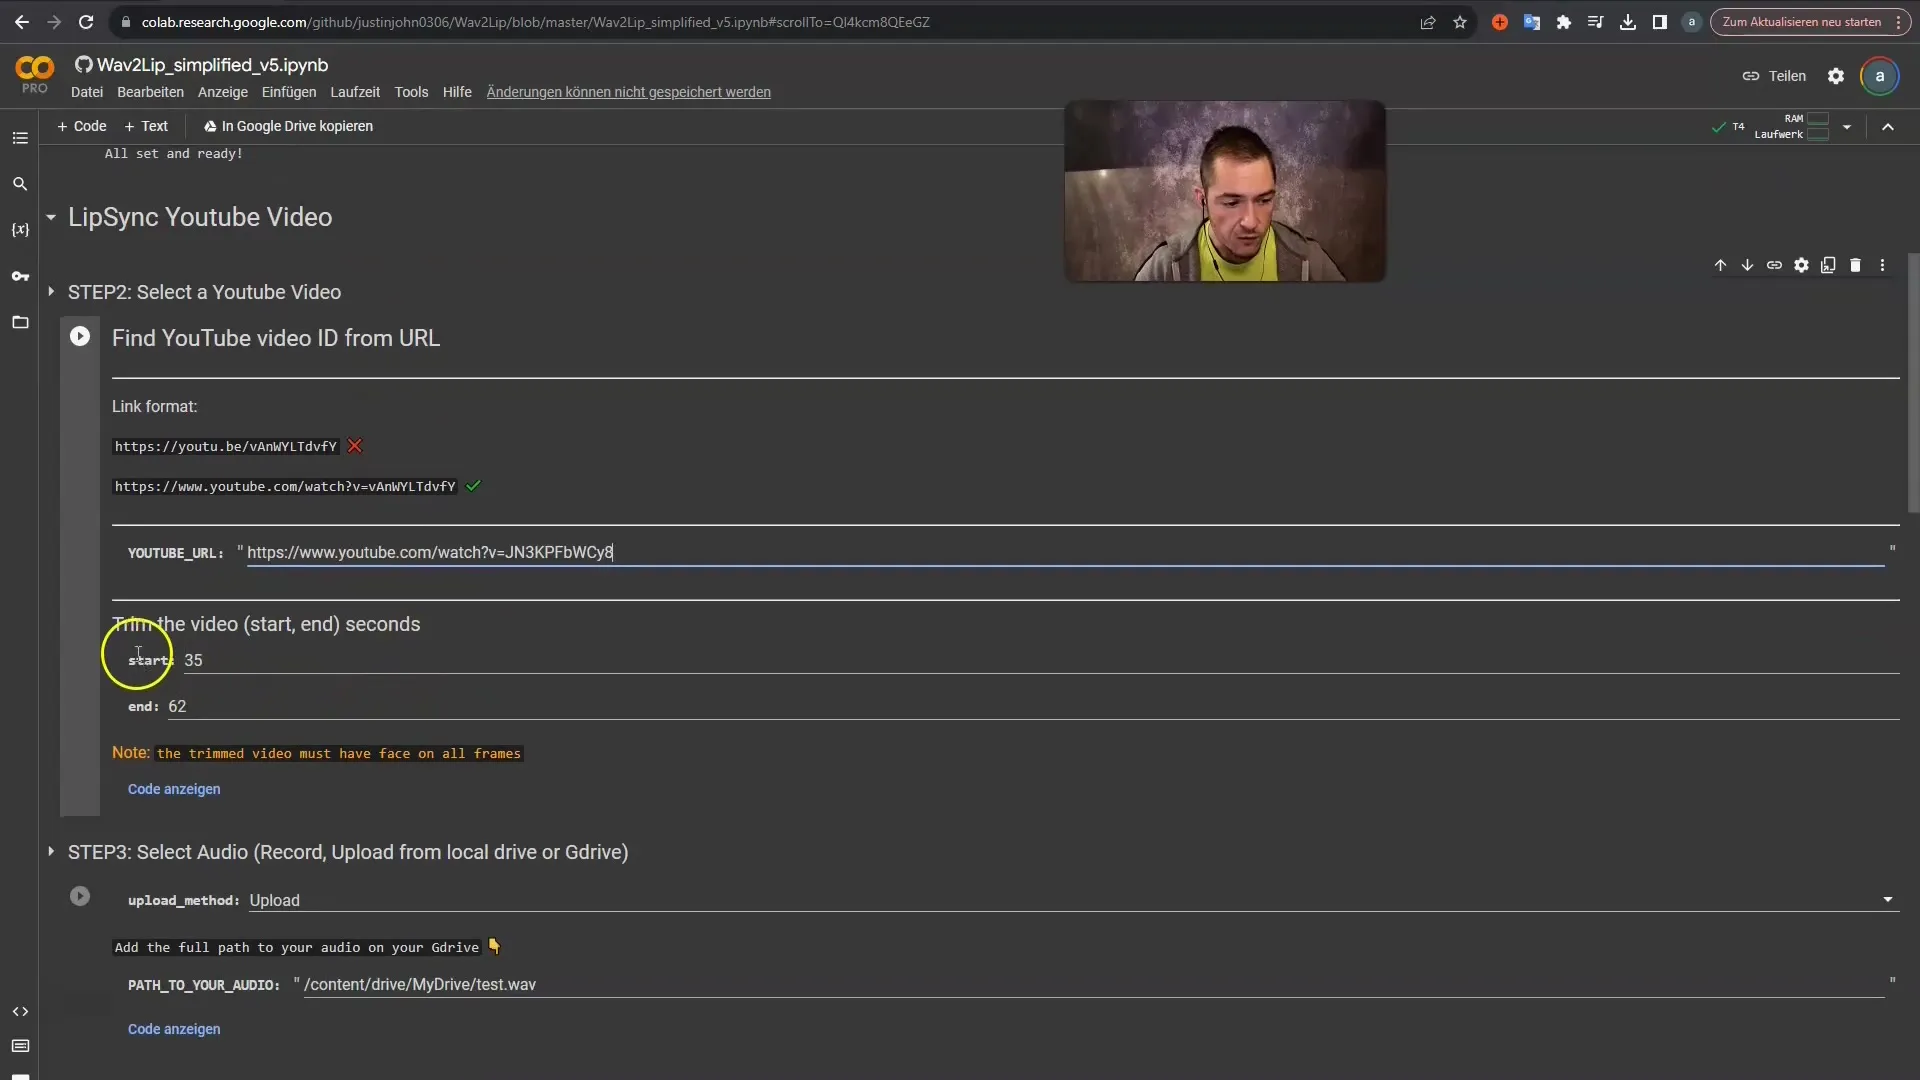
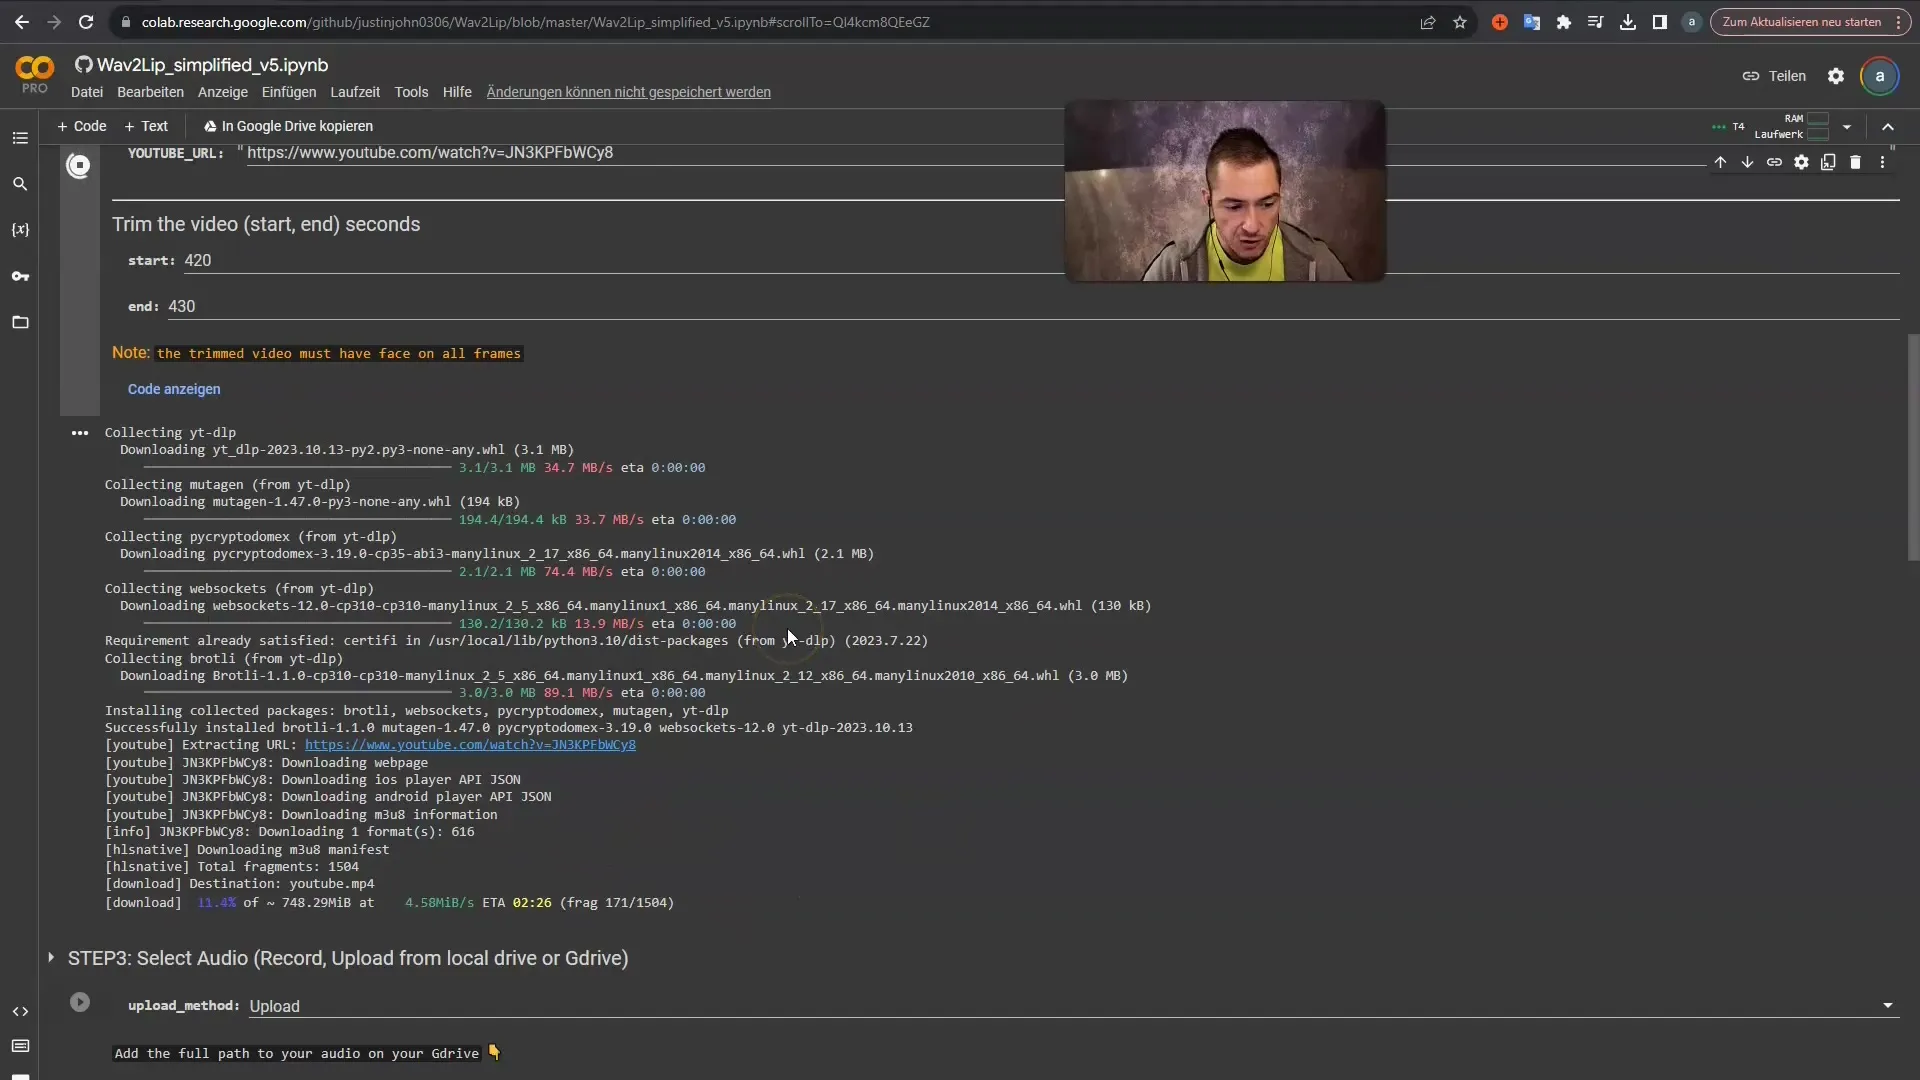
Now you can select the YouTube video you want to use for lip synchronization. Copy the video's URL and paste it into the corresponding field in the notebook. Make sure the face of the person whose lips you want to synchronize is visible in every frame.
Step 5: Define Time Range for the Video
Define the start and end time for the lipsync operation. For example, if Elon Musk is speaking in your chosen video from minute 7 to 17, enter this time range. Make sure to calculate the seconds correctly to use the correct section of the video.
Step 6: Download the Video
Once the URL is entered and the time range is defined, click on the respective play button to download the video. The download will run in the background, and you can track the progress.
Step 7: Upload the Audio
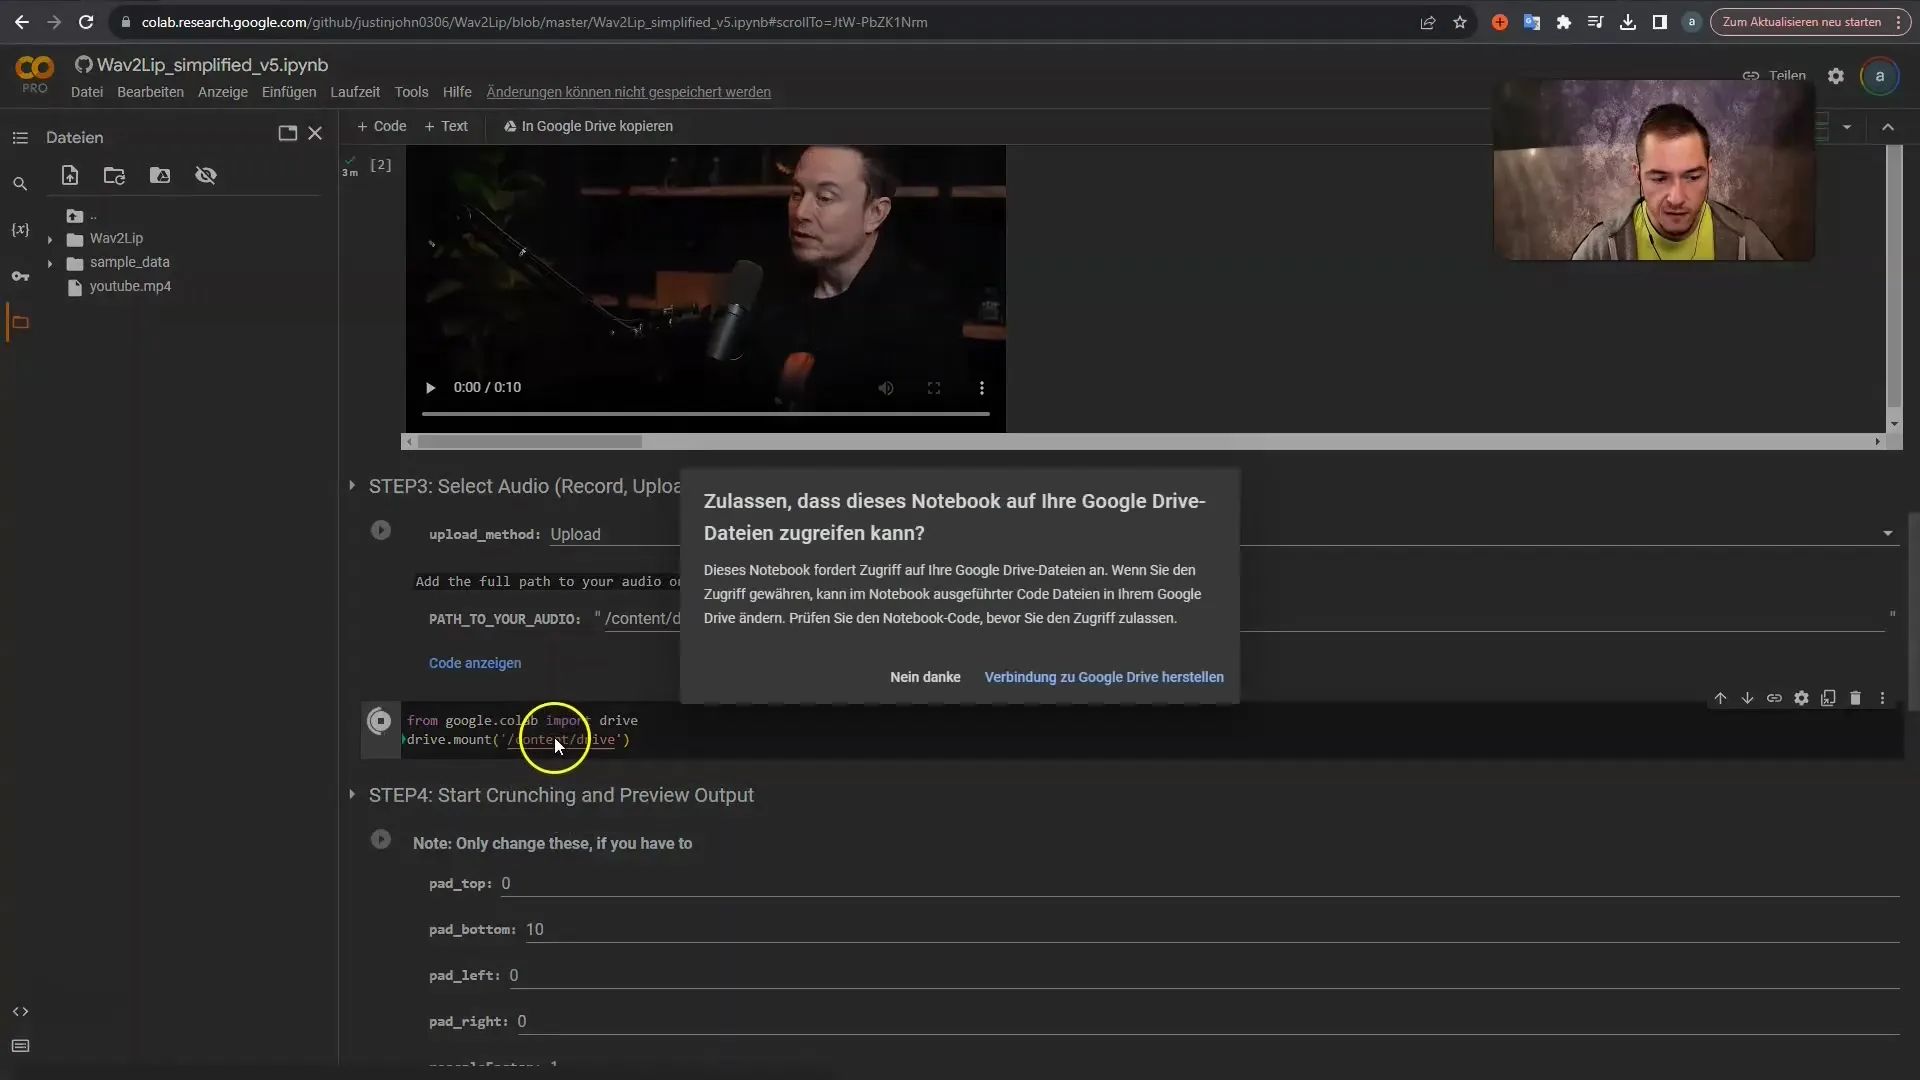
Now it's time to upload your audio. You can create a new audio recording or use an existing file. Make sure the audio format (e.g., .wav or .mp3) is supported. Connect your Google Drive to quickly import the file.
Step 8: Specify the Path to the Audio File
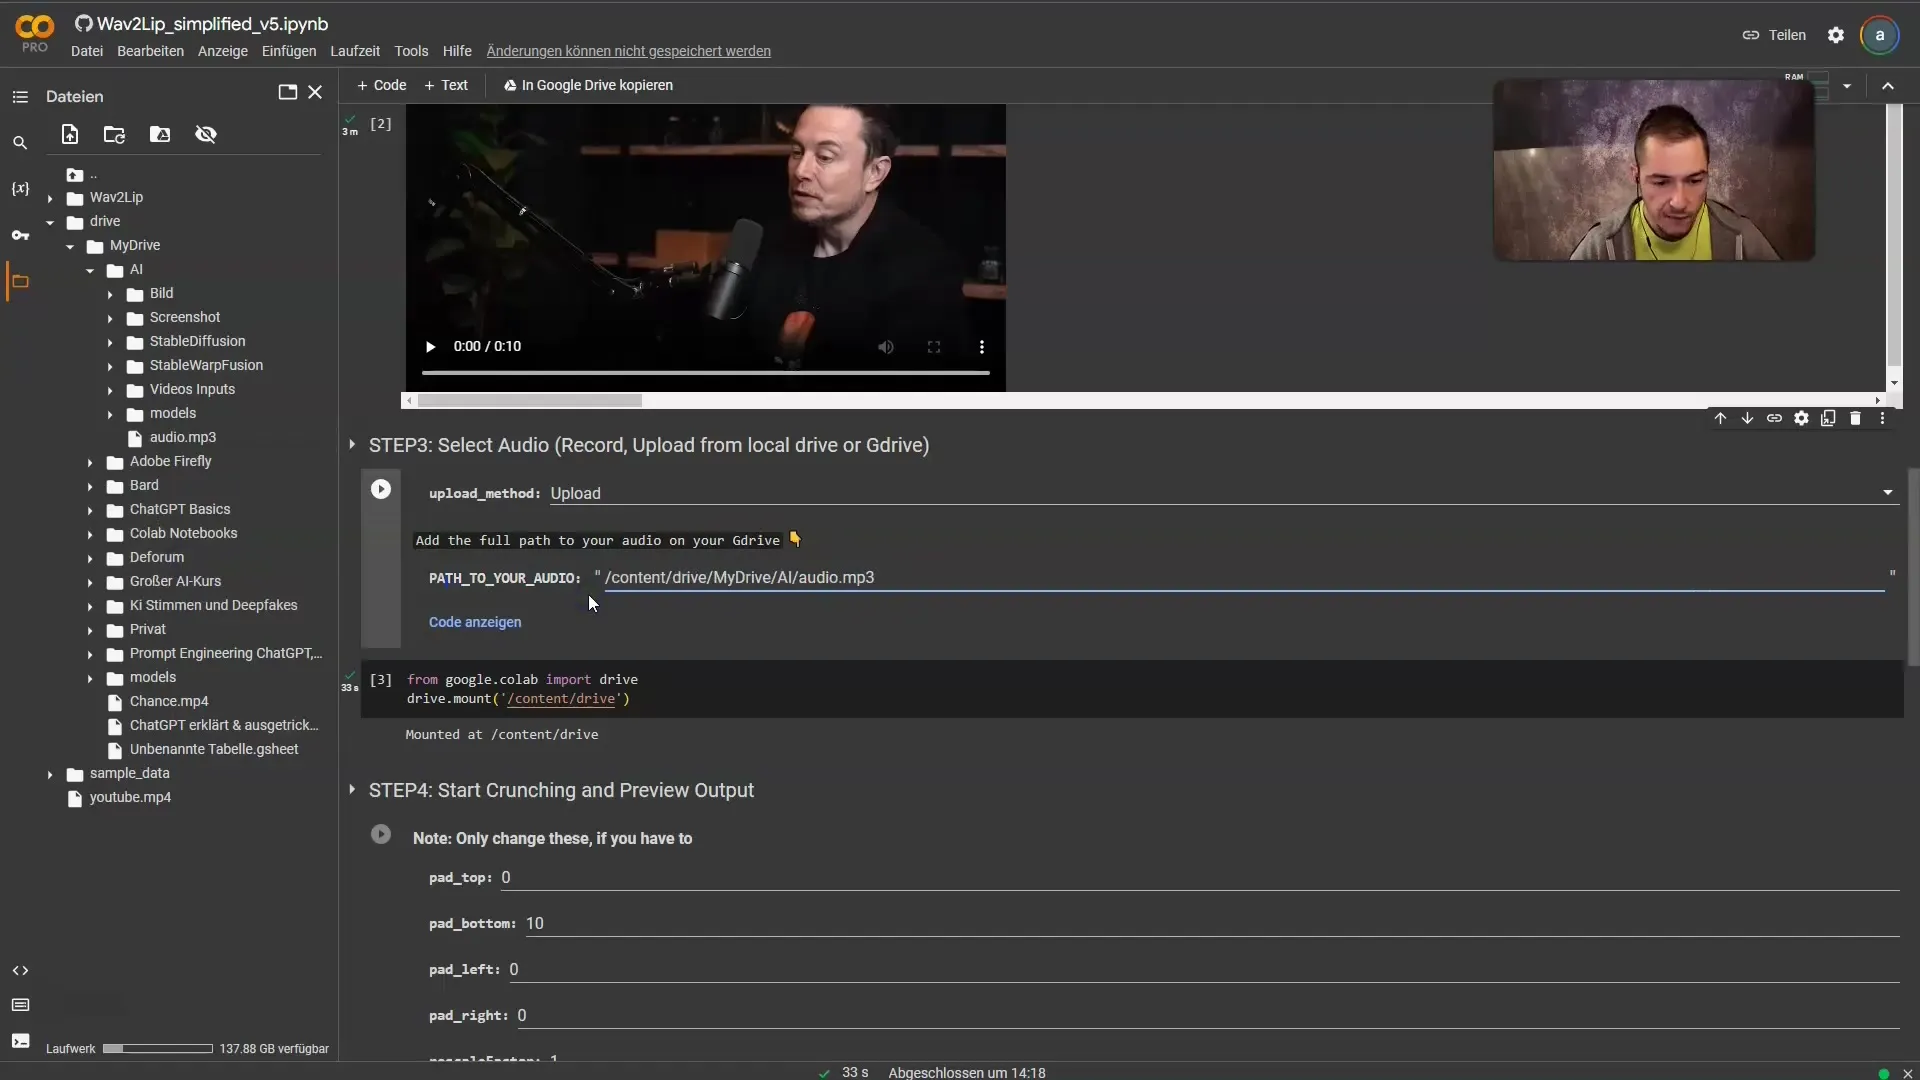
After uploading the audio file, you need to specify the path to the file in the notebook. This step is important so that the notebook can access the file to perform the synchronization.
Step 9: Perform Lipsync
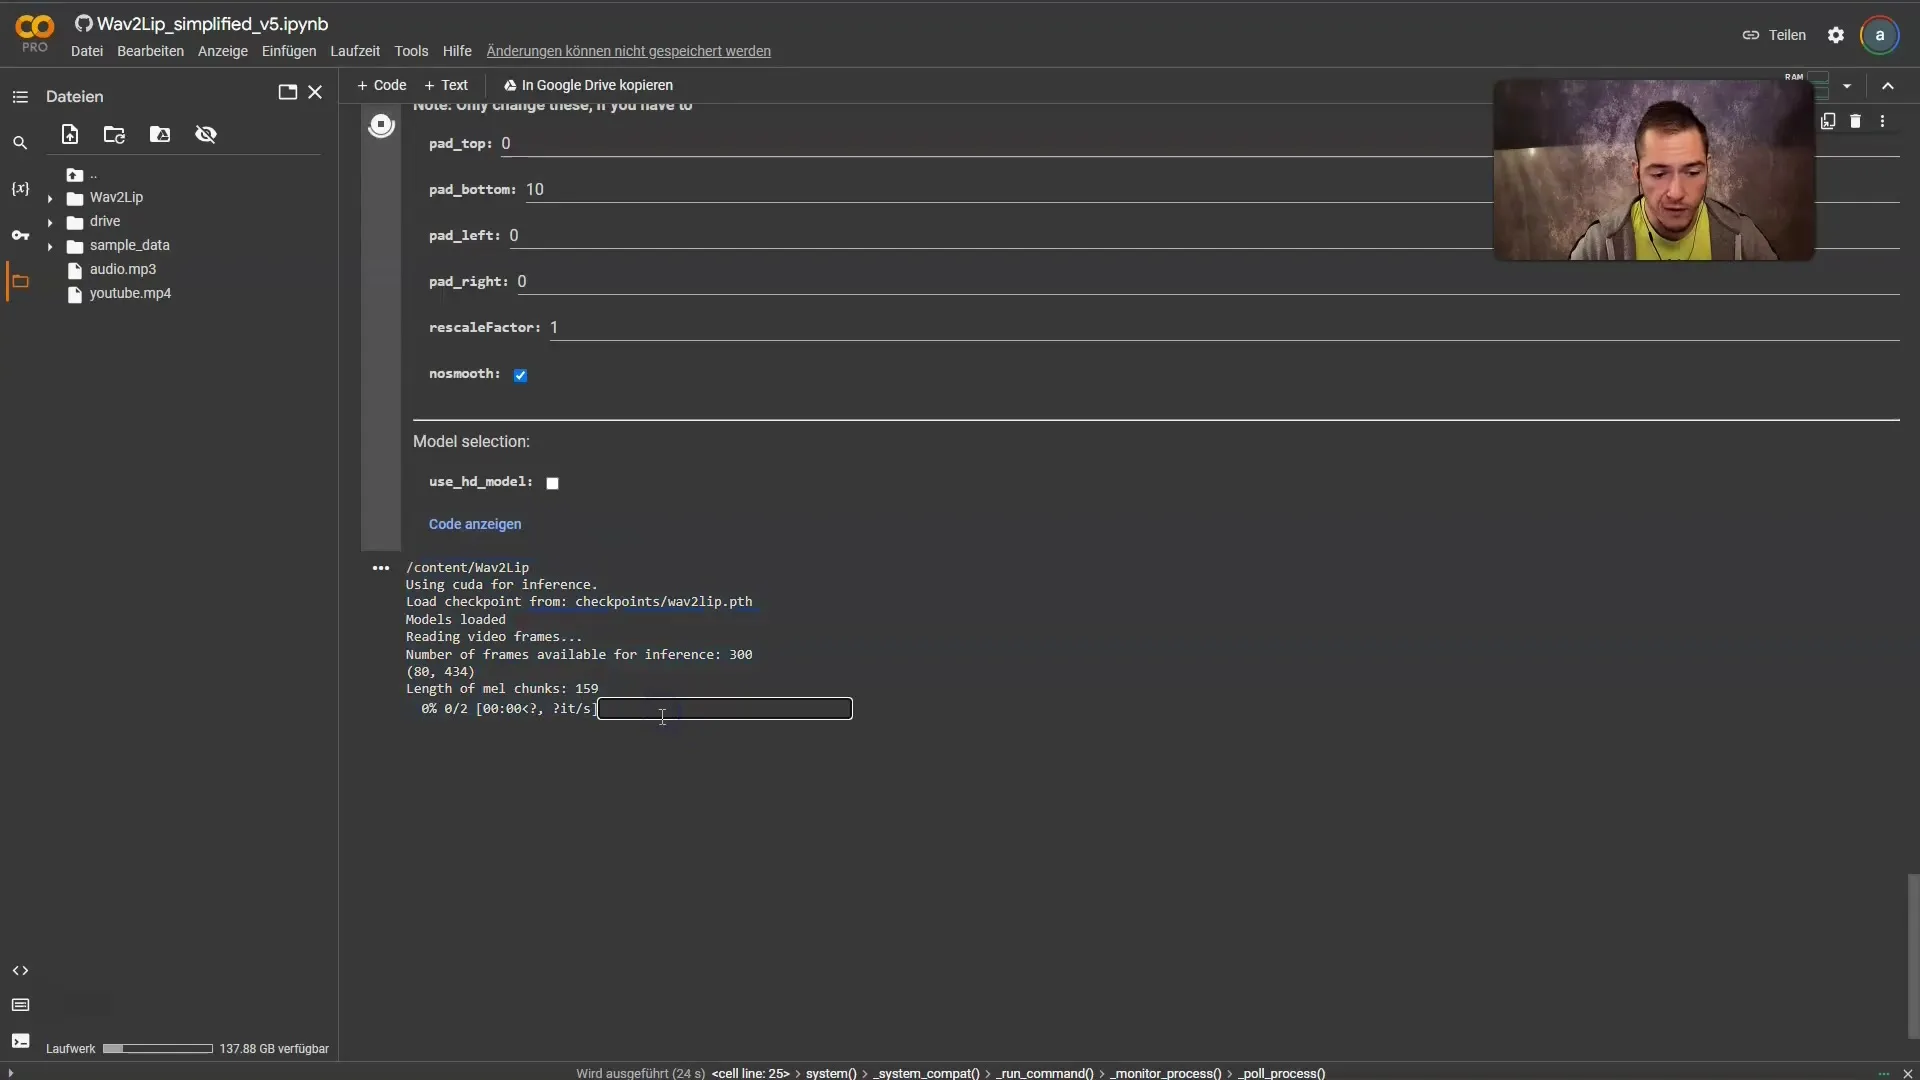
In the next step, you can merge the two files (video and audio) together. Click on the play button in the final cell to start the lipsync process. This may take a few minutes depending on the data's complexity.
Step 10: Check and Download the Result
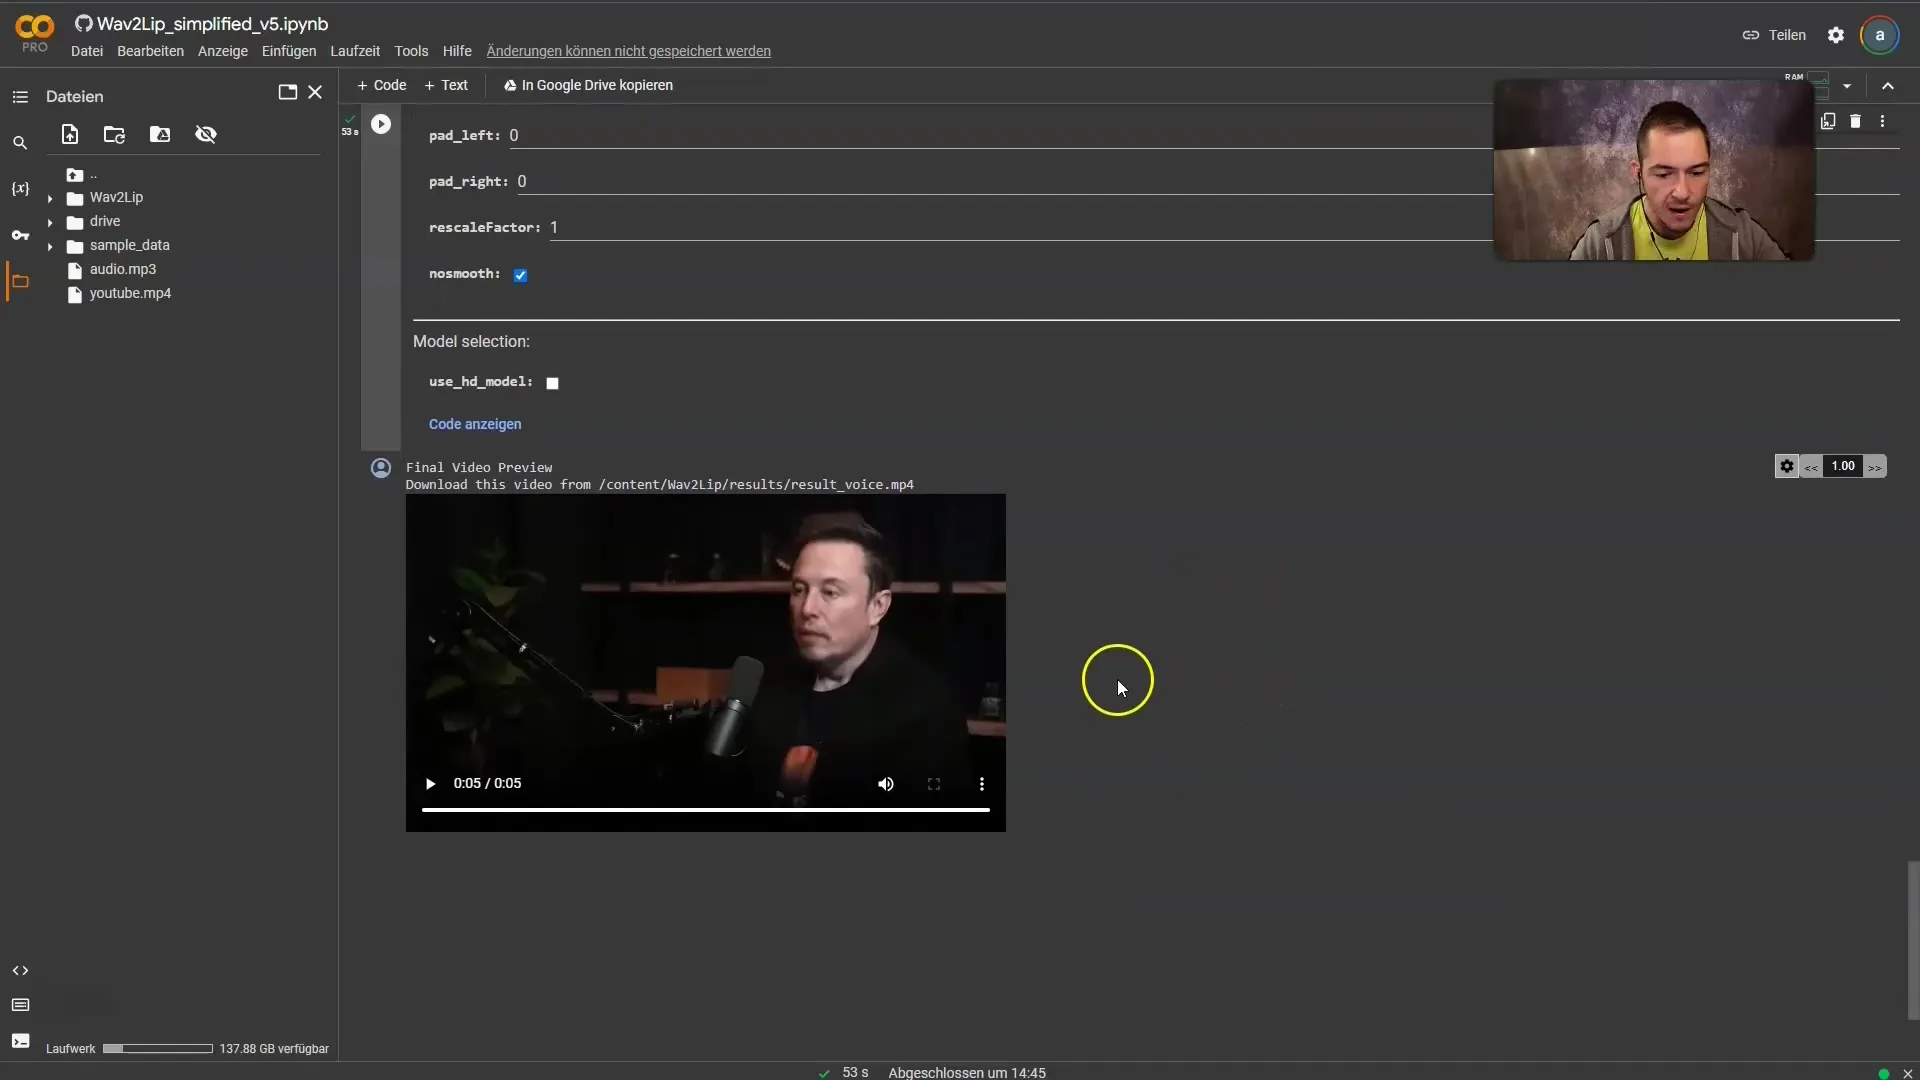
After the lipsync process is completed, you can play and check the result. If you are satisfied, you can save the video on your computer by using the three-dot menu and clicking on "Download".
Summary
In this guide, you have learned how to create a video from an audio file using Wav2Lip in Google Colab. You just need to set up the notebook, download the video, upload your audio file, and synchronize. It is remarkably easy to create creative videos with this technology.
Frequently Asked Questions
What do I need to use Wav2Lip?You need a Google account to use Google Colab, a URL of a YouTube video, and an audio file in the supported format.
Can I use my own videos?Yes, you can also upload your own videos and synchronize them with an audio file of your choice.
How long does it take to create a lipsync comparison?The whole process can take anywhere from a few minutes to half an hour depending on internet speed and data complexity.


