Adobe Photoshop Elements offers you a variety of tools to tackle the task of cutting out. In this guide, you will learn how to efficiently use the magnetic lasso to cut out a person from a simple background. Furthermore, I will give you useful tips to remove disturbing color fringes that may occur during cutting. Let's dive into the details right away!
Main Takeaways
- The magnetic lasso enables precise selections by edge tracing.
- You can optimize the selection by contrast and frequency settings.
- Color fringes can be removed by coloring over.
Step-by-Step Guide
Step 1: Select the Original Image
Open your image in Adobe Photoshop Elements. To make a selection, make sure you have the right tool activated. Choose the magnetic lasso from the toolbar.
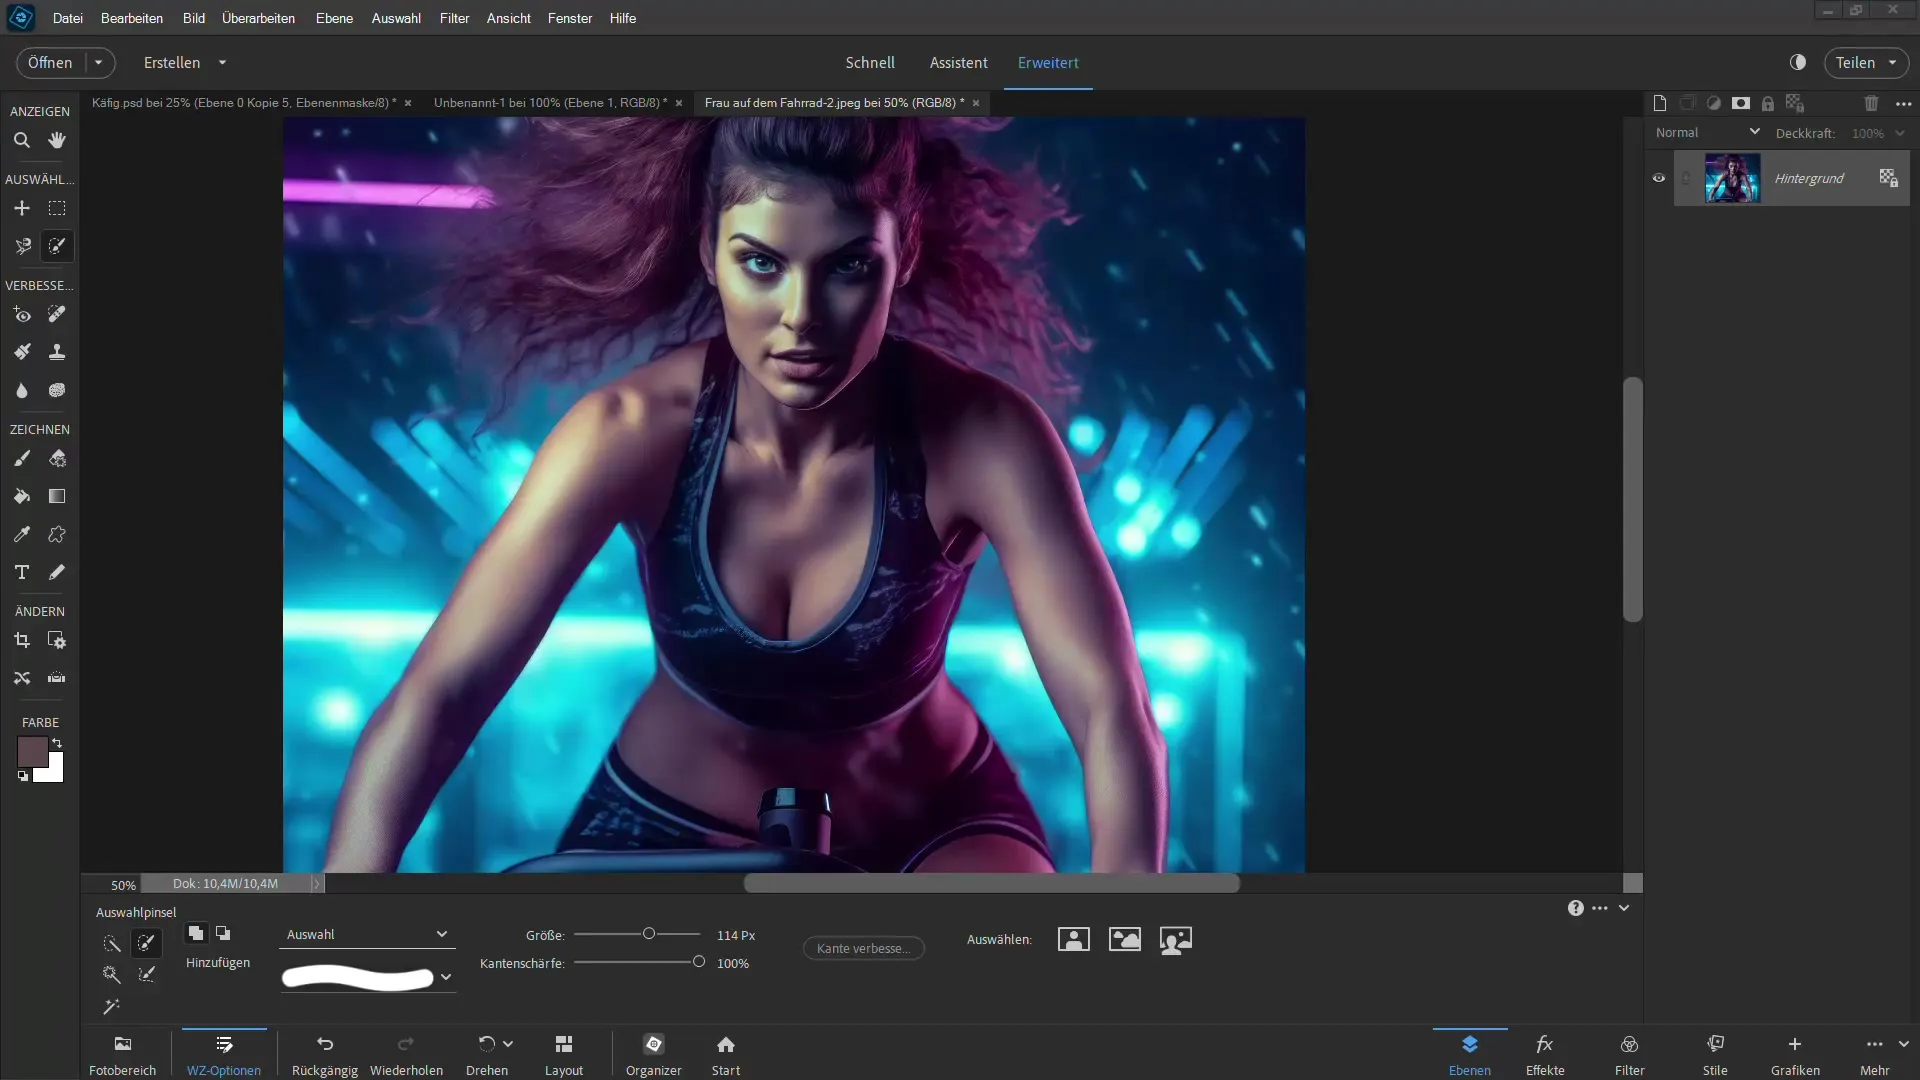
Step 2: Customize Lasso Options
Before you start selecting, check out the options for the magnetic lasso. You can adjust the width and contrast. The width determines the detection distance, while the contrast sets the edge sensitivity. Experiment with different values to achieve the best results for your image.
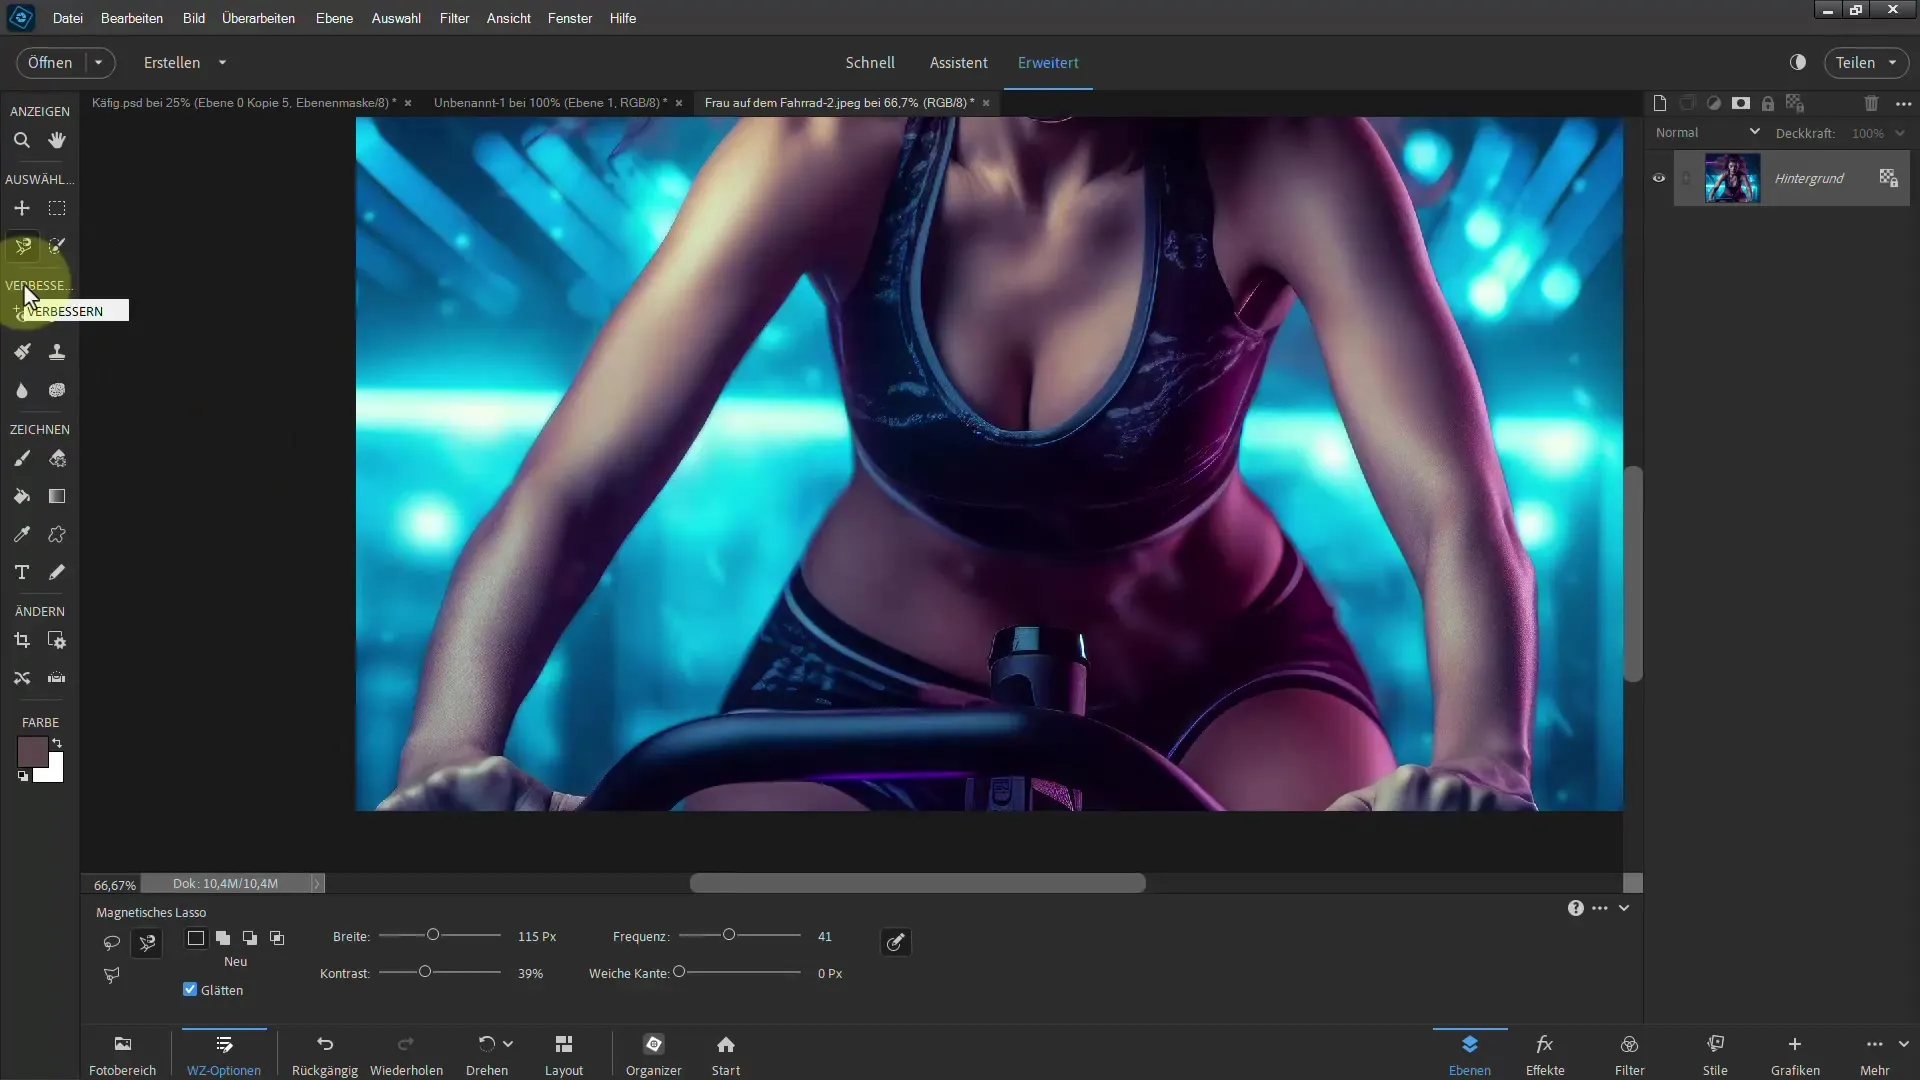
Step 3: Work with the Magnetic Lasso
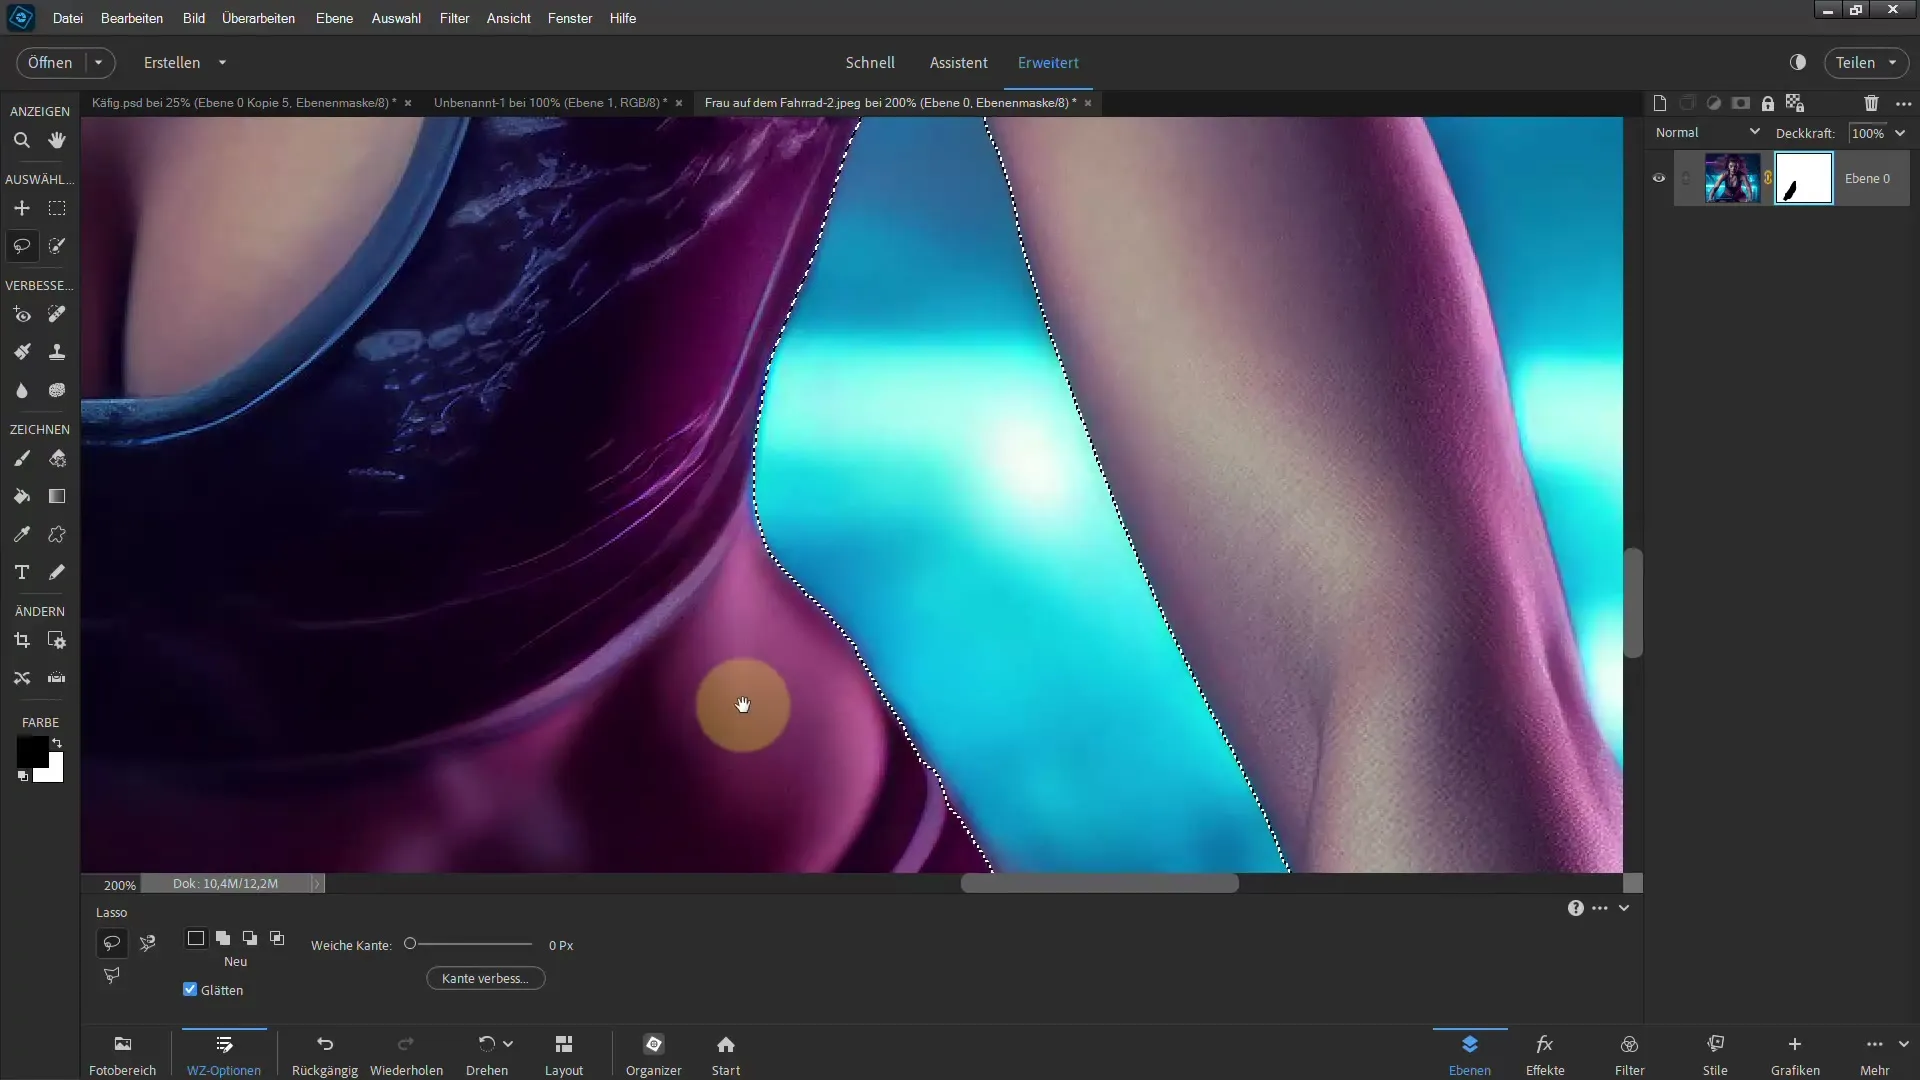
Now start your selection by gliding along the motif with the magnetic lasso. You will see that the lasso follows the edge and sets anchor points. Make sure that even if points are missing, you can manually set new anchors to optimize the selection.
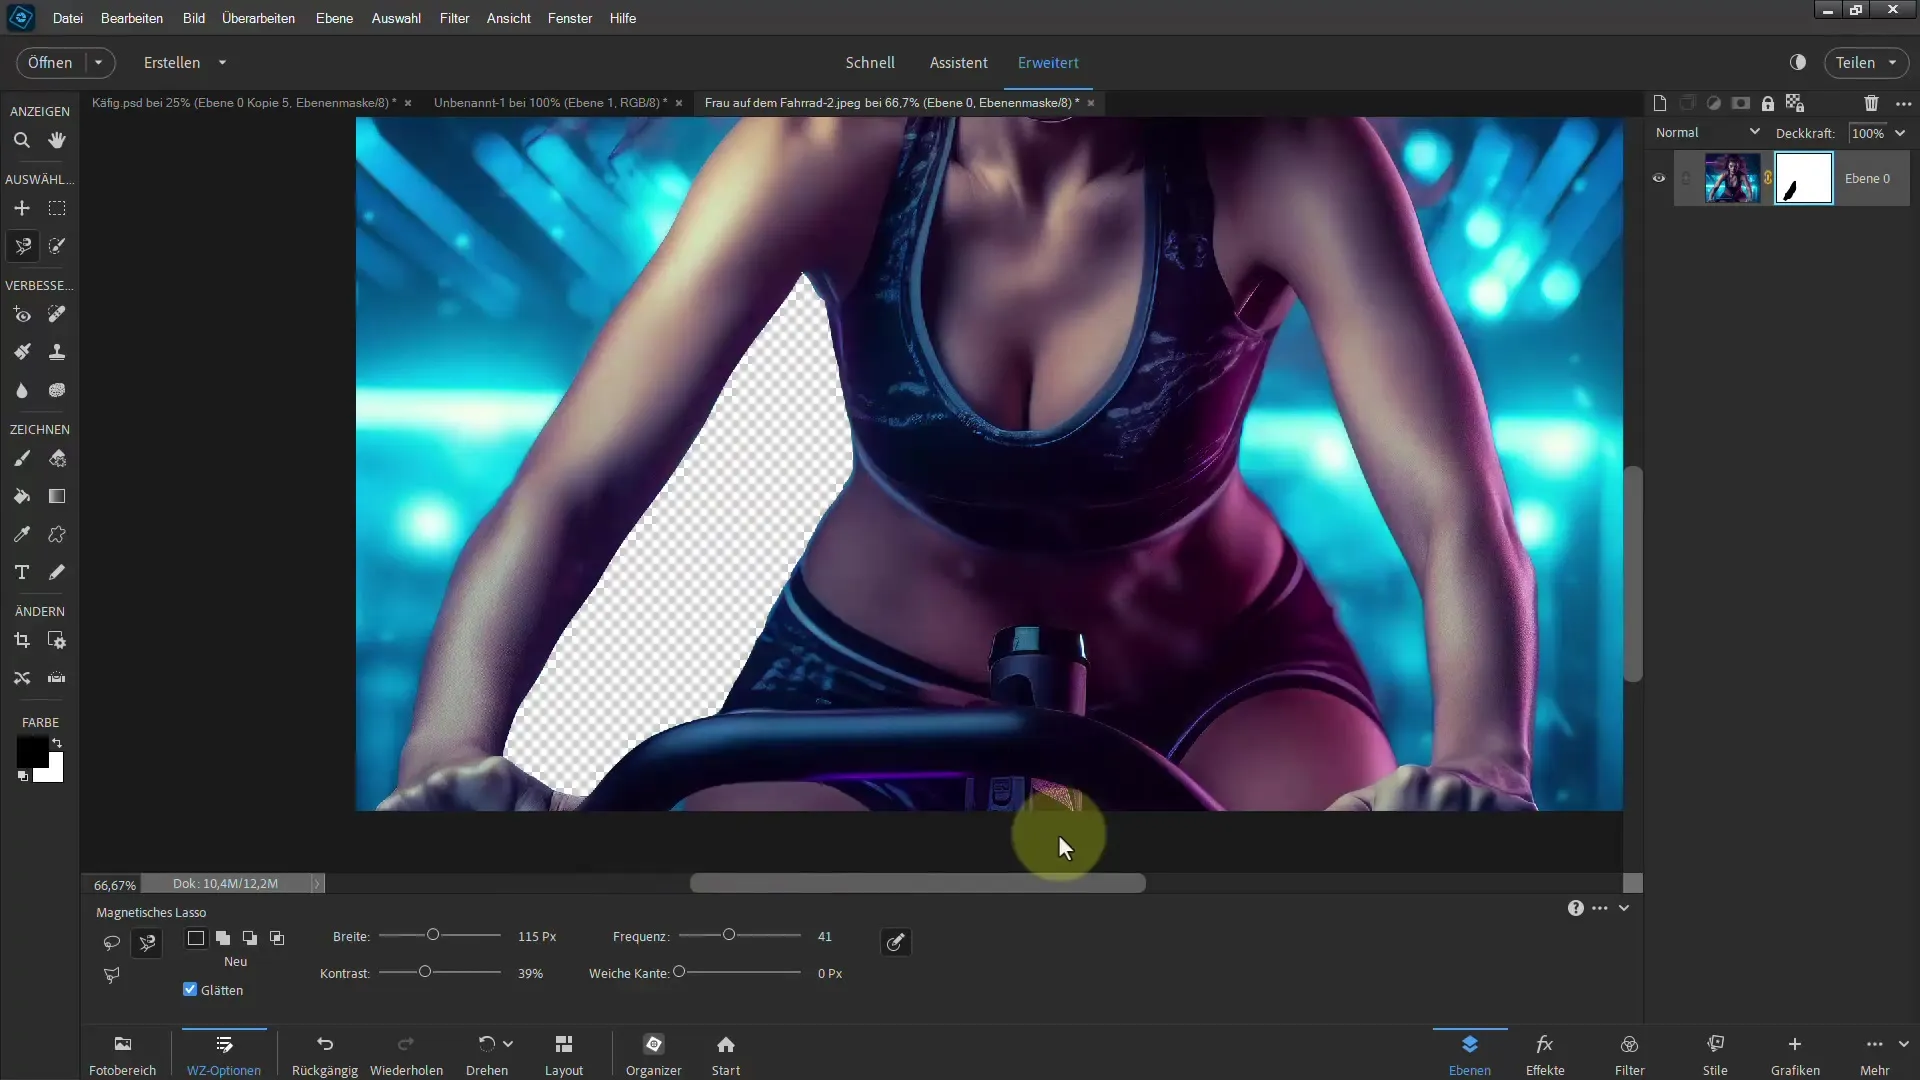
Step 4: Create a Mask
After selecting the motif, you should create a mask to avoid losing the selection. Click on the mask icon to create a new mask. This allows you to restore the pixels at any time or make further adjustments.
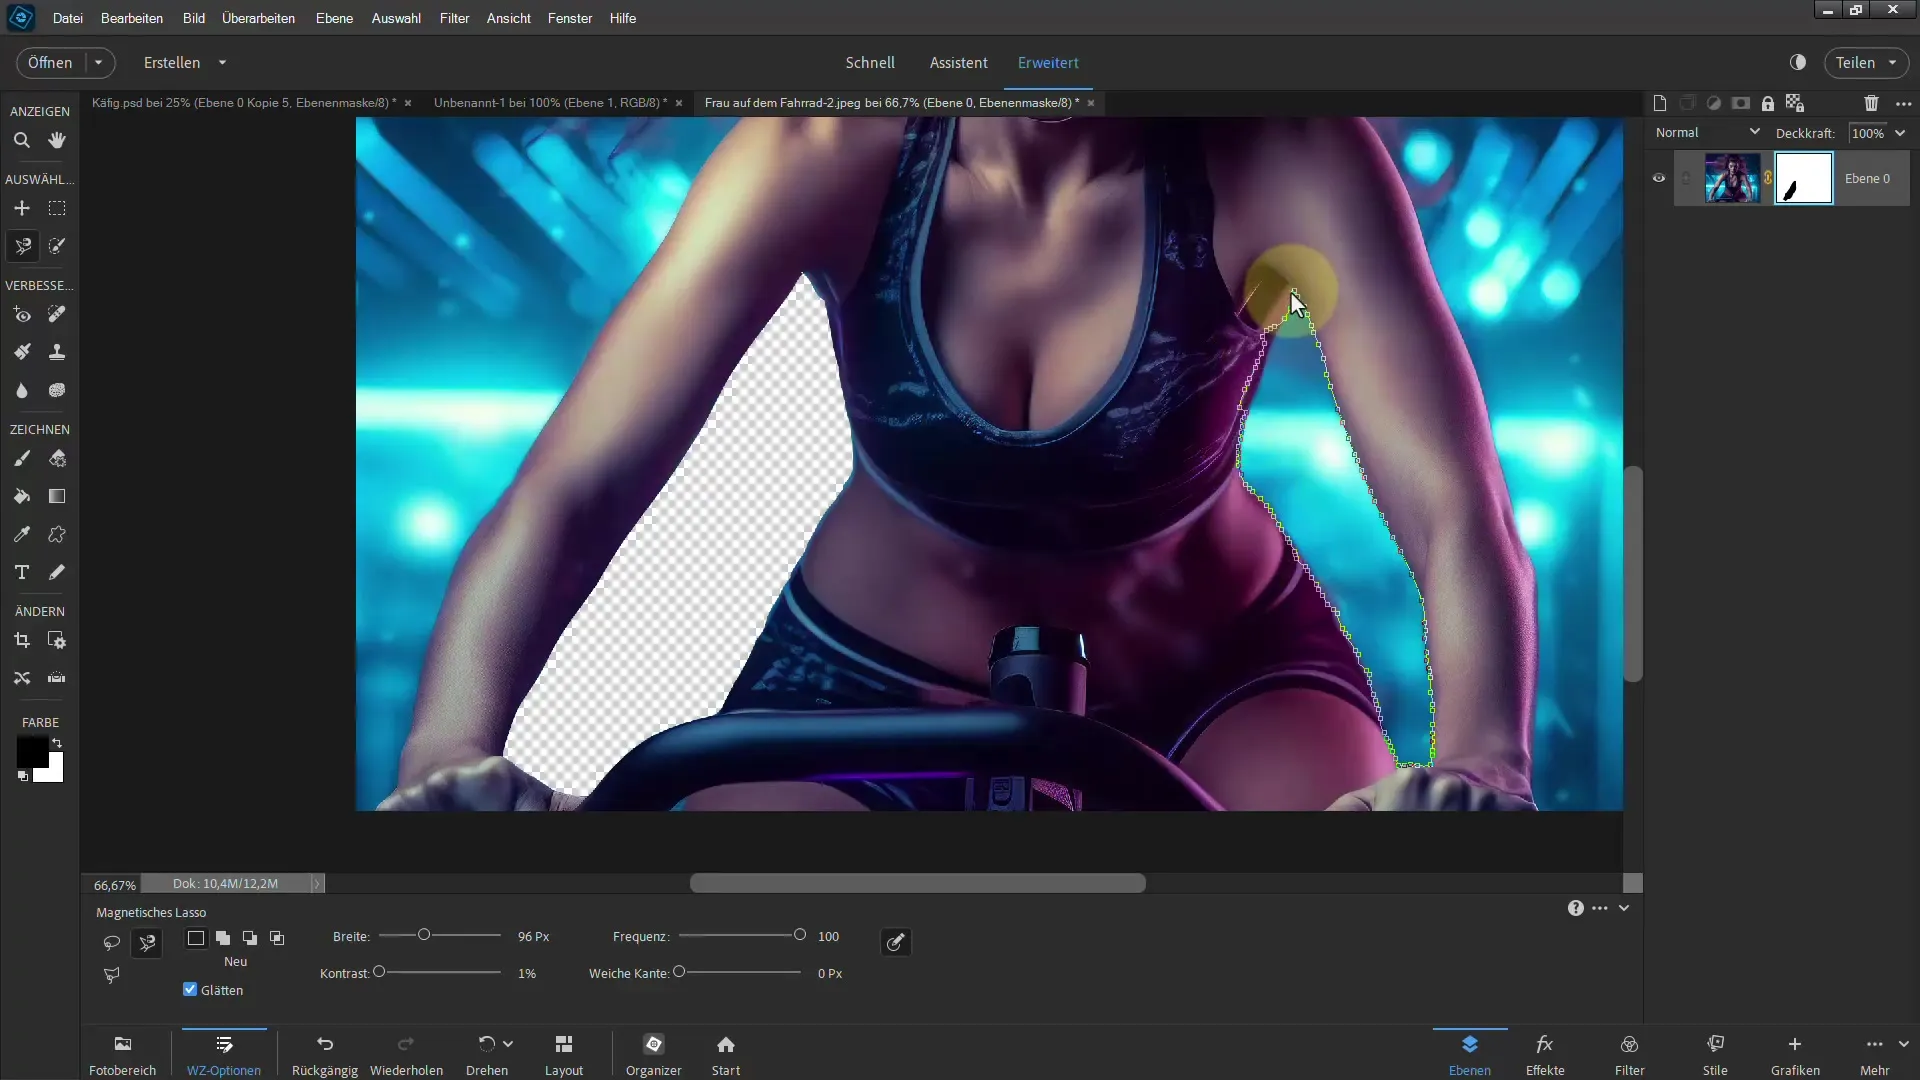
Step 5: Refine the Selection
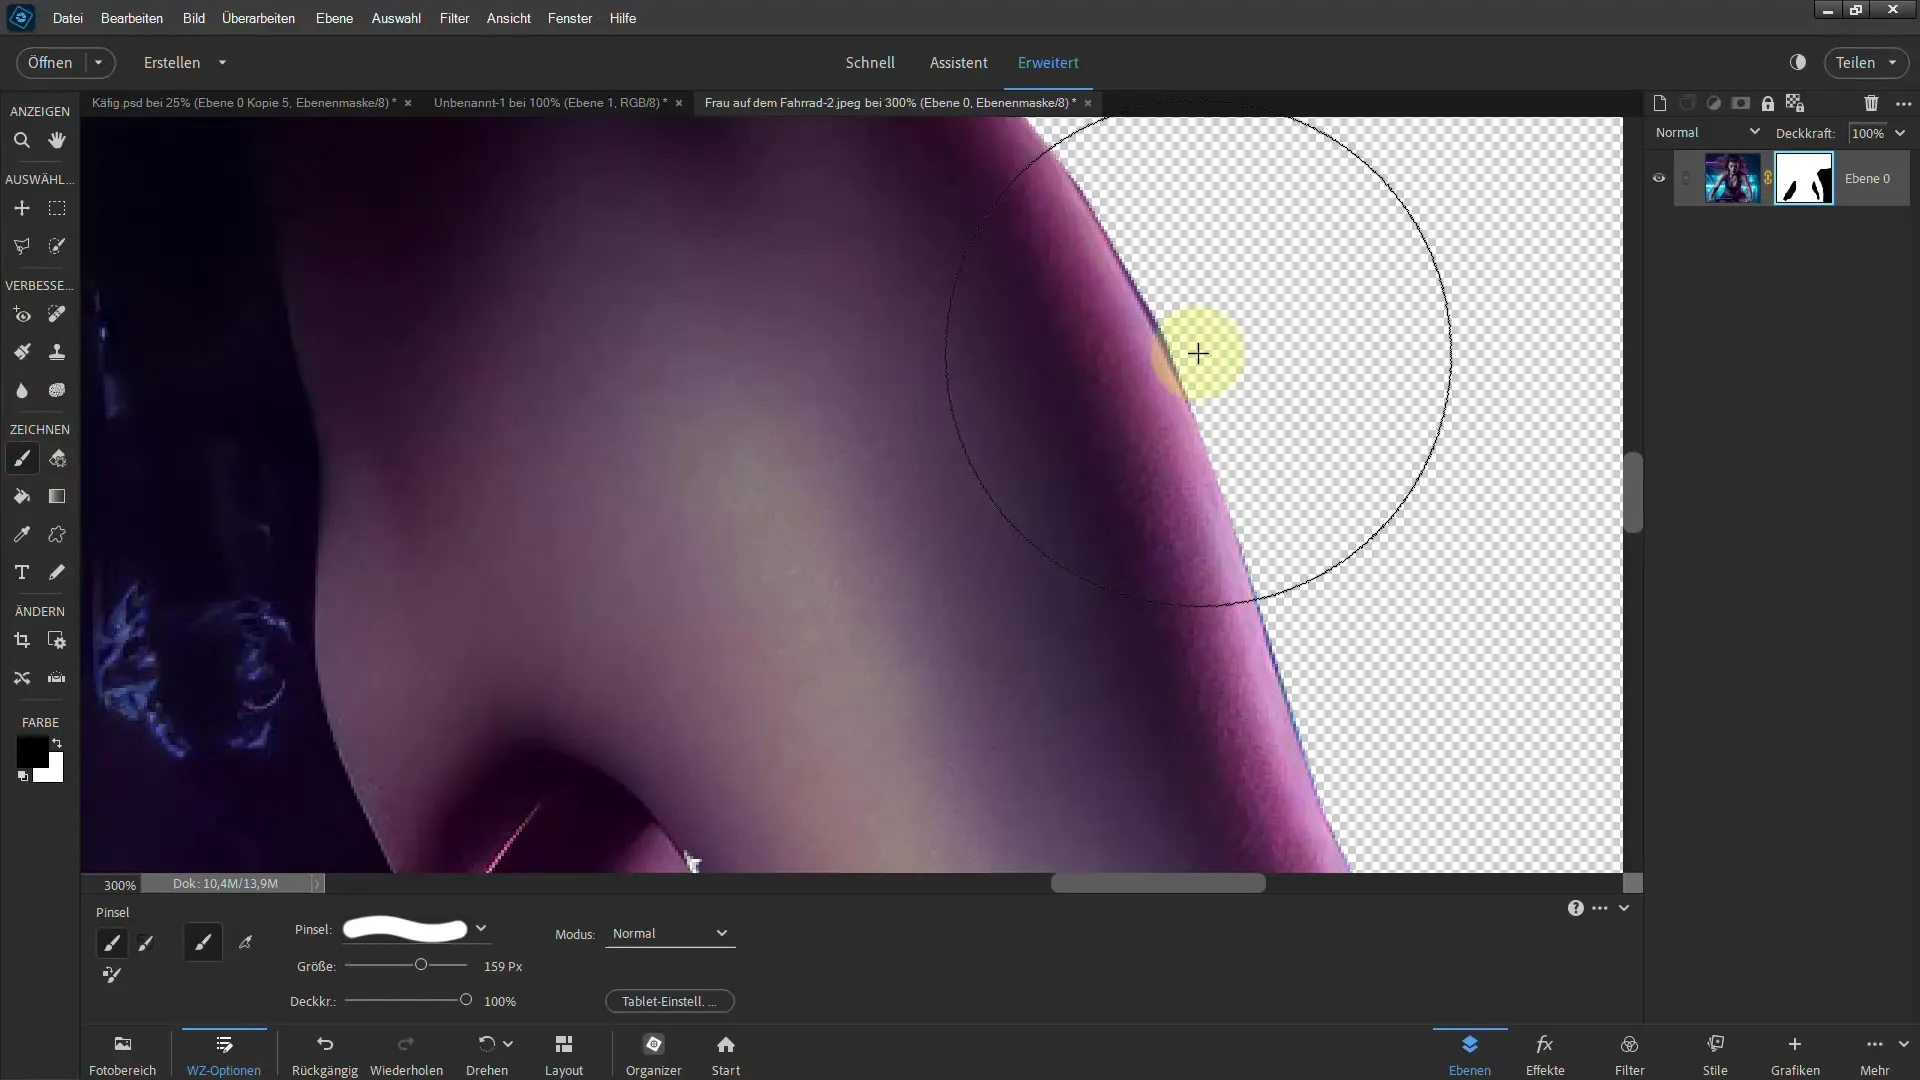
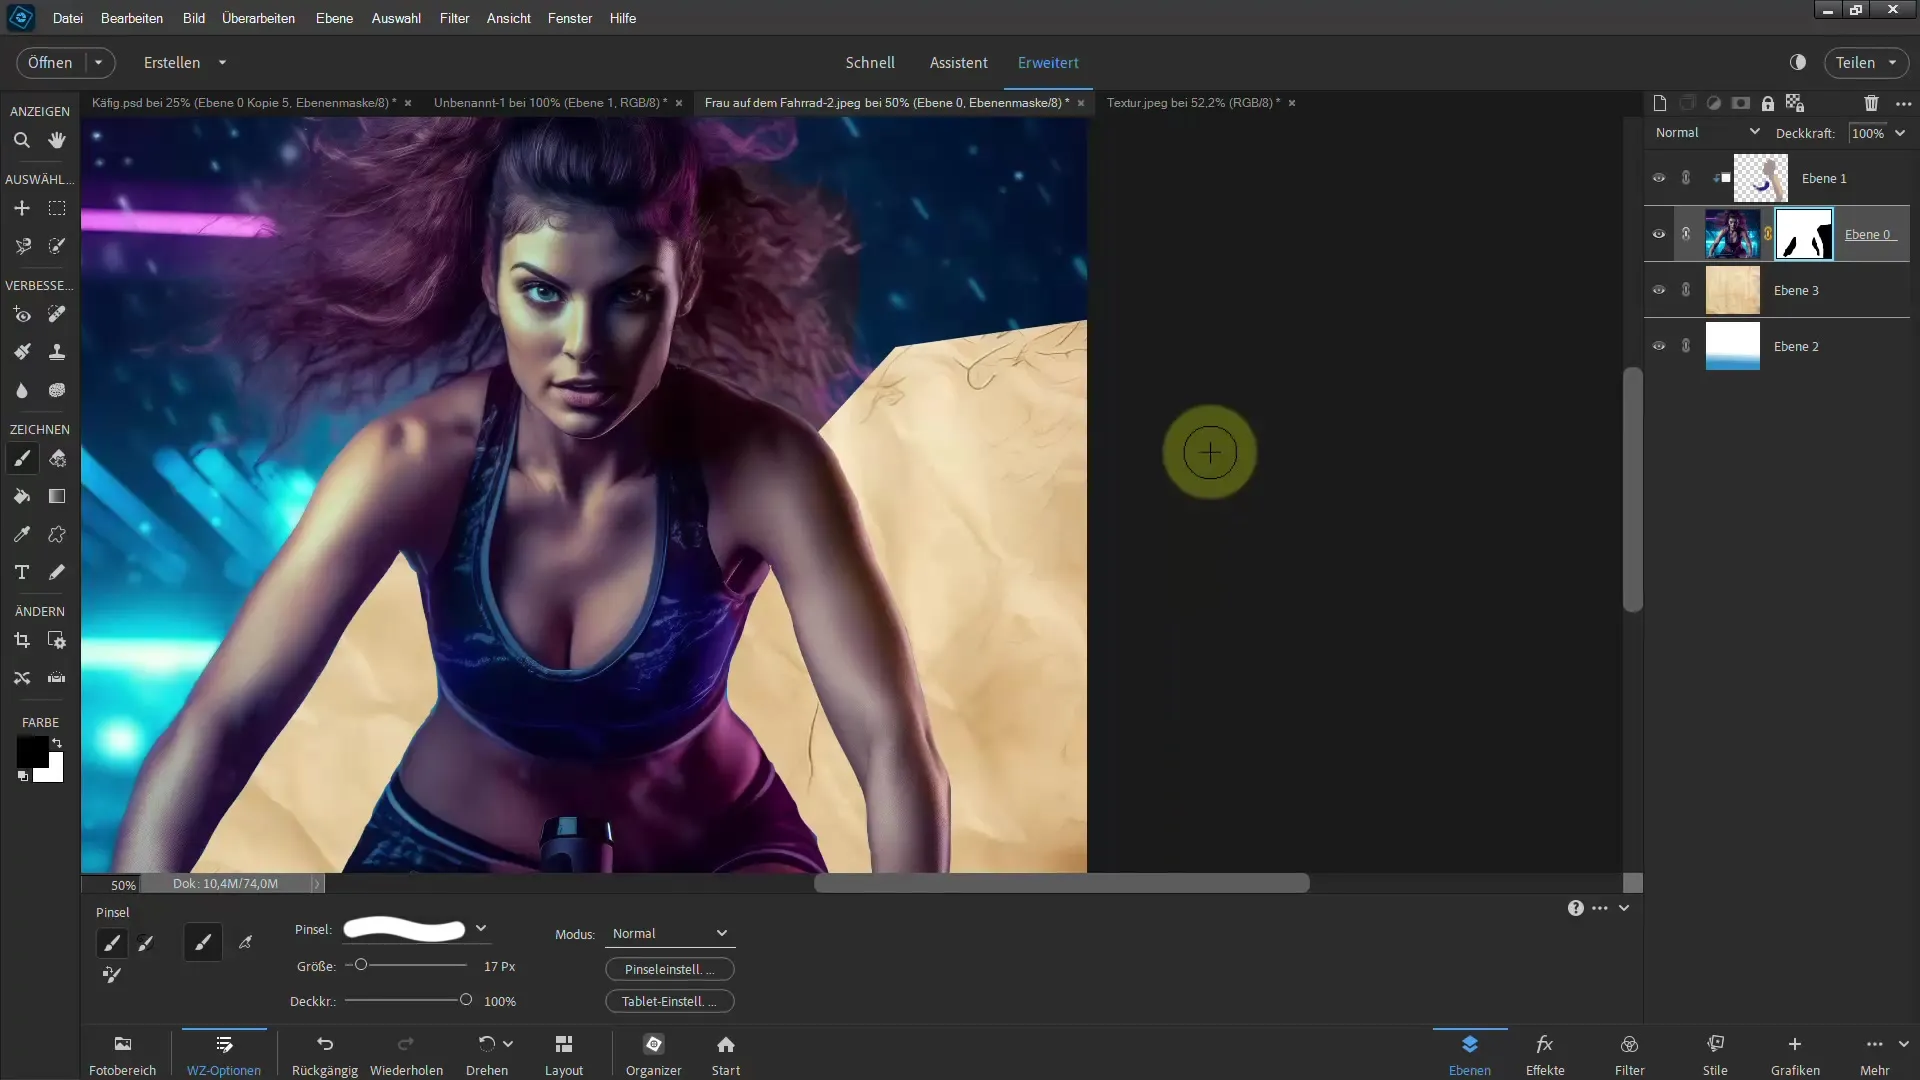
Sometimes, small areas in the selection may not be optimal. Use the brush to make fine adjustments. With the black brush, you can hide areas, and with the white brush, you can restore them. Experiment with brush size to achieve the best results.
Step 6: Remove Color Fringes
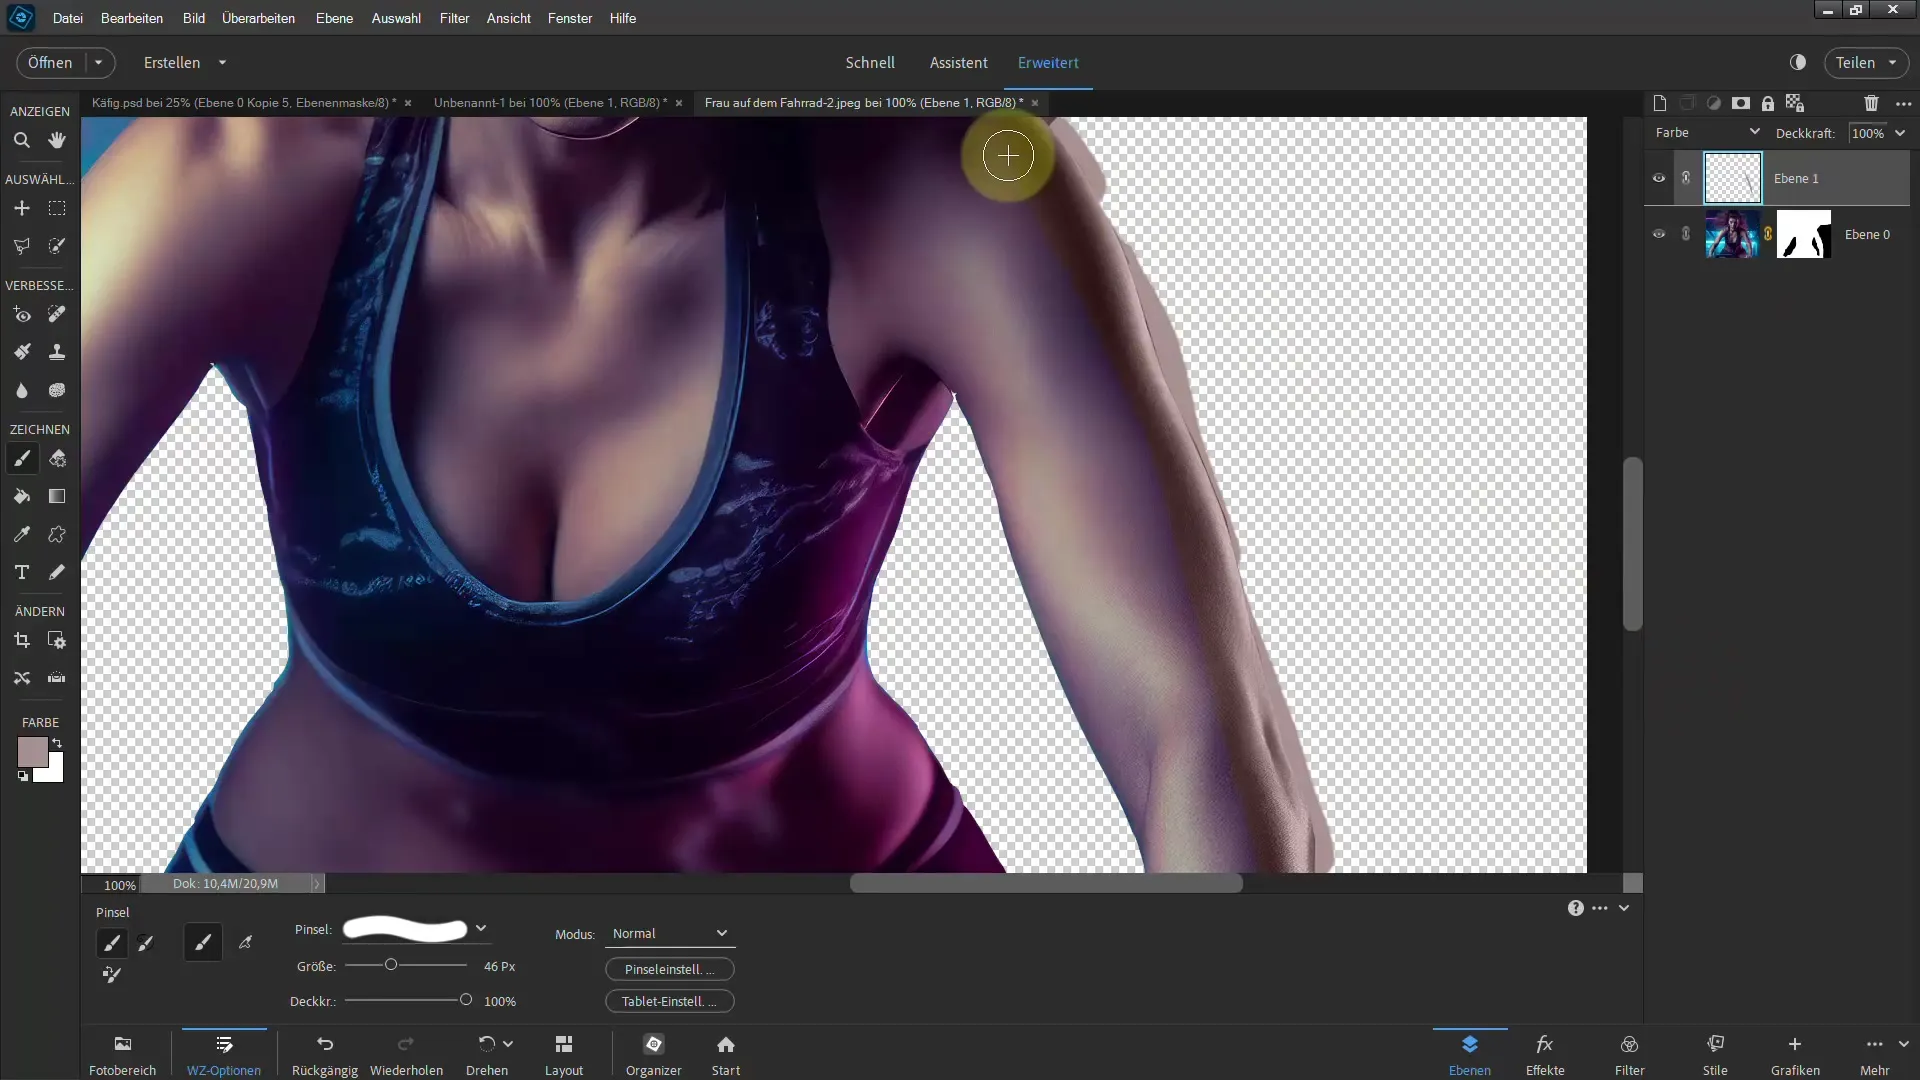
A common issue when cutting out is unsightly color fringes. To eliminate them, you can add a new layer and paint over the color space borders with a brush. Choose a color that matches the background well and change the fill method to "Color".
Step 7: Use Clipping Masks
To ensure that your color adjustment only affects the cut-out motif, create a clipping mask. This can be achieved by holding down the Alt key and clicking the left mouse button on the layer below the color space.
Step 8: Do the Finishing Touches
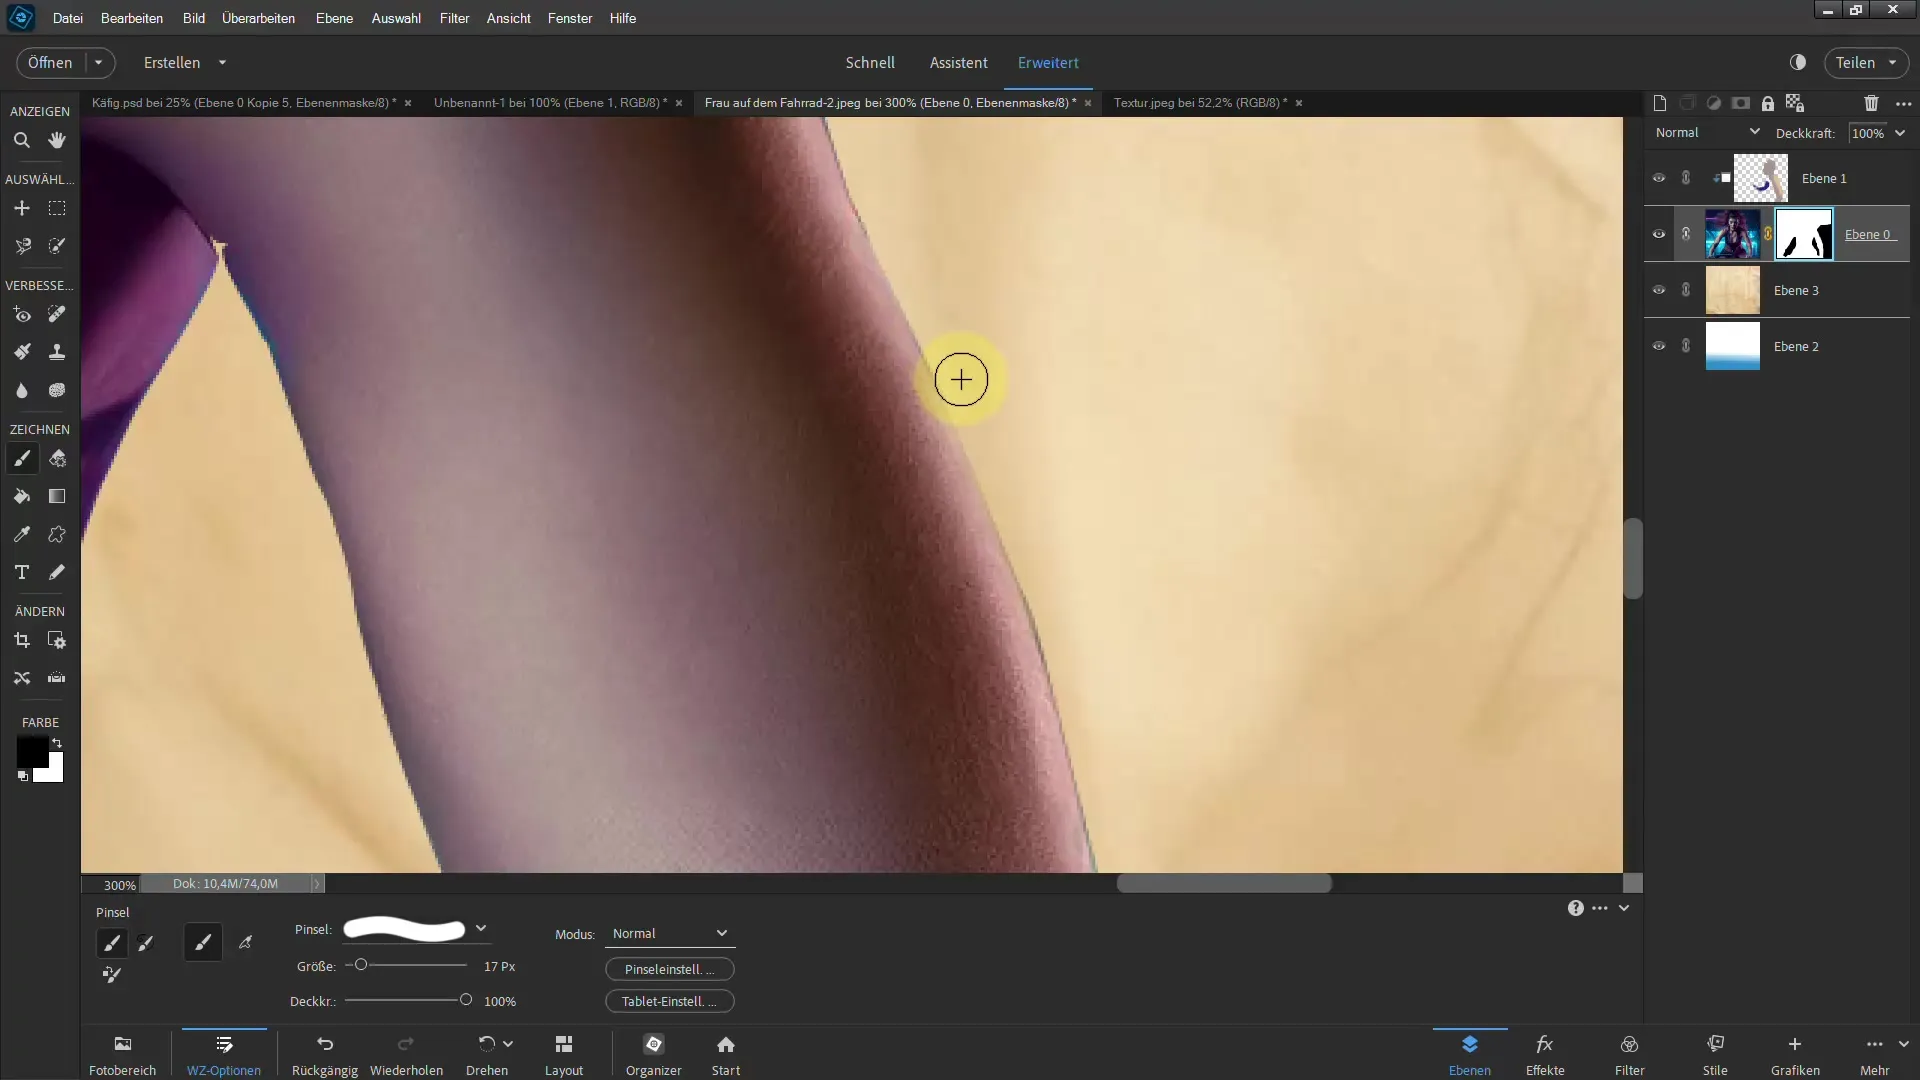
To ensure that the result is perfect, go for the final touches. Use the brush again or other tools to optimize the edges or adjust colors. Check your image in context to make sure everything looks good.
Summary
In this guide, you have learned how to effectively cut out a motif from its background using the magnetic lasso. You have familiarized yourself with the various settings of the tool and learned how to eliminate color fringes through clever painting over. Use the tips and tricks described to take your image editing to the next level.
Frequently Asked Questions
How do I efficiently use the magnetic lasso?By adjusting the contrast and width settings and manually setting anchor points, you can make more precise selections.
Can I move the image frame while making the selection?Yes, hold down the space bar and use the left mouse button to move the image without adding anchor points.
How can I effectively remove color fringes?Create a new layer, select the correct color, and create a clipping mask to apply the change only to the subject.


