In digital image editing, clipping an object is a common requirement. The free program Photoshop Elements offers various techniques for separating objects like a birdcage from their background. In this guide, I will show you four effective methods for clipping, addressing the challenges posed by a cage with its many gaps. By the end, you will be able to apply these techniques and enhance your own projects.
Key Findings
- The magic wand is a simple method to automatically select areas.
- The magic eraser enables quick and destructive editing of unwanted areas.
- Optimizations through layer masks help refine the results.
- Contrast settings can support clipping for optimal results.
Step-by-Step Guide
To improve your clipping skills, go through the following steps and try each method. Remember to add a screenshot at each step to document your progress.
1. Clipping with the Magic Wand
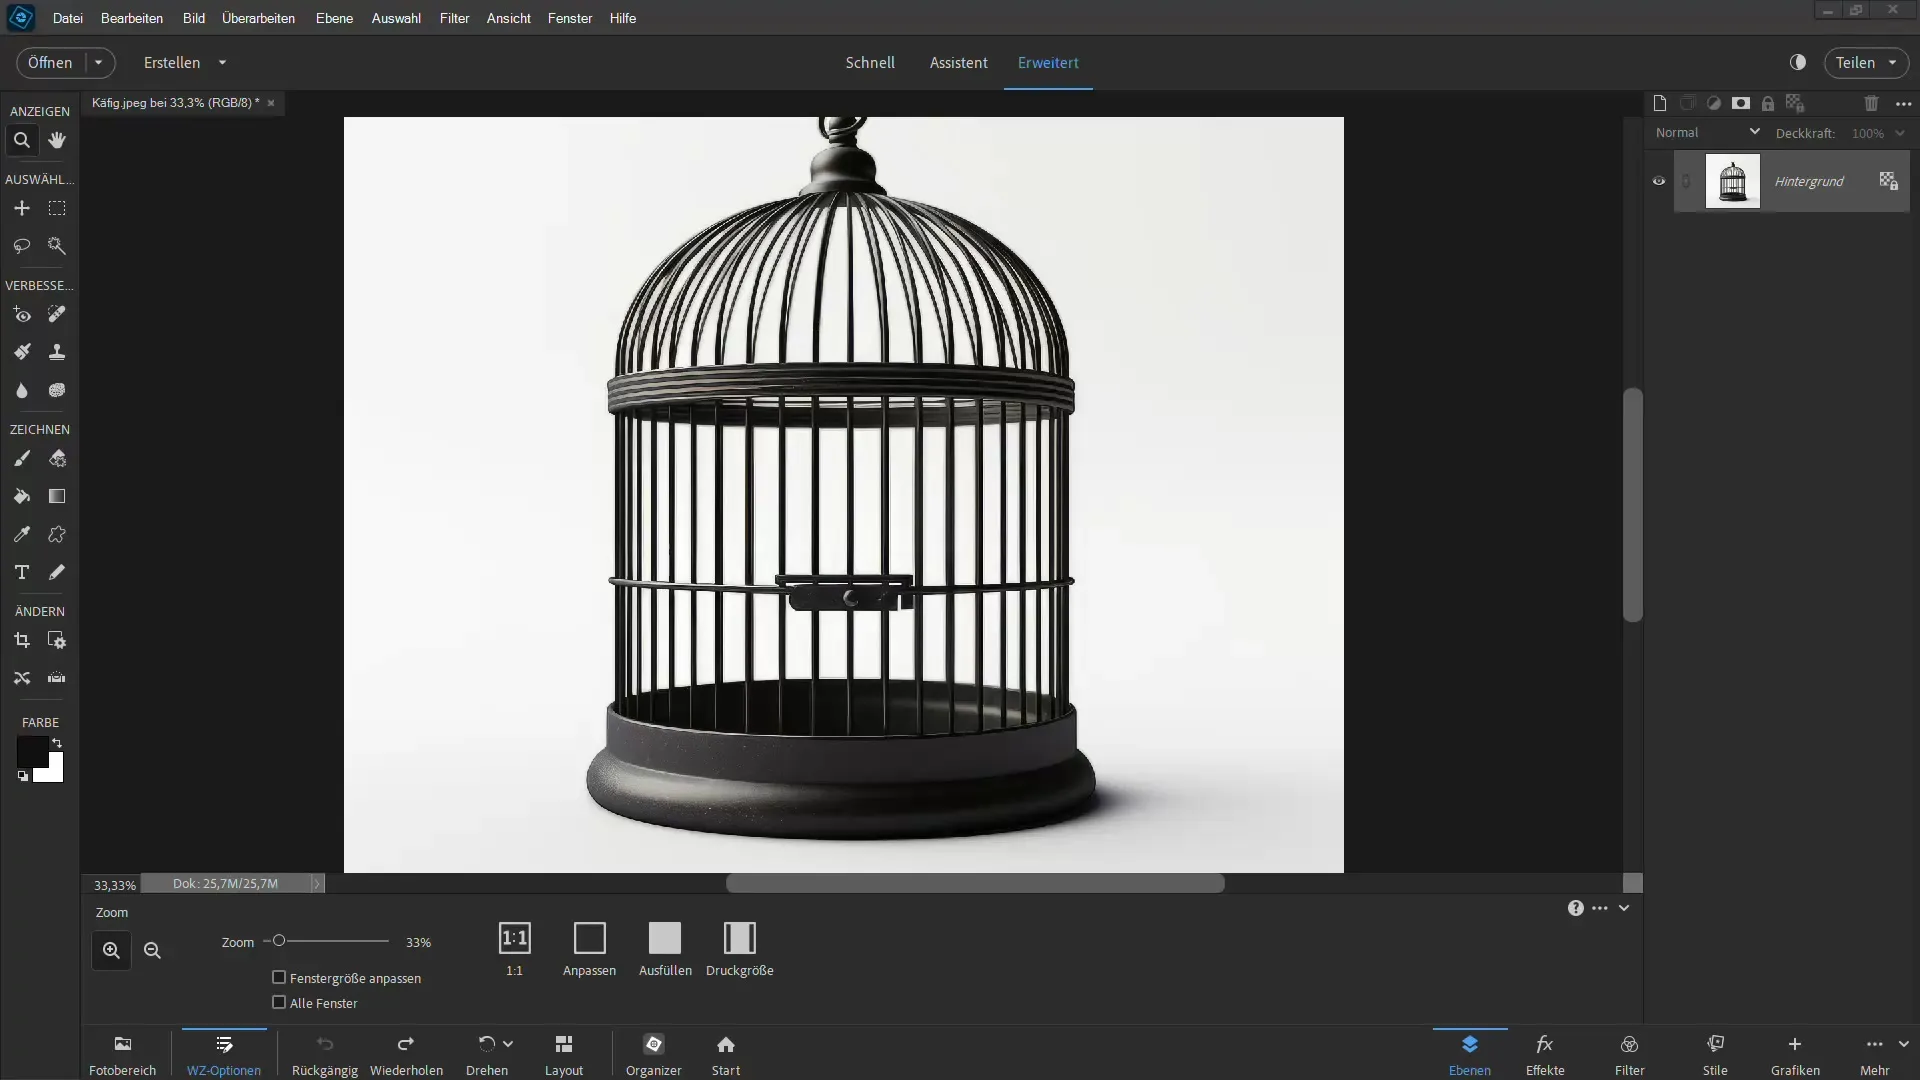
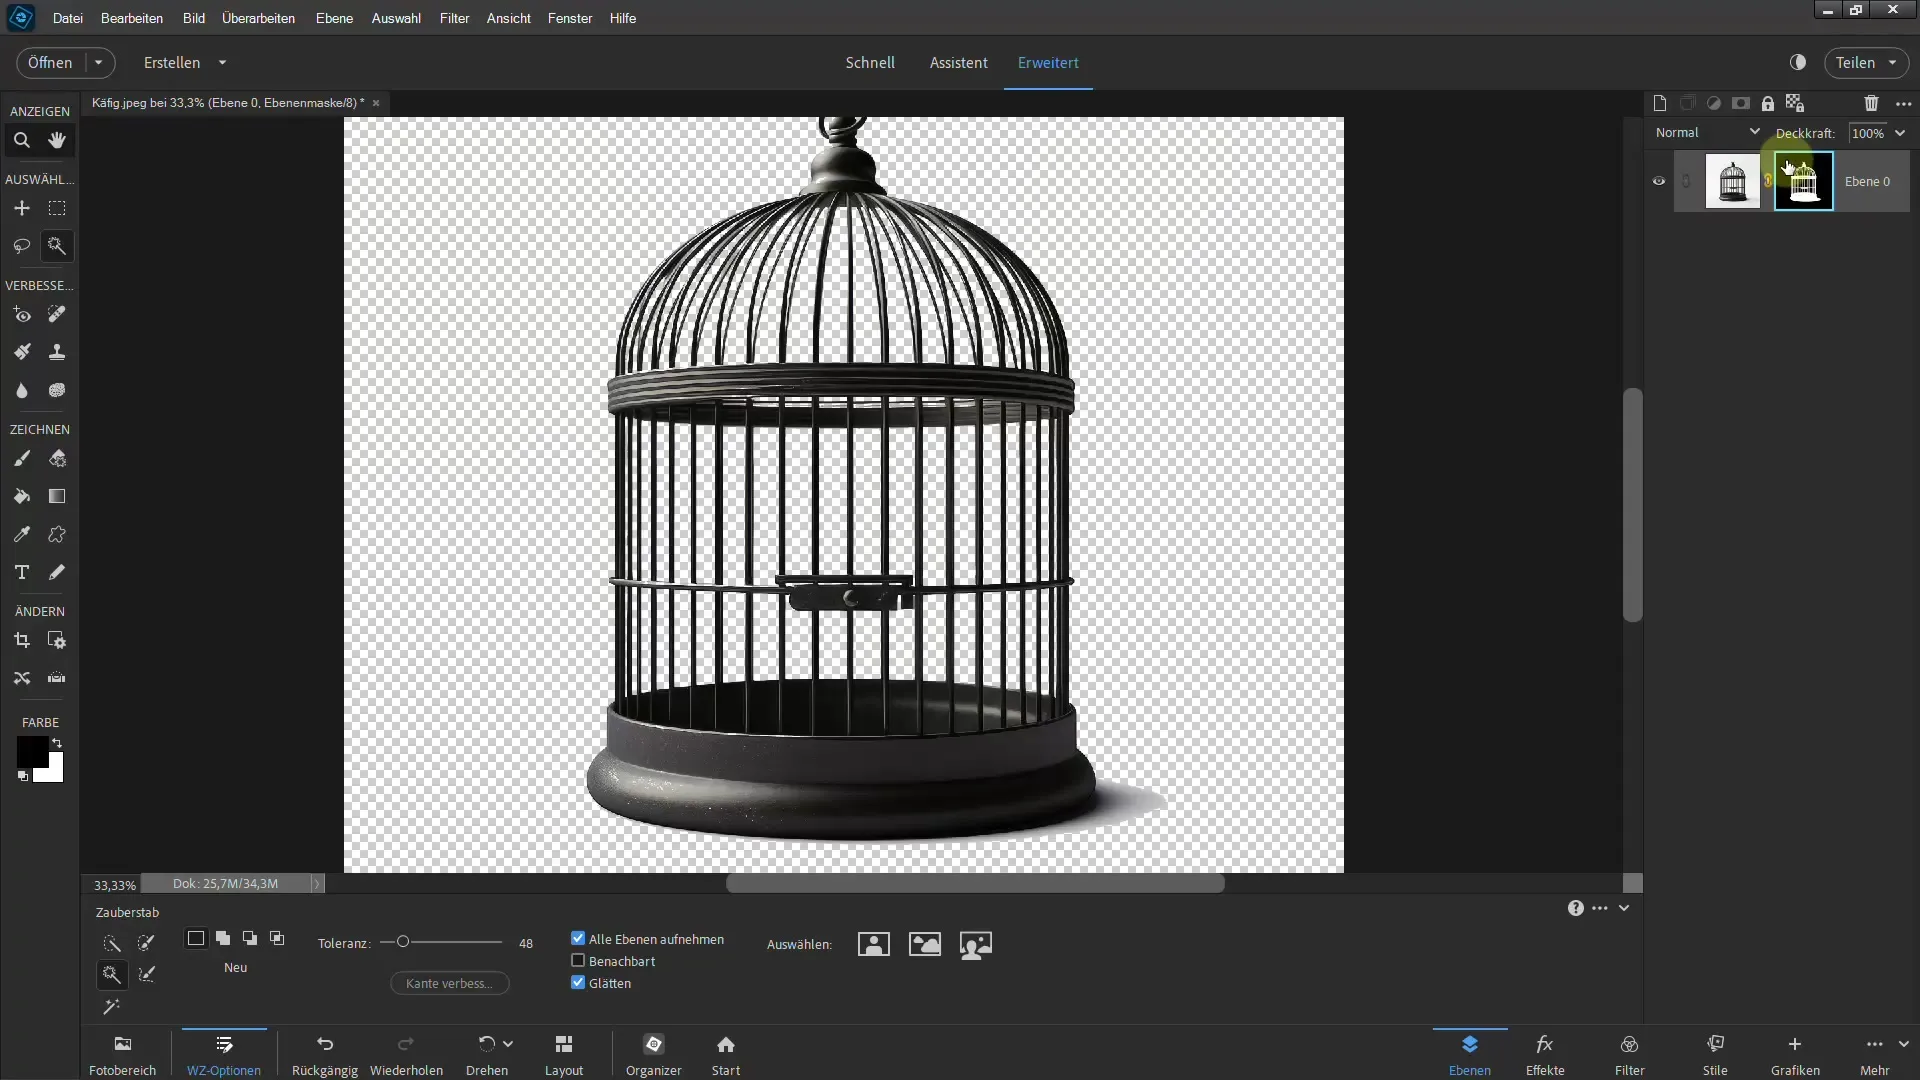
First, we start with the easiest method - the magic wand. Select the magic wand tool in your toolbar.
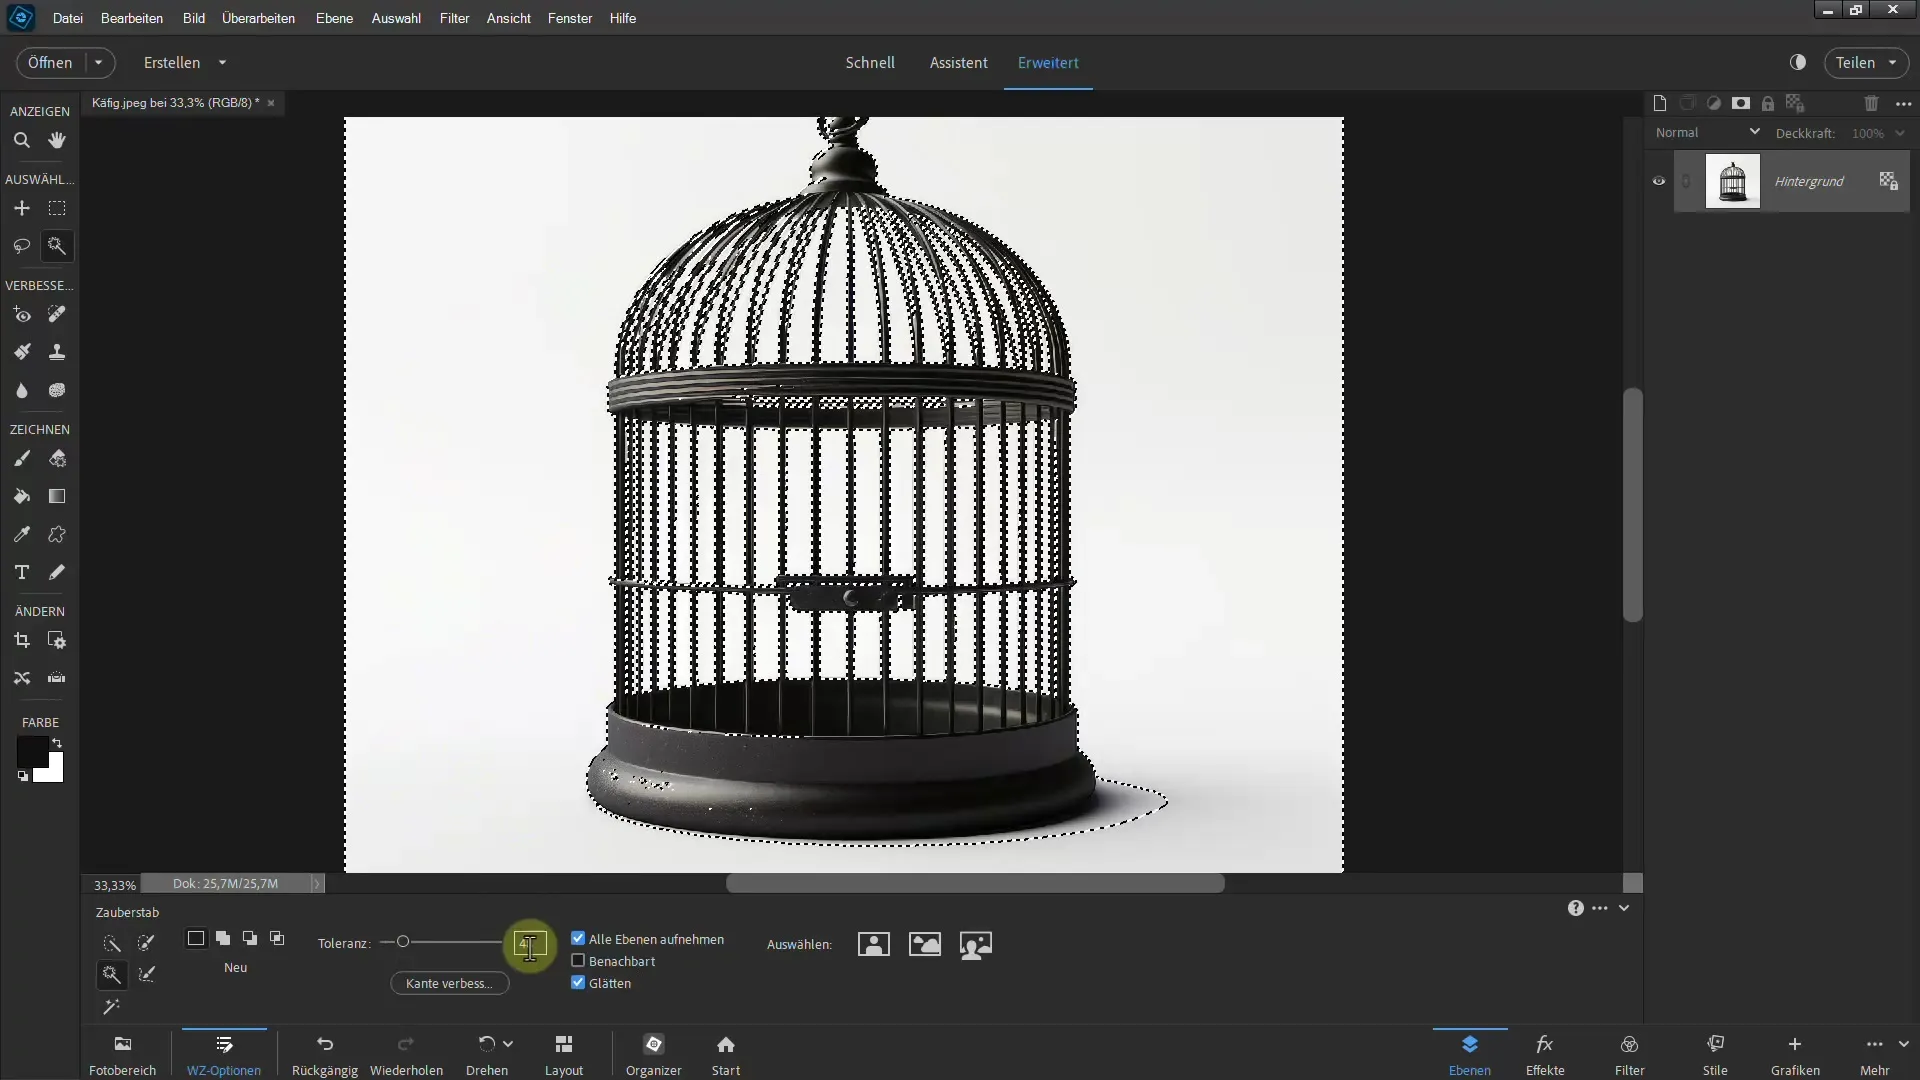
Once selected, you need to set a tolerance to determine how strongly similar colors should be selected. You can adjust the tolerance, for example to 48%, to ensure that all white areas of the cage are selected.
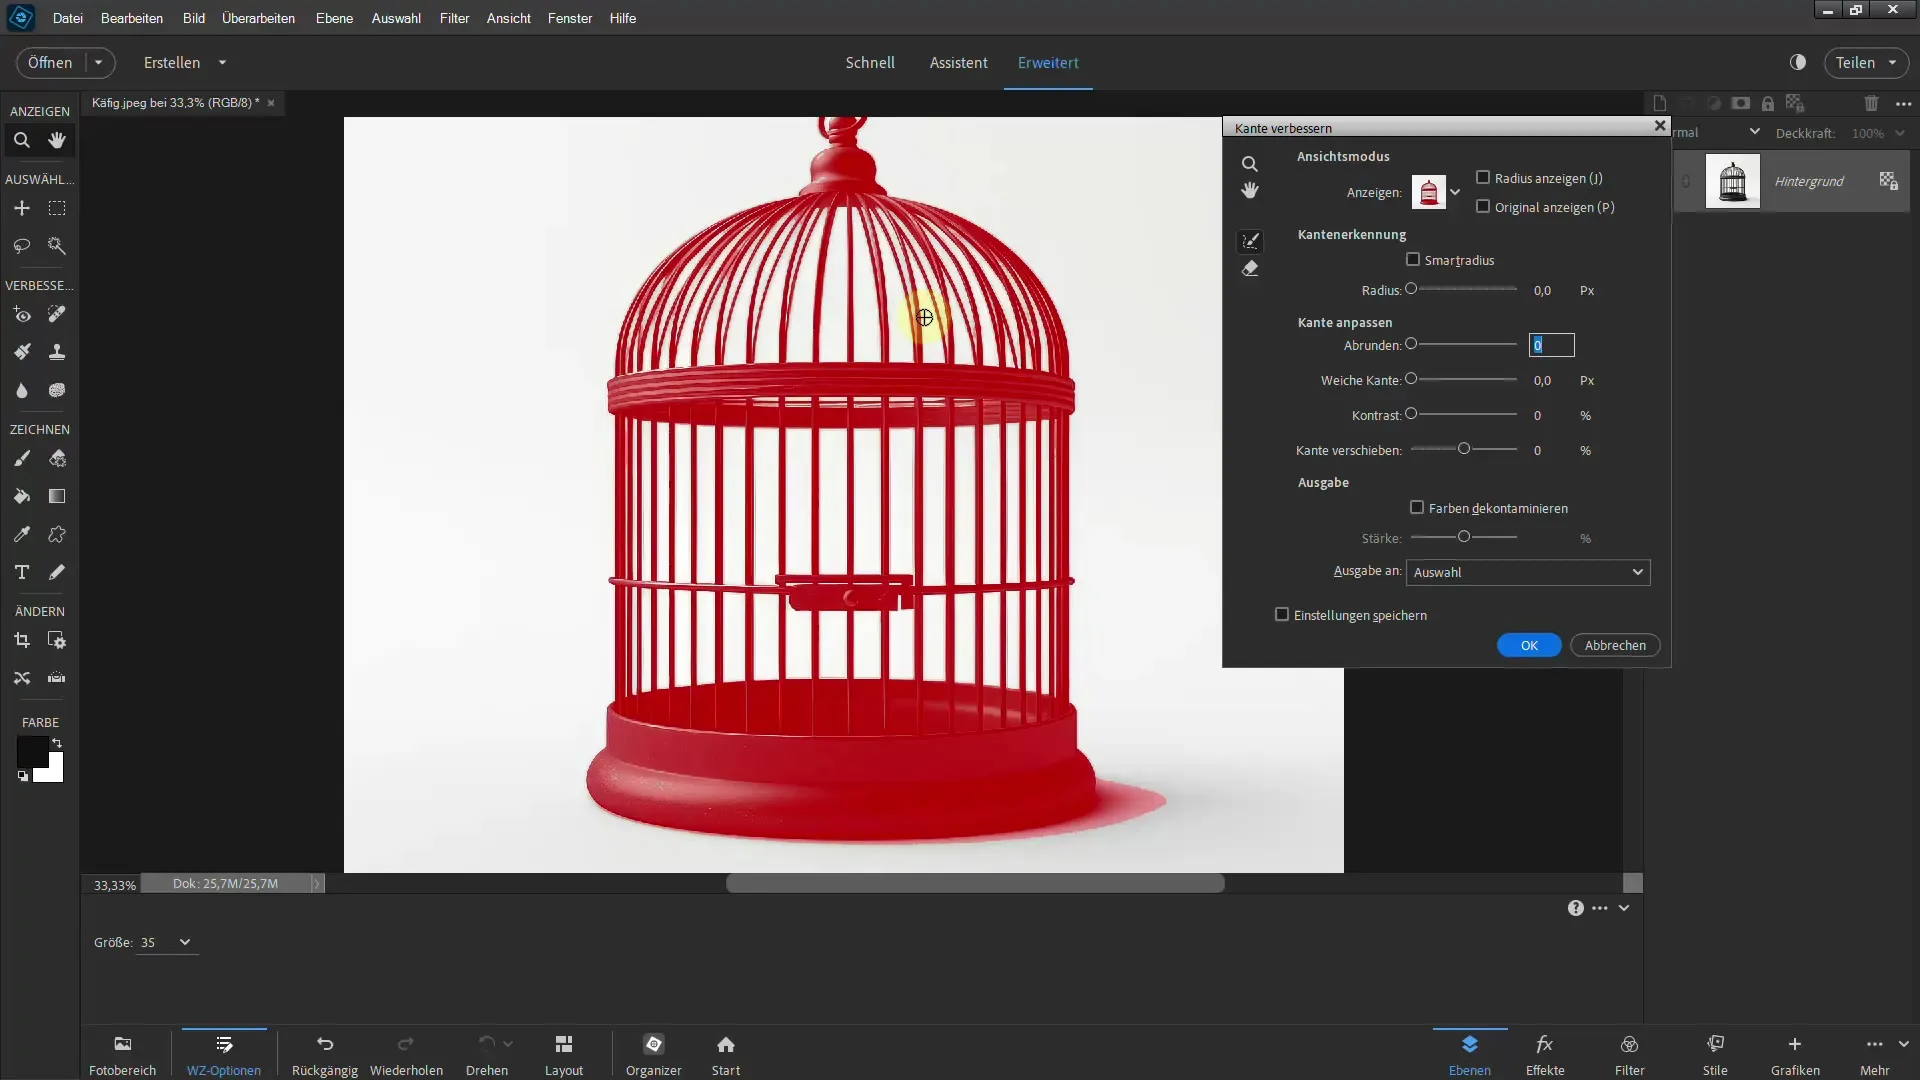
After making the selection, you can click on "Refine Edge" to ensure that all edges are properly defined. The red areas indicate what has been selected.
If you are satisfied with the selection, go to "Output" and choose "Convert to Layer Mask" to remove the background.
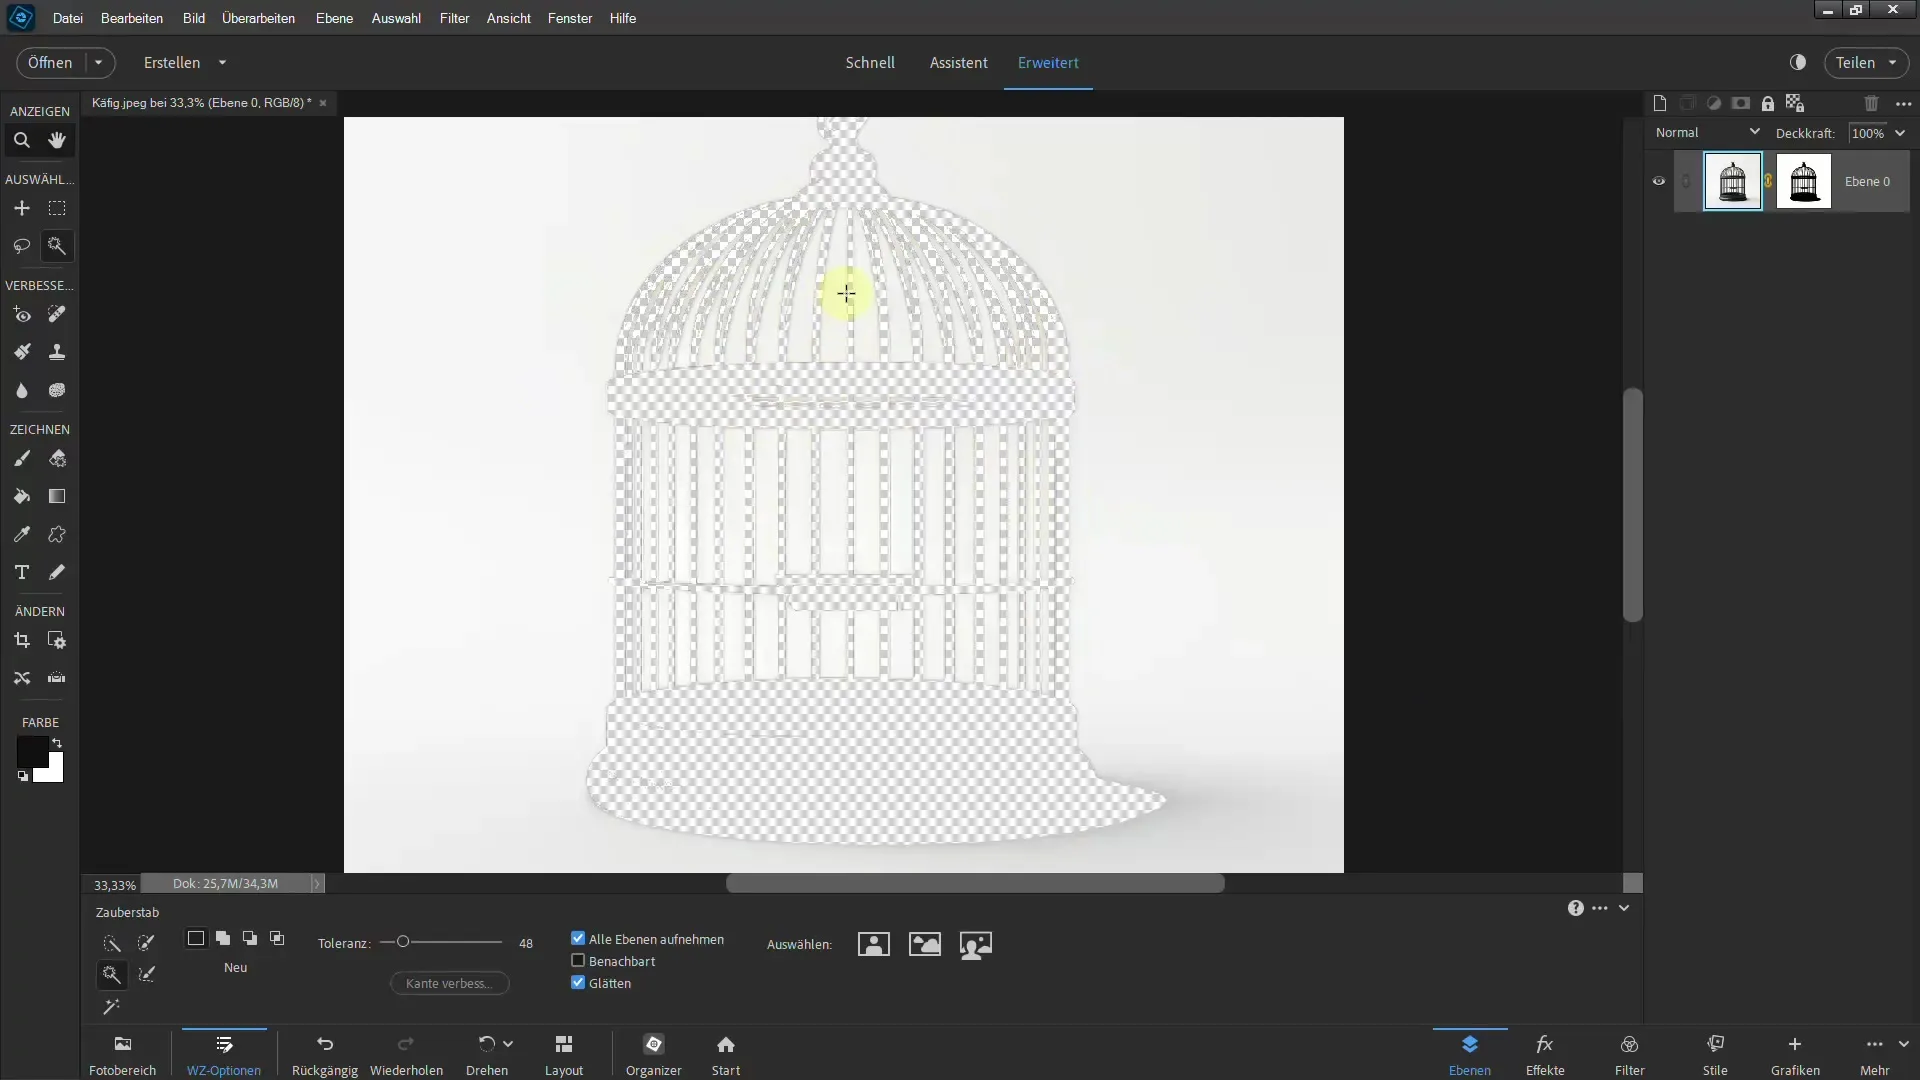
Using the Ctrl + I key, you can invert the selection. Anything black in the mask will be hidden, while the cage remains visible.
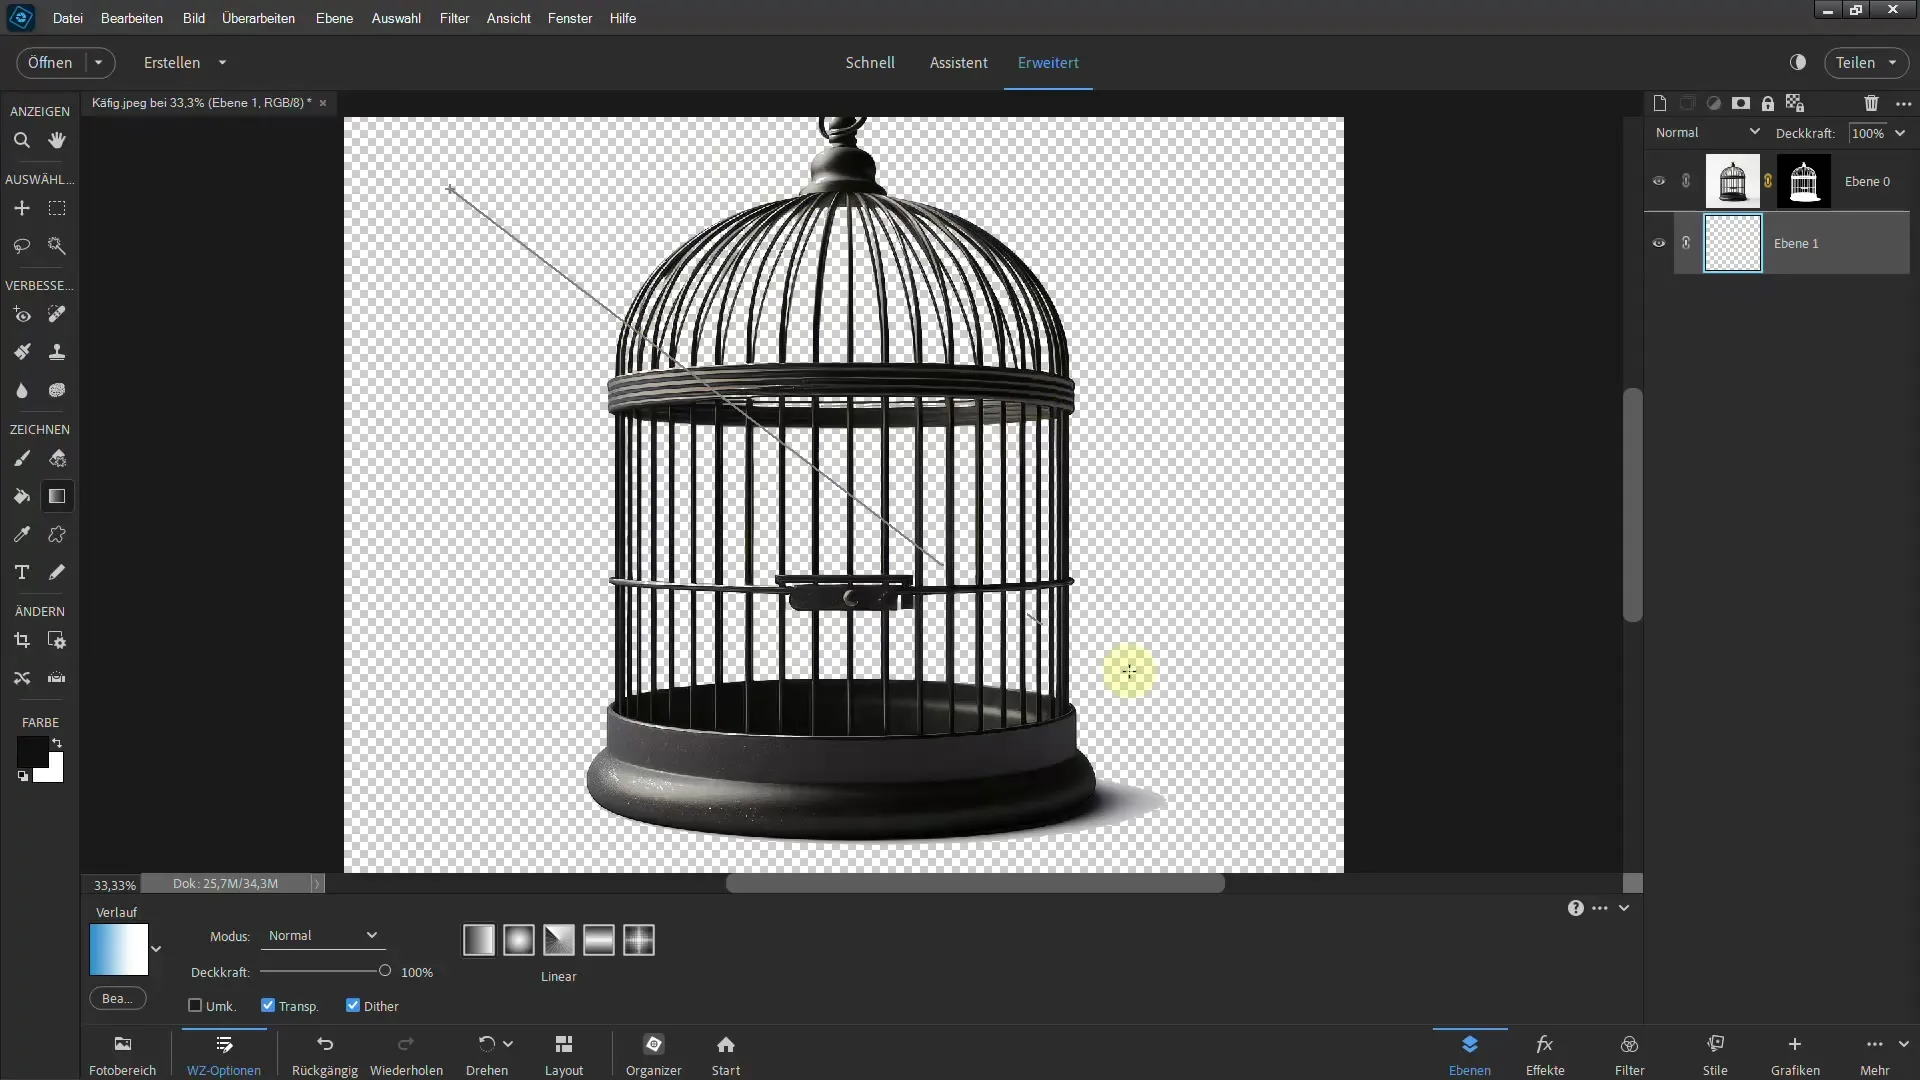
To check the quality of your clipping, create a new layer and apply a gradient to it. This will help you see if you need to make any optimizations at the edges.
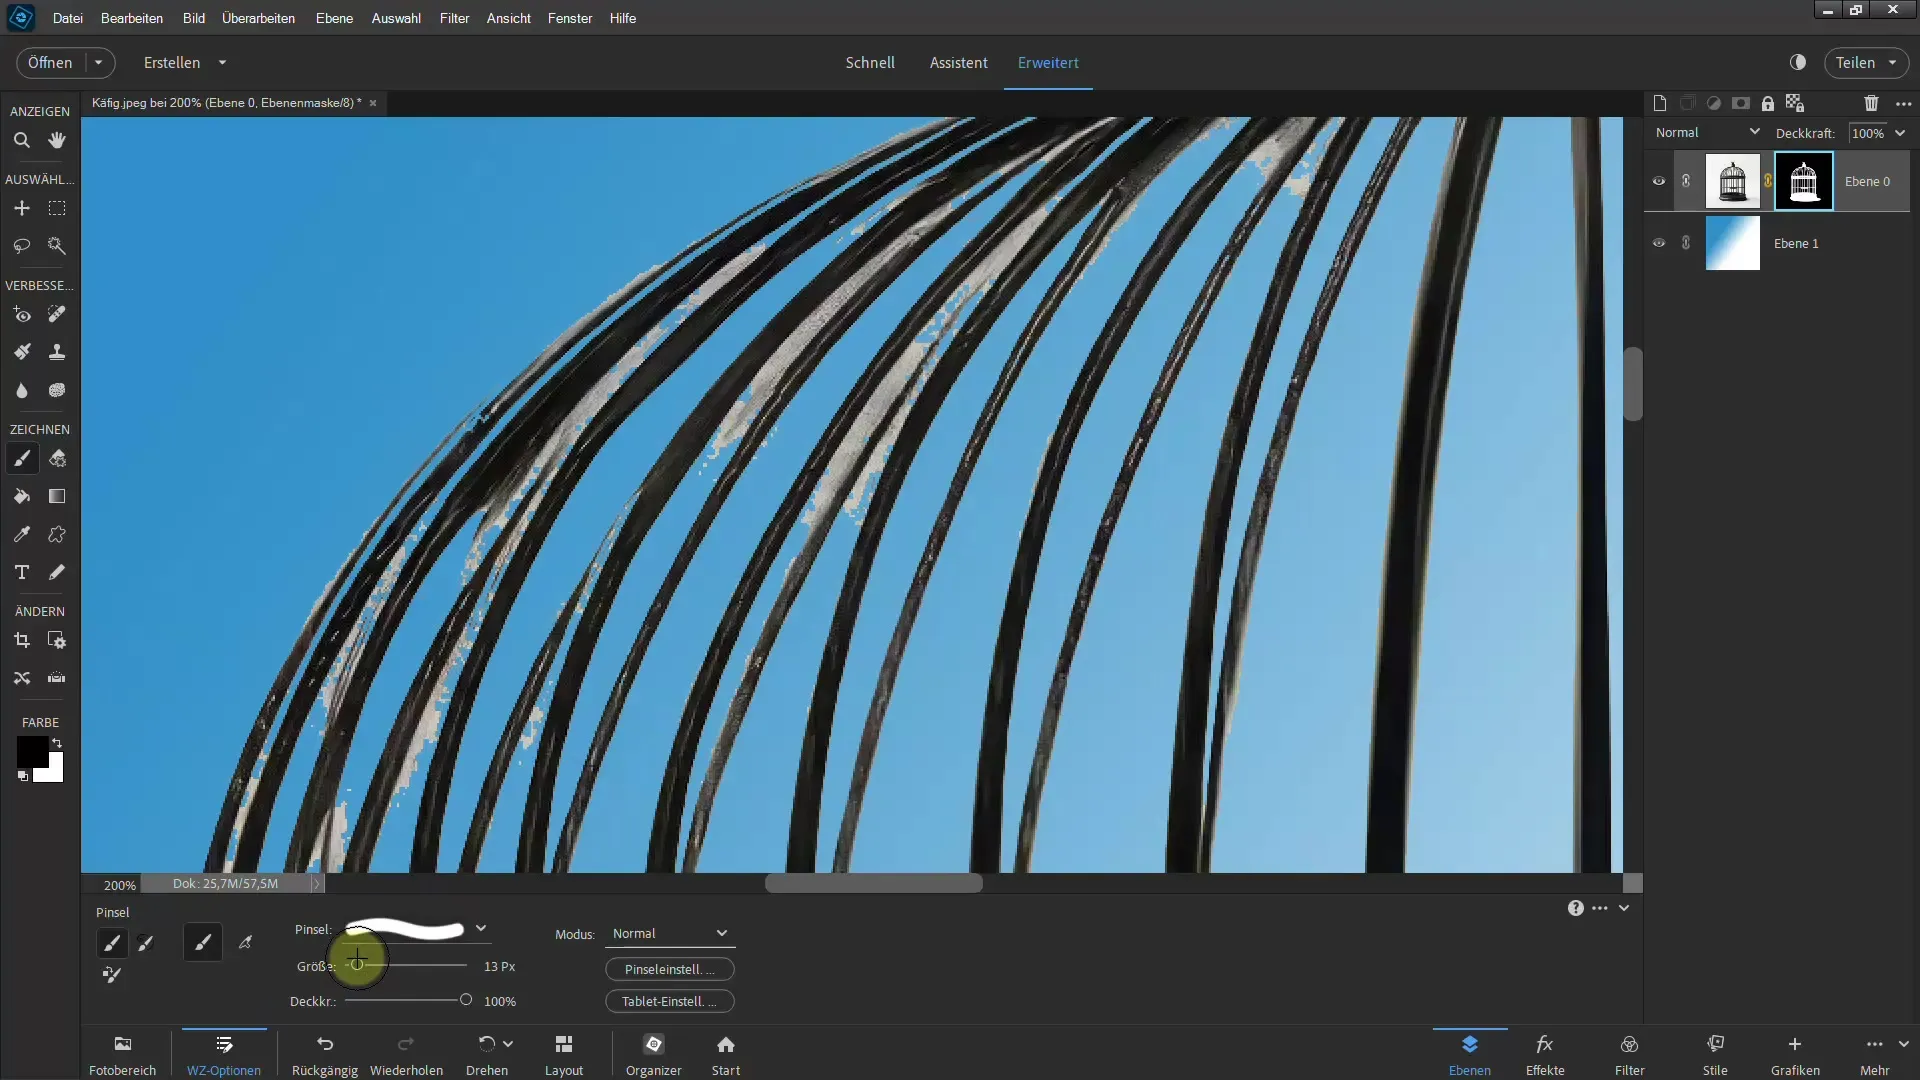
With the brush in the layer mask, you can then adjust specific areas by using black or white color to control the visibility of areas.
2. Clipping with the Magic Eraser
The second method involves using the magic eraser tool. To do this, create a copy of the current layer to always have a backup of your original.
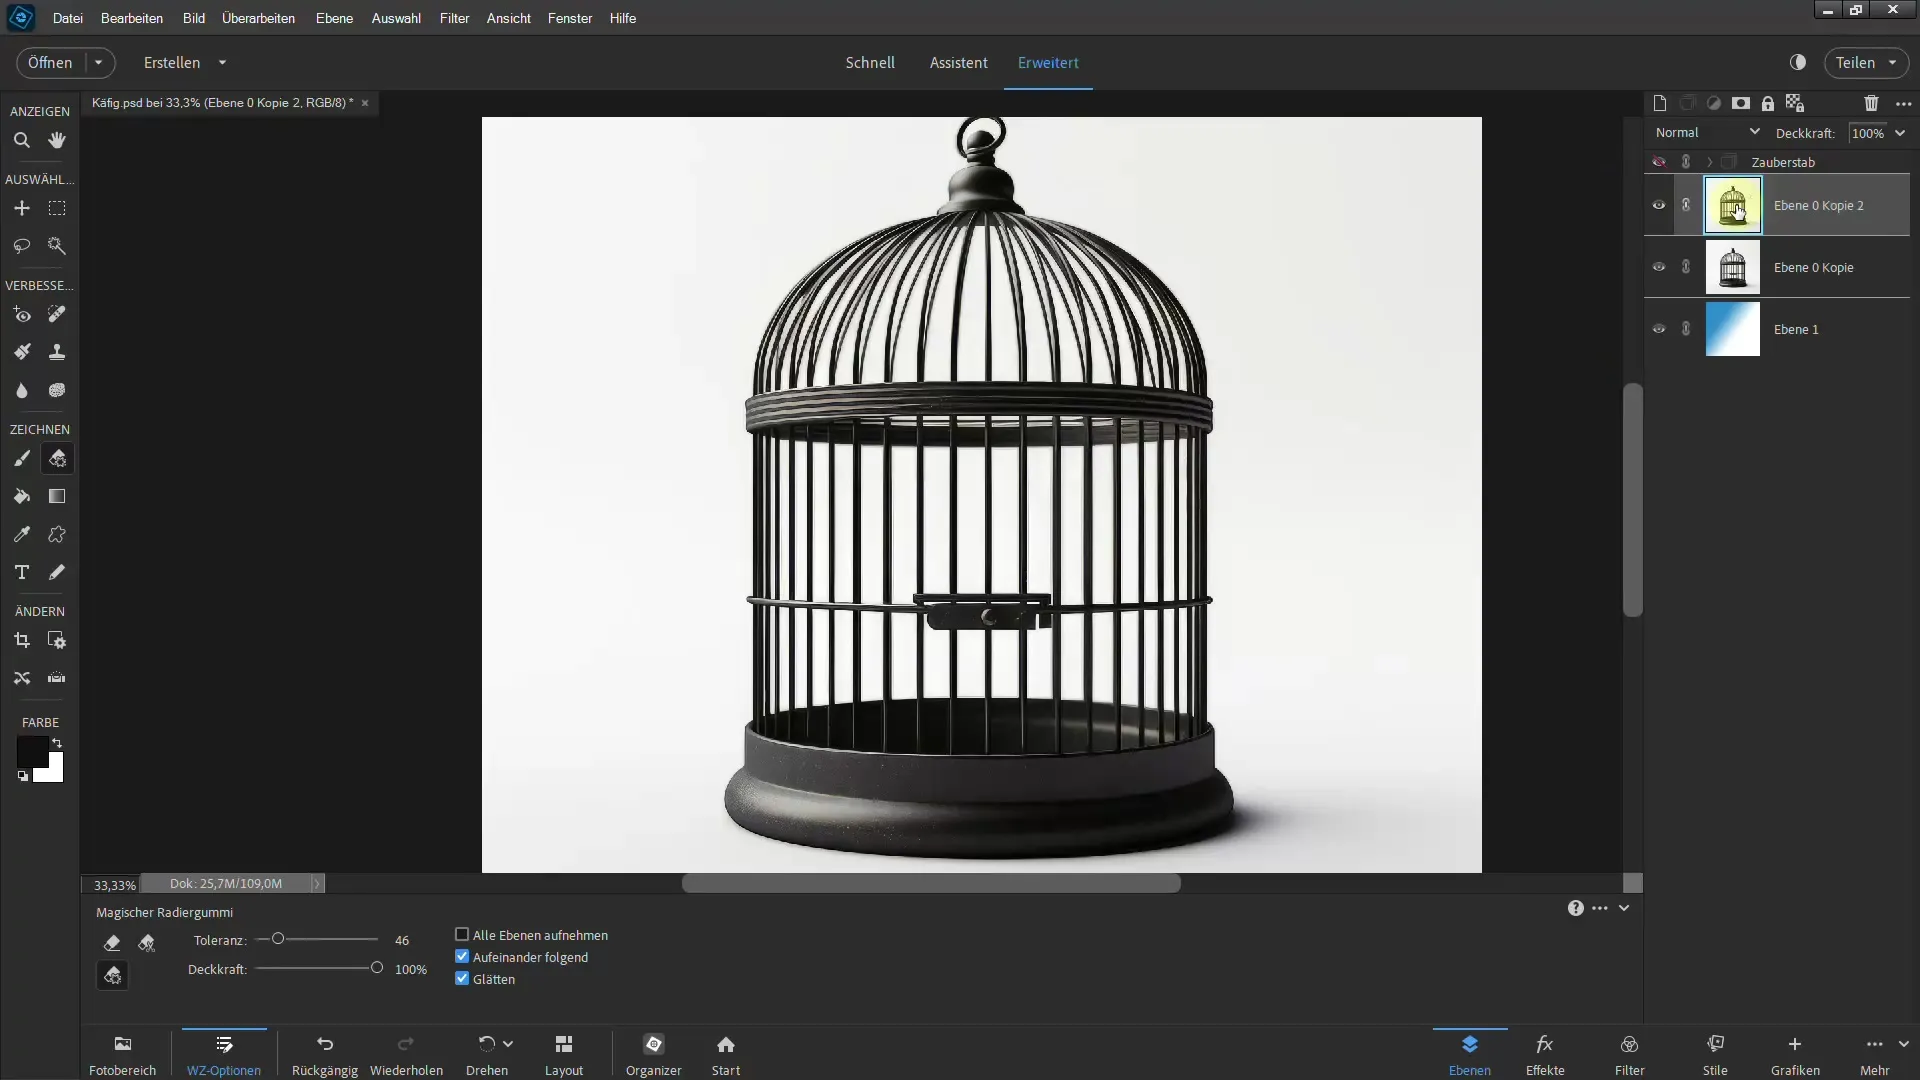
Select the magic eraser and click on the white areas of the background. The tool will immediately remove the highlighted areas.
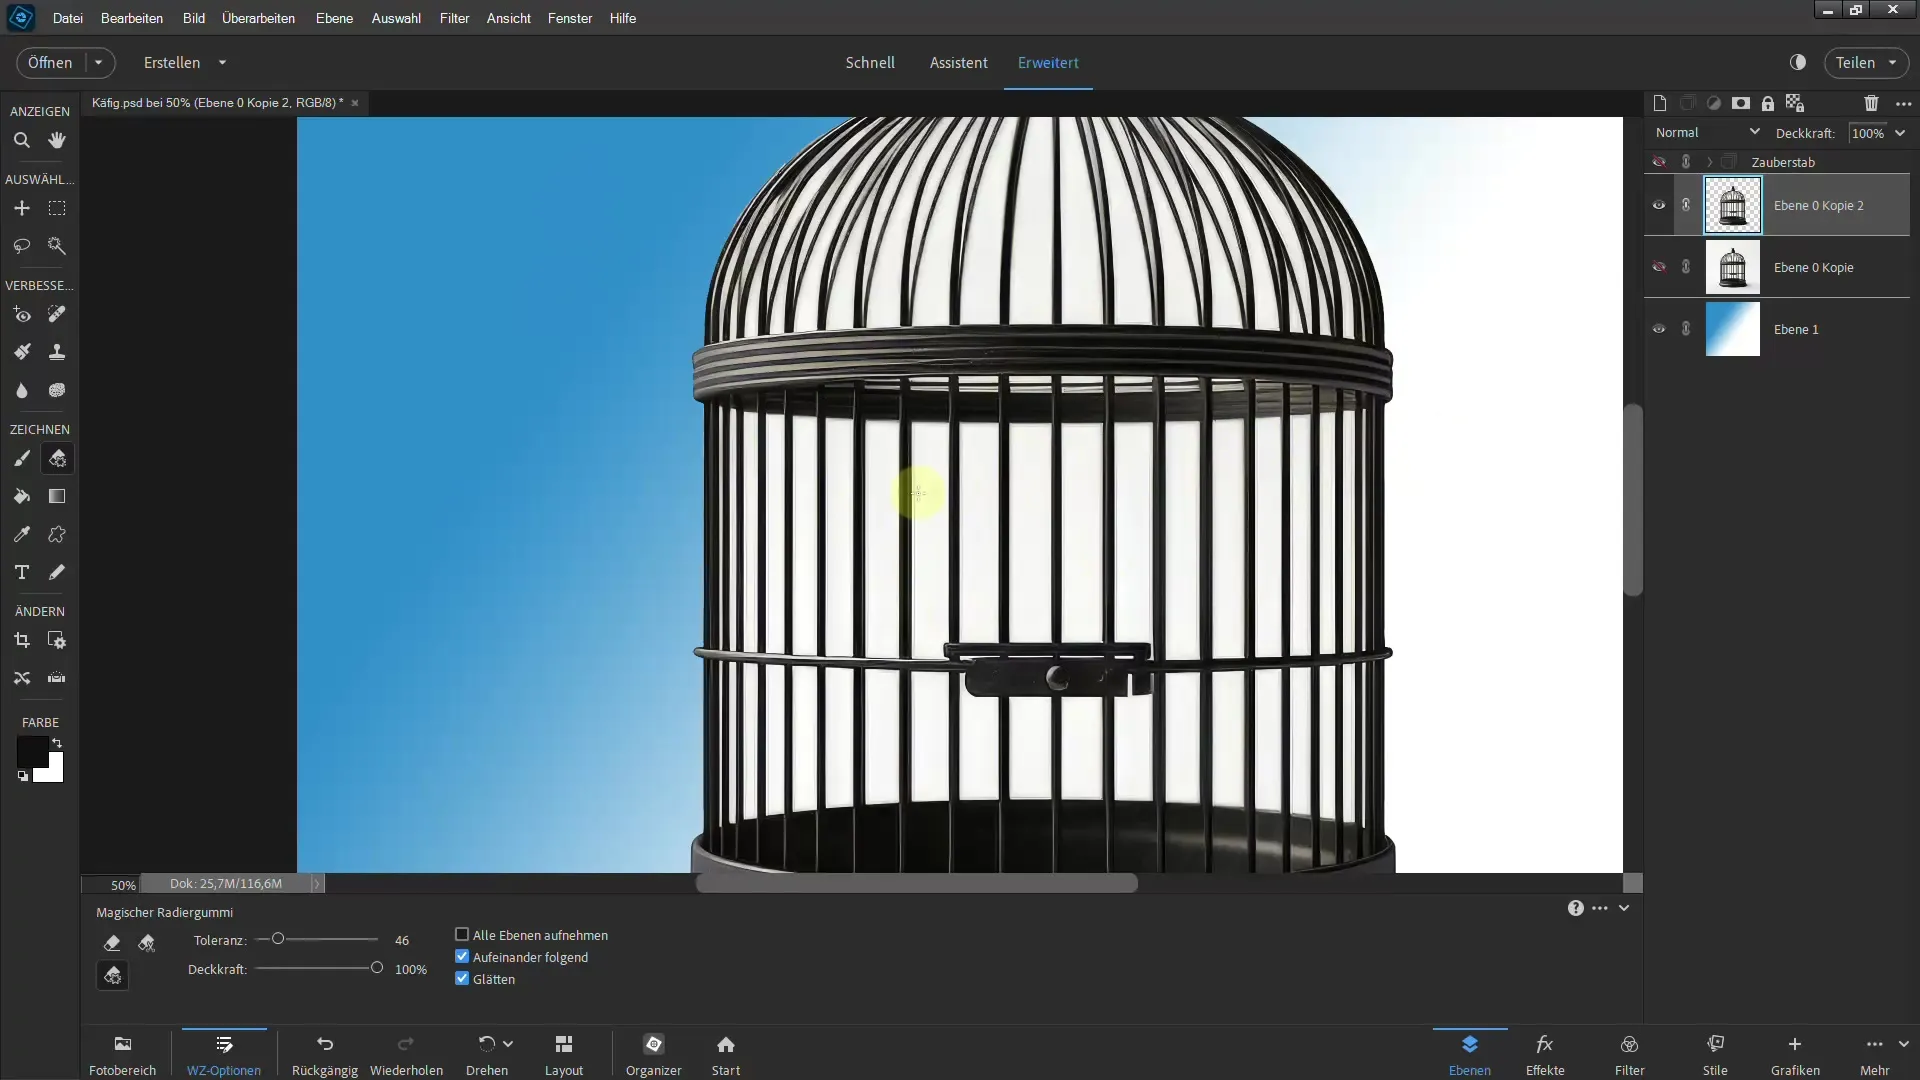
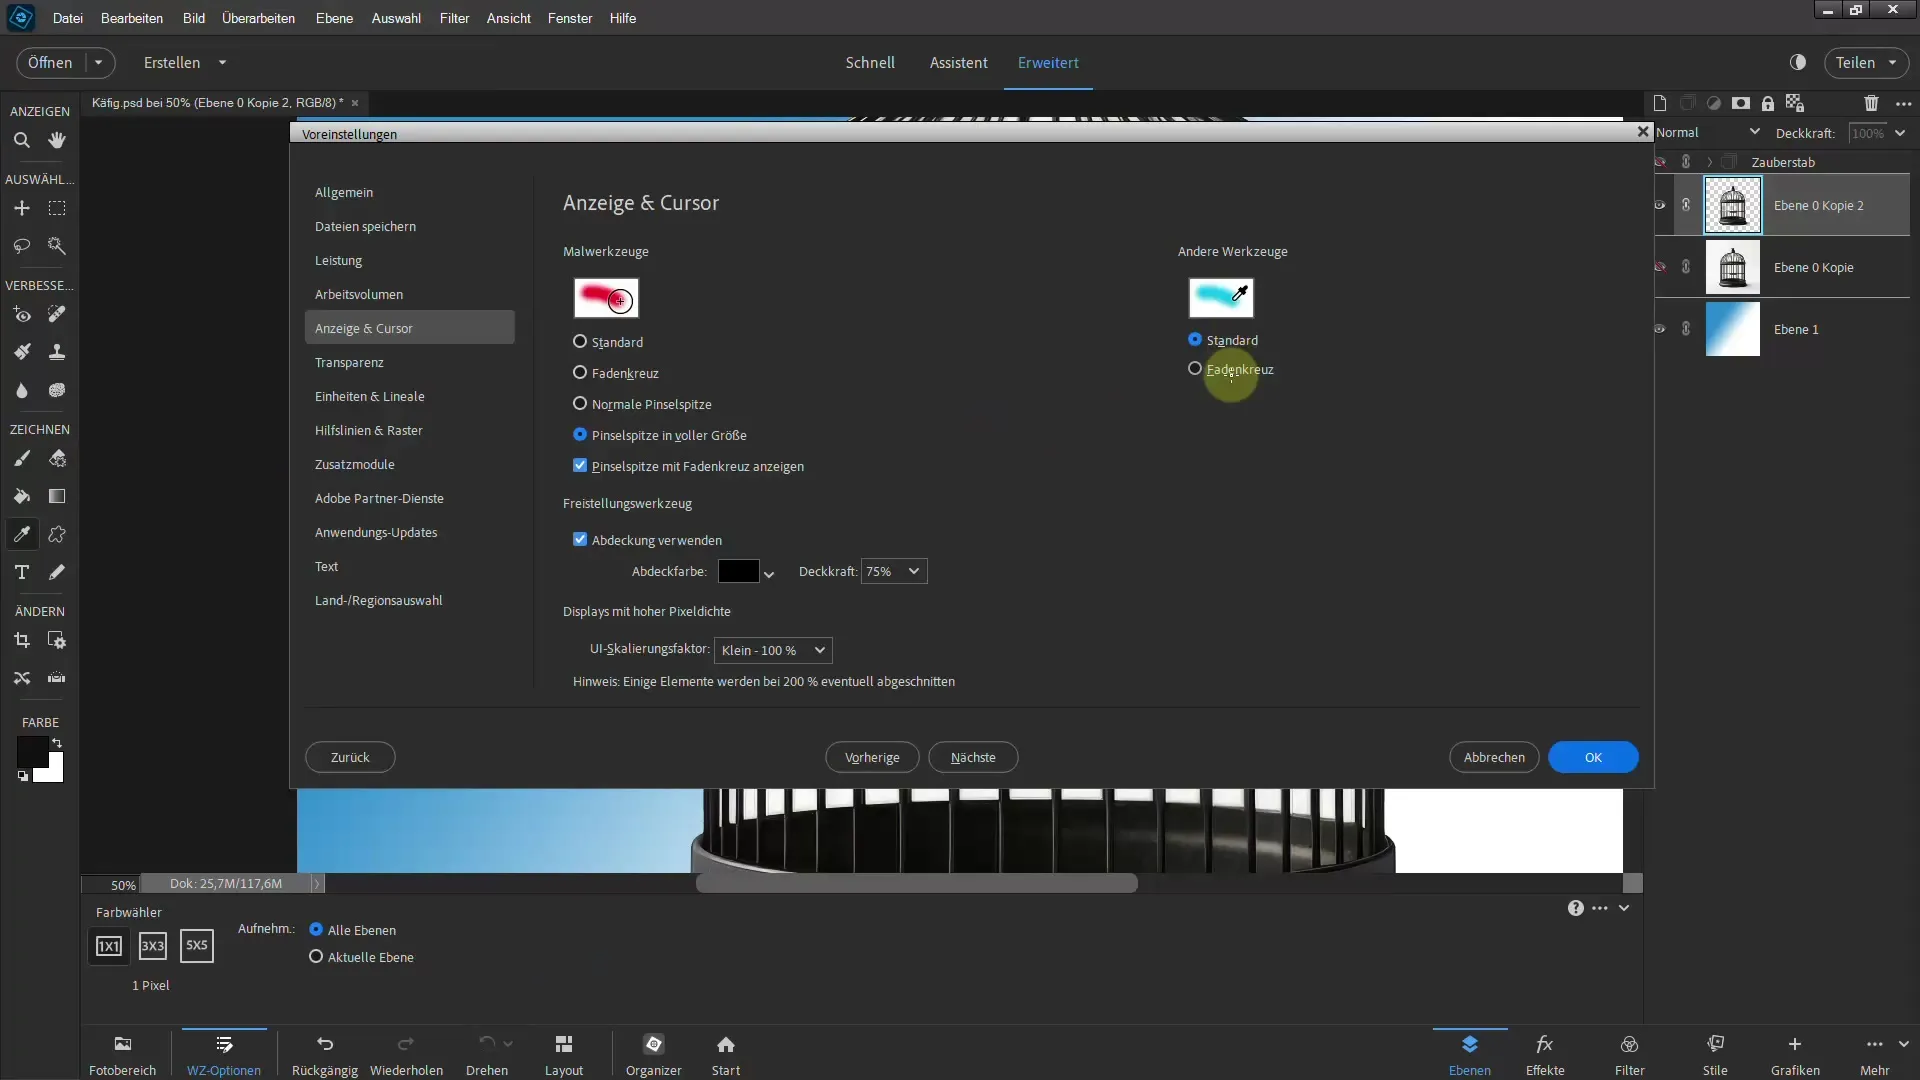
If you only see the eraser, go to the preferences and set the cursor to "Crosshair". This will give you more precise control over the areas to be deleted.
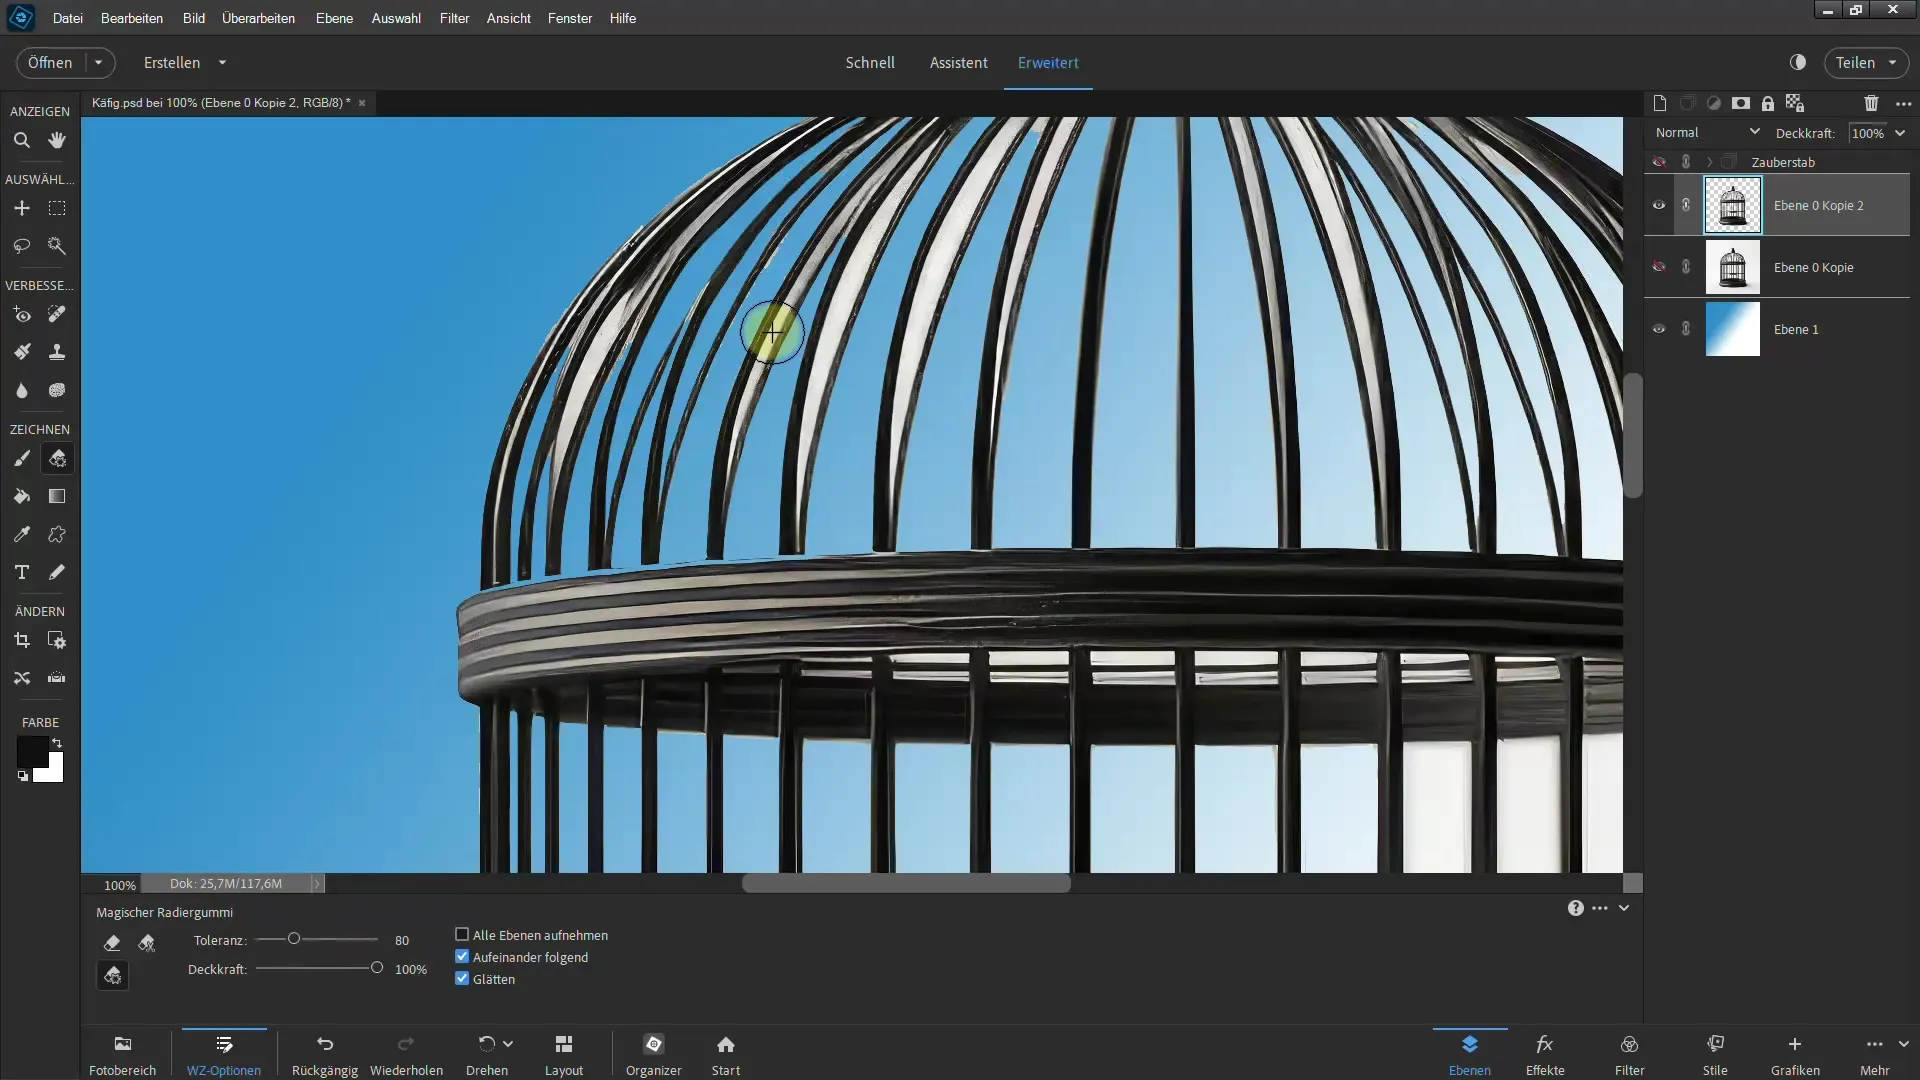
Increase or decrease the tolerance of the eraser, depending on how much area you want to remove. Be careful not to accidentally erase parts of the cage.
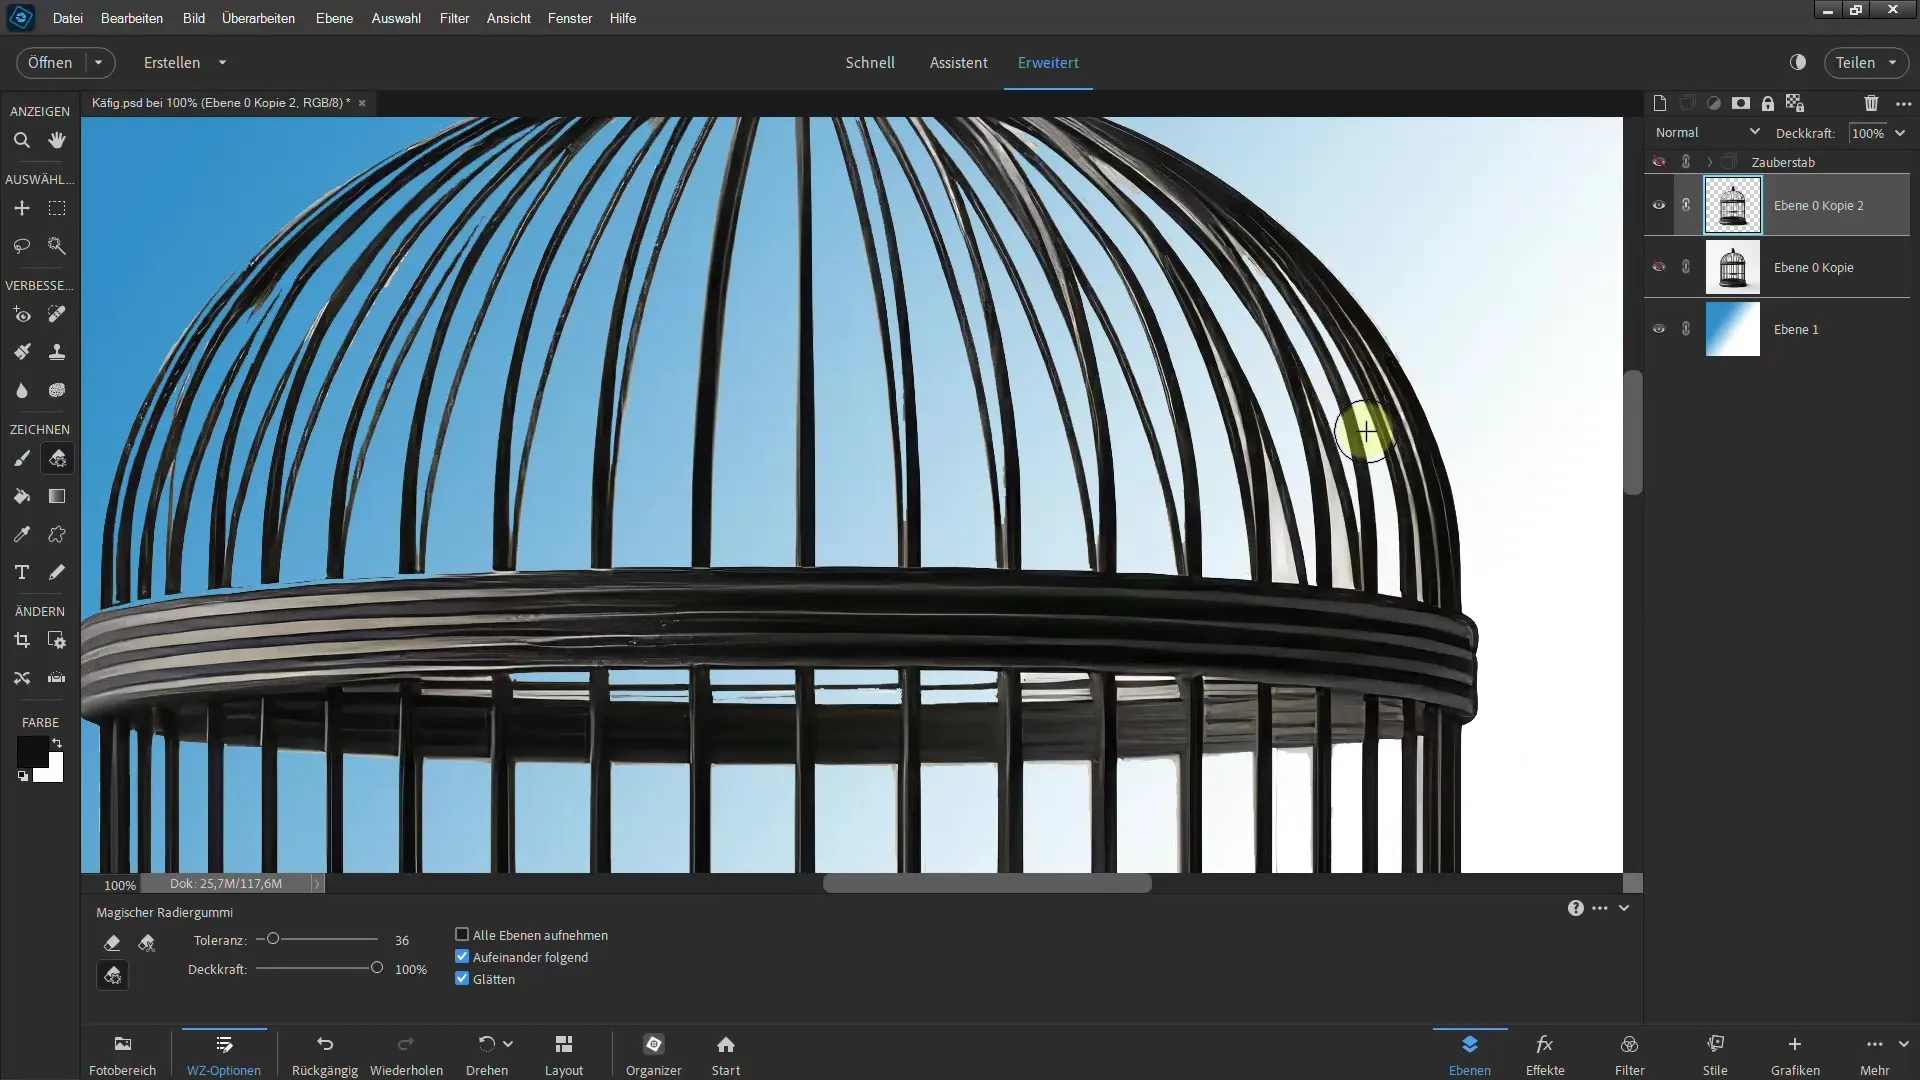
You can go through this method in a short time to remove most backgrounds. However, be careful because this method is destructive.
3. Using Layer Masks for Optimization
After editing your image using the first two methods, it's time to use layer masks to further enhance the qualities.
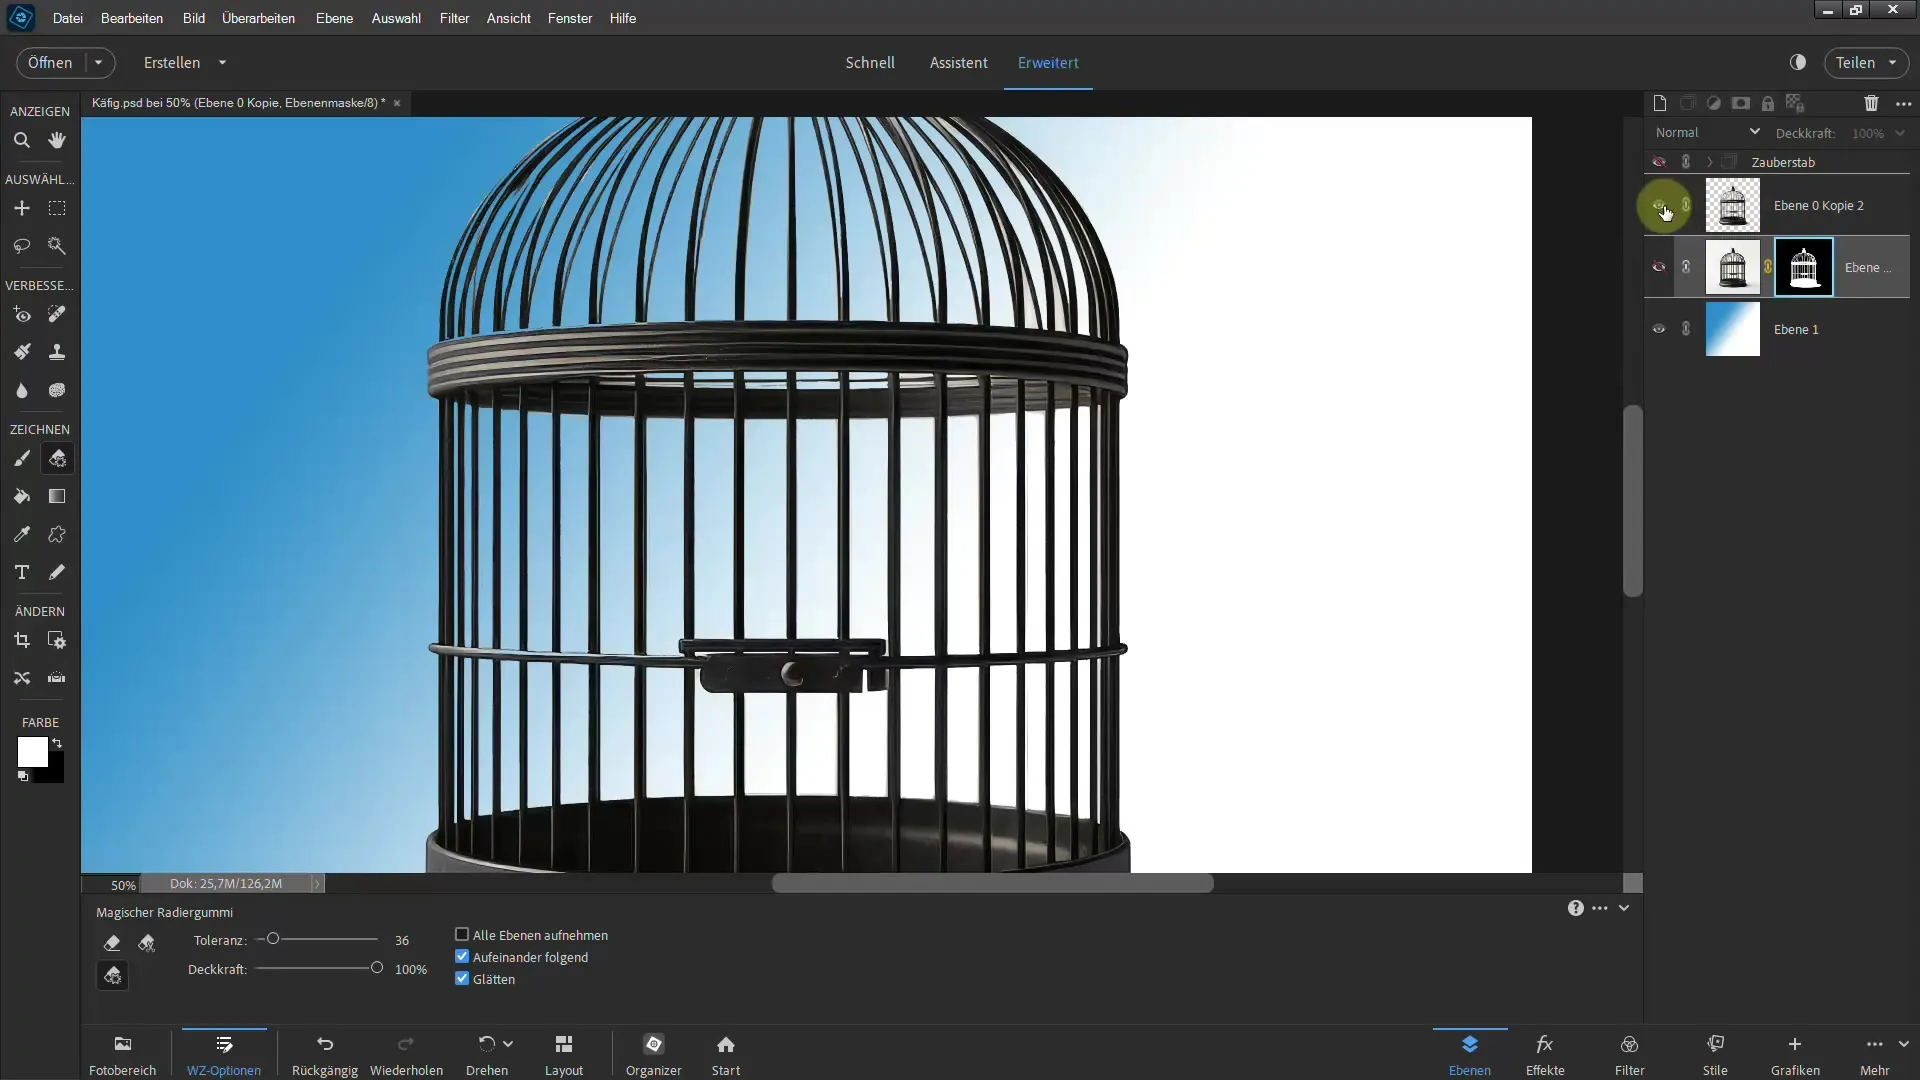
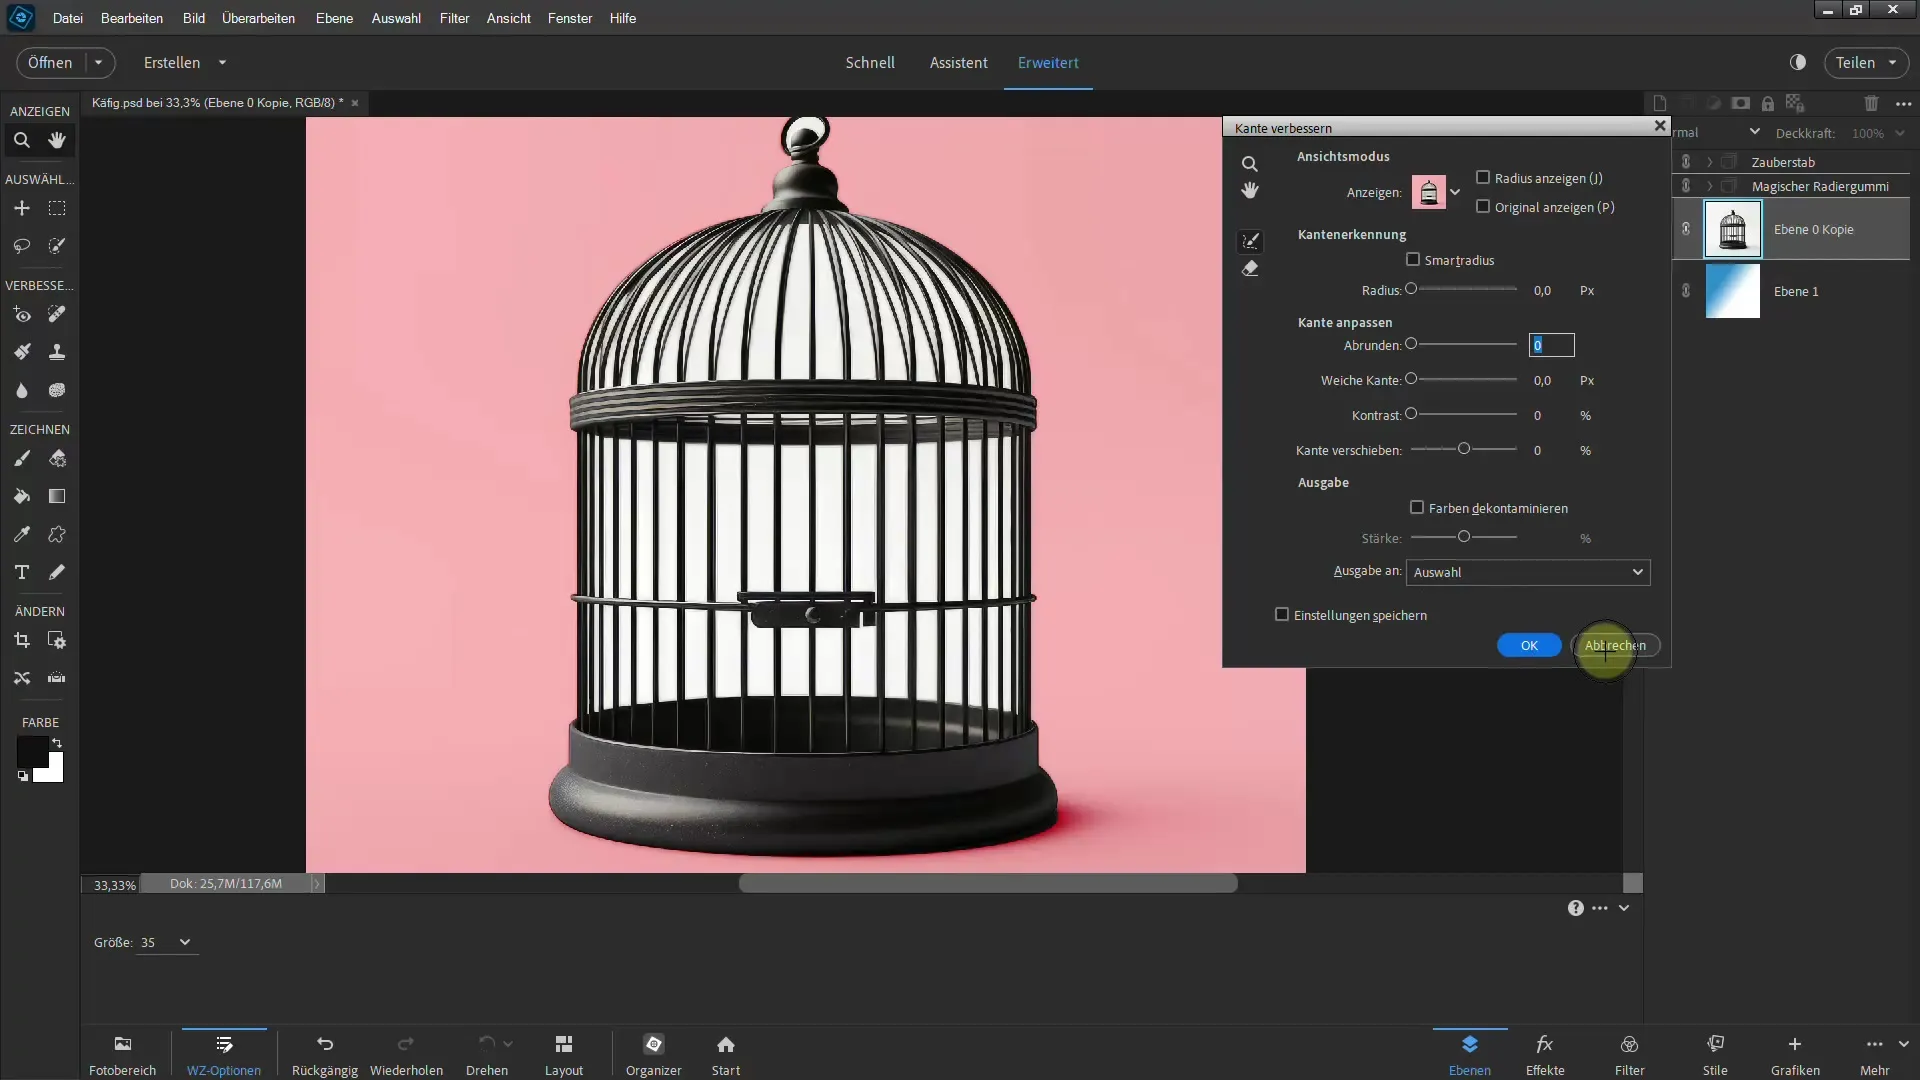
Duplicate the current layer again and then select the entire subject. Click "Refine Edge" to determine the areas that have not been perfectly executed.
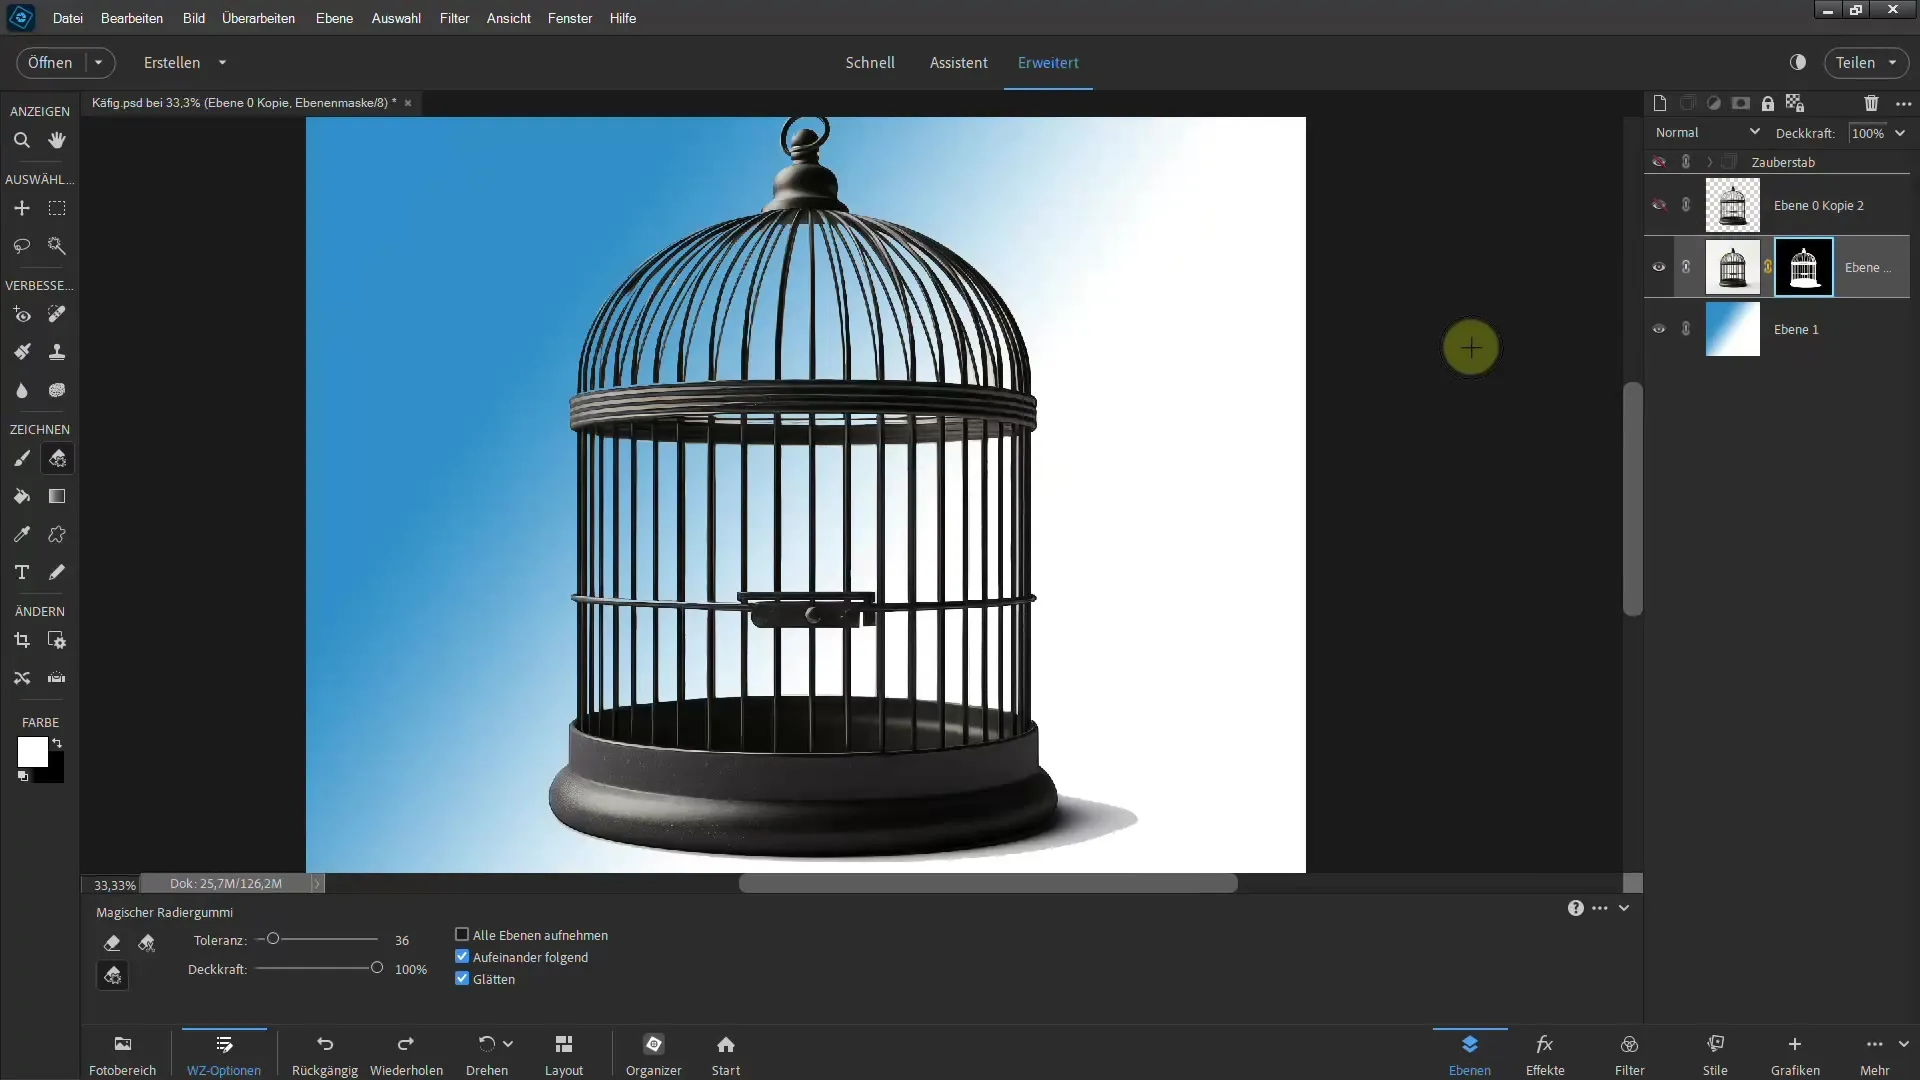
By adding a layer mask, you can selectively undo and restore areas that are not ideally extracted.
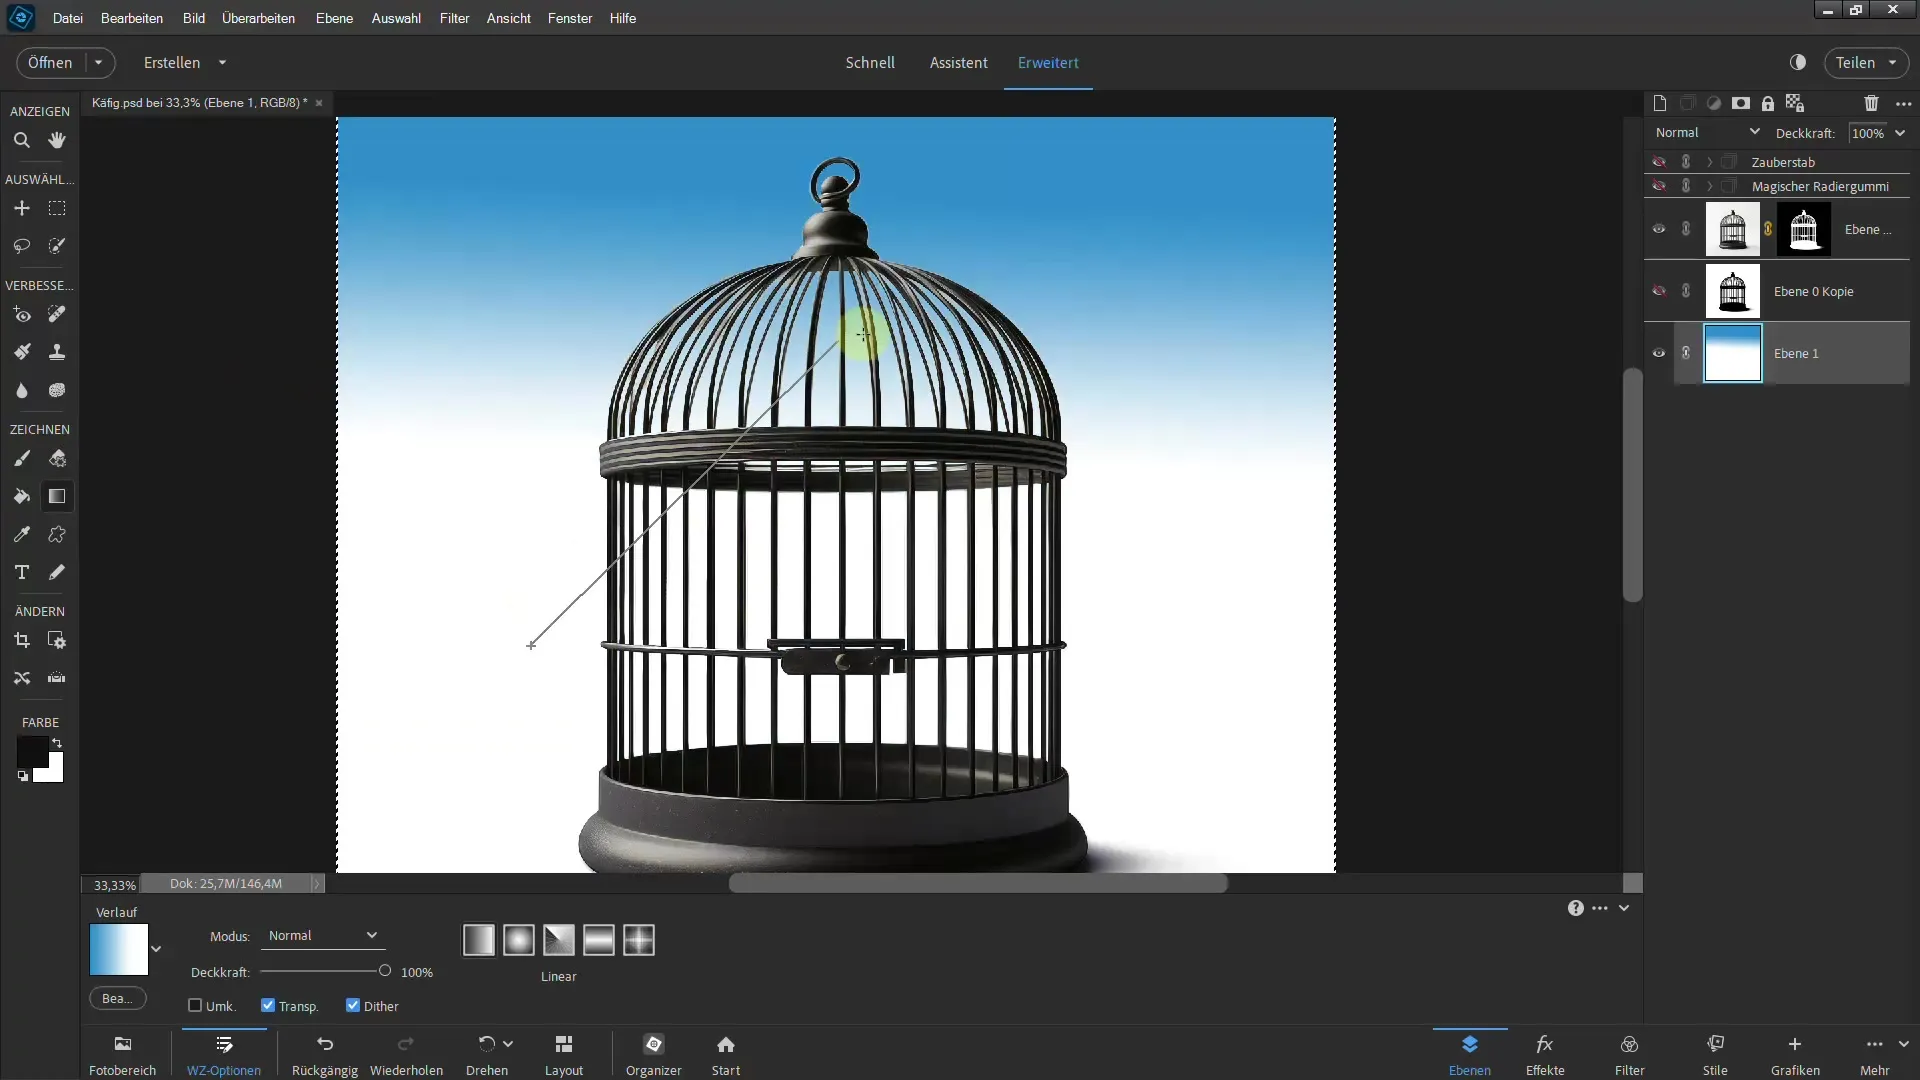
Adding a gradient or texture to the background layer will give you a more realistic look that you can edit as desired.
4. Contrast Adjustment to Support Extraction
The final technique is to adjust the contrasts of your image before starting the extraction. You can convert your image to grayscale with the "Black & White" function and then adjust the contrast.
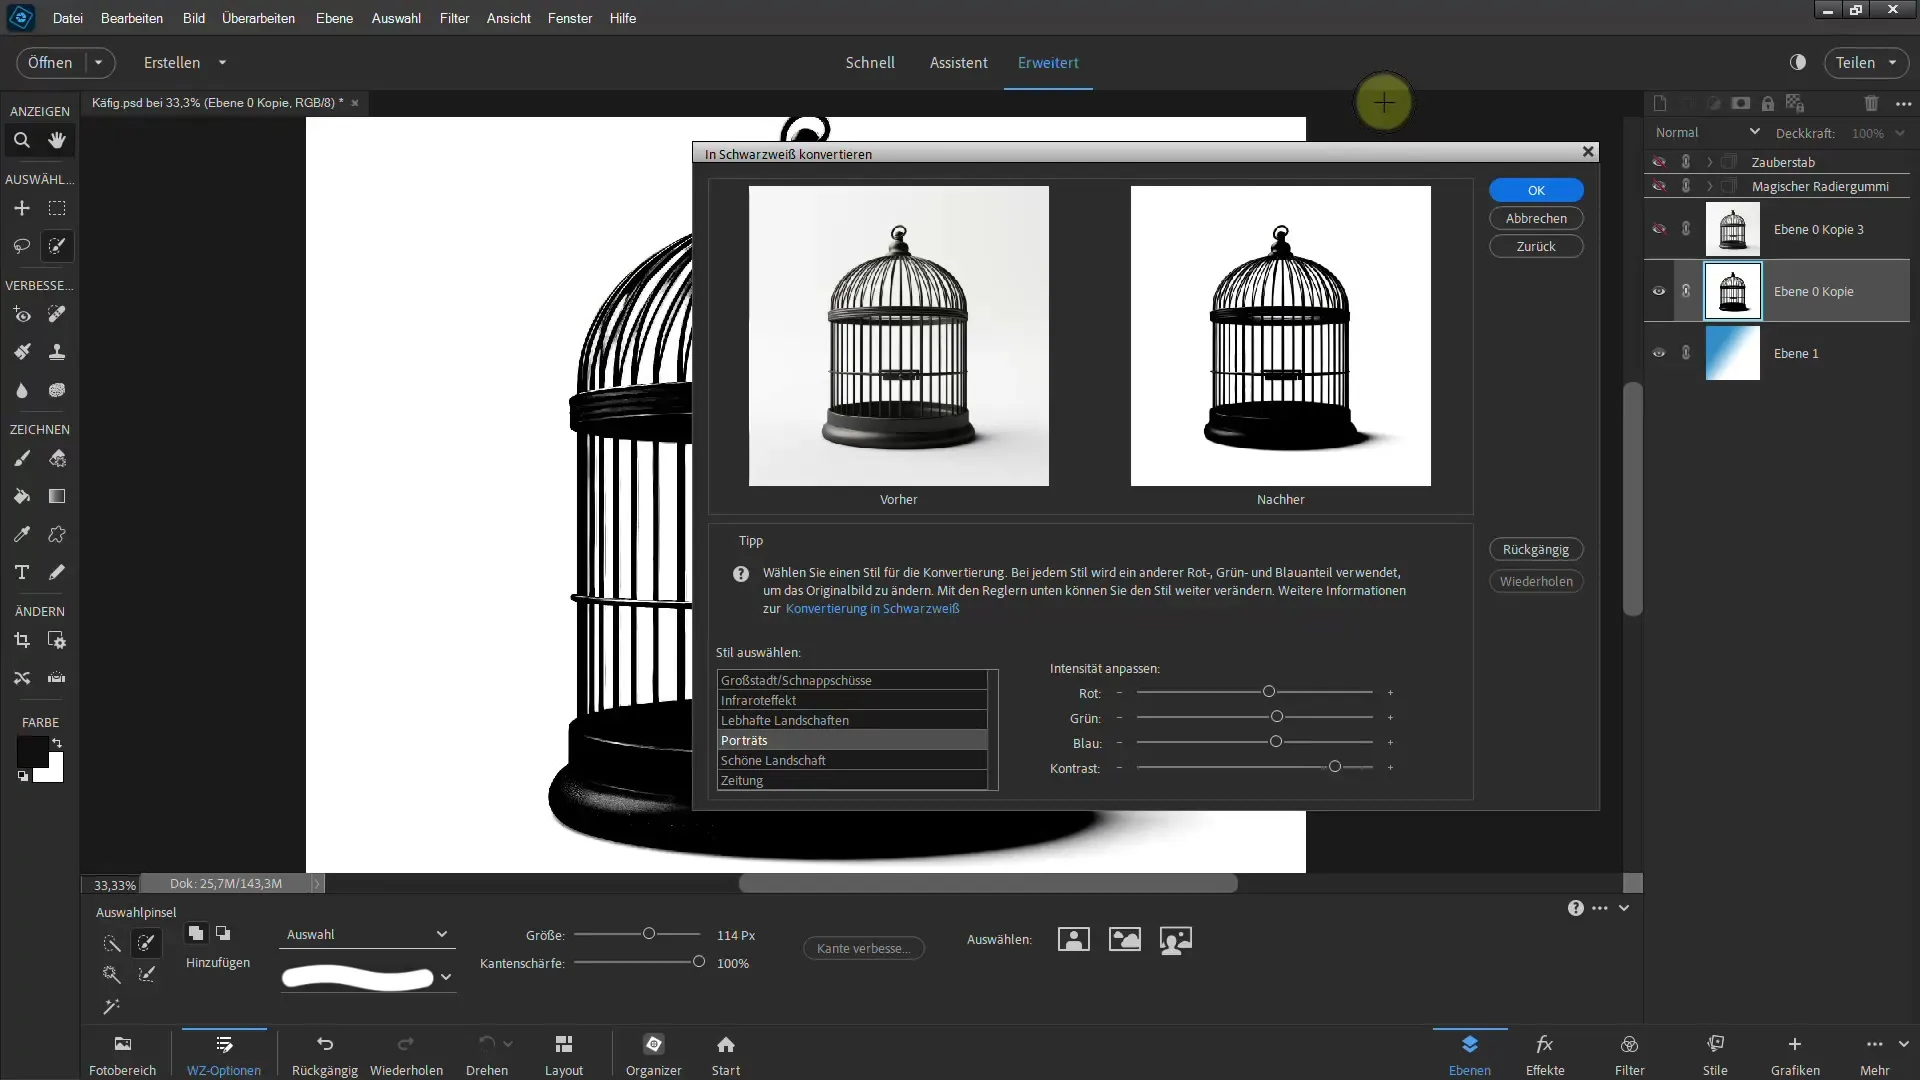
This step helps eliminate blurriness and unwanted color tones originating from the background of the cage.
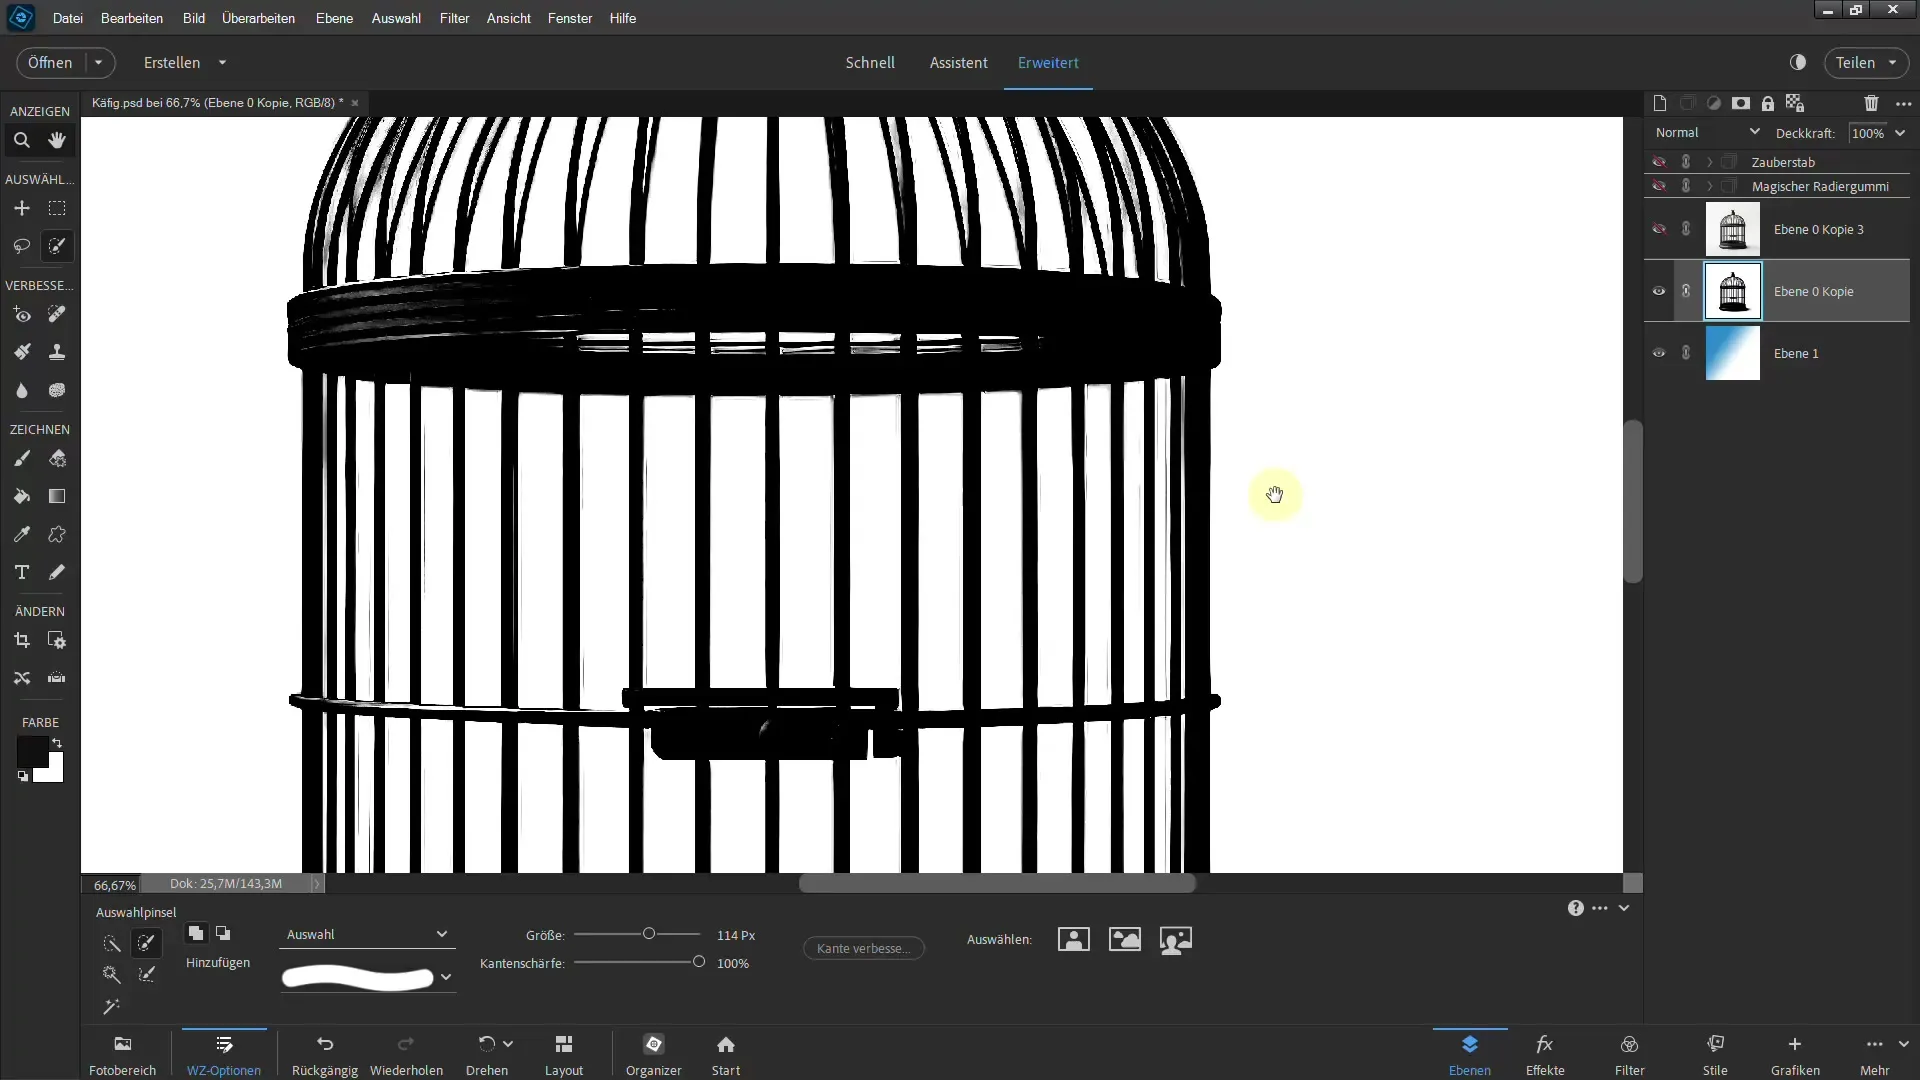
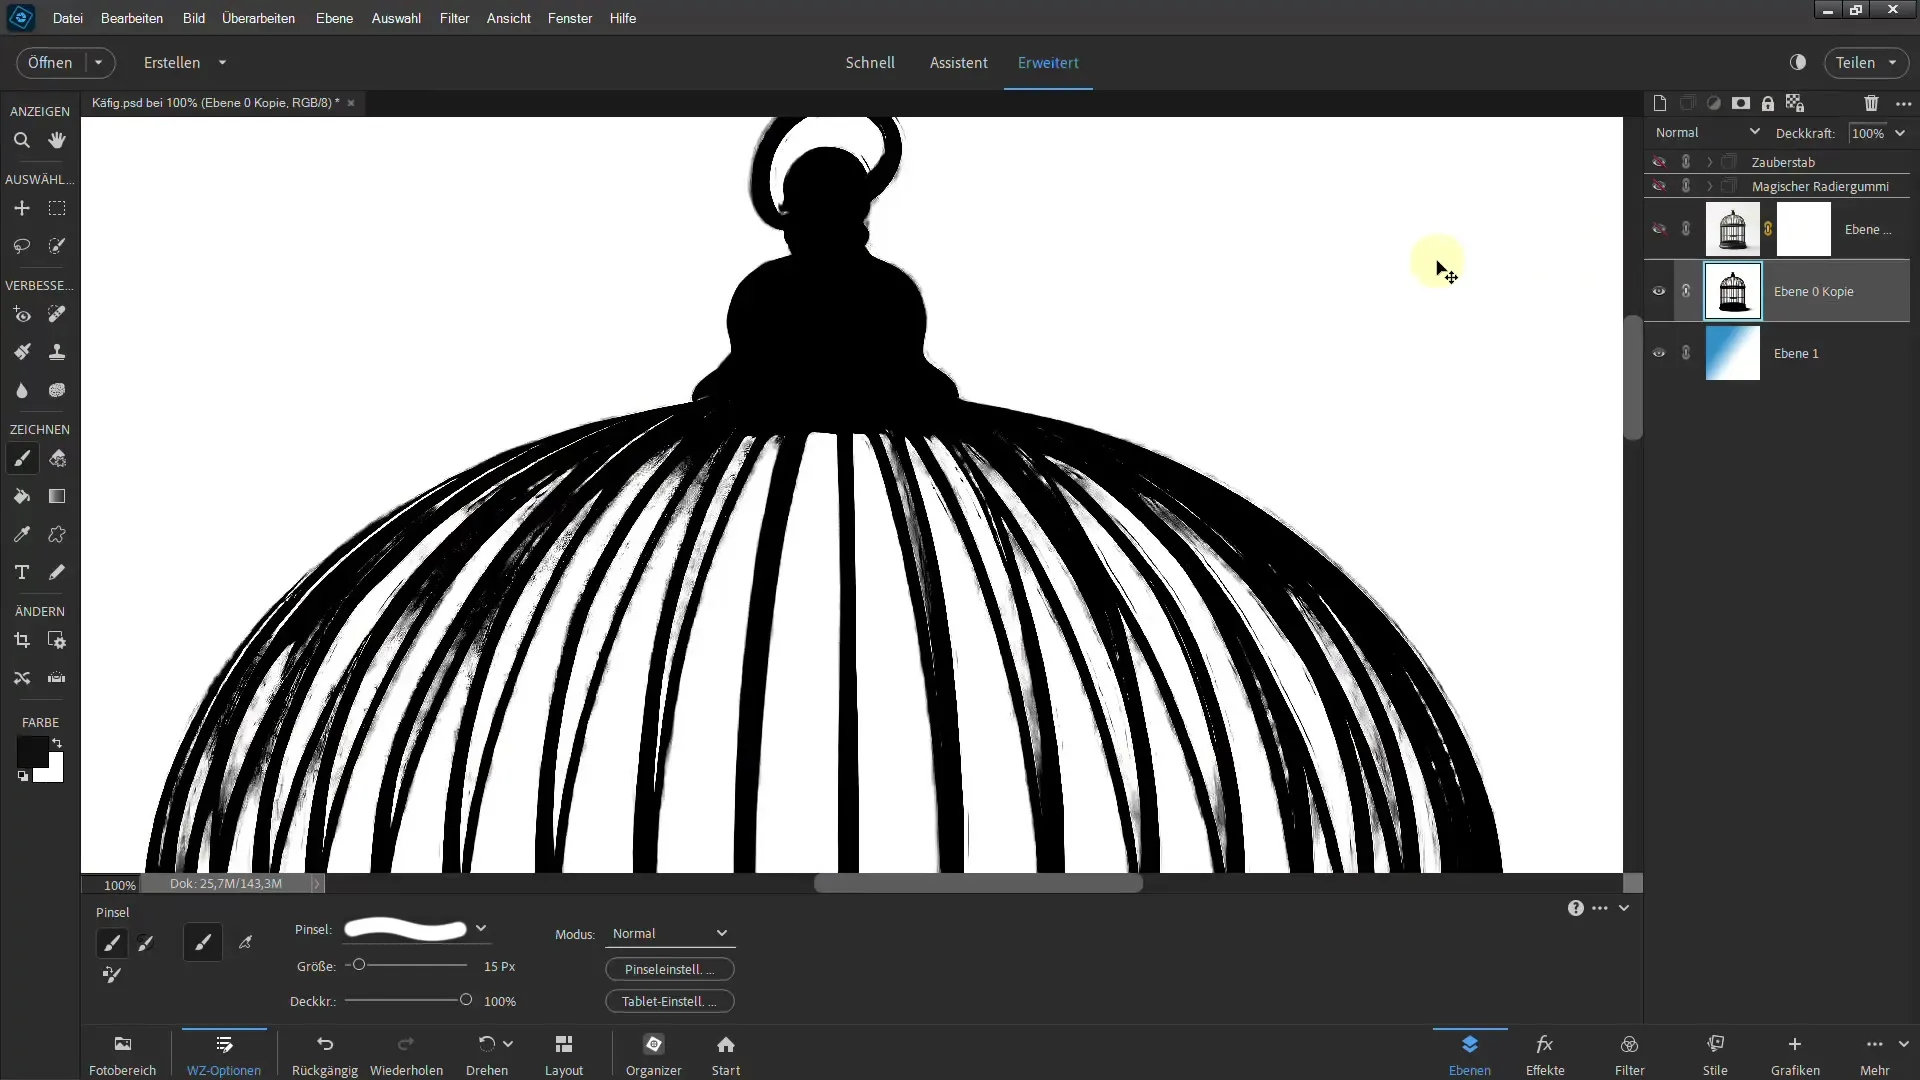
After adjustment, you can highlight further details with the brush that contribute to the extraction of the cage and use the layer mask to make targeted changes.
Summary
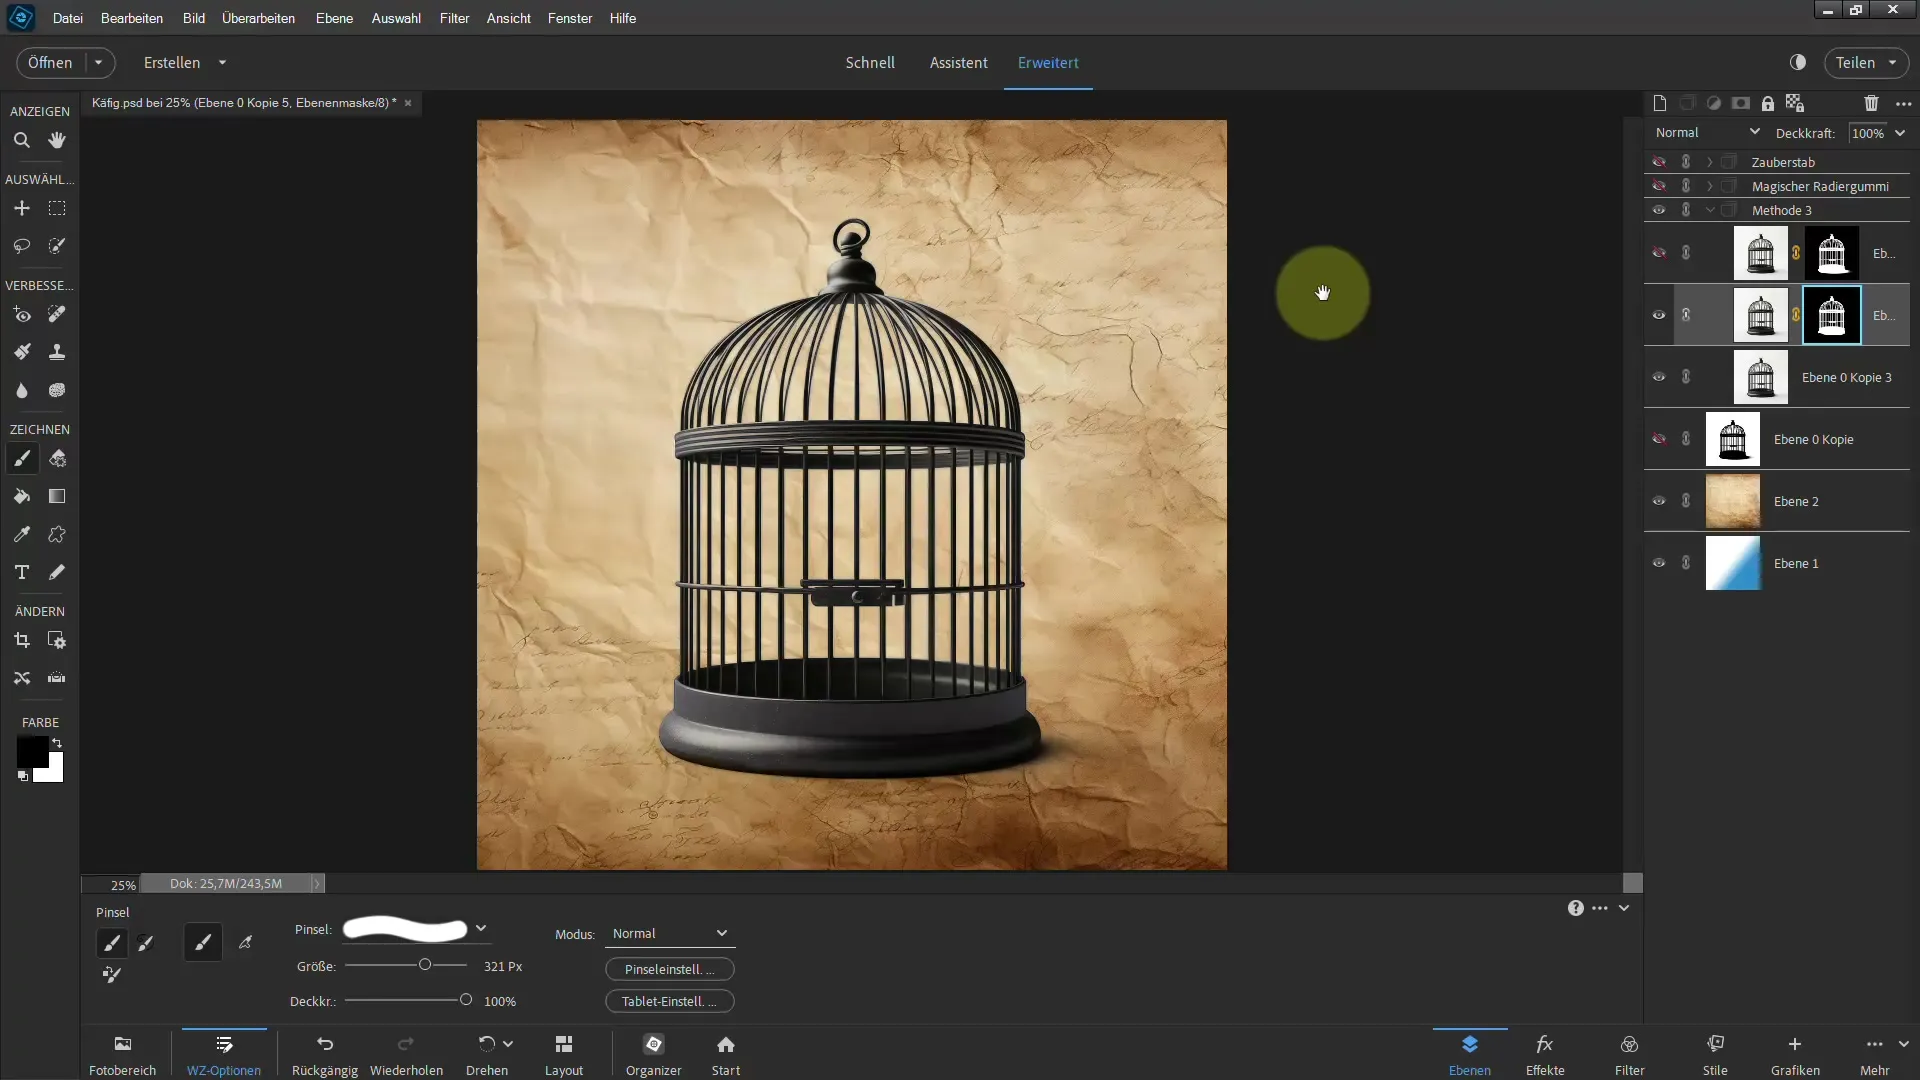
The ways to extract an image are diverse and depend heavily on your workflow. By combining and refining the methods of the magic wand, magic eraser, optimization through layer masks, and contrast adjustments, you will be able to achieve excellent results.
Frequently Asked Questions
How can I adjust the tolerance with the magic wand?You can adjust the tolerance in the top bar after selecting the magic wand tool.
What can I do if the magic eraser deletes too many areas?Adjust the tolerance settings of the tool or use the Undo function to revert mistakes.
How to optimize a layer mask?Use the brush to selectively edit black and white areas in the mask to remove or restore unwanted areas.
Can I change the results at any time?Yes, since you are using a layer mask, you can restore or delete areas at any time without affecting the original layer.


