Removing hair in Photoshop Elements is one of the most challenging tasks you can face. Often, it's the subtle colors in the hair that make the selection difficult, especially when the background has a similar color. A common problem is the color cast that can occur during the extraction process. In this tutorial, you will learn how to eliminate the color cast and achieve a clean extraction using the "Fix Transparent Pixels" option. I will show you what to pay attention to and how you can perform this process non-destructively. Let's get started!
Key Insights
- The "Fix Transparent Pixels" method can help you eliminate color fringes in hair.
- It's important to work non-destructively to preserve the possibility of later editing.
- This function is particularly suitable for complex image cutouts, such as hair with many fine details.
Step-by-Step Guide
1. Select Object
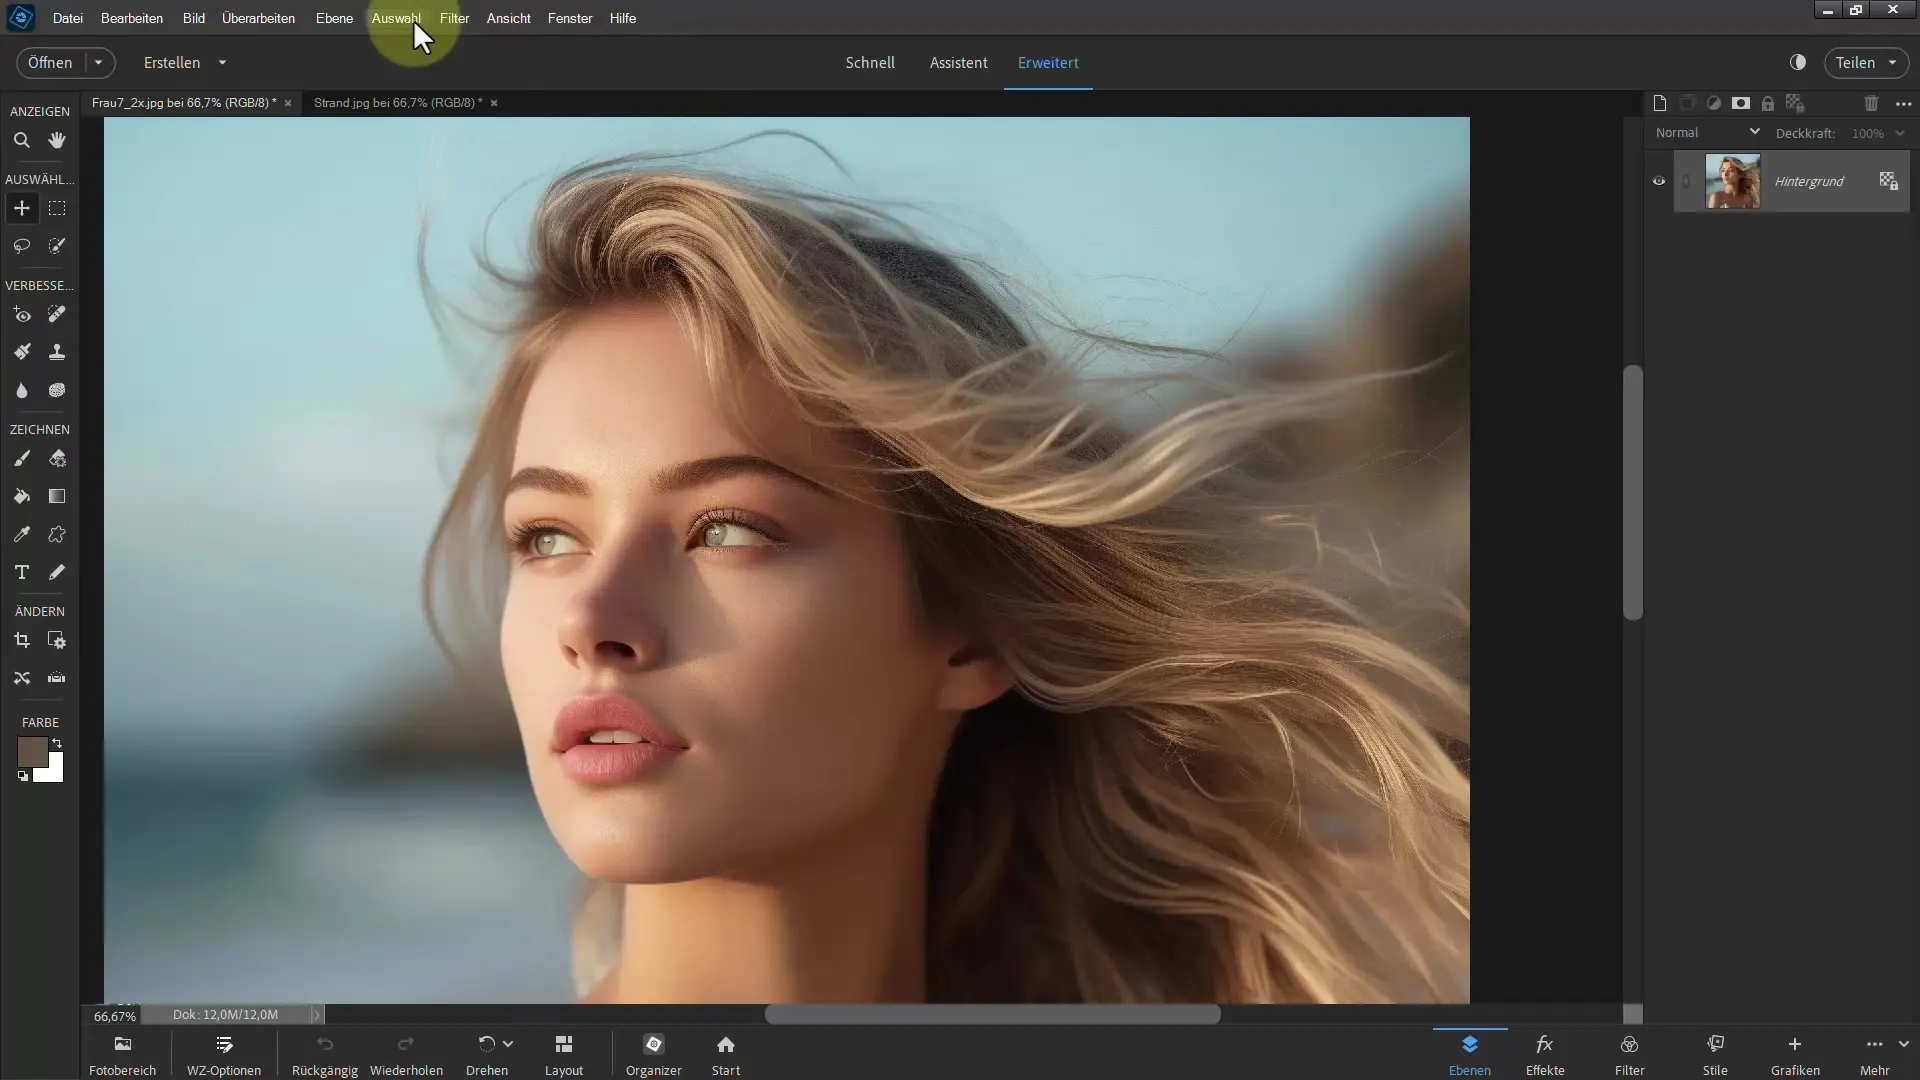
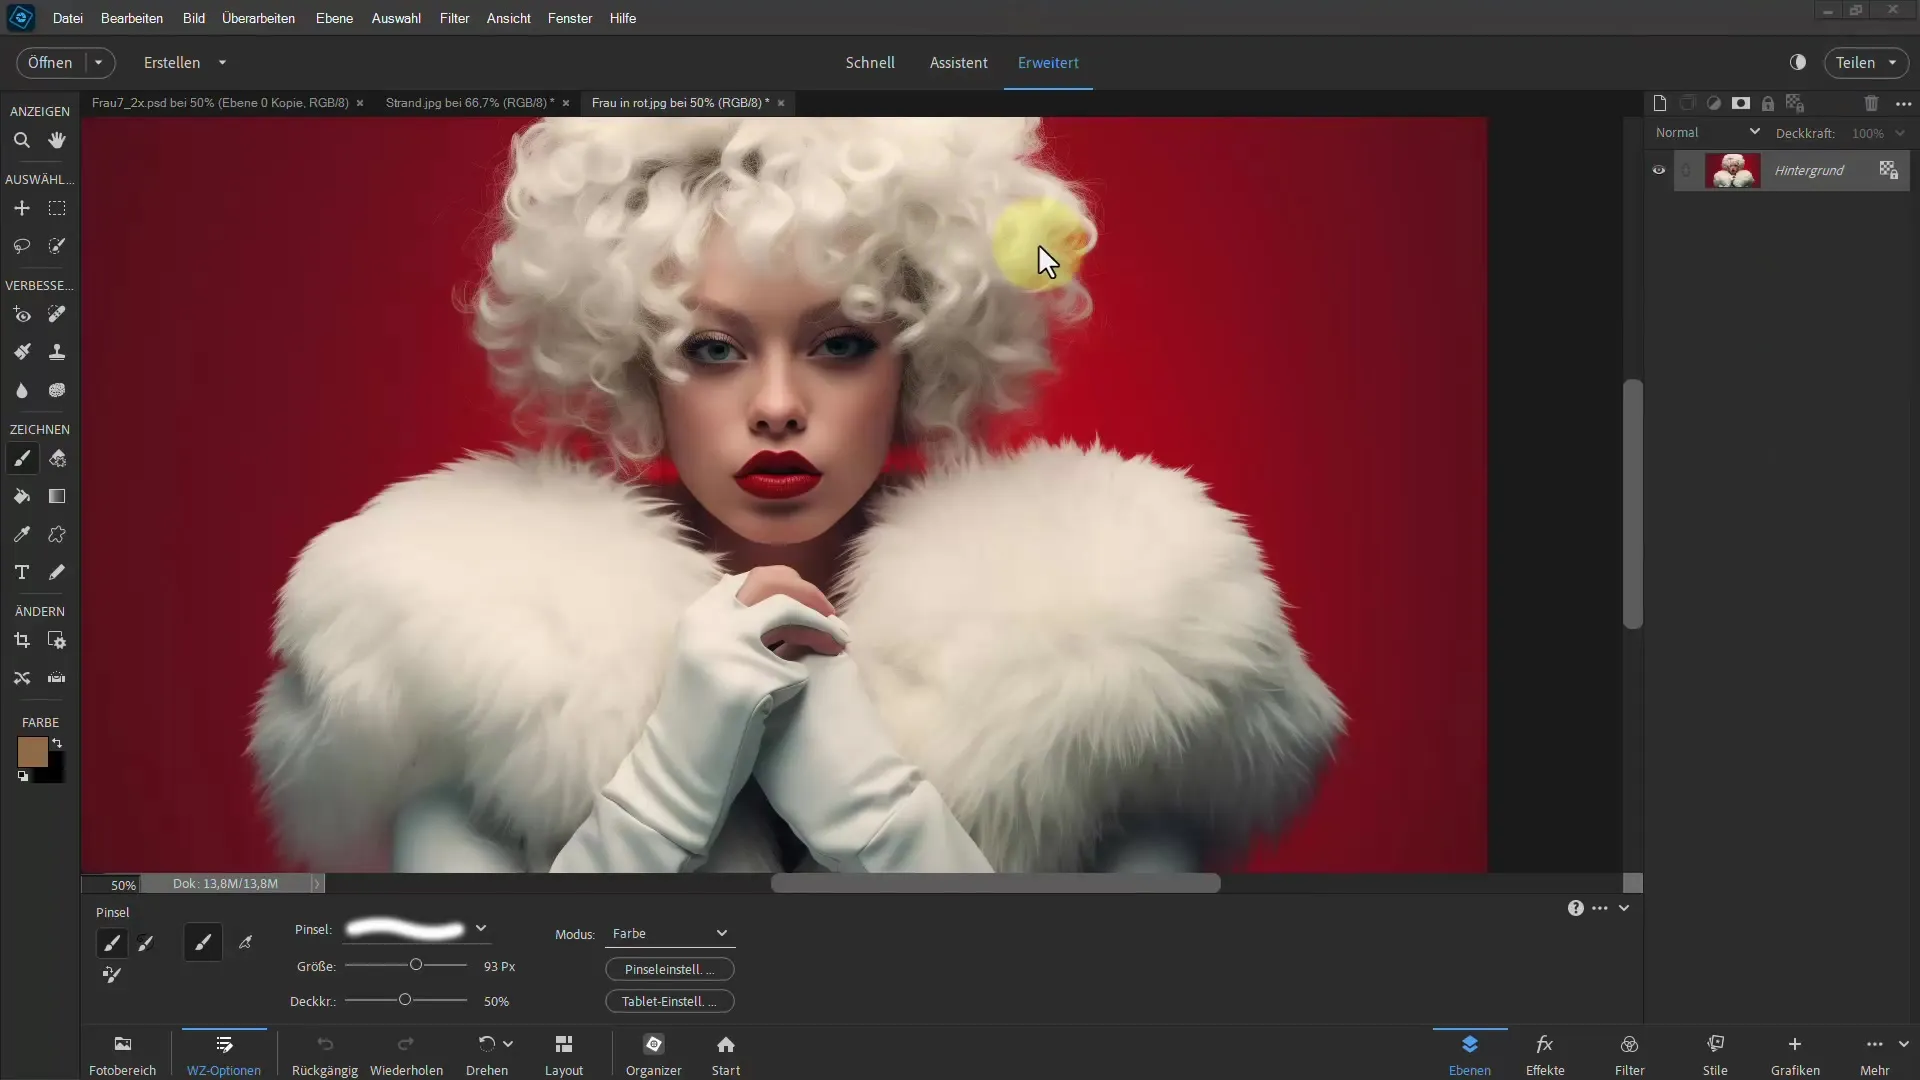
First, you need to select the object you want to extract. You can do this easily in Photoshop Elements. Click on "Selection," go to "Subject," and the head with hair will be more or less selected.
2. Refine Edge
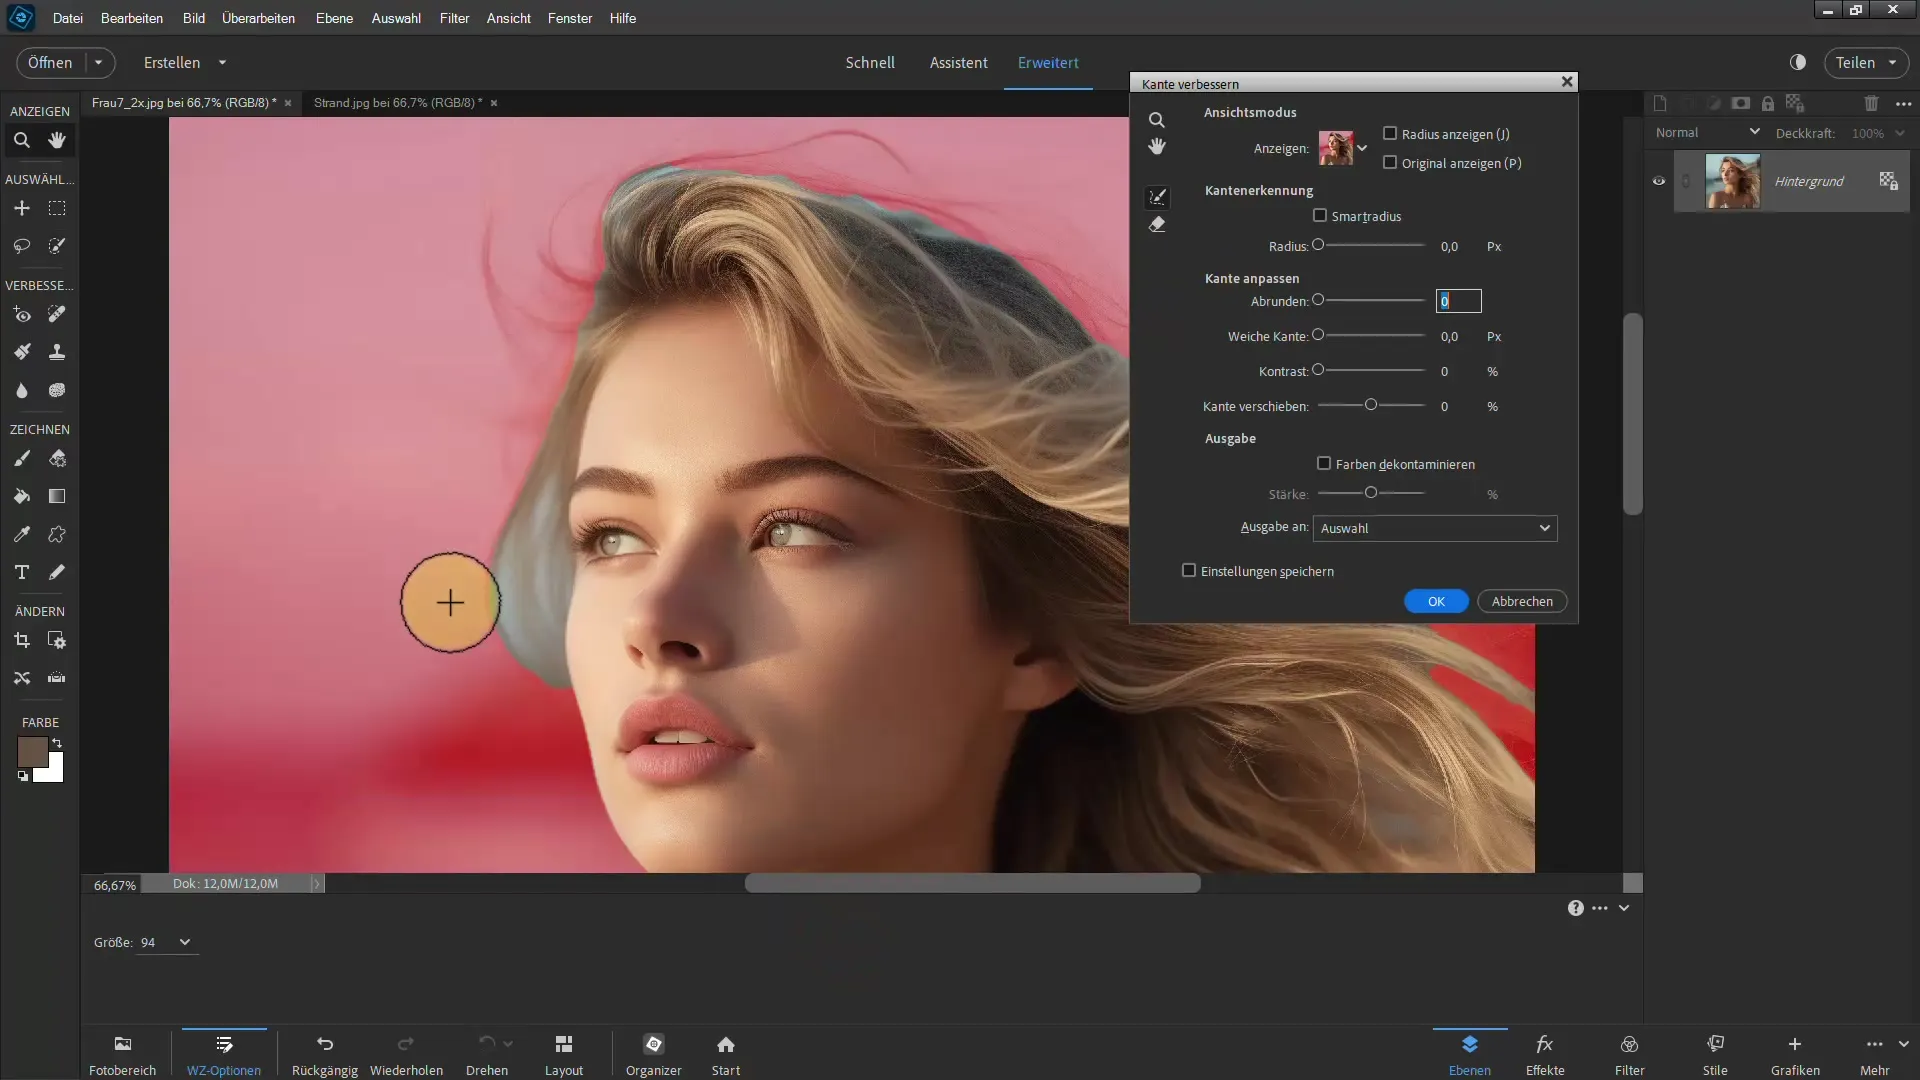
In the next step, it's necessary to refine the selection. Click on "Refine Edge." Anything that is red is not affected by the selection, and this naturally includes the hair. You can now refine with the "Refine Radius Tool."
3. Use Brush
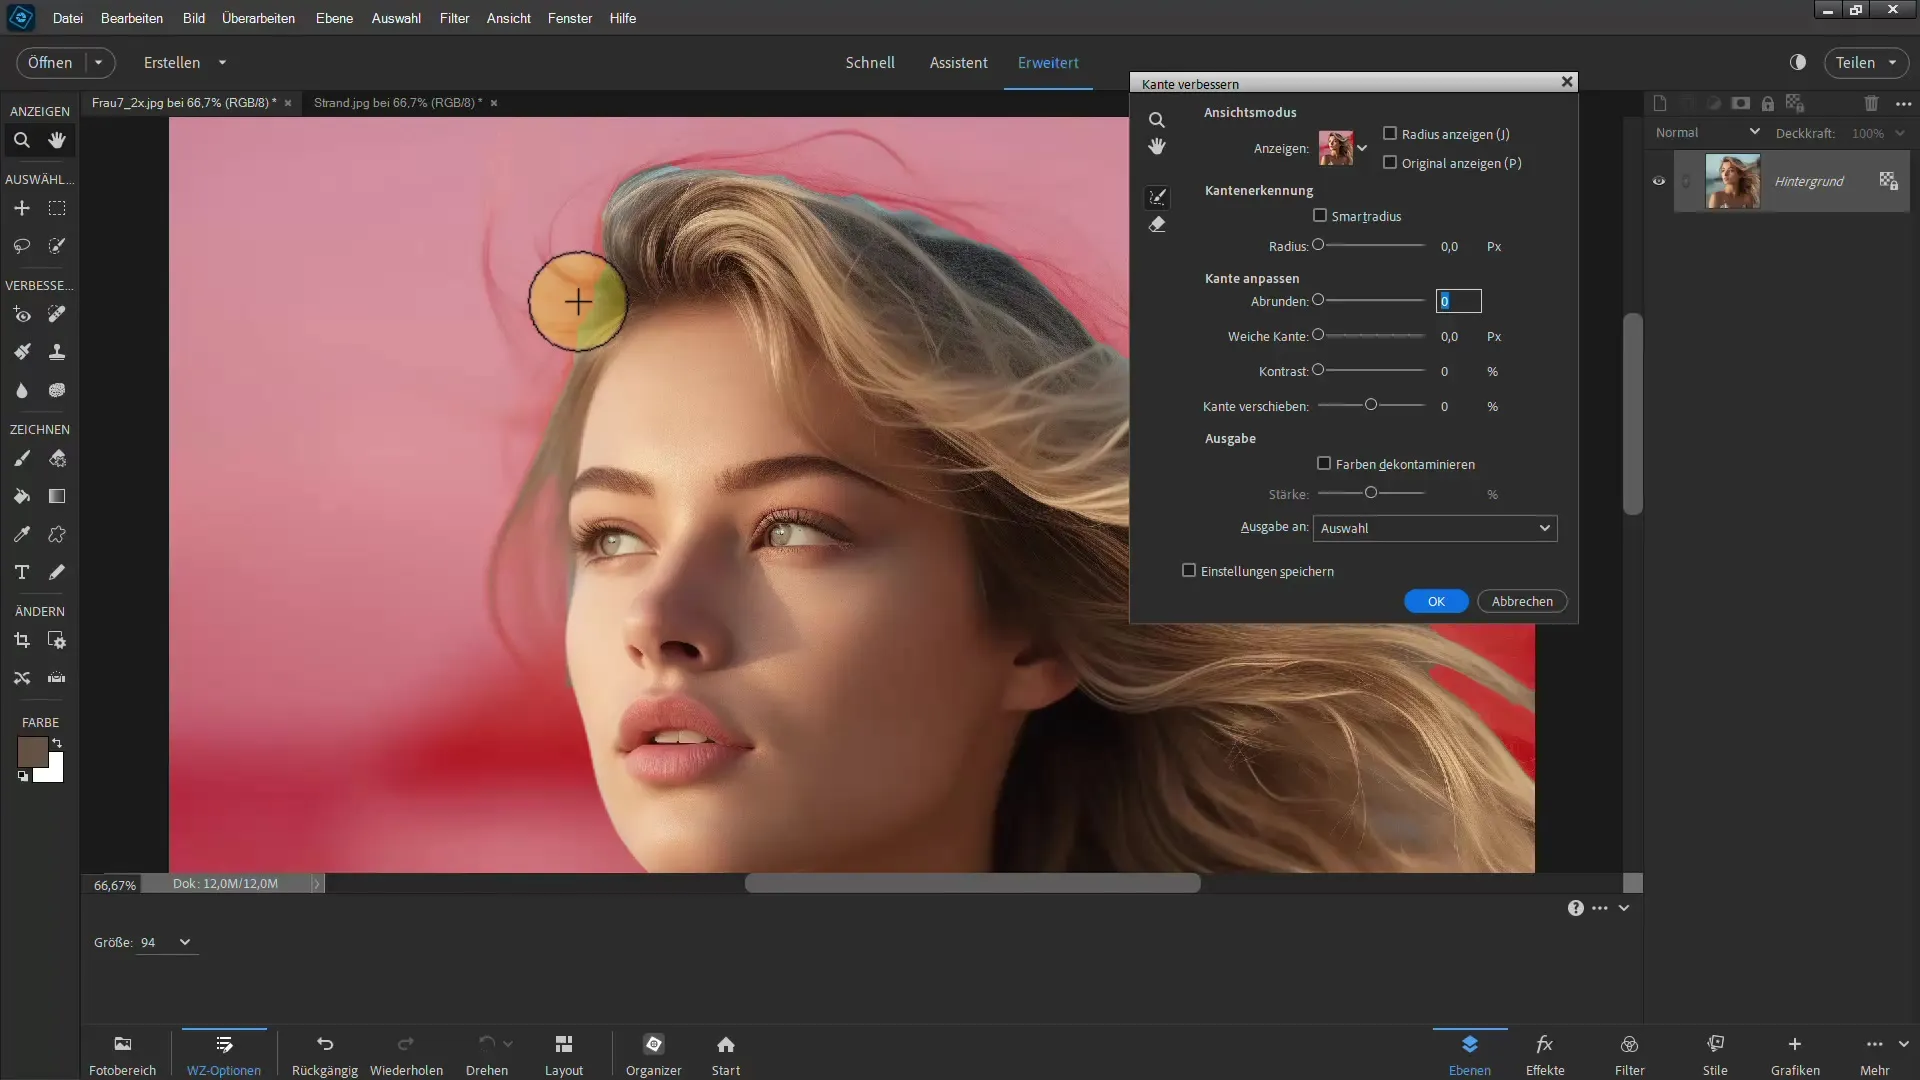
Now it's time to use the brush to optimize the edges of the hair. Adjust the brush size accordingly and gently go over the areas where the hair may not have been correctly recognized.
4. Apply Layer Mask
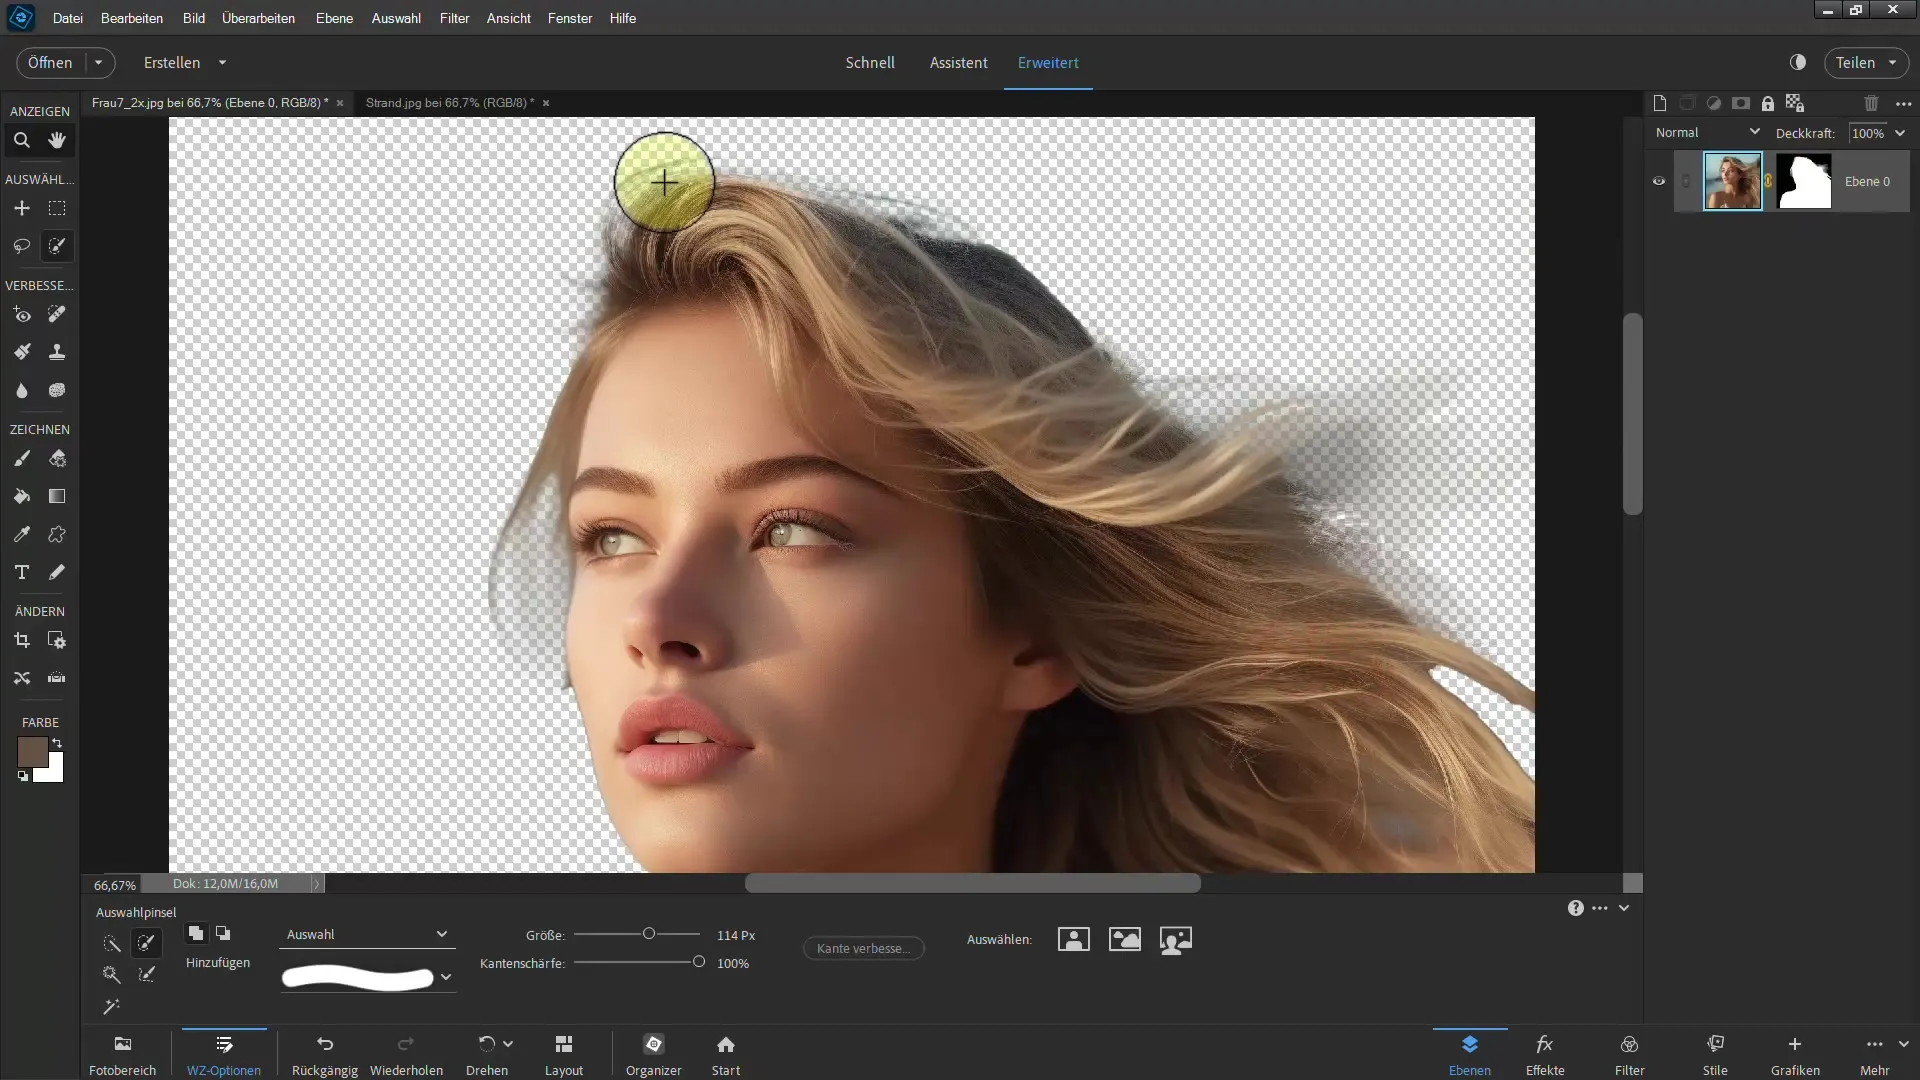
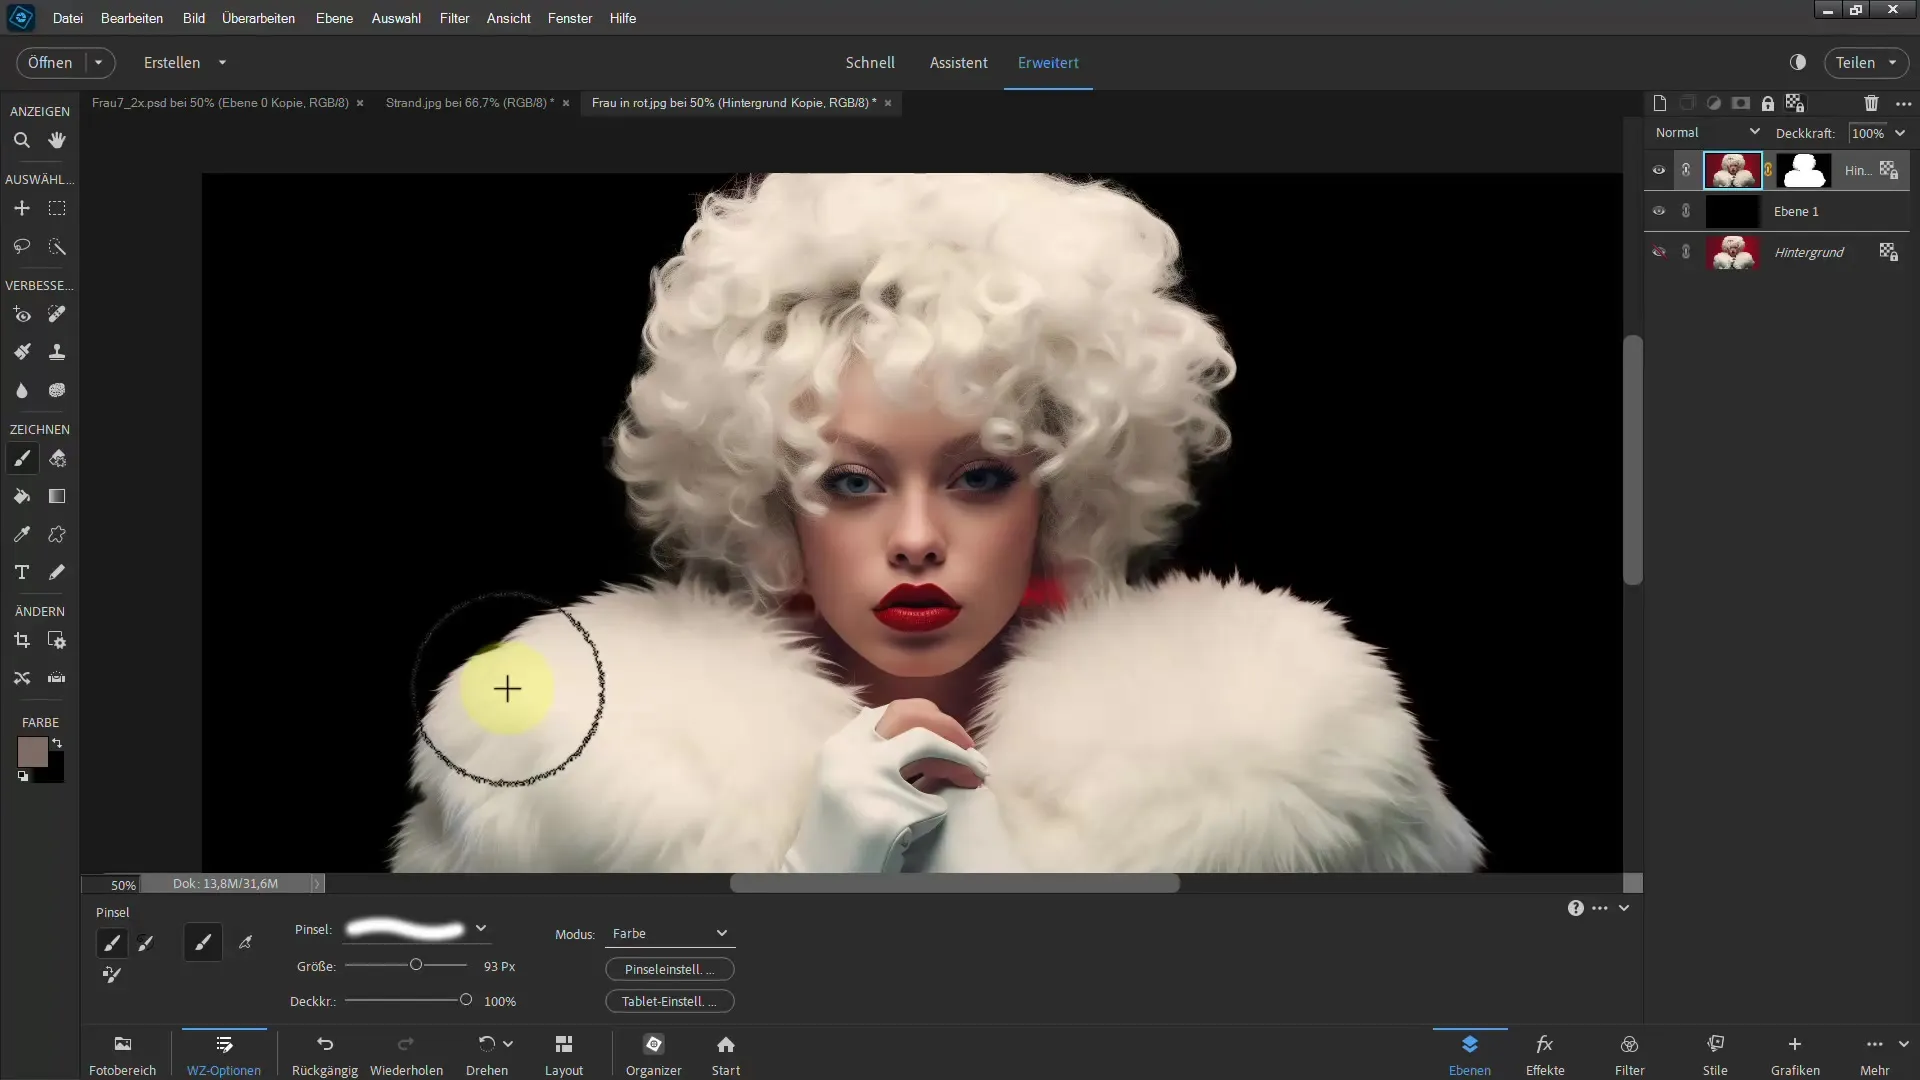
Once you're satisfied with the selection, create a layer mask. You will see that everything now has a checkerboard pattern, which means it's extracted. To check for color cast in the hair, create a new layer below the current one.
5. Adjust Color
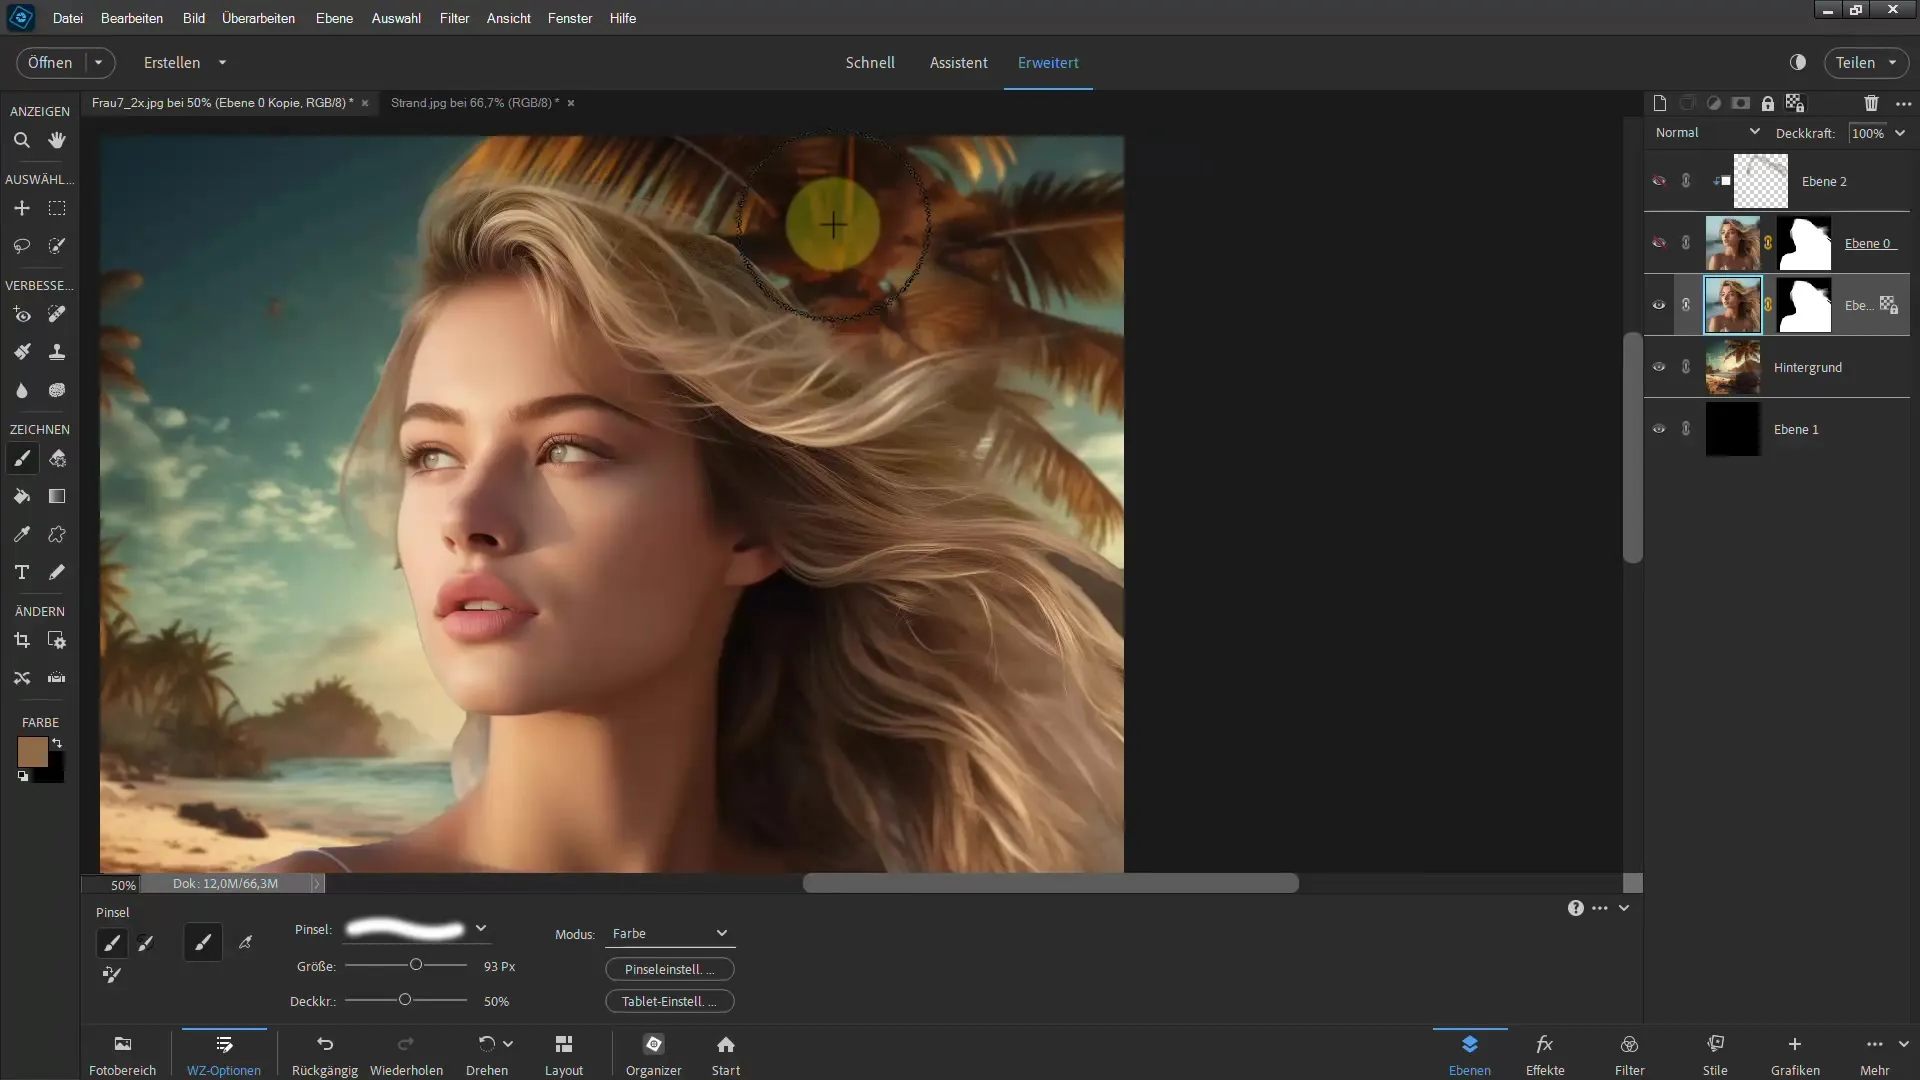
Now you can adjust the color of the hair to get rid of the blue color cast. Choose "Fix Transparent Pixels," but keep in mind that this method is destructive. This means that the changes cannot be undone once the image is saved. It is advisable to create a copy of the original by using the Ctrl + J key combination.
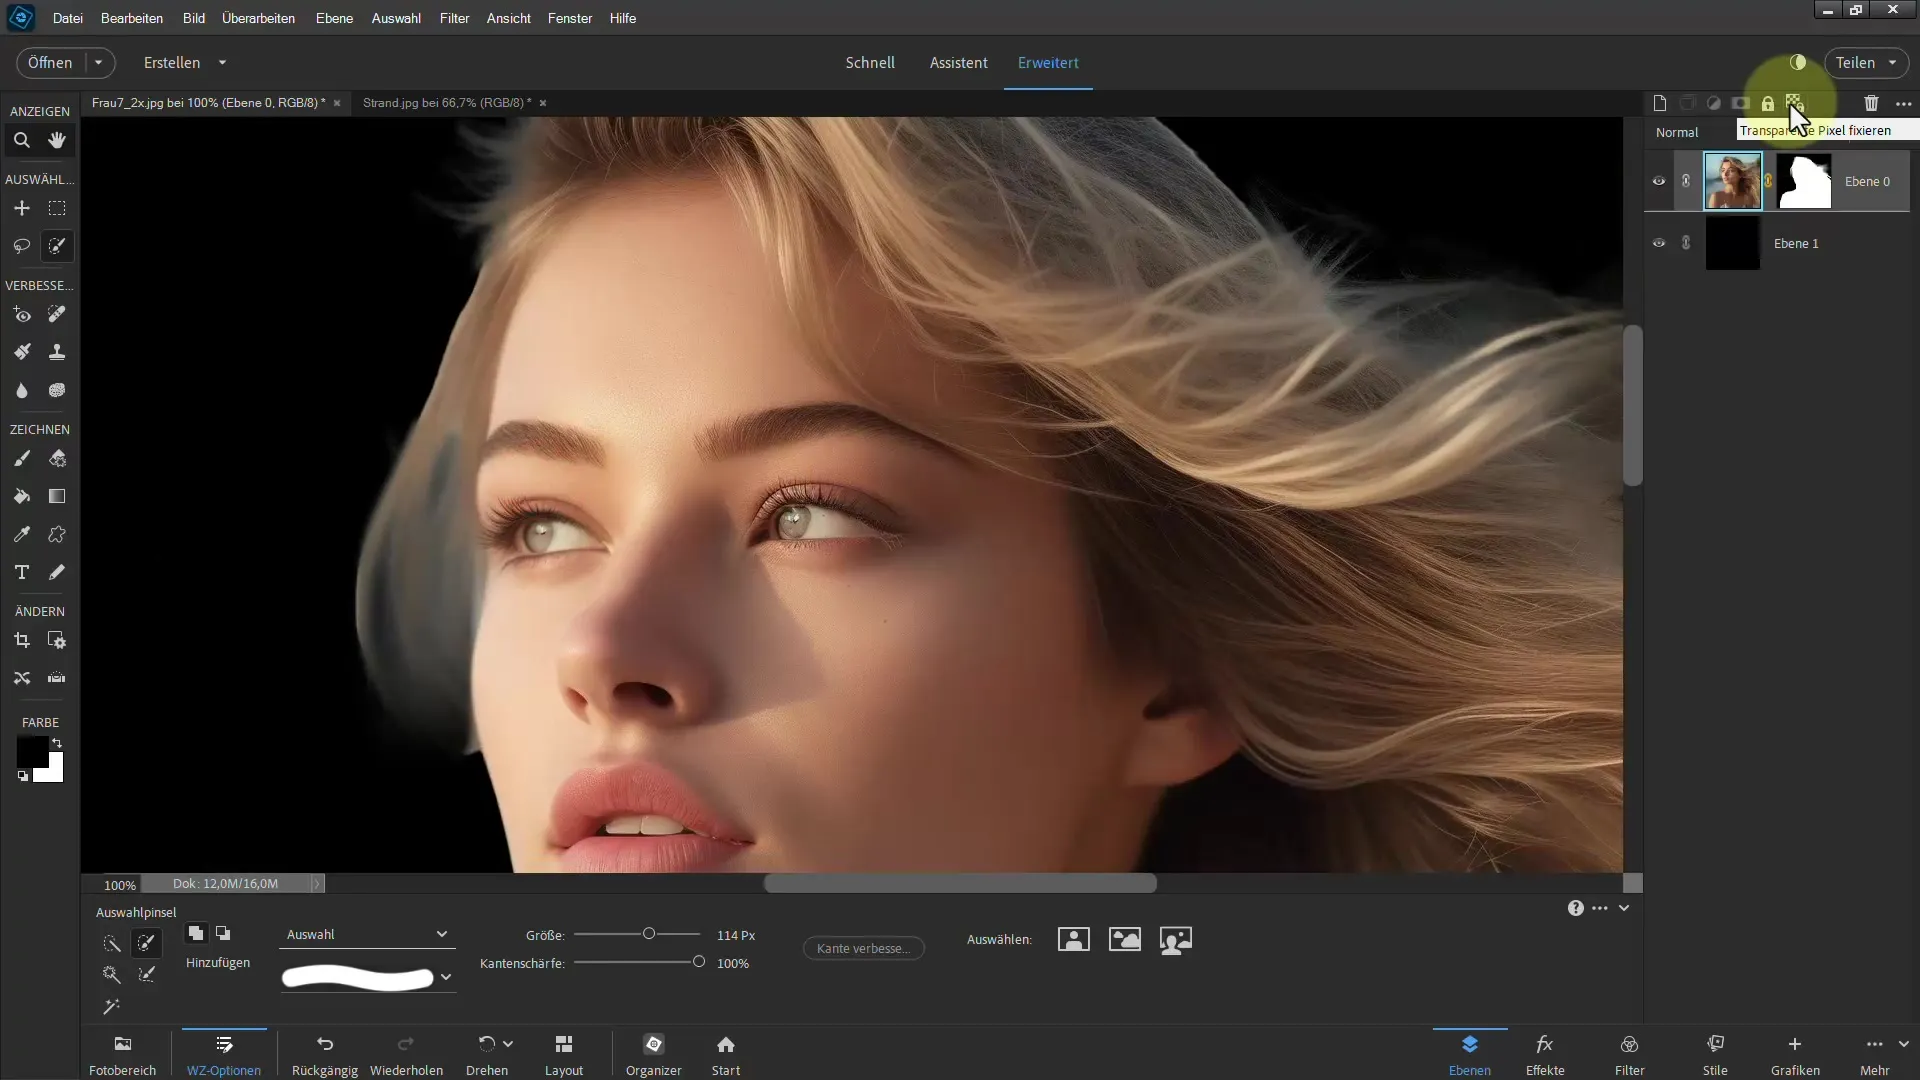
6. Paint with Brush
Now you can use the brush to color the hair. Make sure to choose a color that is already present in the hair. This will give you a smooth transition and avoid harsh edges.
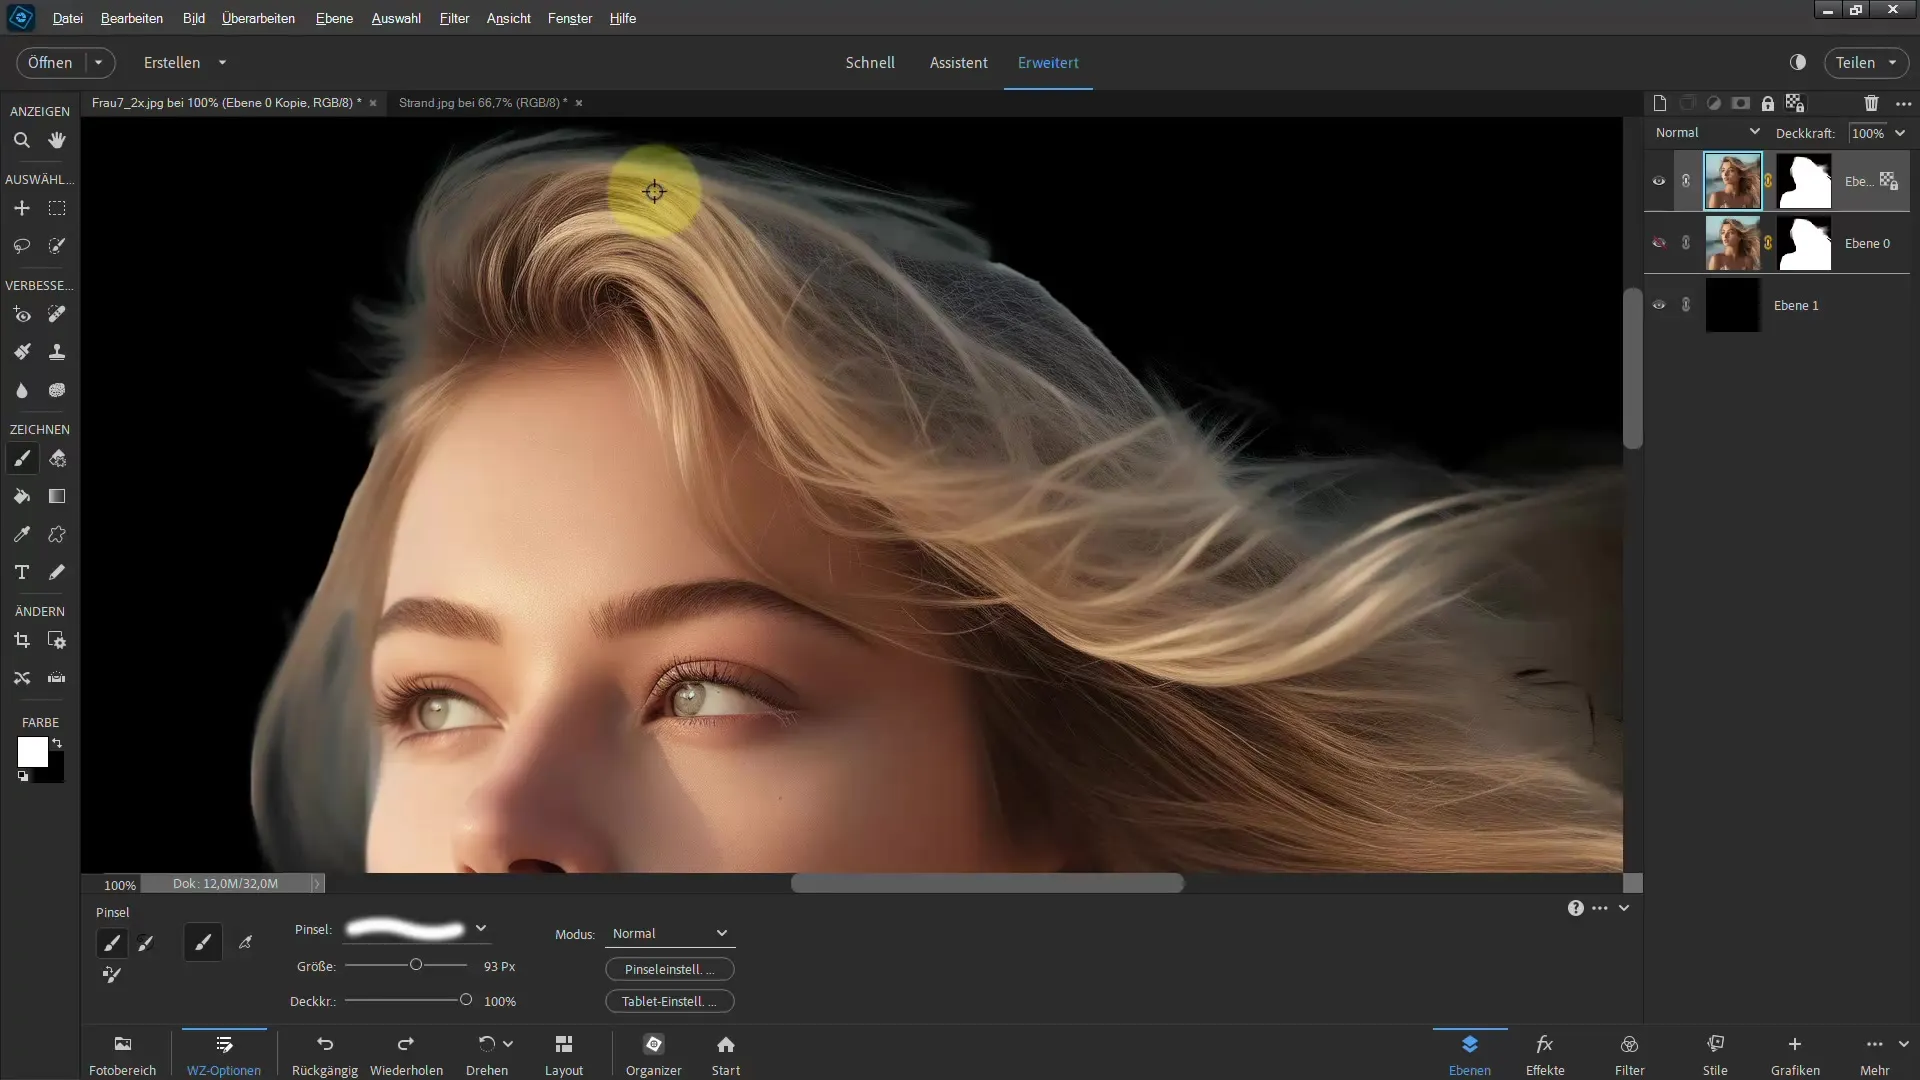
7. Adjust Tone
If you find the result too harsh, you can change the blend mode to "Hue." This will only change the color without affecting the hair's texture.
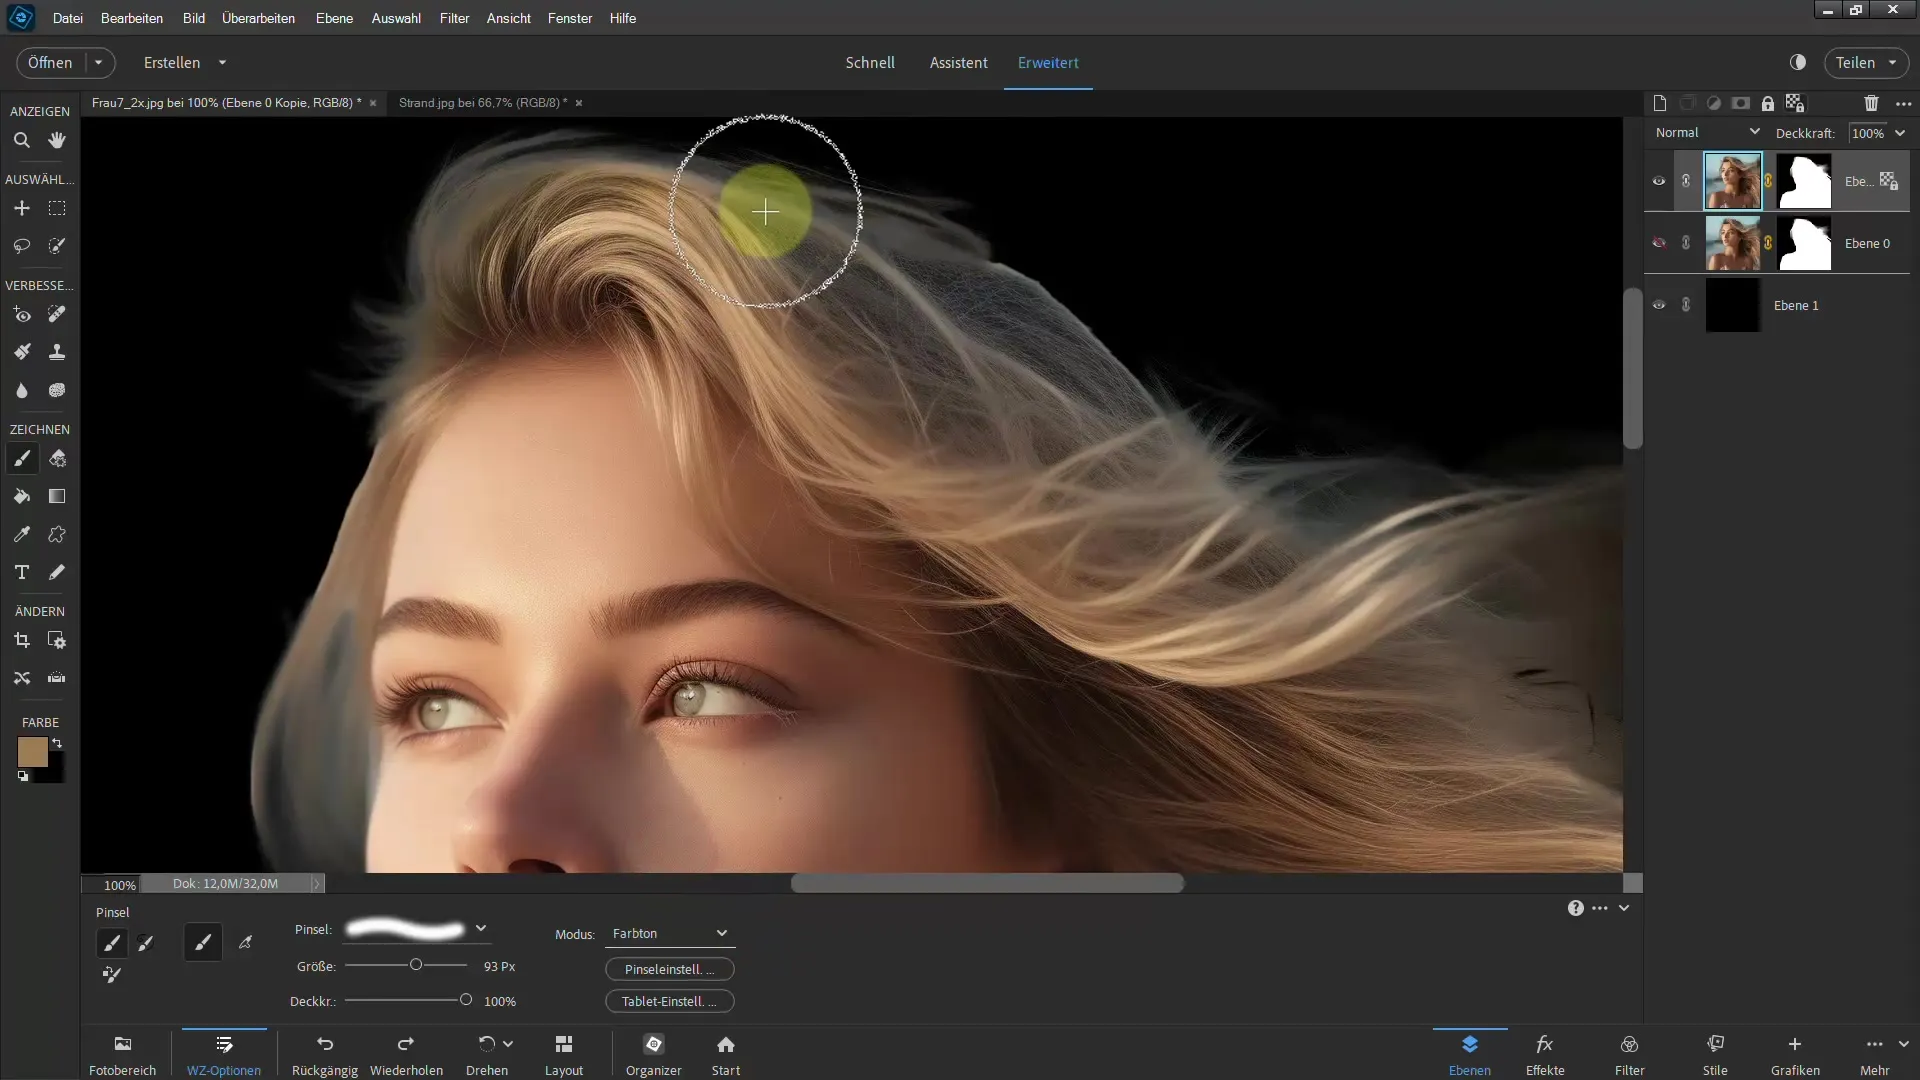
8. Adjust Opacity
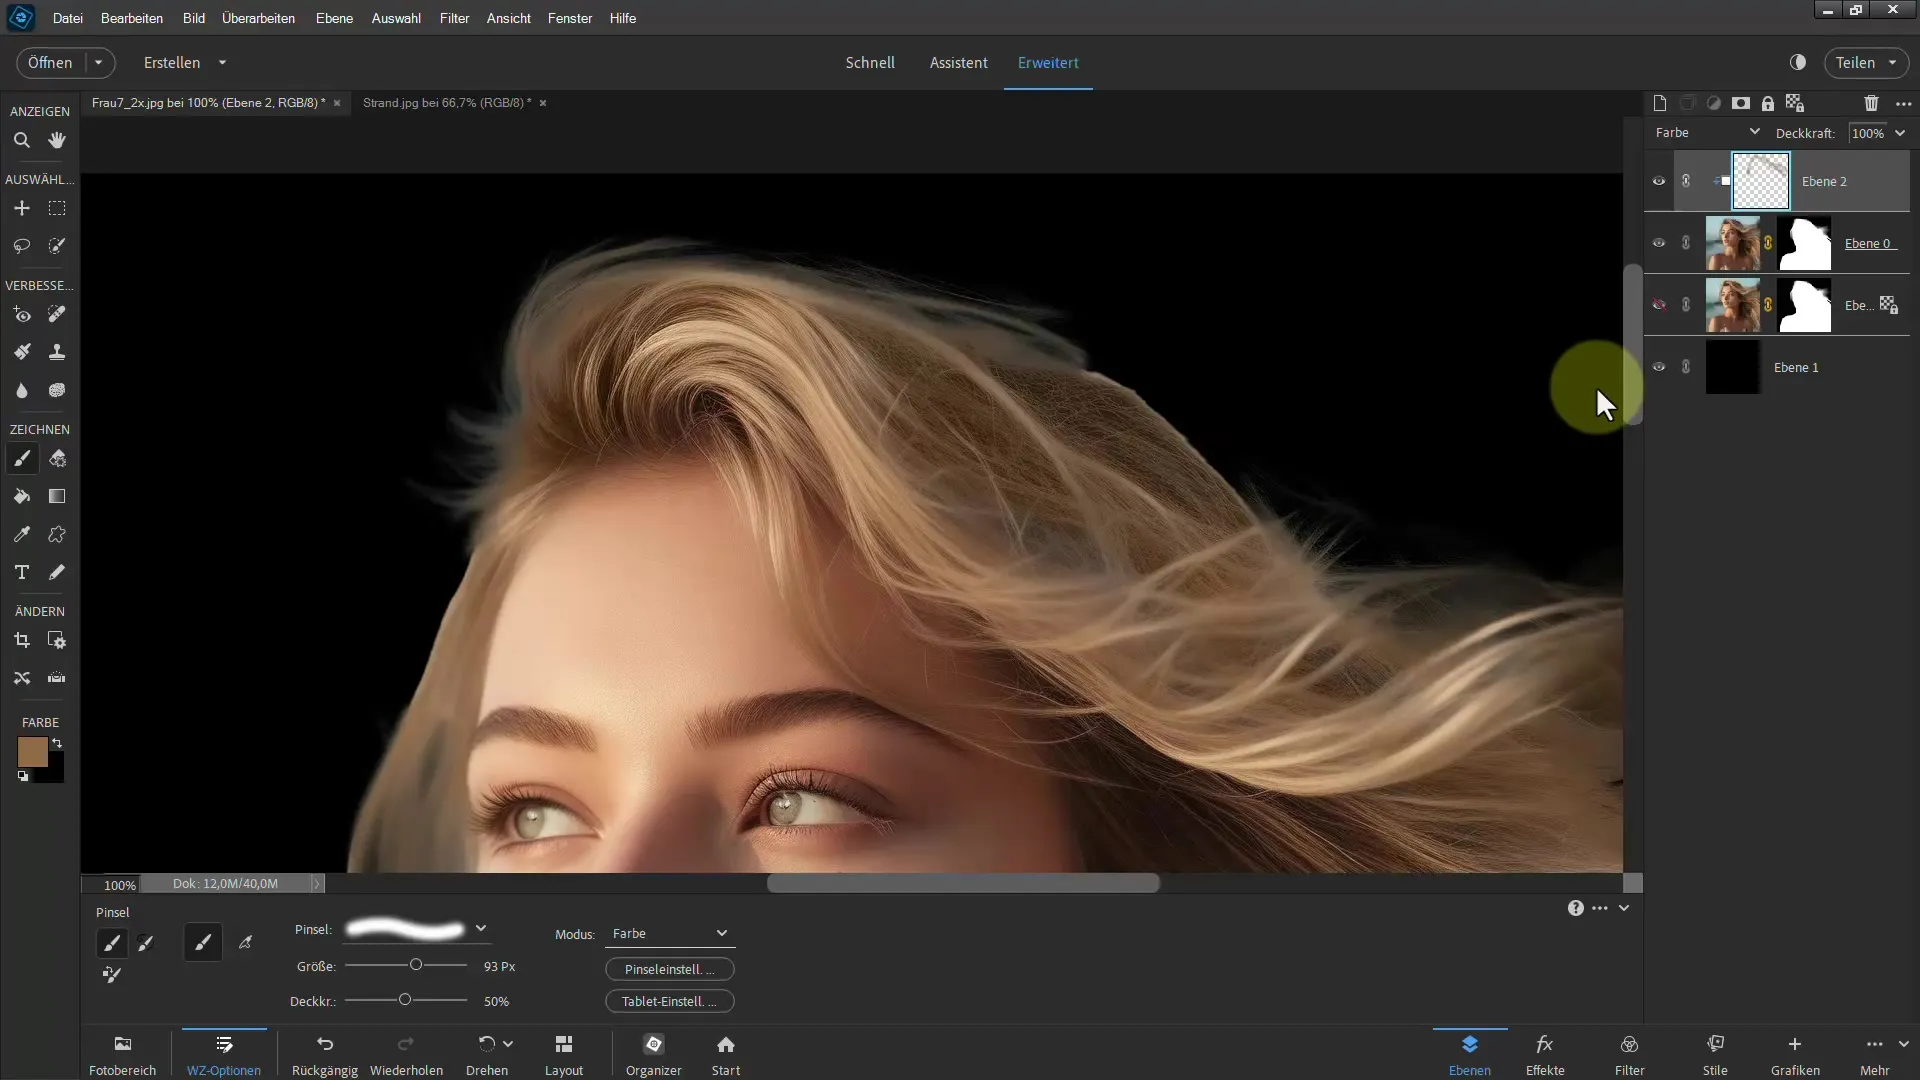
To further optimize the result, you can reduce the brush opacity. This way, you can gently paint over the hair and remove the blue tint.
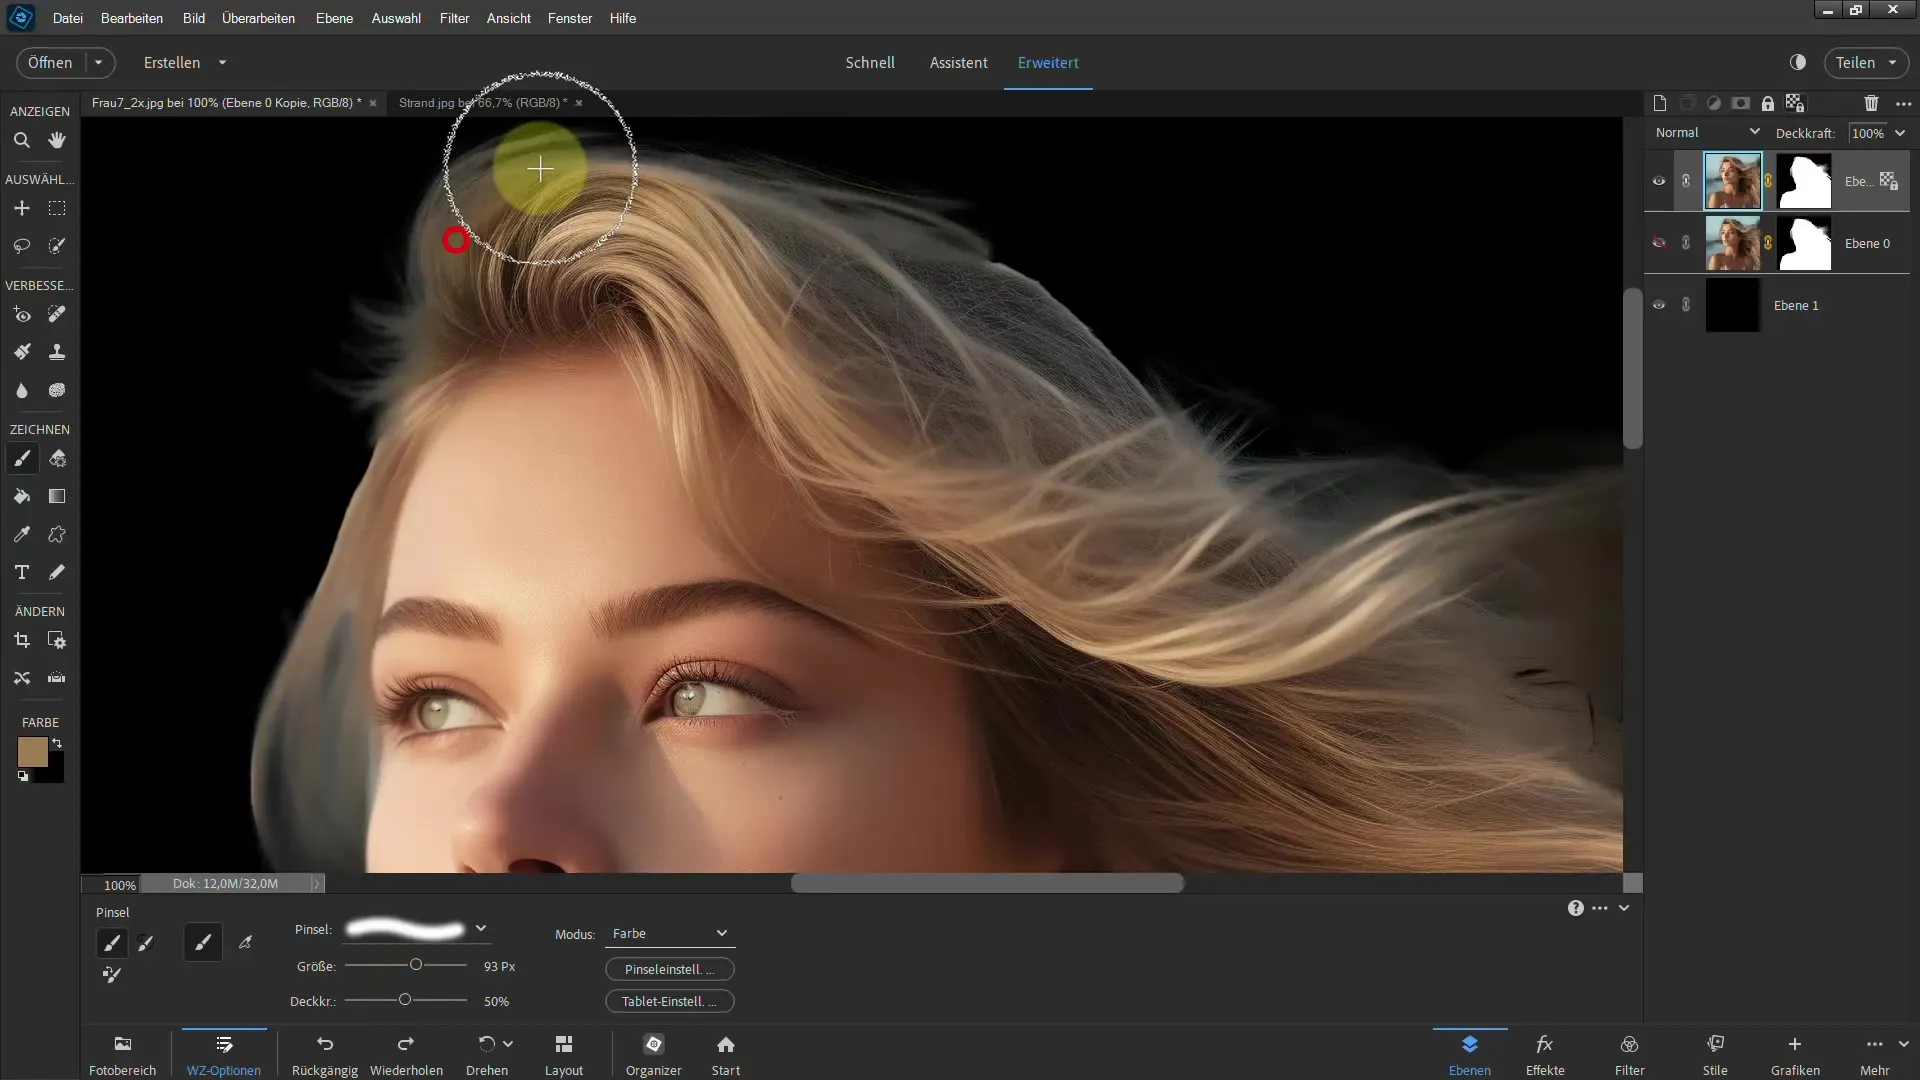
9. New Layer for More Flexibility
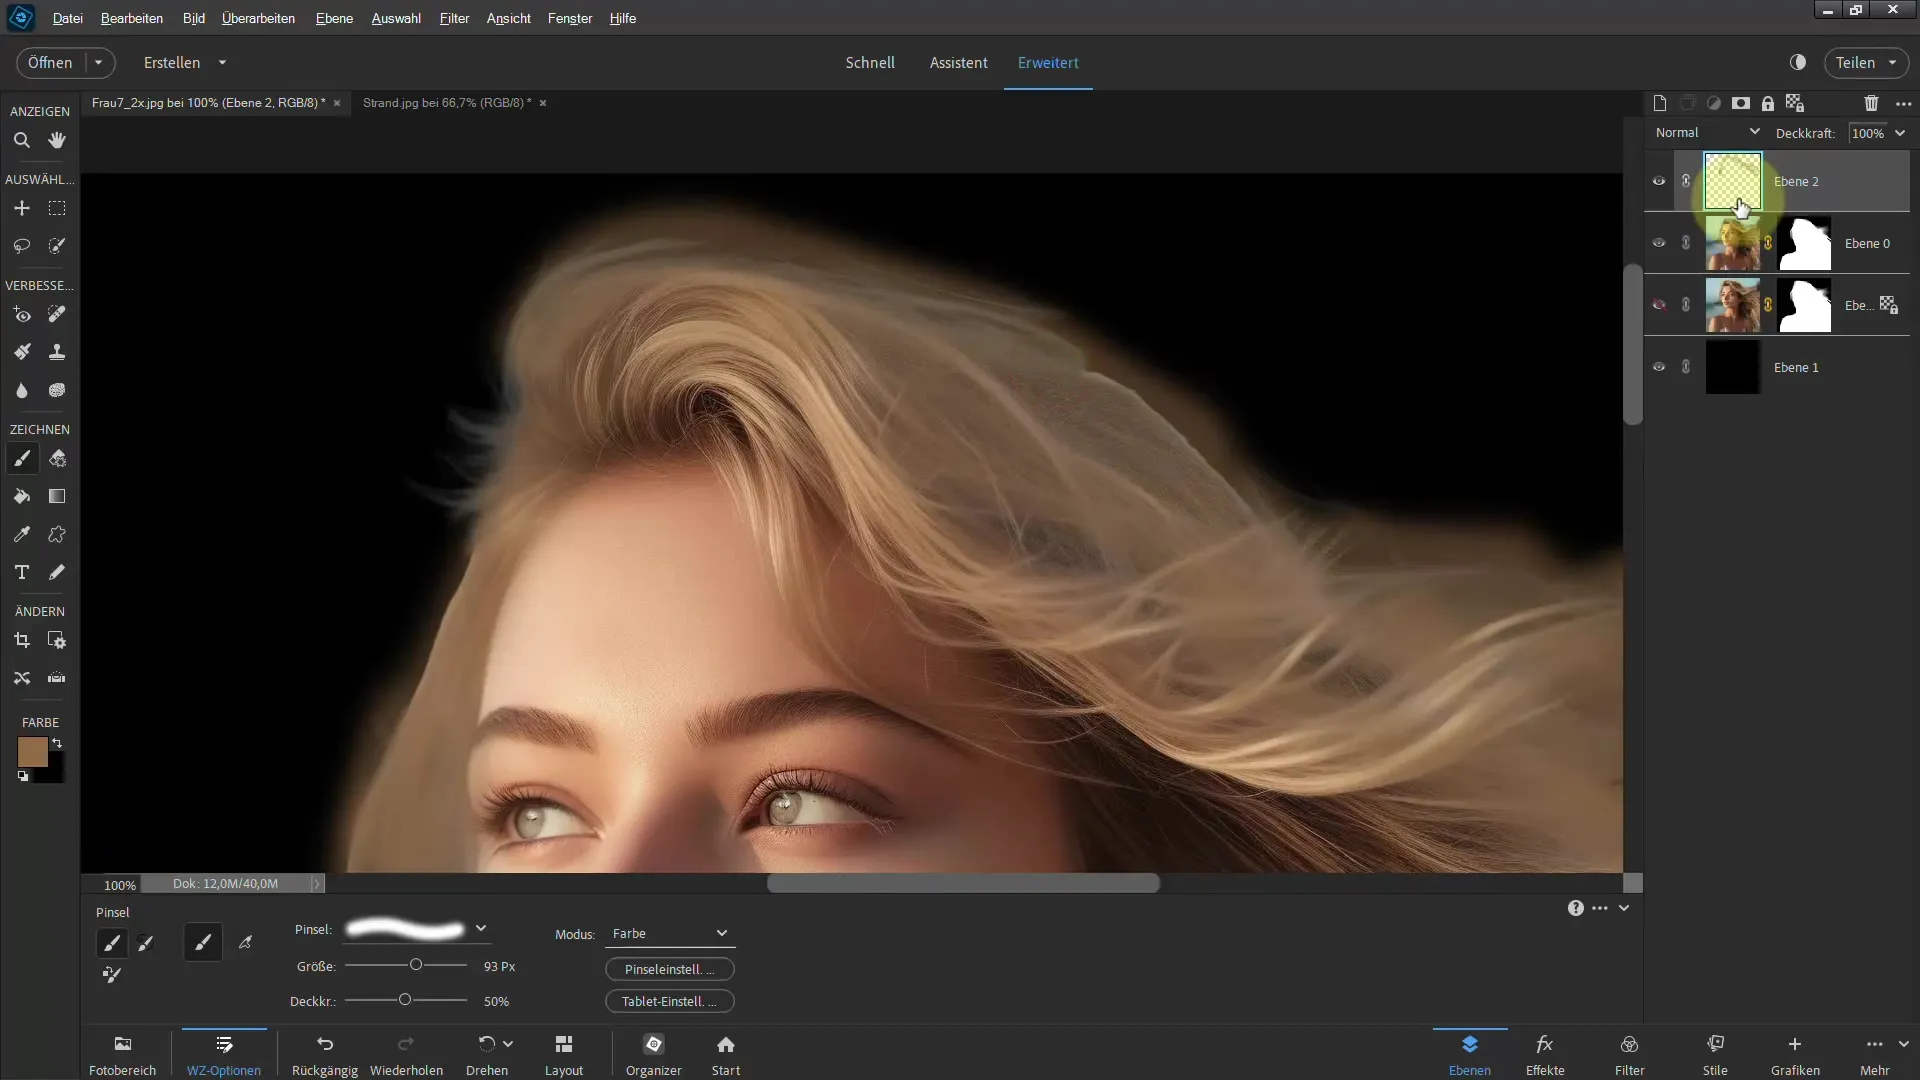
If you want more control, create a new layer for each additional color application. This allows you to edit the changes more easily without compromising the original image.
10. Use Clipping Mask
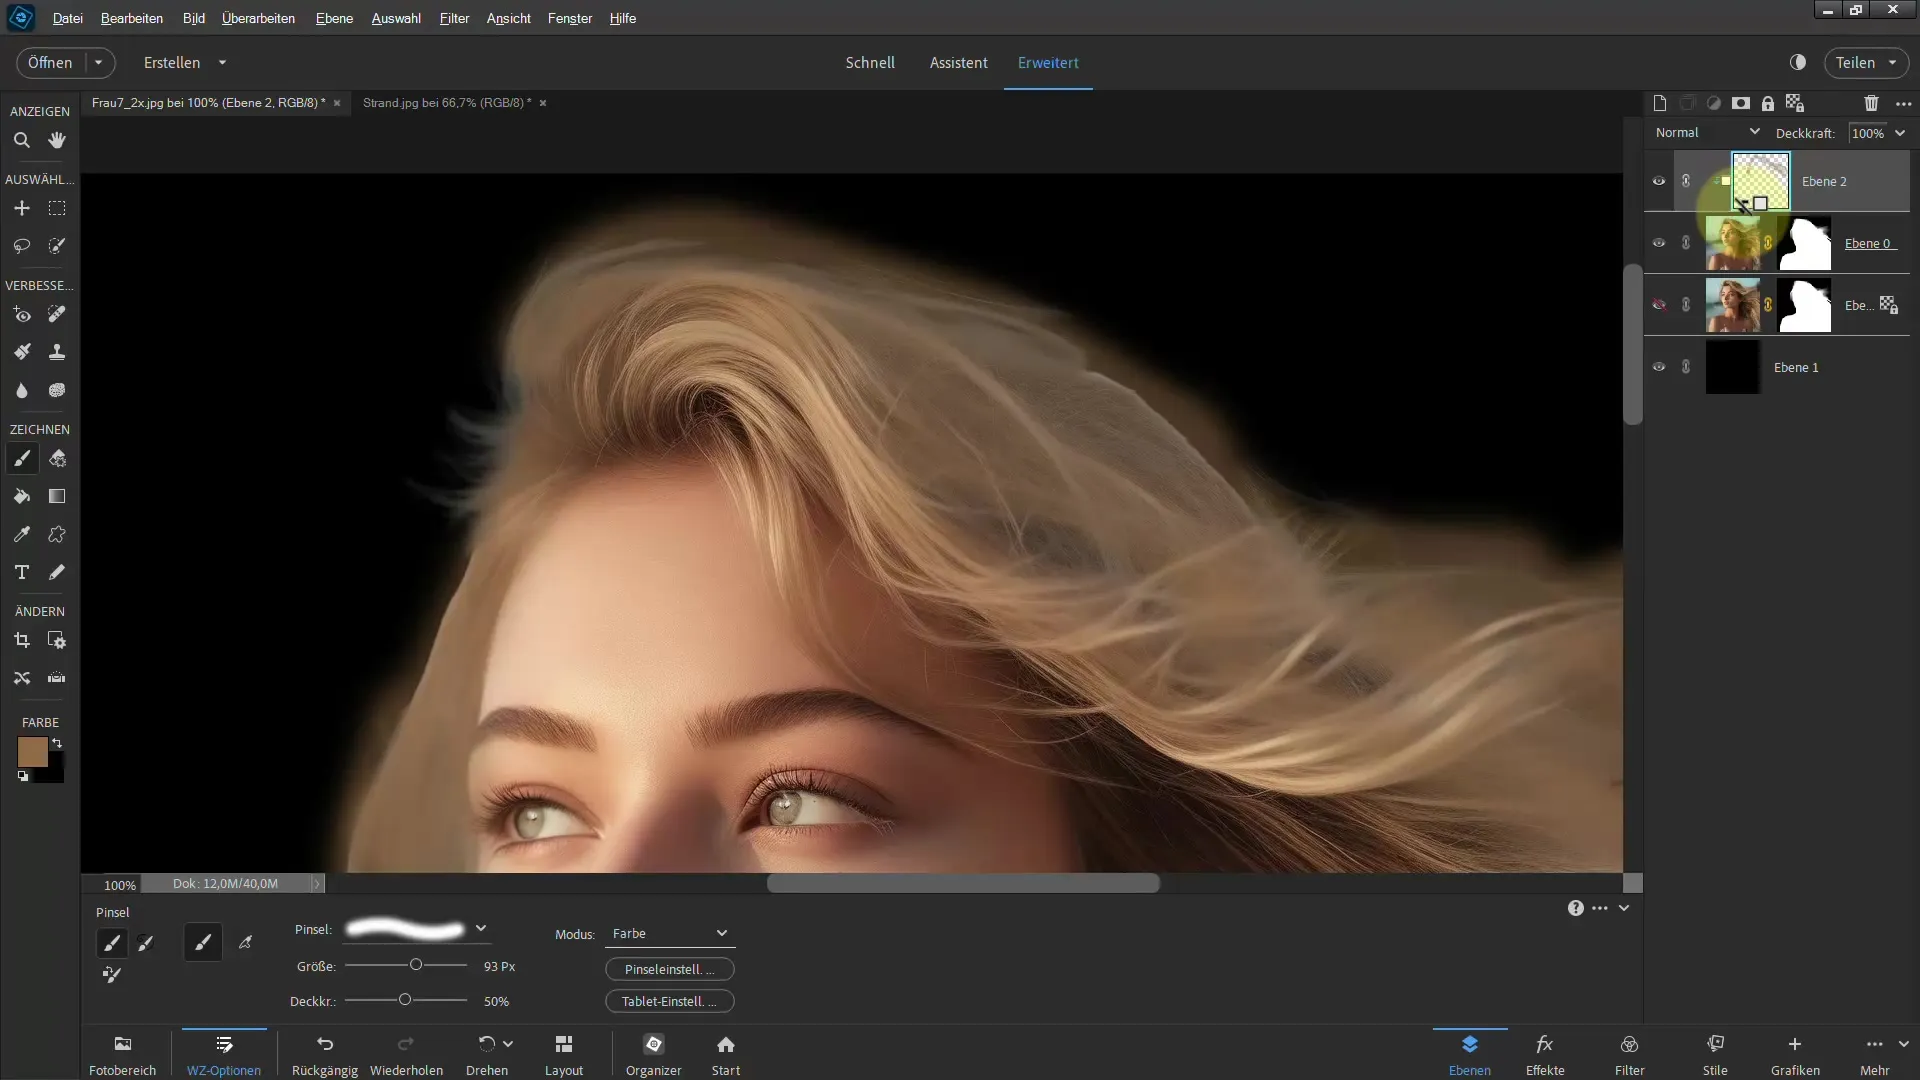
For professional results, you can use a clipping mask. Hold down the Alt key and click between the layers to create a masked look that ensures the color is only applied to the underlying layer.
11. Enhance Effect
If you want to further enhance the effect, you can also set the film method to "Color." This allows you to make the color change more subtle and effective.
12. Optimize Background
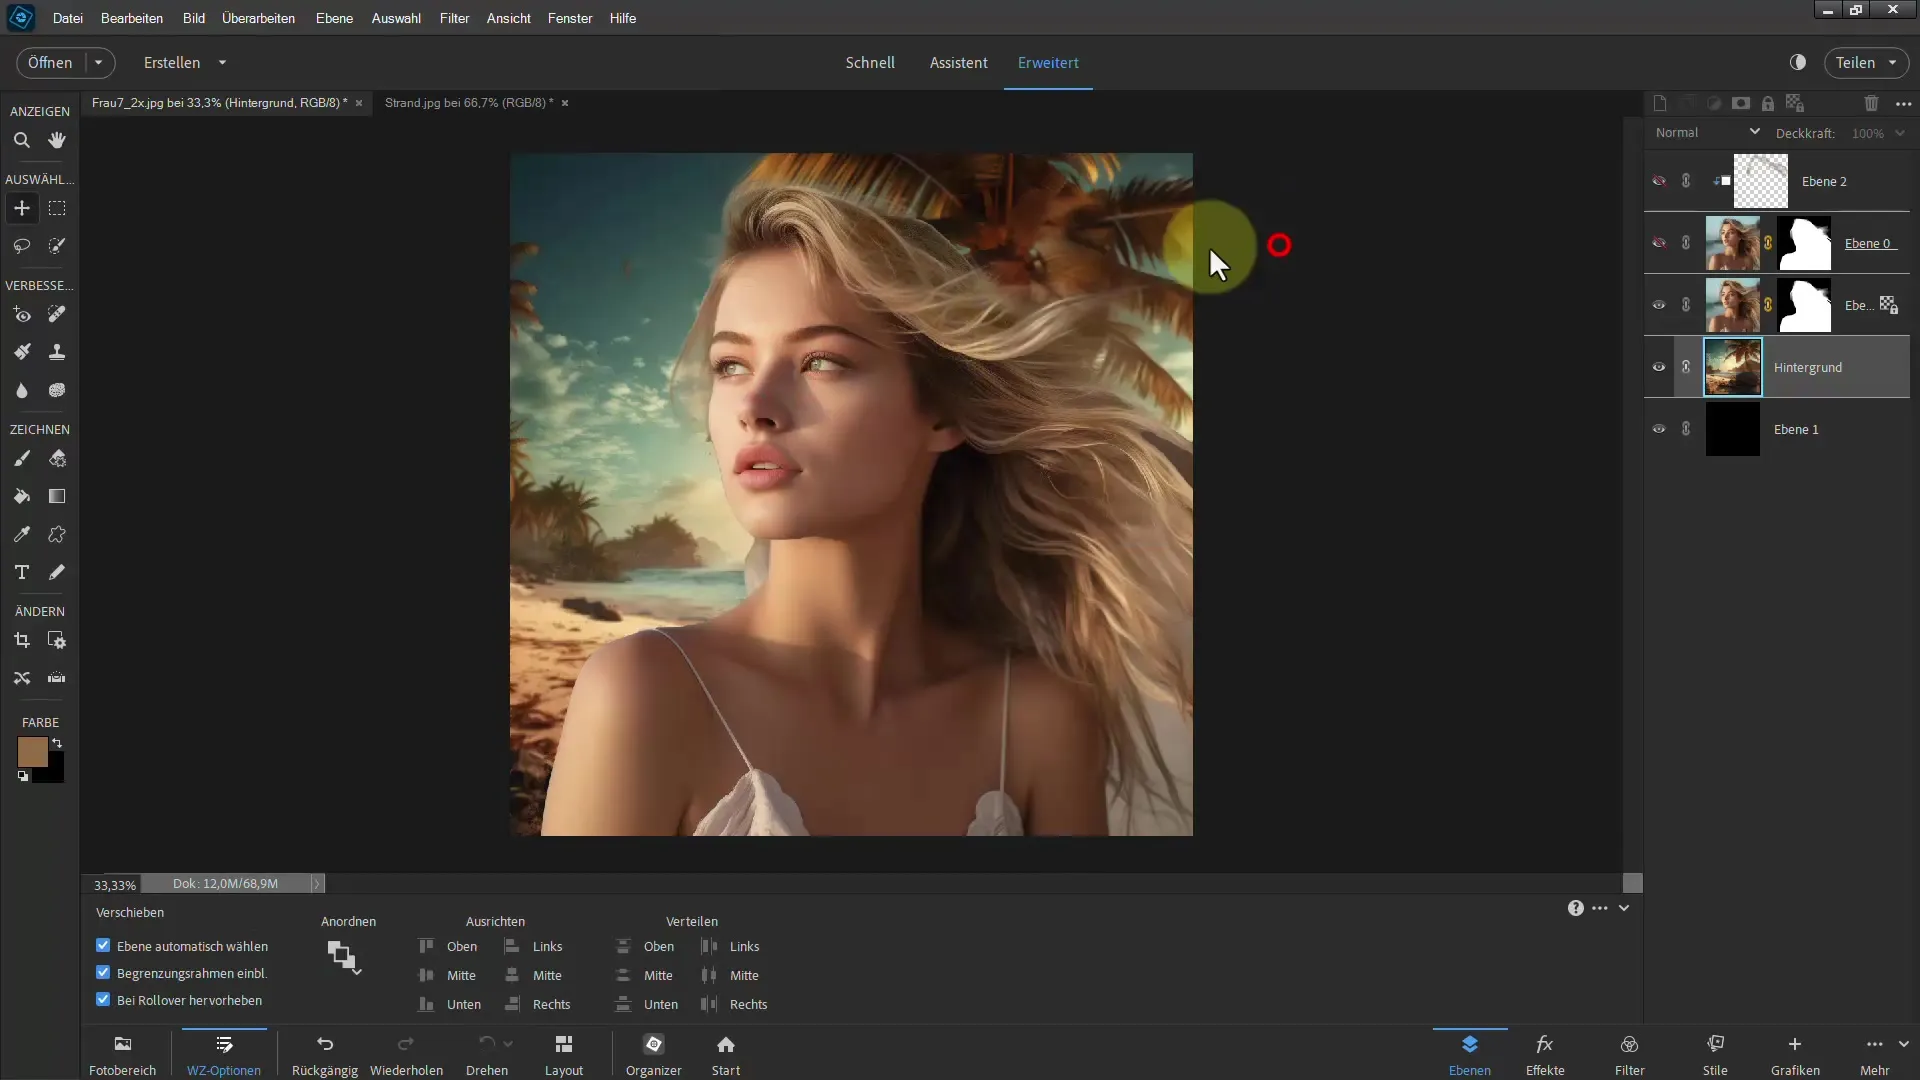
If the background looks too artificial, you can add blurs to make the overall image look more natural.
13. Final Check and Adjustments
Take a close look at the final result and make any necessary color adjustments. Continue to work with the brush until you achieve the desired results without compromising the overall image.
14. Make Corrections
If there are still areas that are not optimally cut out, you can make these corrections in the mask.
Summary
In this tutorial, you have learned how to eliminate color casts in hair using "Lock Transparent Pixels" and achieve a clean cut-out. It is important to master both destructive and non-destructive methods in Photoshop to have maximum flexibility in image editing. By applying these techniques correctly, you can achieve expressive and realistic results.
FAQ
How can I select the object?Select "Selection" and then "Subject" to select the object.
What is the function of "Lock Transparent Pixels"?It allows you to protect the pixels you are editing and not alter transparent areas.
What can I do if I prefer non-destructive editing?Create a new layer instead of using the "Lock Transparent Pixels" function.
What is the function of "Refine Edge"?This function helps you refine the selection, especially on fine edges like hair.


