Hair extraction can be one of the most challenging tasks in image editing. Especially with complex subjects, the work is often very tedious and time-consuming. In this tutorial, I will show you how you can significantly simplify hair extraction by using fill methods in Photoshop Elements. This is usually much easier to achieve, particularly with dark background images like in this case.
Let's get started right away and see how this technique works.
Key Learnings:
- Working with fill methods can make hair extraction easier.
- A dark background helps to effectively use fill methods.
- Using layer masks is crucial for precise fine-tuning.
Step-by-Step Guide
First, open Photoshop Elements and load the image you want to extract. Make sure the background is dark, as this significantly simplifies the work.
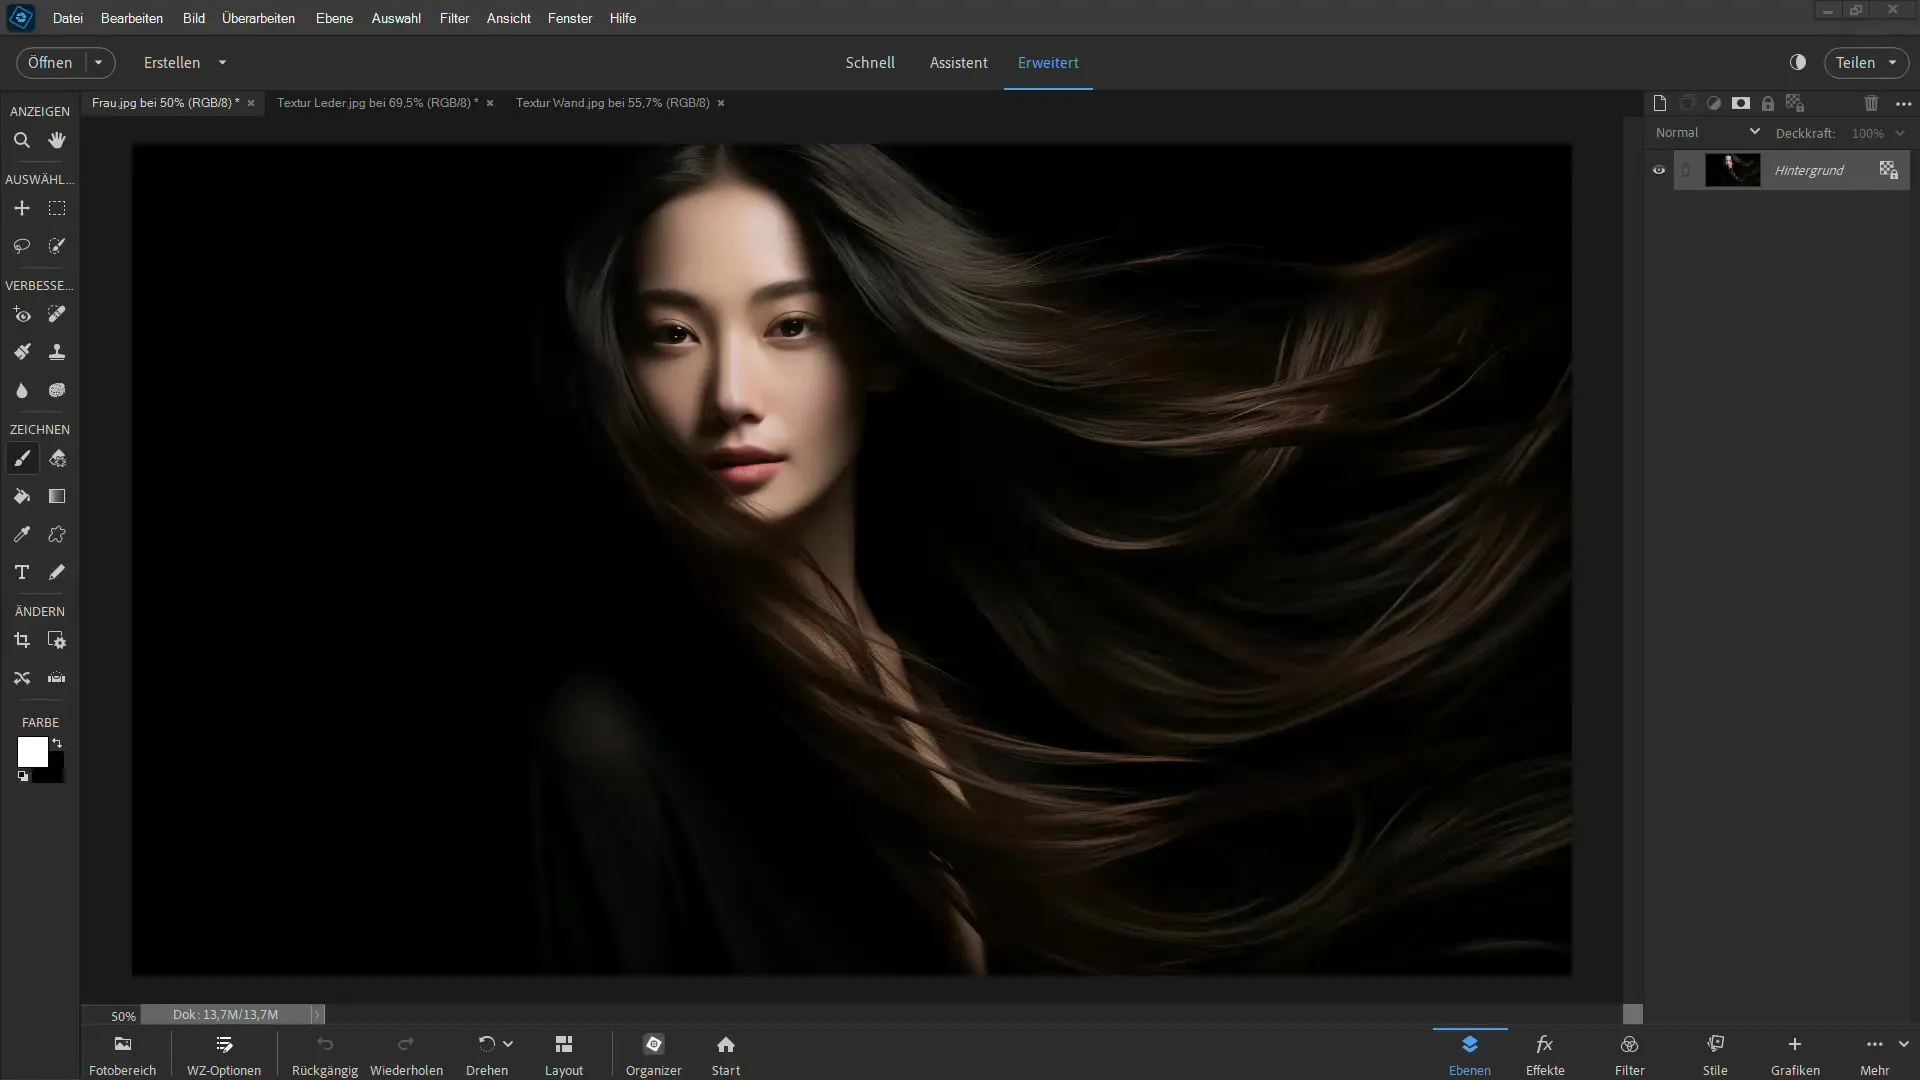
Next, duplicate your image layer to use an additional layer for your adjustments. To do this, press "Ctrl + J" so that you have the image layer twice.
You can hide the bottom layer as you don't need it for the first step. Then select the top layer and change the fill method to a brighter color. You can use the "Light Color" option for this. However, this adjustment should initially be barely visible while hiding the background layer.
Now you can drag a texture into your image—such as a wall texture. Use the Move tool and drag the texture directly into the image layer. Position the texture so that it fits well into the image.
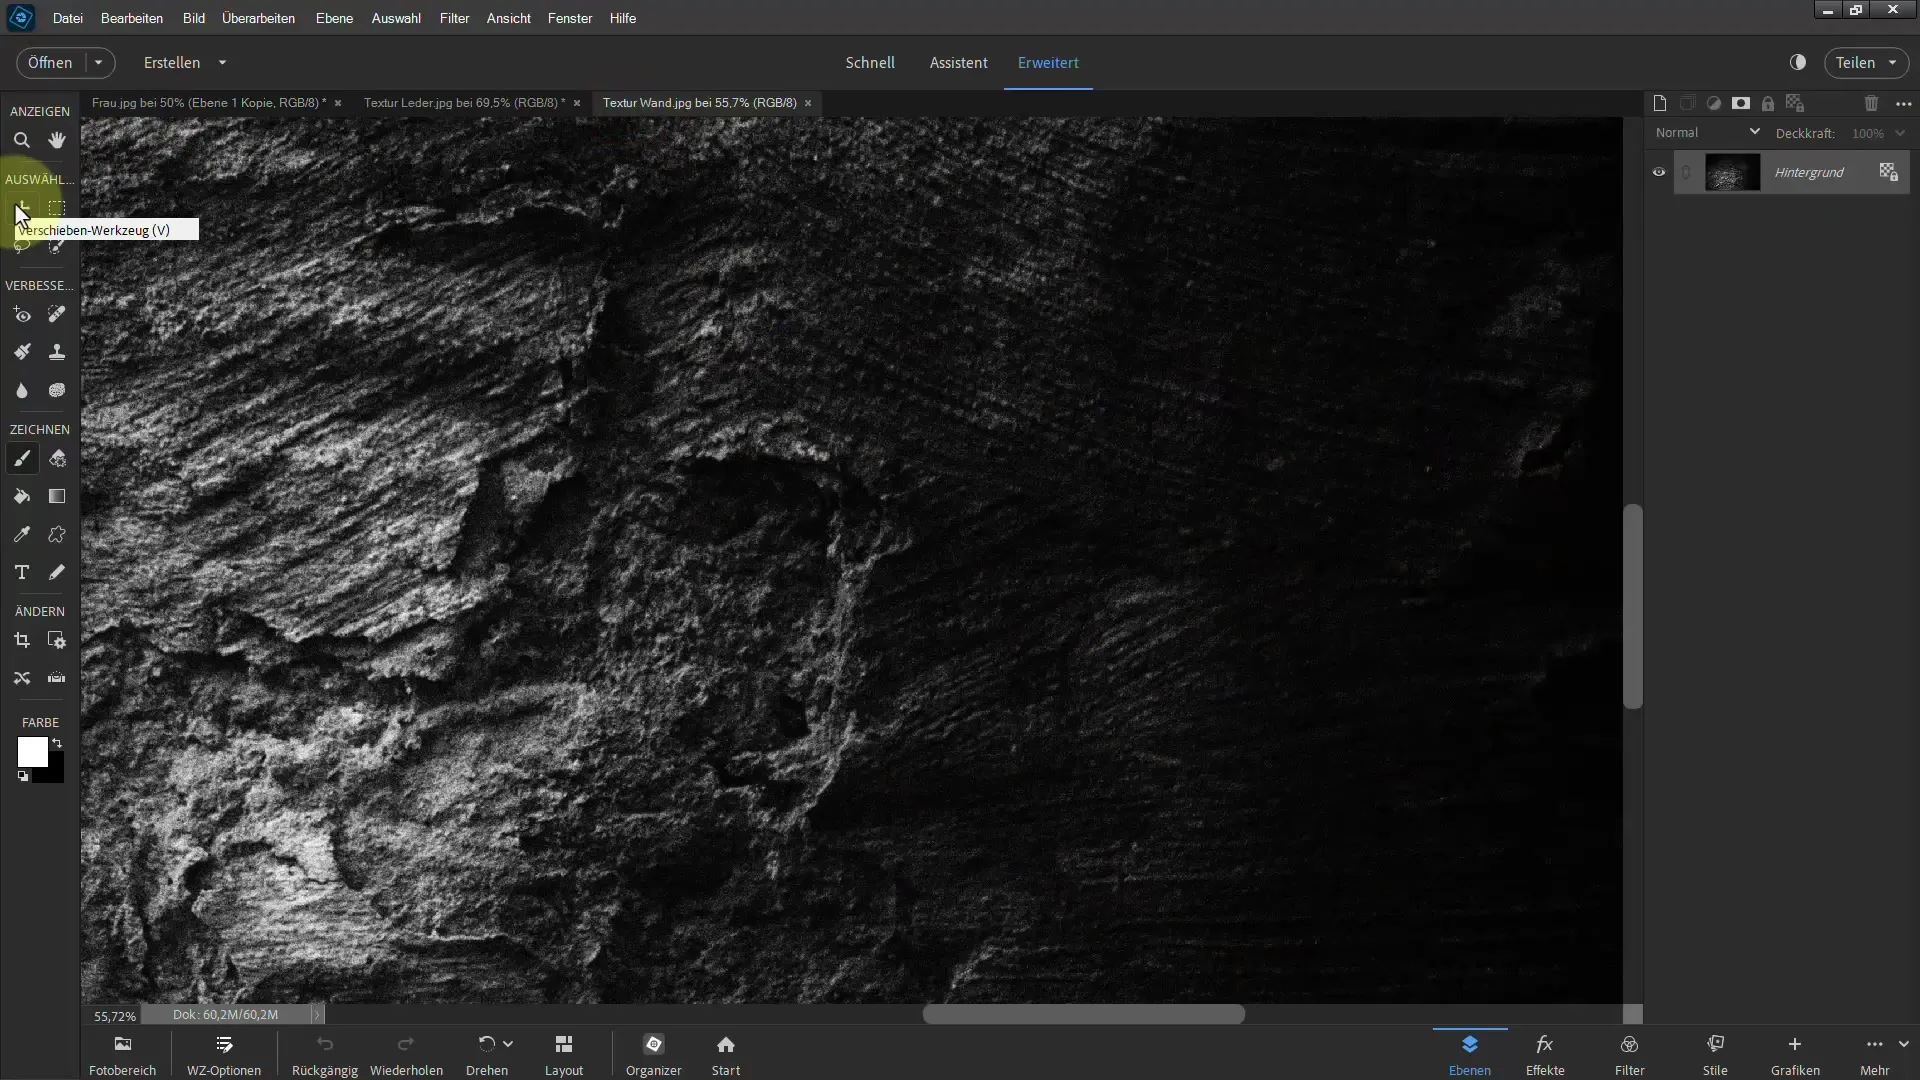
Initially, the texture will not be visible as the top layer is blocked by the fill method. To change this, you need to create a layer mask for this layer and then invert it by pressing "Ctrl + I." This will help make the effects of the fill method visible.
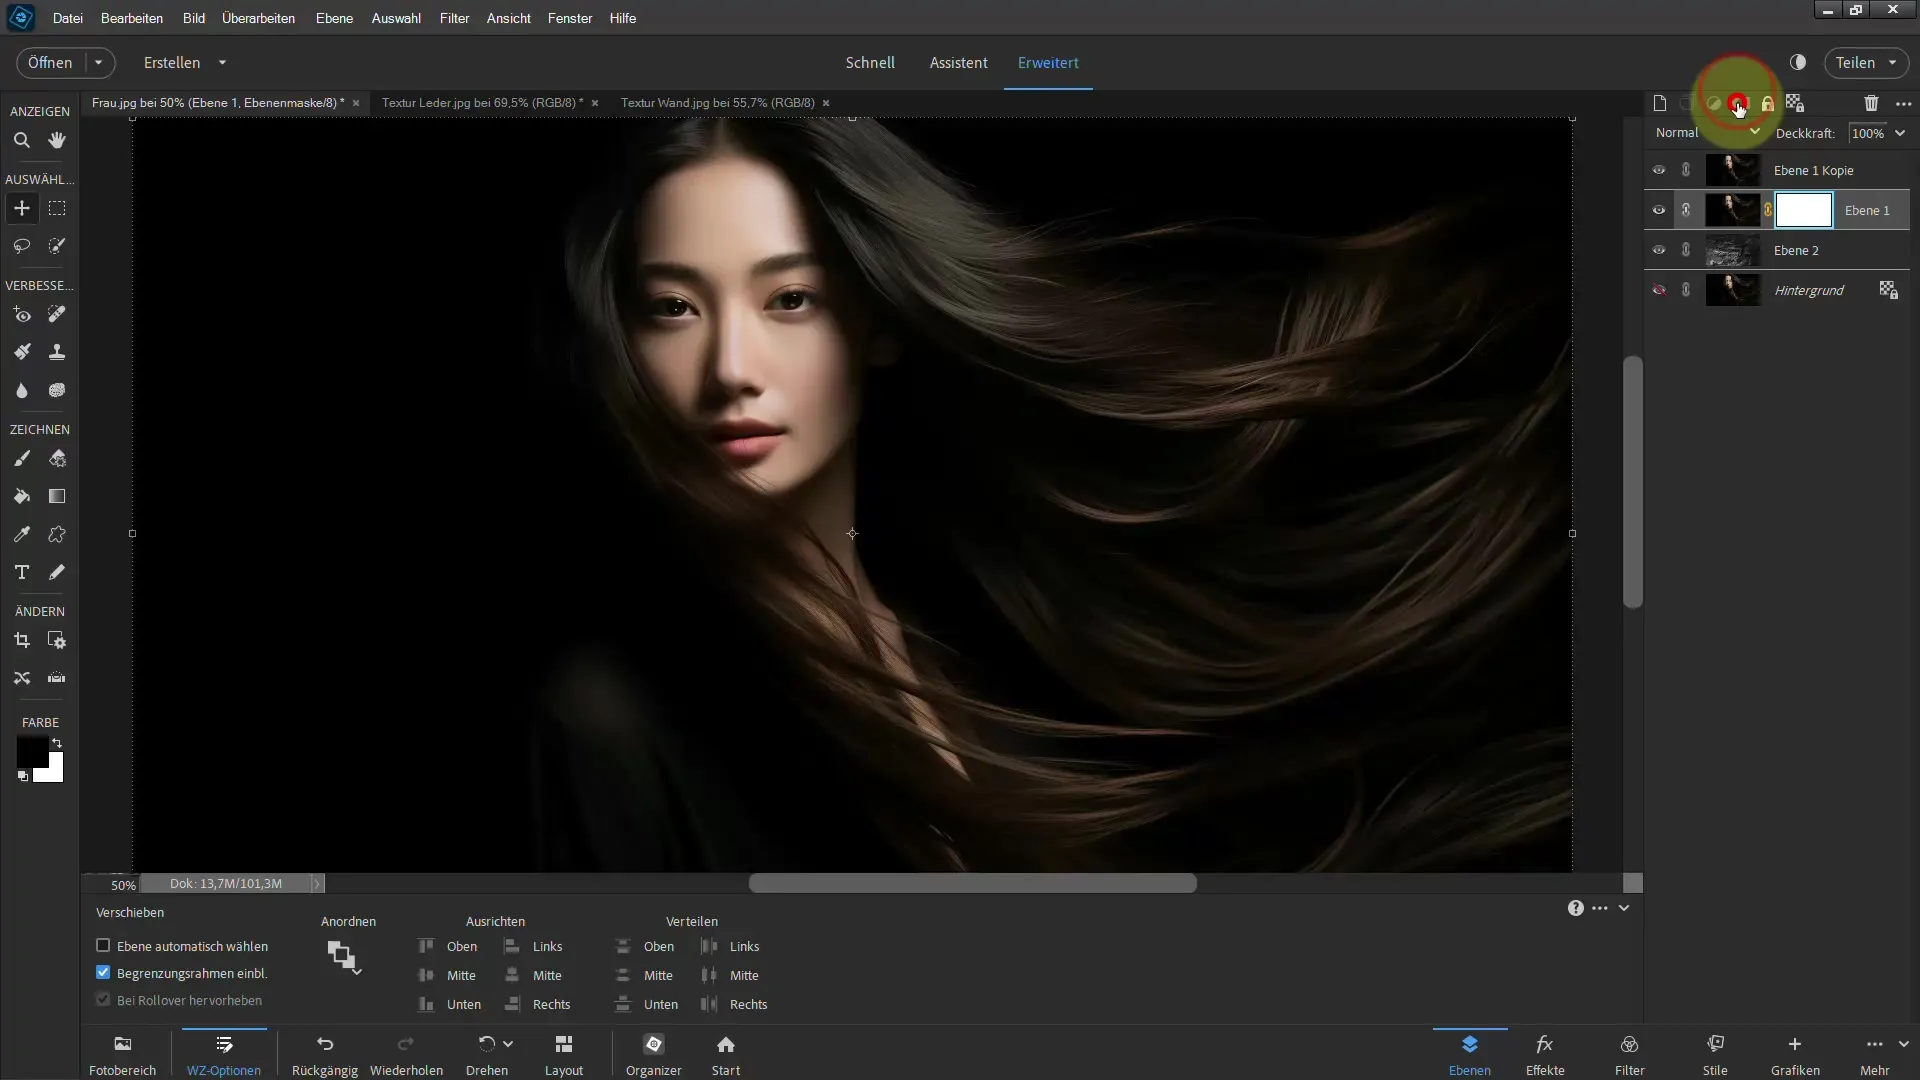
You will notice that the mask is now effective and the image behind the mask is visible. To better see the extracted hair, you can slightly move the texture until the adjustment looks satisfactory.
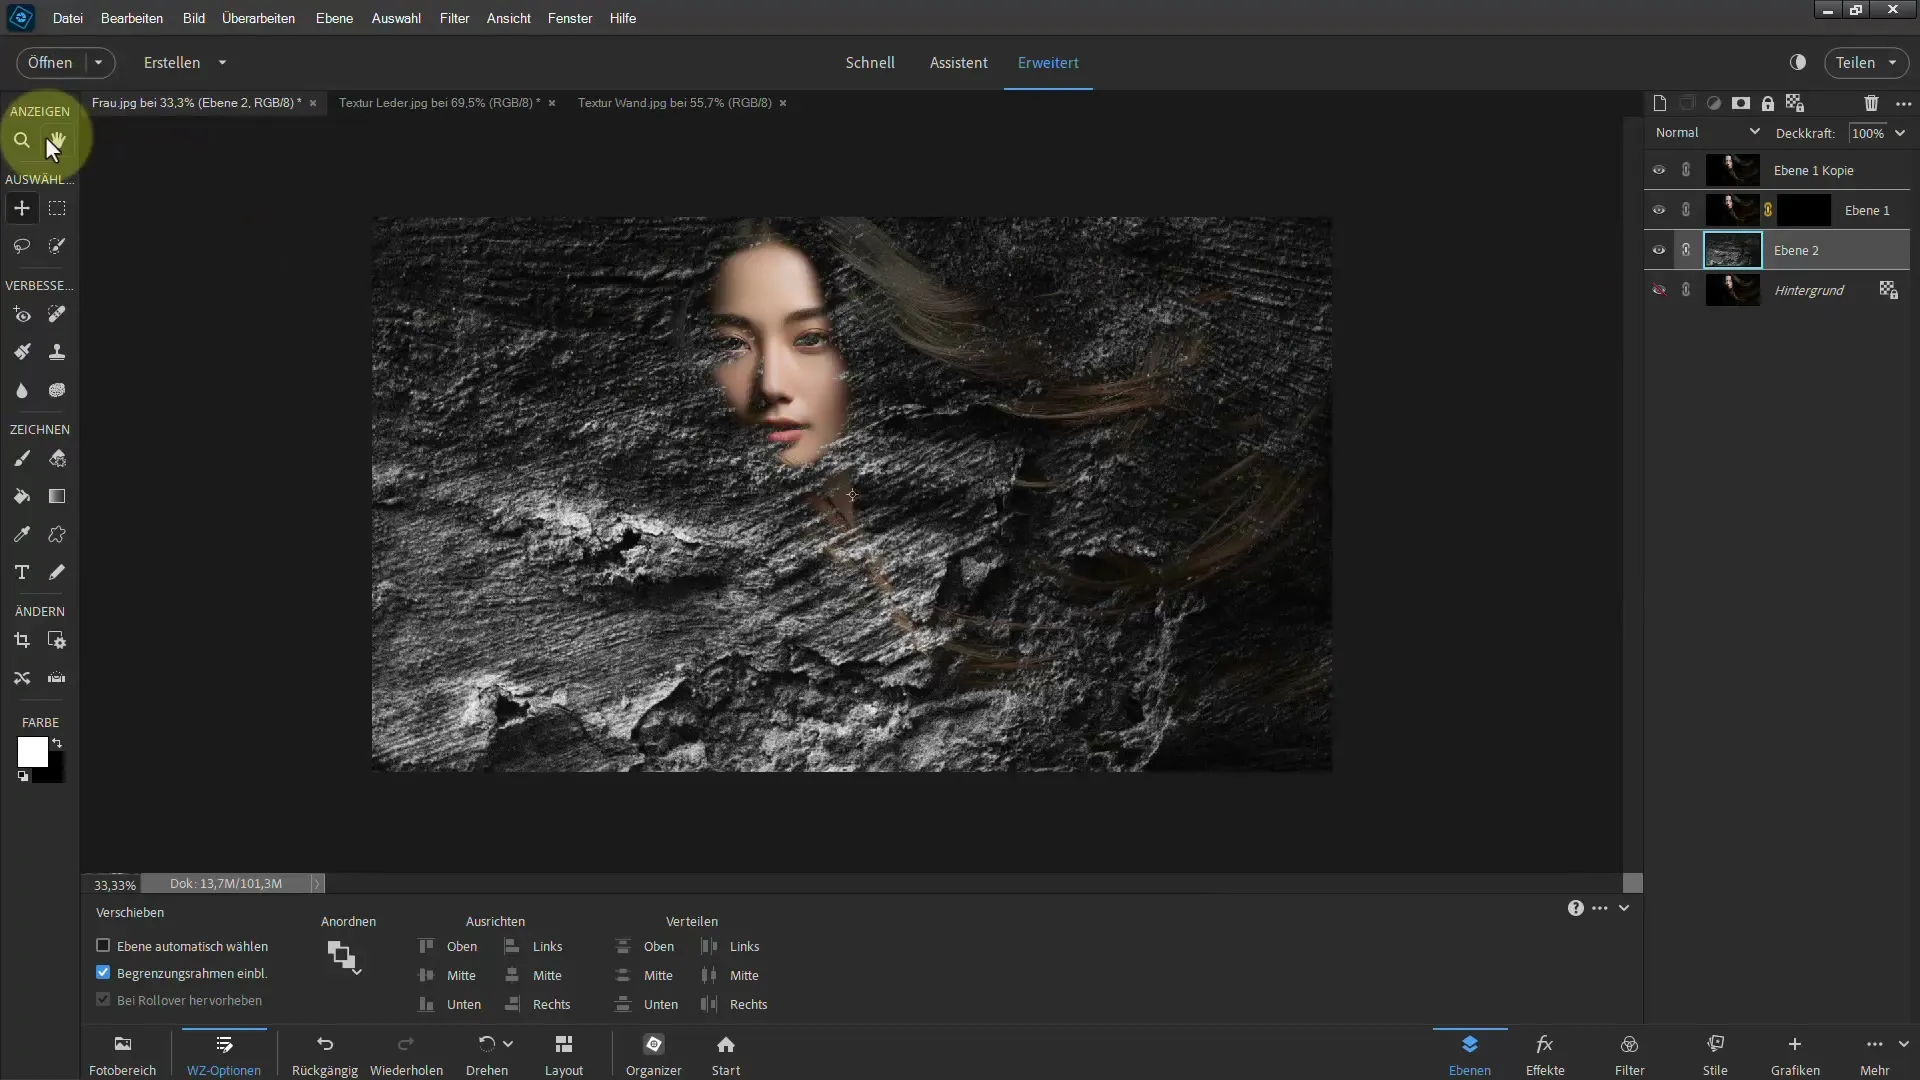
Now it's important to focus on the details to further optimize the image. Select the layer mask and use the brush with white color to restore the areas you want to see. Be sure to use a softer brush to make the transitions look more natural.
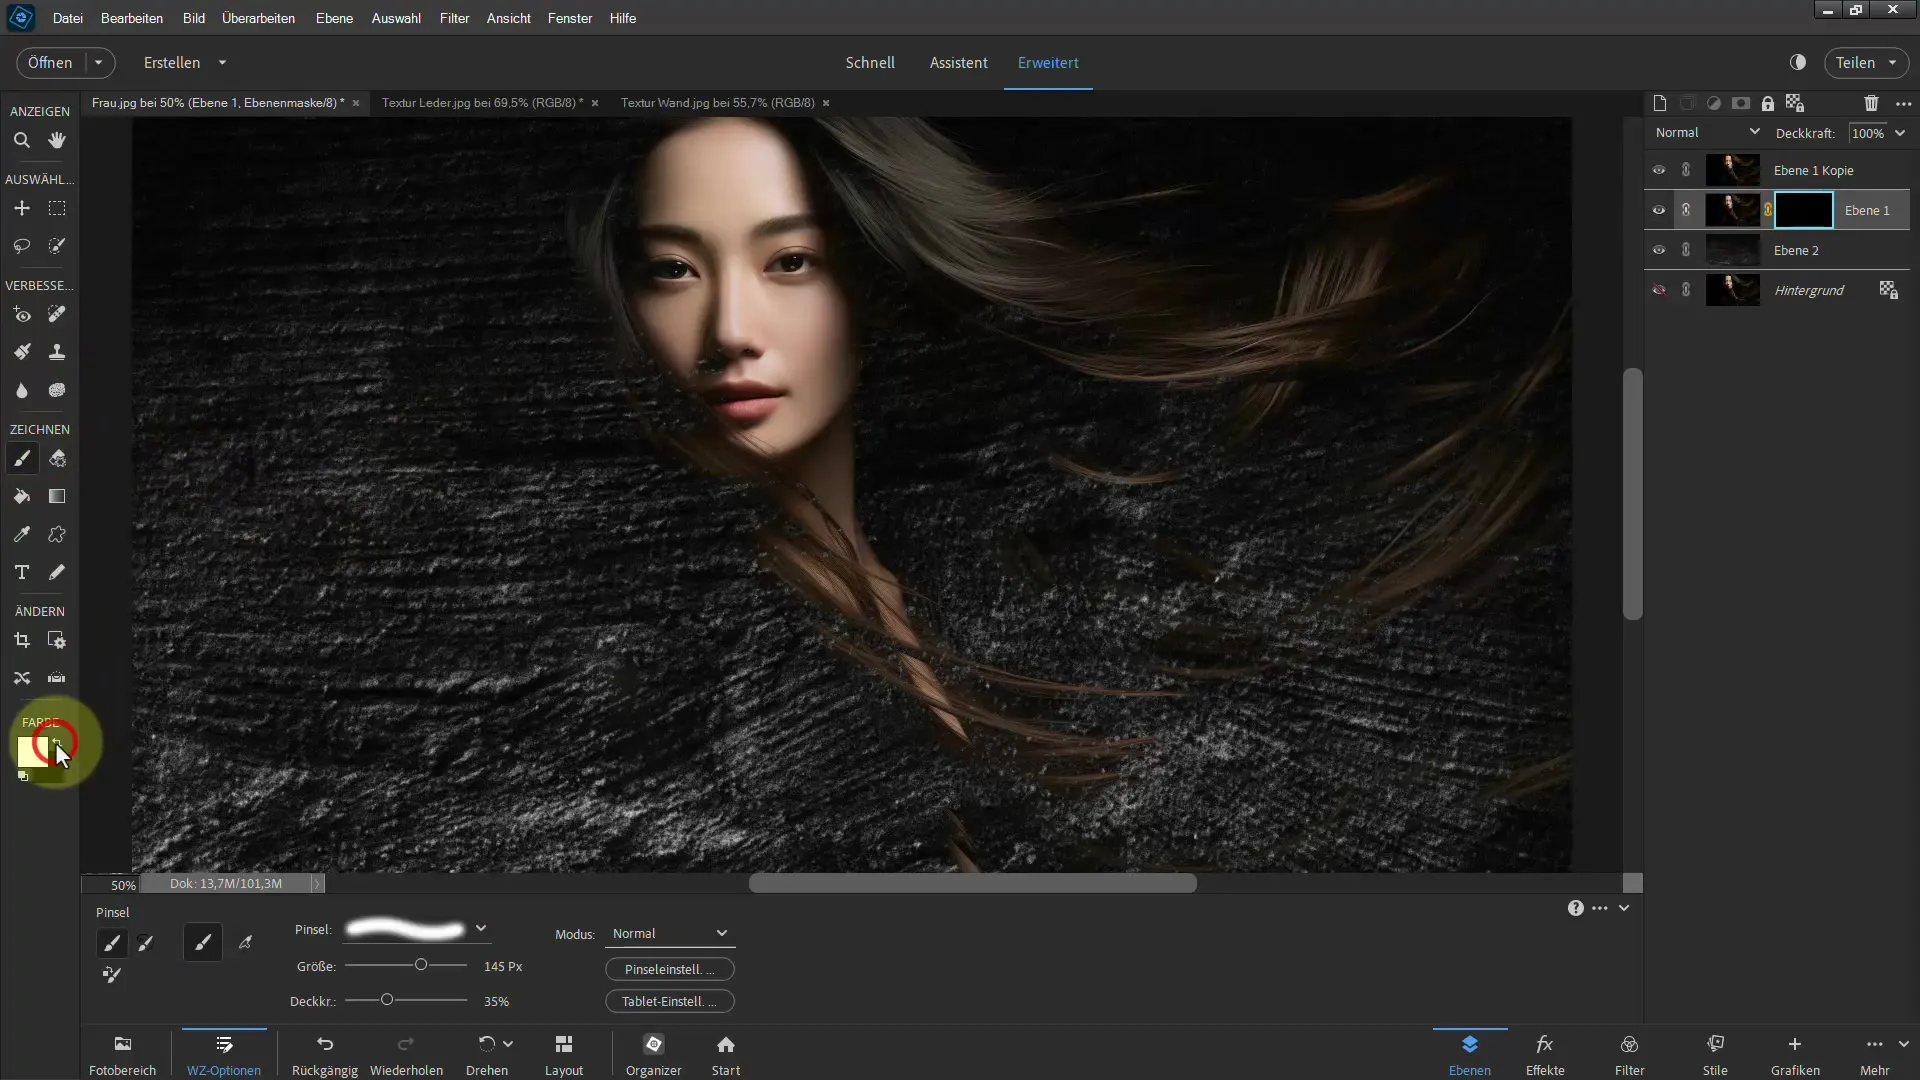
With a brush set to 100% opacity, you can now paint on the areas that need to be restored. If necessary, you can adjust the brush size, for example by holding the "Alt" key.
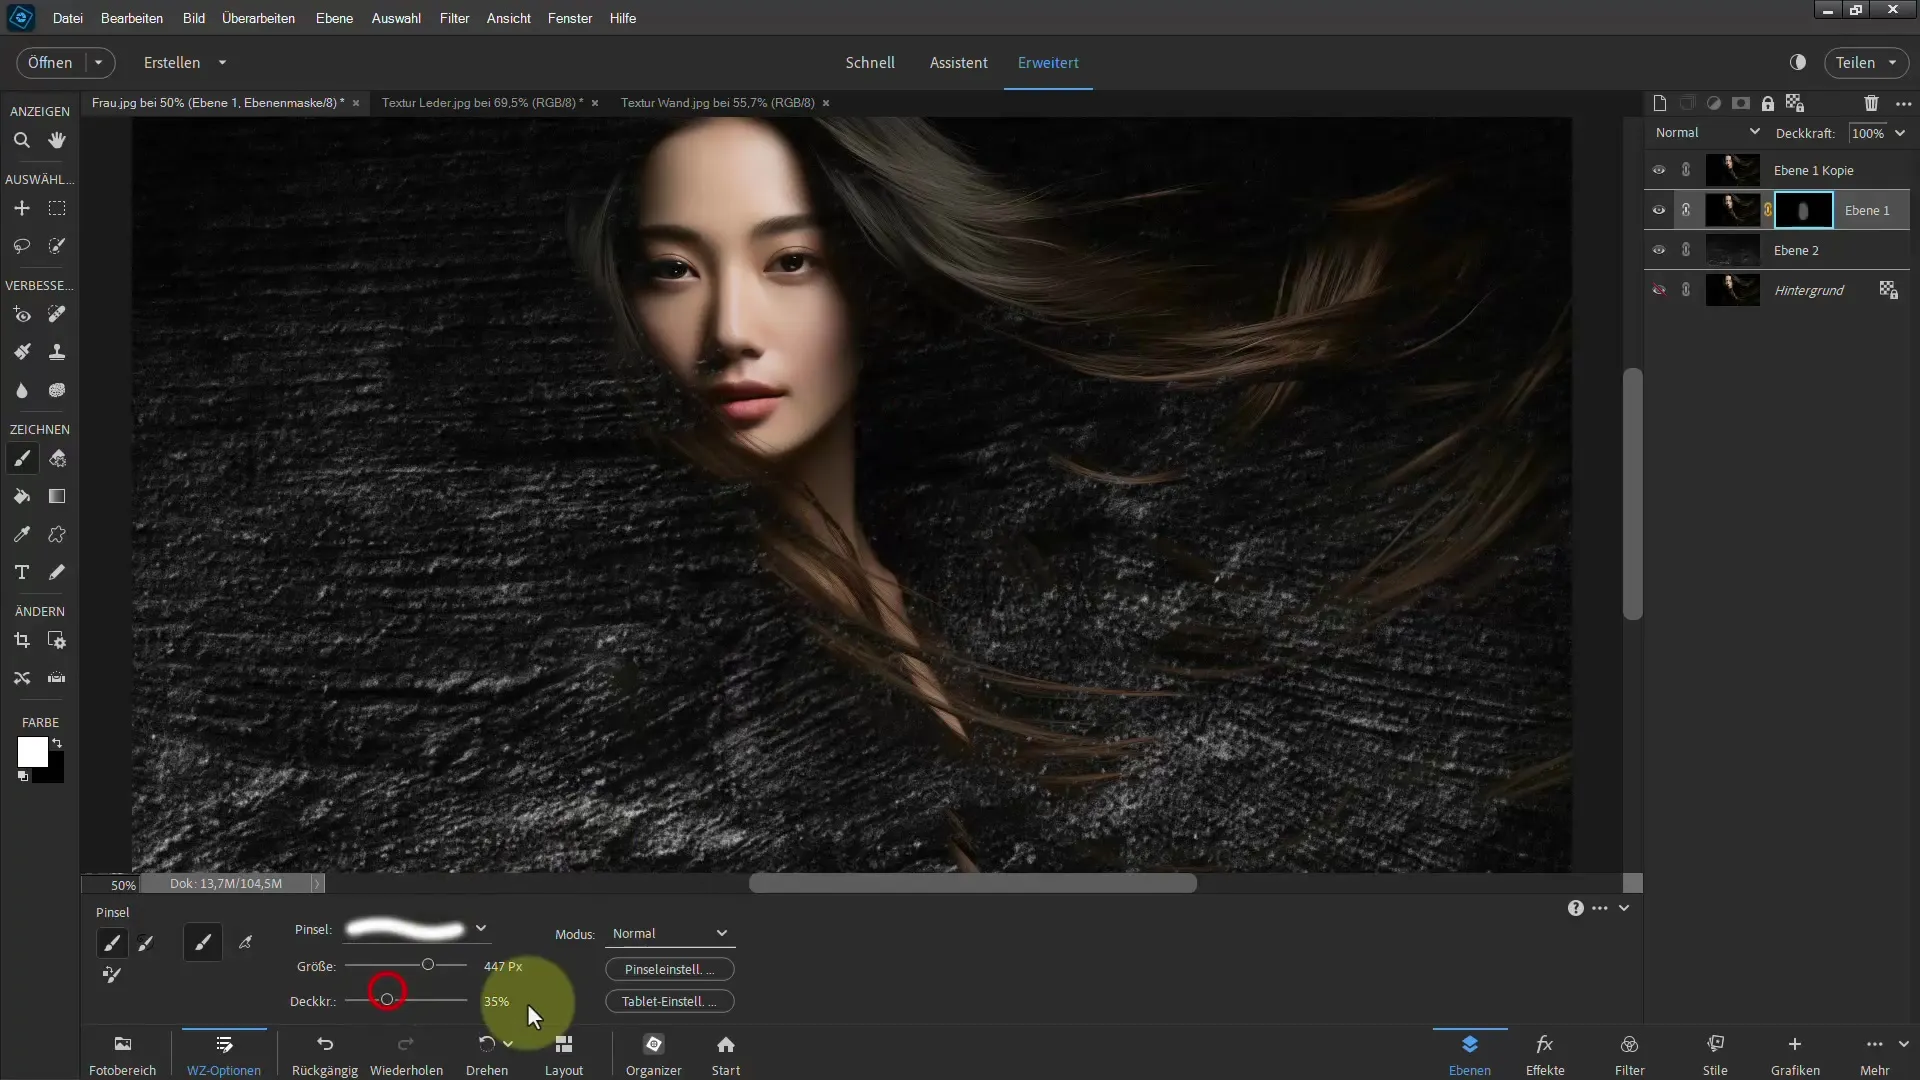
After restoring the key details, you should reduce the brush opacity and work more softly to create a smooth transition between the subject and the texture.
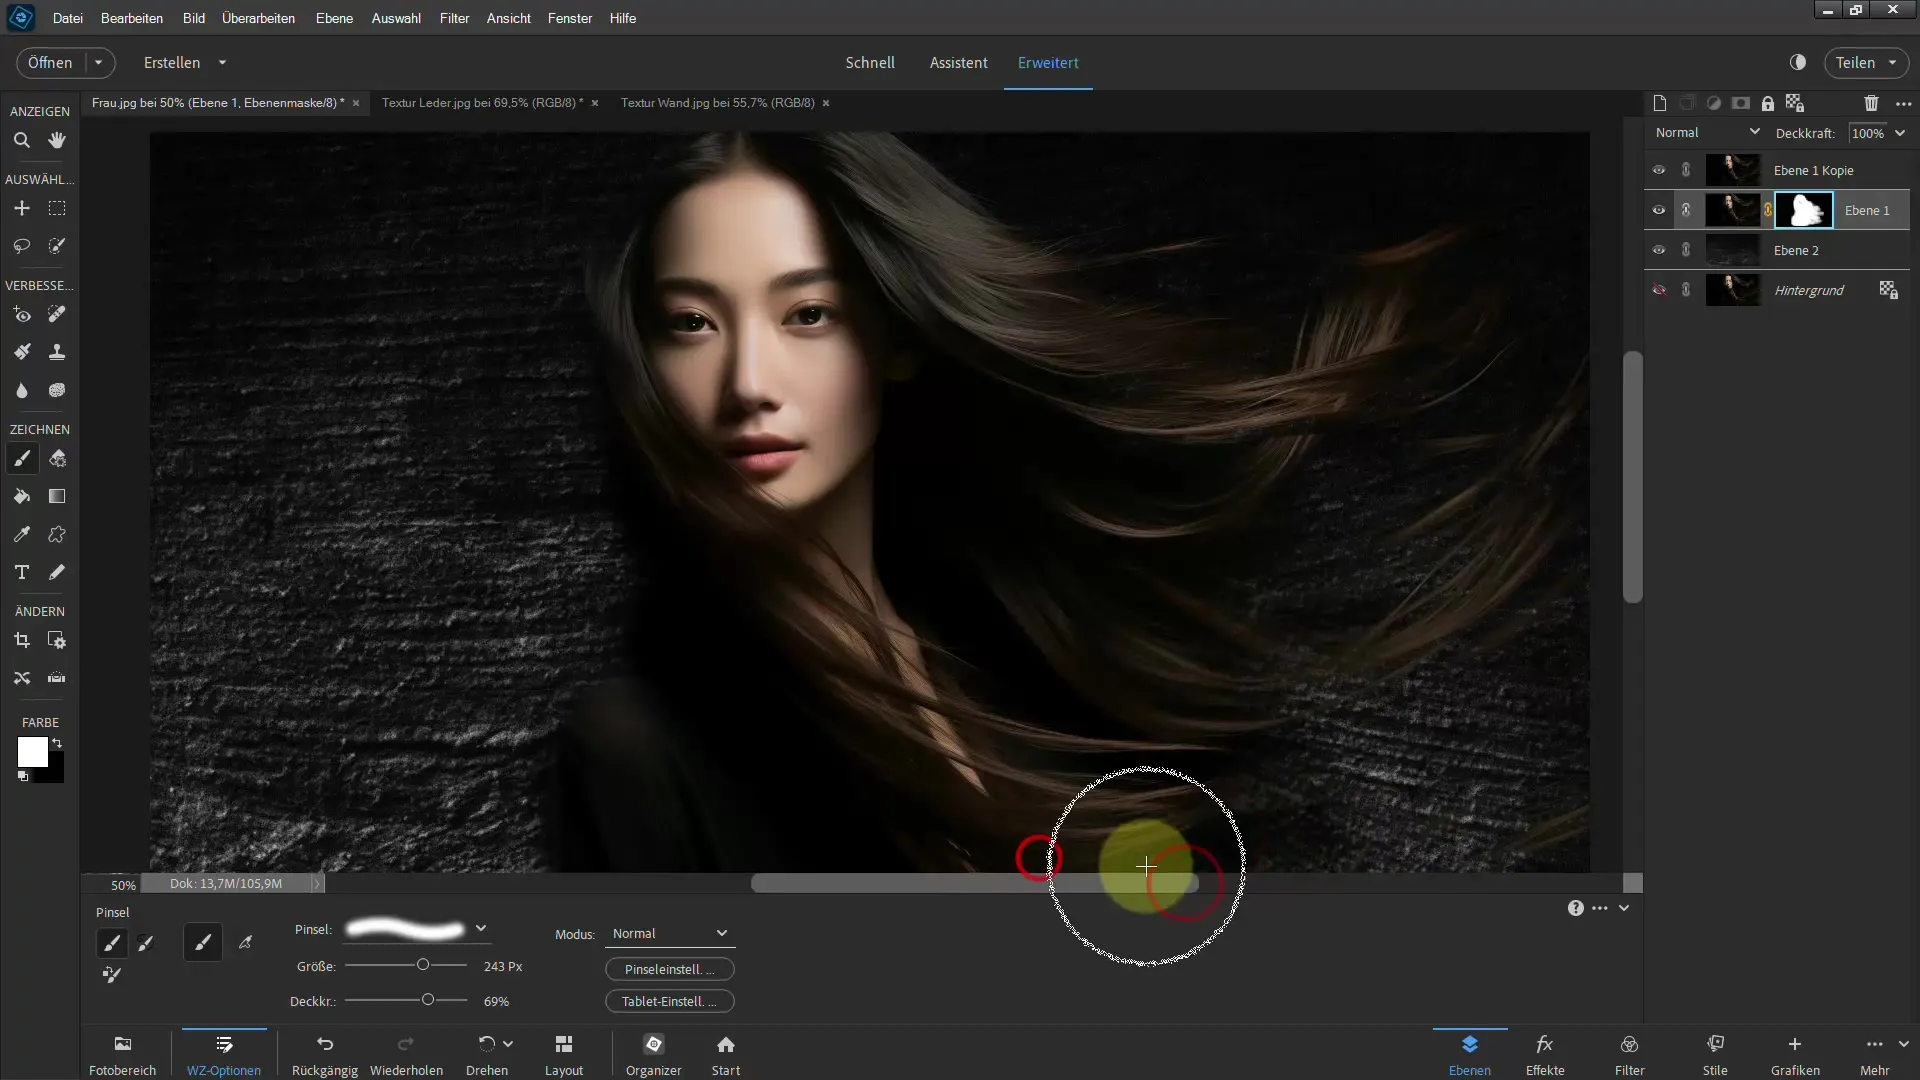
As you can see, this allows you to extract the hair excellently. To correct any areas that may have been over-restored, you can press the "X" key to switch between black and white, optimizing the effects accordingly.
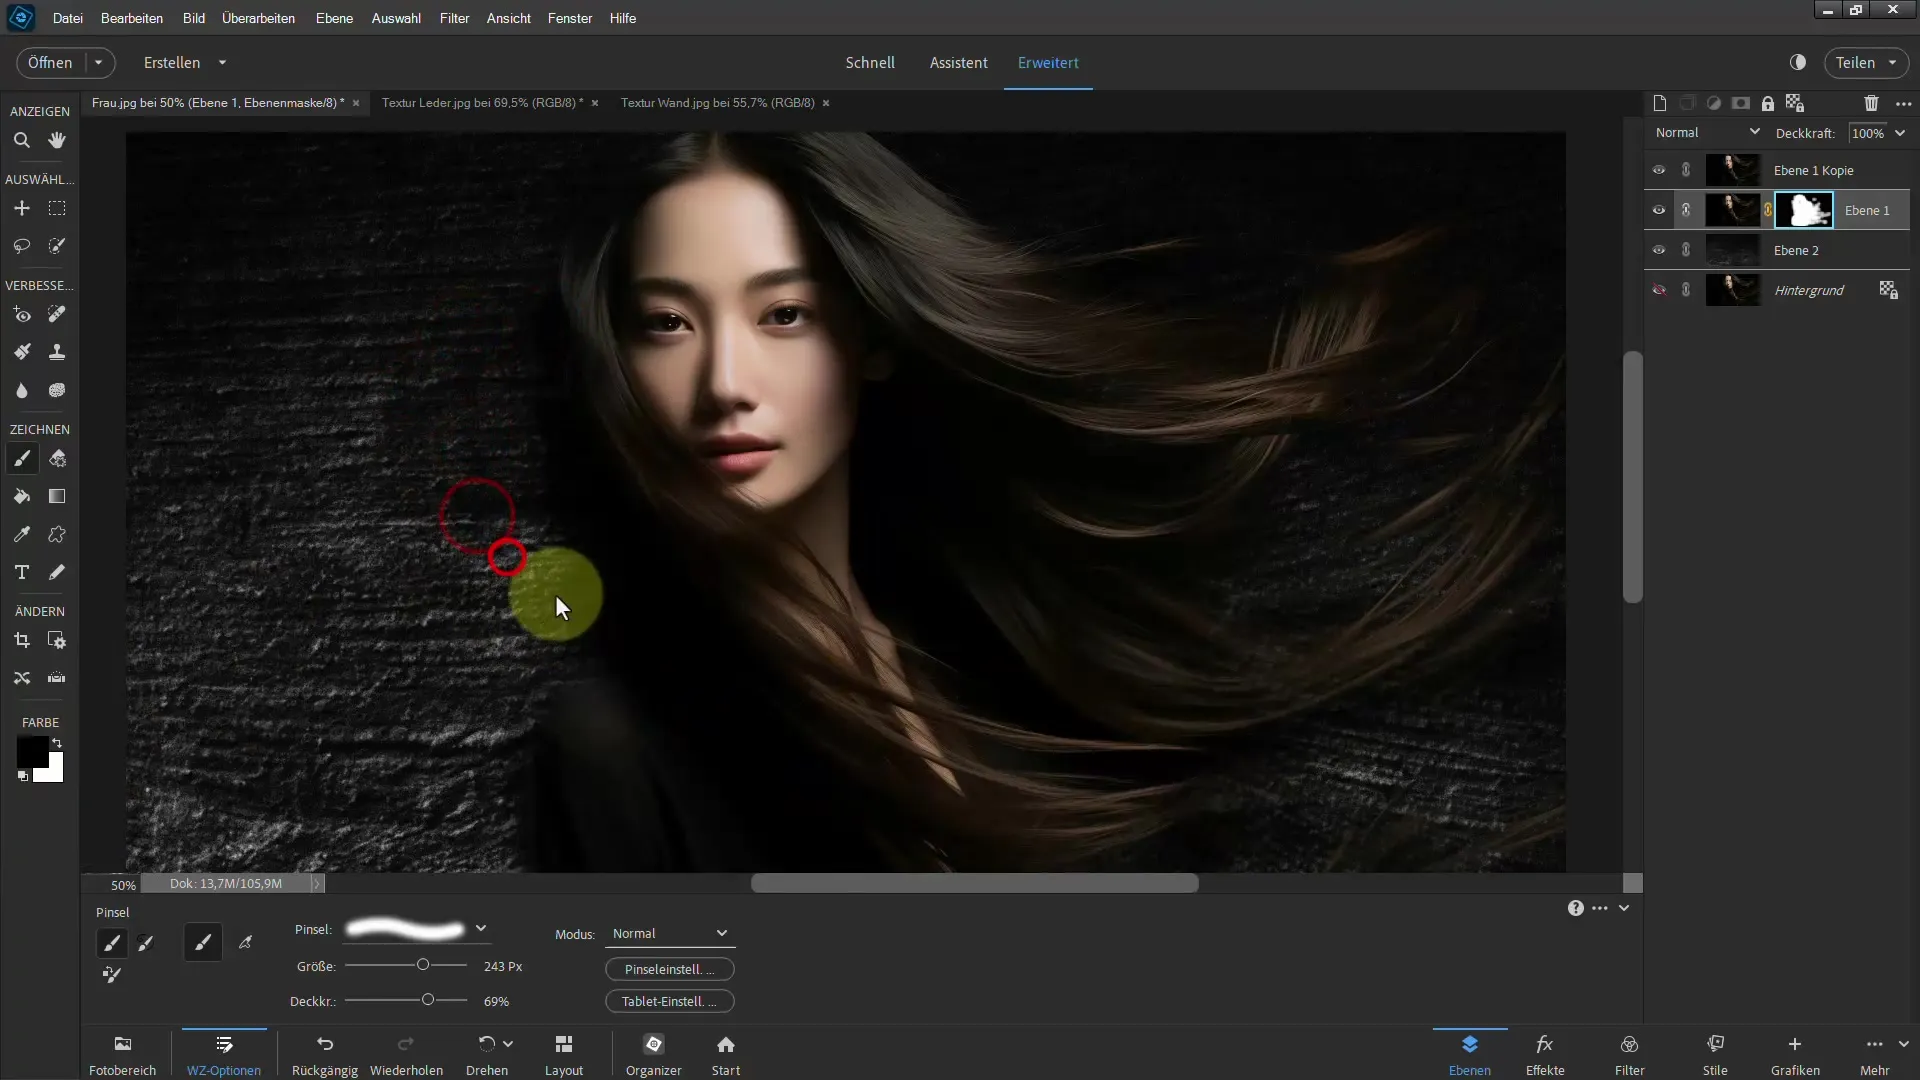
If you want to experiment with a different background or texture, you can repeat the steps with a leather texture or similar by duplicating the texture and adjusting it accordingly.
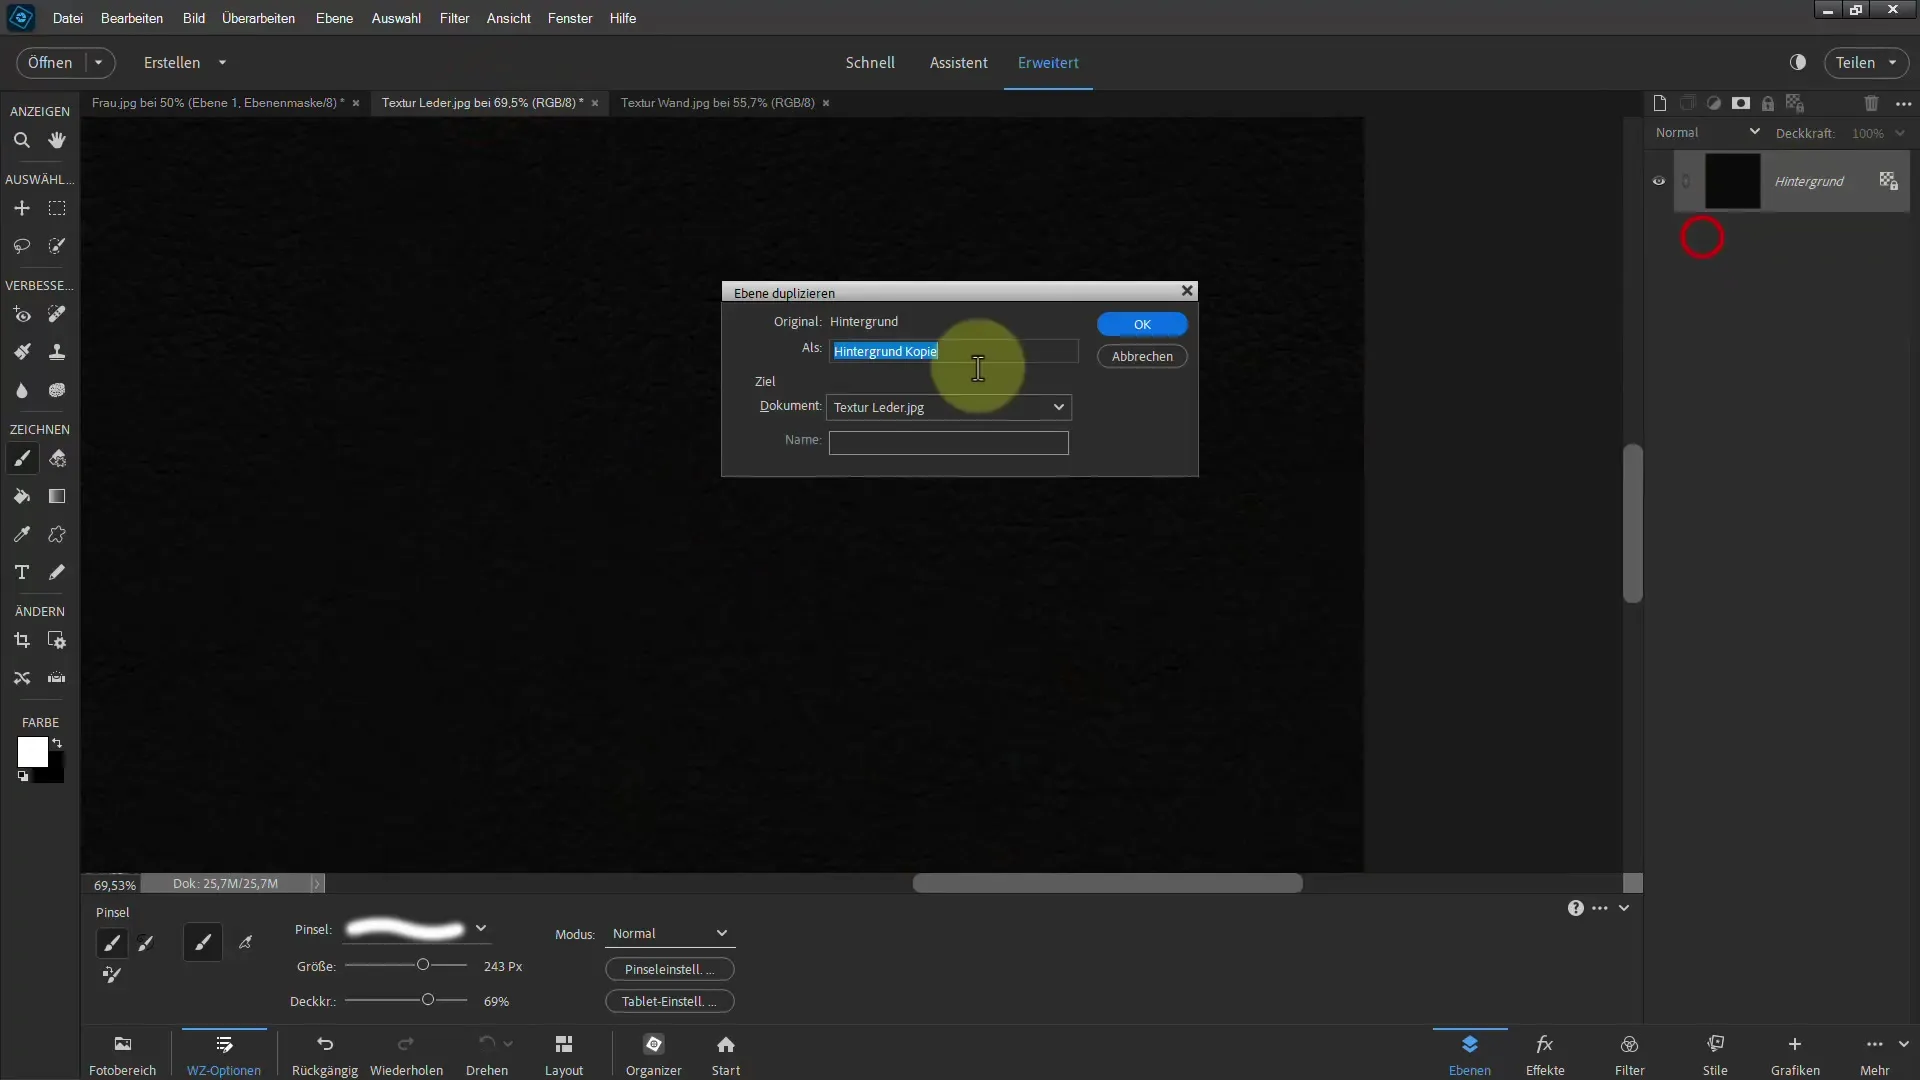
Make sure that you may still see some black areas that you can eliminate with a brush and black paint while adjusting the transparency to achieve the desired effects.
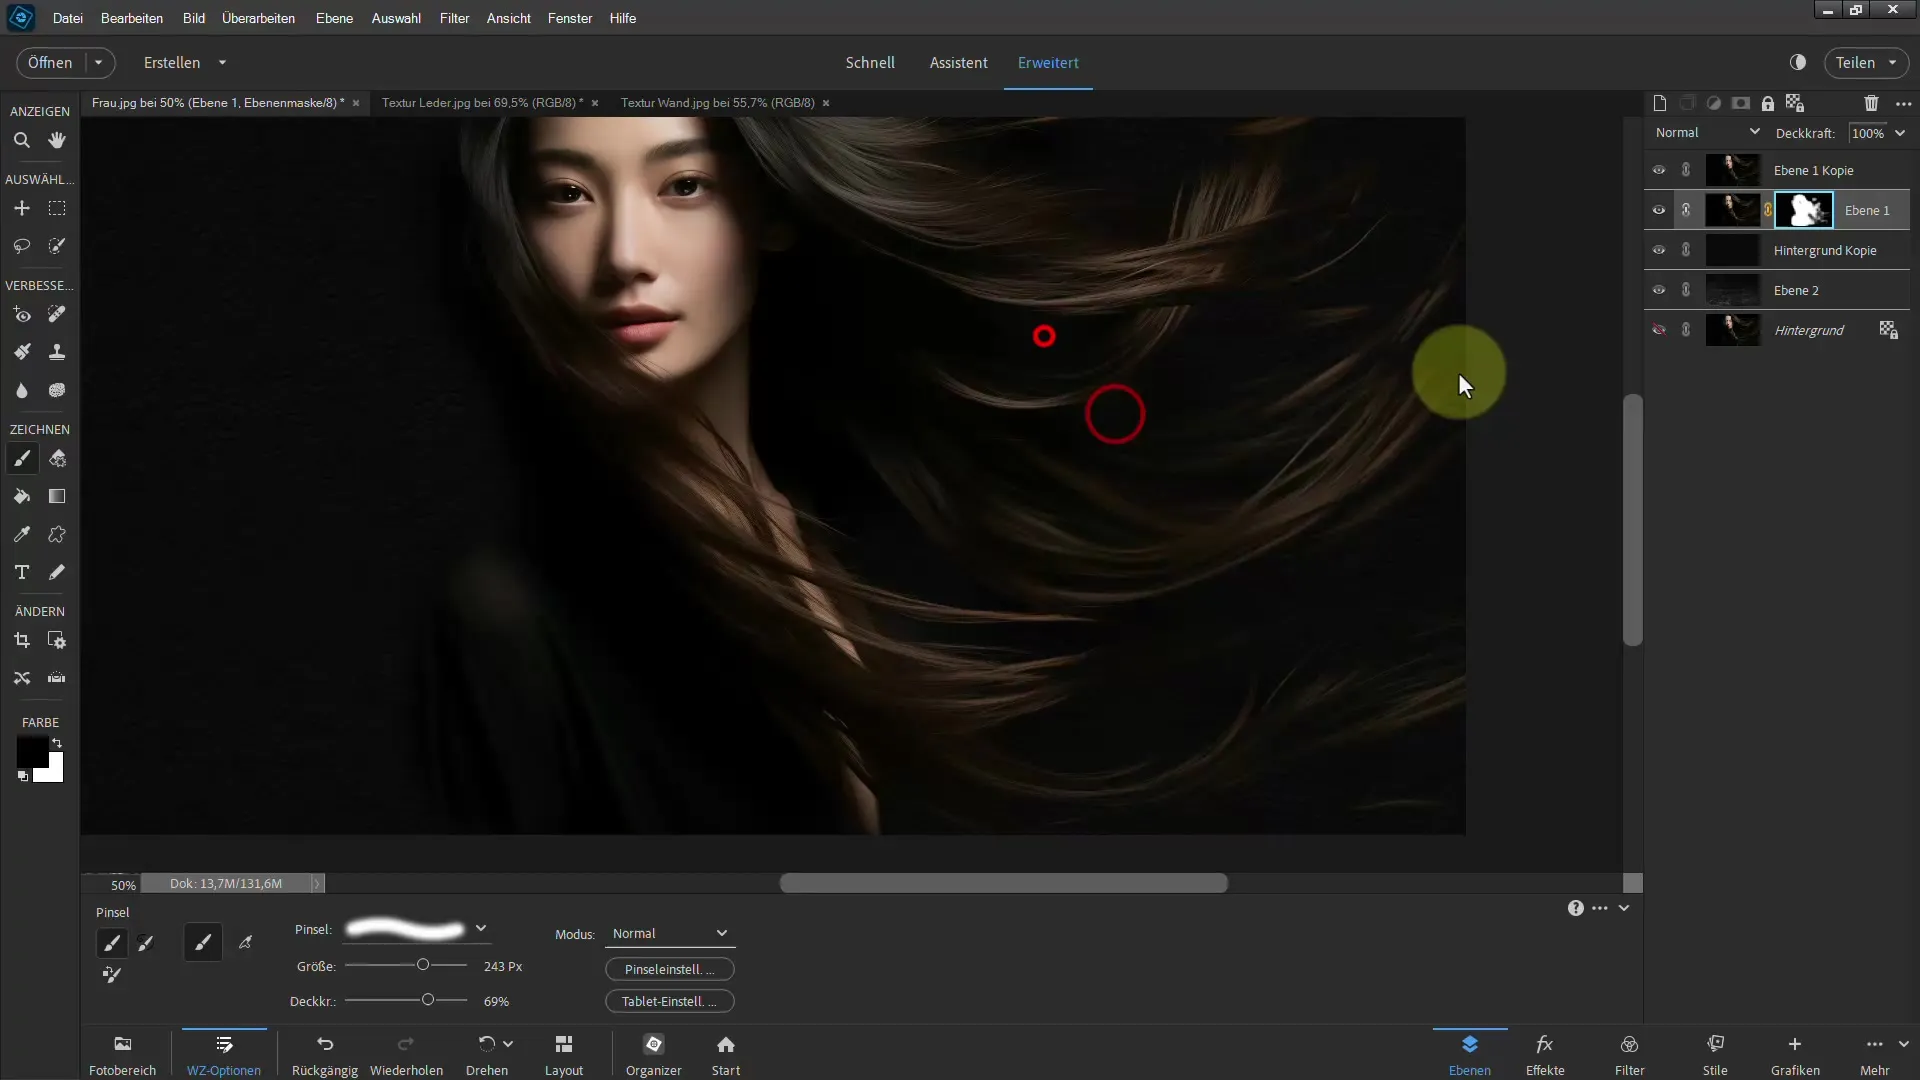
When comparing the images, you will notice how effectively the blending modes can support the hair cut-out process.
Summary
In this tutorial, I have shown you how using blending modes can significantly simplify hair cut-outs. The combination of layer masks and targeted use of brush tools allows you to work out challenging areas precisely. These methods can be particularly effective when the background is dark.
Frequently Asked Questions
What are blending modes and how do they help with cut-outs?Blending modes change the way colors and textures interact with each other. They are especially useful for cutting out complex elements like hair.
How can I create a layer mask in Photoshop Elements?Go to the layers and select the desired layer, then click on "Add Layer Mask".
What should I do if I am not satisfied with the blending mode?You can change the blending mode at any time and experiment with different options, even after the cut-out process.
How can I change the brush size?Hold down the "ALT" key and drag with the right mouse button to the left or right to quickly adjust the brush size.
Can I use this method with light backgrounds as well?Yes, however, cut-outs on light backgrounds may be more challenging. A dark texture as a base helps to define the contours better.


