In this tutorial, you will learn how to quickly and precisely extract linear objects using the Polygon Lasso in Photoshop Elements. This tool is particularly useful when you want to separate objects with clear edges, such as books or boxes, from their background. Although extracting with the Polygon Lasso may initially seem complicated, you will see that with a few tricks and some practice, it is quite easy.
Key Takeaways
The Polygon Lasso is an effective tool to extract linear objects in Photoshop Elements. With some simple techniques, you can also quickly select more complex shapes, such as the contours of a cat. Using keyboard shortcuts and correcting errors helps optimize the extraction process.
Step-by-Step Guide
To effectively use the Polygon Lasso, follow these steps:
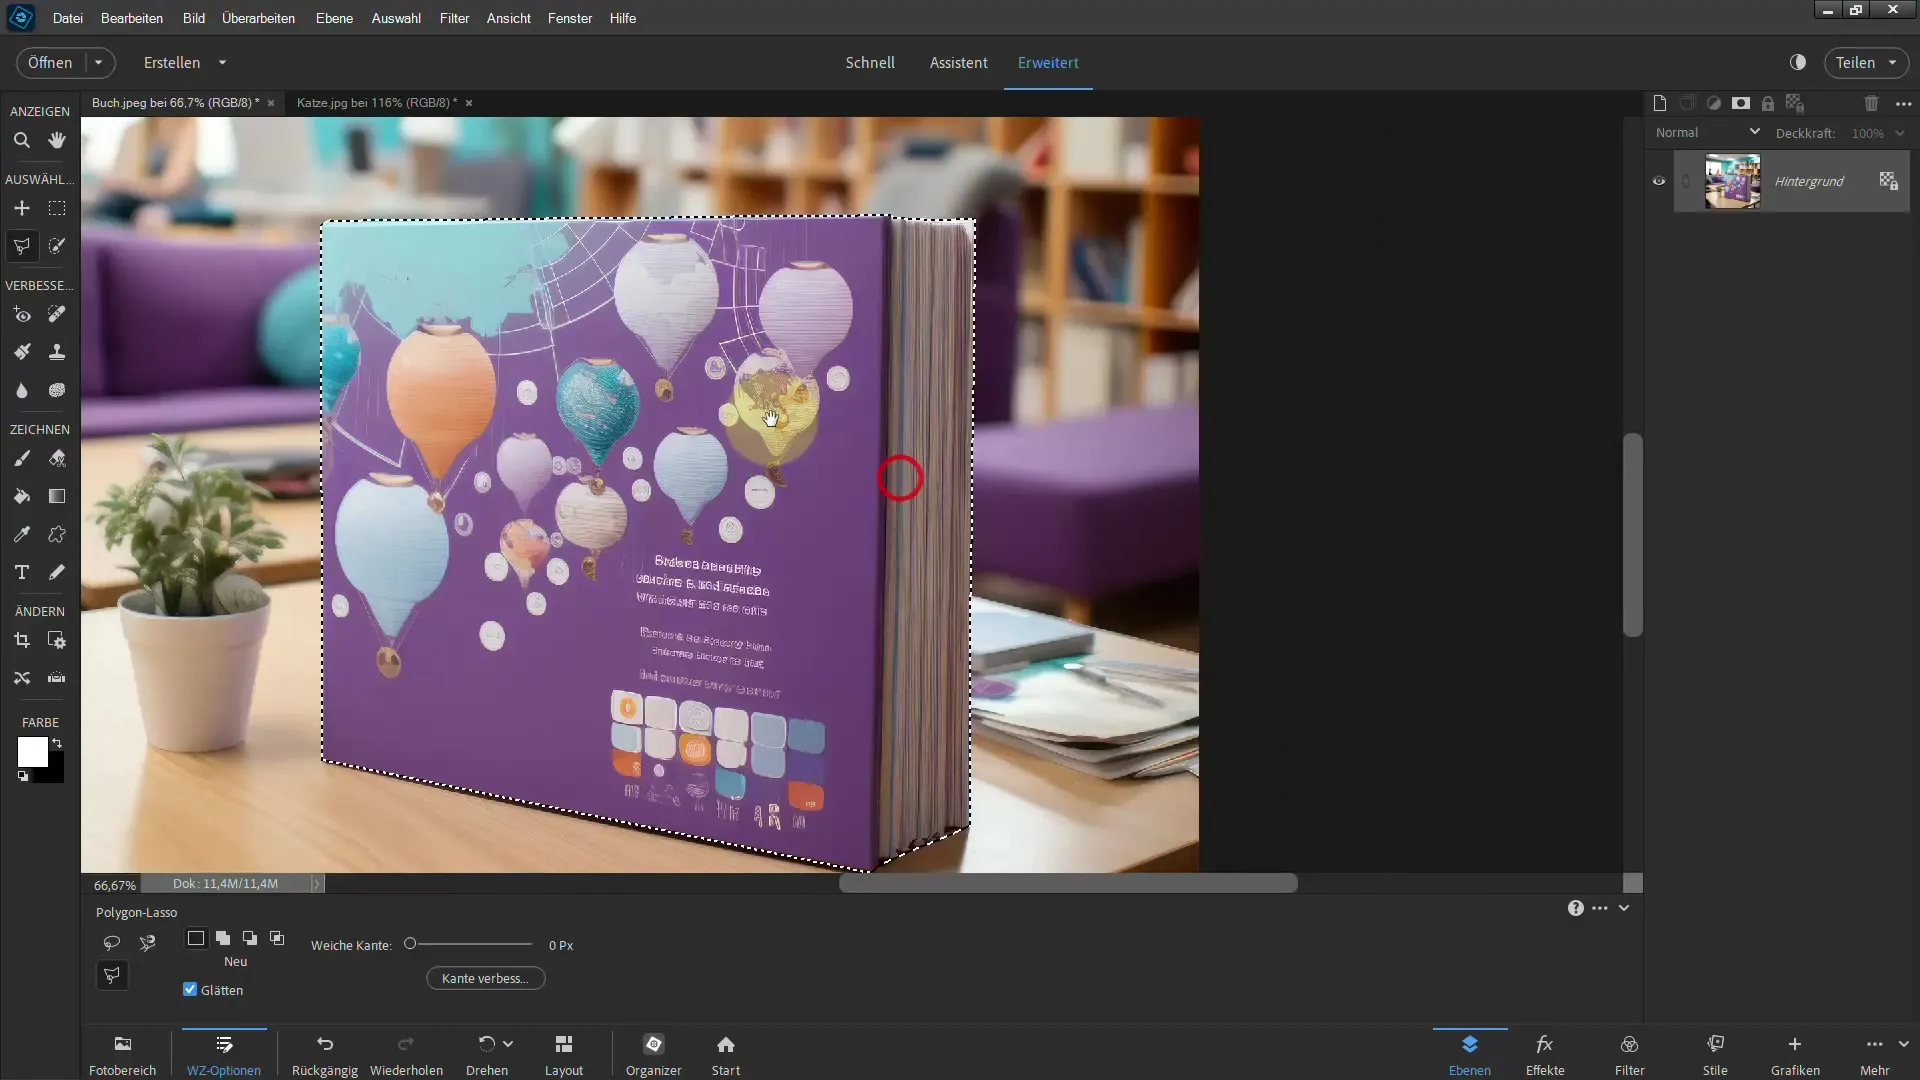
Start by opening the image you want to extract. You should click on the "Selection" option and then on "Subject" to make the initial selection. This will give you a rough idea of where the Polygon Lasso will be used and whether the initial selection already provides a meaningful basis.
In this automatic selection, you may notice that some areas of the subject are not cleanly isolated. For example, you can see that the pillow in the background was selected as well. Such imperfections indicate that adjustments are necessary to achieve a better result.
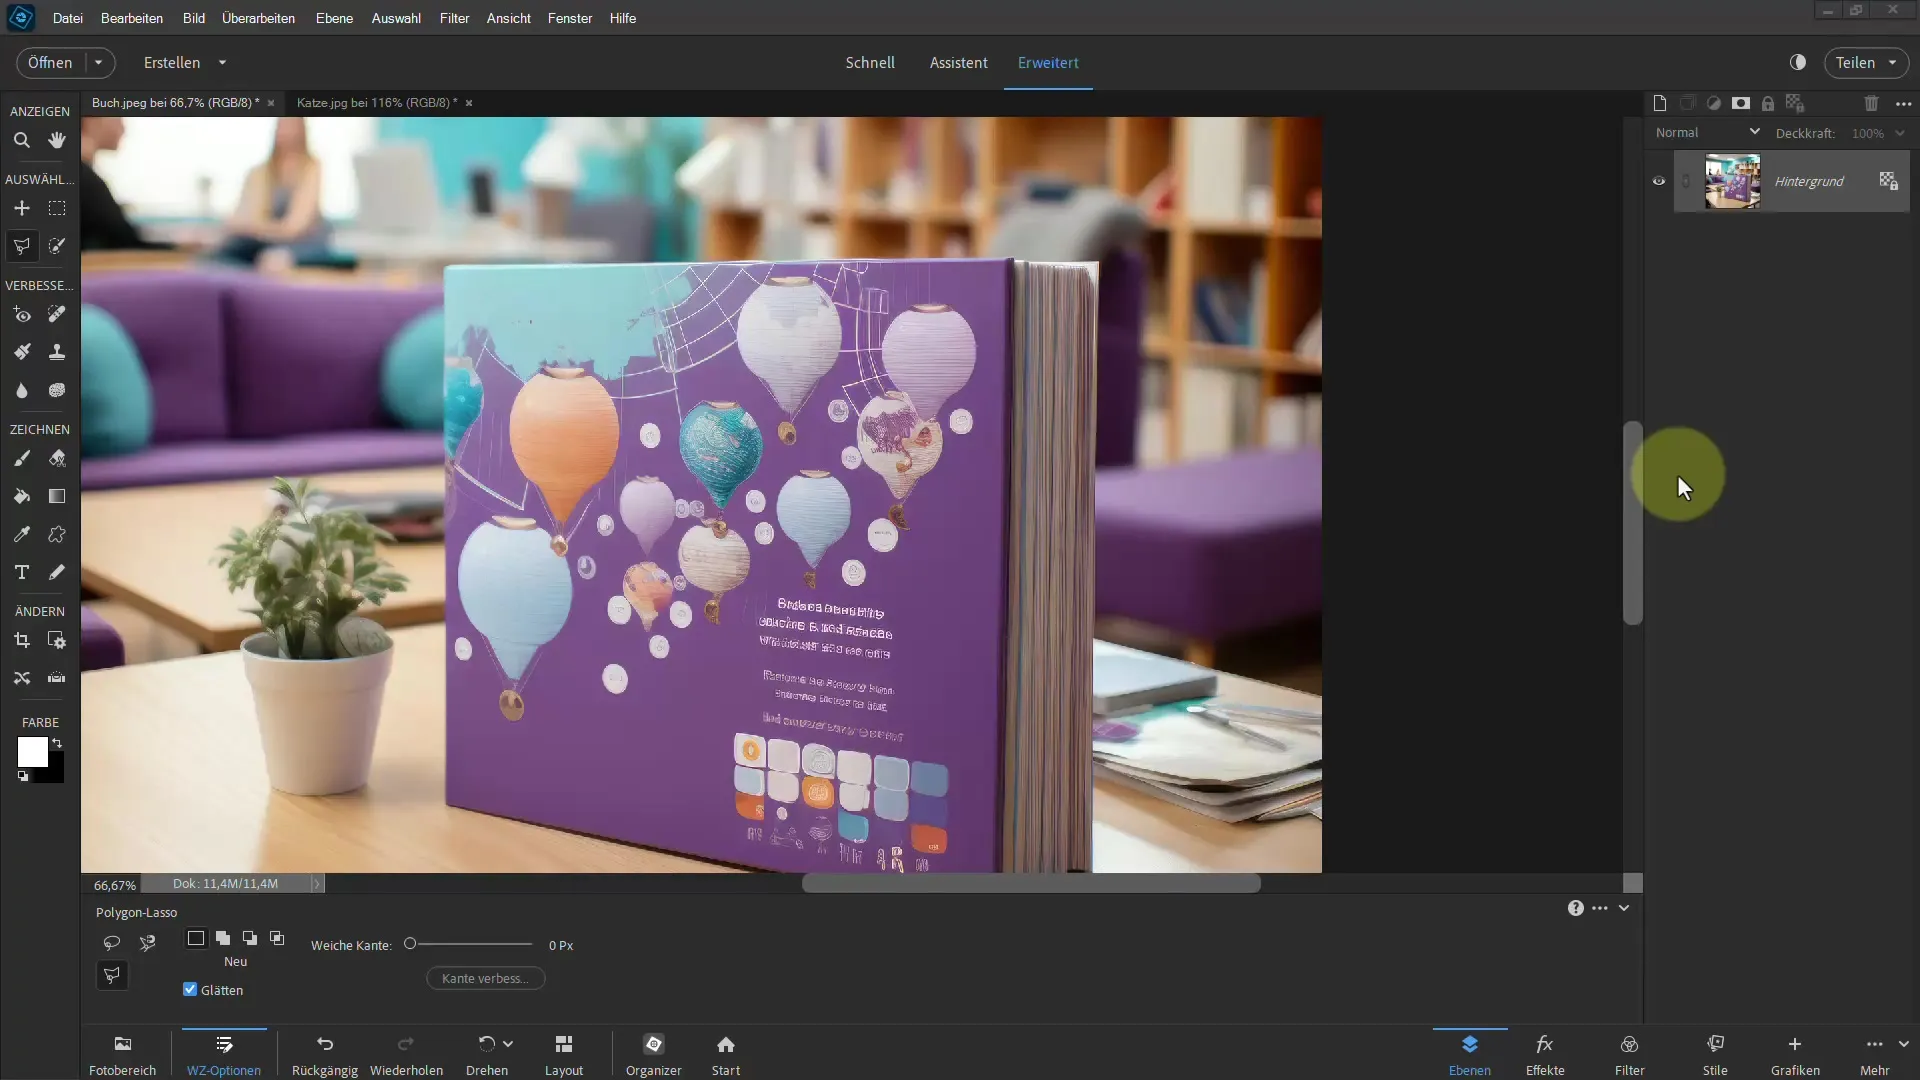
To achieve a more precise extraction, select the Polygon Lasso tool. Simply press the 'L' key on your keyboard to activate it quickly. Make sure to activate the "Smooth" option while leaving everything else, like "Feather", deactivated.
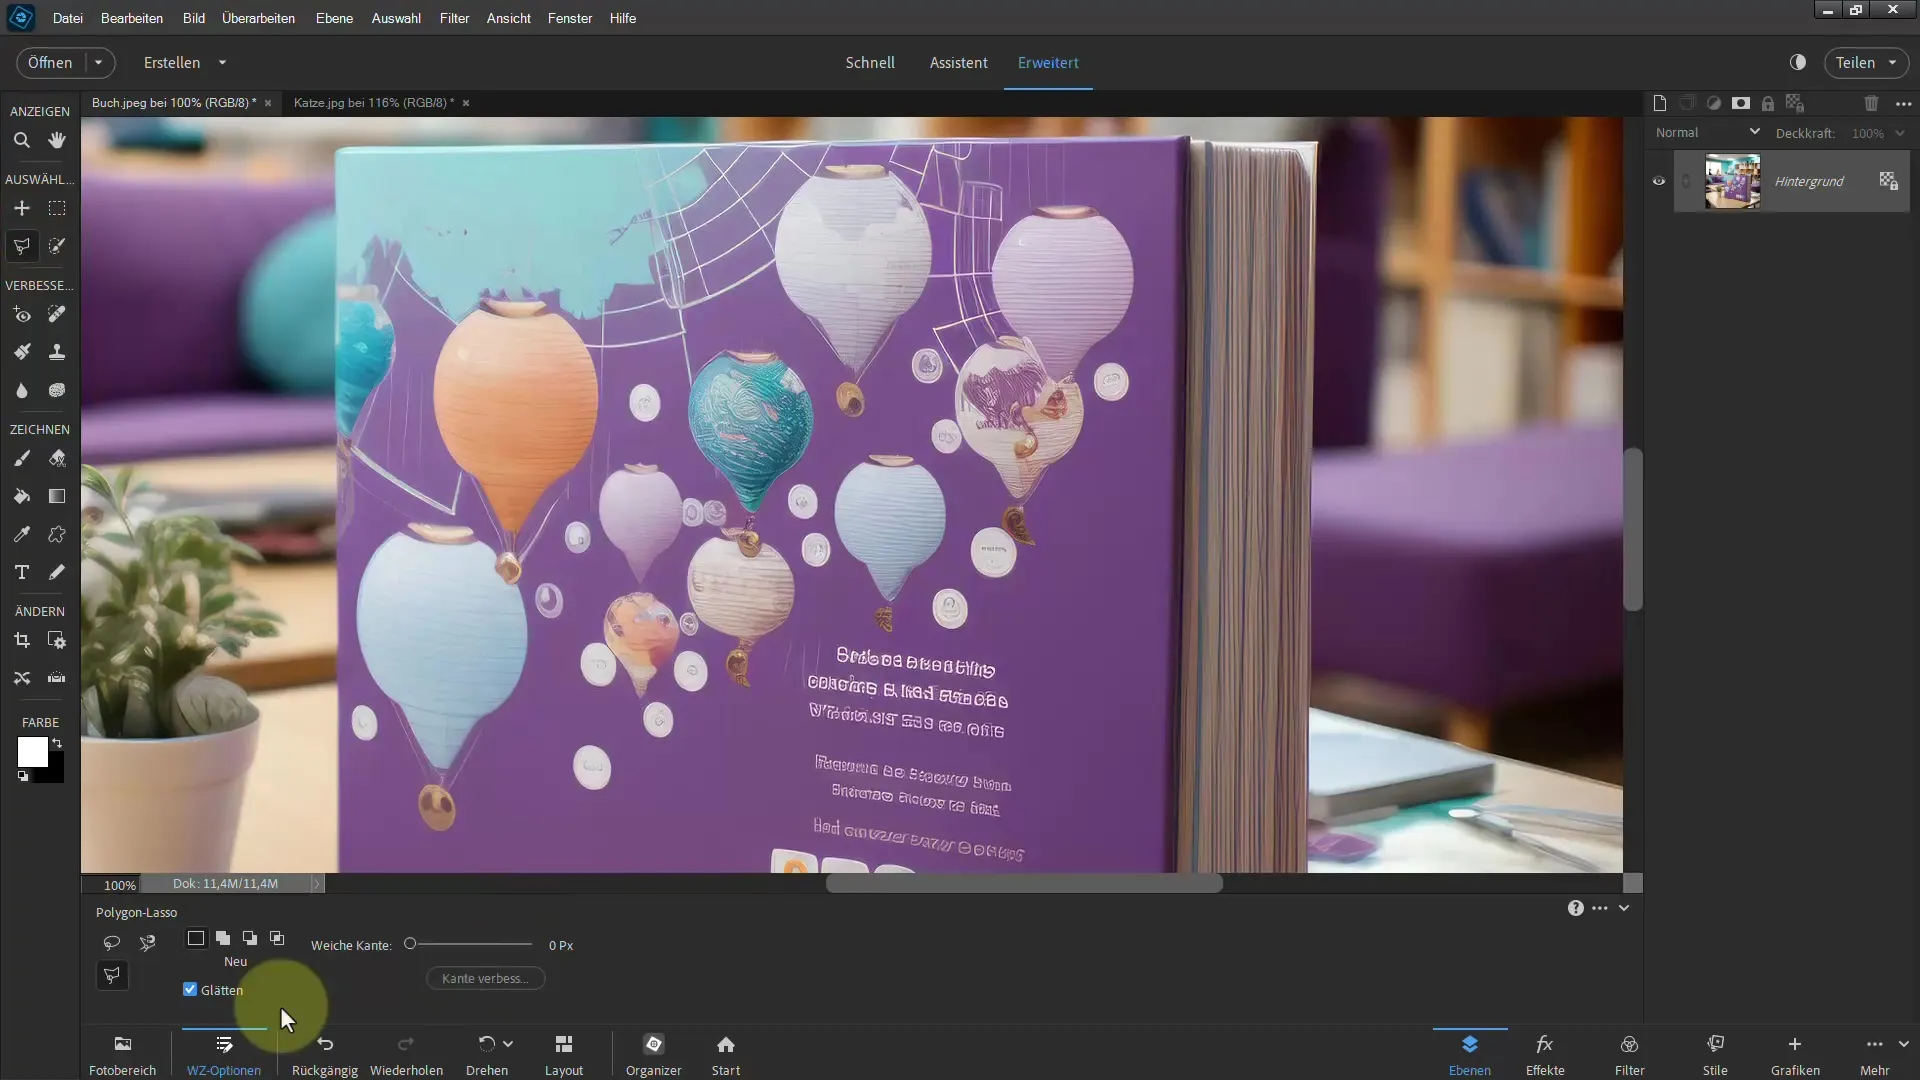
The Polygon Lasso works best when you simply start with a click at the point where you want to begin the selection. Click successively at the object's corners that you want to extract – in this case, a book. If you make a mistake or want to change direction, you can simply press the Backspace key to undo the last click.
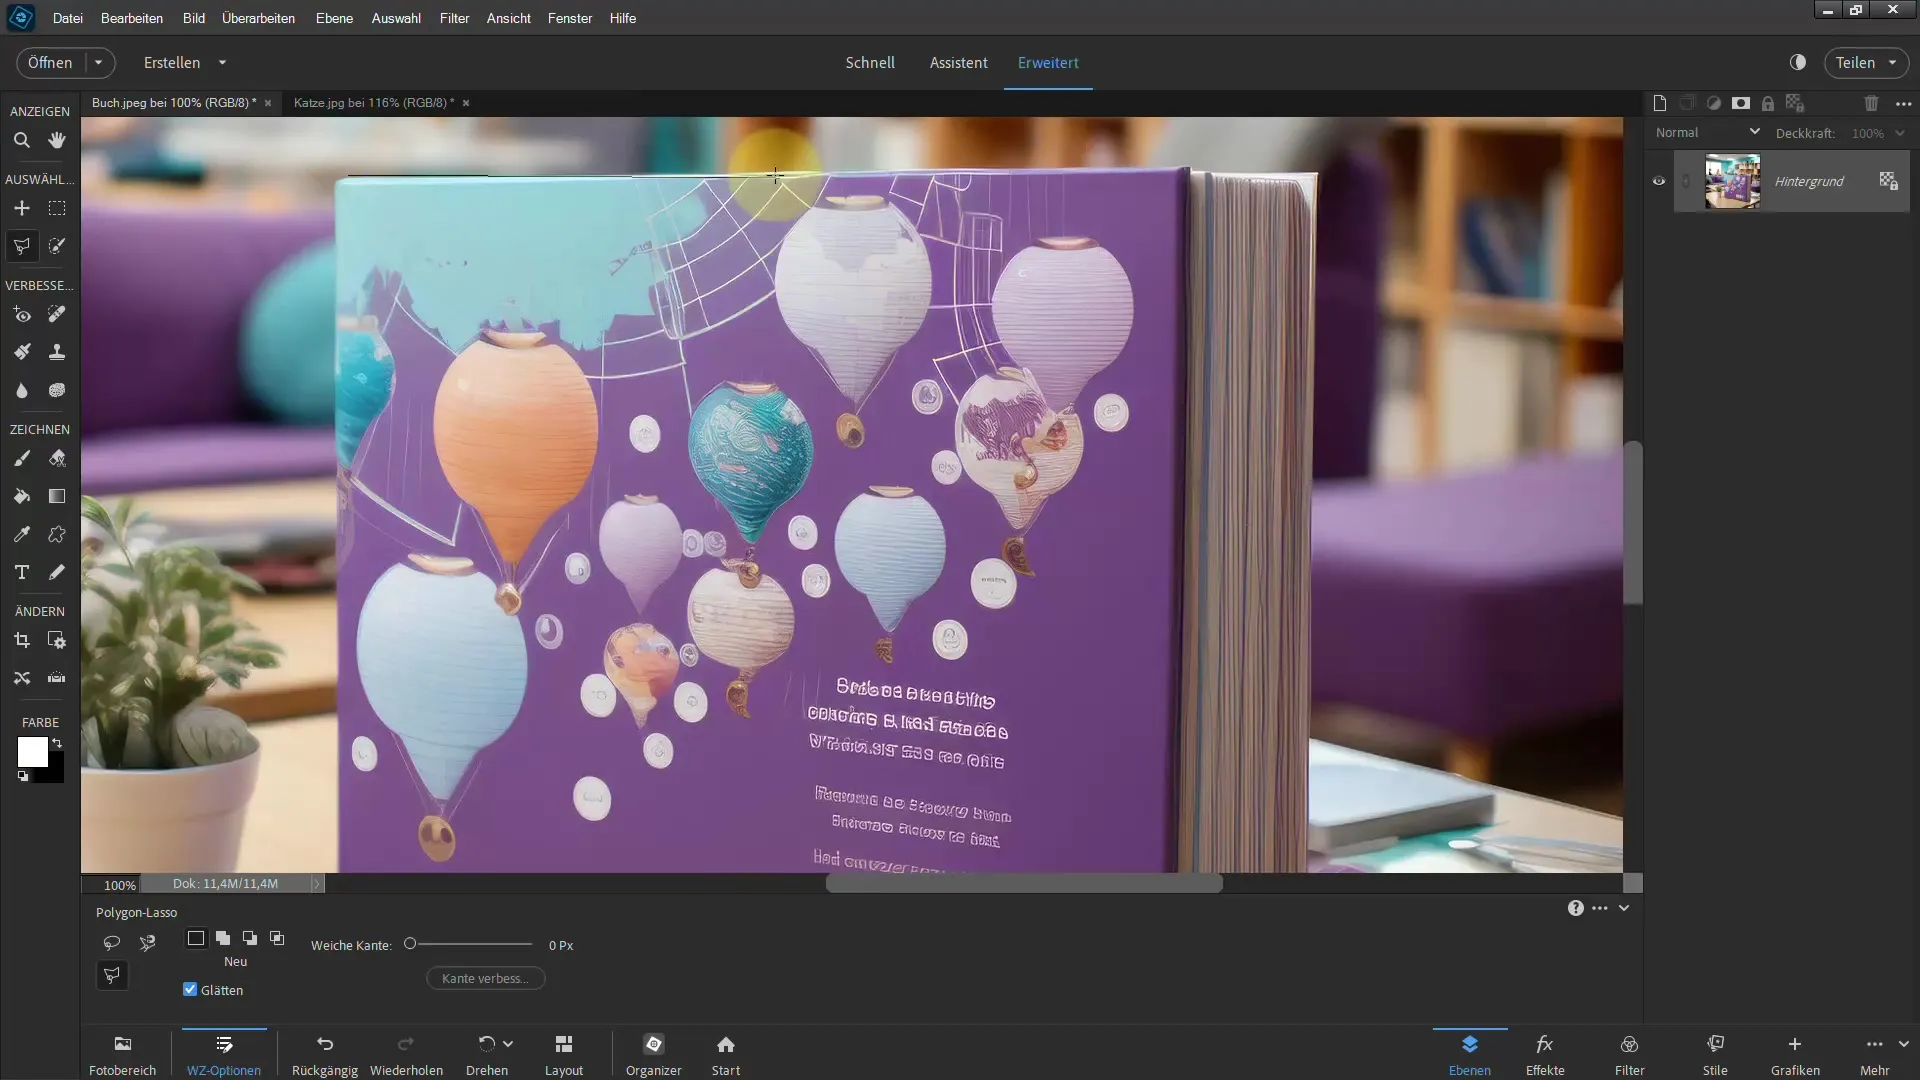
When working on the object's edges and something is not visible correctly, you may need to adjust the view. To do this, hold down the Space bar and scroll with the mouse to navigate the selection. This technique makes it easier to work precisely, especially with larger objects.
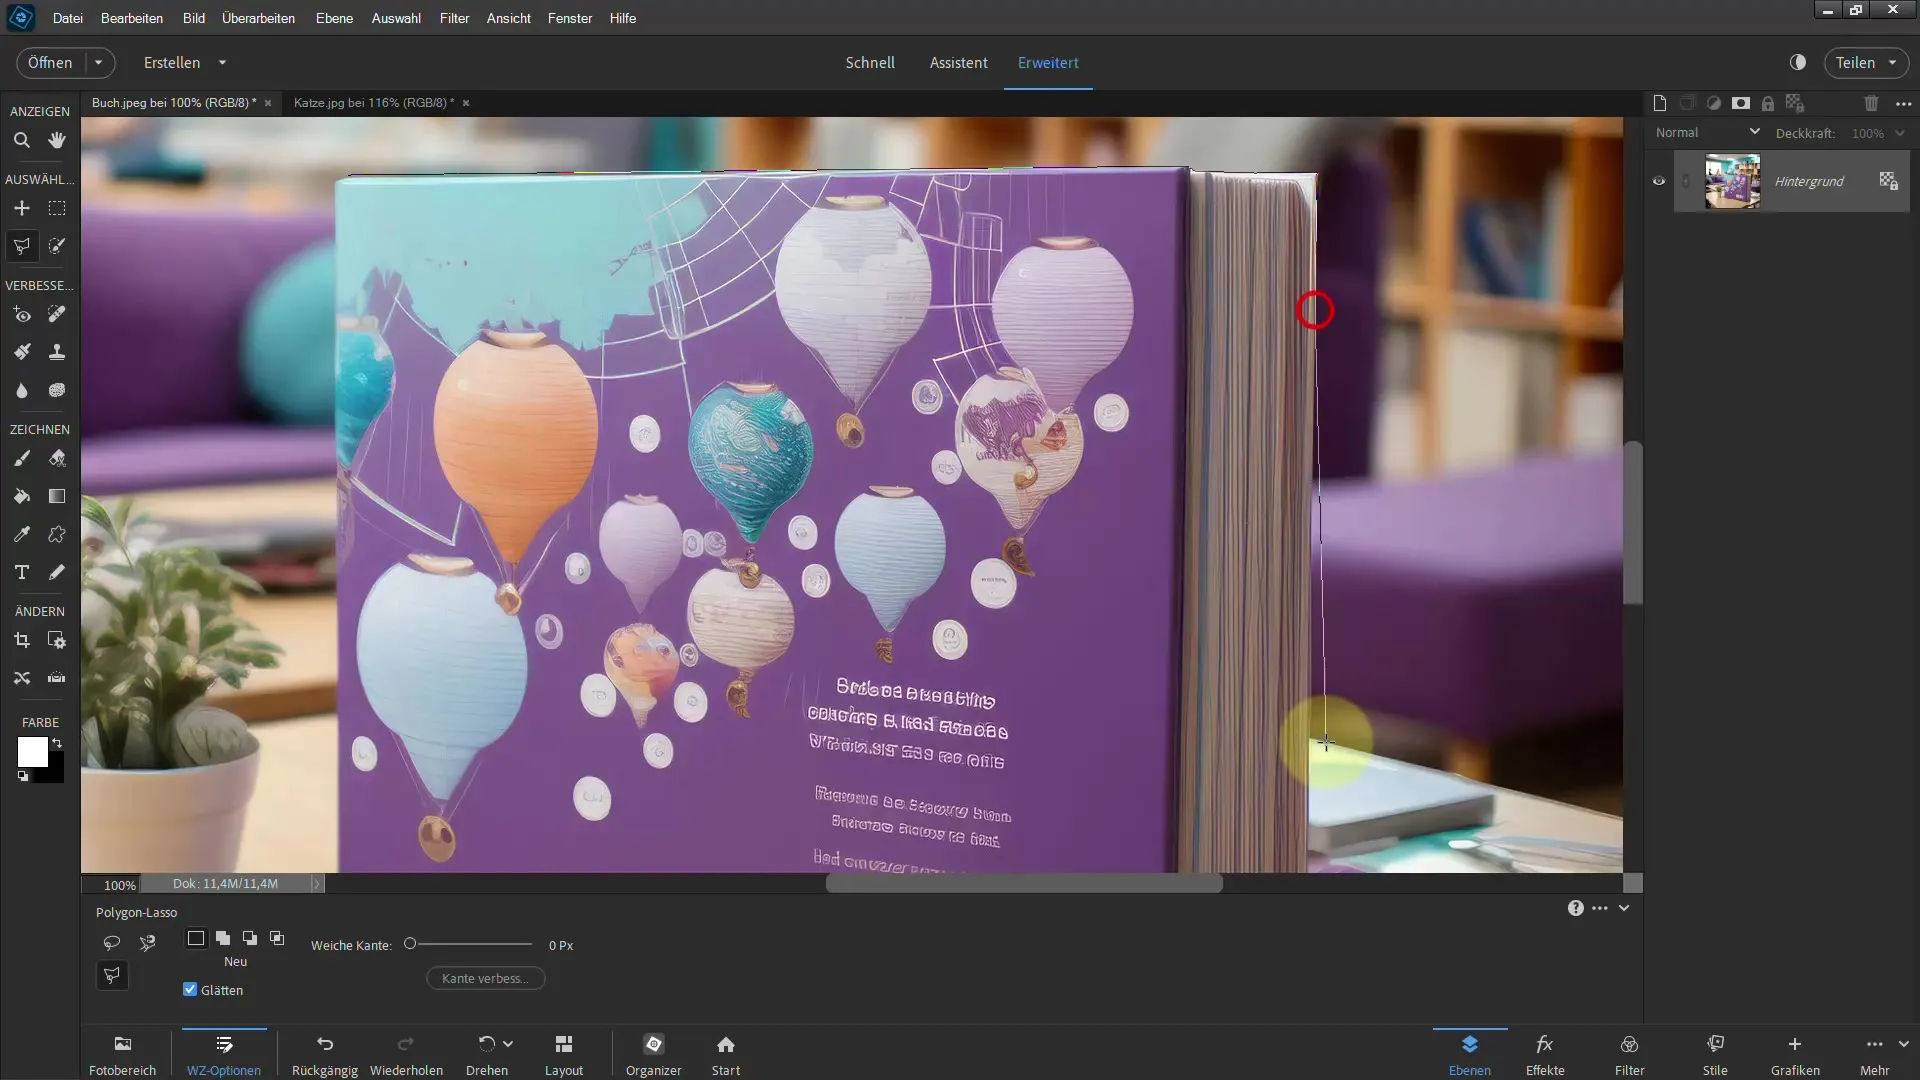
Once you have completed the selection, the cursor will change to a closed circle symbol, indicating that the selection is finished. Now you can add a layer mask to make only the desired object – in this case, the book – visible.
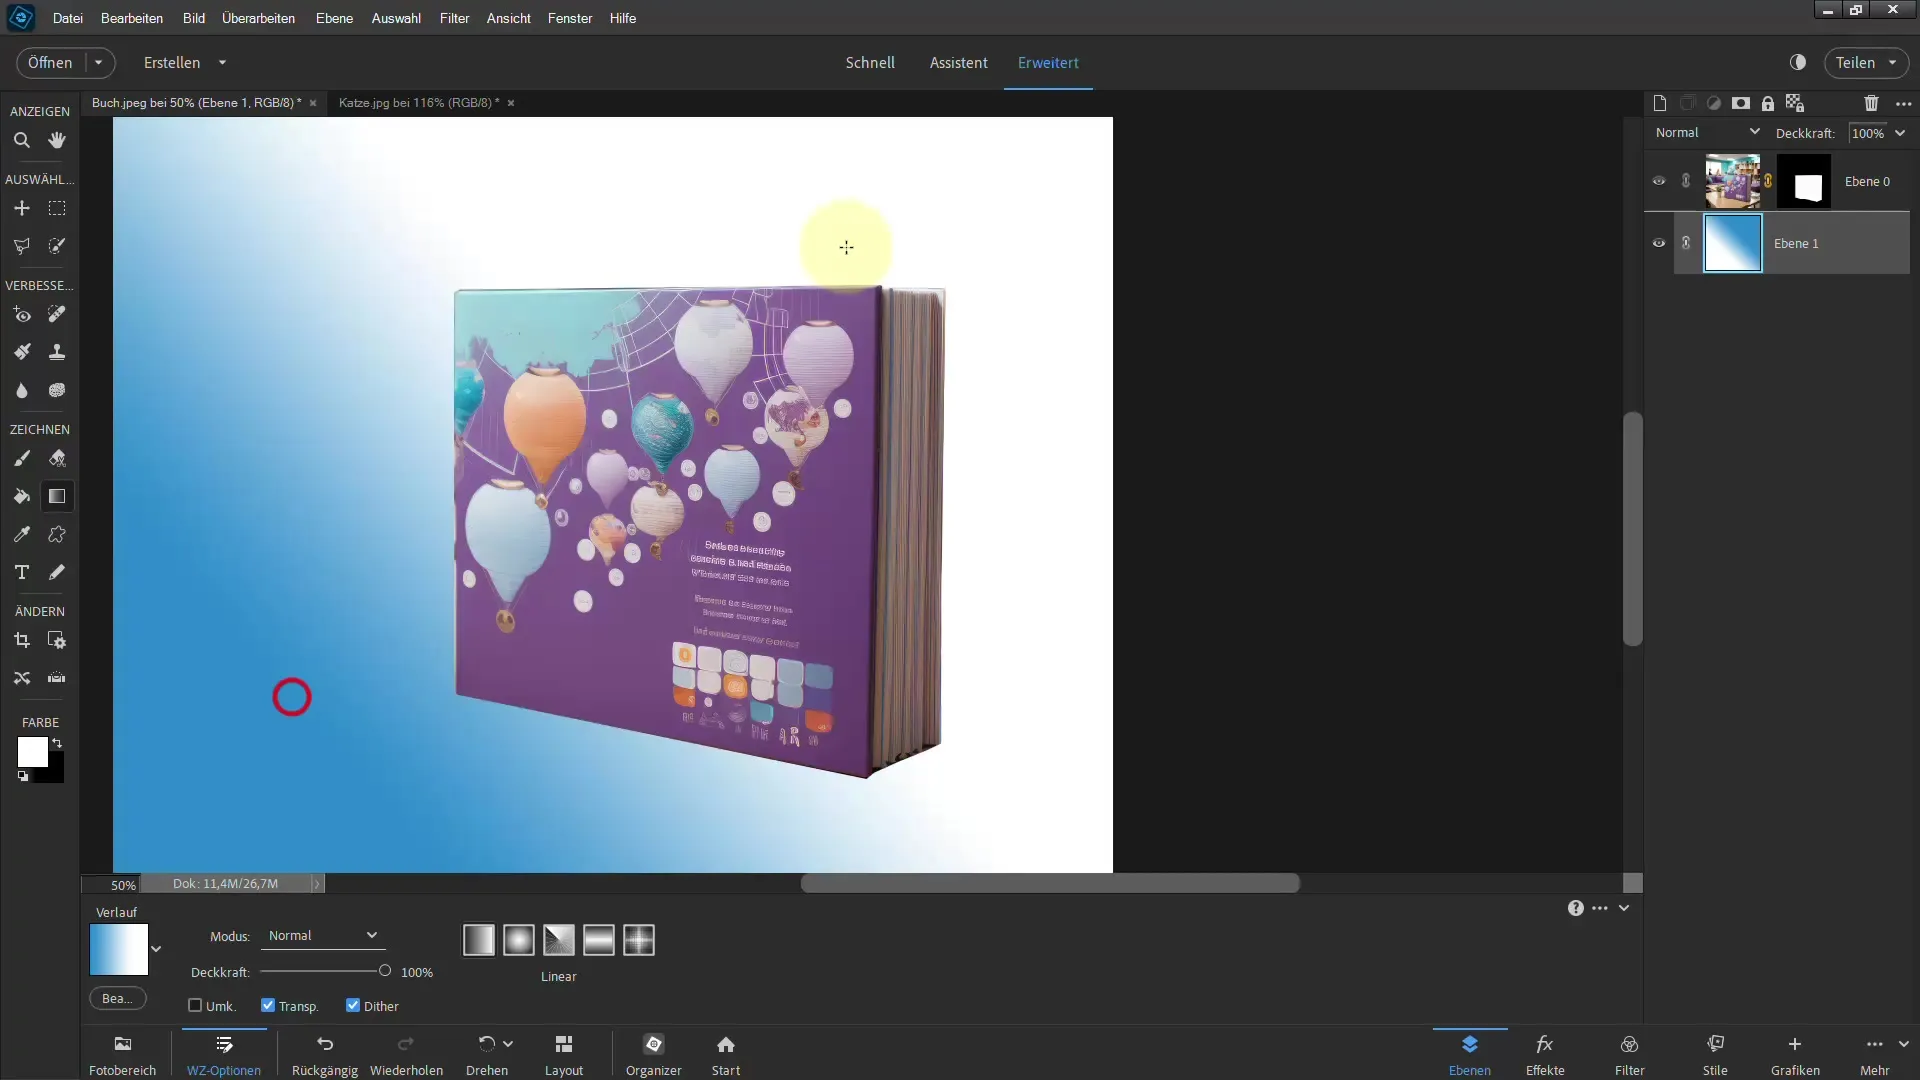
Check the quality of your extraction by adding a new background layer. Add a gradient or other color, or place a new layer underneath to see how well the book was extracted. In this case, it is evident that the extraction was very successful.
To extract a more complex subject like a cat, proceed similarly: select the Polygon Lasso tool again and start with the initial selection. Even if you don't get everything perfect on the first try, you can adjust the selection at any time or discard it to start over.
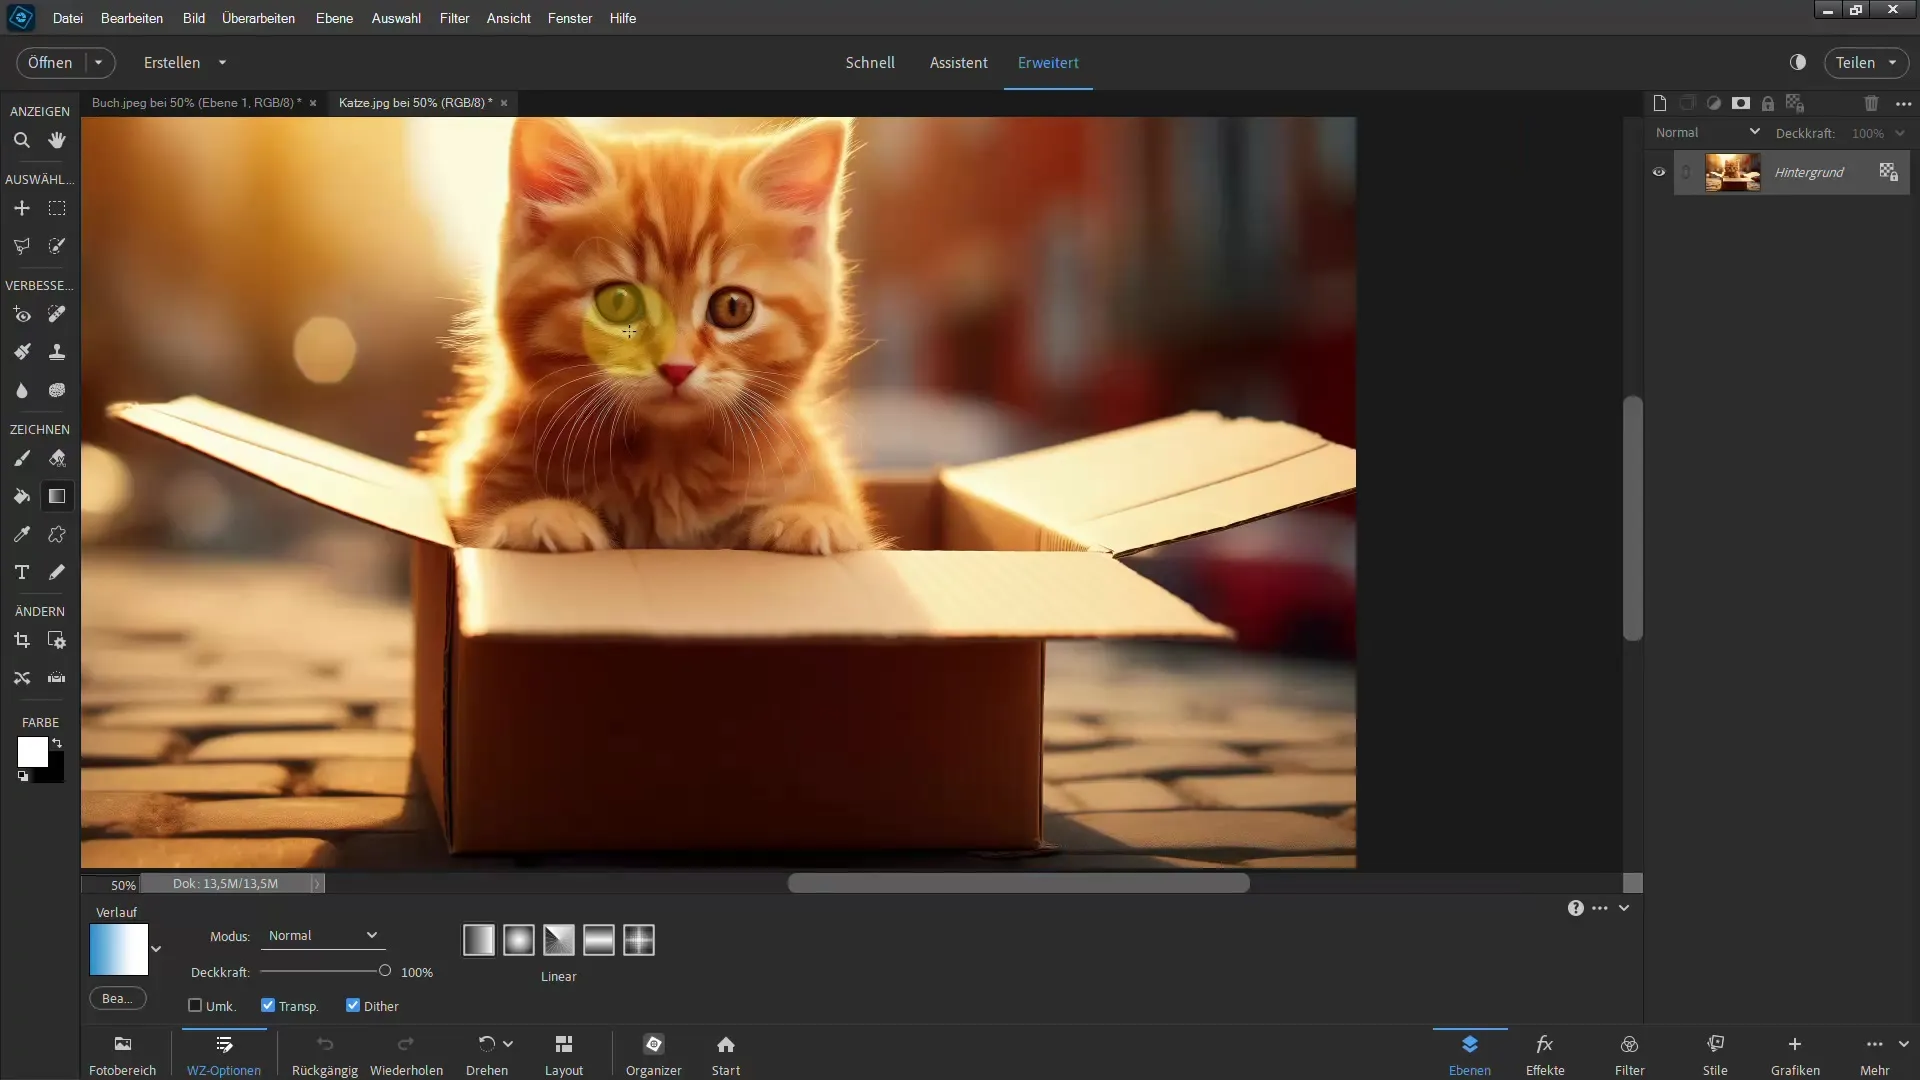
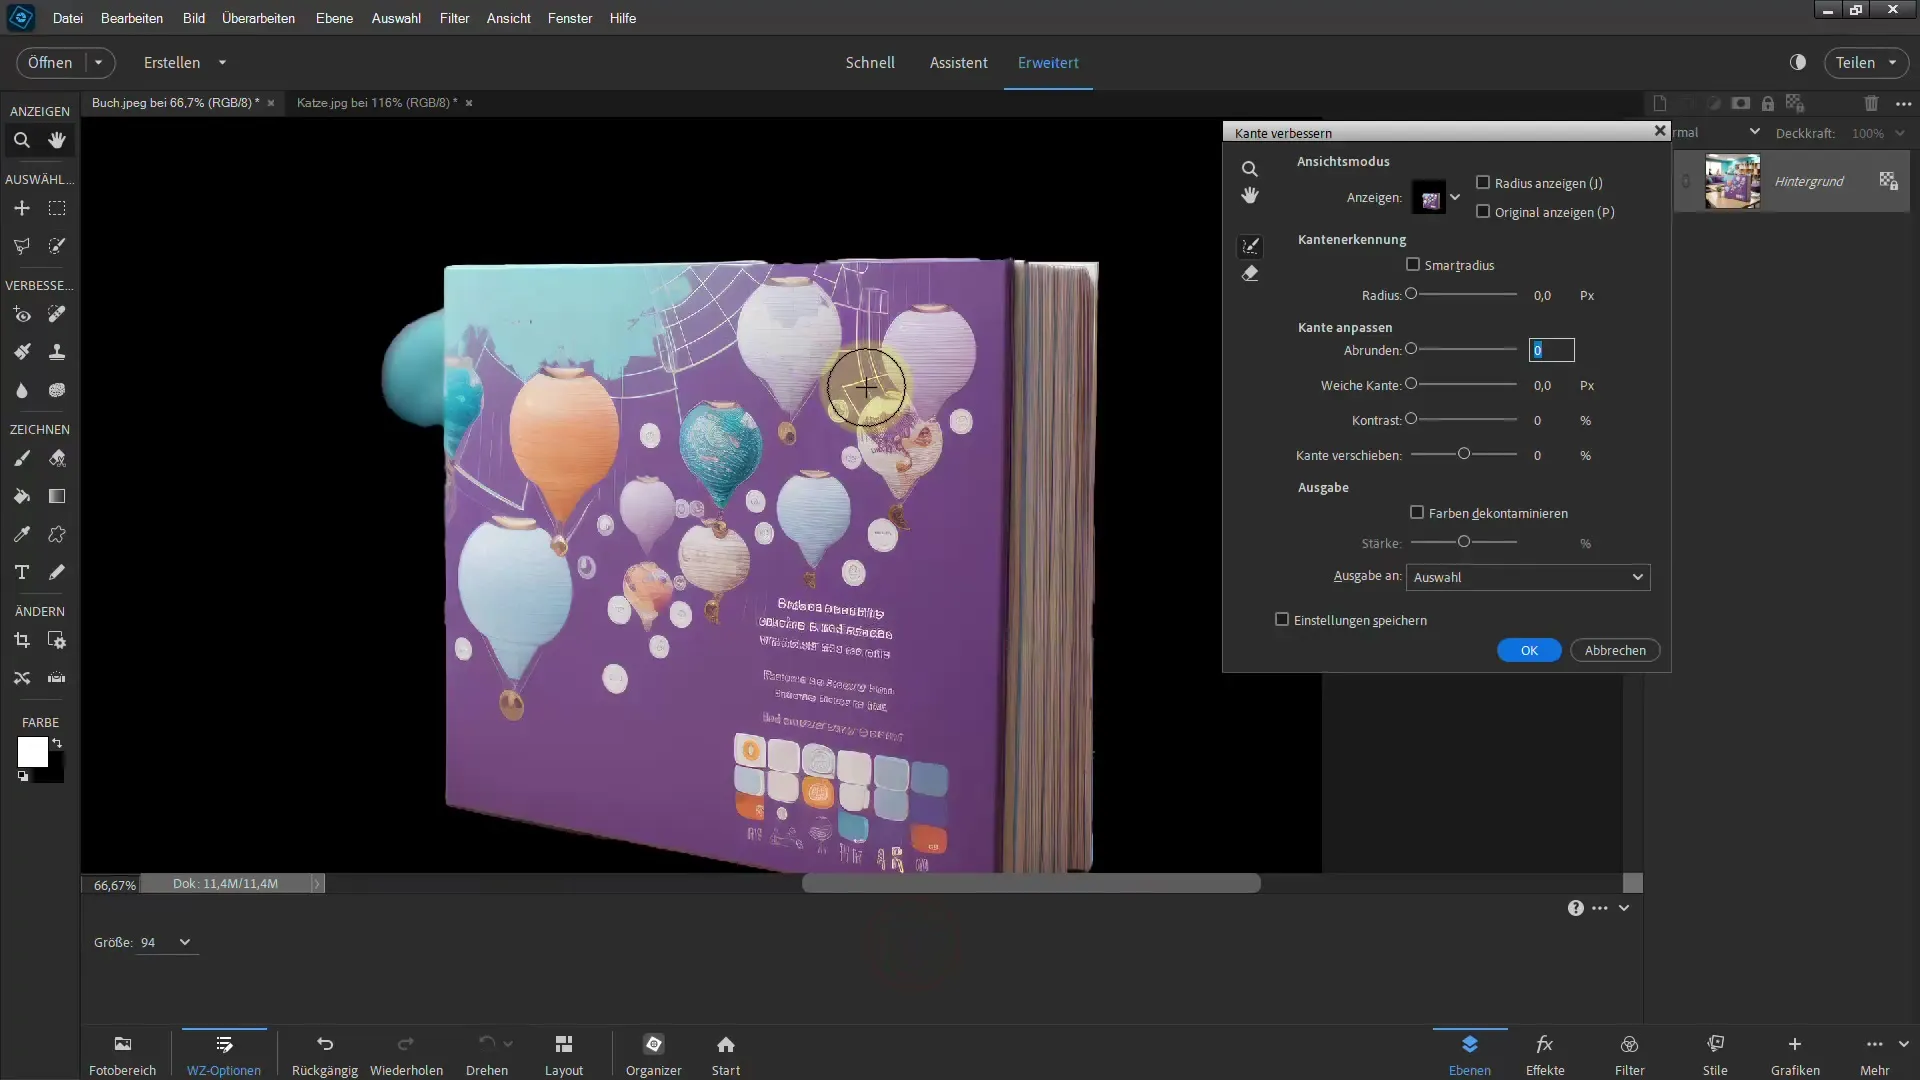
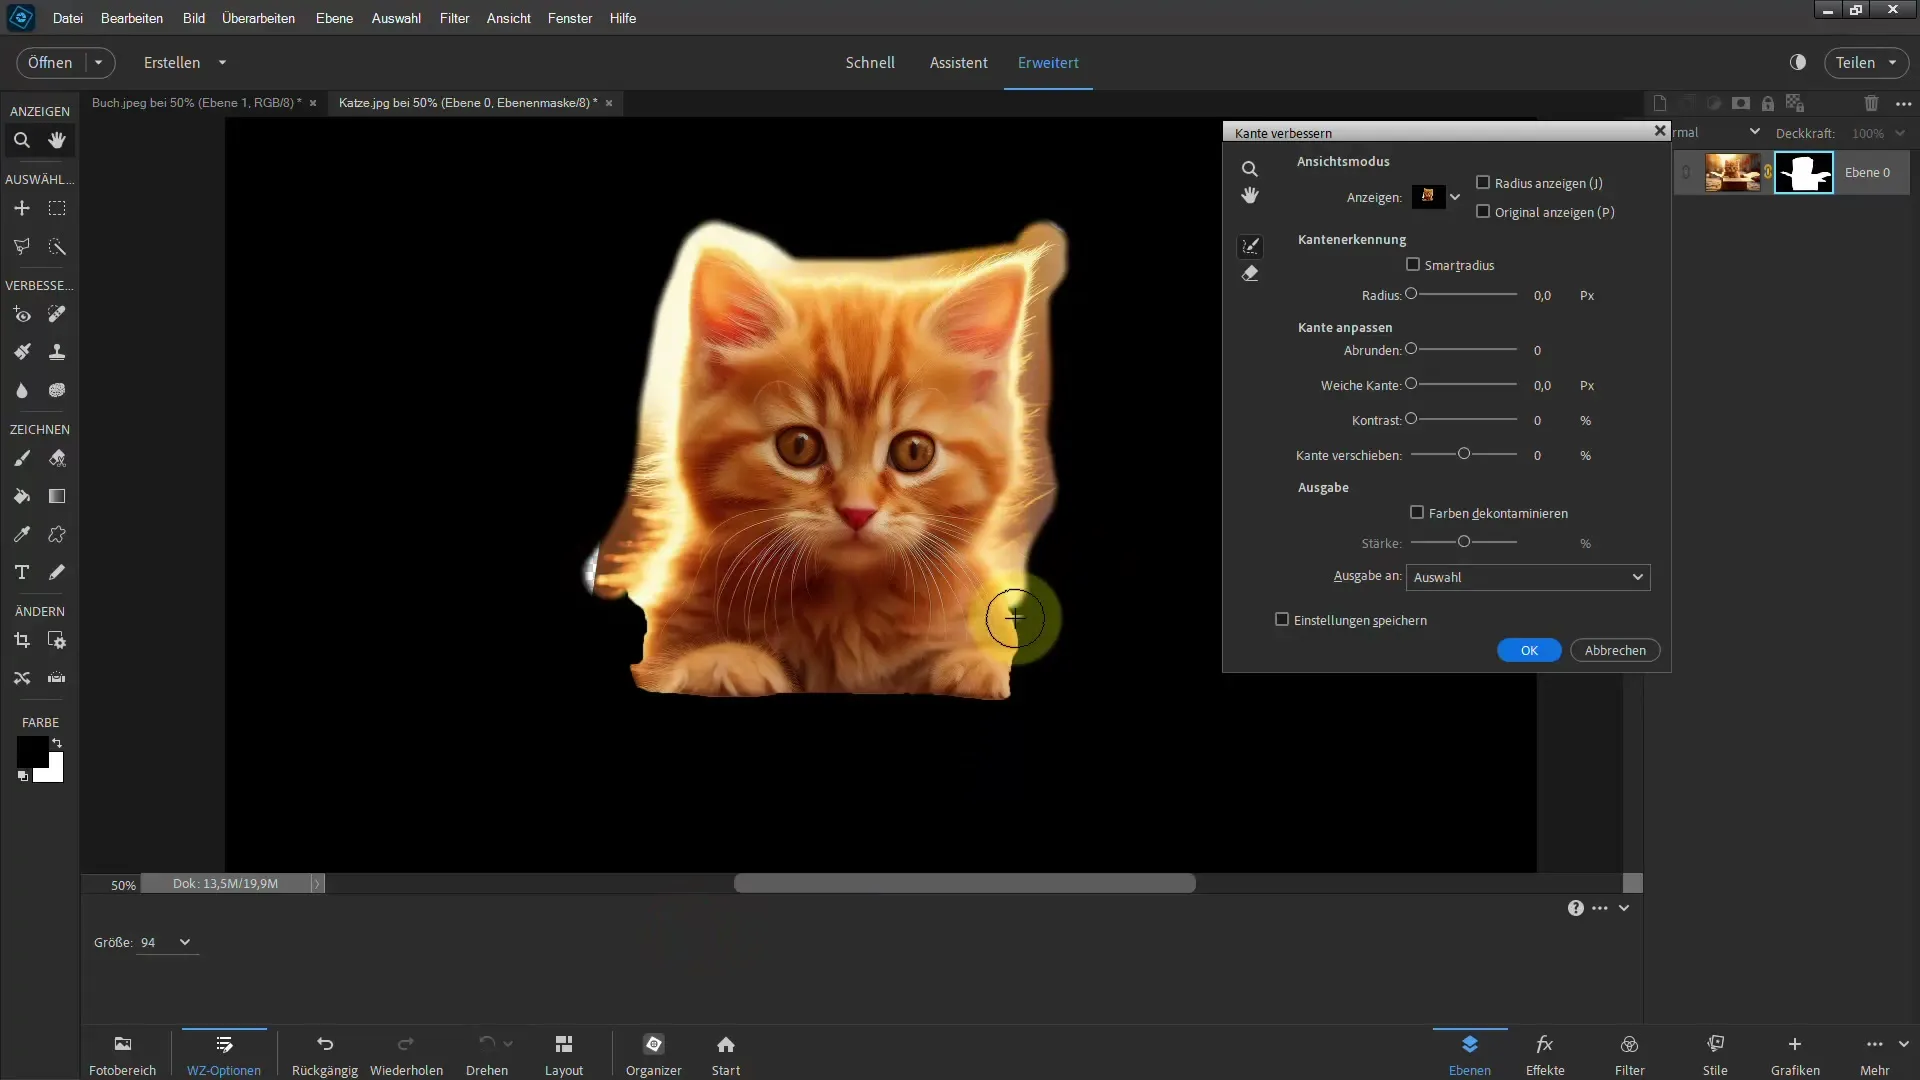
If you have made a rough selection and the cat's contours are not perfect, you can use the Quick Selection tool to make targeted adjustments. Simply select areas of the cat and then click on "Refine Edge" to make the selection more precise.
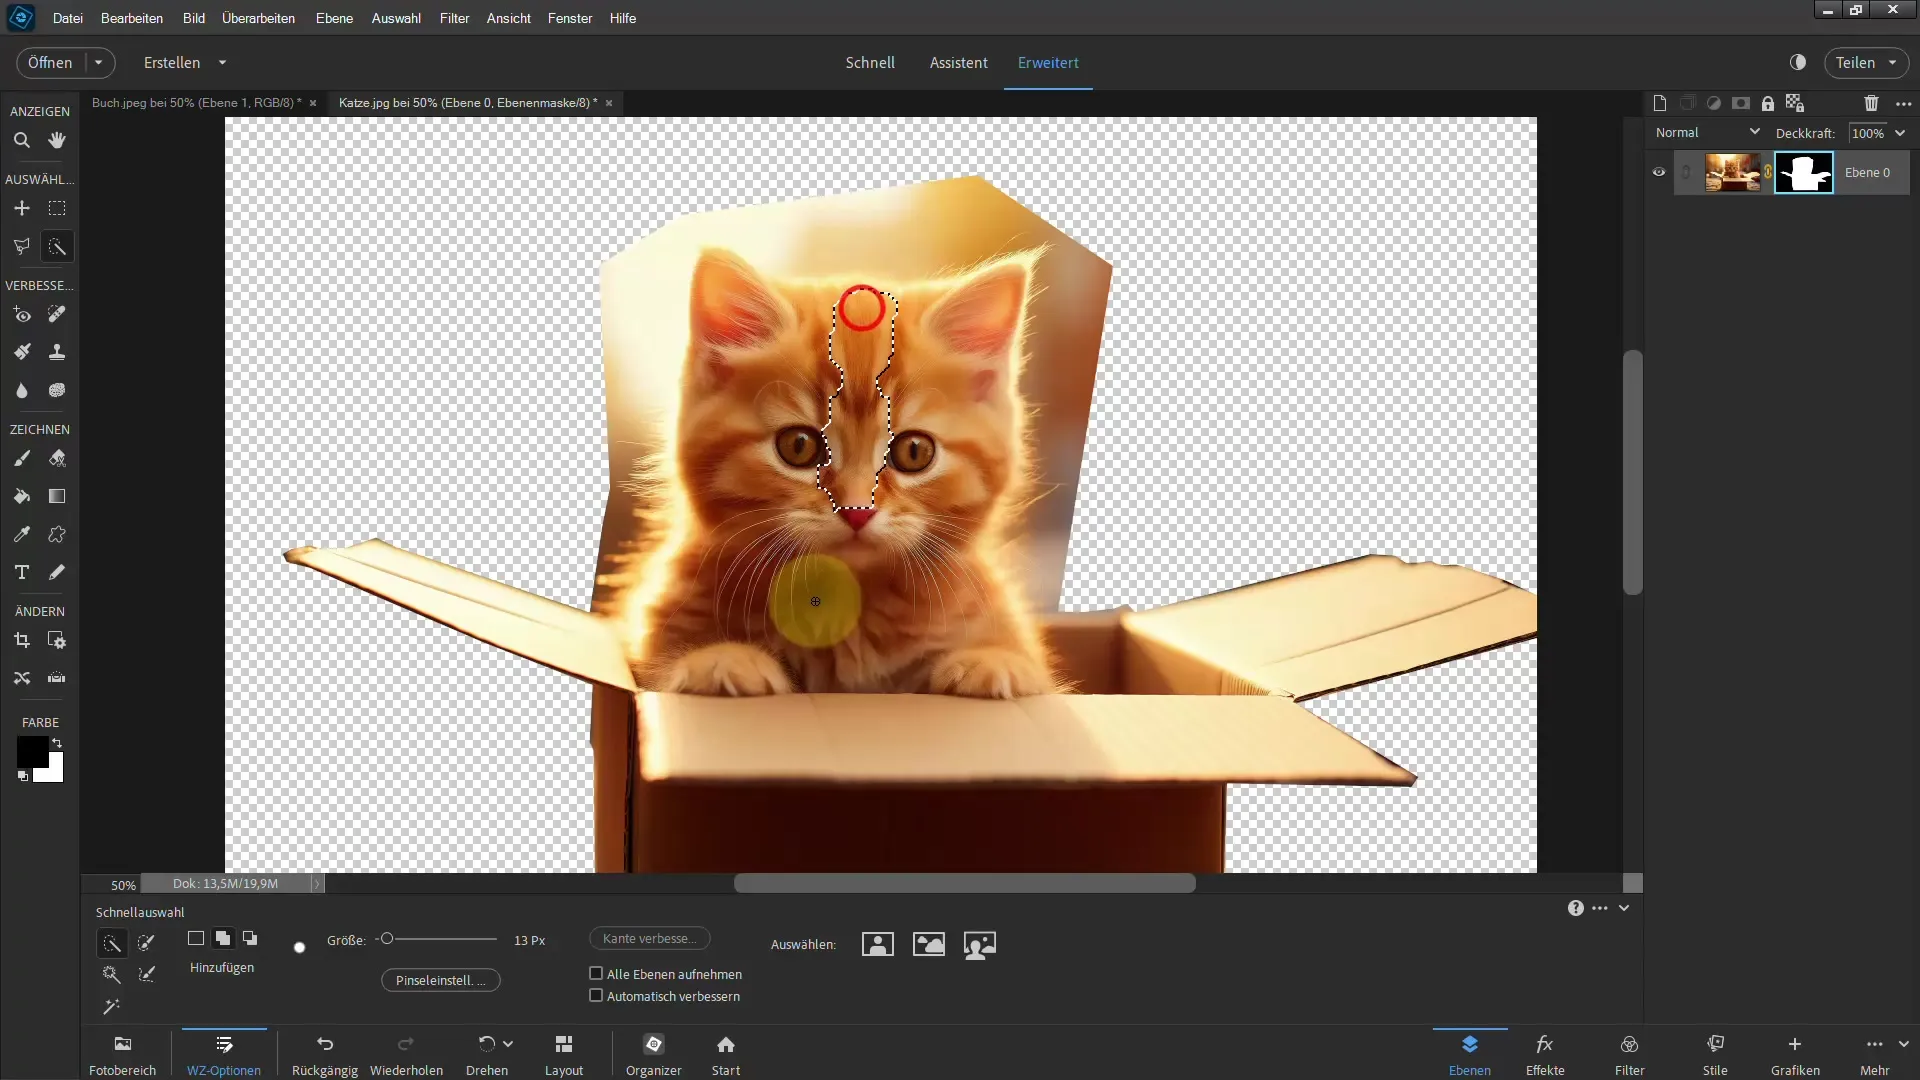
Here you can further refine the edges by adjusting the brush size and regularly checking if you have hit all the hairs or edges that were missed in your original selection.
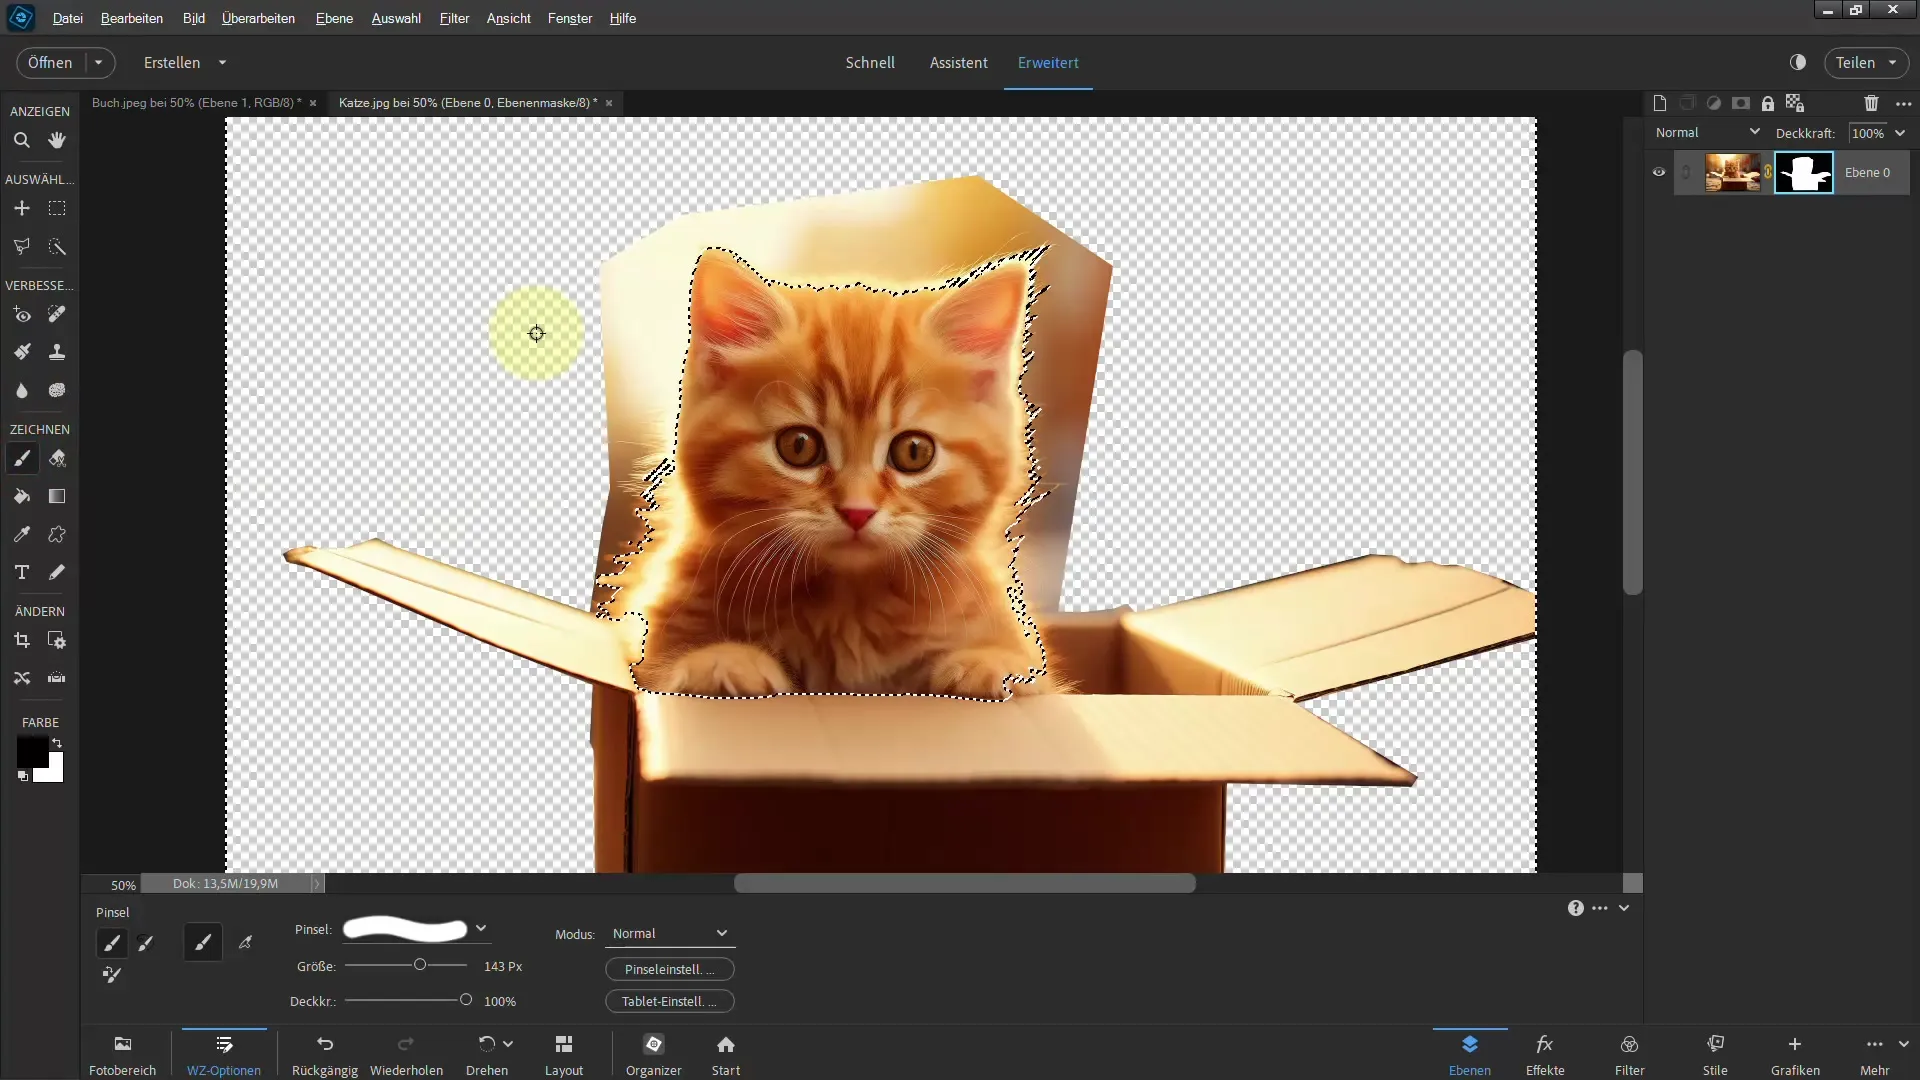
Now you can invert the selection by pressing "Control + Shift + I" and then use the normal brush tool to hide the unwanted areas. Remember to adjust the brush settings to achieve the best results.
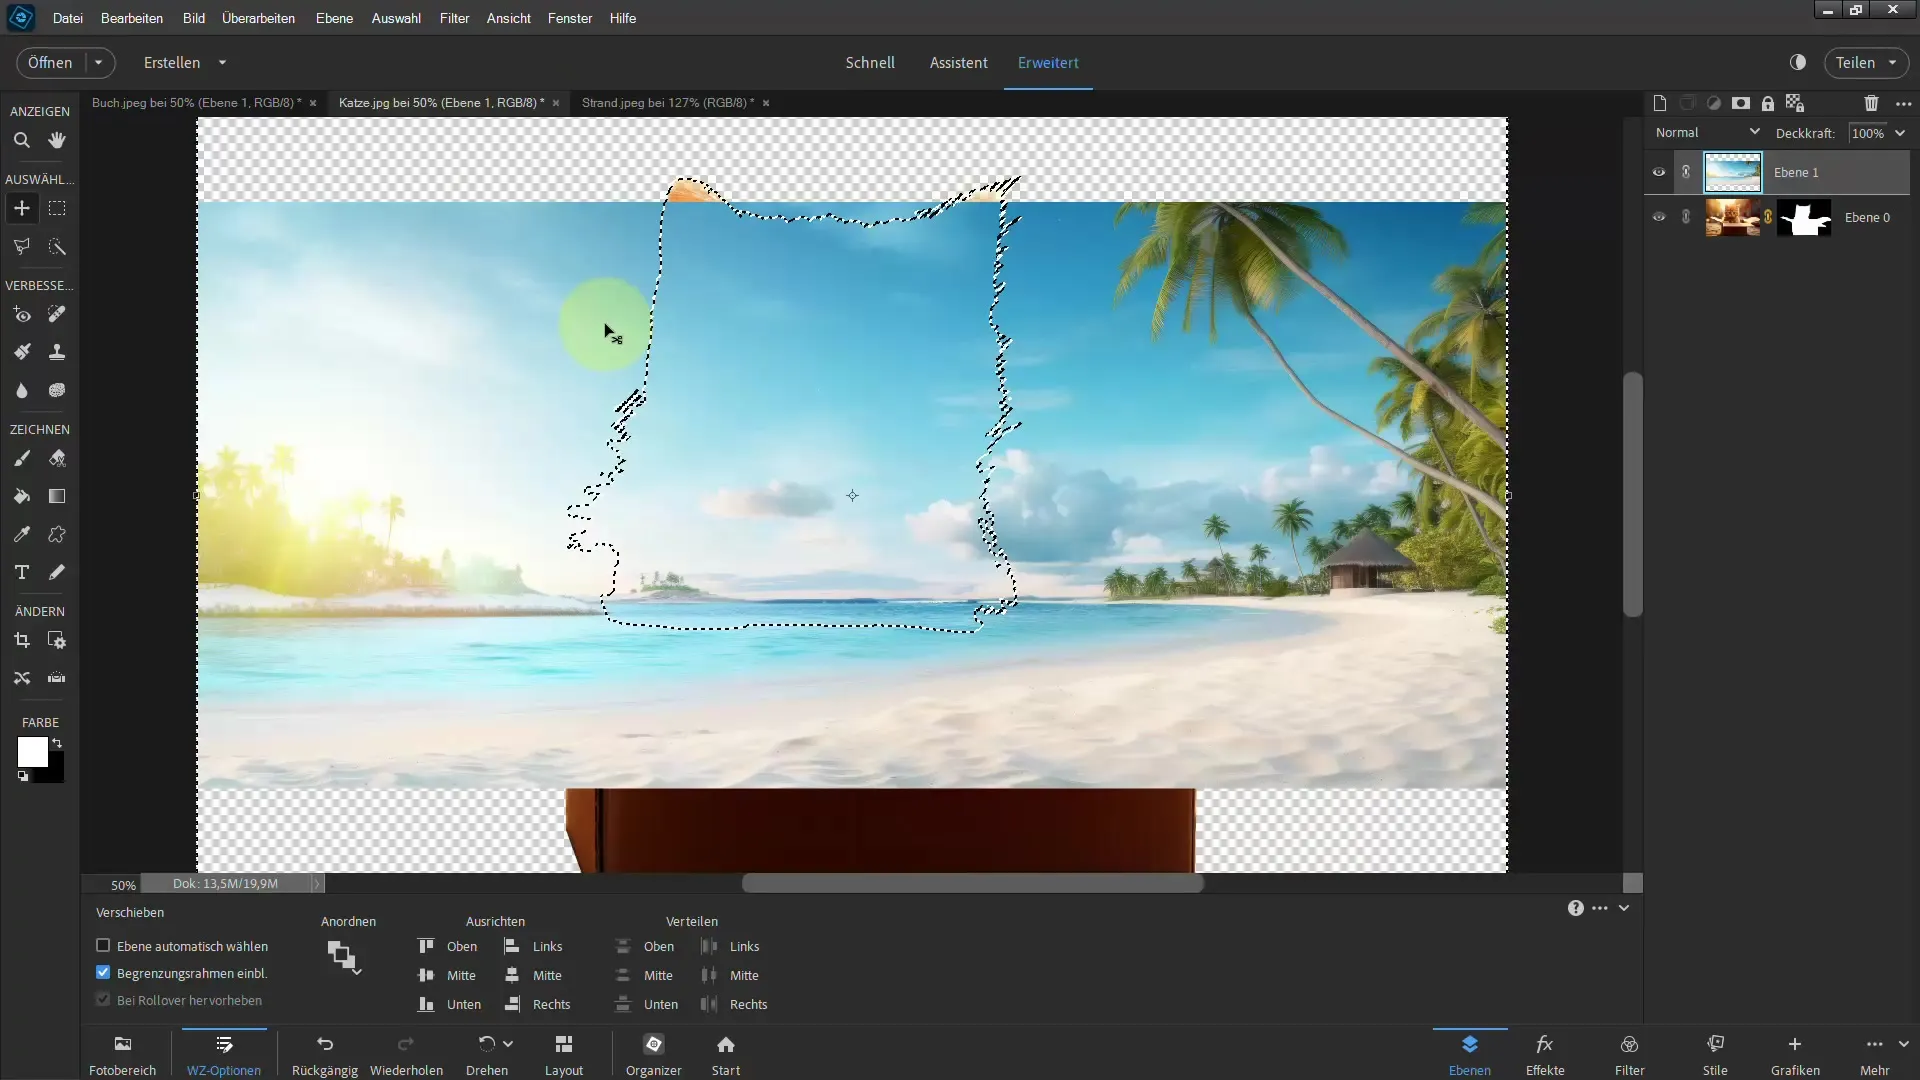
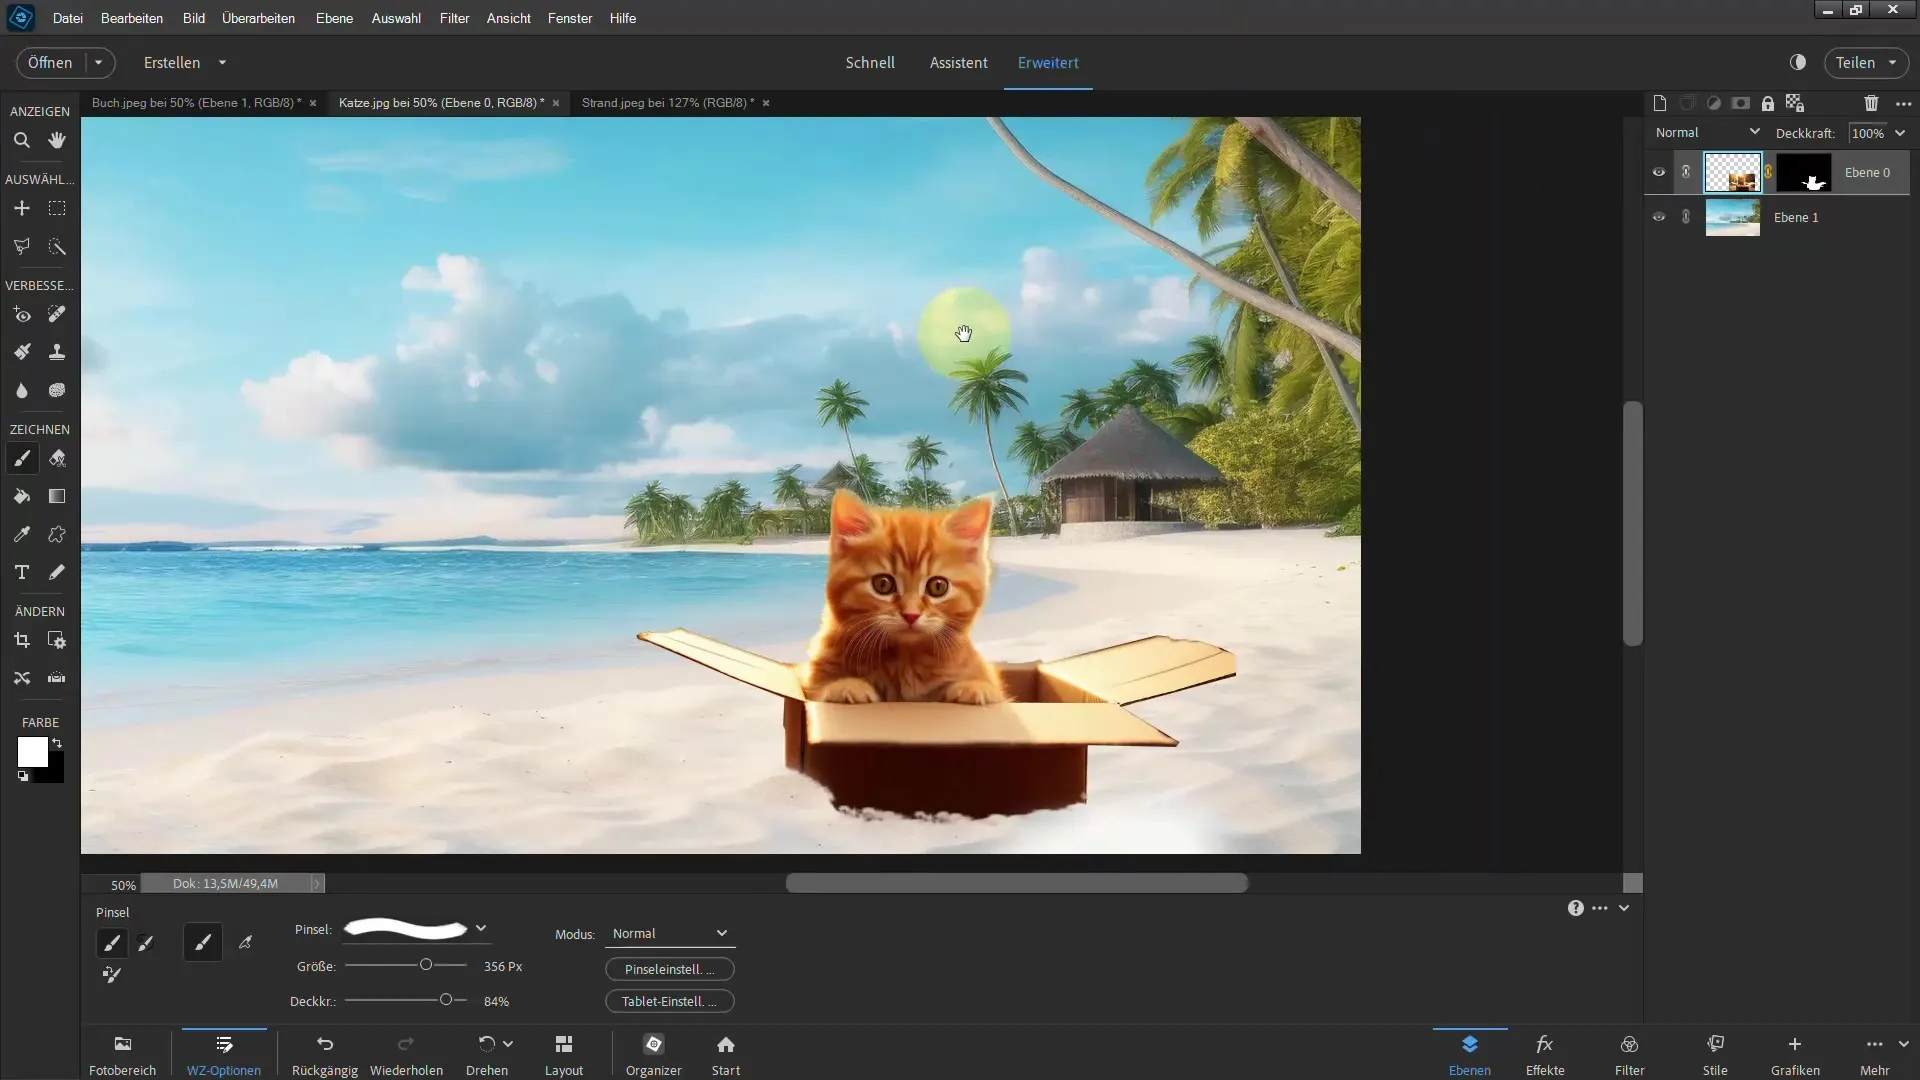
Once you have completed the clipping, you can add a comparative image to see your progress and improvements. Simply drag the new image onto your workspace and position it below the clipped cat. This will allow you to visually assess how successful your clipping has been.
You can still make minor adjustments during the process. Use a softer brush to soften the edges and make the transitions appear more natural. Adding shadows can also help make the clipped image look more realistic.
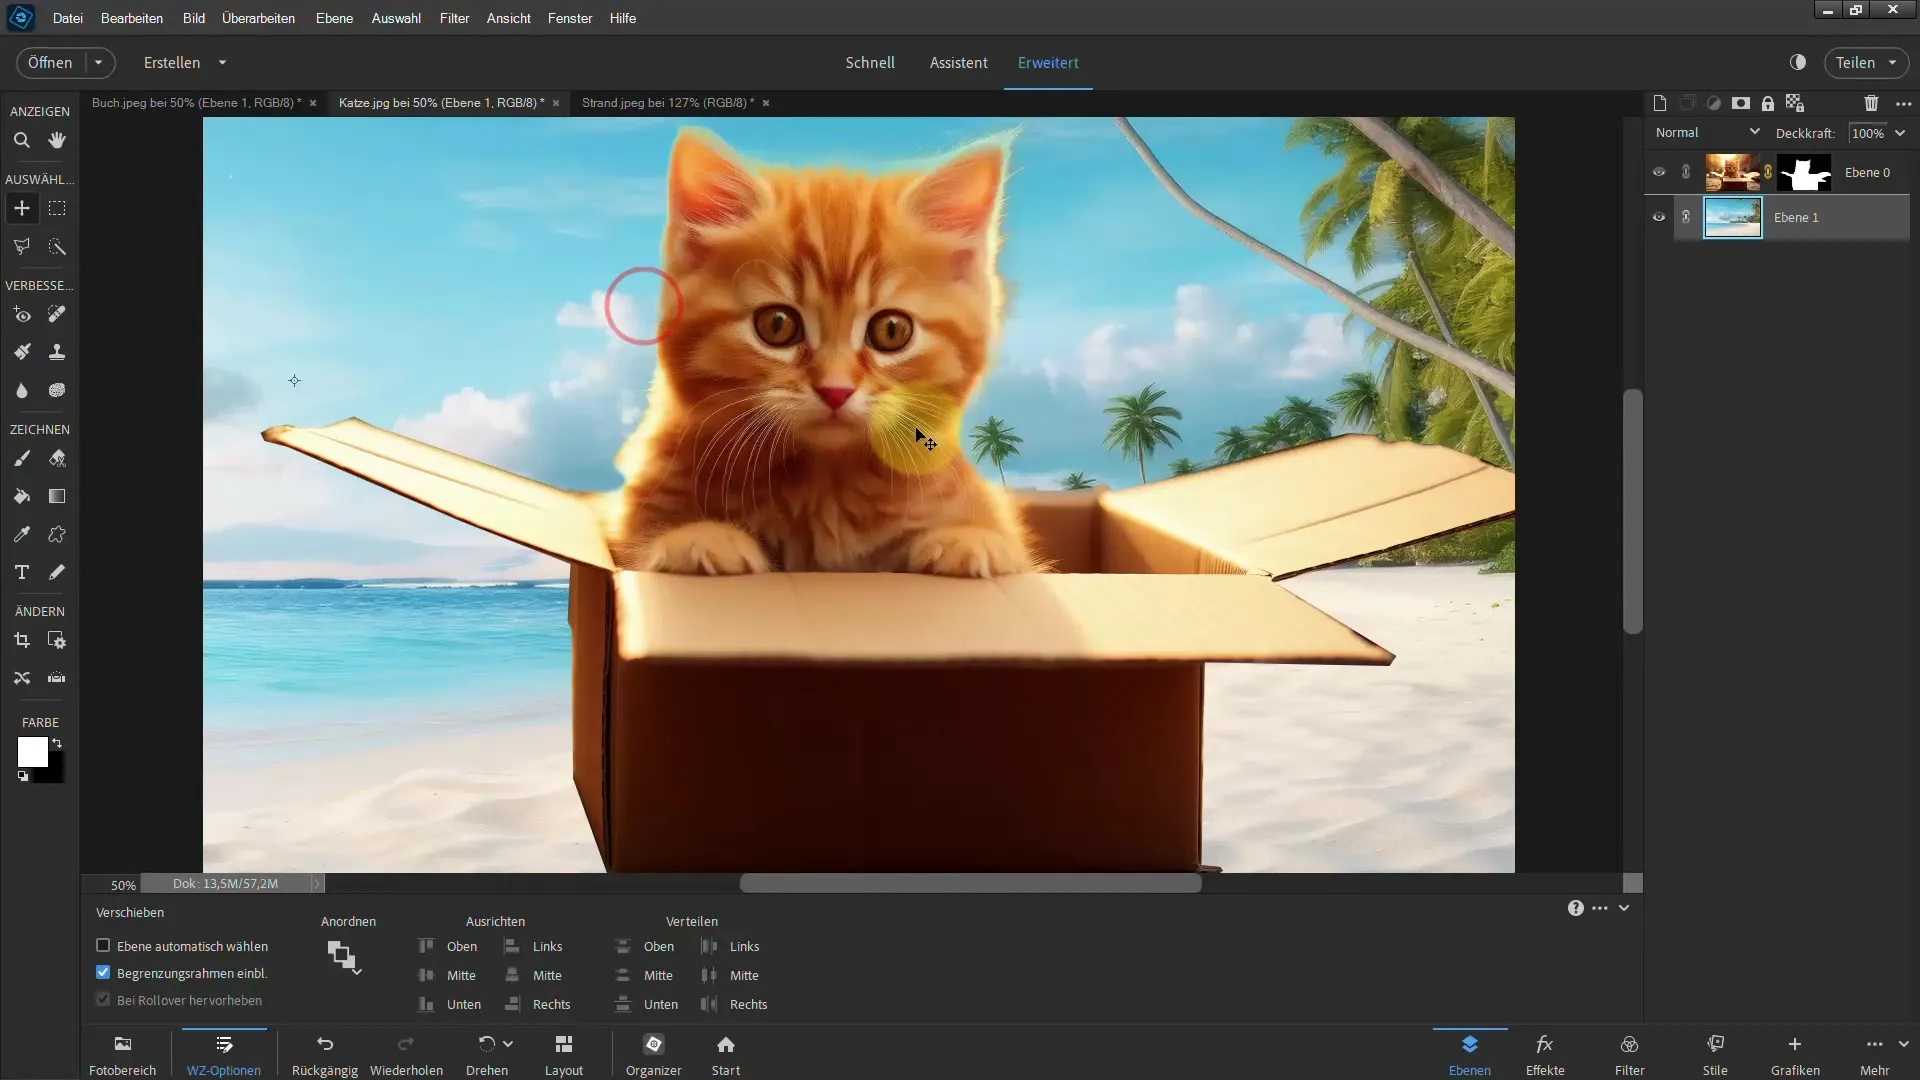
If you wish, you can experiment by applying different brush and masking techniques to optimize the look. Make sure to adjust the size and structure of the brush correctly for a smooth and consistent color gradient.
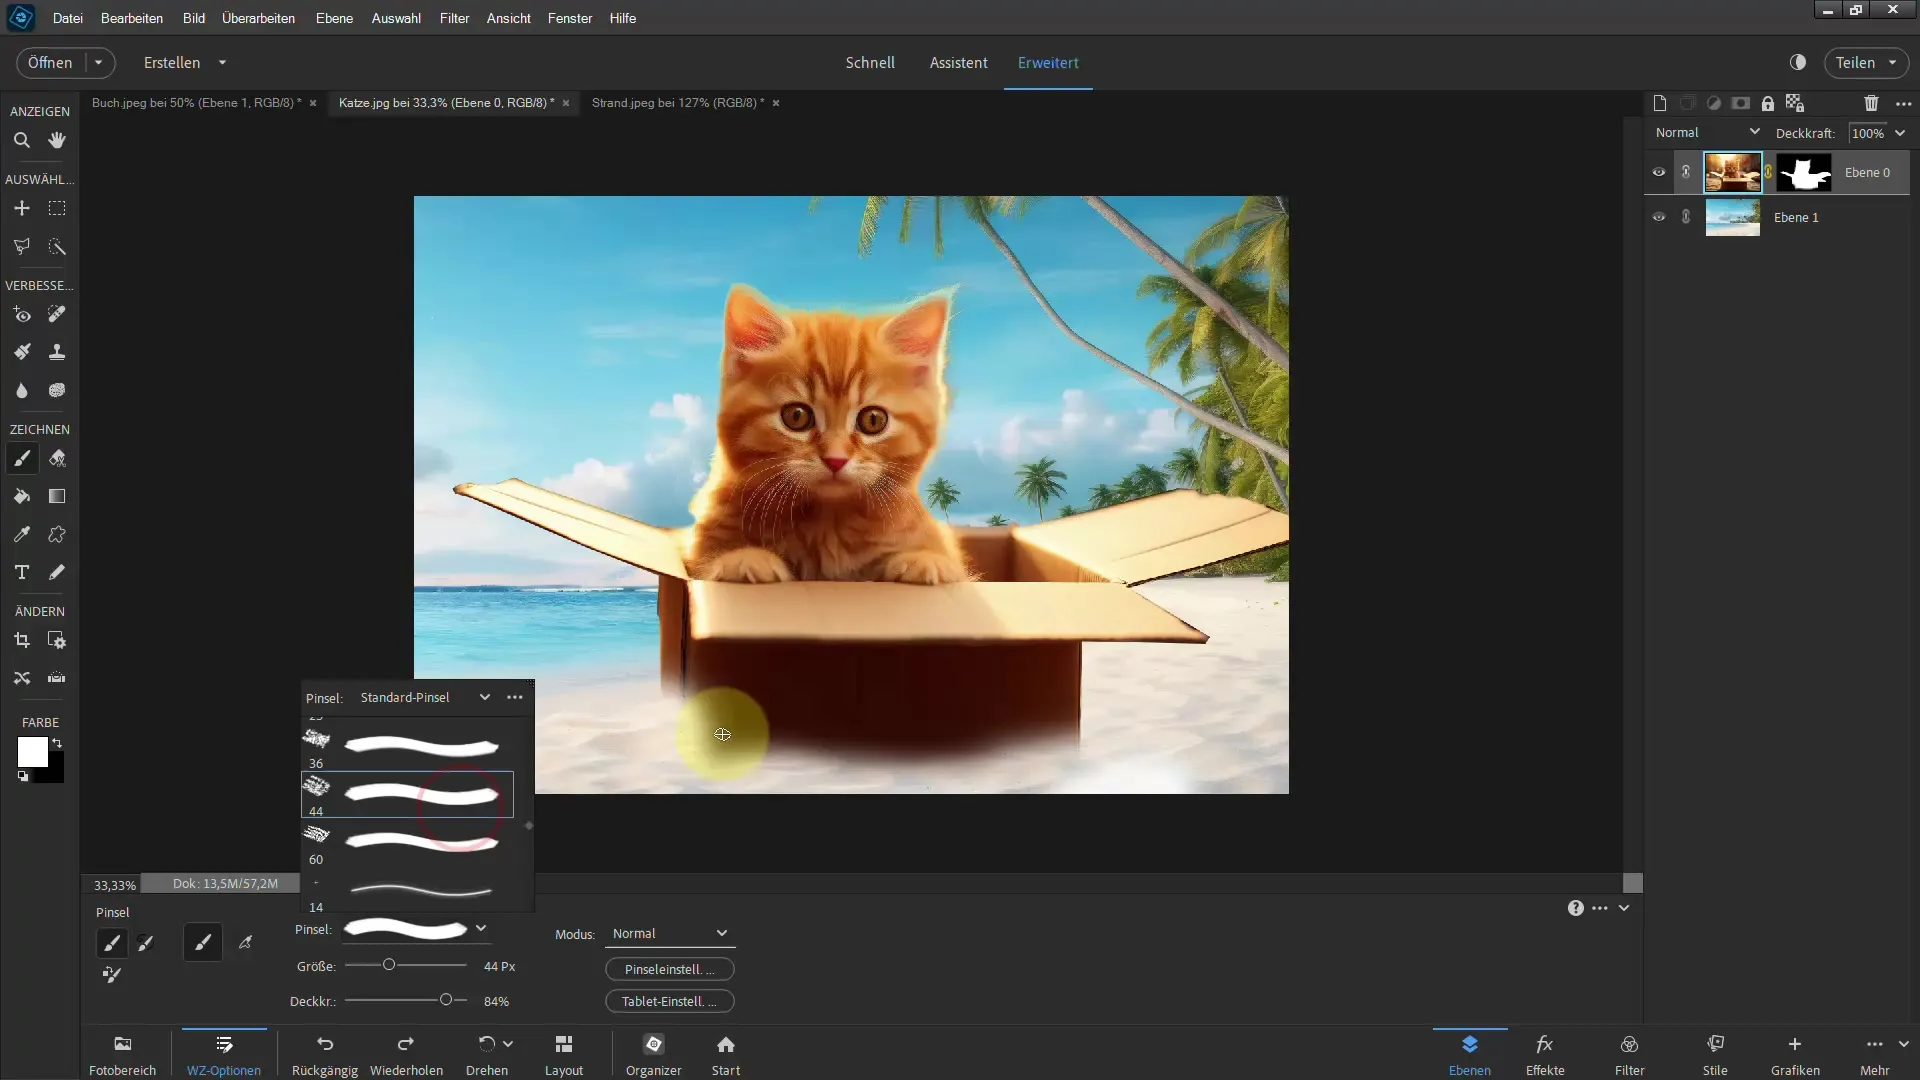
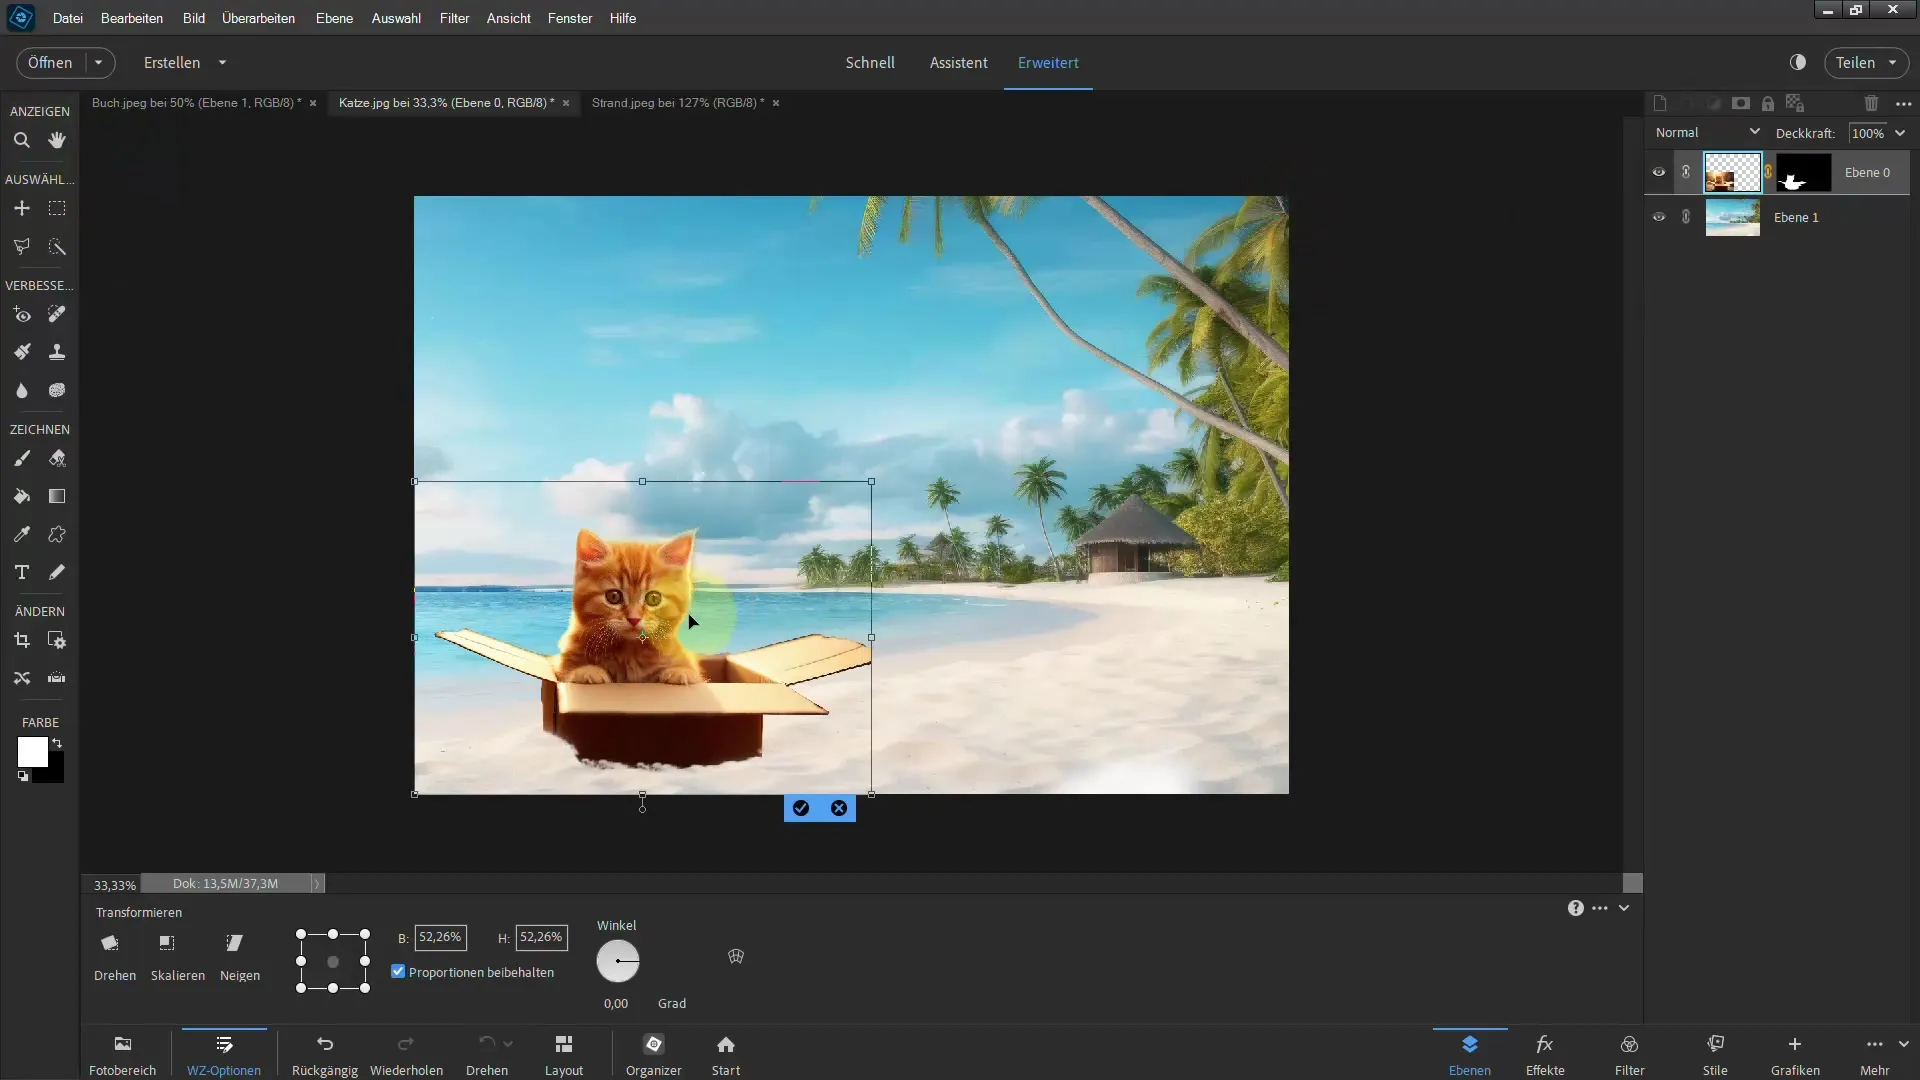
Remember that you can also adjust the overall size of your image to fit it optimally into the desired layout. Use the control key along with the shortcut "T" to resize the object and improve the composition.
With a little practice, you will soon be able to clip not only straight edges but also complex shapes effectively. The polygon lasso is a versatile tool that helps you unleash your creativity fully in your projects.
Summary – Easily clip straight objects with the polygon lasso
In this tutorial, you've learned how to effectively use the polygon lasso for clipping straight objects. By using color selection correctly, improving edges, and handling your brush, you have the ability to optimize your clippings and make the most out of your images.
FAQ
How can I activate the polygon lasso?Simply press the 'L' key on your keyboard.
What should I do if I make a mistake?Press the backspace key to undo the last click.
How can I check my clipping?Create a new background layer to assess the quality of the clipping.
Can I also clip complex shapes?Yes, the polygon lasso can also be combined with the quick selection tool to better select complex shapes.
How do I optimize the edges of my selection?Use the "Refine Edge" tool to refine your selection.


