Isolating trees in Photoshop Elements can be a significant challenge, especially for beginners. Many small branches and leaves as well as color fringes make the image editing project not exactly easy. In this guide, I will introduce you to some proven techniques for successfully isolating trees. These techniques are not only suitable for trees, but can also be applied to other subjects. Let's explore the best approaches together.
To effectively isolate trees, the use of old tools like the magic wand and special image editing techniques is crucial. With the right method, isolating becomes an easy task, and the results obtained can be very photorealistic.
Step-by-Step Guide
1. Select Image
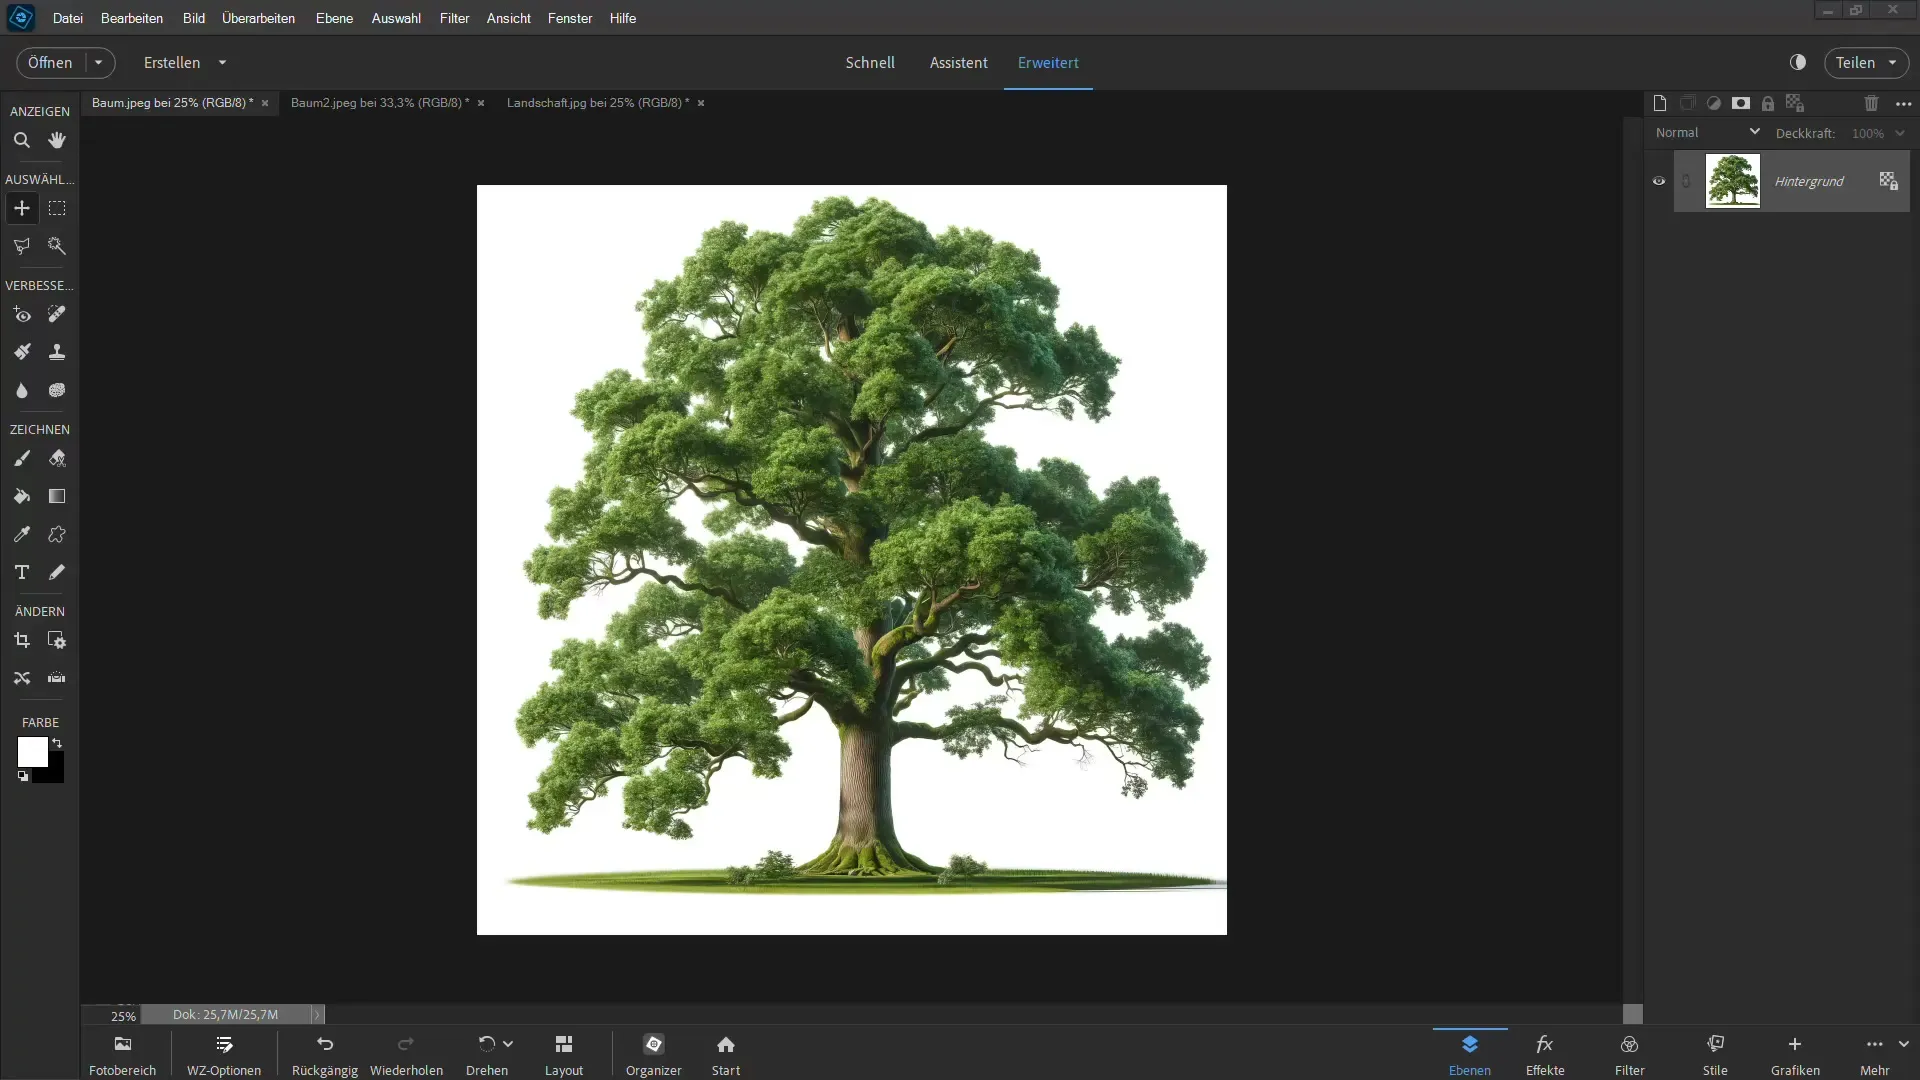
The first step is to select the image you want to isolate. Make sure that the background is either plain or not too complex. Such a background greatly facilitates the isolation process.
2. Use the Magic Wand
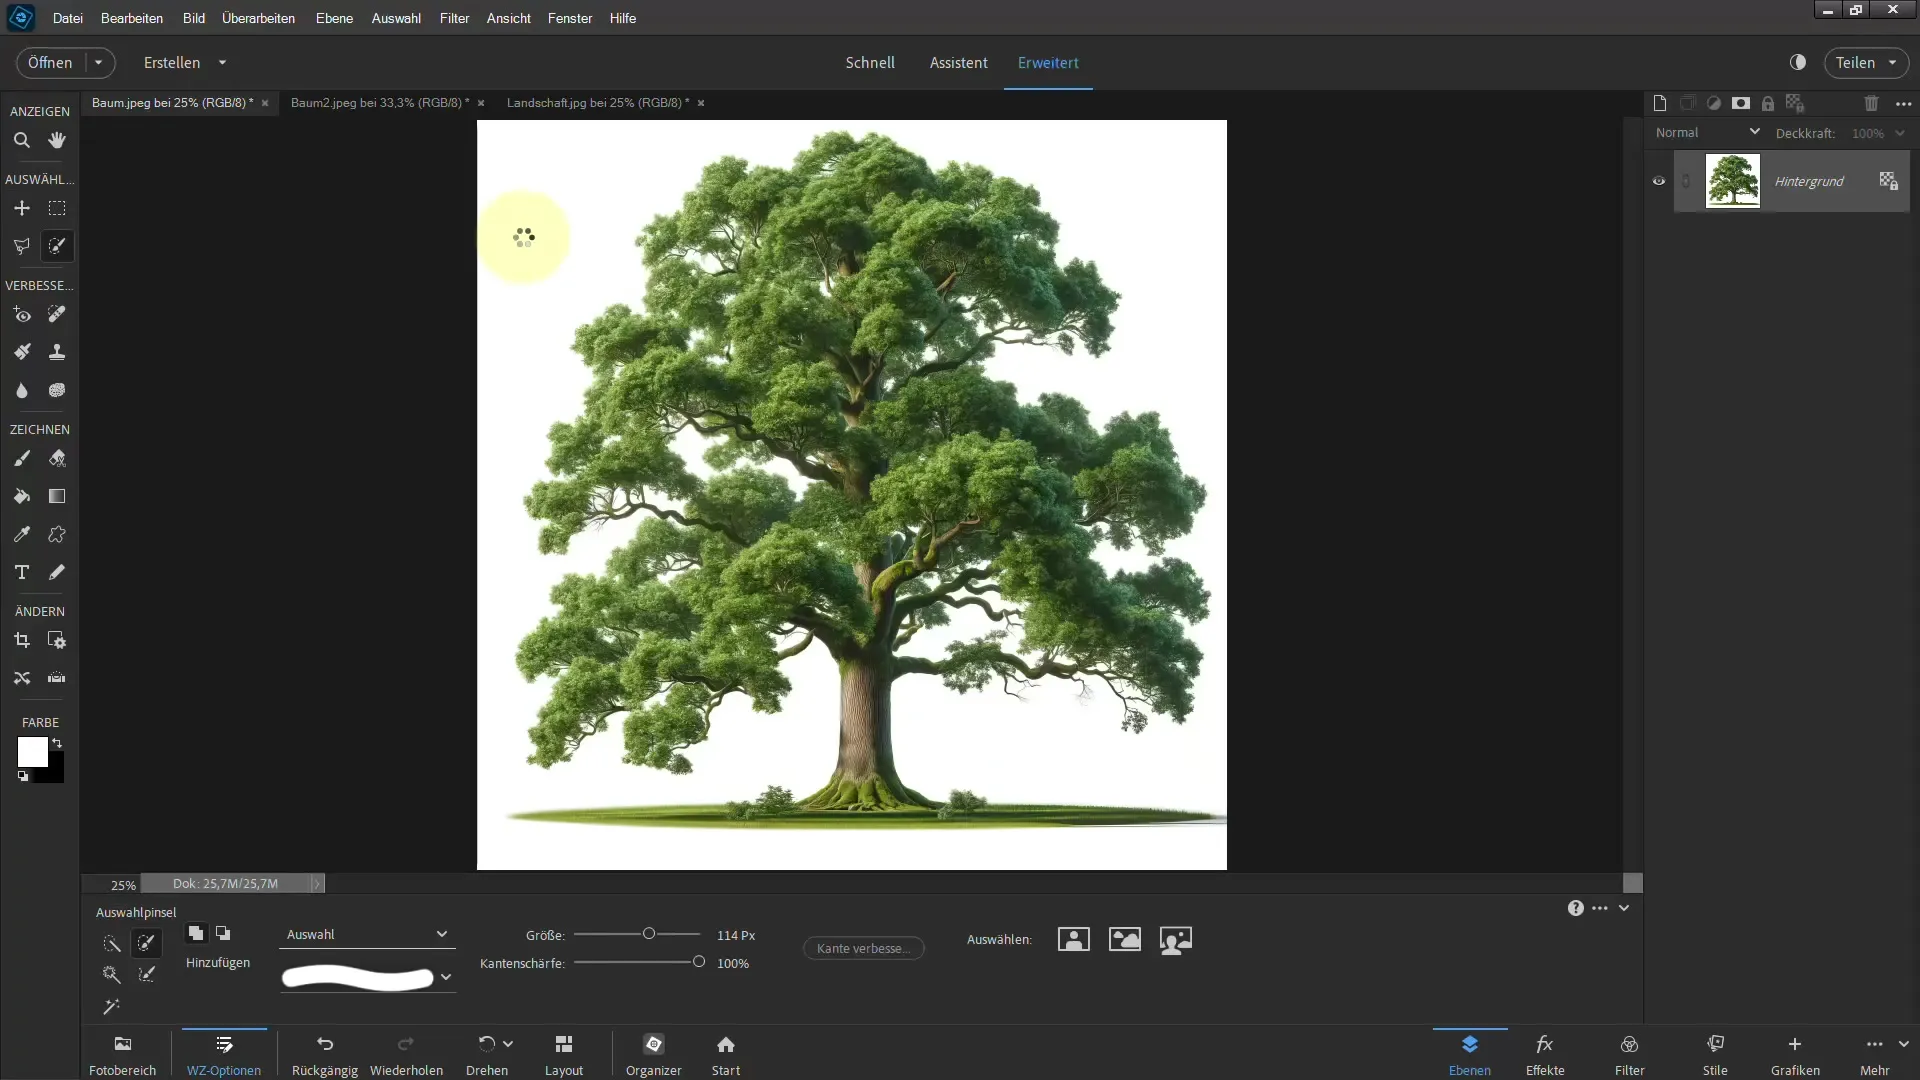
The magic wand is an excellent tool that you should try first. Select the magic wand tool and set the tolerance to a value of about 50. Then click on the plain background area to select it. If you easily select the background, this step will be much easier.
3. Add Layer Mask
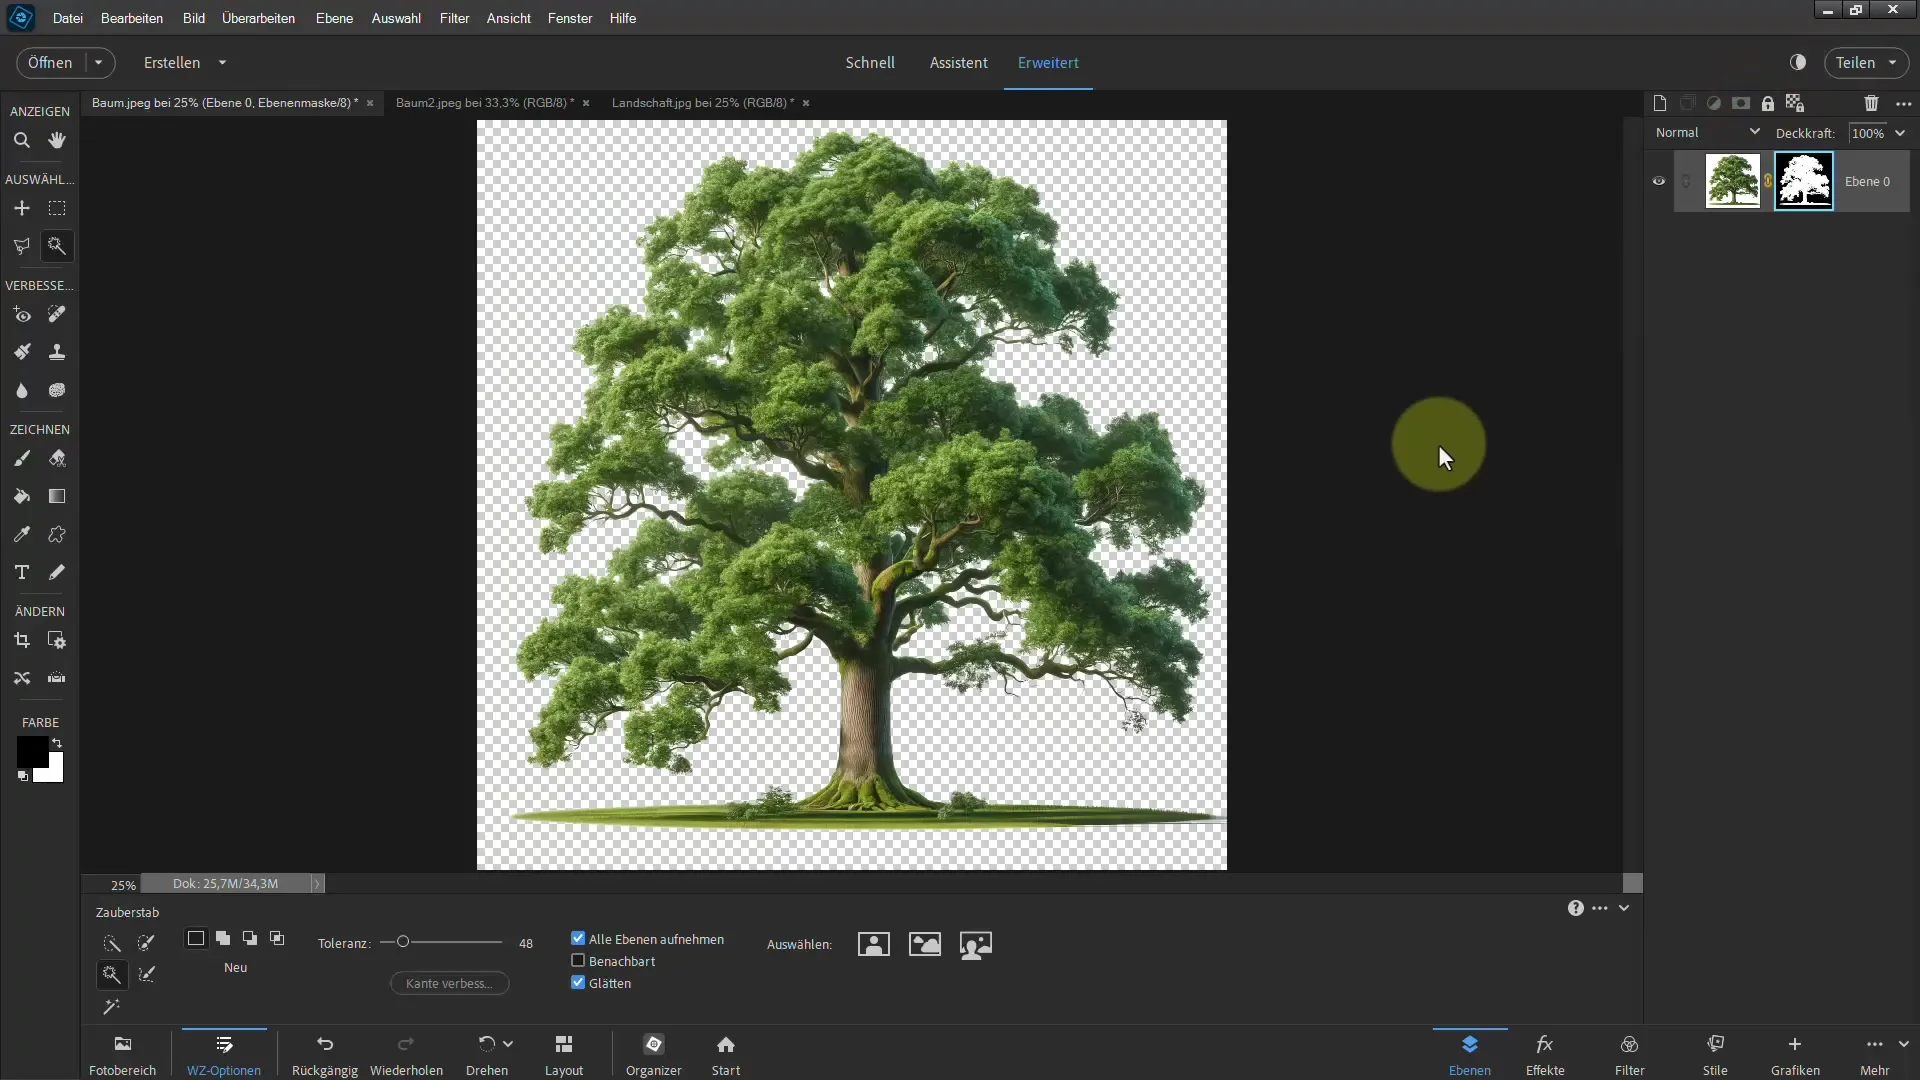
Once you have selected the background, you can add a layer mask. Go to "Layer" > "New Mask Layer." To reverse the selection and make only the tree visible, press the Ctrl + E keys.
4. Check the Selection
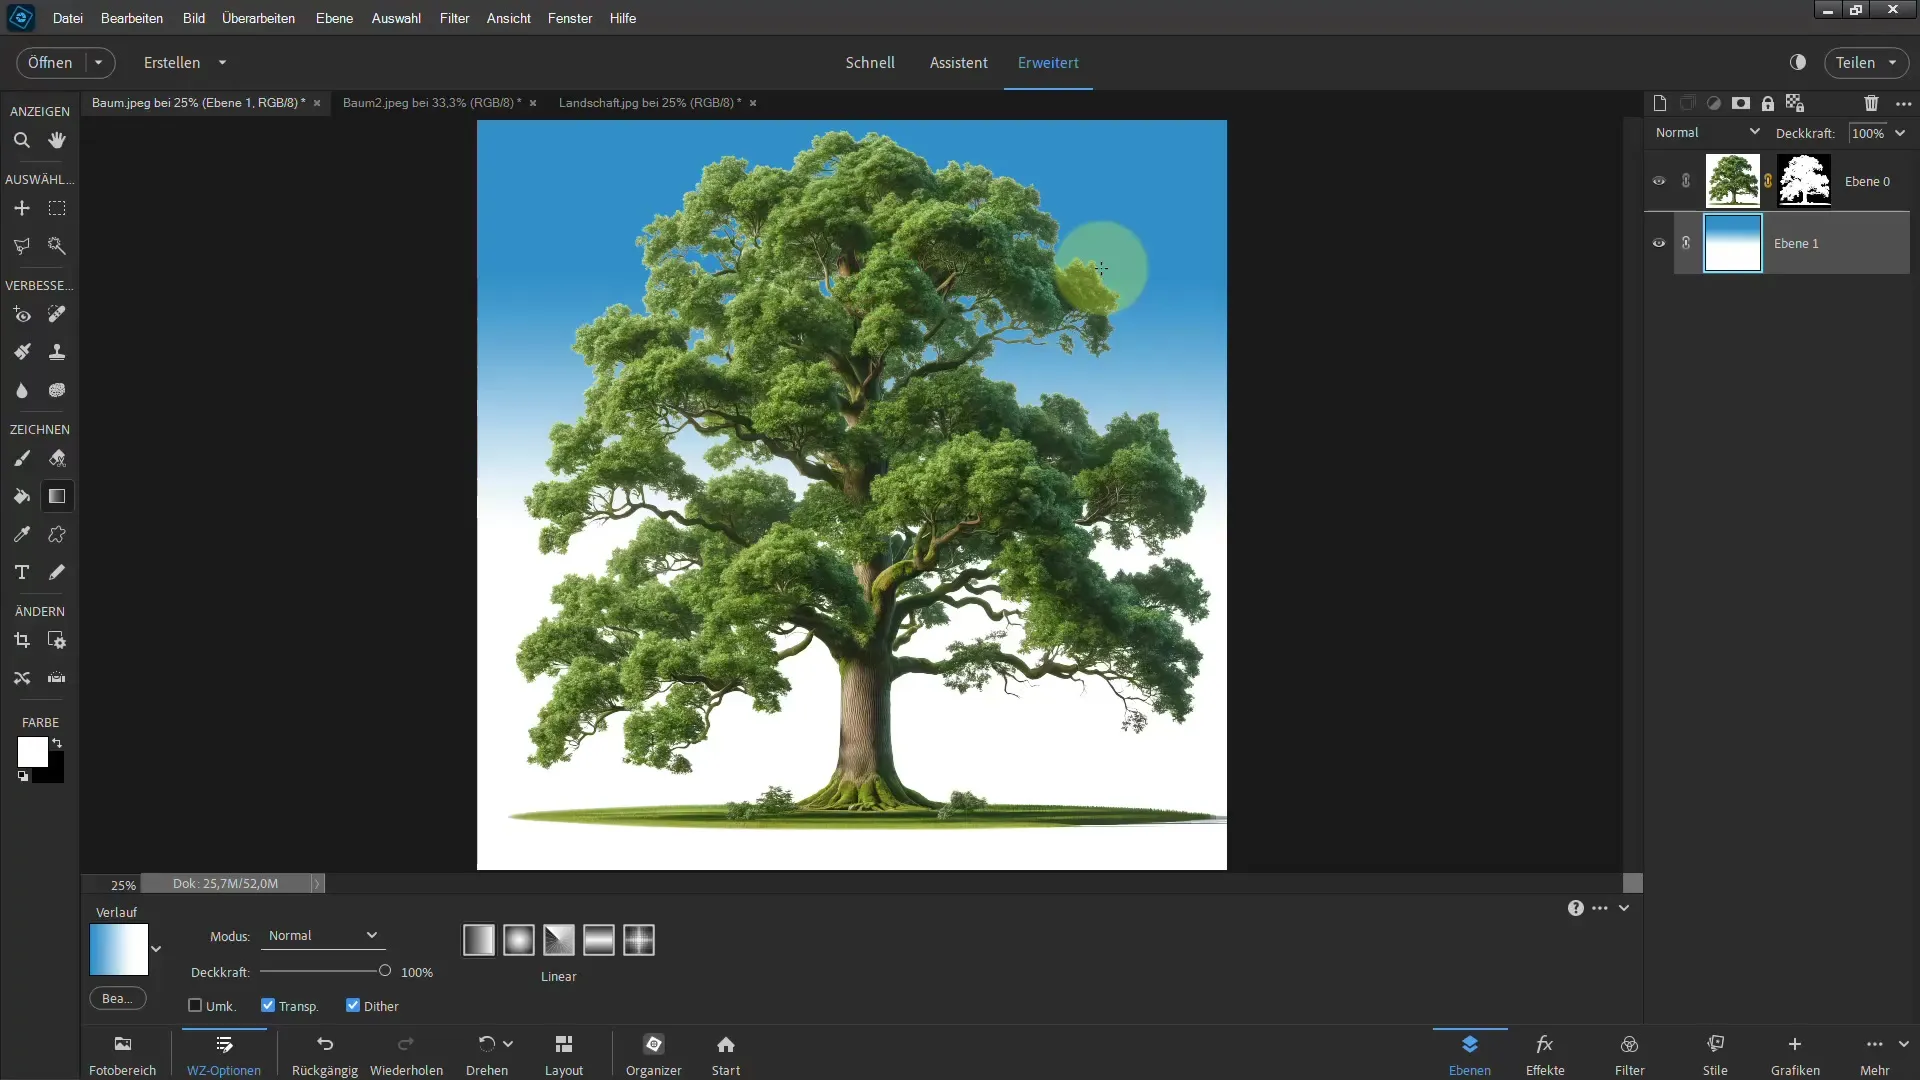
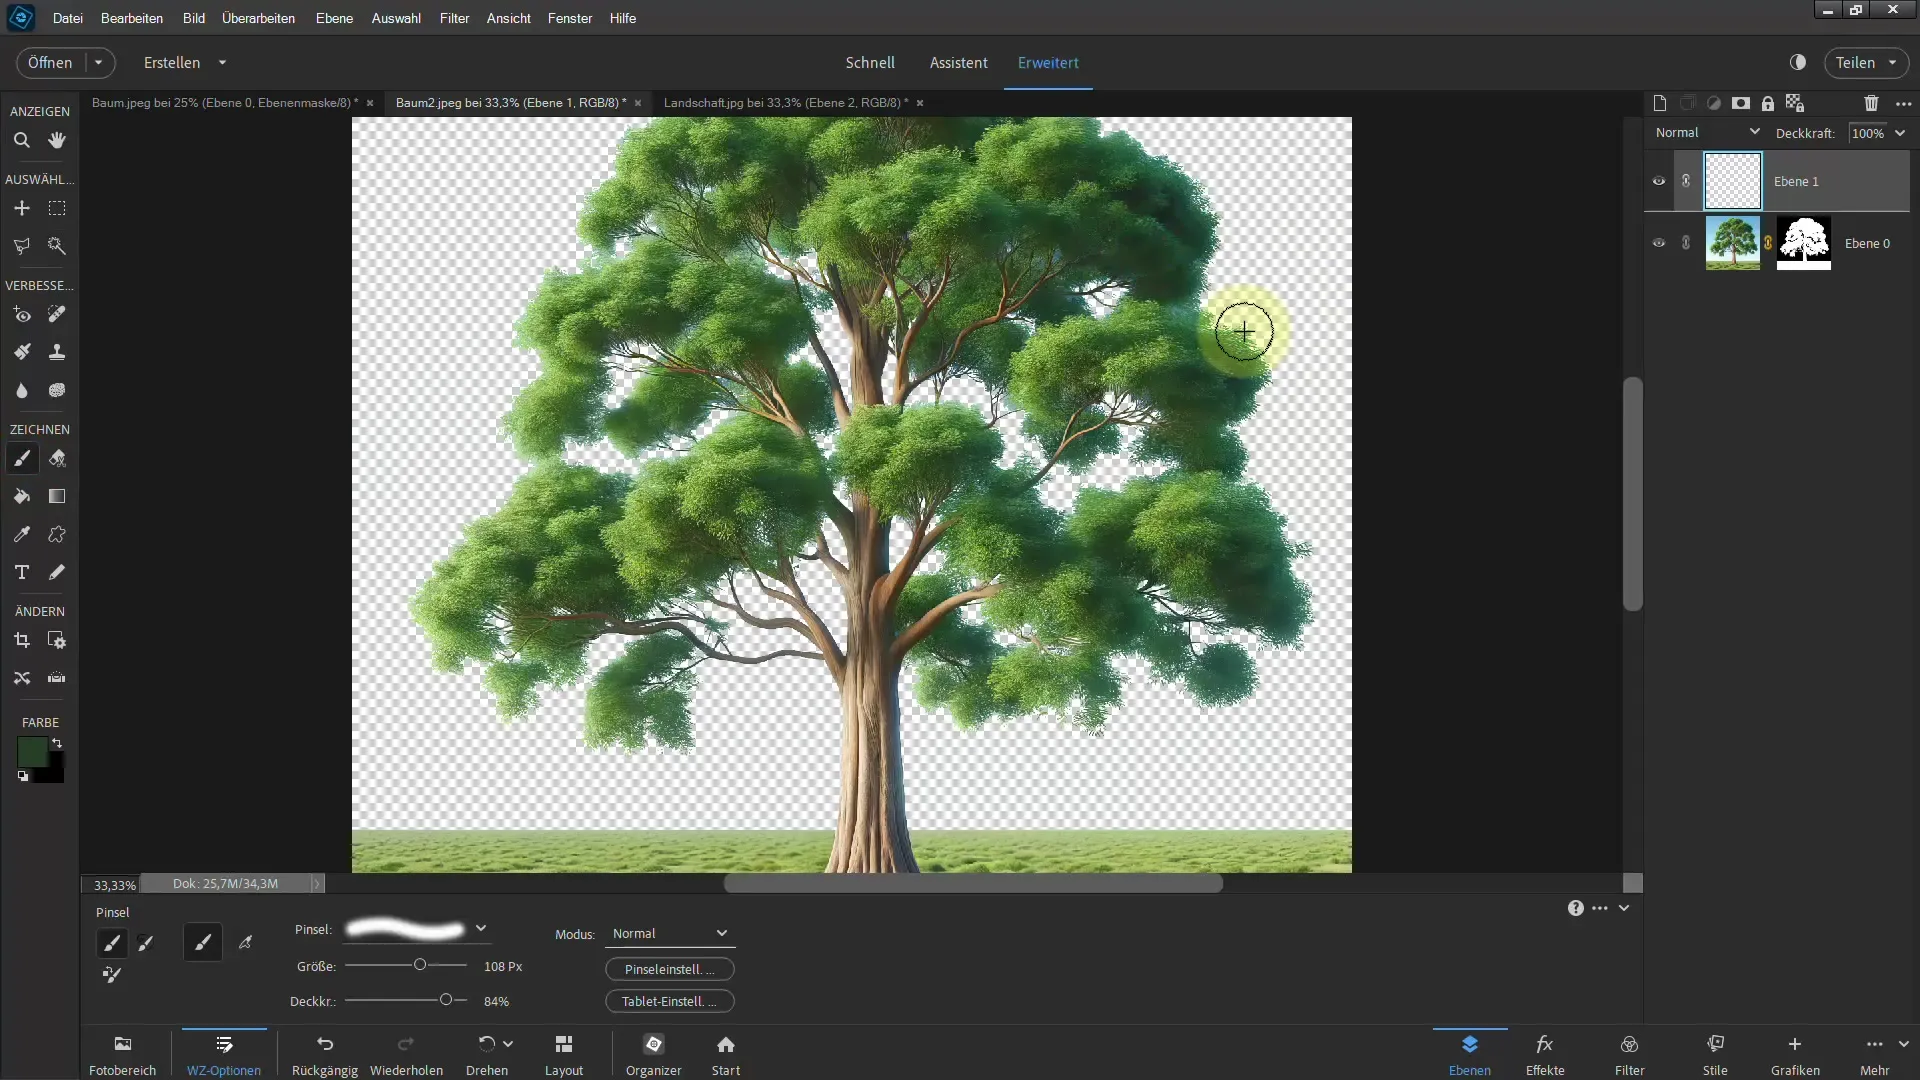
To check if the tree has been properly isolated, you can create a new layer and draw a gradient behind the tree. This way, you can quickly see if there are any unwanted backgrounds remaining.
5. Transfer to Your Main Image
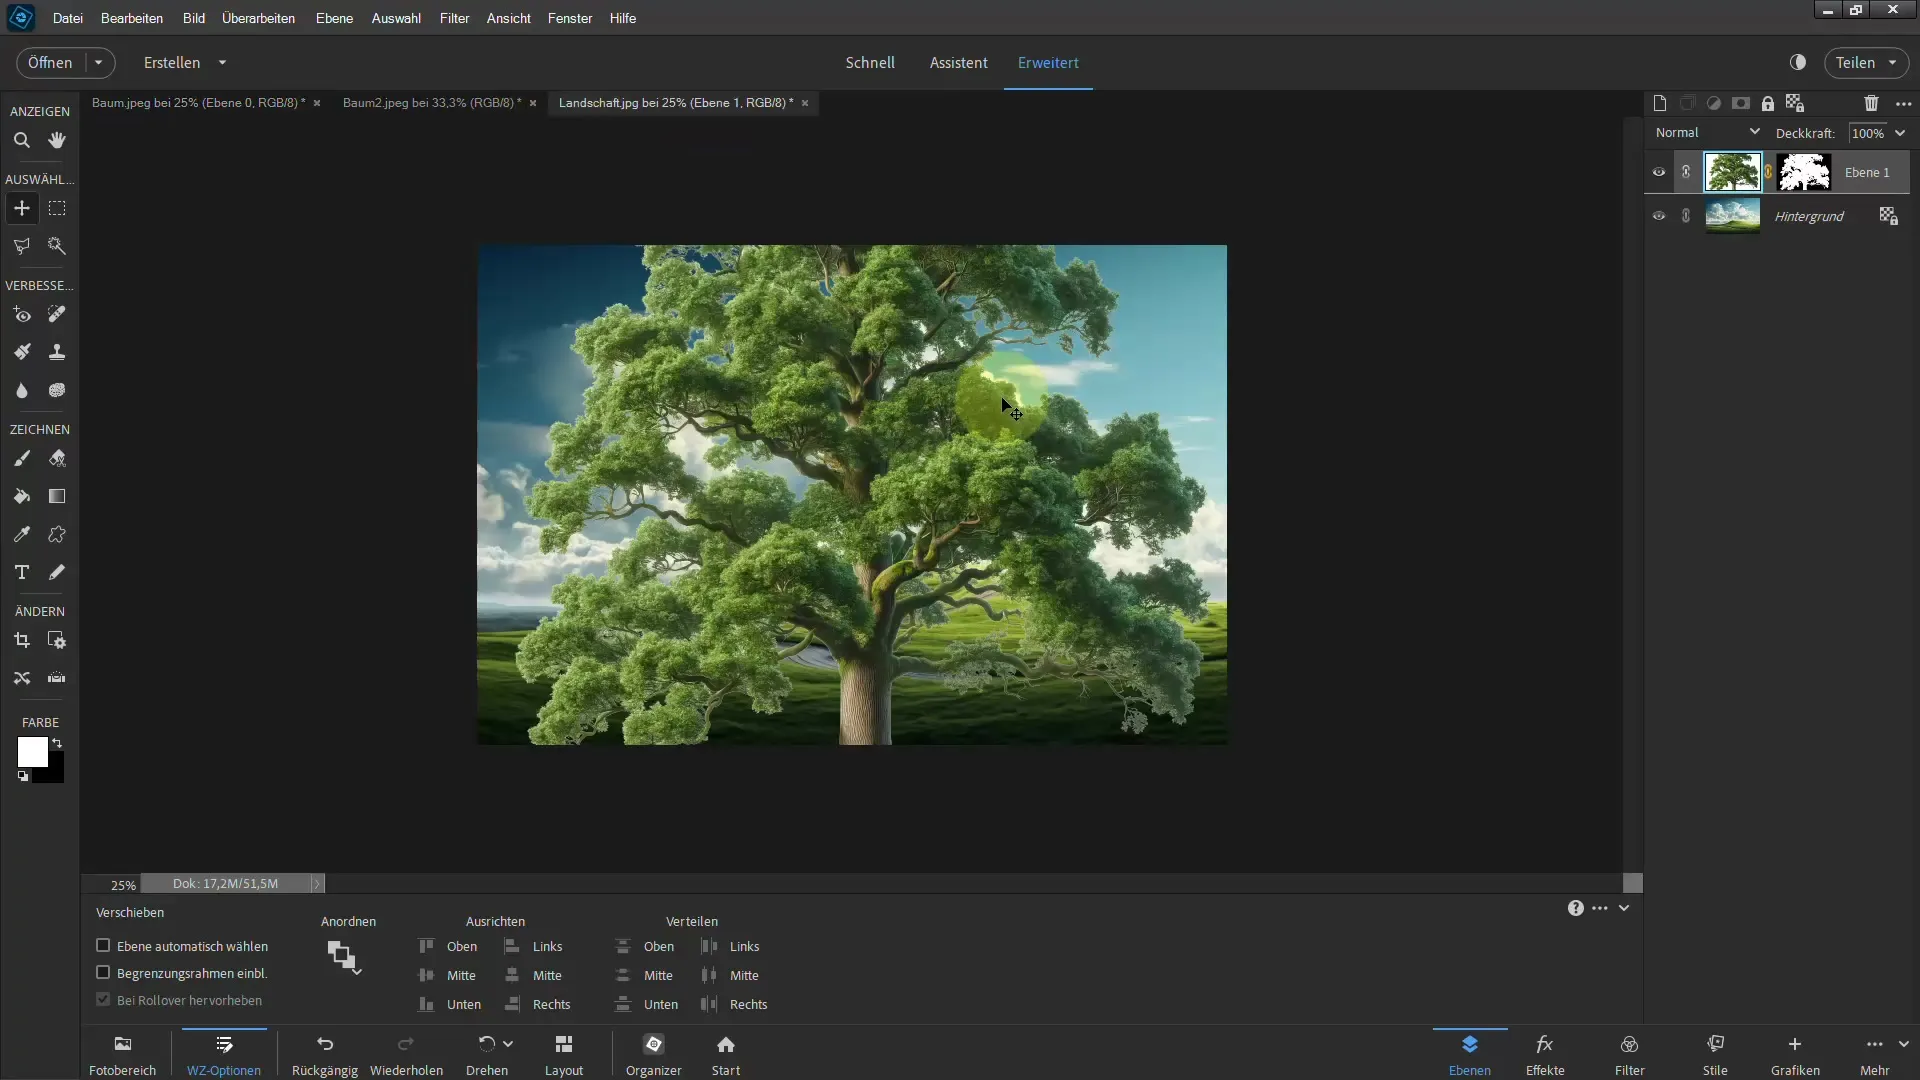
Once you are satisfied, you can transfer the isolated tree to your main image. Use the move tool to place the tree where you want it.
6. Adjusting the Tree
You may want to resize the tree a bit. Press Ctrl + T to scale the tree proportionally. Position it in the image according to your preferences.

7. Fine-Tuning with the Brush
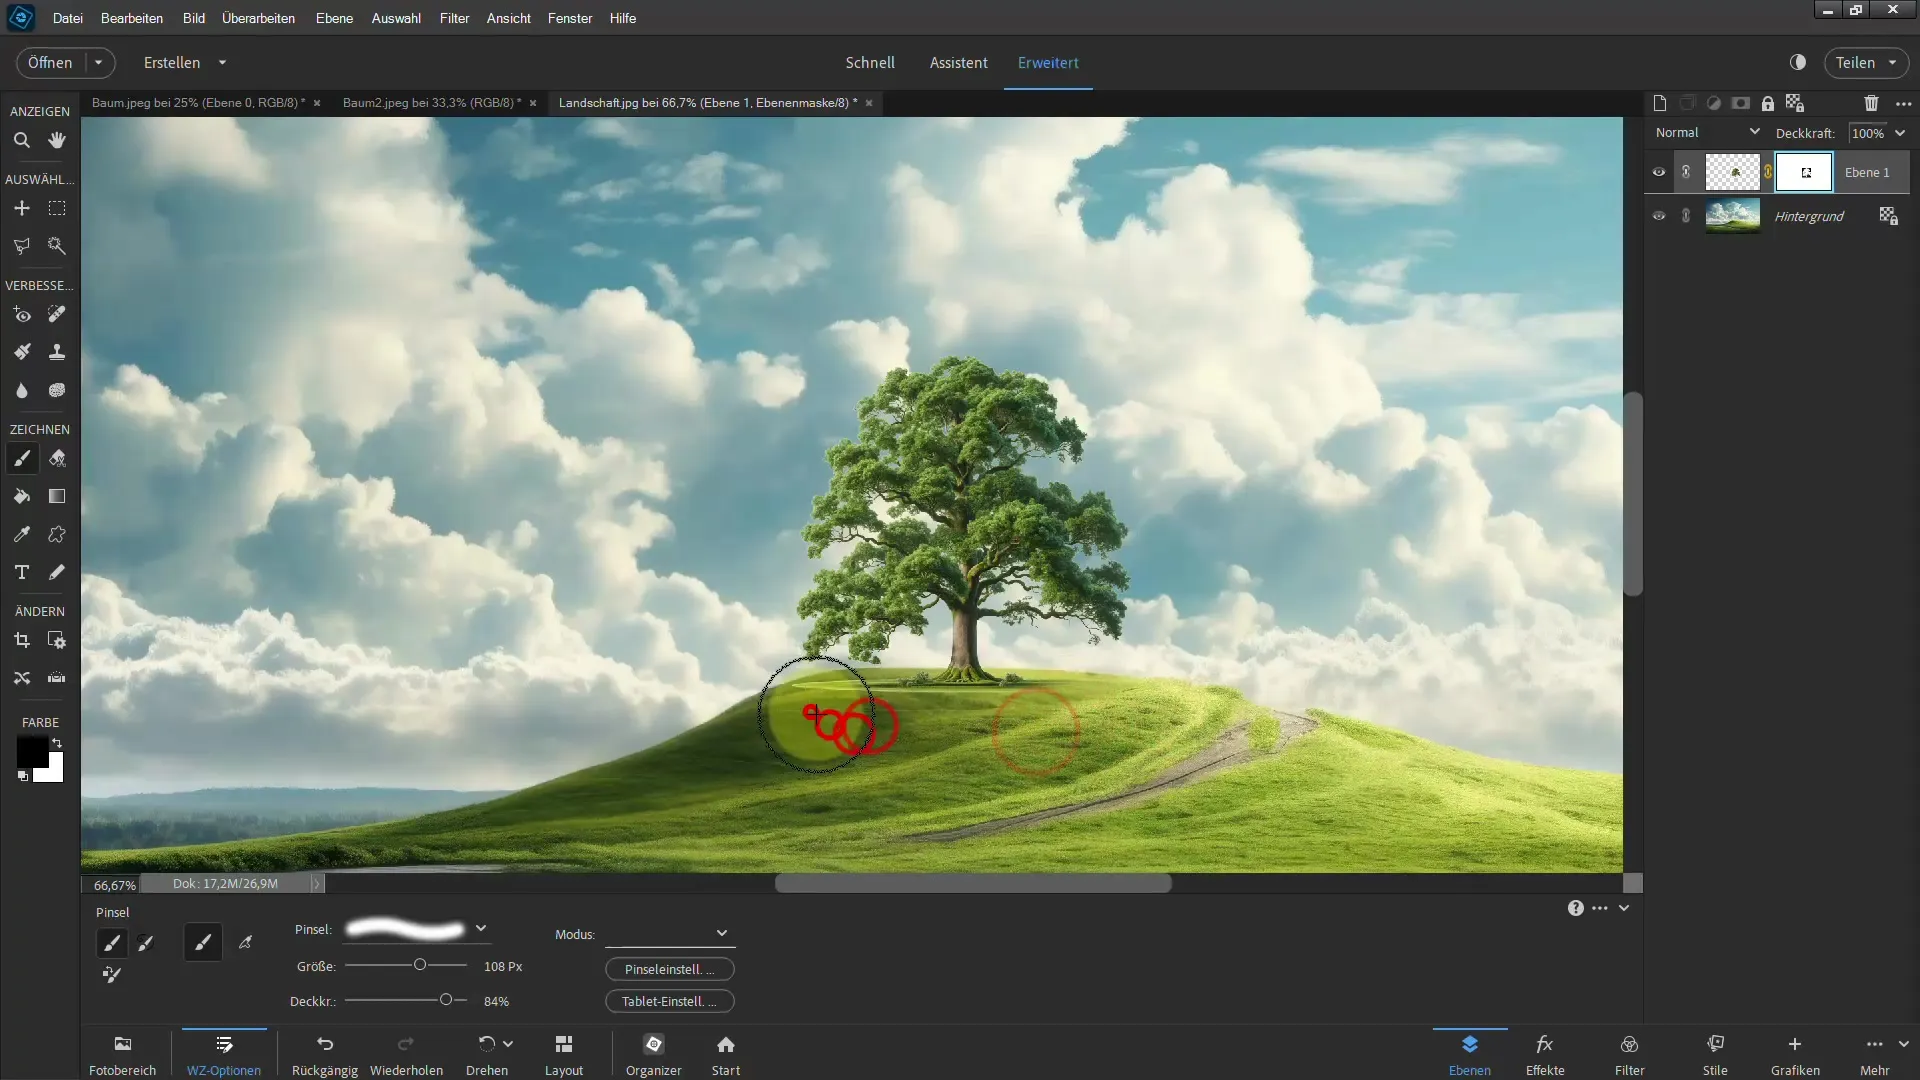
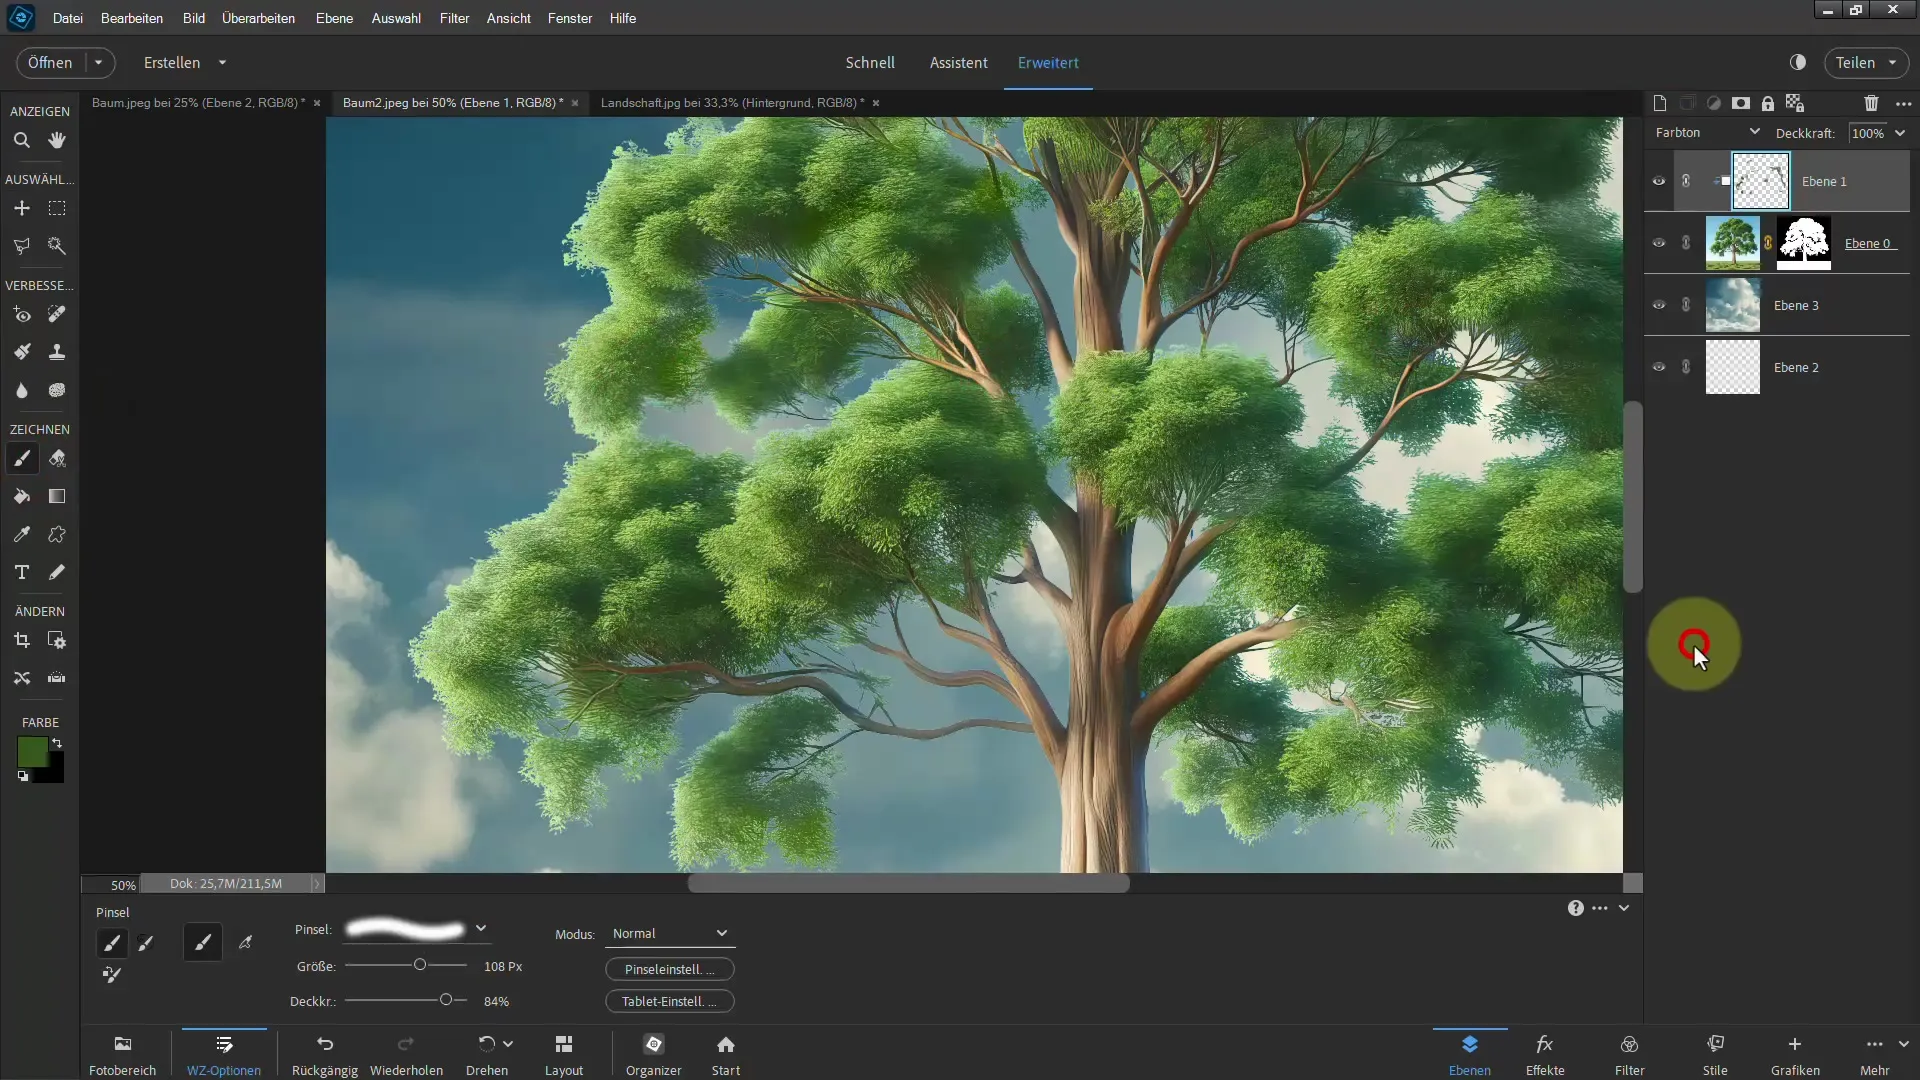
To ensure that the tree seamlessly harmonizes with the background, go into the mask layer and select the brush tool. Choose a soft brush tip and adjust the size. You can now mask areas with black color to remove unwanted parts.
8. Using Blend Modes
If you want to insert the tree into the background image, you can try different blend modes. Example modes like "Multiply" or "Soft Light" can help make the tree look more realistic.

9. Color Corrections
To adjust colors, select the new layer and play with the settings for hue/saturation or brightness/contrast. This ensures that the tree matches the background optimally.
10. Refinement of the edges
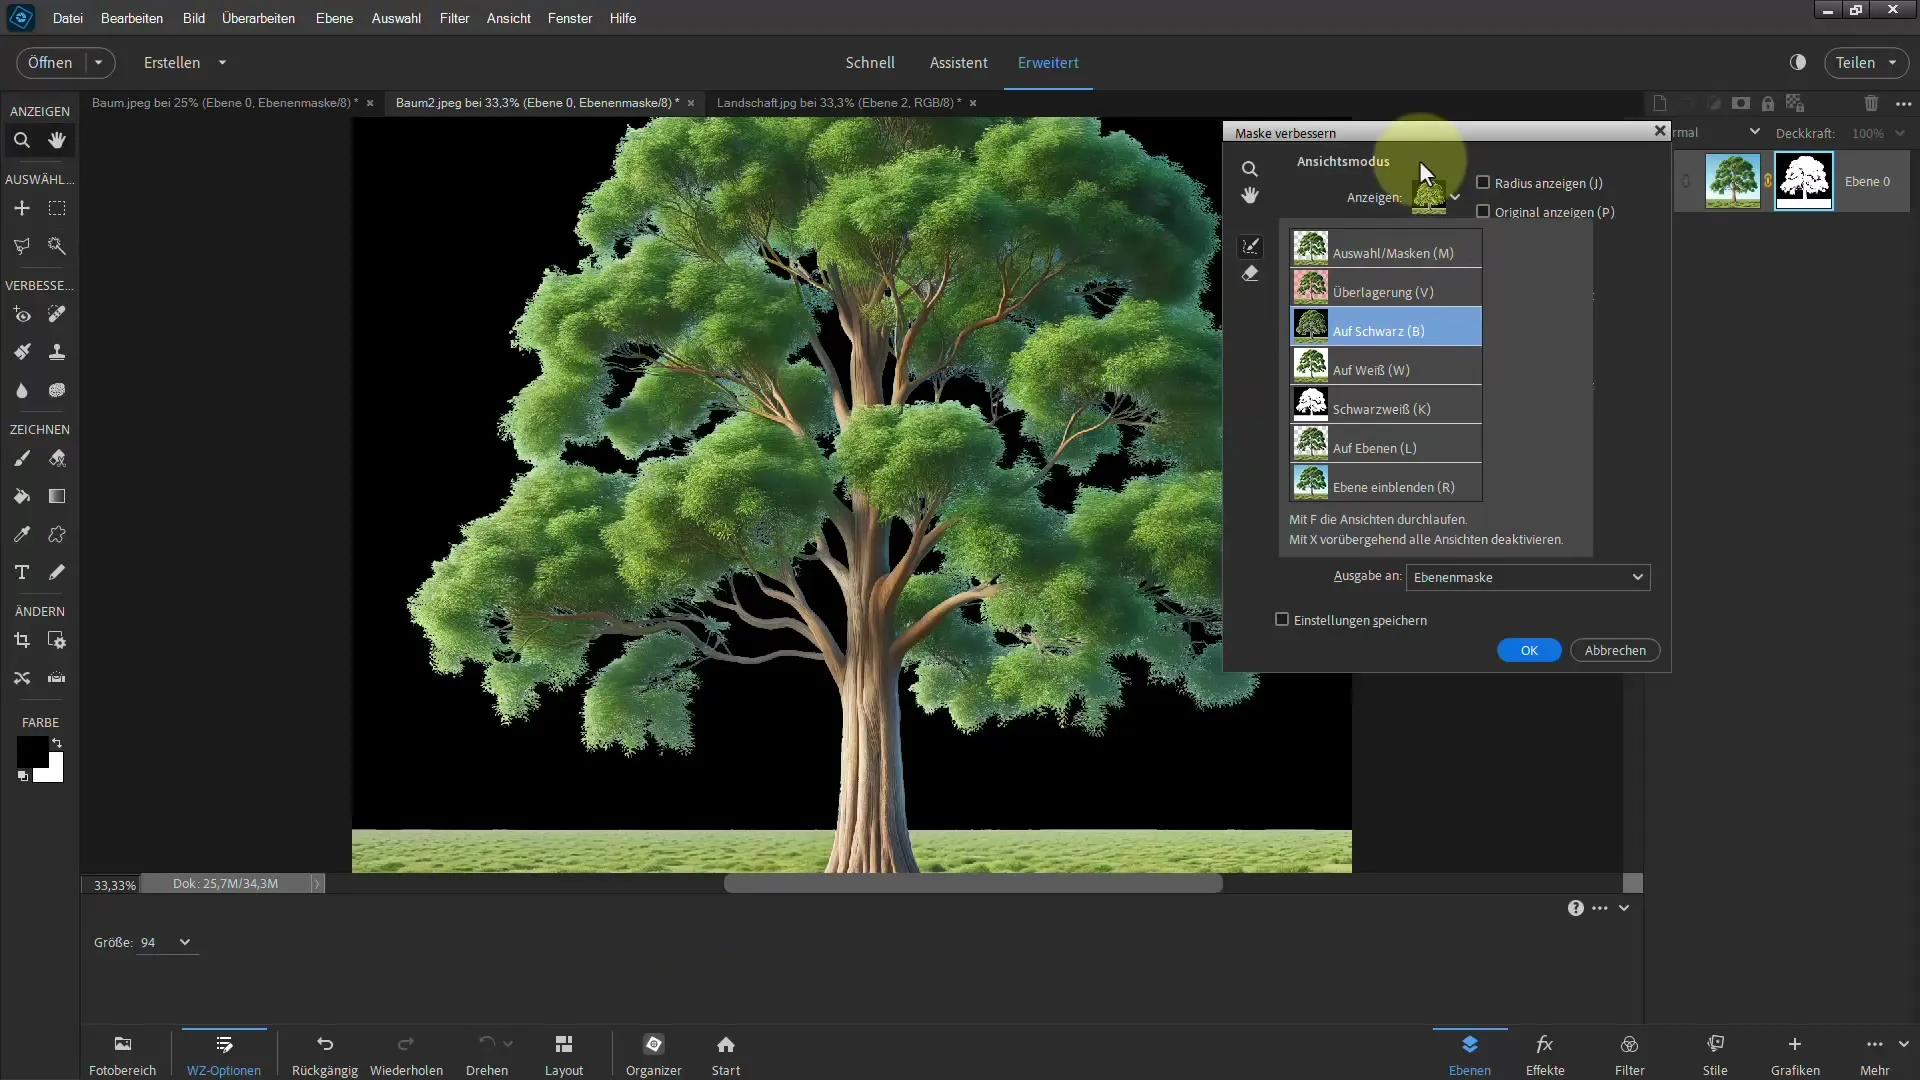
If you notice bluish edges or other undesirable color tones, you can improve the edges. Go to "Selection" > "Refine Edge" and make the desired adjustments to make the edges cleaner.
11. Final check
Zoom out and check your overall image for errors or imperfectly cut areas. If necessary, go over the edges again with the brush to refine the details.
Summary
In this tutorial, you have learned how to successfully cut out trees in Photoshop Elements. With the described techniques, especially the targeted use of the magic wand and layer masks, you can significantly improve your cutting skills. Dare to apply the tricks, and you will be able to easily cut out even more complex subjects.
Frequently Asked Questions
What is the magic wand and how does it work?The magic wand is a selection tool in Photoshop that allows you to select areas based on colors. It selects adjacent pixels that are similarly colored.
How can I refine the selection?You can improve the edge by going to "Selection" > "Refine Edge" and then making the edges smoother or making other adjustments.
What can I do if the background is not a solid color?In this case, you should use the Shift key to add additional areas to the selection, and then adjust the masking technique.
Can I cut out other subjects using these techniques?Yes, the techniques presented can also be applied to other subjects, not just trees.
How important is it to use the layer mask?The layer mask is crucial for precisely hiding or revealing areas and gives you the flexibility to make adjustments at any time.


