Key Findings
- Glass’s transparency requires specific techniques to mask it correctly.
- You can use different adjustment layers to adjust the lighting conditions of glass.
- Blurring and distorting backgrounds can enhance the realism of the masked glass.
Step-by-Step Guide
First, open your image containing the glass. It is important to have a good base image to achieve optimal results.
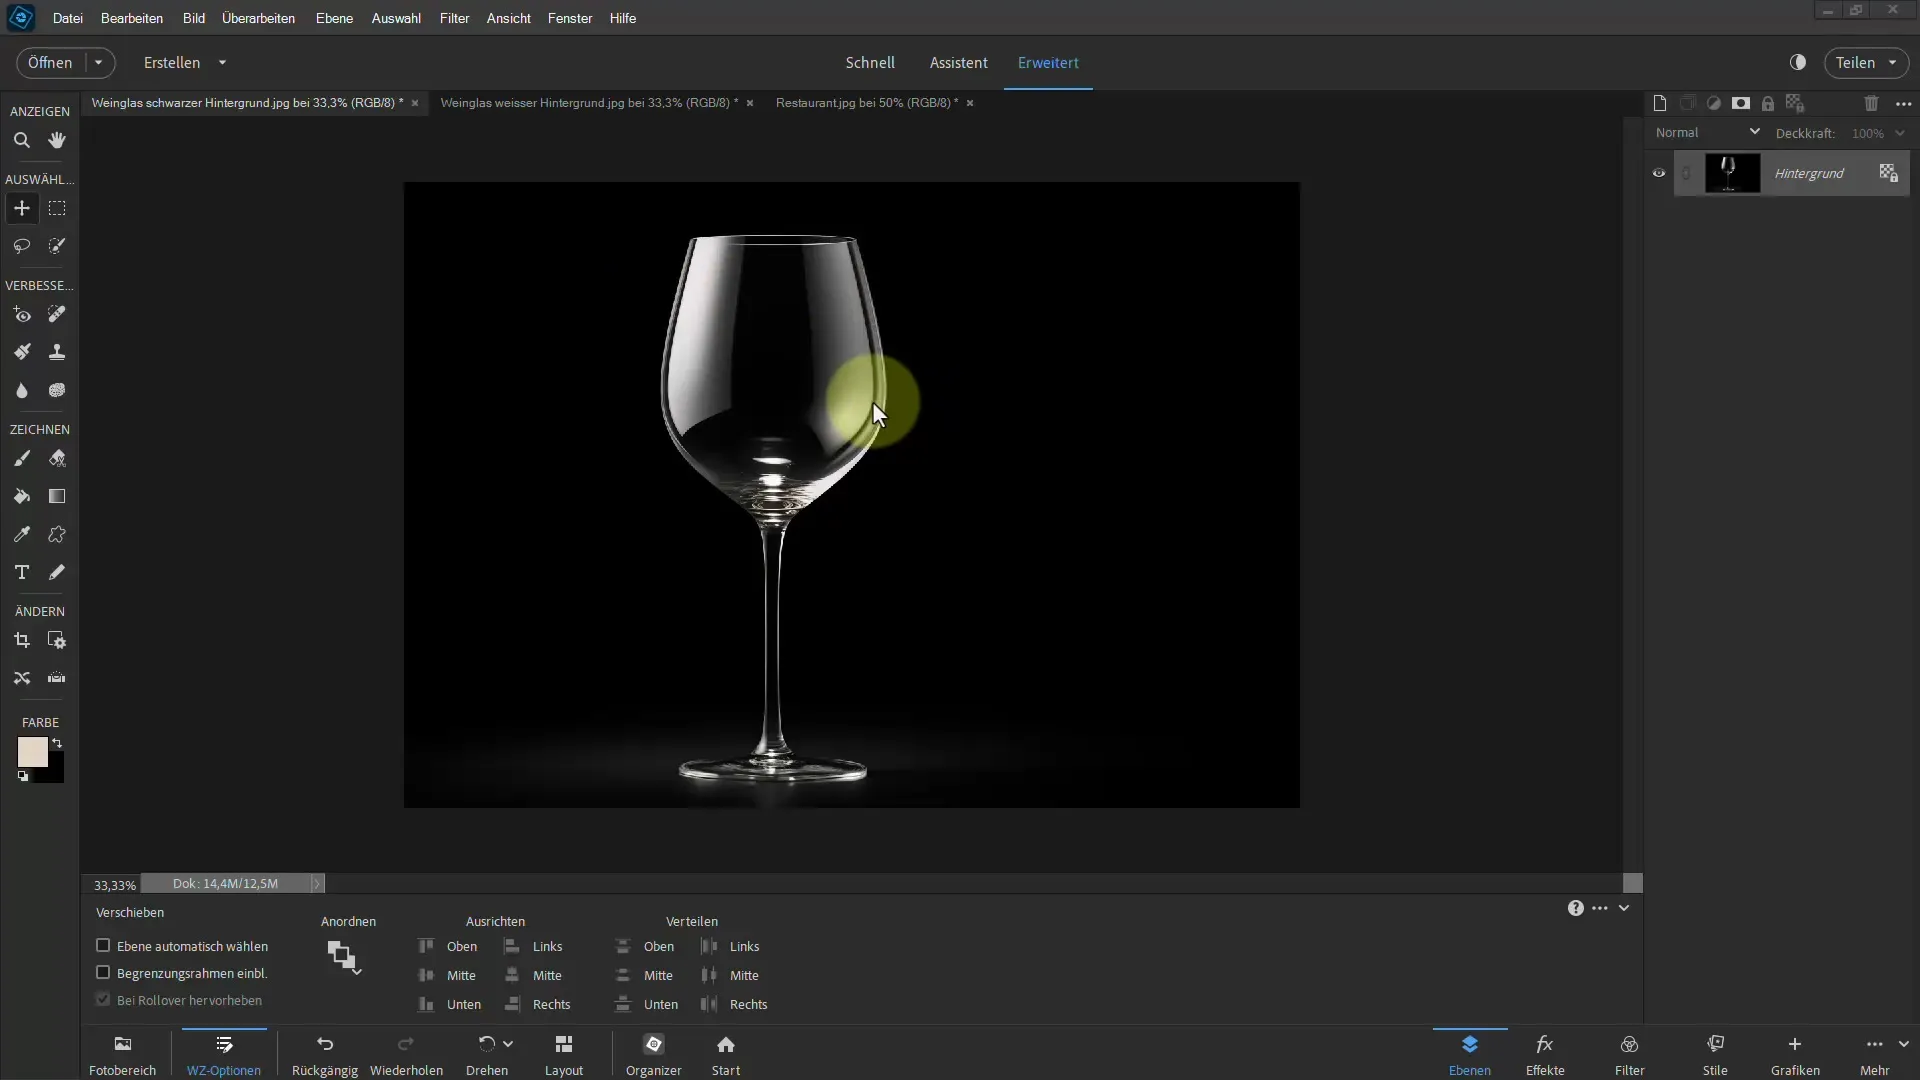
Start by dragging the glass onto your workspace using the move tool. Make sure to place and adjust the image correctly.
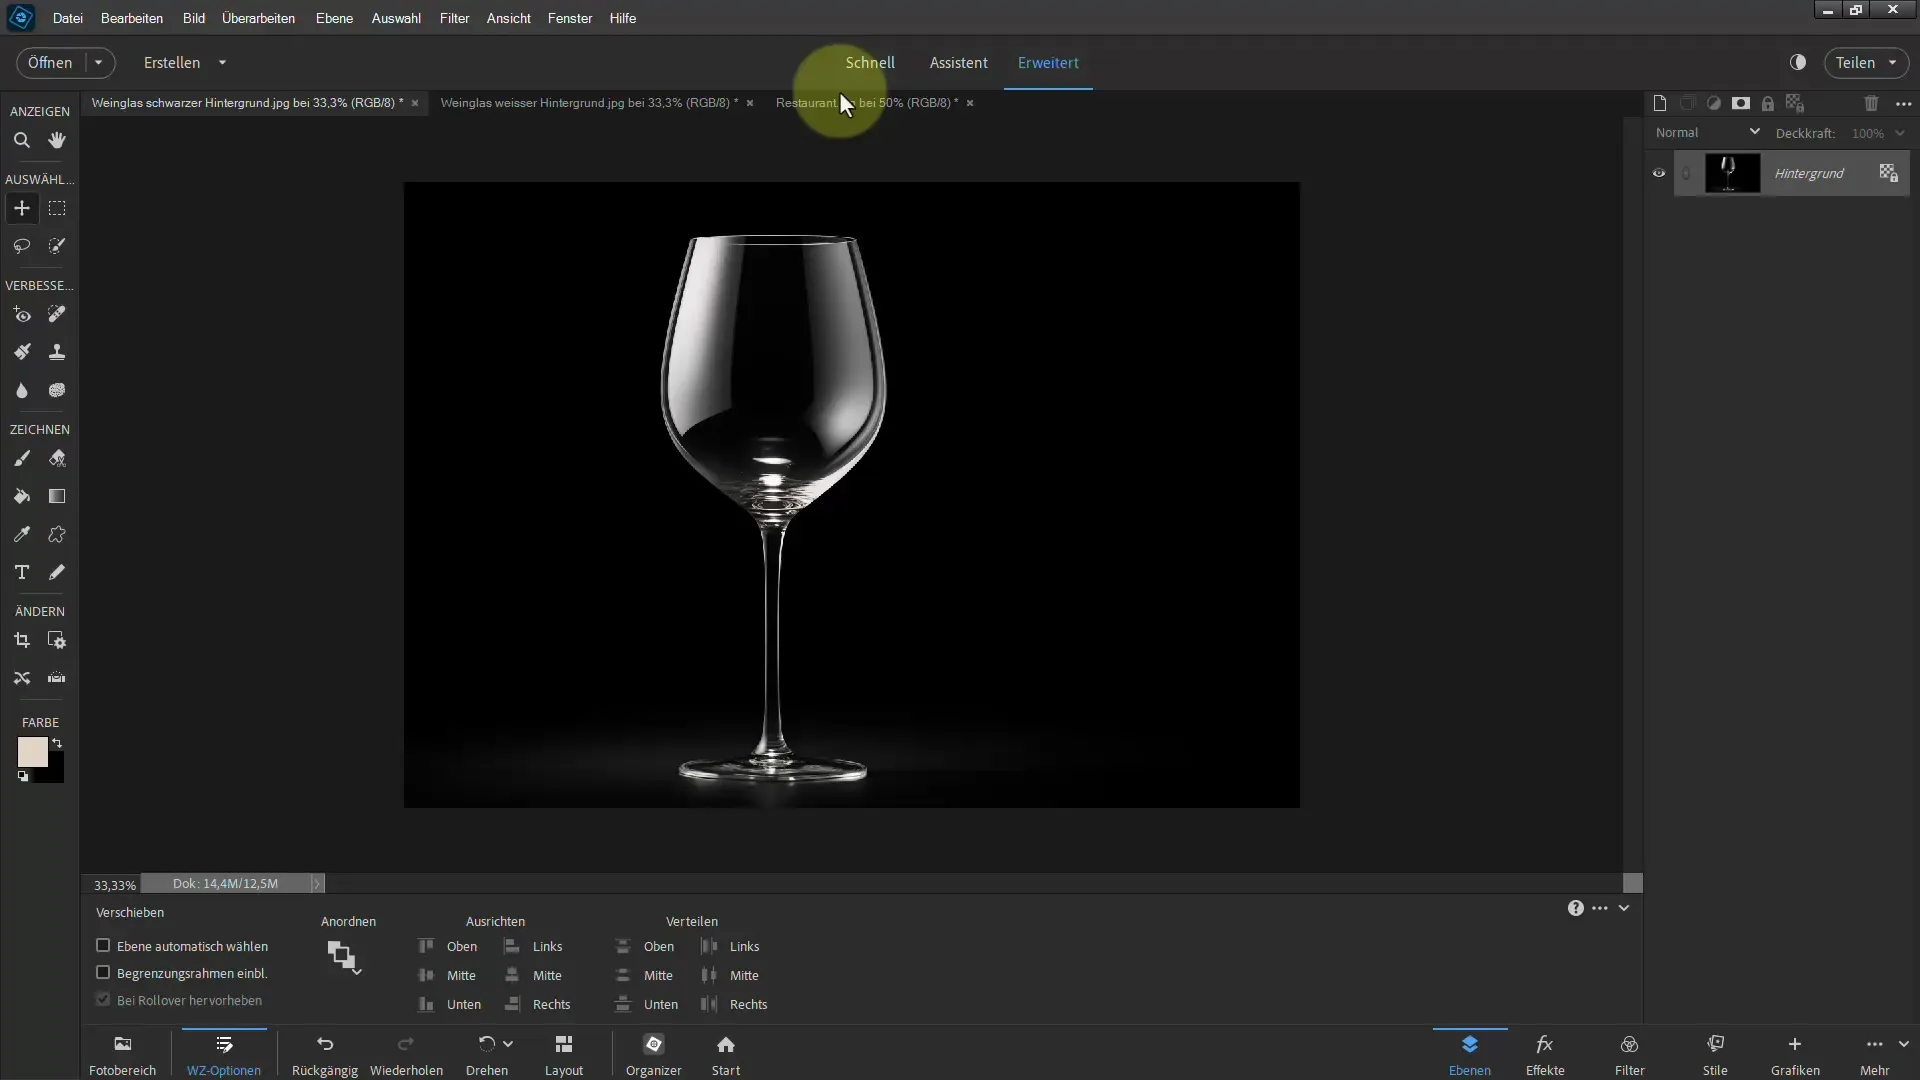
Now confirm the placement of the image. To mask the glass, you can use the "Dodge" tool. Choose the "Brighten" setting to intensify the glass's transparency and give it a fresh look.
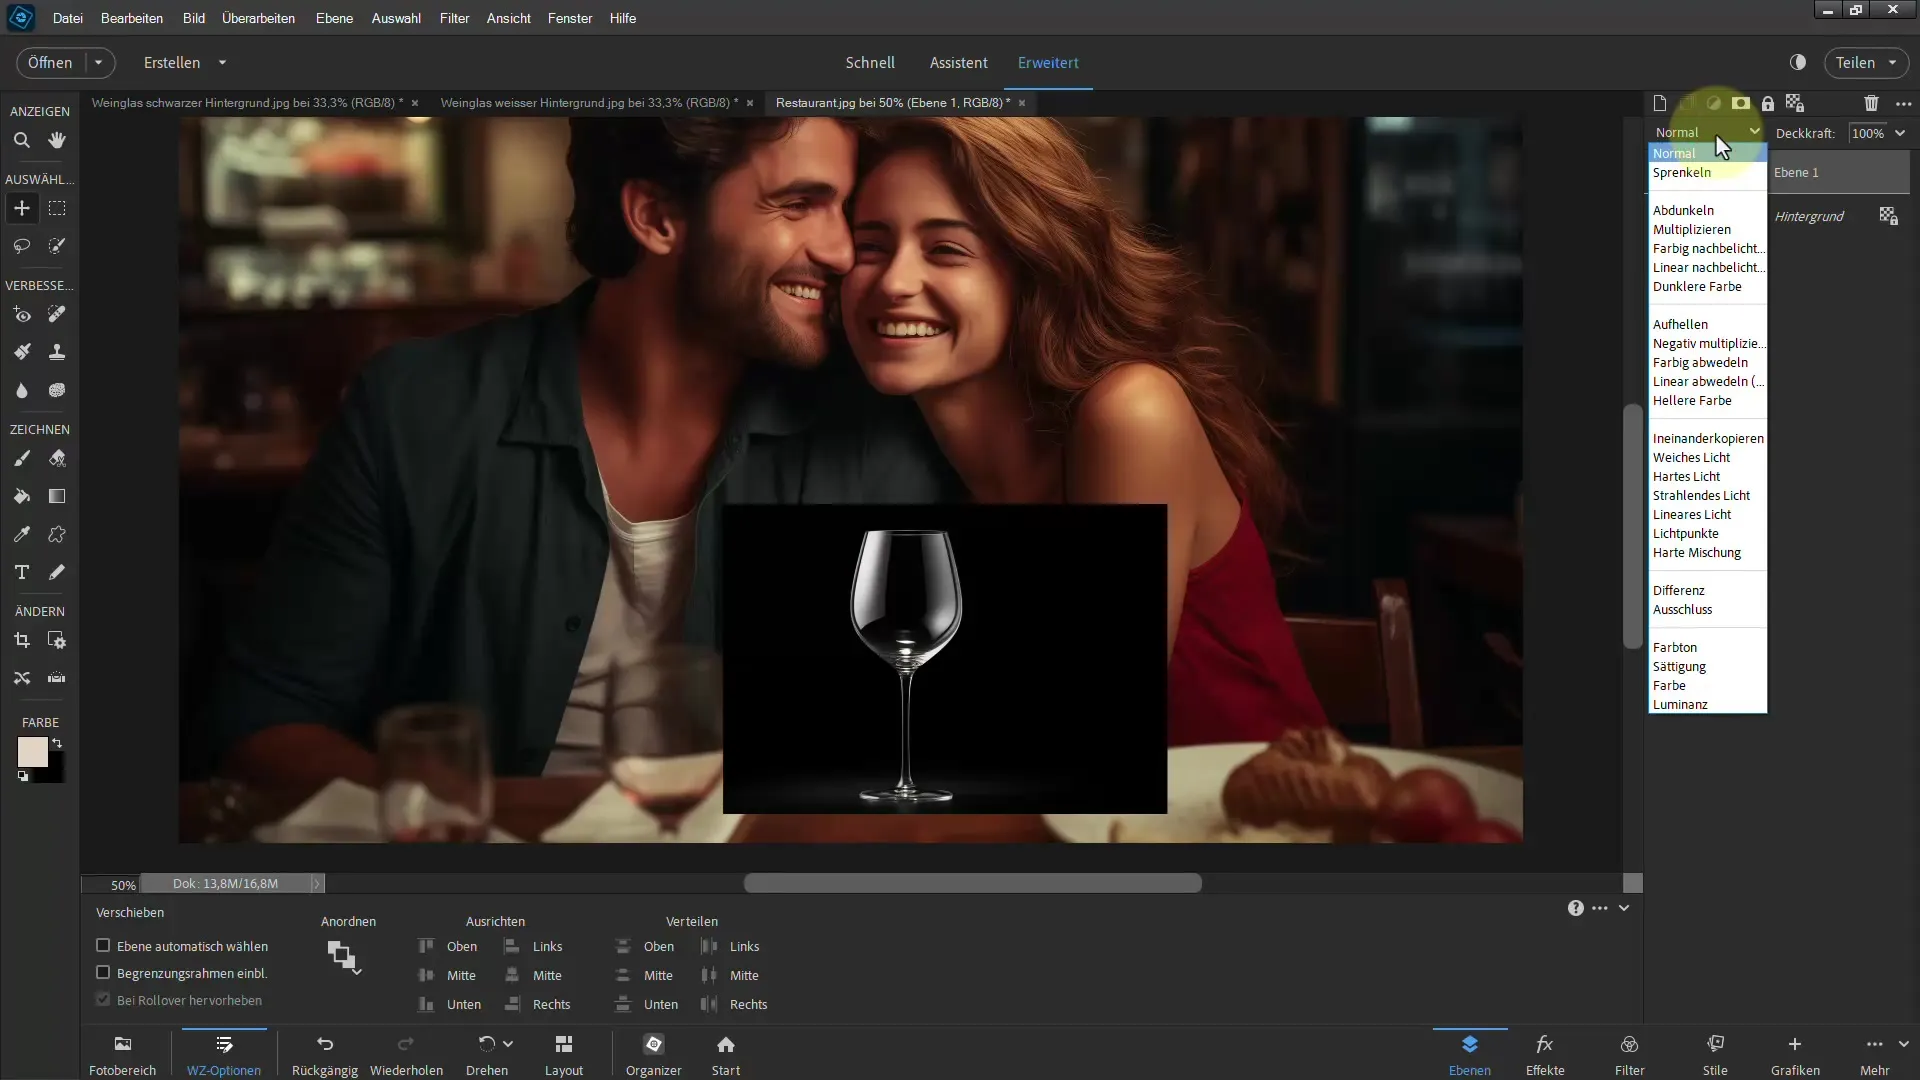
If the glass doesn't appear translucent enough, you can duplicate the layer. Use the Ctrl + J shortcut to improve visibility. Here you can experiment with different fill methods such as "Negative Multiply" or "Color Dodge" to achieve the desired effect.
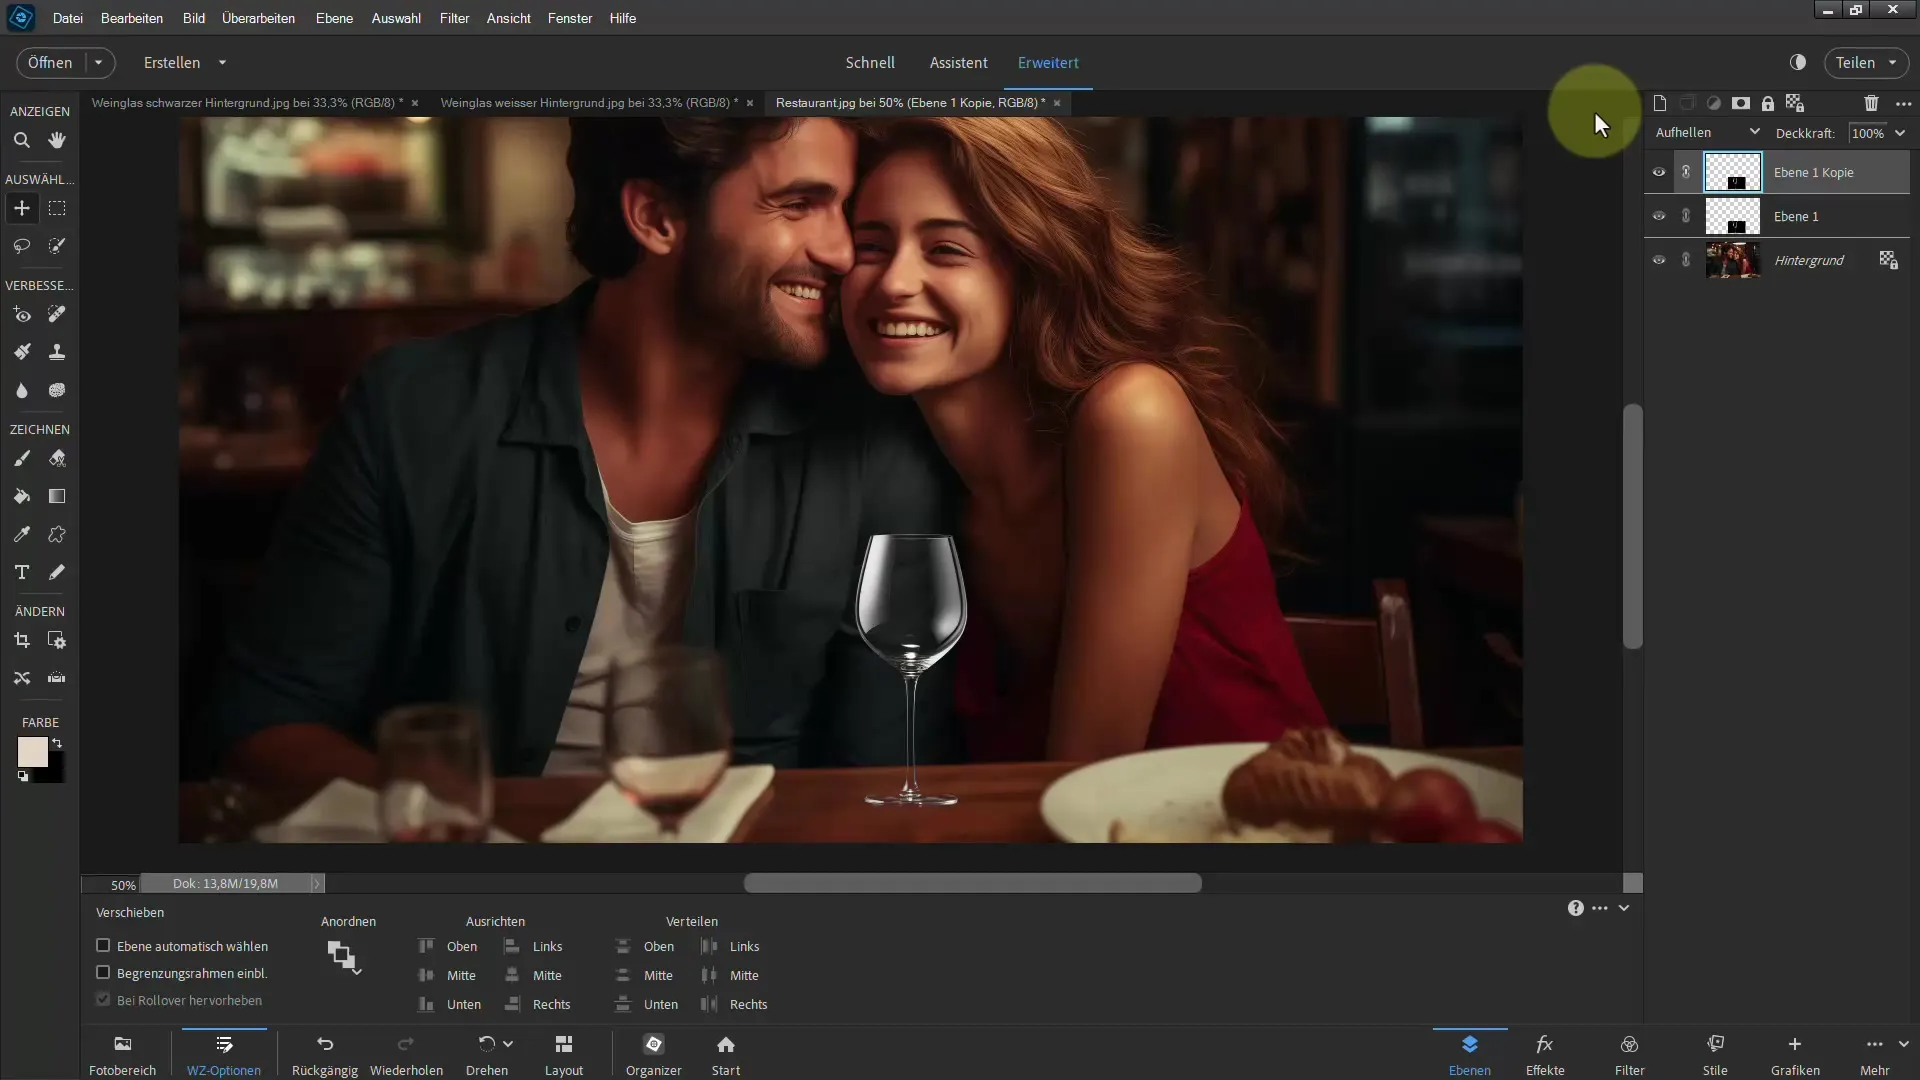
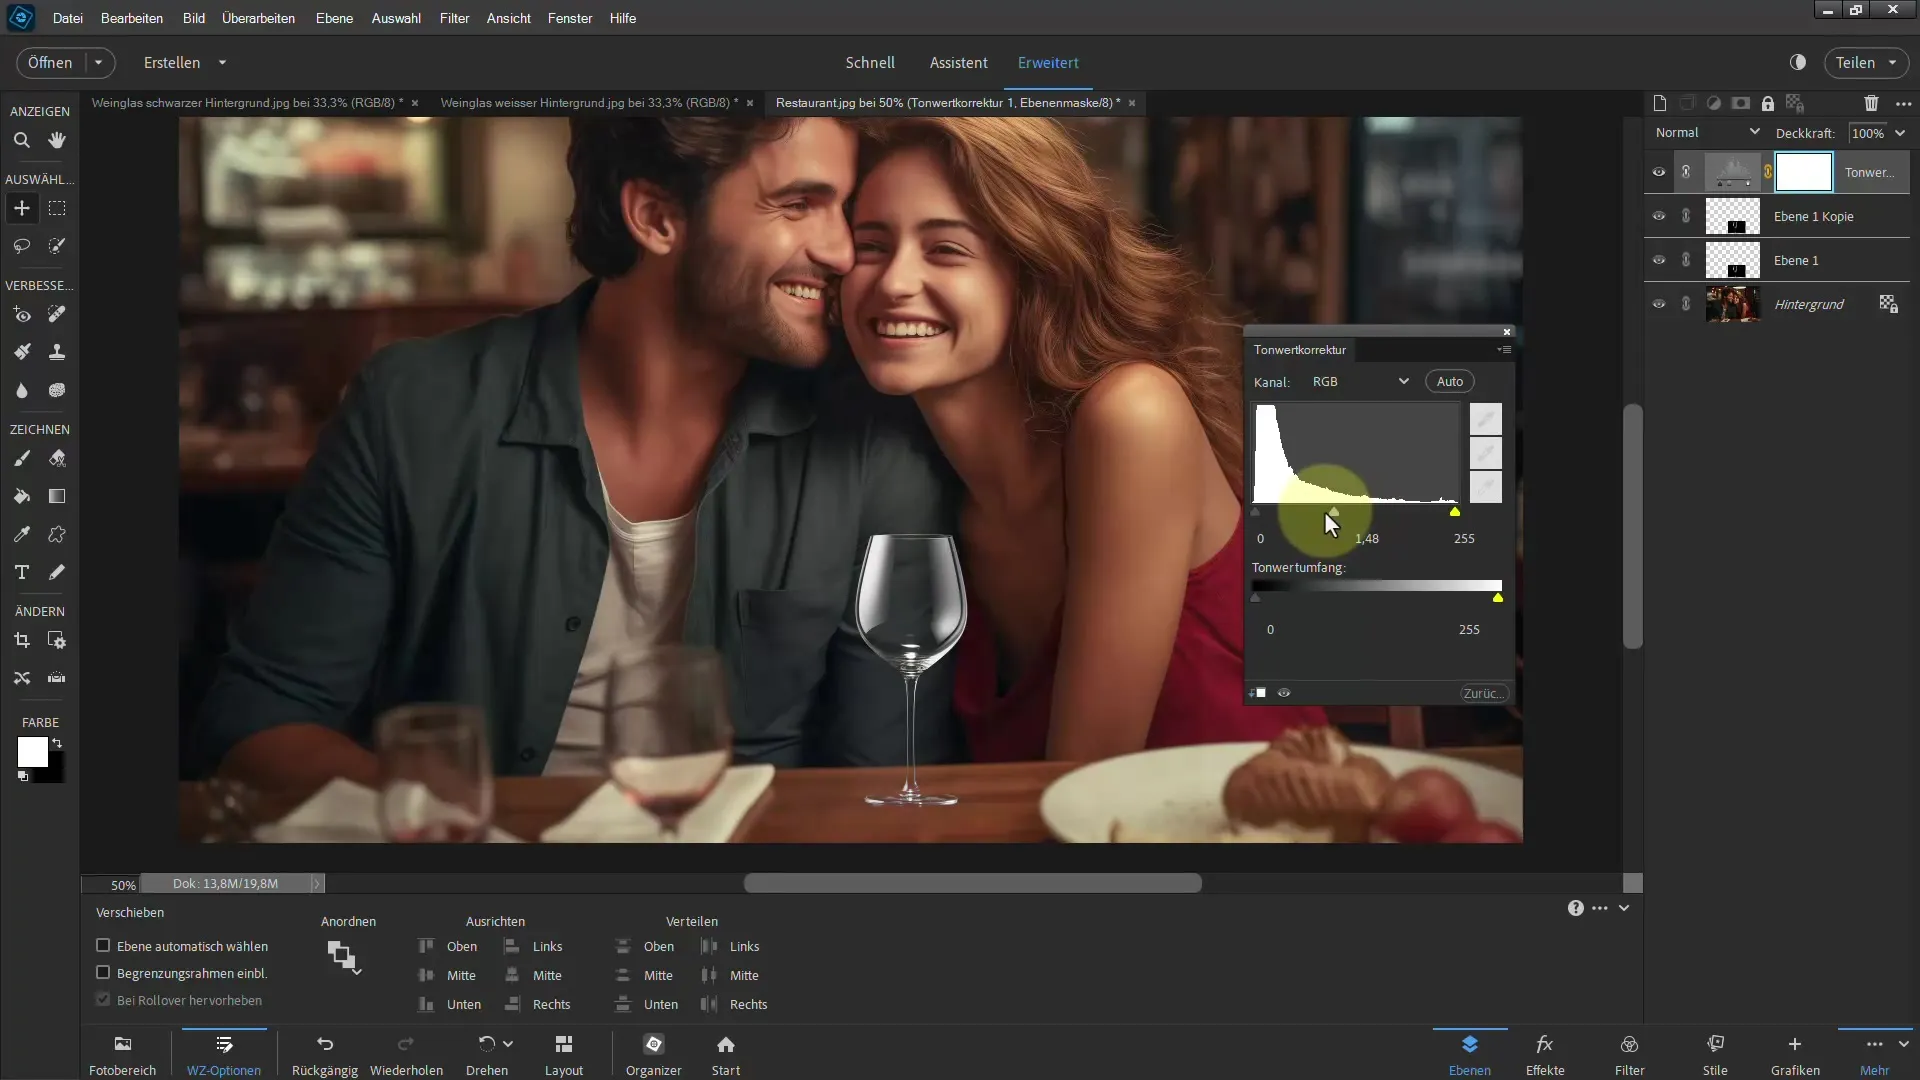
Alternatively, you can add an adjustment layer. Choose the "Levels" adjustment and modify the values to optimize the brightness and contrast of the glass. These adjustments will make the glass more lively and emit more light.
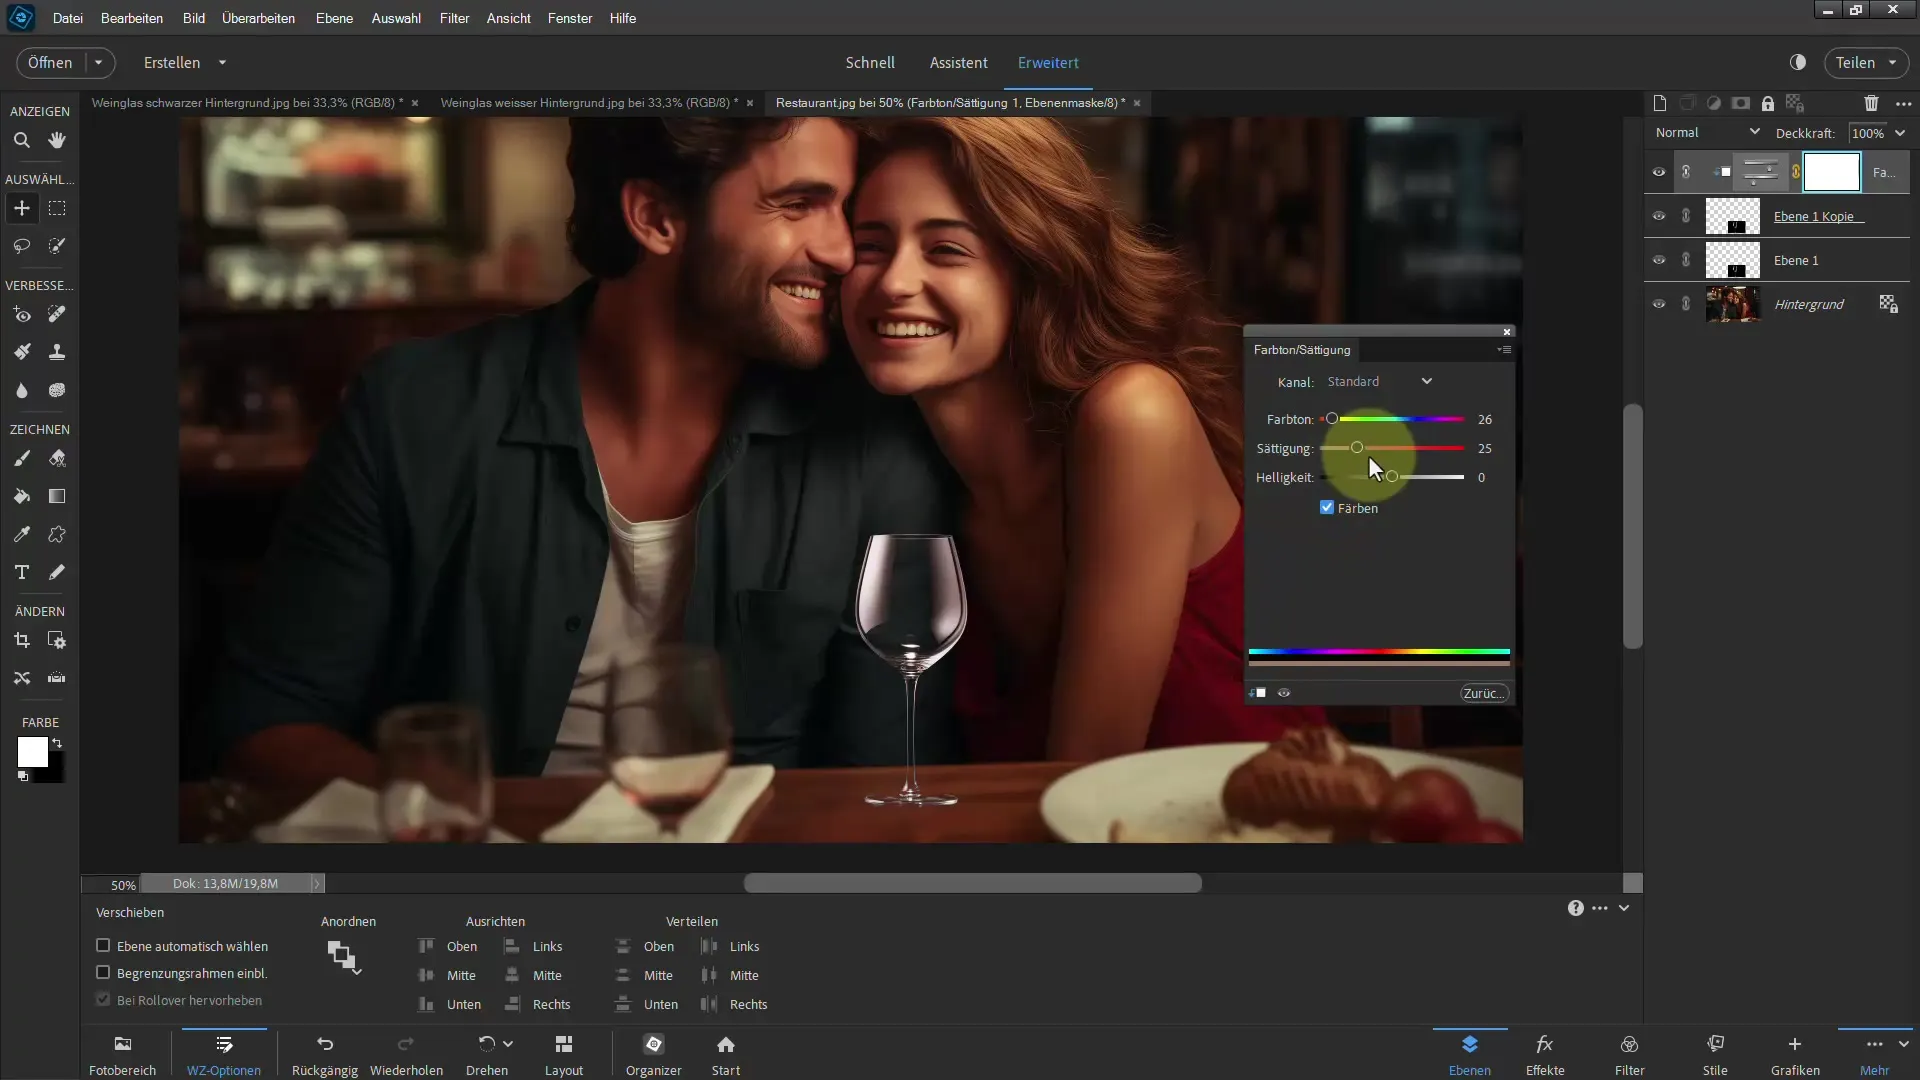
If you want to add a color to the glass, you can also use the "Hue/Saturation" adjustment. Make sure that the color change is not too intrusive but complements the glass harmoniously.
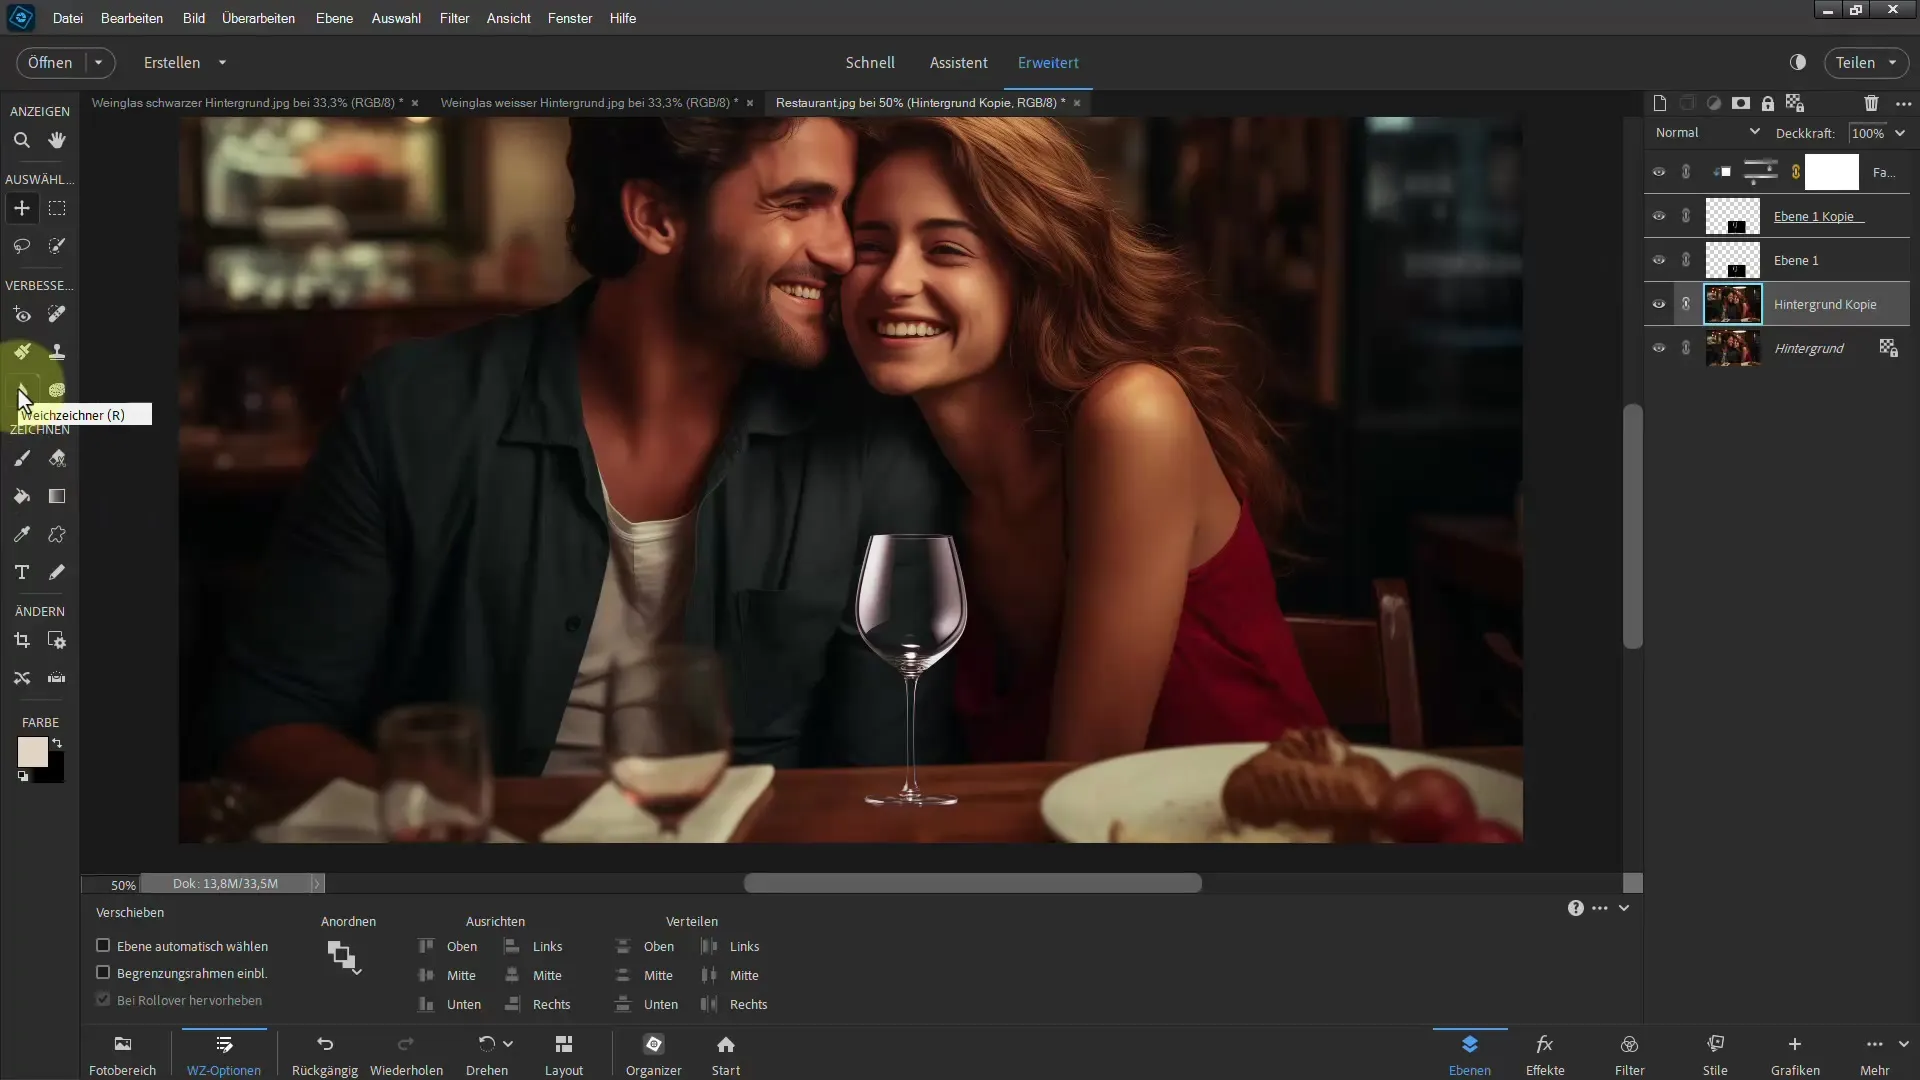
For transparent objects, it is essential to adjust the background slightly as it is often distorted through the glass. You can duplicate the background layer and blur the duplicates to create a smooth transition.
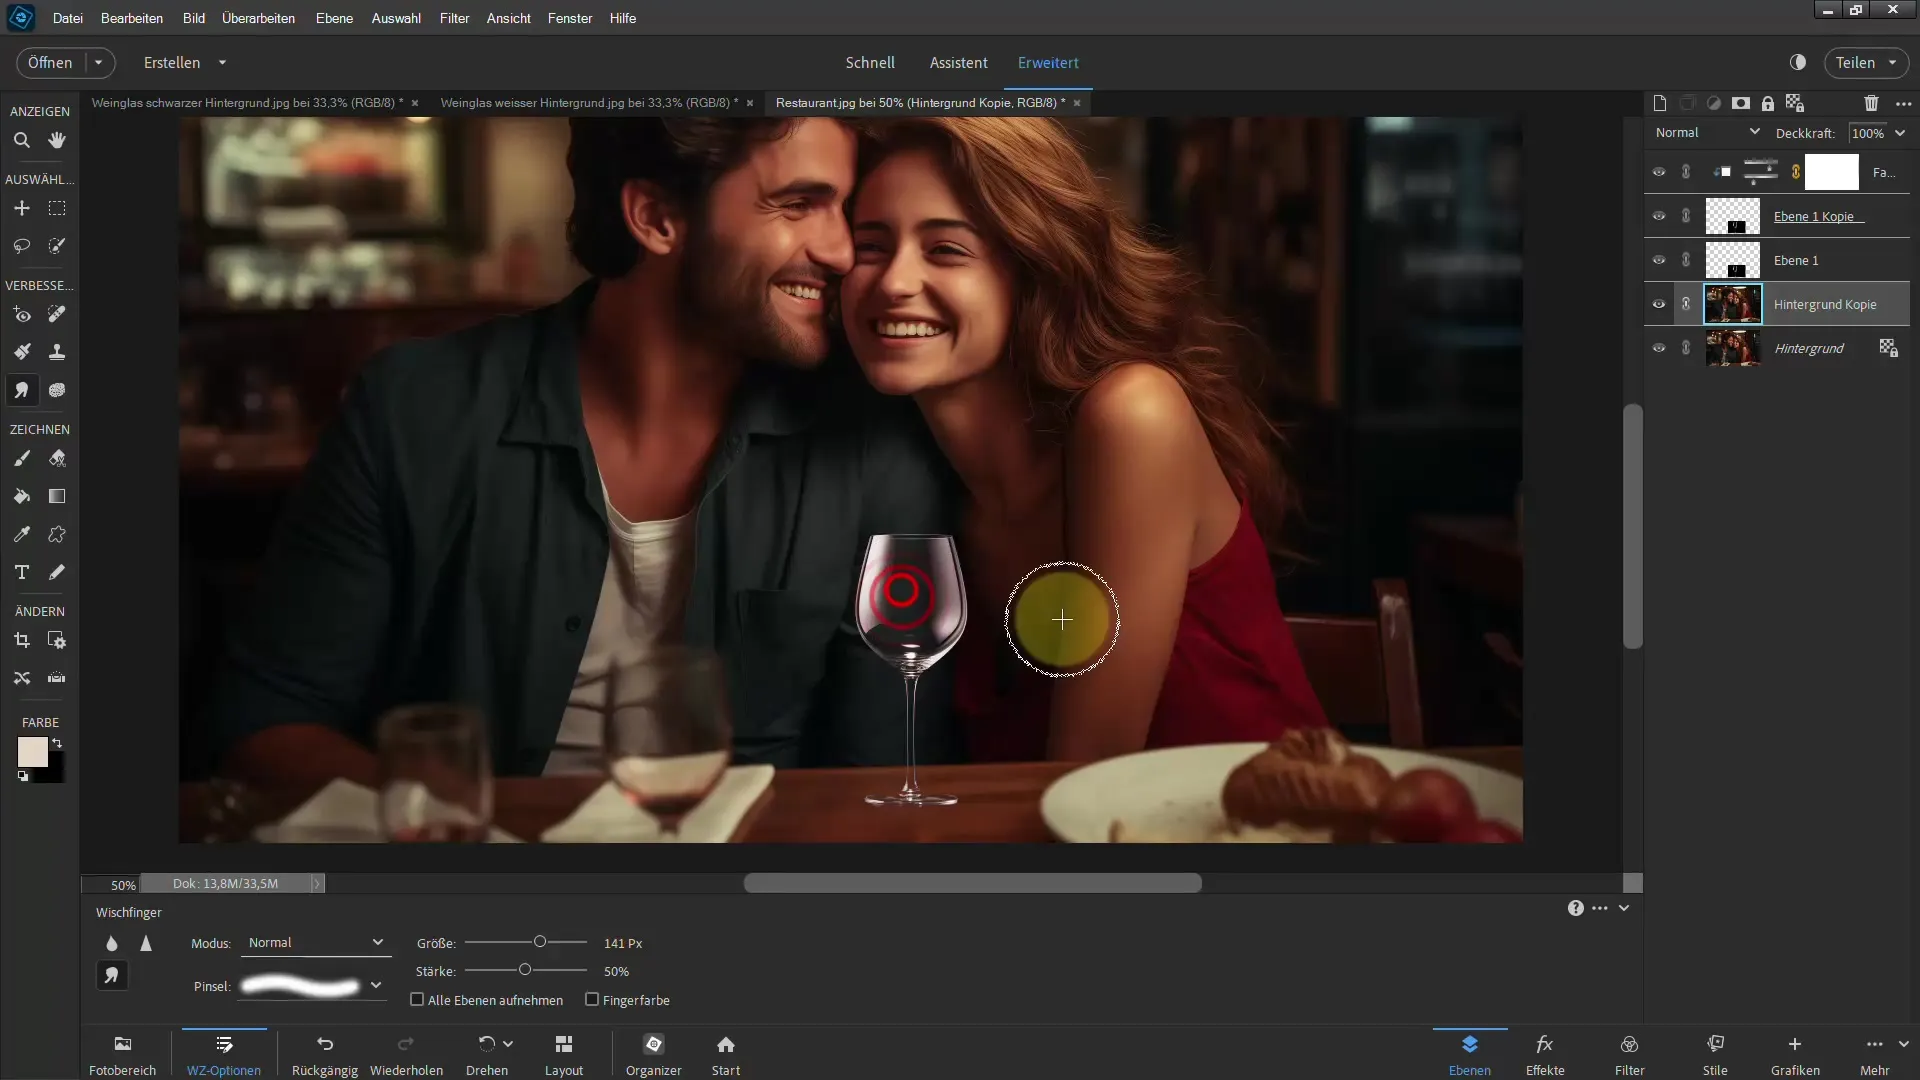
Another trick is to use the smudge tool to create slight blurs. This can create the impression of a realistic distortion visible through the glass.
In addition to the aforementioned techniques, you can create shadows using the brush tool to enhance the 3D effect of the glass. Whether through dodging or burning, the shadows must be carefully placed to look natural.
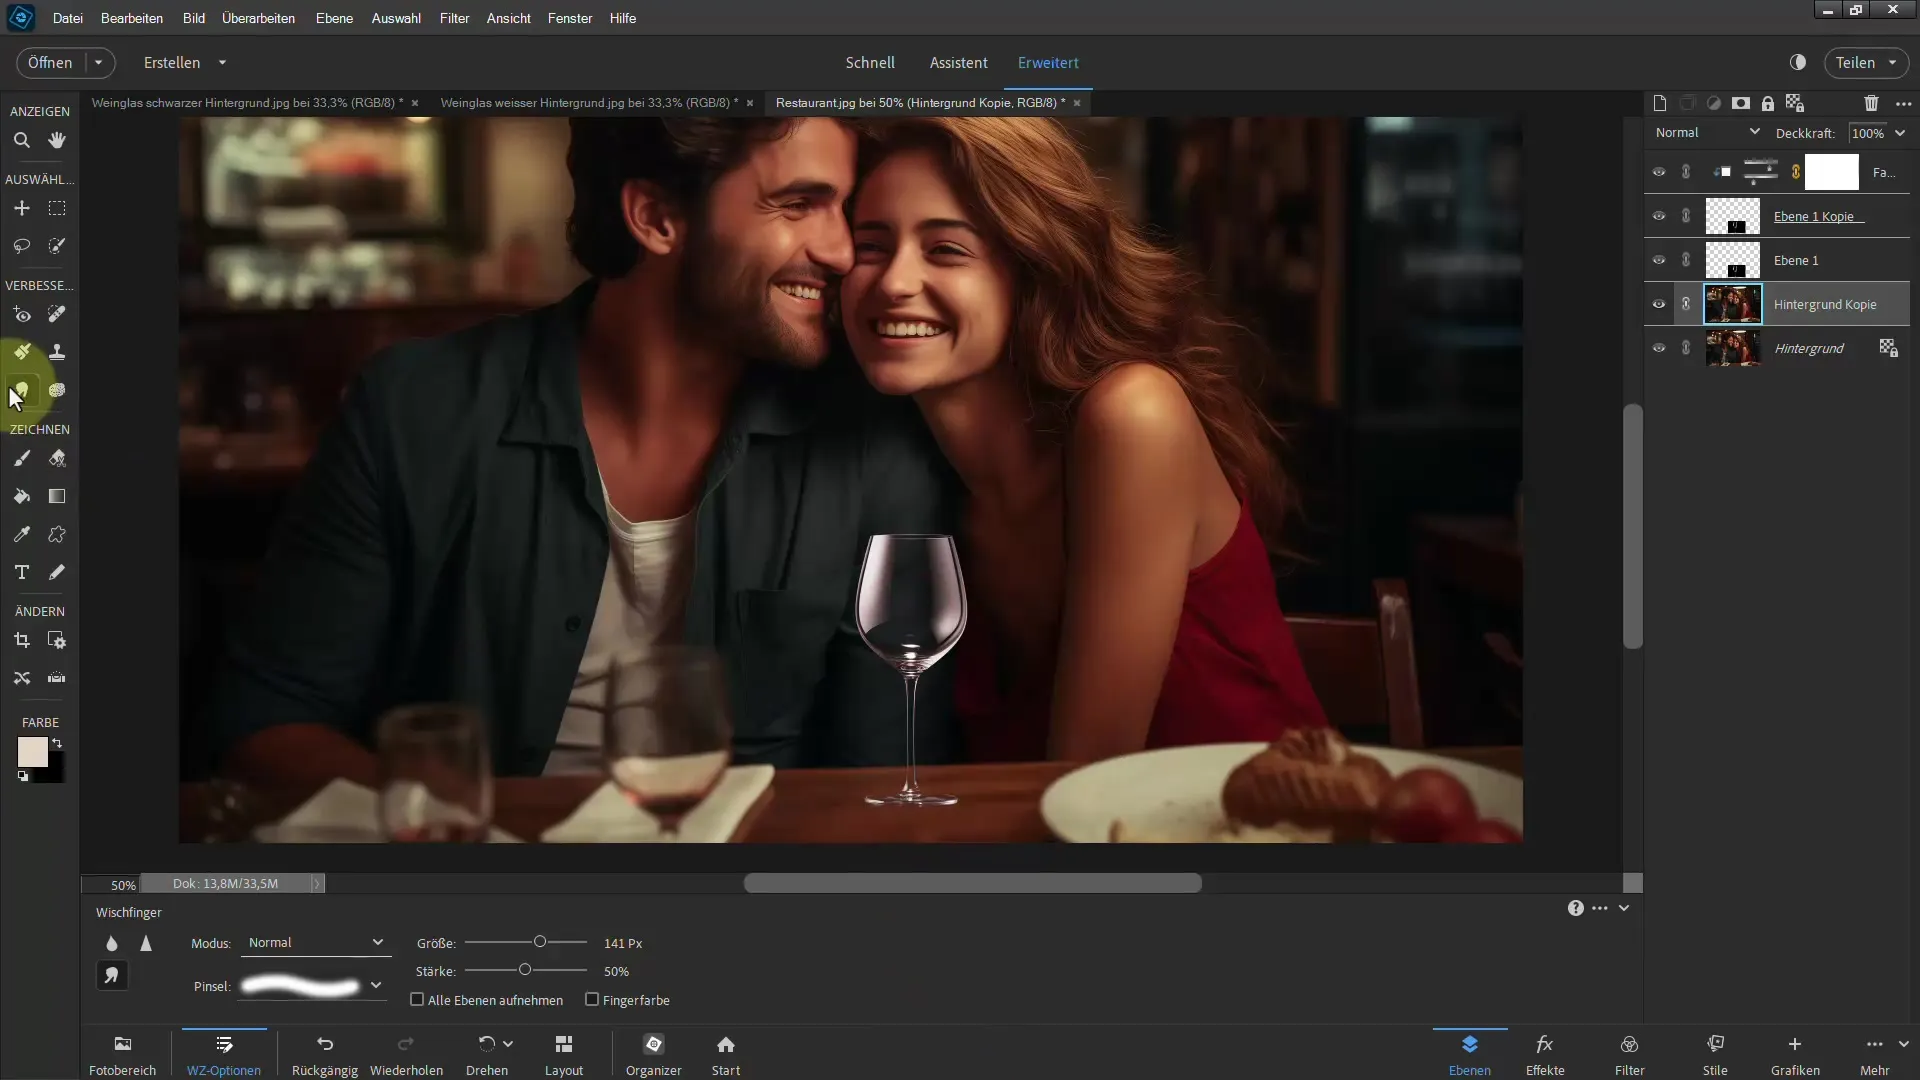
When working with a white background, the technique is slightly different. The white background requires a different approach: Apply "Multiply" to highlight the glass more effectively.
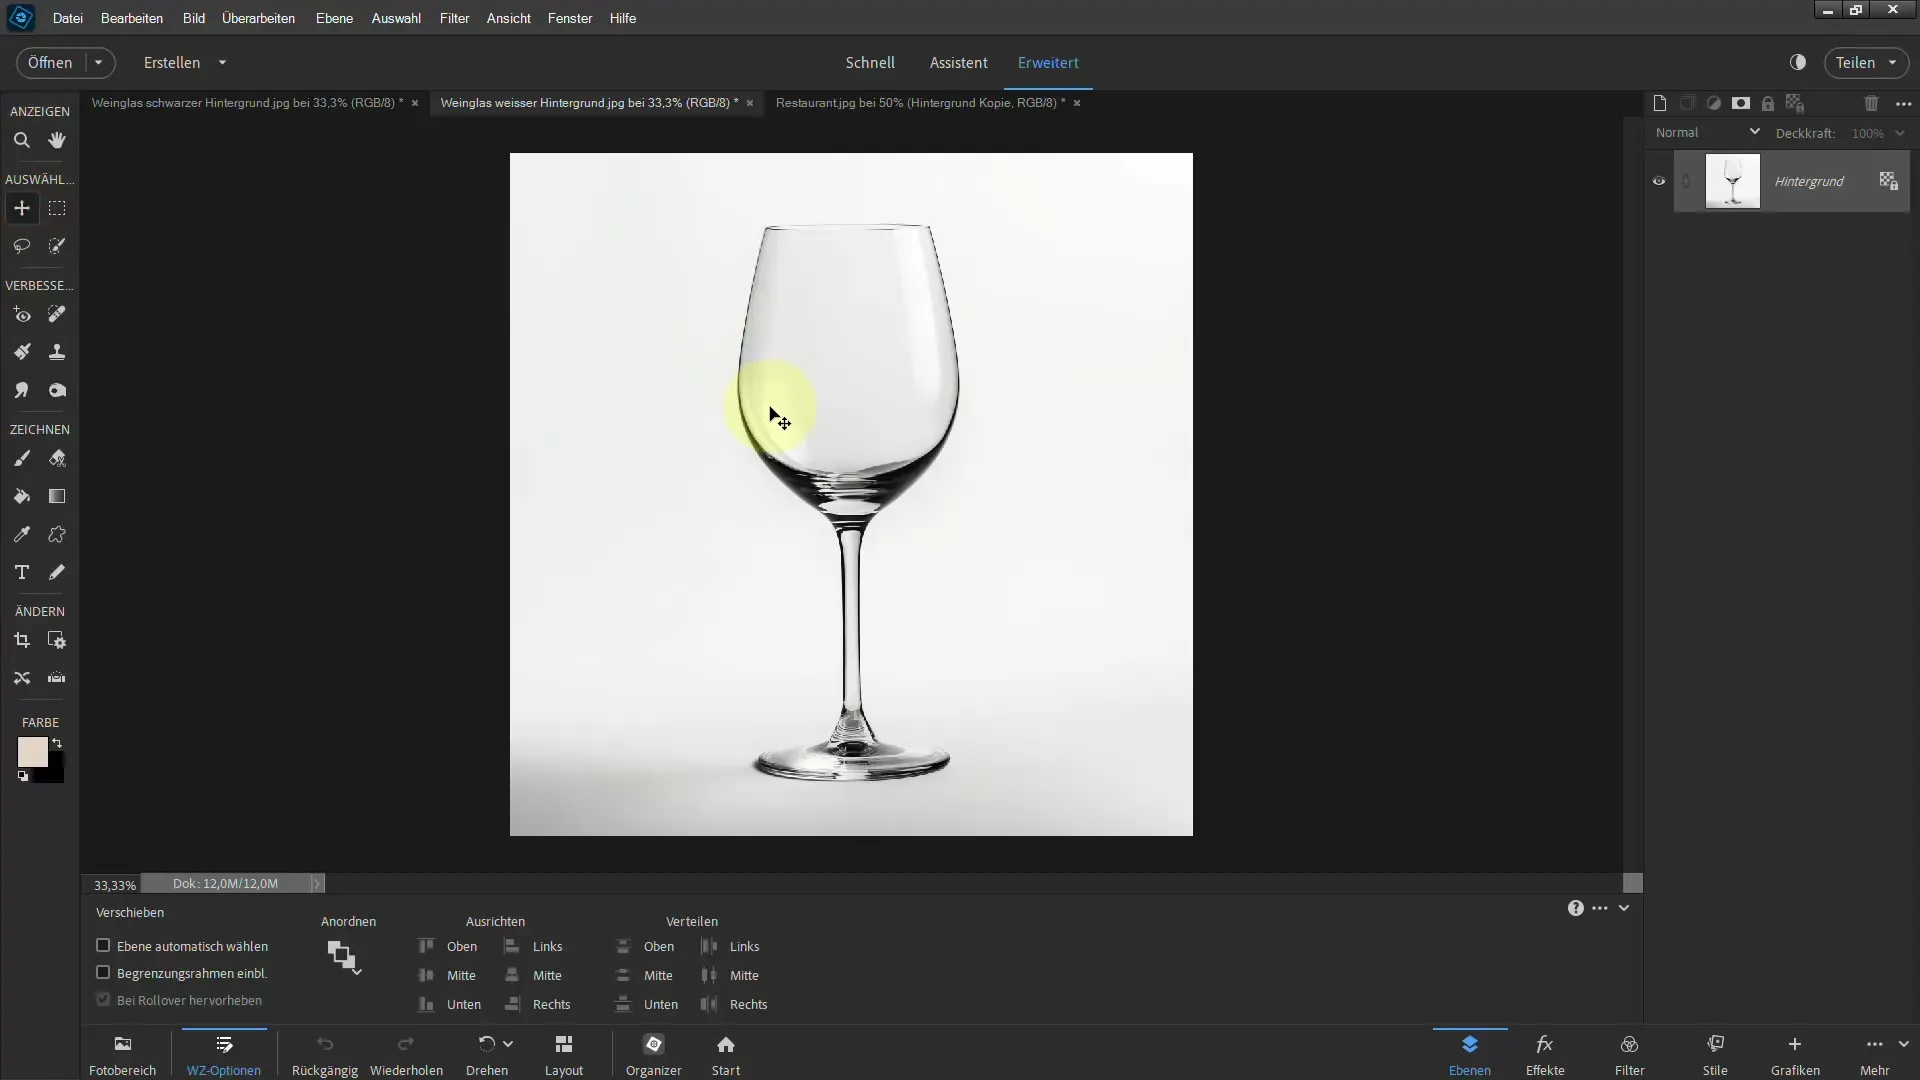
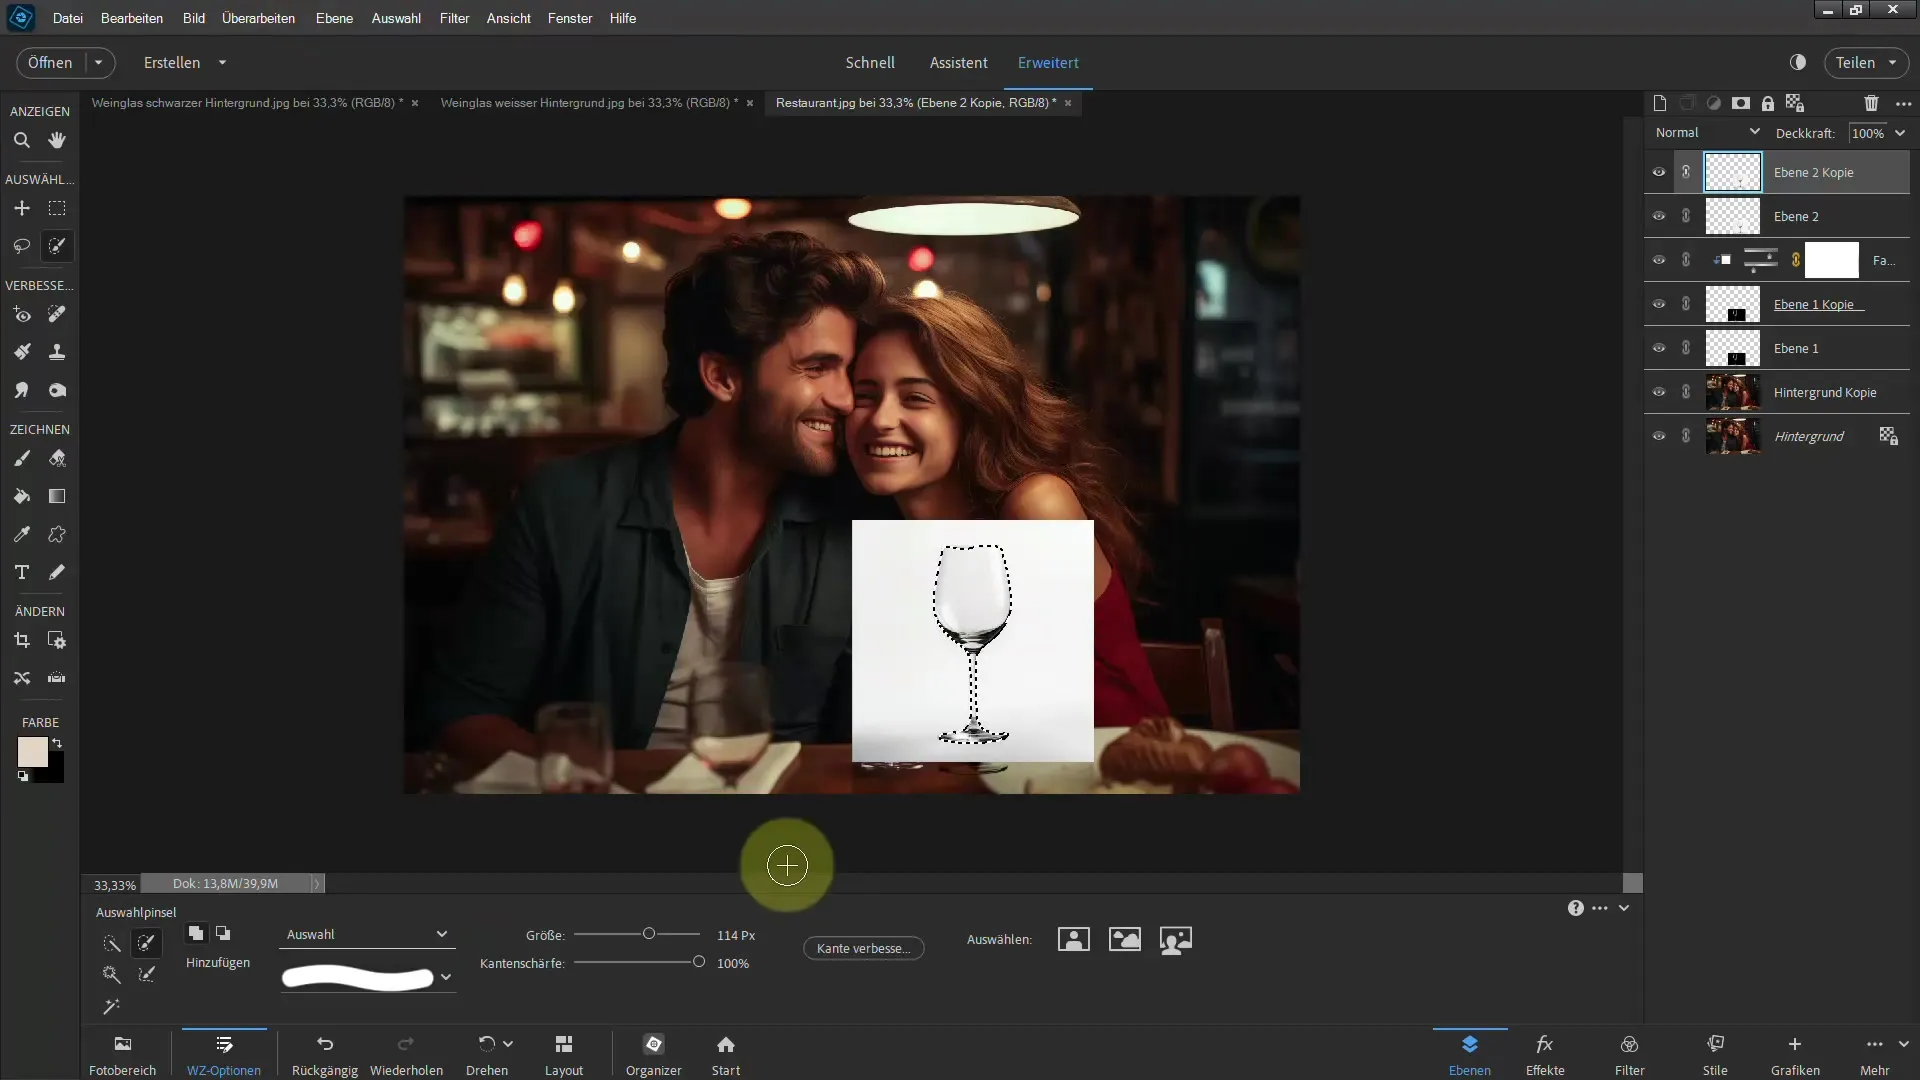
Easier said than done: Try to manually mask the object using the "Refine Edge" function to remove the white background. It can be helpful to add a mask to the layer to hide unwanted areas.
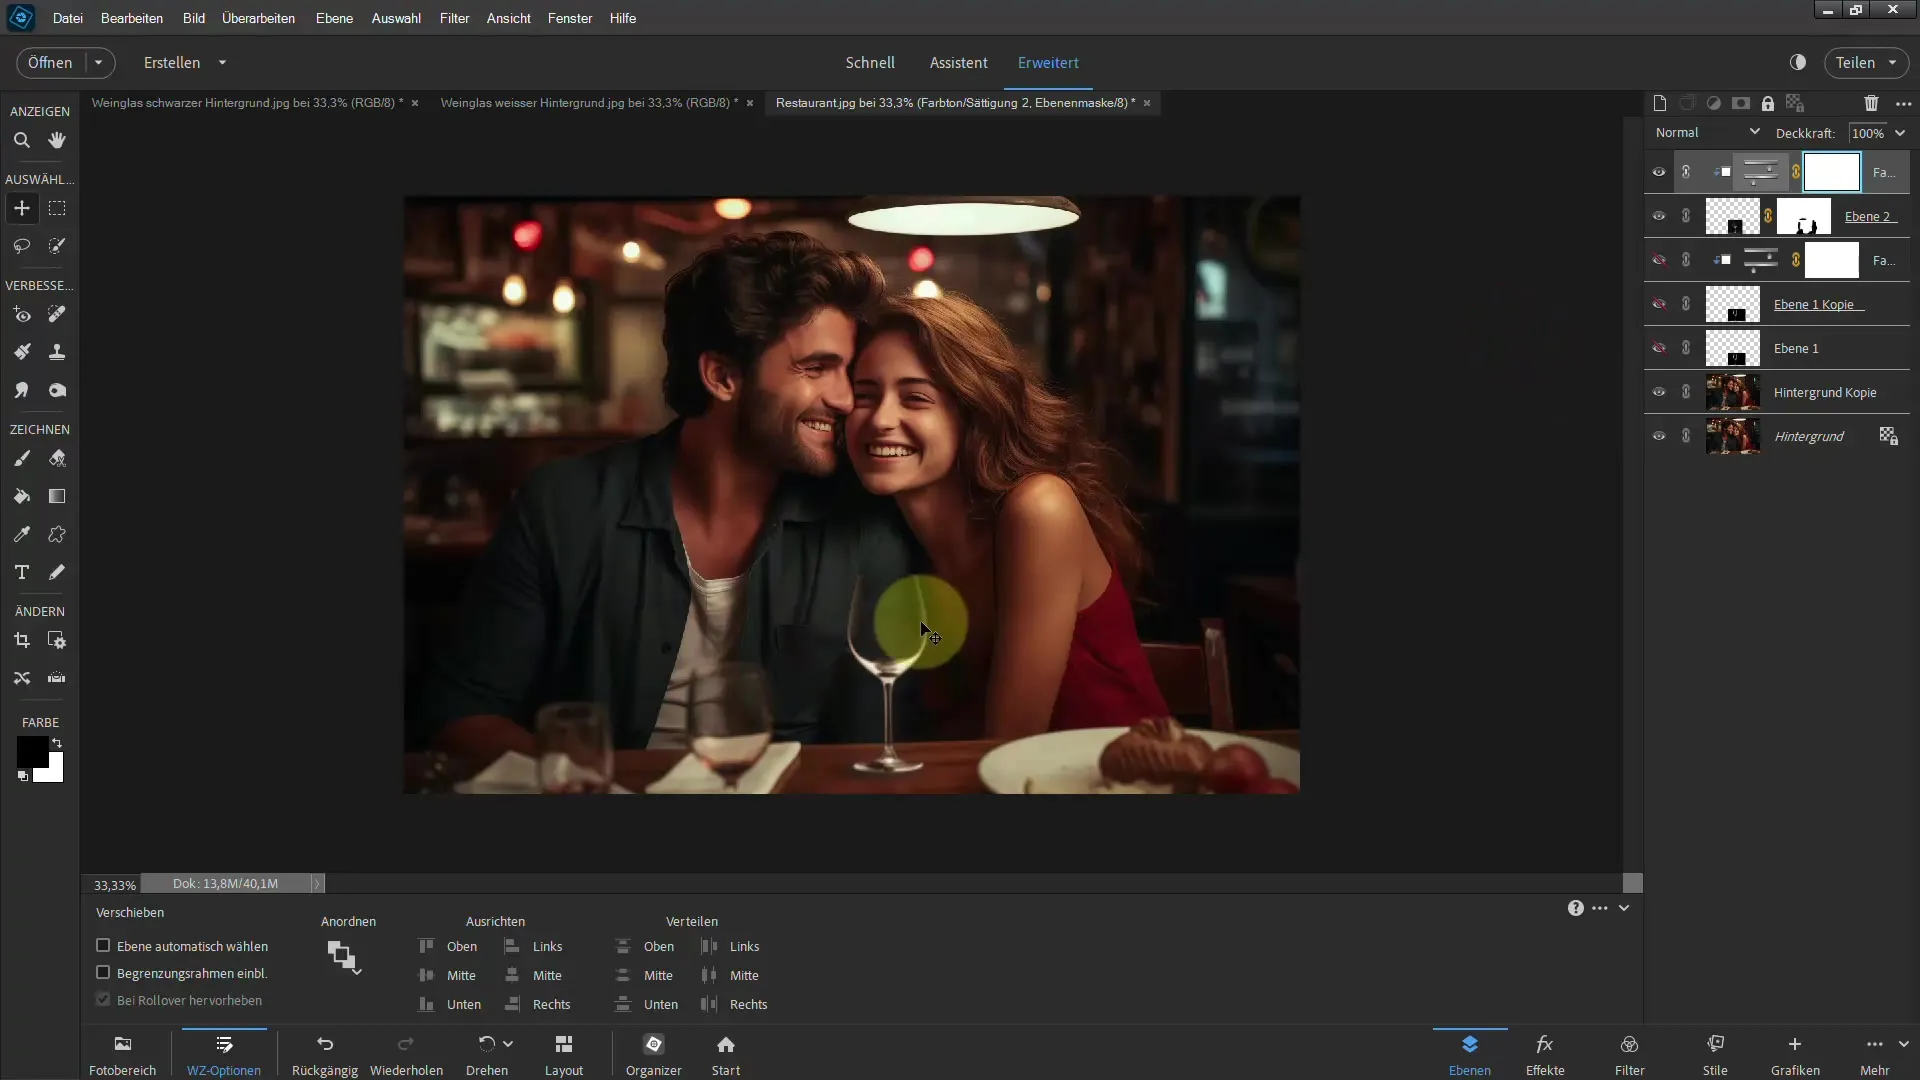
After applying these steps, you will see that depending on the lighting conditions, the glass almost looks like in reality. You can make fine adjustments as needed.
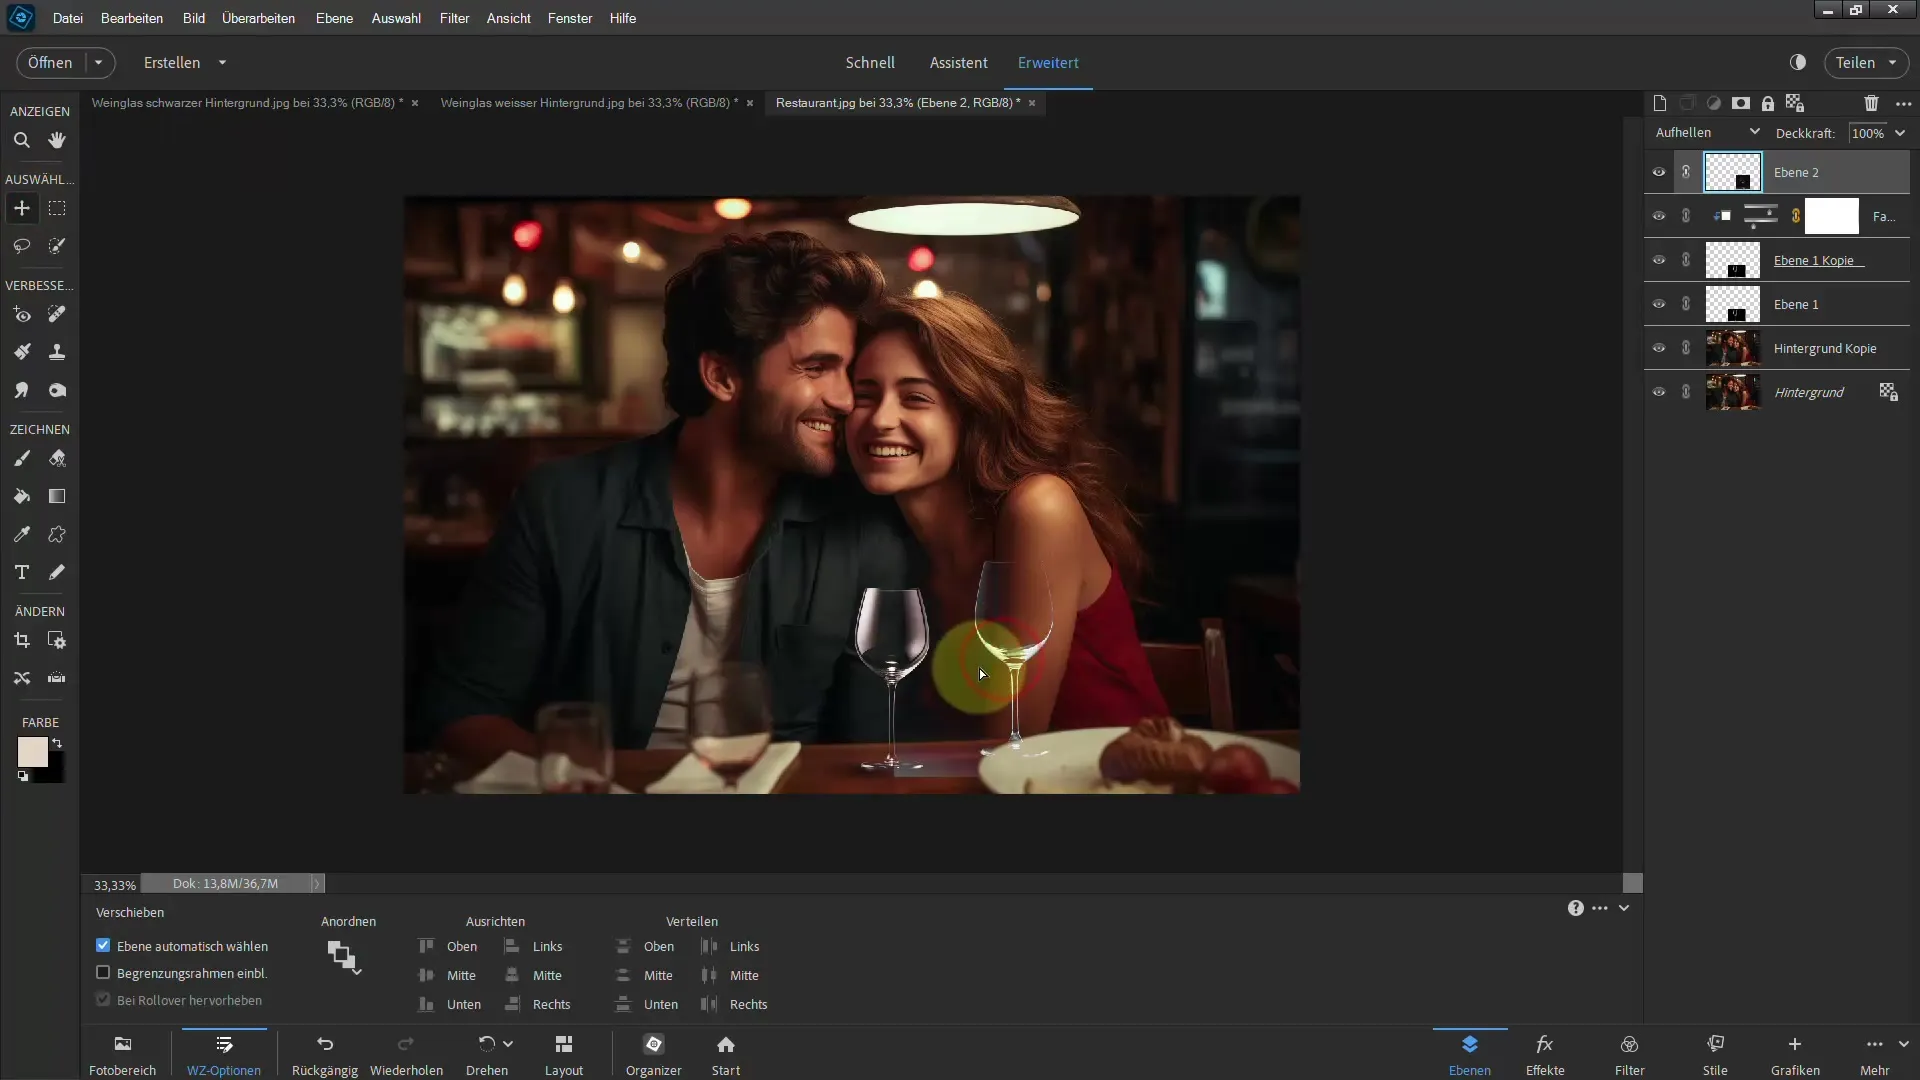
Remember that the background can also be edited to achieve a harmonious overall impression. Use filters such as "Gaussian Blur" to further optimize the image.
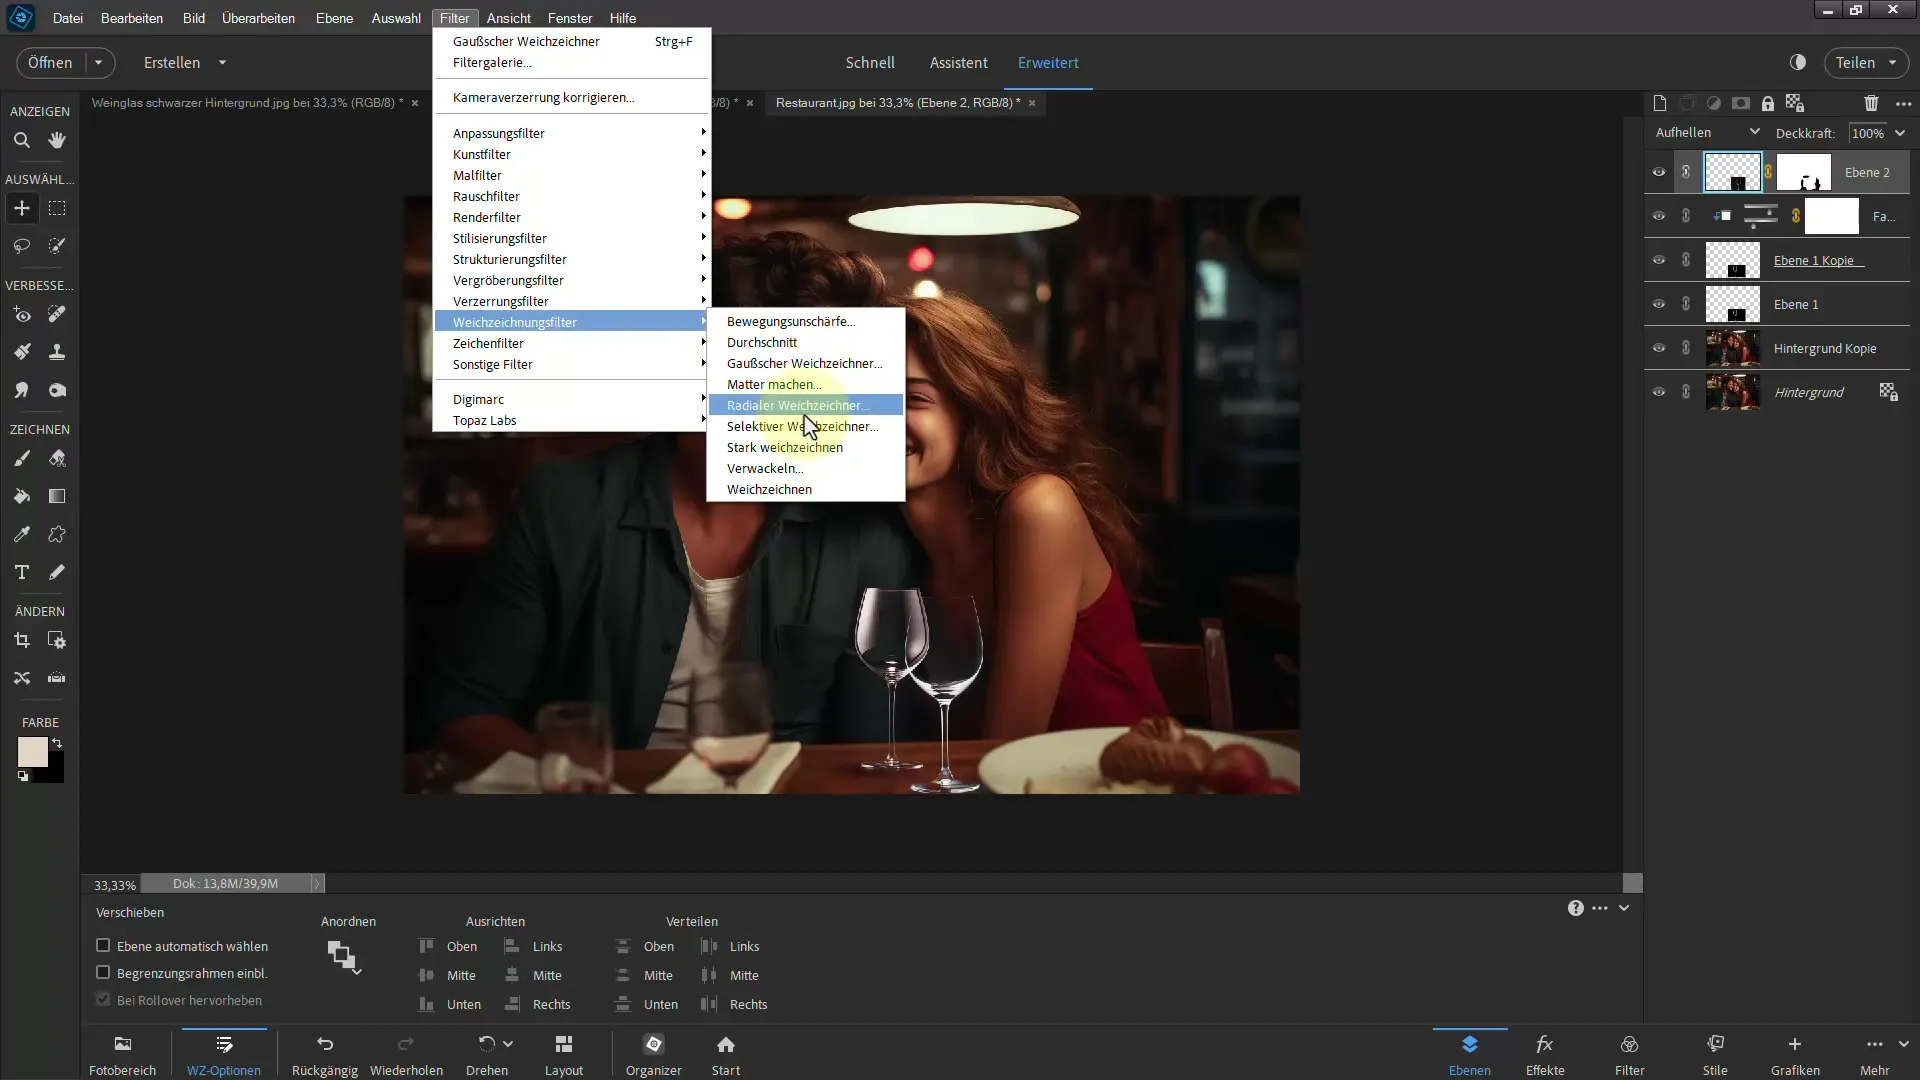
Finally, you should bring all elements together and ensure that the glass looks natural and realistic. With patience and practice, you can achieve impressive results.
Summary
Clipping out glass in Photoshop Elements may seem complicated at first, but it is achievable with the right techniques and approaches. Experiment with adjustment layers and enhance the background optics to achieve the best possible results.
Frequently Asked Questions
Which tools are best suited for clipping glass?The Move Tool, Film Tones, and various adjustment layers are very helpful.
How can I blur the background to make the glass appear more realistic?You can duplicate the background layer and then apply the Gaussian Blur
How can I change the color of the glass?Use a Hue/Saturation adjustment to modify and customize the color of the glass.
Can I clip out glass with a white background?Yes, even with a white background, you can achieve convincing results through clipping and adjustments to the layers.
How can I ensure that the glass to be clipped looks realistic?Pay attention to adjusting light and shadow, as well as blurring the background.

